RepRap Air
|
English • العربية • български • català • čeština • Deutsch • Ελληνικά • español • فارسی • français • hrvatski • magyar • italiano • română • 日本語 • 한국어 • lietuvių • Nederlands • norsk • polski • português • русский • Türkçe • українська • 中文(中国大陆) • 中文(台灣) • עברית • azərbaycanca • |
Release status: Obsolete
| Description | Simplified Mendel
|
| License | GPL
|
| Author | |
| Contributors | |
| Based-on | |
| Categories | |
| CAD Models | |
| External Link |
There is now the Air 2, this page is outdated, it remains only for reference, you can see the new design on the wiki created by Alberto Valero:
Contents
Introduction by - Mecano
Since I discovered the RepRap project I was surprised by the sheer amount of knowledge that could be stored (and organised) by an on-line community of aficionados. I was most impressed to see so ground shaking an invention take root and grow through the collaboration of specialists dispersed all around the world from varied fields such as mechanics, electronics & computers facilitated by this incredible network.
Josef Prusa revolutionised the mechanical design of this device when he dramatically simplified the construction of the RepRap Mendel. The result of his efforts, the Prusa, has become a standard in RepRap building. This achievement also made it much easier for any person to build a 3D printer (provided they are prepared to a little reading and learning along the way).
The "RepRap Air" drinks from this spirit and attempts to add a new twist to the construction of a 3D printer.
The design is based on three basic principles:
- Simplification of the assembly process(KISS principle).
- Designing the parts in the cheapest way but still meet the requirements.
- Improving the aesthetics by introducing a little elegance and beauty to the finished item.
Within these guidelines, the use of RP parts has been reduced for "commercial" pieces but nonetheless bearing in mind that they are readily available worldwide so any anyone can use them if they so wish.
Summary of changes made:
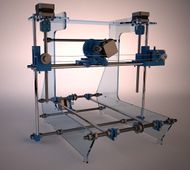
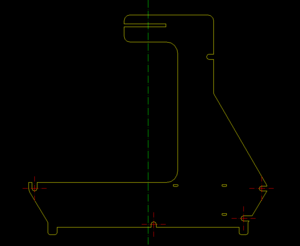
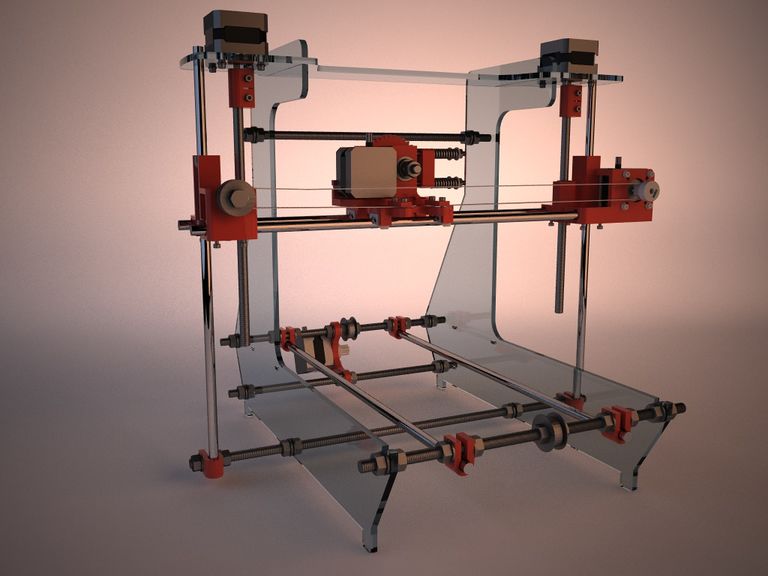
A) Most of the frame rods and RP pieces have been replaced by "three pieces of 6mm acrylic". These are dimensioned following the exact dimensions of the original Prusa design. So for all intents and purposes this machine works as a Prusa with all sizing, trips, electronics, firmware etc. of a Prusa.
B) When viewed from the side, one of the sides of the typical Mendel triangle has been removed, resulting in a more accessible work area.
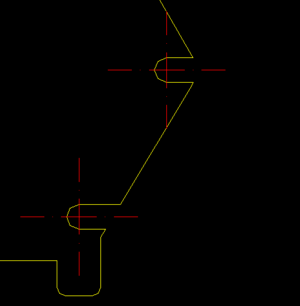
C) The holes for the rods have been changed (slotted) so that the rods can be removed without having to completely unscrew the nuts.
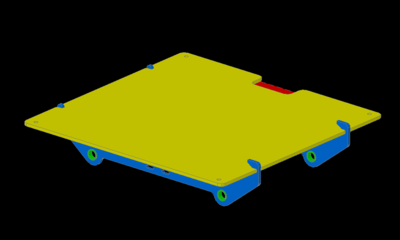
D) With the Y axis you can choose to use a traditional Y-axis or mount a variation on the theme: Y-axis with integrated heated platform as shown in thingiverse.
The X and Z axis have not changed, they are exactly the same as that of a Mendel Prusa.
Bill Of Materials
Here are all the parts needed to build the printer. This list does not include carriage parts for the X axis, or the Y-axis platform as they are considered independent subsets and it is up to each person to choose which.
Printed Parts
| Piece | Description | Quantity | Comment |
|---|---|---|---|
 |
U-clamp | 6 | Clamps used to pin smooth bars to threaded rod |
 |
Endstop Holder | 3 | Support for endstop |
 |
X End Idler | 1 | X-Axis idler - opposite end of motor support |
 |
X End Motor | 1 | X-Axis motor support |
 |
Y Motor Bracket | 1 | Y-Axis motor bracket |
 |
Z couplings | 2 | Can be replaced by: http://www.thingiverse.com/thing:9622 |
 |
Pulley | 2 | Along with this will be a M3x8 grub screw and nut M3 |
 |
PLA bushings | 4 | Bushings for slider supports |
Rods and screws
Threaded rods
The threaded rods can be be steel(zinc plated) or stainless.
Diameter M8
Lengths required are: 4 x 285 mm 2 x 210 mm 1 x 430 mm
If you cut them from 1 meter rods you will need two rods The best way to cut these is:
Rod 1: 285 - 285 - 430 ========> Total 1000 mm
Rod 2: 285 - 285 - 210 - 210 ===> Total 990 mm
Smooth Rods
The smooth rods should be stainless steel.
Diameter M8
Ideally you should use calibrated rounds. These have very tight dimensional tolerances (7.97 - 8 mm)
Lengths required are: 4 x 410 mm 2 x 345 mm
The total legth would be about 2.35 m. The dimensions may be the same as those of Prusa but some have been slightly changed to minimize the number of different pieces.
Screws
Again I stress that this includes the hardware necessary for the printer without including the extruder / X carriage or Y axis platform pieces.
| Quantity | Set | DIN | For: |
|---|---|---|---|
| 43 | M8 nuts | DIN934 | For rods |
| 40 | M8 washers | DIN125 | For rods |
| 1 | M8x35 screw | DIN933 | Axis belt X carriage |
| 8 | M3x10 screws with nut | DIN912 | To fix X-Axis guides |
| 16 | M3x10 with washer | DIN912 | To fix the 4 motors |
| 7 | M3x20 screws with nut and double washer | DIN912 | Z couplings and Endstop Holders |
Screws DIN 912 are Allen type which makes installation much easier.
Finally you will need to add:
3 x 608ZZ bearings
Belts T5 840 and 900 mm long and 5 mm wide
6 x M8 fender washers - diameter 30 mm (these are very difficult to get, at least in Spain. So they can be replaced with washer-brimmed (DIN9021) Dia. M10.
Infographics
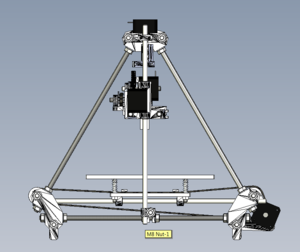
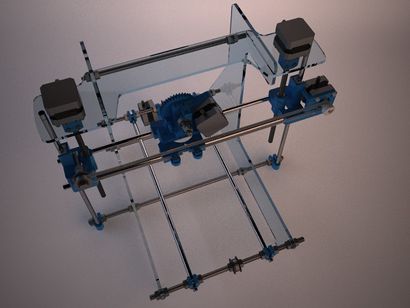
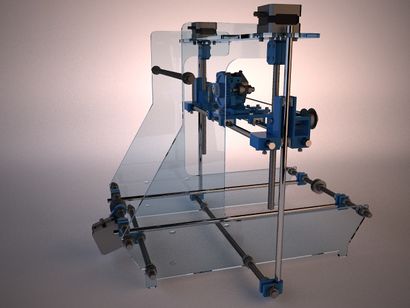
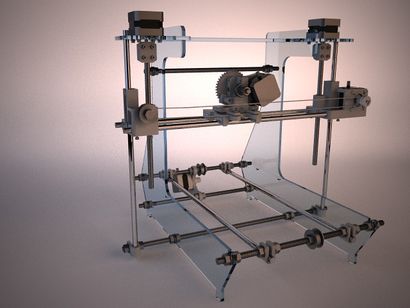
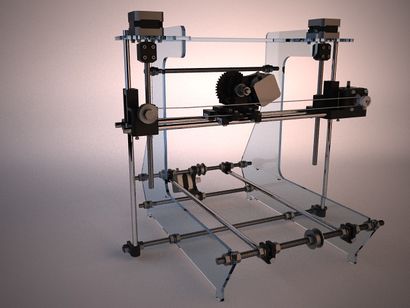
Here are some Graphics Renders produced by Pikelo with Cinema 4D + Vray:
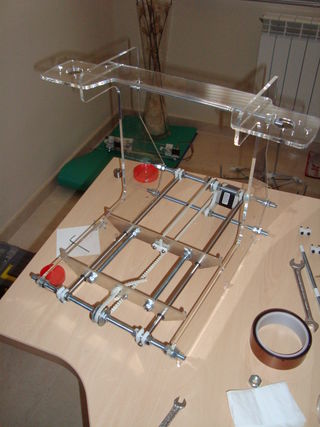
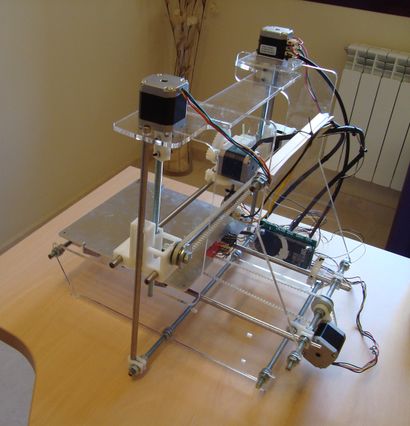
Photographs
The original posting is writen in Spanish and can be found here. Subsequent edits and English conversion by Solertron.
