Prusa i3 Acrylic Build Log
Posted by zoroeye
|
Prusa i3 Acrylic Build Log April 03, 2014 06:52AM |
Registered: 10 years ago Posts: 17 |
I was debating between a Mendel90 and a Prusa i3, and eventually decided to go with i3 because there are many more vendors and resources. I have a Makerbot Replicator in school but never built a
RepRap before, please let me know if I'm doing any steps wrong and feel free post any questions you have.
I got the Prusa i3 Acrylic kit from 3D Printer Czar. I chose this model because their email response was fast, no tax in Hong Kong, free DHL express shipping and the kit seems to get good recent reviews on Czar's website. One thing concerned me was the strength of 6mm acrylic sheet, which is much prone to crack compared to wood frames. I'll write more about this later in the post.
1. Delivery
Shipping was fast. I placed the order on March 17 and got my package delivered on March 26. No import tax to Canada. $499 is all that I paid.
2. Unboxing
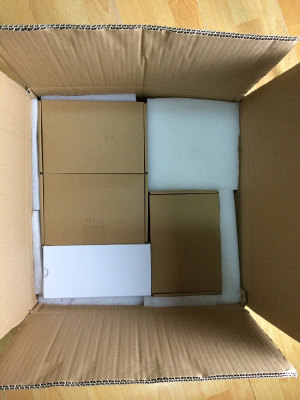
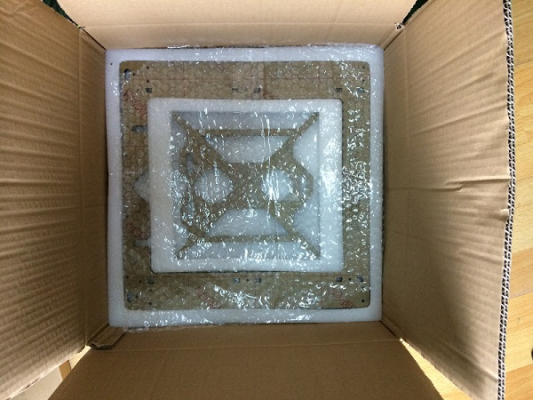
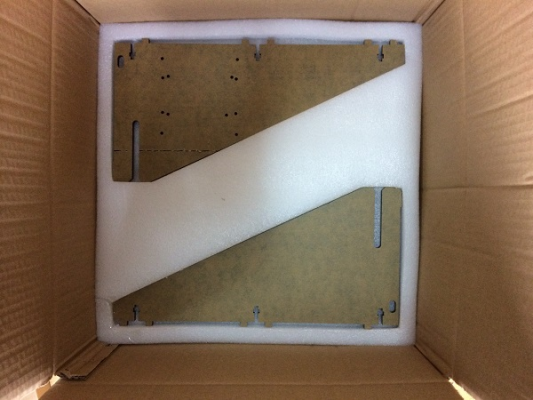
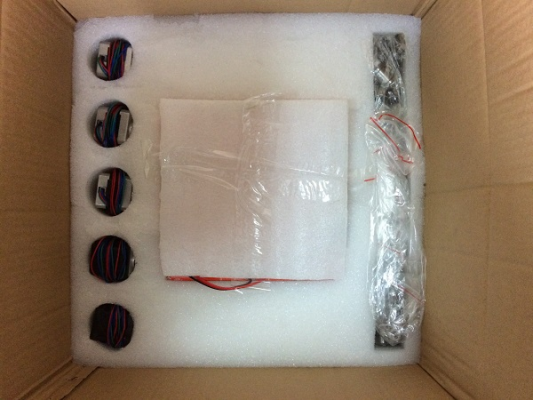
The kit was well packaged. Customized foams for fragile parts and printed parts and electronics are packed inside cardboard boxes. One thing I wish they included in the package was a checklist. I emailed them and got a link to a BOM. Another thing is that the bolts and nuts bags are not labeled. It's not difficult to distinguish a M8 washer from a M3 one but I need to use a tape measure(included) to get the M3 screws length.
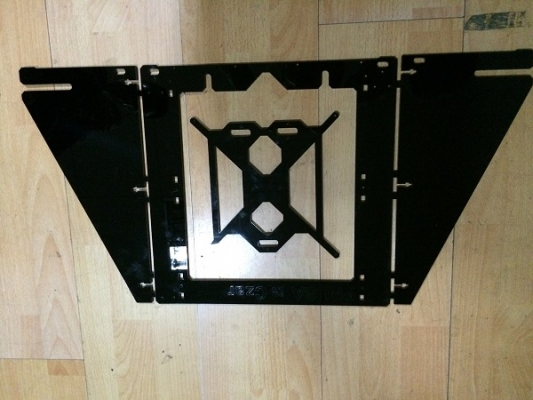
All the acrylic panels and the glass bed are intact.
It was a surprise that the acrylic panels are black instead of clear as shown in their website, but in my opinion black glossy acrylic looks so much cooler!
Edited 1 time(s). Last edit at 04/03/2014 06:58AM by zoroeye.
|
Re: Prusa i3 Acrylic Build Log April 03, 2014 07:10AM |
Registered: 10 years ago Posts: 17 |
3. Chassis Assembly: 45 mins
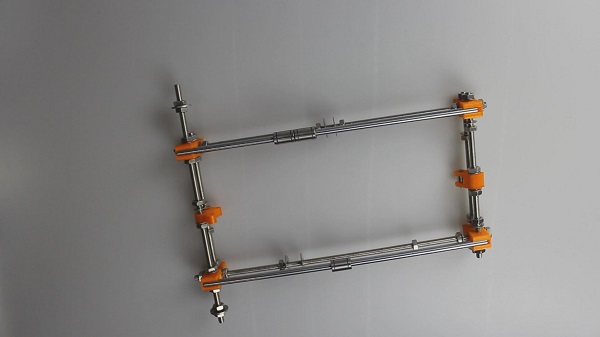
The chassis was straight forward and easy to assemble. It was however very time consuming considering how many things had to go on the threaded rods. I highly recommend any future builder follow the exact words on Czar's document. I made several mistakes along the way by not putting the piece in the correct orientation (the Y motor mount in particular) or order (the long rod in x-direction needs to be on top). Keep spinning the nuts on and off is very frustrating.
The precision rods sit very tightly on the printed y corners. No ziptie is really needed.
Edited 1 time(s). Last edit at 04/03/2014 07:11AM by zoroeye.
|
Re: Prusa i3 Acrylic Build Log April 03, 2014 07:55AM |
Registered: 10 years ago Posts: 41 |
|
Re: Prusa i3 Acrylic Build Log April 03, 2014 09:29AM |
Registered: 10 years ago Posts: 17 |
|
Re: Prusa i3 Acrylic Build Log April 04, 2014 11:23AM |
Registered: 10 years ago Posts: 17 |
4. Y plate, belt, and motor: 20 mins
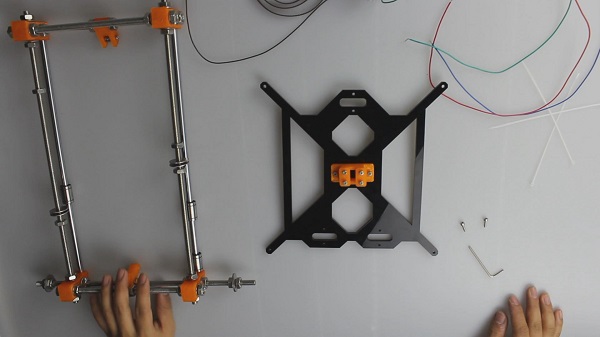
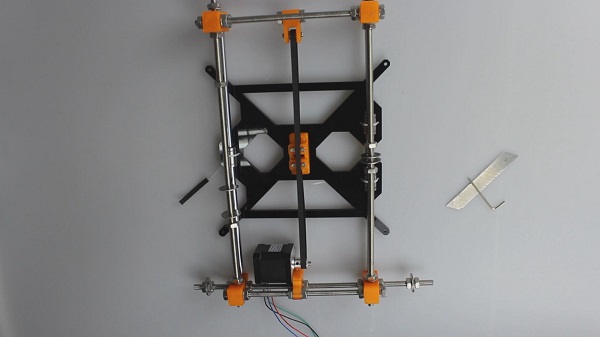
I found it much easy to keep the chassis loose and slide the Y plate to make the chassis self-align. First I tightened the Y corners to have the frame sturdy, and then attached the Y belt holder to the Y plate. Aligning the Y-idler, Y-belt-holder, and the Y-motor mount took me some time. I could still see the belt shifted when I move the Y plate to either ends. Is this something I should be concerned about?
Another thing I noticed was the Y idler used 623 bearing, which is smaller in diameter than the aluminum alloy pulley on the Y motor. I felt a 625 bearing should be the right size. Will this cause any problems in the future (uneven tension along the y axis)?
I like the three-bearing design of the chassis, it's very easy to have the Y plate mounted securely on the LM8UU bearings. Three points determine a plate.
Edited 2 time(s). Last edit at 04/04/2014 11:31AM by zoroeye.
|
Re: Prusa i3 Acrylic Build Log April 04, 2014 11:43AM |
Registered: 10 years ago Posts: 22 |
Good job Zoroeye, your so farbuild is really fast for a beginner! There are a few things I think you can find useful:
1. from your picture I think your aluminum alloy pulley is too close to the motor. Try reverse it to leave some spacing, otherwise it will constantly grind against your motor's surface.
2. don't worry about the small bearing. I also have 623 bearings in Y axis and haven't had a problem.
3. the easiest way to align the y axis is to align the idler and the belt holder first. Tighten the belt holder, and then loosely attach the aluminum pulley, slide your y plate back and forth to find the correct position of the aluminum pulley. (you might have to adjust the Y motor mount piece if you are too off).
4. To check your Y smoothness, you can hold the chassis up and see if the plate can slide down easily.
I also got my Prusa i3 from 3d pirnter czar, but it's clear acrylic with white printed pieces. In restrospect I should have ordered black acrylic with orange pieces. They look so much better! Did you put in a note or this is their new default color option?
|
Re: Prusa i3 Acrylic Build Log April 04, 2014 11:48AM |
Registered: 10 years ago Posts: 17 |
Sorry, only registered users may post in this forum.
