3pod - a simple printer
Posted by scoot
|
3pod - a simple printer May 13, 2019 01:16PM |
Registered: 6 years ago Posts: 11 |
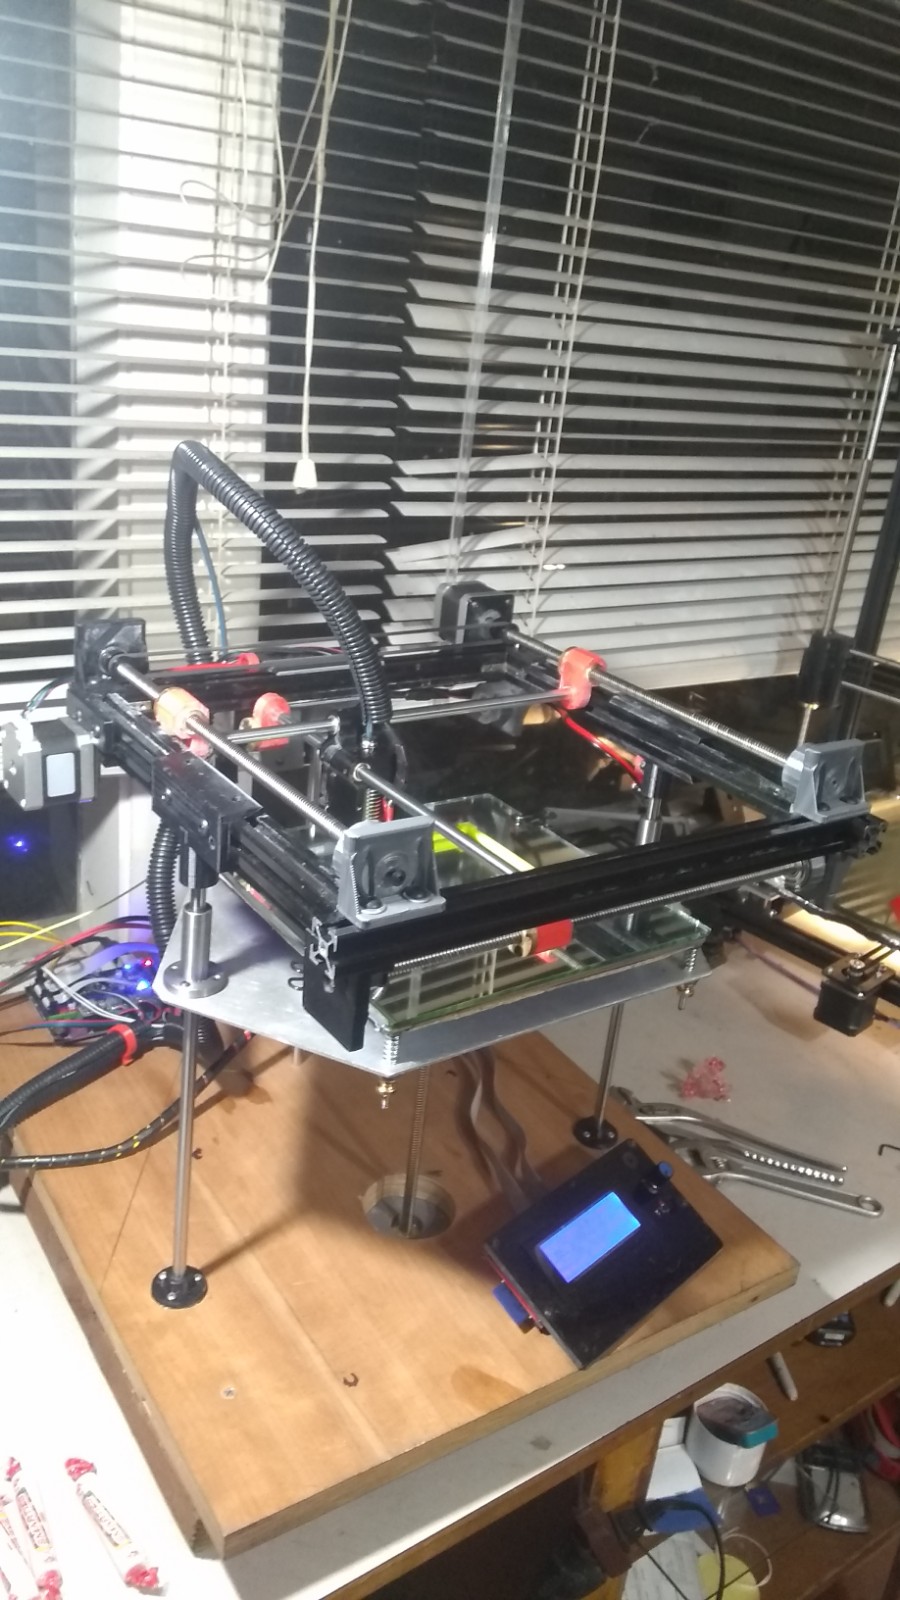
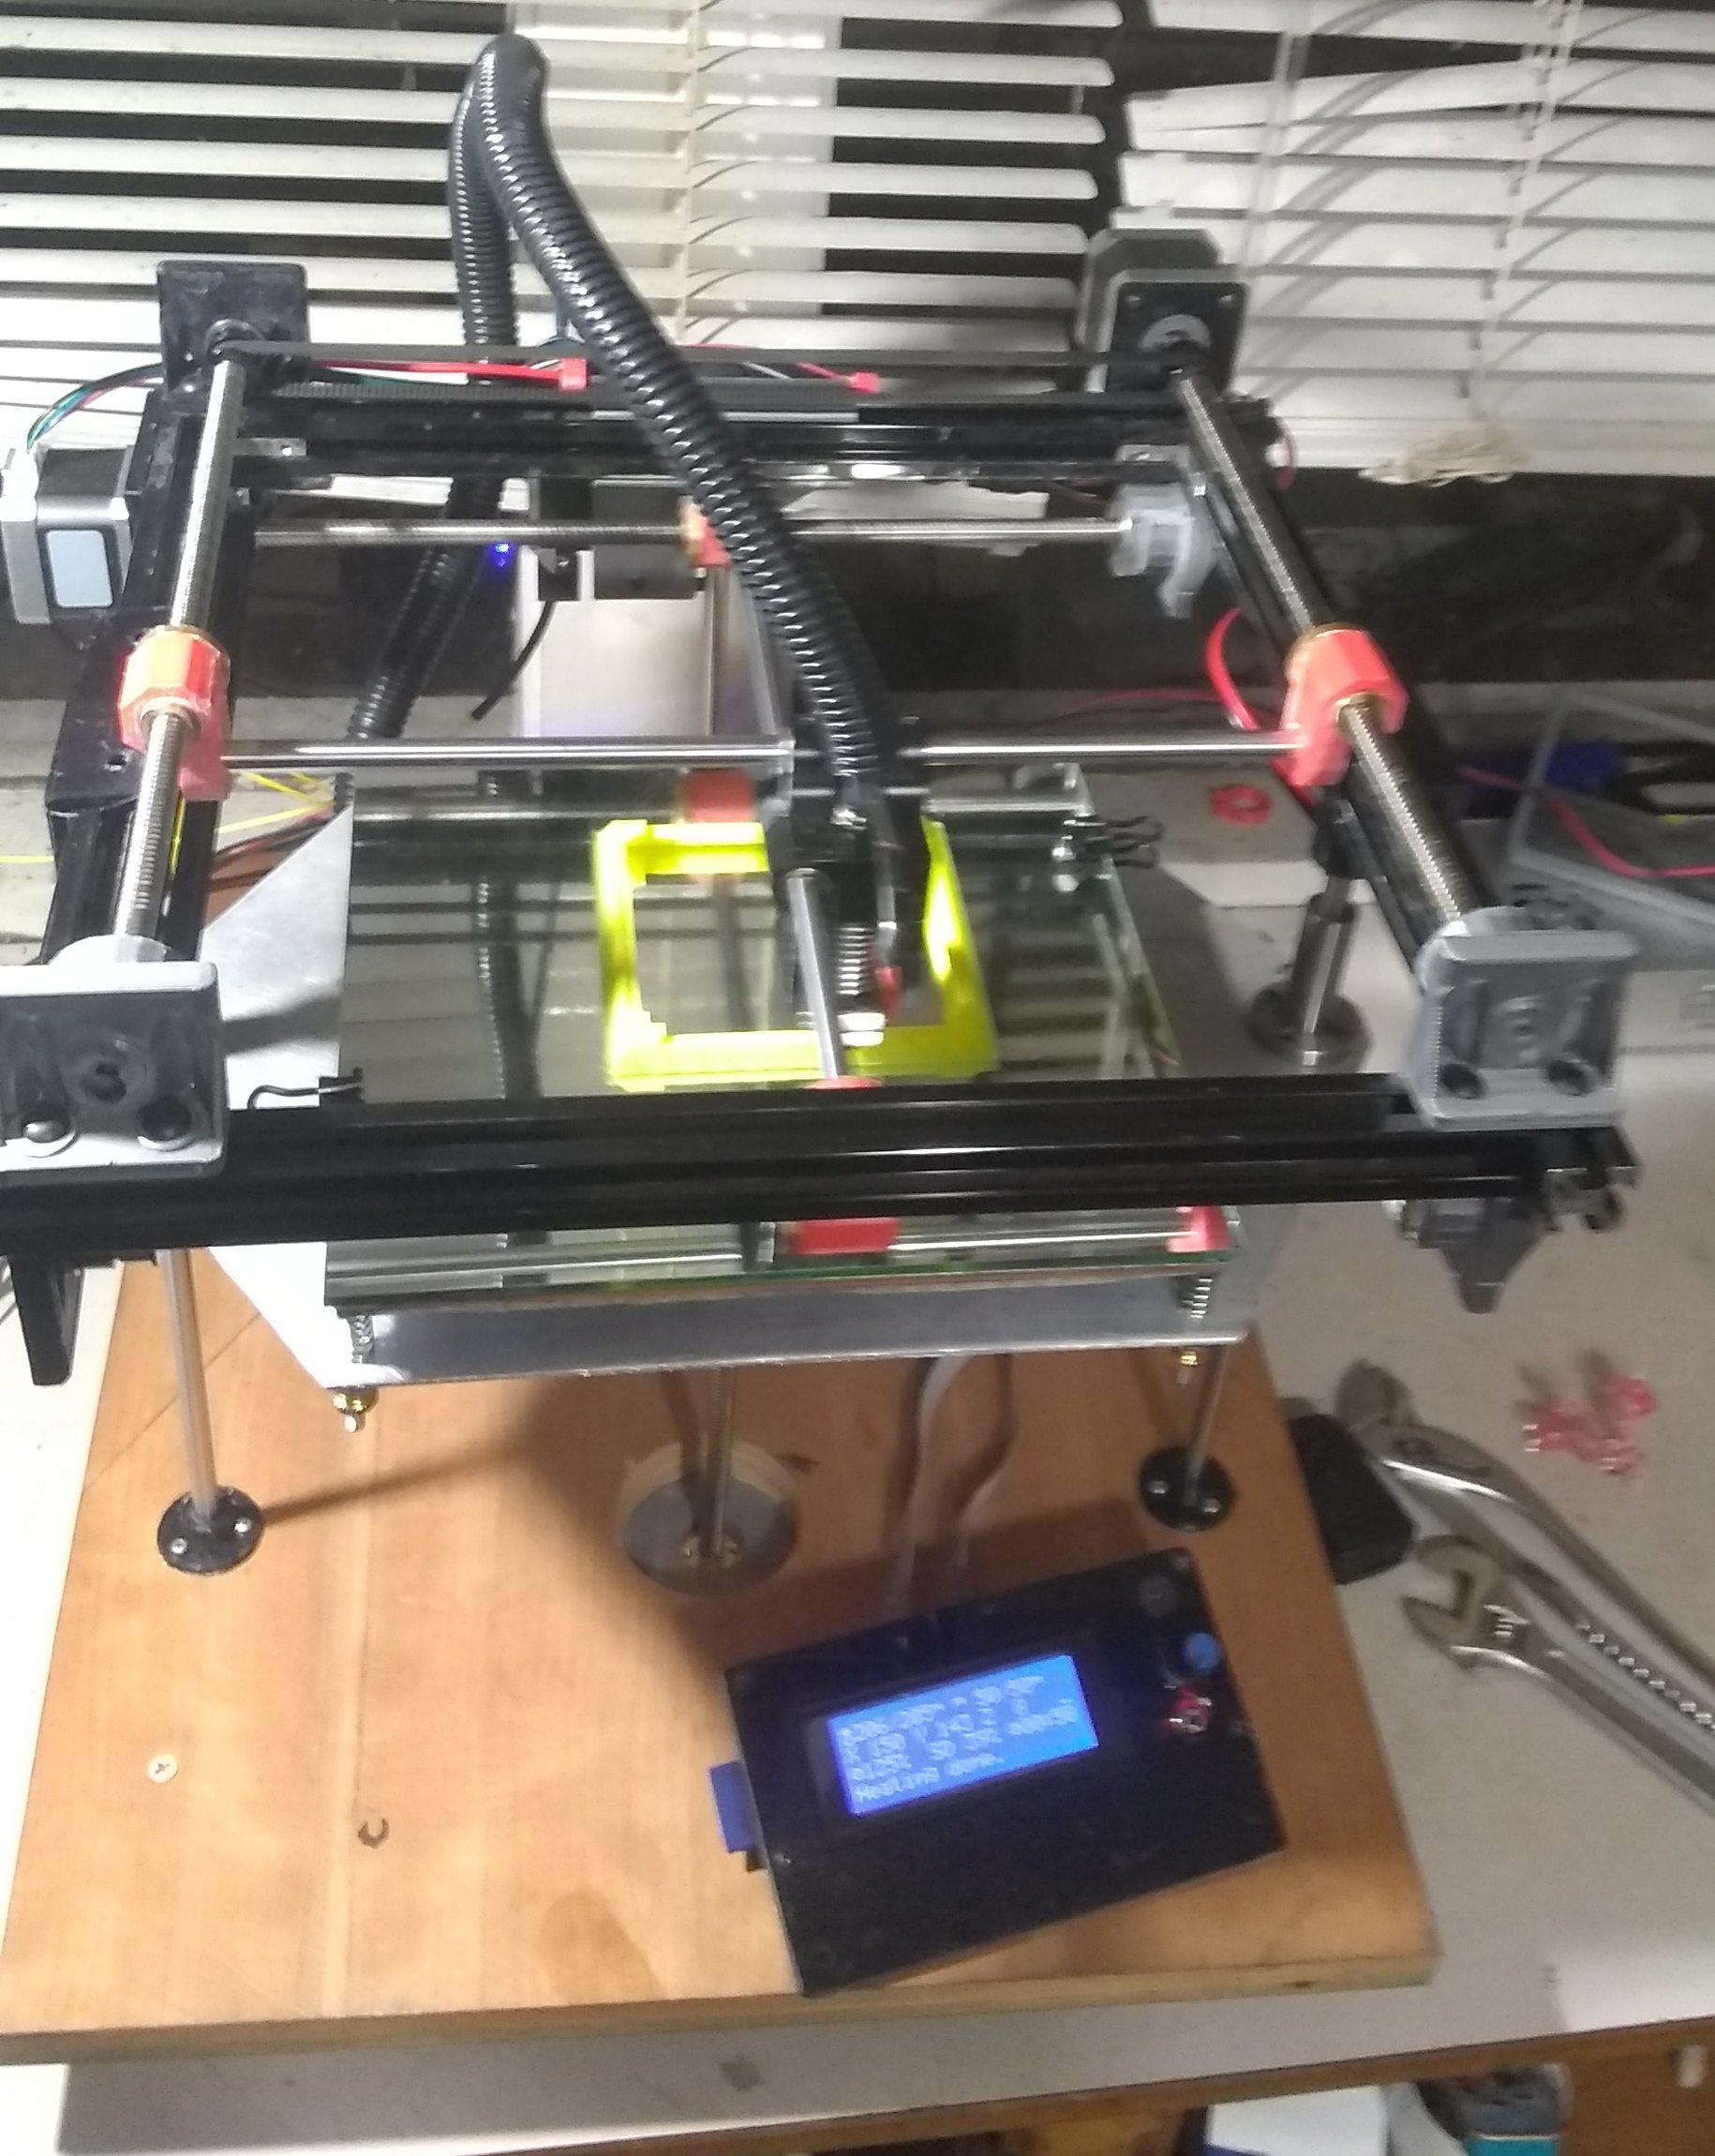
I've been wanting some kind of compact portable printer and have had thoughts of a 'crosshead' design that might fit in. I wanted light weight, decent prints, and knock down to fit it in my roll on luggage so it could stay with me. I was willing to give up high speed and wanted to spend as little money as possible to keep domestic peace given I already have 2 printers.
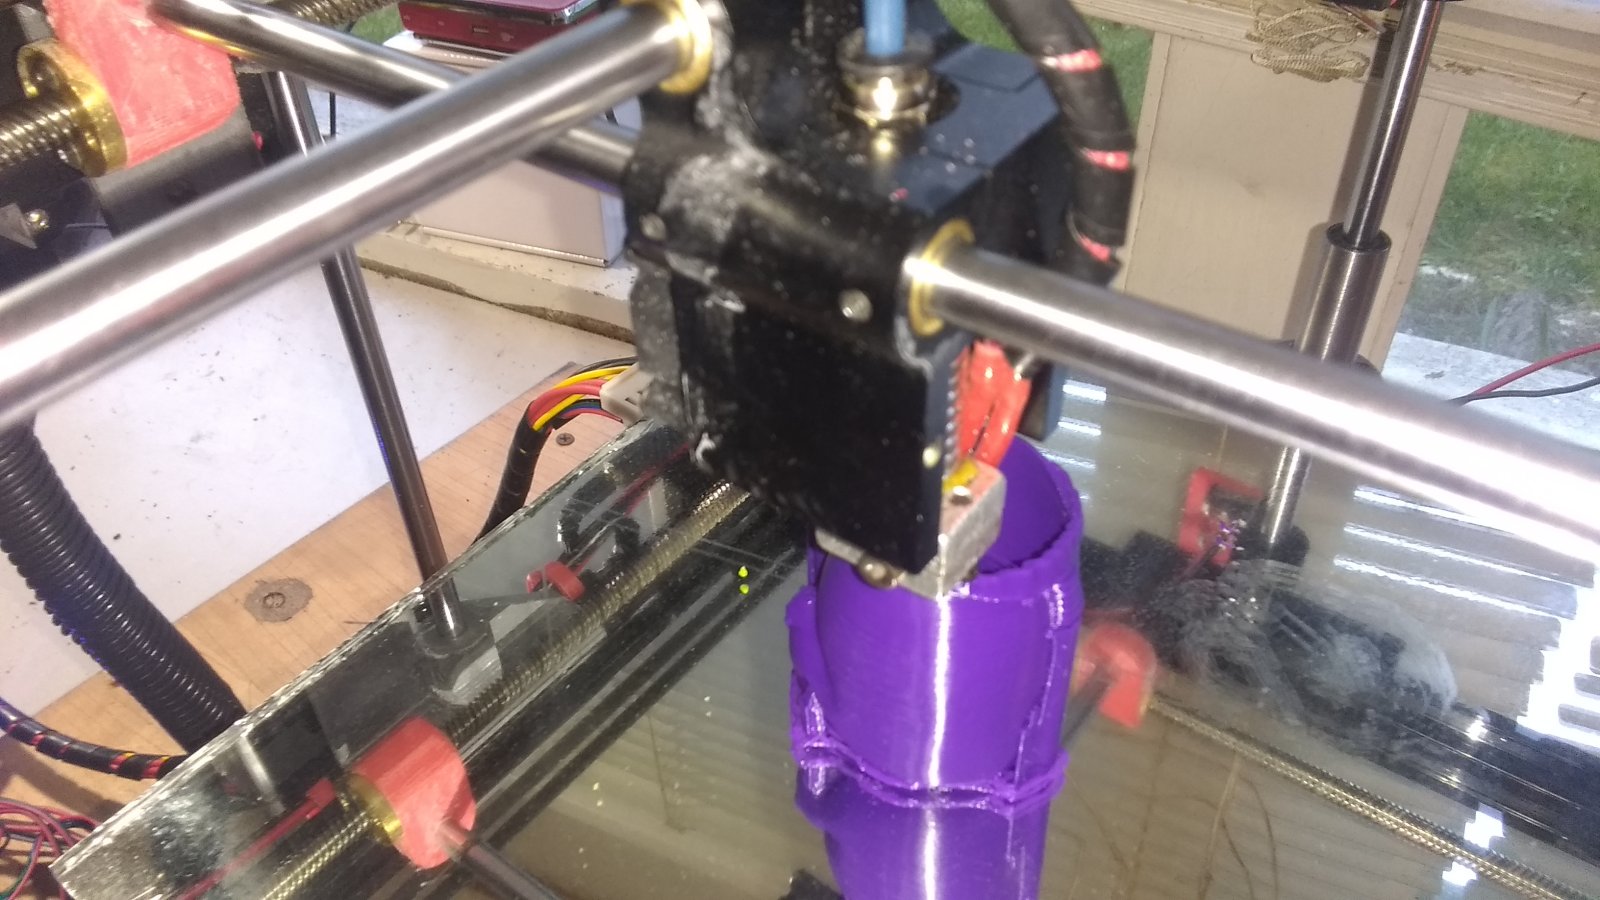
In researching what's available, I discovered that the Ultimaker machines use the type of crosshead that I had in mind and that there are several aftermarket hot end holders available. I chose the most vanilla one which mounts a standard hot end. This determined the 18mm cross slide centers and allows me to use other heads w/ up to 4 nozzles. Being new to this and given the costs, it was easy to choose the same MKS Gen L V1.0 controller used i n my 2 other printers. Now all I had to do was fill in the space between the controller and that printhead.
In this prototype, many of the parts are printed plastic and work well enough. For good reliability and dependable repeated knock down/ set up, I am replacing most printed parts with solid metal. The first pictures were taken at home before a trip to Greece, where the printer has been reassembled & has produced first prints, now for the second improved version. On the way over one of the printed bearing mounts was broken & needed bonding back together.
As said, I have used the CHEAPEST components I could find here, but there's no reason not to use better now that I know it works. This was under $150 for everything, but will be creeping up as I add metal parts. And I am upgrading to 24V as soon as the PS,fans & heater cartridges arrive. There is much tweaking of the firmware yet to do as well as mechanical refinements that can be done. I will be working with a friend here with the right equipment to inspect and straighten all the leadscrews for example as well as aligning and squaring the assembly more perfectly.
The new version will print 200 x 200 x up to 300 or more(depending on length of leadscrew motor and three 8mm rods) and still fit in my rollon , after removing only the three 8mm rods. The first one was a bit too big & came in here my checked luggage. I will report the final weight after I fabricate the base which will be two acrylic plates attached to a perimeter separating them about an inch for stiffness. The base can be about just about anything flat - I left the original 3/4 plywood base in Seattle & made a new one here from particleboard laminate. Actually, I made a heavy chassis that also encloses the electrics and the weight down low is nice for stability. The machine is fairly quiet and there's only very low mass moving around at speed so it doesn't want to go anywhere even w/ just a plywood base.
I welcome your criticisms, comments and suggestions. I'm new at this but an old hand at fixing and making mechanical things of all sorts.
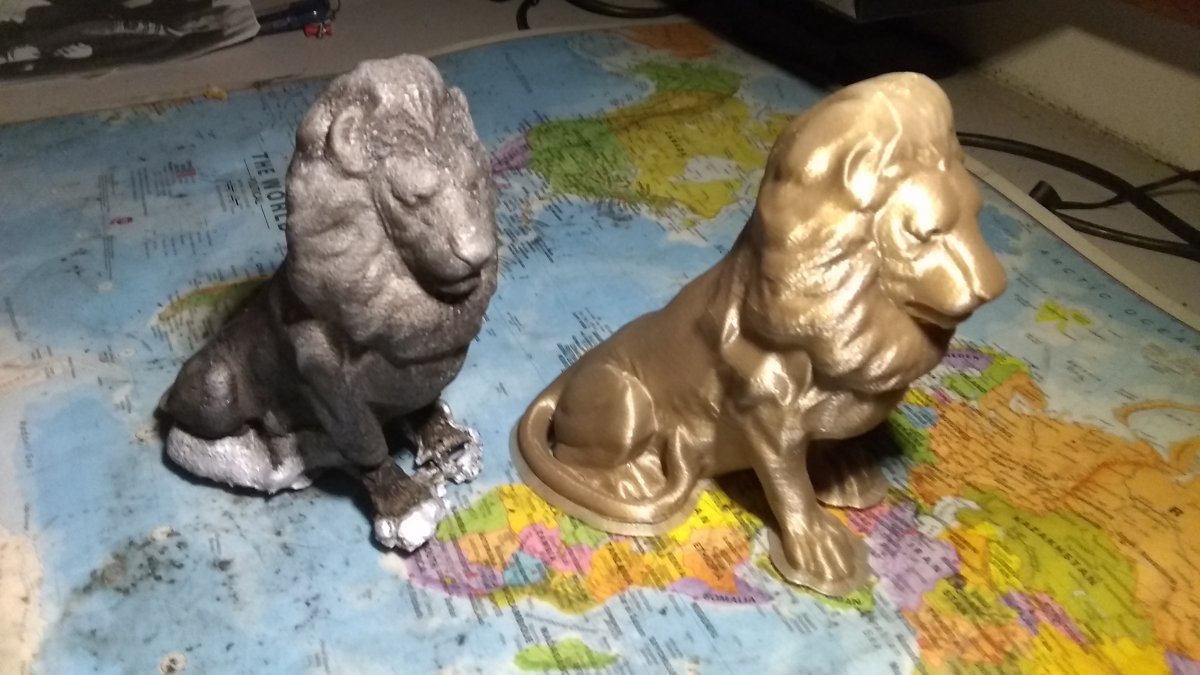
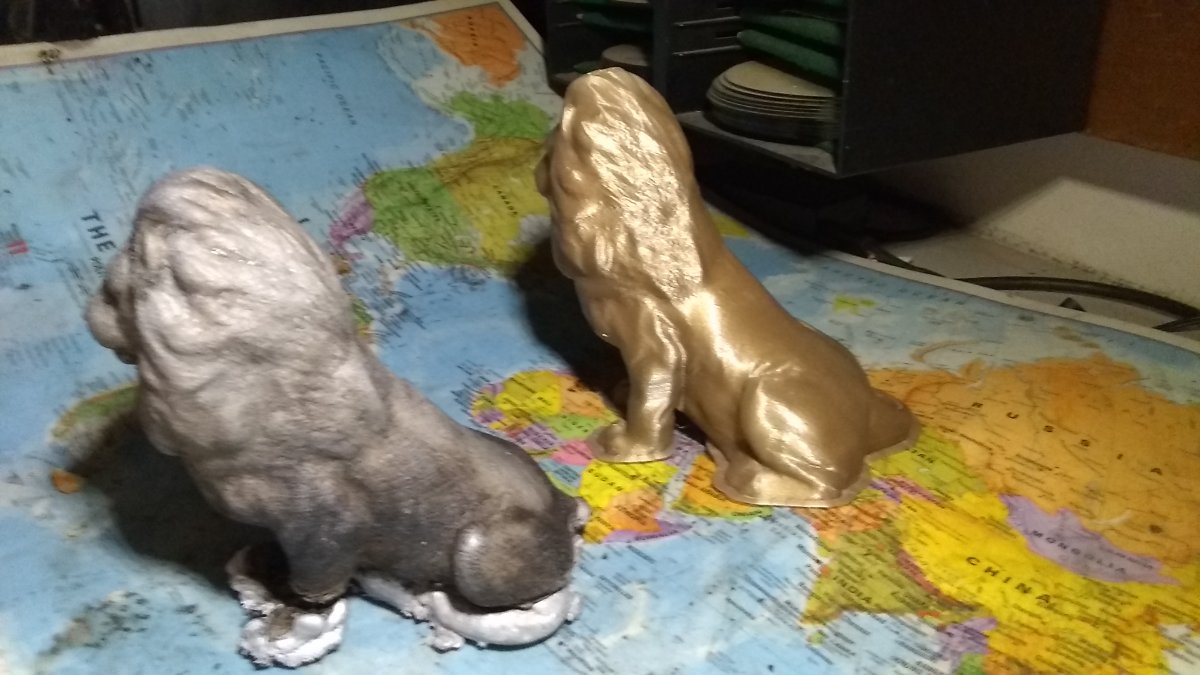
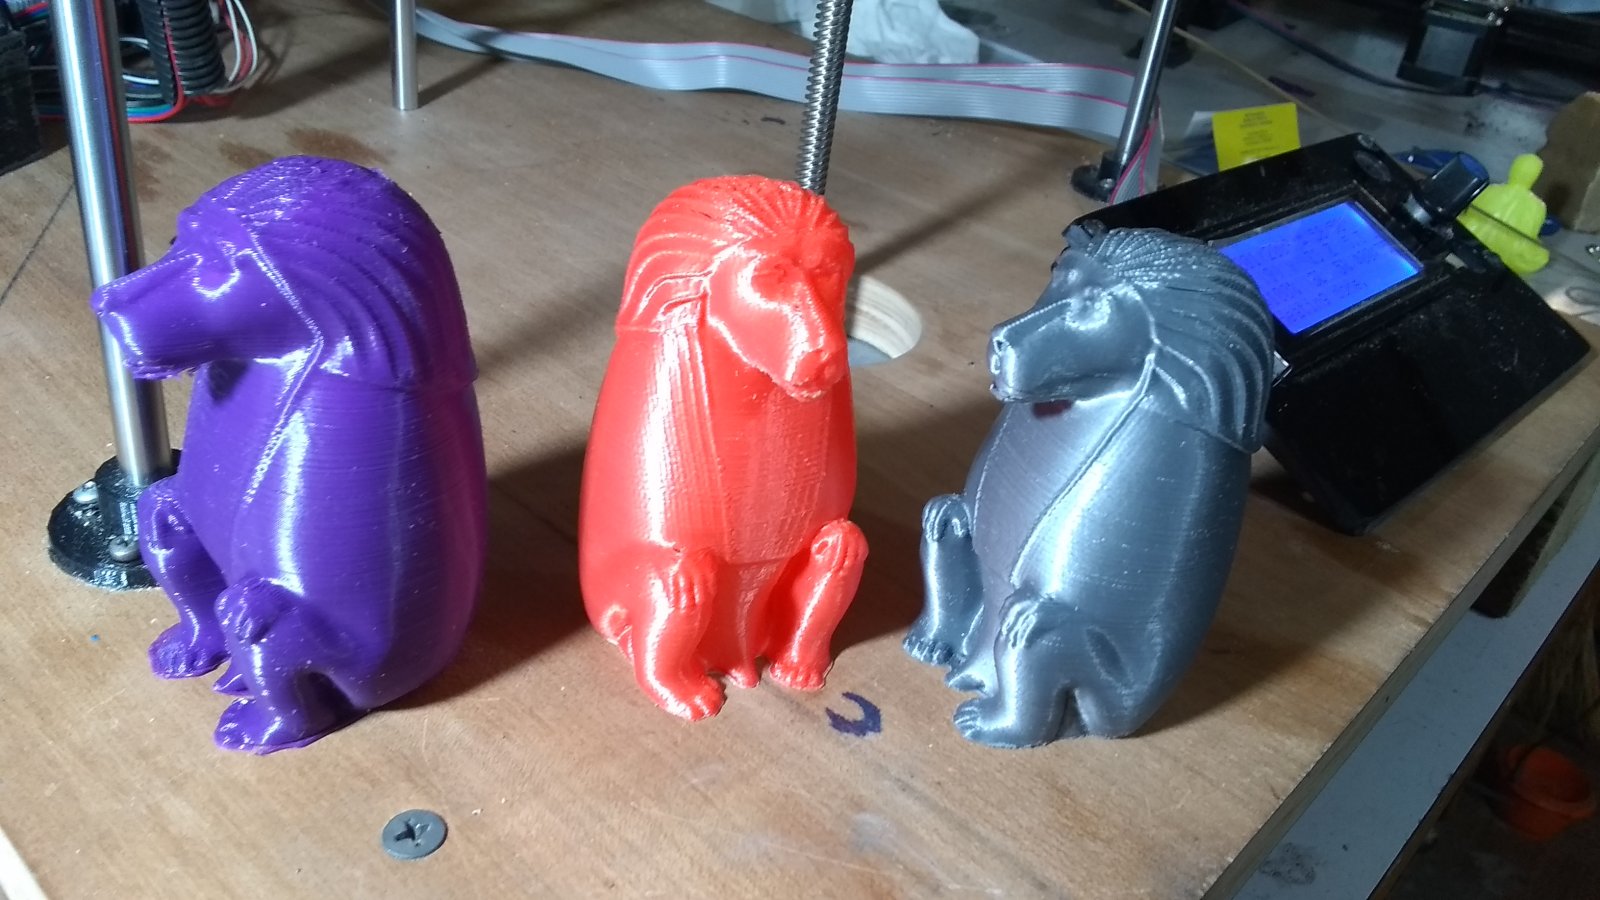
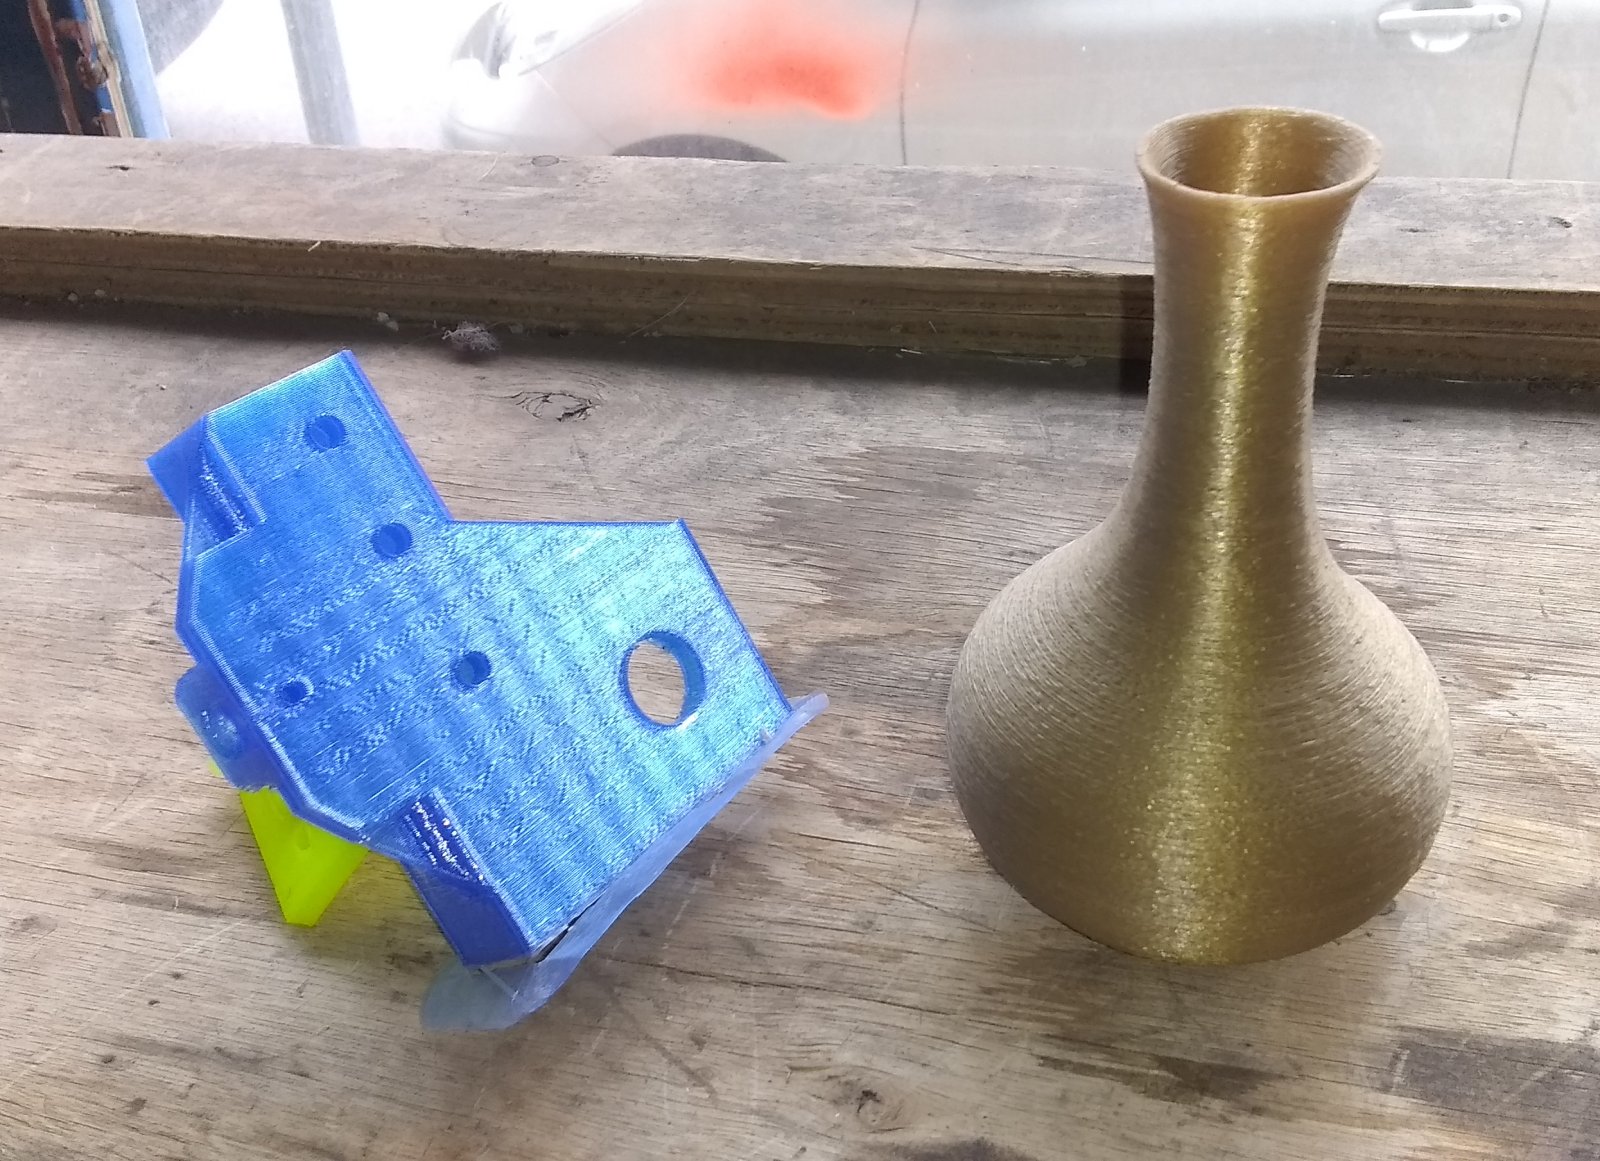
In the pictures, the silver monkey was printed by my JGAurora A5, the orange by my heavily modified FLSun and the purple by this new machine. The new one is may be 20% slower than the older more experienced machines. A few pics also of the machine here in Greece with its fancy new base and the new one which is almost done.
If any body wants to make one of these, I can provide the BOM and some .stl's once it's all debugged...
Edited 1 time(s). Last edit at 05/14/2019 08:41AM by scoot.
In researching what's available, I discovered that the Ultimaker machines use the type of crosshead that I had in mind and that there are several aftermarket hot end holders available. I chose the most vanilla one which mounts a standard hot end. This determined the 18mm cross slide centers and allows me to use other heads w/ up to 4 nozzles. Being new to this and given the costs, it was easy to choose the same MKS Gen L V1.0 controller used i n my 2 other printers. Now all I had to do was fill in the space between the controller and that printhead.
In this prototype, many of the parts are printed plastic and work well enough. For good reliability and dependable repeated knock down/ set up, I am replacing most printed parts with solid metal. The first pictures were taken at home before a trip to Greece, where the printer has been reassembled & has produced first prints, now for the second improved version. On the way over one of the printed bearing mounts was broken & needed bonding back together.
As said, I have used the CHEAPEST components I could find here, but there's no reason not to use better now that I know it works. This was under $150 for everything, but will be creeping up as I add metal parts. And I am upgrading to 24V as soon as the PS,fans & heater cartridges arrive. There is much tweaking of the firmware yet to do as well as mechanical refinements that can be done. I will be working with a friend here with the right equipment to inspect and straighten all the leadscrews for example as well as aligning and squaring the assembly more perfectly.
The new version will print 200 x 200 x up to 300 or more(depending on length of leadscrew motor and three 8mm rods) and still fit in my rollon , after removing only the three 8mm rods. The first one was a bit too big & came in here my checked luggage. I will report the final weight after I fabricate the base which will be two acrylic plates attached to a perimeter separating them about an inch for stiffness. The base can be about just about anything flat - I left the original 3/4 plywood base in Seattle & made a new one here from particleboard laminate. Actually, I made a heavy chassis that also encloses the electrics and the weight down low is nice for stability. The machine is fairly quiet and there's only very low mass moving around at speed so it doesn't want to go anywhere even w/ just a plywood base.
I welcome your criticisms, comments and suggestions. I'm new at this but an old hand at fixing and making mechanical things of all sorts.
In the pictures, the silver monkey was printed by my JGAurora A5, the orange by my heavily modified FLSun and the purple by this new machine. The new one is may be 20% slower than the older more experienced machines. A few pics also of the machine here in Greece with its fancy new base and the new one which is almost done.

If any body wants to make one of these, I can provide the BOM and some .stl's once it's all debugged...
Edited 1 time(s). Last edit at 05/14/2019 08:41AM by scoot.
|
Re: 3pod - a simple printer May 13, 2019 06:36PM |
Registered: 7 years ago Posts: 507 |
It looks like you're using the ballscrews directly to hold your X and Y axis on the perimeter. Ballscrews (and leadscrews in general) are not meant to be a rail and constrain motion, they're just meant to actuate. They're probably not perfectly straight and any eccentricity or bend willl create print artifacts as they spin.
|
Re: 3pod - a simple printer May 14, 2019 08:10AM |
Registered: 6 years ago Posts: 11 |
This is key to the cheap, simple and portable element I think. But you're right about the leadscrews of course, their geometry/precision and this was one of the concerns that I figured would have to be answered with 'the proof is in the pudding'. I did my best to keep everything as straight and true as possible. As I already mentioned, I will have all leadscrews checked & straightened as necessary on high end equipment used to build racing engines as well as seeking 'perfect' squareness on the frame. Once the straightness is dialed in, I can easily mount my dial indicator to check for runout when doing maintenance. I think the results so far are acceptable given my original design goals.
For now, you can clearly see the very slight ripple effect on flat surfaces when held to the light just right. On curved surfaces like those monkeys, I can't see any difference but I'm sure that microscopically it's still there. The tolerances of the parts made is quite good, bearing bores printed to size w/ no support & minimal cleanup for a light press fit. As good or better than my other two printers. I've printed PLA & PETG w/ good results and ABS w/ fair results. Thermal enclosure build is in process now for better ABS.
This is not a great printer, but I hope it can be a good one considering its limitations. It does havesome disadvantages, like the hole you must bore in your desk and it looks kind of funny. It will never win any speed or accuracy contests. But it works quite nicely regardless, costs little, quick to build and seems remarkably fault tolerant as well. We'll see if this all holds up over time...
Edited 1 time(s). Last edit at 05/14/2019 08:35AM by scoot.
|
Re: 3pod - a simple printer May 14, 2019 12:26PM |
Registered: 5 years ago Posts: 148 |
|
Re: 3pod - a simple printer May 15, 2019 09:06PM |
Registered: 6 years ago Posts: 1,007 |
|
Re: 3pod - a simple printer May 21, 2019 10:17AM |
Registered: 6 years ago Posts: 11 |
@Pippy - Thank you!
MKSA: Agreed, that would be nice! But needing four and at $171 each, would be too heavy to be easily portable and each one would cost more than the original printer. BTW, I can't tell you how many times I thought of your sig line while designing & building this contraption!
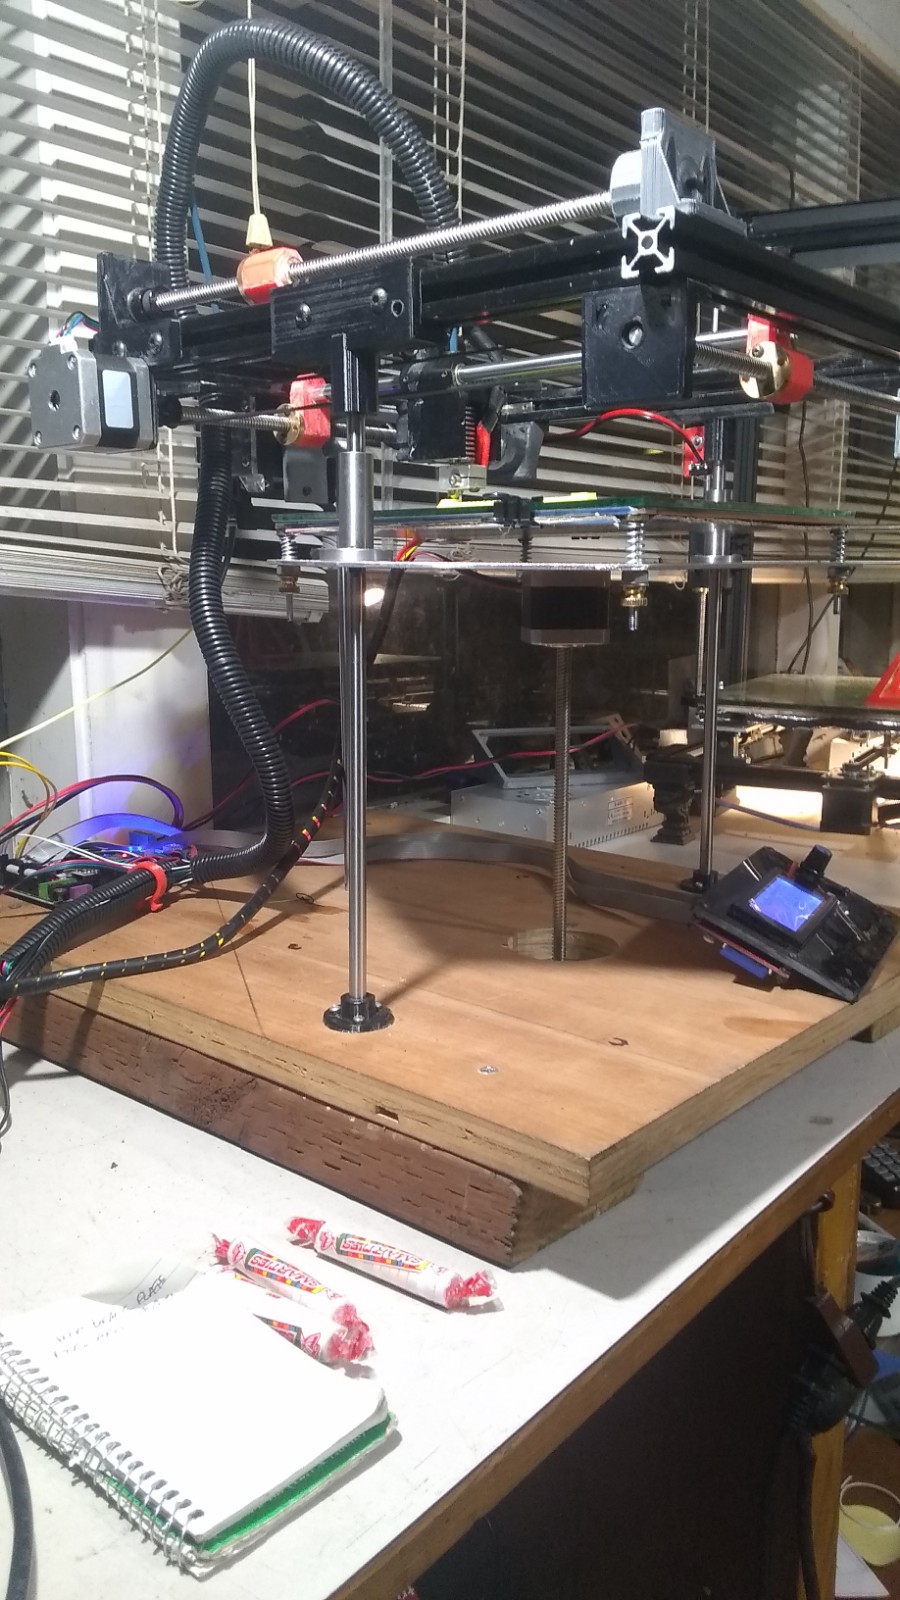
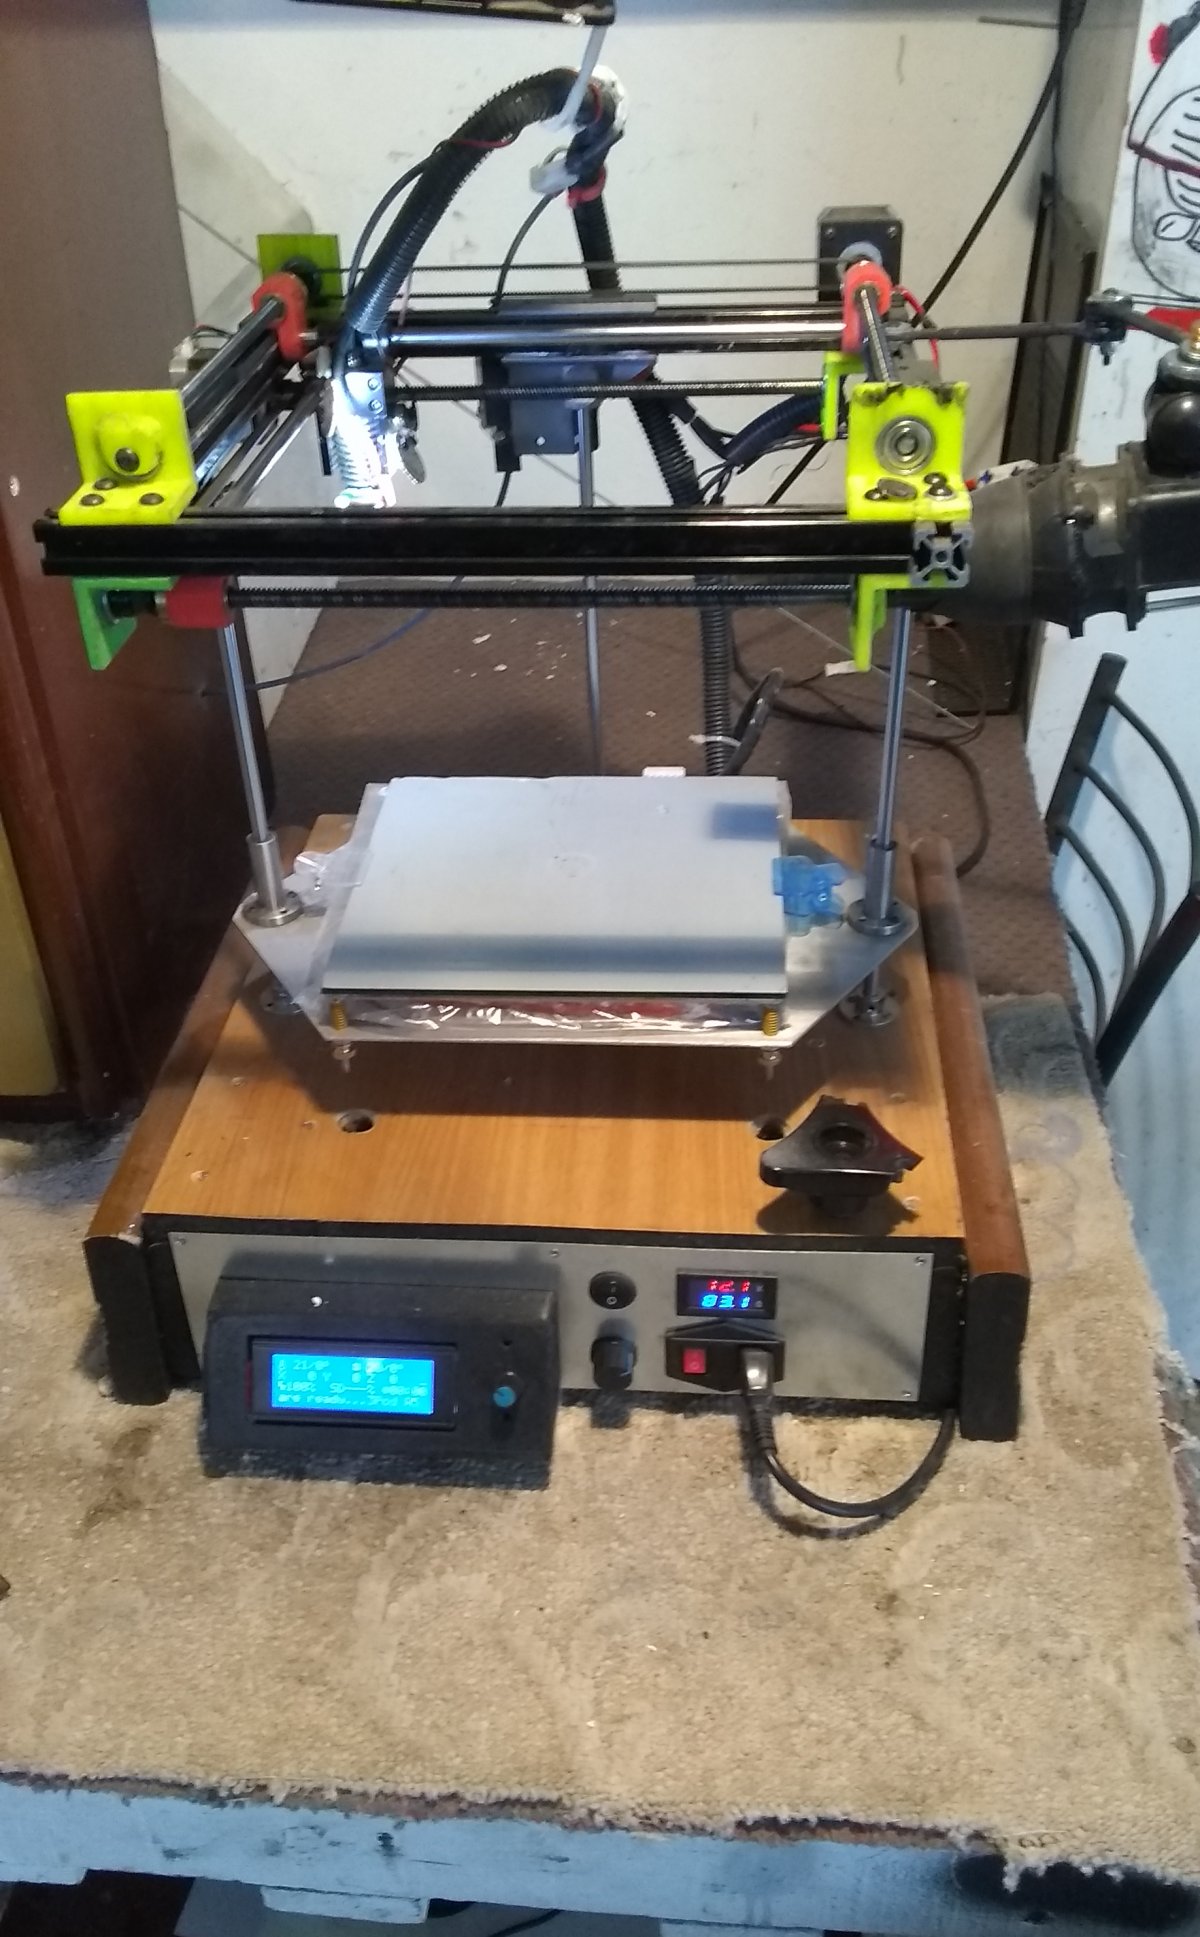
As I said, this can all be upgraded and on the next one I will be using 10mm diameter supports, The 8mm rods now I'm using work OK when printing, but with most of the weight on top it's a bit wobbly when being handled. Here's pics of the new one with three bearings on the table instead of only two and the thermal enclosure that fits both.
just waiting for the power supply to show up so I can try it out
big screw sticking right thru the table
idler ass'y
ready for ABS
or PLA w/ front open & fan installed in that hole in the back
both together
MKSA: Agreed, that would be nice! But needing four and at $171 each, would be too heavy to be easily portable and each one would cost more than the original printer. BTW, I can't tell you how many times I thought of your sig line while designing & building this contraption!
Quote
"A comical prototype doesn't mean a dumb idea is possible" (Thunderf00t)

As I said, this can all be upgraded and on the next one I will be using 10mm diameter supports, The 8mm rods now I'm using work OK when printing, but with most of the weight on top it's a bit wobbly when being handled. Here's pics of the new one with three bearings on the table instead of only two and the thermal enclosure that fits both.

just waiting for the power supply to show up so I can try it out

big screw sticking right thru the table

idler ass'y

ready for ABS

or PLA w/ front open & fan installed in that hole in the back

both together
|
Re: 3pod - a simple printer November 06, 2019 06:36AM |
Registered: 6 years ago Posts: 11 |
Well not a lot of interest, but I'll be firing this 2nd model up again and checking out its portability capable status after it gets colder, traps me indoors and I finally unpack it from my carry on.
Here's an aluminum casting I made from PLA on this printer & some beercans.
Here's an aluminum casting I made from PLA on this printer & some beercans.
|
Re: 3pod - a simple printer November 06, 2019 06:41AM |
Registered: 6 years ago Posts: 11 |
Sorry, only registered users may post in this forum.