Nitro´s A.R.P.E.G. 230°C Chamber printer for PPSU
Posted by NitroFreak
|
Nitro´s A.R.P.E.G. 230°C Chamber printer for PPSU April 04, 2019 10:03PM |
Registered: 5 years ago Posts: 207 |
Hi Guys,
I wanted to shortly introduce my new printer that i built especially for a student competition from Solvay. They challenged us to print PPSU, a high performance polymer similar to PEEK, with a HDT of 207°C and a Tg of 220°C. Extrusion temperature 380-410°C.
SInce we had a severe time constraint during the competition, some parts are not built quite up to spec or visual pleasure. Everything is purely based on functionality, i will have to do the cable management and the like later on (when i build an electronic cabinet)
Basic concept: Old convection oven from the scrapyard.
Duet Wifi and expansion board
Dual Super whopper for X stage
180W DC Servo for Y stage
single stepper for Z stage
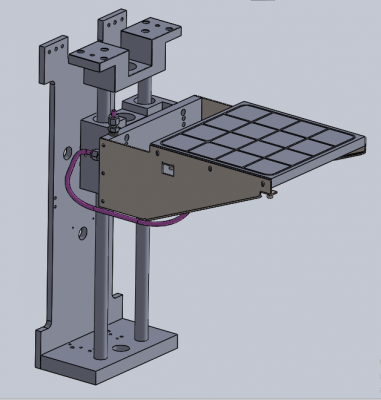
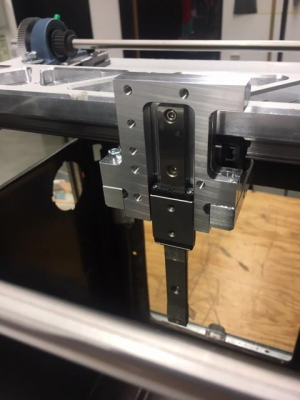
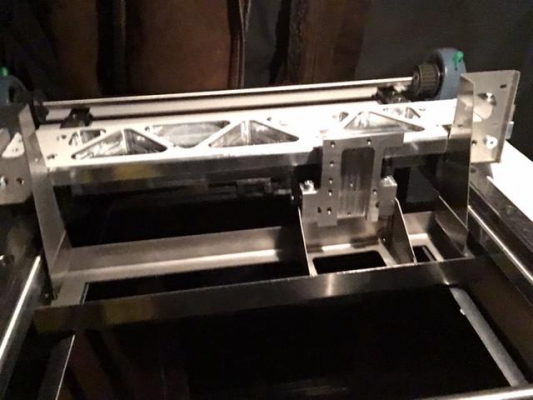
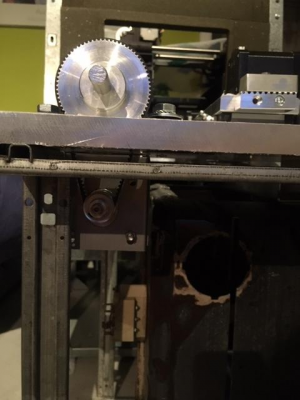
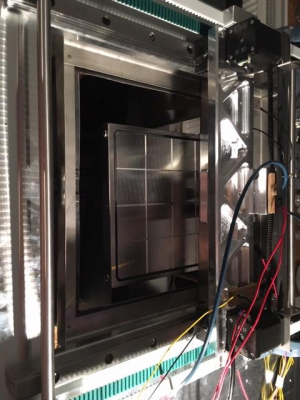
One giant 15mm precision milled cast aluminium plate for the XY stage, everything else including the Z stage screws to this.
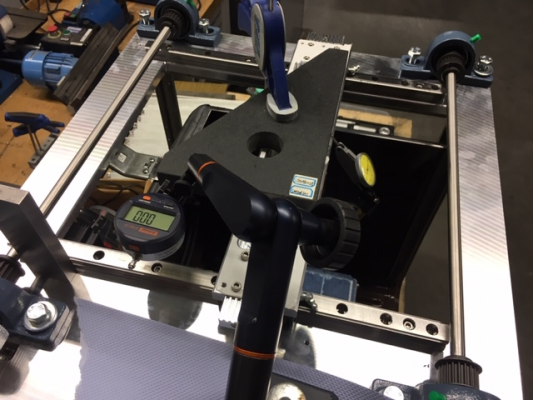
20mm Precision THK linear guides for XY stage and 20mm linear rods for the Z stage
Motion components external to the chamber.
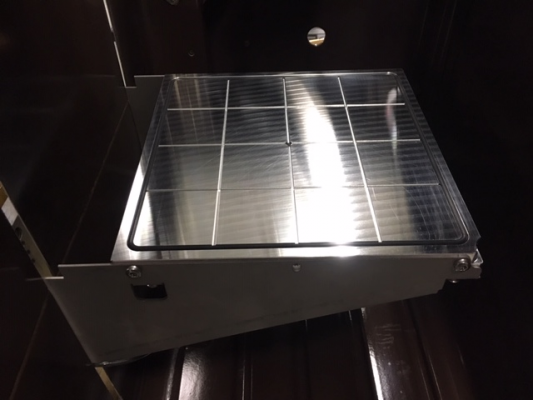
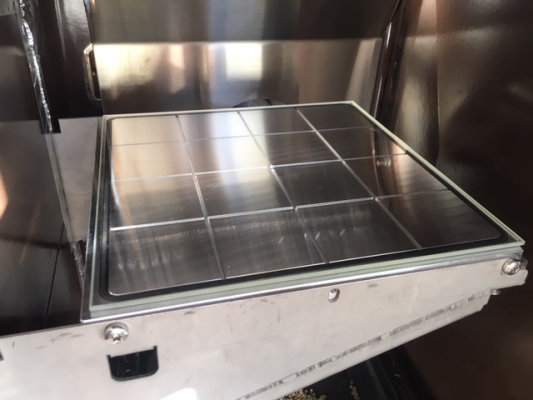
15mm Precision milled cast aluminium Vacuum bed, non heated
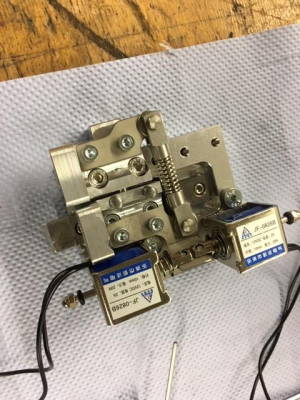
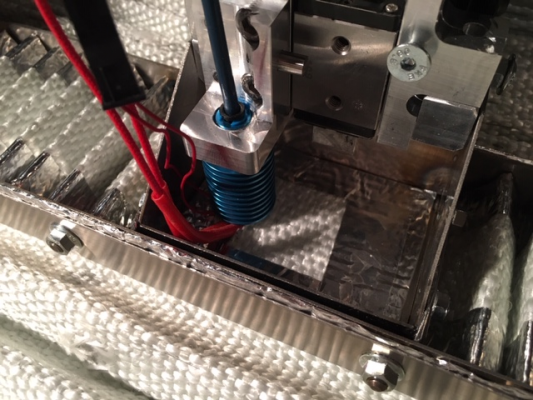
Dual E3D Volcano copper hotend with PT100´s, auto lifting hotend by two solenoids controlled by Mosfets
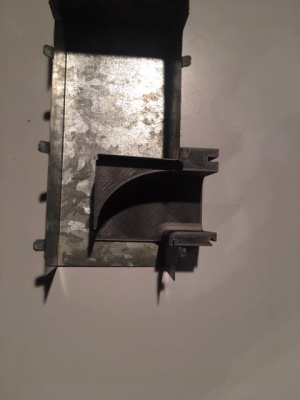
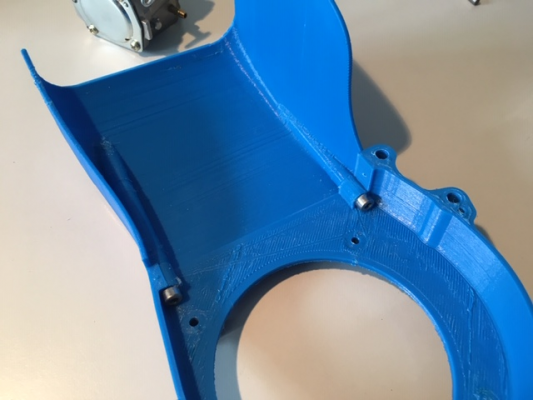
Disclaimer: this is not a reprappeable machine, i have used exactly one printed part in this whole build, which is to guide the cooling air for the XY stage.
I have used several hunded thousand dollars worth in equipment to build this machine, thanks to my universities Makerspace. If you want to check it out, www.maker-space.de.
However, since it is still quite an unusual project, i still wanted to share since maybe some people can learn from it.
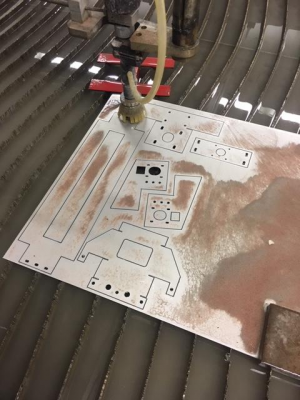
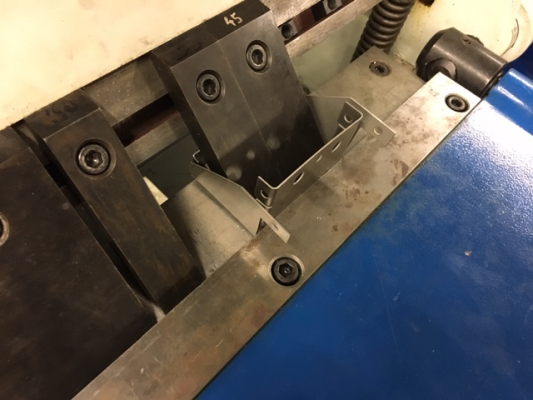
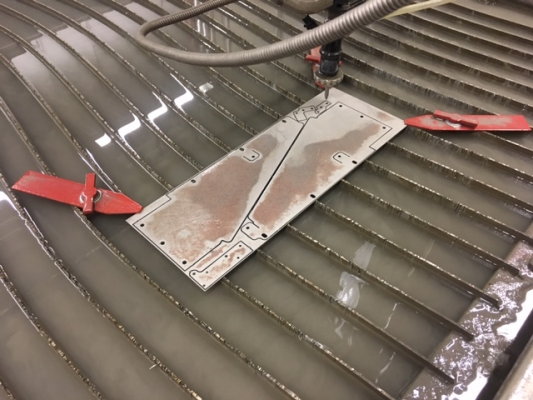
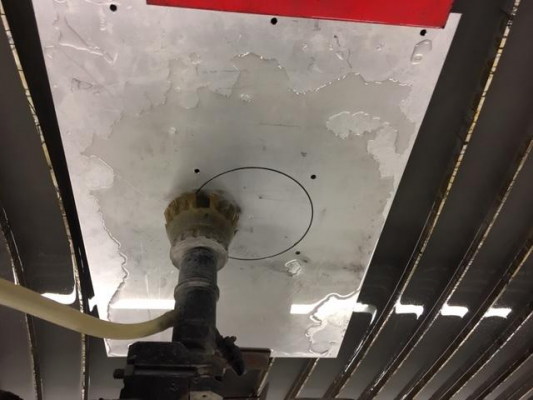
Waterjet cutting some parts of the sheet metal assemblies
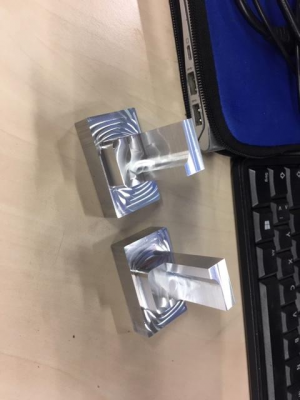
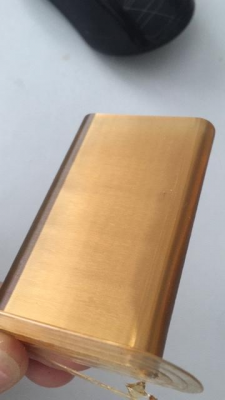
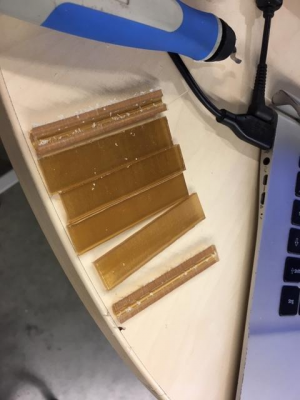
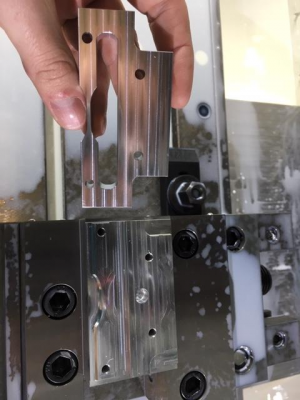
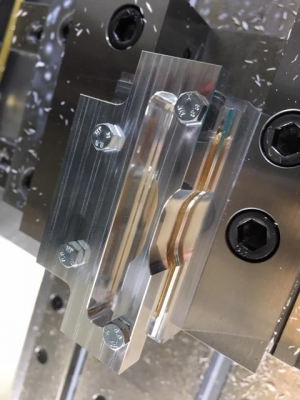
Milling the coldend holders
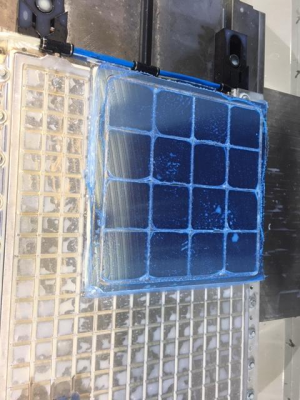
Vacuum bed held down on vacuum bed
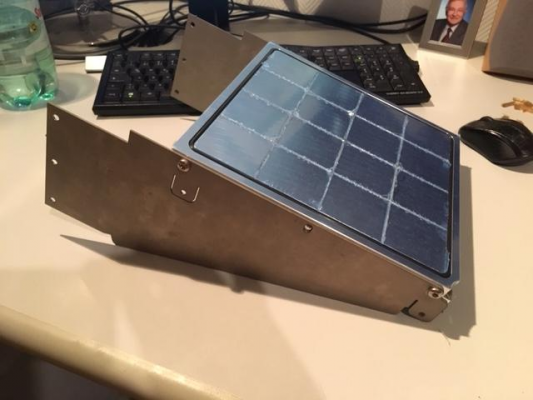
Waterjet cutting the Bed holders from 2mm grade 4 Titanium. This made some crazy sparks
[www.youtube.com]
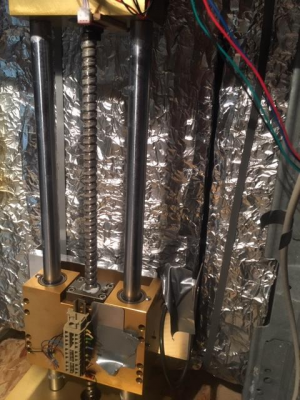
Z stage
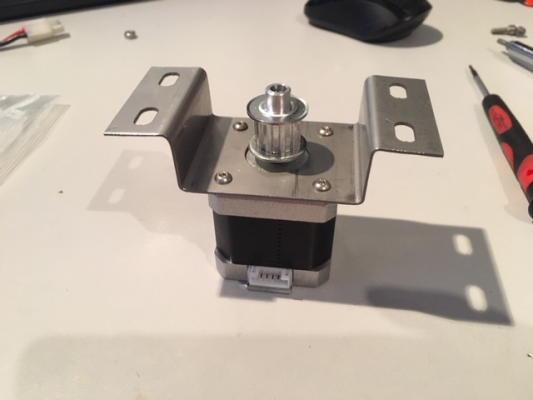
Y stage Servo reduction
Aligning the linear guides and mockup
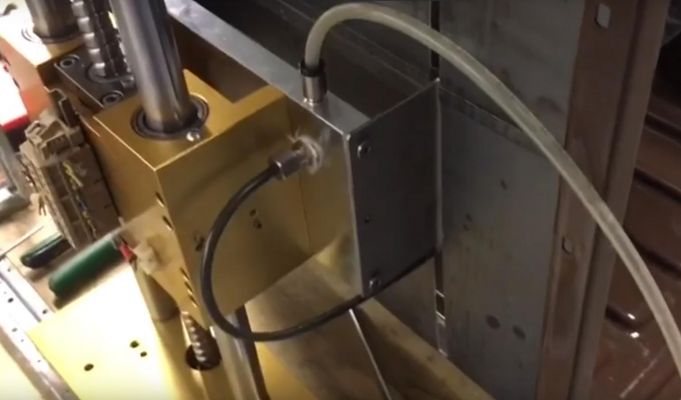
Transition from Bed to Z stage Vacuum line via brake line, then by a polyurethane tube to the vacuum pump
Testing the vacuum bed and the lifting hotend system
[www.youtube.com]
First assembly
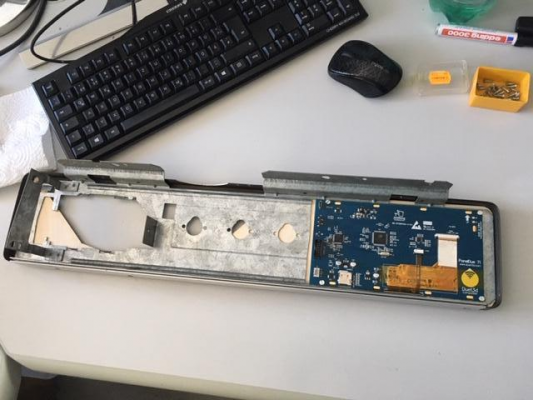
Integrating the PanelDue 7i into the oven control panel
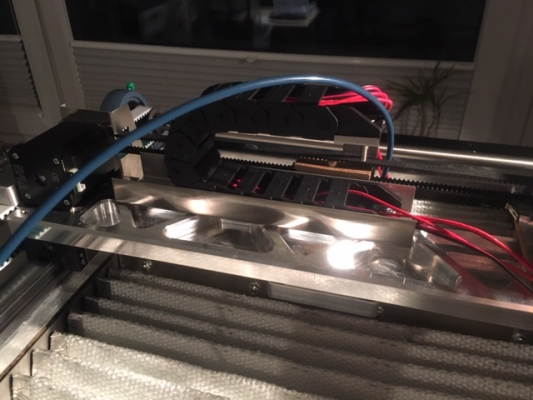
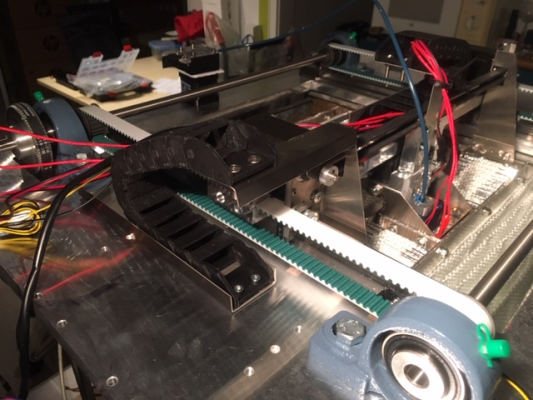
Cable chains
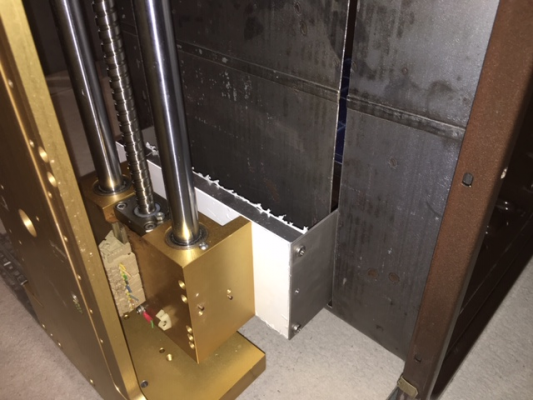
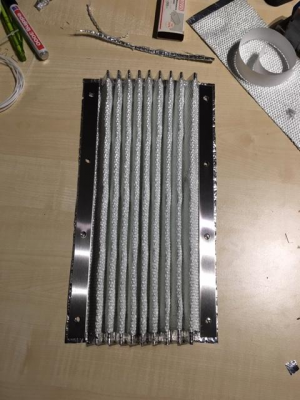
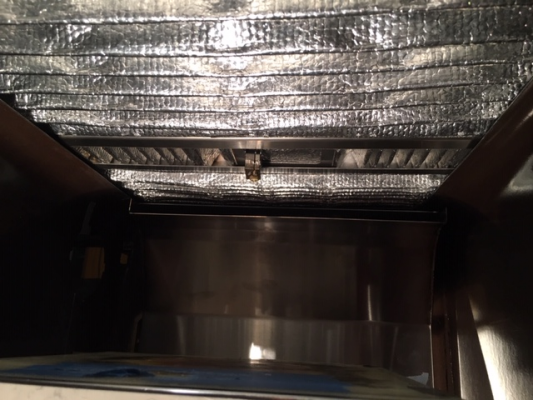
The gantry insulators
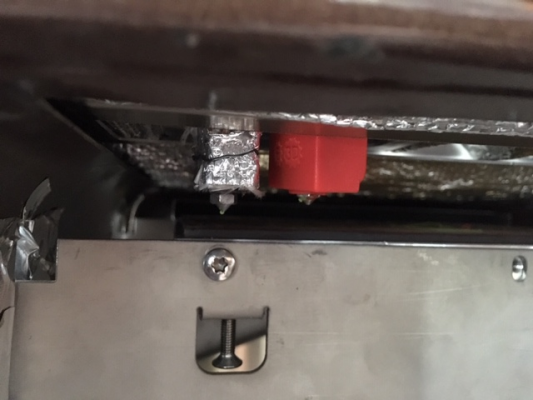
I only installed a single hotend for the competition, since for the PPSU parts i did not need a support extruder.
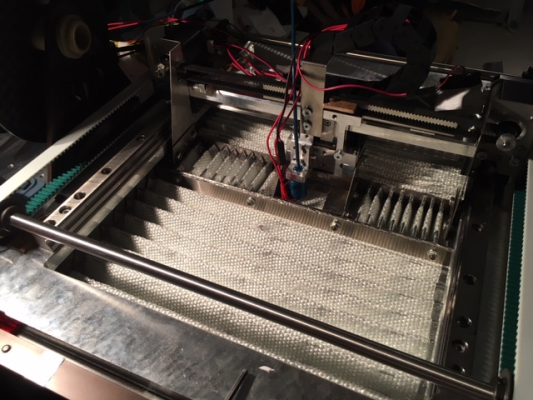
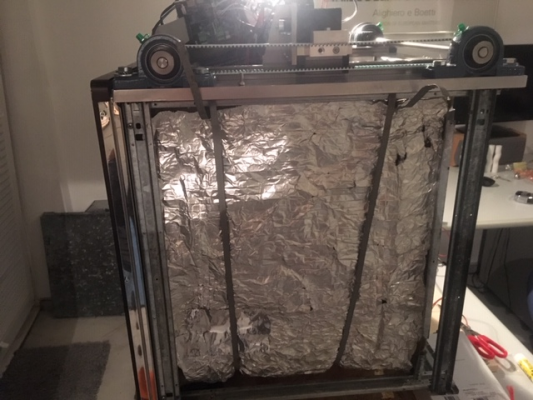
Insulation
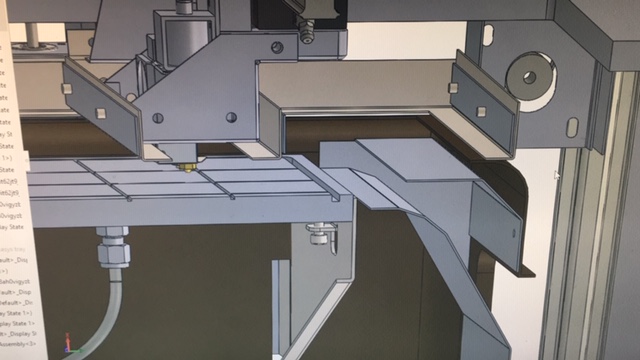
The Print cooling fan (duct)
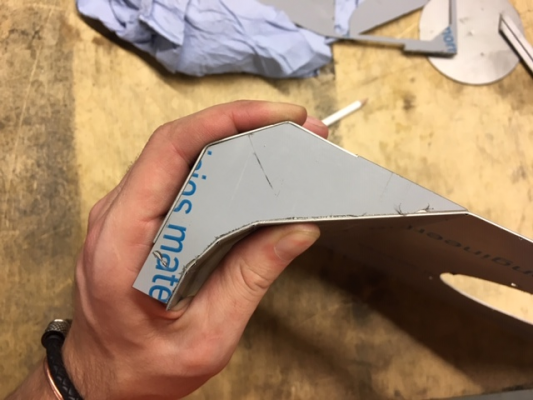
After being bent, fit-up for tig welding
First tests with PLA, very good cooling results
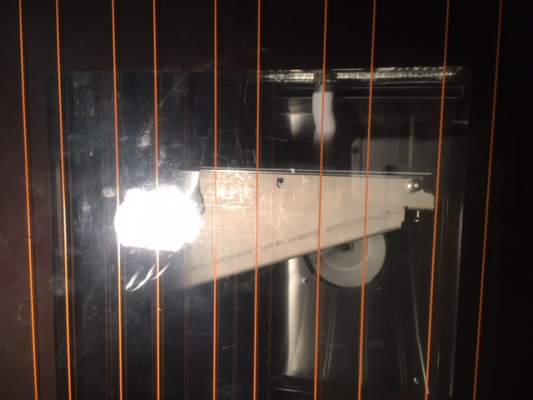
Tested also with some strings as low budget flow analysis, showed very uniform flow
First test with ABS and a chamber temp of 90°C, like the stratasys machines. It was proven too much for the low quality ABS, and i had to slowly go down to 65C for it to print nicely.
Then some tests with stratasys P430 ABS. This printed very nicely in a 90°C Chamber with extrusion temperature of 270°C.
Example for difference between undried and dried ABS filament
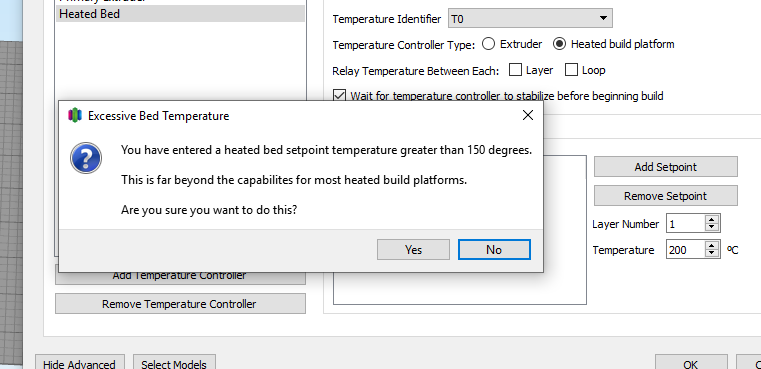
In S3D, a funny warning came up when i ser rhe bed to 210°C, that did turn out to an annoyance as i had no way of turning off that notification.
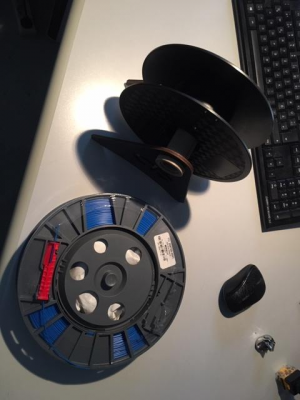
Then the first tests with PPSU in a 210°C chamber. It printed nicely, with the spool drying at 150°C at the bottom of the chamber while the print is going. Feeding directly to the hot end
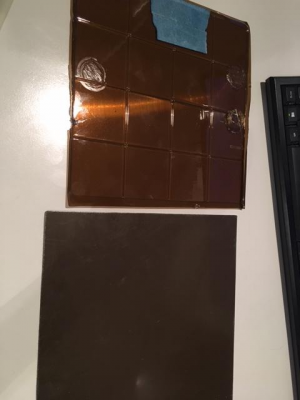
However, the PEI sheets that i was using as a print surface, while sticking nicely to the PPSU, deformed on the Vacuum bed while in the hot chamber.
So i had to go to the glass bed route.
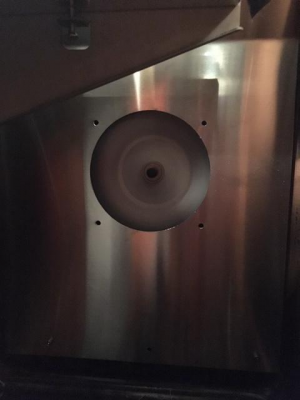
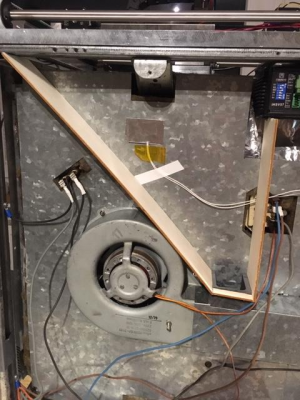
Here it is, the only 3d printed part. Separating two air streams, 2/3 going to the XY stage for cooling, the other for the Z stage.
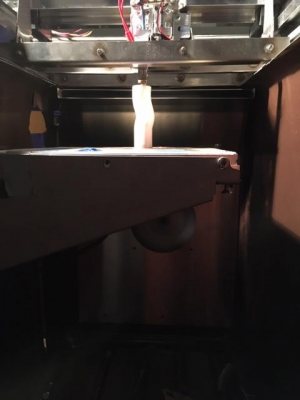
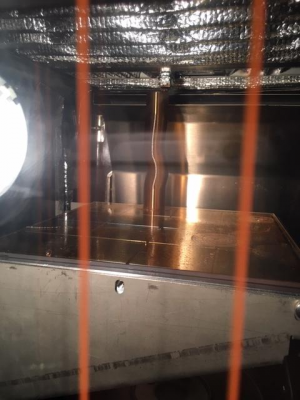
Here you can see the heating coil glowing red hot while heating the chamber up to temperature.
This was the result in the end.
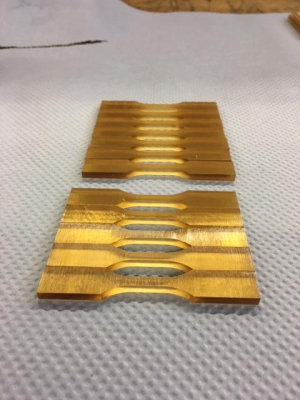
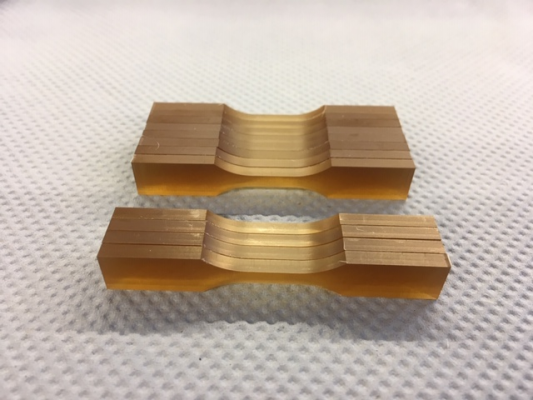
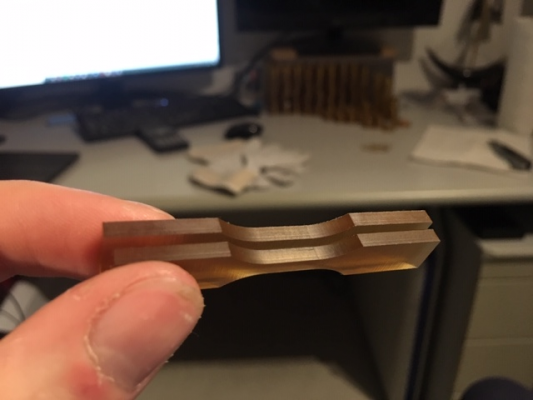
We were allowed to post process the tensile bars from bigger samples.
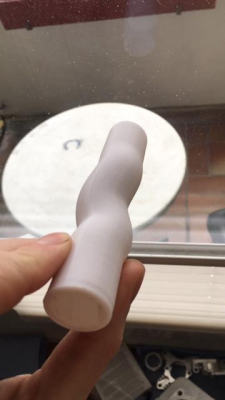
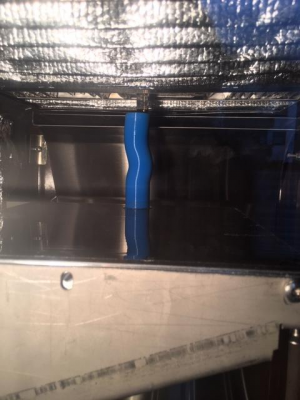
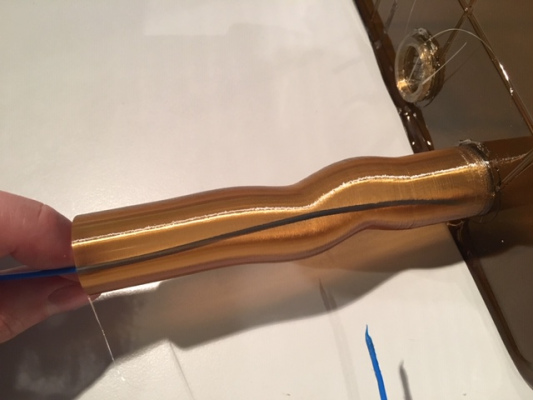
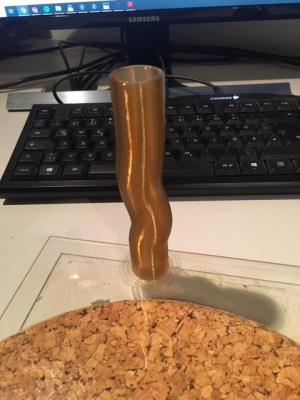
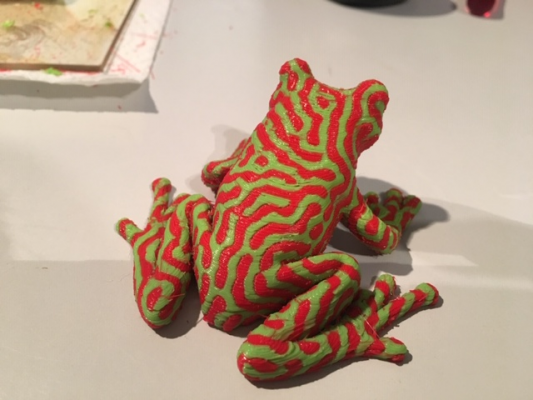
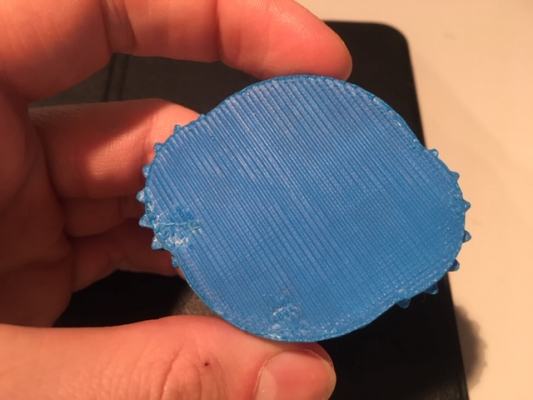
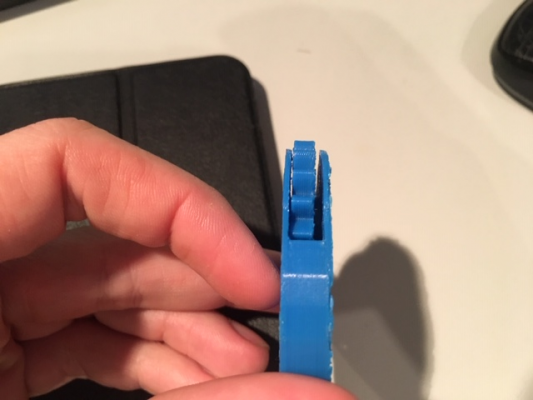
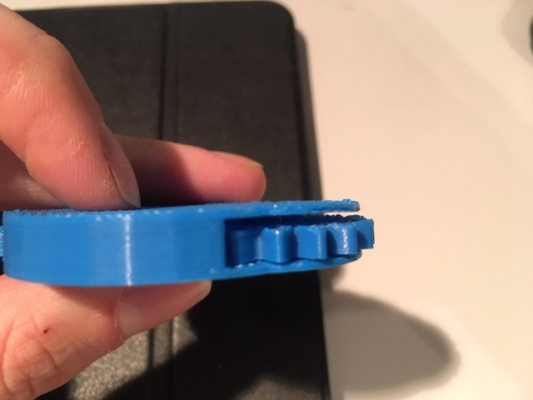
Final parts for the competition sent away. For the people wondering about the wavy pipes, they were one of the things we had to print for the Competition. They are going to be burst tested, and then also 4 ASTMD638 Type V tensile tests printed in the Z direction.
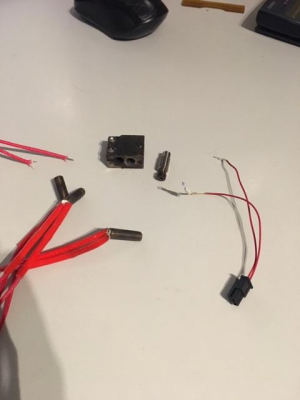
These are the parts that I broke during the competition.
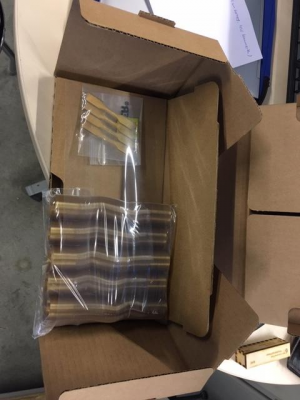
1x e3d volcano block
1x e3d pt100 sensor
1x titanium heatbreak
3x heater cartridge
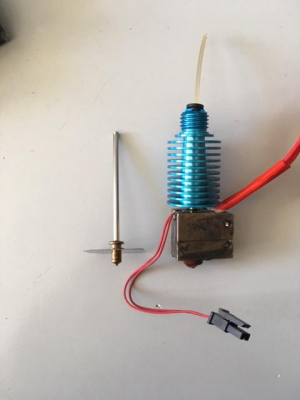
For the record, no they are not the e3d high temperature heater cartridge. I used cheap 12V heater cartridges in my 24v system to 1) get fast heat up times for quick iteration 2) allow the heat block to stay at temperature in the orcan of that print cooling fan. Since i cannot put a silicone sock on it.
Since i am a bit upset about the whole e3d hotend design, i soon want to make my own based on the stratasys uprint tips.
This is the current setup after the competition deadline (1st of april, results come 15th of april)
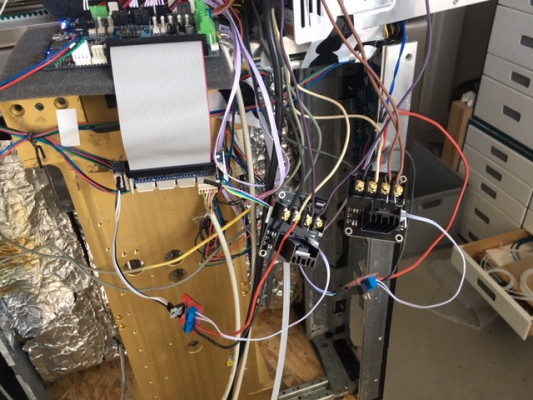
These are the mosfets for the solenoids. Cable management still a mess, but it works.
First dual extrusion tests
Calibration square similar to the stratasys machines
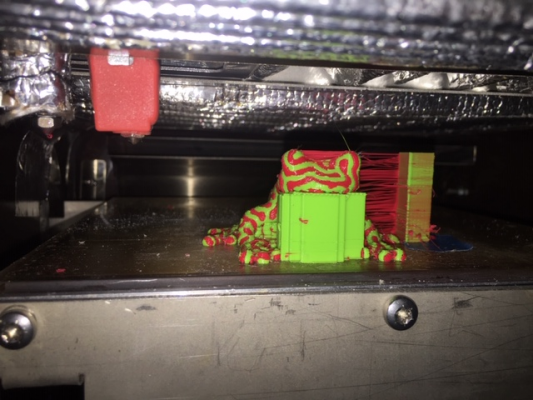
First tests on the dual hotend, unfortunately i forgot to enable retractions for the red filament, it cleaned up nicely tho.
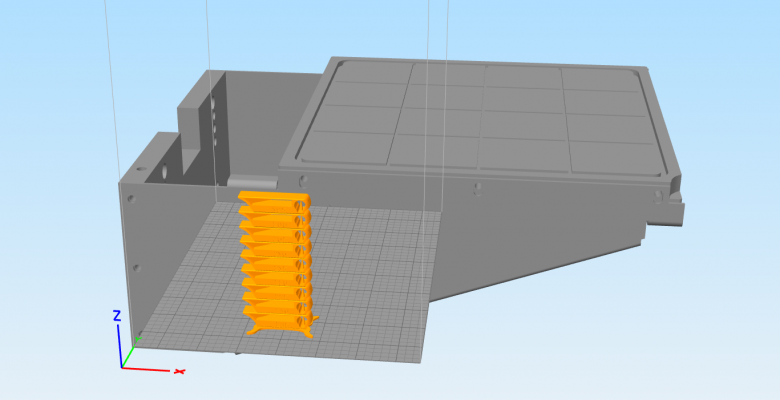
I also worked on the print bed visualization in S3D, however i have not gotten the offsets right yet. If someone knows how to do that, please chime in
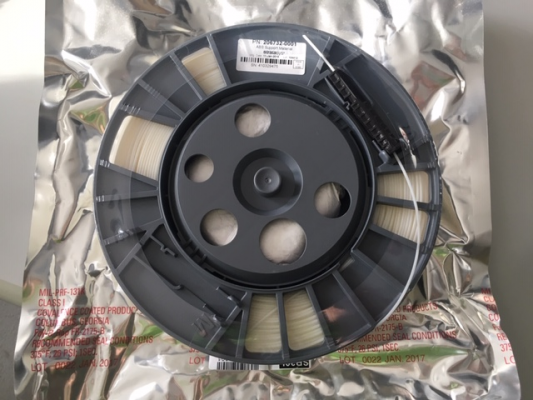
Then the first tests with stratasys ABS + Stratasys SR30 Support material. ABS 270C, Support 285C, Chamber 90C
I used the same technique as them, first a layer of ABS as a basis, then a layer of Support , and then the model to enable equal surfaces on every side.
However it is still very much overextruded as the stratasys ABS has an incredible melt flow and my PLA setting from before was cranked way too high up.
If you want to see more pictures, i went into more detail on the german forum part.
[reprap.org]
Thanks for reading, if you have questions shoot them at me
Cheers
Max
Edited 2 time(s). Last edit at 04/04/2019 10:15PM by NitroFreak.
I wanted to shortly introduce my new printer that i built especially for a student competition from Solvay. They challenged us to print PPSU, a high performance polymer similar to PEEK, with a HDT of 207°C and a Tg of 220°C. Extrusion temperature 380-410°C.
SInce we had a severe time constraint during the competition, some parts are not built quite up to spec or visual pleasure. Everything is purely based on functionality, i will have to do the cable management and the like later on (when i build an electronic cabinet)
Basic concept: Old convection oven from the scrapyard.
Duet Wifi and expansion board
Dual Super whopper for X stage
180W DC Servo for Y stage
single stepper for Z stage
One giant 15mm precision milled cast aluminium plate for the XY stage, everything else including the Z stage screws to this.
20mm Precision THK linear guides for XY stage and 20mm linear rods for the Z stage
Motion components external to the chamber.
15mm Precision milled cast aluminium Vacuum bed, non heated
Dual E3D Volcano copper hotend with PT100´s, auto lifting hotend by two solenoids controlled by Mosfets
Disclaimer: this is not a reprappeable machine, i have used exactly one printed part in this whole build, which is to guide the cooling air for the XY stage.
I have used several hunded thousand dollars worth in equipment to build this machine, thanks to my universities Makerspace. If you want to check it out, www.maker-space.de.
However, since it is still quite an unusual project, i still wanted to share since maybe some people can learn from it.
Waterjet cutting some parts of the sheet metal assemblies
Milling the coldend holders
Vacuum bed held down on vacuum bed

Waterjet cutting the Bed holders from 2mm grade 4 Titanium. This made some crazy sparks
[www.youtube.com]
Z stage
Y stage Servo reduction
Aligning the linear guides and mockup
Transition from Bed to Z stage Vacuum line via brake line, then by a polyurethane tube to the vacuum pump
Testing the vacuum bed and the lifting hotend system
[www.youtube.com]
First assembly
Integrating the PanelDue 7i into the oven control panel
Cable chains
The gantry insulators
I only installed a single hotend for the competition, since for the PPSU parts i did not need a support extruder.
Insulation
The Print cooling fan (duct)
After being bent, fit-up for tig welding
First tests with PLA, very good cooling results
Tested also with some strings as low budget flow analysis, showed very uniform flow
First test with ABS and a chamber temp of 90°C, like the stratasys machines. It was proven too much for the low quality ABS, and i had to slowly go down to 65C for it to print nicely.
Then some tests with stratasys P430 ABS. This printed very nicely in a 90°C Chamber with extrusion temperature of 270°C.
Example for difference between undried and dried ABS filament
In S3D, a funny warning came up when i ser rhe bed to 210°C, that did turn out to an annoyance as i had no way of turning off that notification.
Then the first tests with PPSU in a 210°C chamber. It printed nicely, with the spool drying at 150°C at the bottom of the chamber while the print is going. Feeding directly to the hot end
However, the PEI sheets that i was using as a print surface, while sticking nicely to the PPSU, deformed on the Vacuum bed while in the hot chamber.
So i had to go to the glass bed route.
Here it is, the only 3d printed part. Separating two air streams, 2/3 going to the XY stage for cooling, the other for the Z stage.
Here you can see the heating coil glowing red hot while heating the chamber up to temperature.
This was the result in the end.
We were allowed to post process the tensile bars from bigger samples.
Final parts for the competition sent away. For the people wondering about the wavy pipes, they were one of the things we had to print for the Competition. They are going to be burst tested, and then also 4 ASTMD638 Type V tensile tests printed in the Z direction.
These are the parts that I broke during the competition.
1x e3d volcano block
1x e3d pt100 sensor
1x titanium heatbreak
3x heater cartridge
For the record, no they are not the e3d high temperature heater cartridge. I used cheap 12V heater cartridges in my 24v system to 1) get fast heat up times for quick iteration 2) allow the heat block to stay at temperature in the orcan of that print cooling fan. Since i cannot put a silicone sock on it.
Since i am a bit upset about the whole e3d hotend design, i soon want to make my own based on the stratasys uprint tips.
This is the current setup after the competition deadline (1st of april, results come 15th of april)
These are the mosfets for the solenoids. Cable management still a mess, but it works.
First dual extrusion tests
Calibration square similar to the stratasys machines
First tests on the dual hotend, unfortunately i forgot to enable retractions for the red filament, it cleaned up nicely tho.
I also worked on the print bed visualization in S3D, however i have not gotten the offsets right yet. If someone knows how to do that, please chime in
Then the first tests with stratasys ABS + Stratasys SR30 Support material. ABS 270C, Support 285C, Chamber 90C
I used the same technique as them, first a layer of ABS as a basis, then a layer of Support , and then the model to enable equal surfaces on every side.
However it is still very much overextruded as the stratasys ABS has an incredible melt flow and my PLA setting from before was cranked way too high up.
If you want to see more pictures, i went into more detail on the german forum part.
[reprap.org]
Thanks for reading, if you have questions shoot them at me
Cheers
Max
Edited 2 time(s). Last edit at 04/04/2019 10:15PM by NitroFreak.
|
Re: Nitro´s A.R.P.E.G. 230°C Chamber printer for PPSU April 05, 2019 04:42AM |
Registered: 5 years ago Posts: 148 |
|
Re: Nitro´s A.R.P.E.G. 230°C Chamber printer for PPSU April 05, 2019 07:07PM |
Registered: 5 years ago Posts: 207 |
Quote
Pippy
Quote
NitroFreak
SInce we had a severe time constraint during the competition, some parts are not built quite up to spec or visual pleasure.
Quite the opposite, I find all the engineering extremely visually pleasing myself.
Really nice!
Oh to have the tools to build a nice machine.
Thanks! Yes it is indeed quite satisfying to have the right tools for the job. Makes working so much easier.
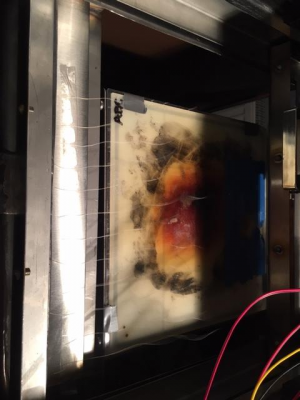
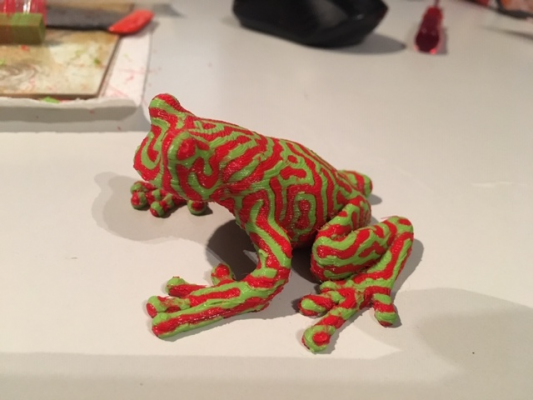
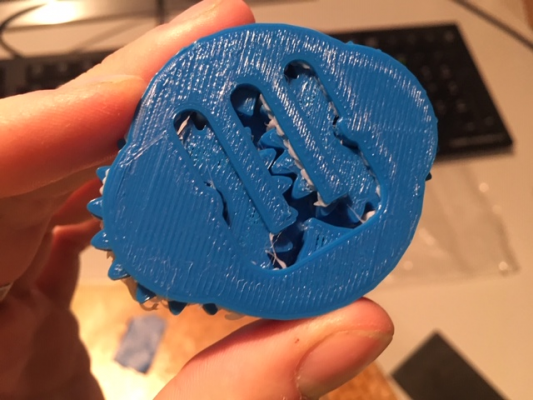
Here are the results of the support material test
Since i used only one layer of dense support, some ABS has pressed itself through. I will probably test again with two upper support layers and see what happens.
Apart from that it works really nicely and turns like a charm. Perfect material for the job
|
Re: Nitro´s A.R.P.E.G. 230°C Chamber printer for PPSU April 07, 2019 11:06PM |
Registered: 6 years ago Posts: 26 |
|
Re: Nitro´s A.R.P.E.G. 230°C Chamber printer for PPSU April 08, 2019 08:08PM |
Registered: 5 years ago Posts: 207 |
Quote
CinciCliff
Max,
Thanks for sharing! This is a fantastic build! Great engineering and fabrication! I hope you do well with the competition! Please let us know how you do?
What integrated servo drive are you using for the Y?
Cliff
Hi Cliff,
Thank you! Of course i will let you know! Results are due in one week
I went into detail about the Servo in your thread
Cheers
Max
Edited 1 time(s). Last edit at 04/08/2019 08:09PM by NitroFreak.
|
Re: Nitro´s A.R.P.E.G. 230°C Chamber printer for PPSU April 15, 2019 09:05PM |
Registered: 5 years ago Posts: 207 |
So I´ve gotten an E-mail today, announcing the winners of the AMcup.
And guess who made it to the top of the leaderboard? That´s right, my baking oven printer!
Dear Max,
The judges' deliberation is complete and we're pleased to inform you that your team has won 1st place in the AM Cup 2019. CONGRATULATIONS!
Sadly i can´t show you the rest of that mail
Thanks for following
Max
And guess who made it to the top of the leaderboard? That´s right, my baking oven printer!
Dear Max,
The judges' deliberation is complete and we're pleased to inform you that your team has won 1st place in the AM Cup 2019. CONGRATULATIONS!
Sadly i can´t show you the rest of that mail

Thanks for following
Max
|
Re: Nitro´s A.R.P.E.G. 230°C Chamber printer for PPSU April 15, 2019 09:32PM |
Registered: 6 years ago Posts: 26 |
|
Re: Nitro´s A.R.P.E.G. 230°C Chamber printer for PPSU April 16, 2019 05:08AM |
Registered: 5 years ago Posts: 148 |
|
Re: Nitro´s A.R.P.E.G. 230°C Chamber printer for PPSU April 16, 2019 06:57AM |
Registered: 11 years ago Posts: 5,780 |
|
Re: Nitro´s A.R.P.E.G. 230°C Chamber printer for PPSU April 19, 2019 01:52PM |
Registered: 5 years ago Posts: 207 |
Thank you all very much!
I really hoped, but almost expected it to not be good enough. Certainly was a relief to find out it was.
i don´t quite know yet where to go next with this printer. Maybe sell it, now that it is prize-crowned?
if anybody has any idea what i could do next, please share your ideas
I really hoped, but almost expected it to not be good enough. Certainly was a relief to find out it was.
i don´t quite know yet where to go next with this printer. Maybe sell it, now that it is prize-crowned?
if anybody has any idea what i could do next, please share your ideas
|
Re: Nitro´s A.R.P.E.G. 230°C Chamber printer for PPSU April 28, 2019 01:26PM |
Registered: 5 years ago Posts: 207 |
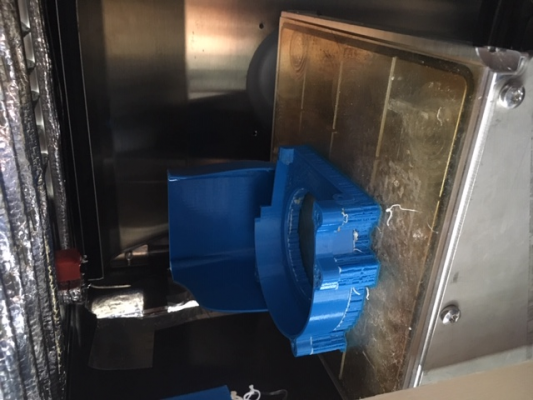
So i tried a little longer print, around 10h, 120g plastic. Still lightly overextruded, and it´s using soluble interface layers.
|
Re: Nitro´s A.R.P.E.G. 230°C Chamber printer for PPSU May 02, 2019 08:05PM |
Registered: 5 years ago Posts: 207 |
Solvay just released their official press release:
[www.solvay.com]
And some rebloggers:
[3dprint.com]
[www.insidecomposites.com]
"The overall winner, rewarded for a thorough optimization of all aspects of the printing process and equipment, was the Gekko Performance team from the Technical University of Munich, Germany. The team secured the first prize due to its ability to achieve 100 percent z-axis strength in the Type V size tensile bar and its wavy pipe showed overall dimensional accuracy, surface uniformity, and a remarkable mechanical performance by enduring a burst pressure test of 1,400 psi (96.5 bar) for two hours."
Cheers
Max
|
Re: Nitro´s A.R.P.E.G. 230°C Chamber printer for PPSU July 03, 2019 08:43AM |
Registered: 4 years ago Posts: 1 |
Hi,
Congratz on this machine, nice piece of engineering!
Can i ask how you made the gantry insulators? what material are they made of? Do they insulate enough to keep the top cool without extra cool air?
Did you add extra seals to close those gaps around your z axis? I see you have 2 long thin gaps, i seem to remember a pic of a stratasys printer where they use some kind of seal which opens up when the z axis slides through it.
What insulation did you use for the static parts (like the walls)?
greetings,
Jens
|
Re: Nitro´s A.R.P.E.G. 230°C Chamber printer for PPSU July 14, 2019 03:08PM |
Registered: 12 years ago Posts: 1,450 |
|
Re: Nitro´s A.R.P.E.G. 230°C Chamber printer for PPSU August 10, 2019 04:41PM |
Registered: 5 years ago Posts: 207 |
Quote
Hespo
Hi,
Congratz on this machine, nice piece of engineering!
Can i ask how you made the gantry insulators? what material are they made of? Do they insulate enough to keep the top cool without extra cool air?
Did you add extra seals to close those gaps around your z axis? I see you have 2 long thin gaps, i seem to remember a pic of a stratasys printer where they use some kind of seal which opens up when the z axis slides through it.
What insulation did you use for the static parts (like the walls)?
greetings,
Jens
Hi Jens, thank you!
The insulator is made from aluminum coated fiberglass. They sell it as welding protection mats. It is not the perfect material, i would wish for some teflon coated fabric of some kind. I´m talking to some suppliers that have something like i would want that is also a bit thinner and stiffer.
I originally planned to include strips of silicone that closed the gap, but it proved to not be necessary since the slit is so small (~8mm) that, with taking the insulation into account, there is almost no air escaping. I´ve held my hand there and could not feel any warm air moving. The Z axis is essentially at room temperature. The Titanium connection plates make an amazing thermal separator, i could put my finger about 2cm from the oven wall on the titanium plate and it would only be luke warm, despite being at over 200C three centimeters further into the chamber.
For the static parts i reused the original insulation that came with the oven. It is some stone wool or something similar, very ordinary. 220C is nothing special for a normal baking oven.
|
Re: Nitro´s A.R.P.E.G. 230°C Chamber printer for PPSU August 10, 2019 04:45PM |
Registered: 5 years ago Posts: 207 |
Quote
leadinglights
Hi NitroFreak
Can I ask if you have had any better luck with the vacuum hold-down system? I note that you said that you PEI sheets were deformed by the vacuum and that you then used glass. Have you tried again since to optimes this.
Mike
Hi Mike,
Thanks for the interest!
The vacuum bed works very well and i use it every time i use the printer. The PEI sheets were deformed due to the excessive temperature that i tried it at (212C) even the Stratasys Machines only print on these sheets as a base for Ultem and PPSF at 185C, also due to the Support material.
But for lower temperature materials like PC or Nylon it works like a charm. I would recommend a Polycarbonate sheet for printing Polycarbonate filament though. Nothing for the bedroom though as the vacuum pump makes a bit of noise. I want to install an inline pressure tank soon though for "storing" some Vacuum and a digital pressure gauge in order to only have to kick on the pump every so often to pull a fresh vacuum on the tank in order to not have to run the pump the whole time.
Thanks
Max
Edited 1 time(s). Last edit at 08/10/2019 04:48PM by NitroFreak.
|
Re: Nitro´s A.R.P.E.G. 230°C Chamber printer for PPSU August 10, 2019 05:08PM |
Registered: 12 years ago Posts: 1,450 |
Hi Max,
I am glad to hear you say that it works like a charm. I have been using a vacuum hold down for a couple of years now - though only on PLA (video at [www.youtube.com]) as ABS seems to need a heated chamber. A printer that I am presently constructing uses a reservior and vacuum switch for the same reason that you use it.
With a bit of luck others may start using what is a very elegant solution.
Edit: I will put up some info about my reservior & switch on thingiverse in case it is of interest to anybody.
Mike
Edited 1 time(s). Last edit at 08/10/2019 05:11PM by leadinglights.
|
Re: Nitro´s A.R.P.E.G. 230°C Chamber printer for PPSU August 11, 2019 09:04PM |
Registered: 5 years ago Posts: 207 |
Hi Mike,
Yours looks very interesting! Very pleasing to look at, may i ask why you went for a hex grid structure instead of a simple grid? I also think you will need a gasket or o-ring around the edge to stop air bleeding in. I see that you already have a groove.
Yes i think a vacuum bed is a very good solution regarding ease of install/uninstall of print surface, and very much bulletproof. It also transfers heat directly from the aluminium plate to the print surface. In my eyes one has to use a minimum of 15mm cast and fine milled aluminum plate tho because only after 12mm and up the suppliers guarantee a much better flatness and surface uniformity of the tooling plate. for example: 12mm and below they list the flatness as 0.40mm/m and for 15mm and up they list the flatness as 0.13mm/m.
i think for most people though and especially PLA a PEI surface on a spring steel plate is a very good solution. It is just at higher temperatures where magnets and the adhesives loose their strength that a vacuum system really shines.
I saw your tool changer/ hotend lifter over on the Duet forum. it is a very nice design!
Cheers
Max
Edited 1 time(s). Last edit at 08/11/2019 09:04PM by NitroFreak.
|
Re: Nitro´s A.R.P.E.G. 230°C Chamber printer for PPSU August 12, 2019 04:25AM |
Registered: 12 years ago Posts: 1,450 |
Hi Max,
The hex grid structure is to prevent fault lines appearing along the axes of the surface in the film. I use thin films such as overhead transparency film or document laminating film to build on and it tends to form long creases where it can: The hex pattern reduces the length of the crease that can form. I used to use an 'O' ring around the outer groove but no longer use this as I found that a thin layer of grease such as Vaseline was adequate at 60°C. For higher temperatures I will need to research greases or waxes that will not be too mobile.
On my printers, I use 4mm anodized aluminium sheet. Although this is thinner than I would like to use I find that the flatness of these is within ±40µm for a 200mm square bed and I have not found any distortion with temperatures up to 100°C. By mounting the plate on a kinematic mount there is no force transmitted from the carriage to the plate to distort it. Other reasons for using the thinner material are to reduce moving mass and cleaner detection of a nozzle contact event. I guess the final reason for keeping with the thinner material is that I have not ventured beyond about 200mm by 200mm build surface so sag is relatively unimportant. With the heated mini-enclosure I build in a cube of only 100mm X 100mm X 150mm.
Thank you for the comment on the tool changer although it has yet to prove a workable solution: At the moment I am having problems with it as the gears were 3D printed and very prone to failure. I have sent for some gears machined from Delrin.
Mike
|
Re: Nitro´s A.R.P.E.G. 230°C Chamber printer for PPSU September 12, 2020 05:42PM |
Registered: 3 years ago Posts: 1 |
Quote
NitroFreak
Quote
Hespo
Hi,
Congratz on this machine, nice piece of engineering!
Can i ask how you made the gantry insulators? what material are they made of? Do they insulate enough to keep the top cool without extra cool air?
Did you add extra seals to close those gaps around your z axis? I see you have 2 long thin gaps, i seem to remember a pic of a stratasys printer where they use some kind of seal which opens up when the z axis slides through it.
What insulation did you use for the static parts (like the walls)?
greetings,
Jens
Hi Jens, thank you!
The insulator is made from aluminum coated fiberglass. They sell it as welding protection mats. It is not the perfect material, i would wish for some teflon coated fabric of some kind. I´m talking to some suppliers that have something like i would want that is also a bit thinner and stiffer.
I originally planned to include strips of silicone that closed the gap, but it proved to not be necessary since the slit is so small (~8mm) that, with taking the insulation into account, there is almost no air escaping. I´ve held my hand there and could not feel any warm air moving. The Z axis is essentially at room temperature. The Titanium connection plates make an amazing thermal separator, i could put my finger about 2cm from the oven wall on the titanium plate and it would only be luke warm, despite being at over 200C three centimeters further into the chamber.
For the static parts i reused the original insulation that came with the oven. It is some stone wool or something similar, very ordinary. 220C is nothing special for a normal baking oven.
I'm coming across your project as I'm looking to design an insulated chamber for a larger 3D printer. First off, congratulations on such a great build and your recognition for it!
I'm impressed by the bellows you built out of the welding protection mats. Did you ever have any luck finding a commercial/industrial supplier for insulating flat bellows that would satisfy the requirements for printing at high temperatures?
Thanks,
Patrick
|
Re: Nitro´s A.R.P.E.G. 230°C Chamber printer for PPSU November 04, 2020 01:31PM |
Registered: 3 years ago Posts: 1 |
Gruess Gott, Max!
I hope not to be too late in this thread and still get your response.
First of all congratulations for such a successful build and competition win! And special thanks for sharing your experience. It saves us the followers a lot of time (and resources as well).
.
I am in the process of builiding 400x400x400 idex with actively heated enclosure to print high performance plastics (Ultems, PEEK..).
.
Would you share your opinion on three points?
.
1/ The combination of vaccuum table + adhesive films seems too expensive/complicated/noisy for me. You and guys who use MyMiniFactory printer do print successfully on glass (using nano adhesive). I don’t get why do they use vaccuum table under the glass. May be just because you’ve buit it initially for adhesive films. The glass is anyway flat and firm so a simplier method to hold it in place may be used. I was going to use passively heated (enclosure temp up to 230C) glass table, mounted by paper binder to thin (4-6mm) aluminium plate (or even without it) lying on kinematic mount. Do you see any potential problems with such a solution? Am I missing something? :-)
2/ For the gantry insulator I was going to use PU-impregnated fiberglass tissue. It seemed for me that one layer isn’t enough to prevent the heat loss. Having a powerfull enclosure heater I am not concerned that i won’t be able to maintain 230C in the chamber. I am more concerned to have too high temperature above the insulator, especially because my printer is going to have the cover on top. My initial plan was to have two-layered barrier (Store) with air space between them. What is your experience: how hot does the air get above the Store (when you have around 200C inside)?
3/ Do I understand right from your pictures that for print cooling you have used the air taken from the chamber below the building table. Do you think it is really necessary to blow on print area or just directing the air from the top of the chamber down to heater (below the table) will be enough not to melt the print.
Thank you.
Boris.
|
Re: Nitro´s A.R.P.E.G. 230°C Chamber printer for PPSU January 17, 2022 01:07PM |
Registered: 2 years ago Posts: 1 |
|
Re: Nitro´s A.R.P.E.G. 230°C Chamber printer for PPSU January 17, 2022 02:01PM |
Registered: 12 years ago Posts: 1,450 |
Quote
1zhangvic
Hi Max,
Very wonderful project you have completed here and congratulations for winning.
I was curious as to how you created the folds in the bellow (fiberglass fabric)? I am trying to do something similar but am unsure how to create those folds.
Thanks,
Victor
I have made some odd bellows for milling machines etc. Although I can't find the original article I worked from, there is a tutorial at [lostlightphotography.com] which is pretty much the same. There is also one without the reinforcing bits at [www.instructables.com]
Mike
Sorry, only registered users may post in this forum.
