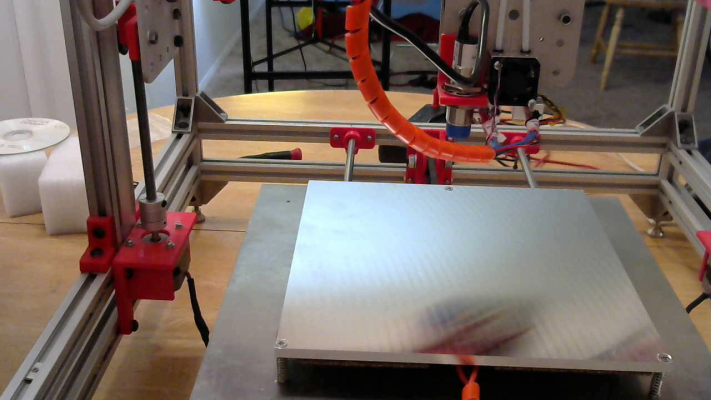
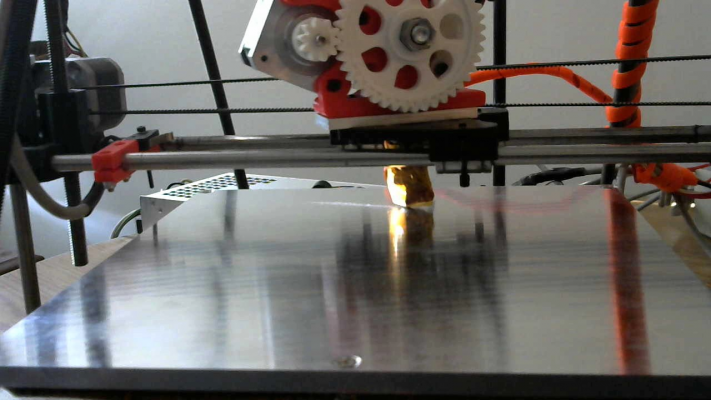
Instructable on bed replacement/upgrade for 3D printing contest
Posted by the_digital_dentist
|
Instructable on bed replacement/upgrade for 3D printing contest June 17, 2016 10:05AM |
Registered: 11 years ago Posts: 5,780 |
[www.instructables.com]
Your vote will be appreciated! Use the little "vote" tab in the upper right corner of your browser window...
Thanks!
Ultra MegaMax Dominator 3D printer: [drmrehorst.blogspot.com]
Your vote will be appreciated! Use the little "vote" tab in the upper right corner of your browser window...
Thanks!
Ultra MegaMax Dominator 3D printer: [drmrehorst.blogspot.com]
|
Re: Instructable on bed replacement/upgrade for 3D printing contest June 17, 2016 03:43PM |
Registered: 10 years ago Posts: 344 |
|
Re: Instructable on bed replacement/upgrade for 3D printing contest June 17, 2016 05:47PM |
Registered: 9 years ago Posts: 204 |
Perfect timing on that write up! I'll be swapping out my glass/MK1 PCB to the aluminum/silicone pad heater this weekend.I've been wavering on making the change for about a year now but that thermal image you posted made for a very convincing argument.
I worry about the 8.5" x 8.5" x 1/4" jig plate being a little heavy.
But since all of the material has been bought and delivered I may as well go through with it. I'm using a 220watt /12vdc heat pad and powering it through a relay.I can now justify buying
a 50amp power supply a few years ago. I'm looking forward to a nice flat print surface, quick heat up times and getting rid
of those damn bull dog clips.
Many thanks for taking the time to write and and post those
those instructions & yes you will get my vote
sincerely
Ray
|
Re: Instructable on bed replacement/upgrade for 3D printing contest June 17, 2016 08:51PM |
Registered: 11 years ago Posts: 5,780 |
Thanks to both of you.
When you get your conversion done, please post a photo and report on performance.
Edited 1 time(s). Last edit at 06/18/2016 06:38AM by the_digital_dentist.
Ultra MegaMax Dominator 3D printer: [drmrehorst.blogspot.com]
When you get your conversion done, please post a photo and report on performance.
Edited 1 time(s). Last edit at 06/18/2016 06:38AM by the_digital_dentist.
Ultra MegaMax Dominator 3D printer: [drmrehorst.blogspot.com]
|
Re: Instructable on bed replacement/upgrade for 3D printing contest June 25, 2016 05:49PM |
Registered: 9 years ago Posts: 204 |
It took longer than I had expected but I managed to get both printer
beds swapped out to ones with aluminum plates.
It was definitely worthwhile to make the transition.
First and foremost is the faster heat up time. To get the old PCB
heaters up to 110 took about 17 minutes. These new ones get up
to that temperature in less than 1/2 the amount of time.
I have also seen the consistency of the temperature of the plate surface.
I don't have a thermal camera but do have a infrared thermometer
and was able to check the bed temp. at different points. I'm not
sure how accurate it was as it read around 10 degrees cooler than
the Pronterface temp. readout. Its a cheap thermometer from Harbor Freight
so the accuracy maybe off. I also used the thermistors that came with
the silicone heatpads. I couldn't find any documentation as to what type
of thermistors they were so I left the firmware settings for the EPCOs ones.
This also might be the cause of the temperature variance. Also I can
finally get the bed level. I've bought 4 PCB heaters over the last 3
years and every one of them was warped. Now that I have 3 point
leveling my bed is right on. And lastly the printers just look a whole lot better
with the new beds. Those binder clips had a way of hogging up
a lot of print area.
Best regards
Ray
Edited 1 time(s). Last edit at 06/25/2016 06:02PM by Shank man.
|
Re: Instructable on bed replacement/upgrade for 3D printing contest June 25, 2016 08:43PM |
Registered: 11 years ago Posts: 5,780 |
Nice! You should have no trouble getting prints to stick. Those IR thermometers are calibrated at a specific emissivity- the shiny aluminum surface won't read accurately. Try a thermocouple.
Edited 1 time(s). Last edit at 06/25/2016 08:45PM by the_digital_dentist.
Ultra MegaMax Dominator 3D printer: [drmrehorst.blogspot.com]
Edited 1 time(s). Last edit at 06/25/2016 08:45PM by the_digital_dentist.
Ultra MegaMax Dominator 3D printer: [drmrehorst.blogspot.com]
|
Re: Instructable on bed replacement/upgrade for 3D printing contest June 26, 2016 05:17AM |
Registered: 8 years ago Posts: 601 |
Very nice! did you also upgrade your power supply to see such a drop in heating times? I'm currently running 12v electronics, and I'm debating if a silicone heater will work well at 12v, or if 24v or even 240v and an SSR would be better in the long term.
I'm going to be making a similar upgrade soon, although I'm still pondering on what to use as the bed support. I'm running openbuilds v slot, so I'm tempted to use 4 pieces of extrusion to make the support for wheels and the alu plate.
I'm going to be making a similar upgrade soon, although I'm still pondering on what to use as the bed support. I'm running openbuilds v slot, so I'm tempted to use 4 pieces of extrusion to make the support for wheels and the alu plate.
|
Re: Instructable on bed replacement/upgrade for 3D printing contest June 26, 2016 08:53AM |
Registered: 9 years ago Posts: 204 |
Sorry, only registered users may post in this forum.

