MechaBits KraftWerk'r
Posted by MechaBits
|
Re: MechaBits KraftWerk'r September 10, 2017 06:01AM |
Registered: 8 years ago Posts: 1,671 |


Edited 3 time(s). Last edit at 09/10/2017 03:17PM by MechaBits.
|
Re: MechaBits KraftWerk'r September 16, 2017 04:37AM |
Registered: 8 years ago Posts: 1,671 |


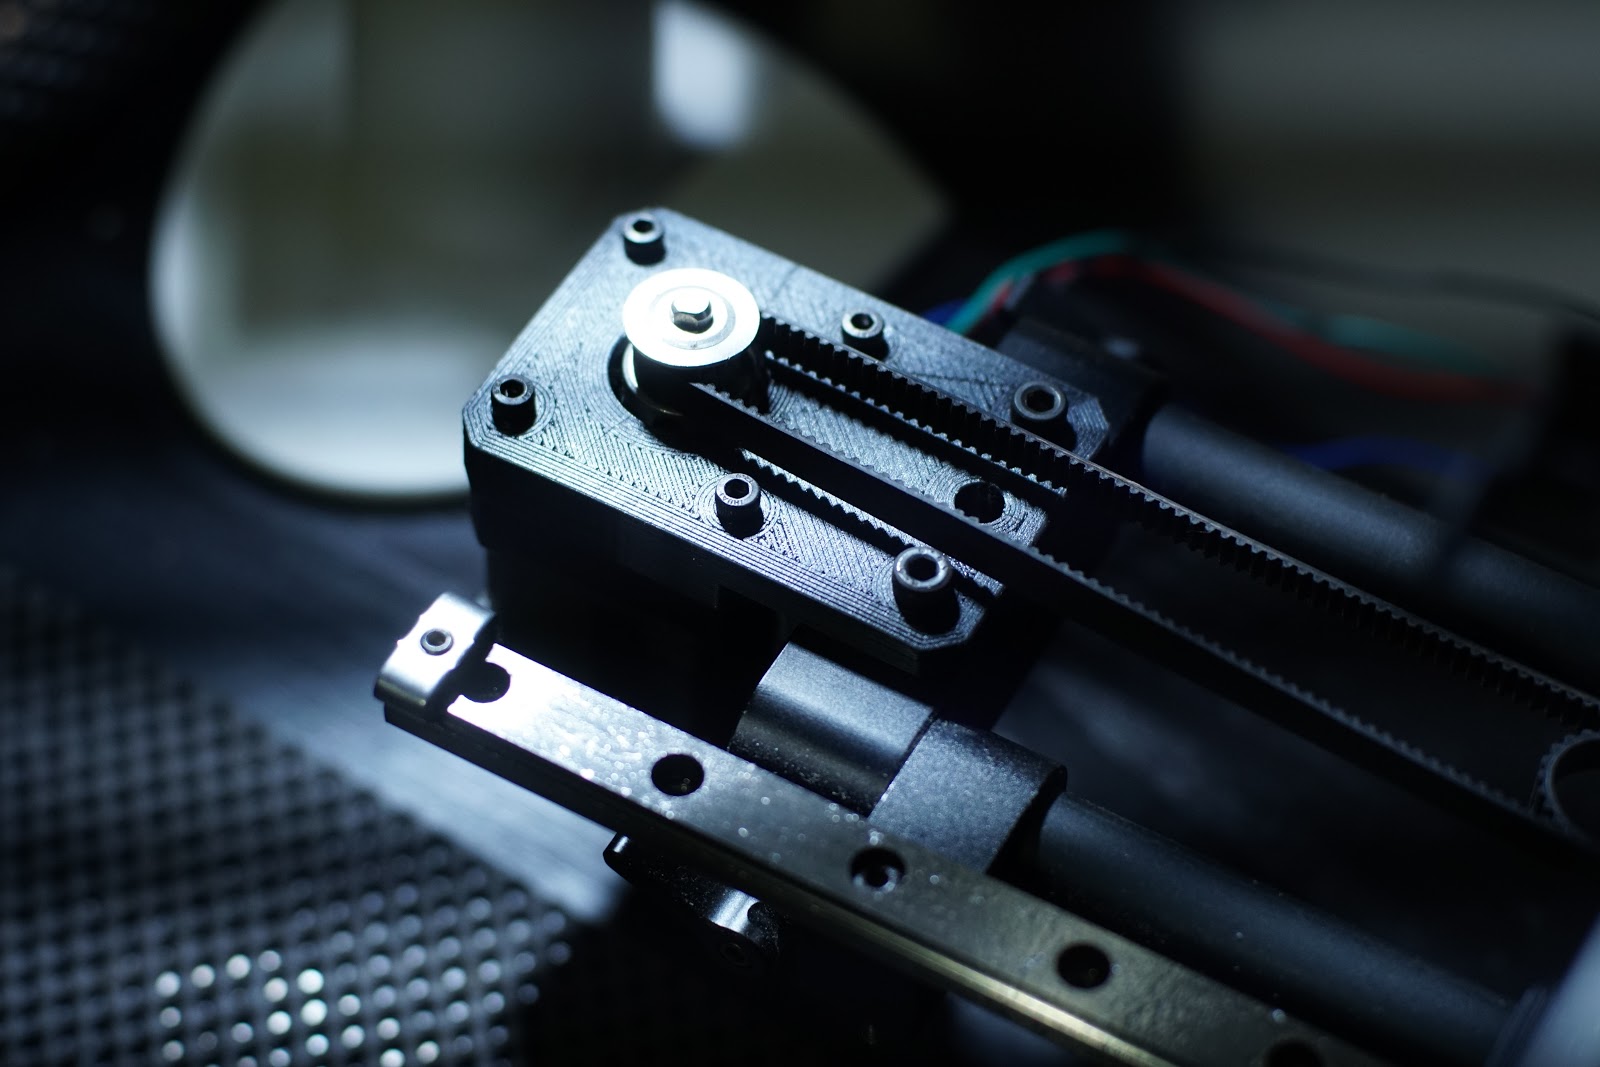
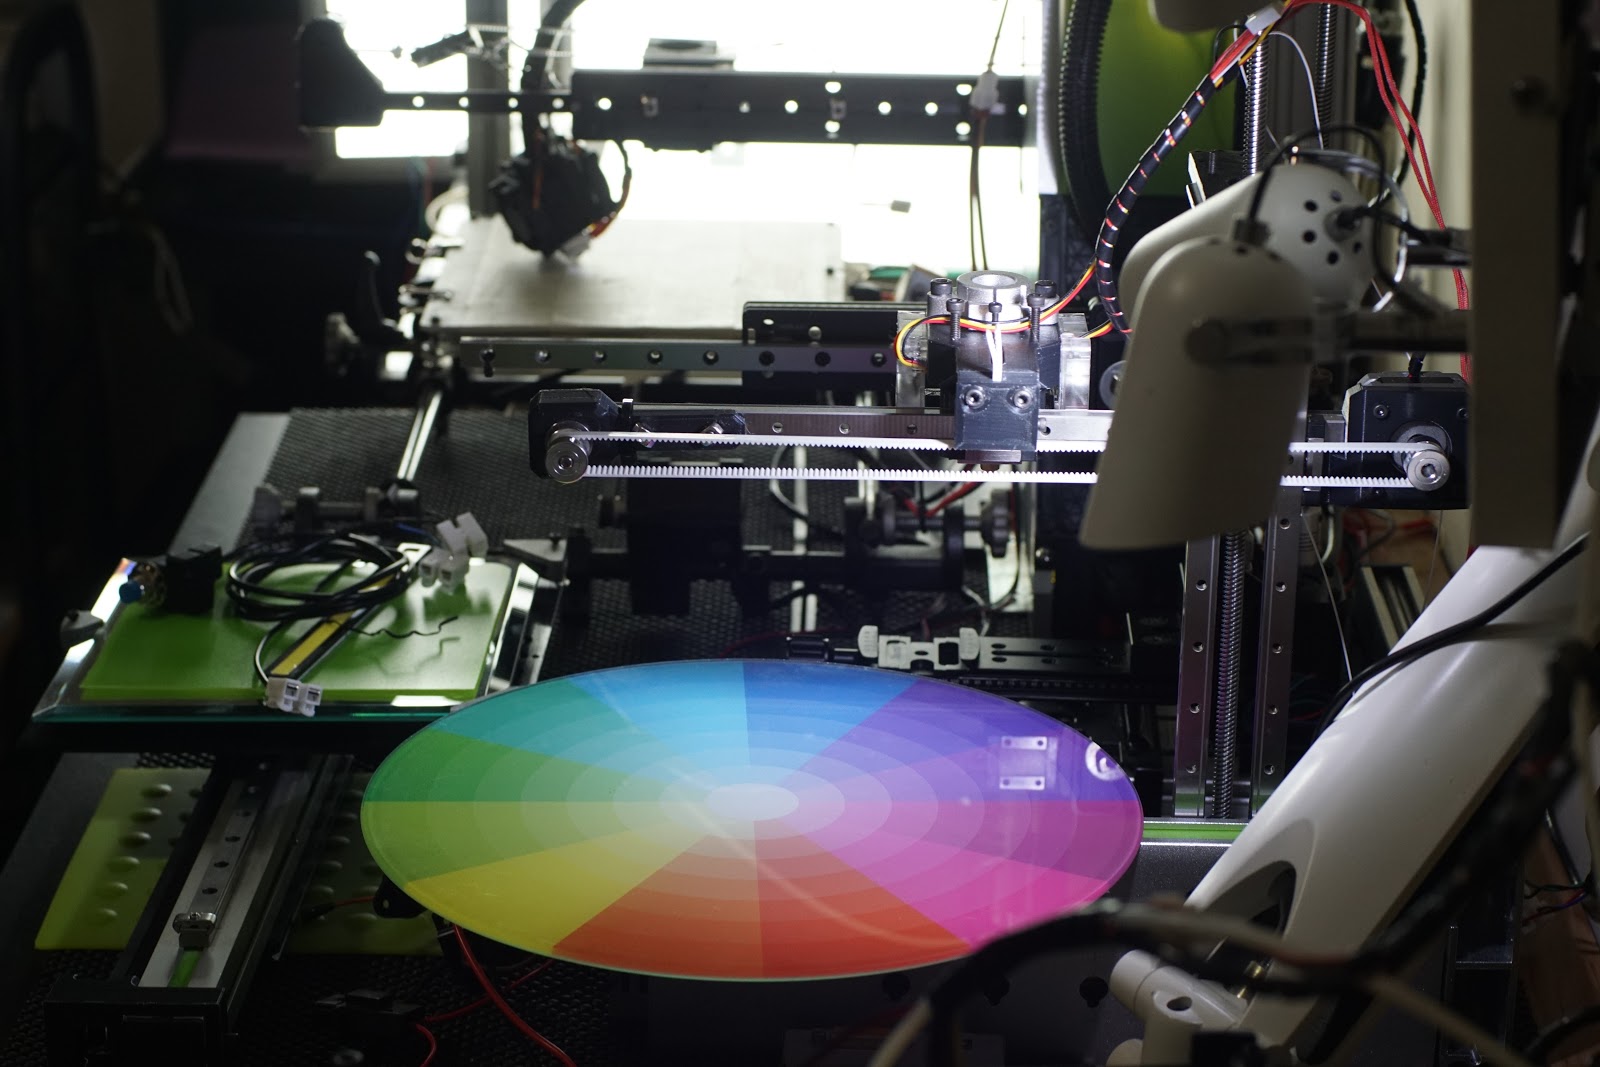
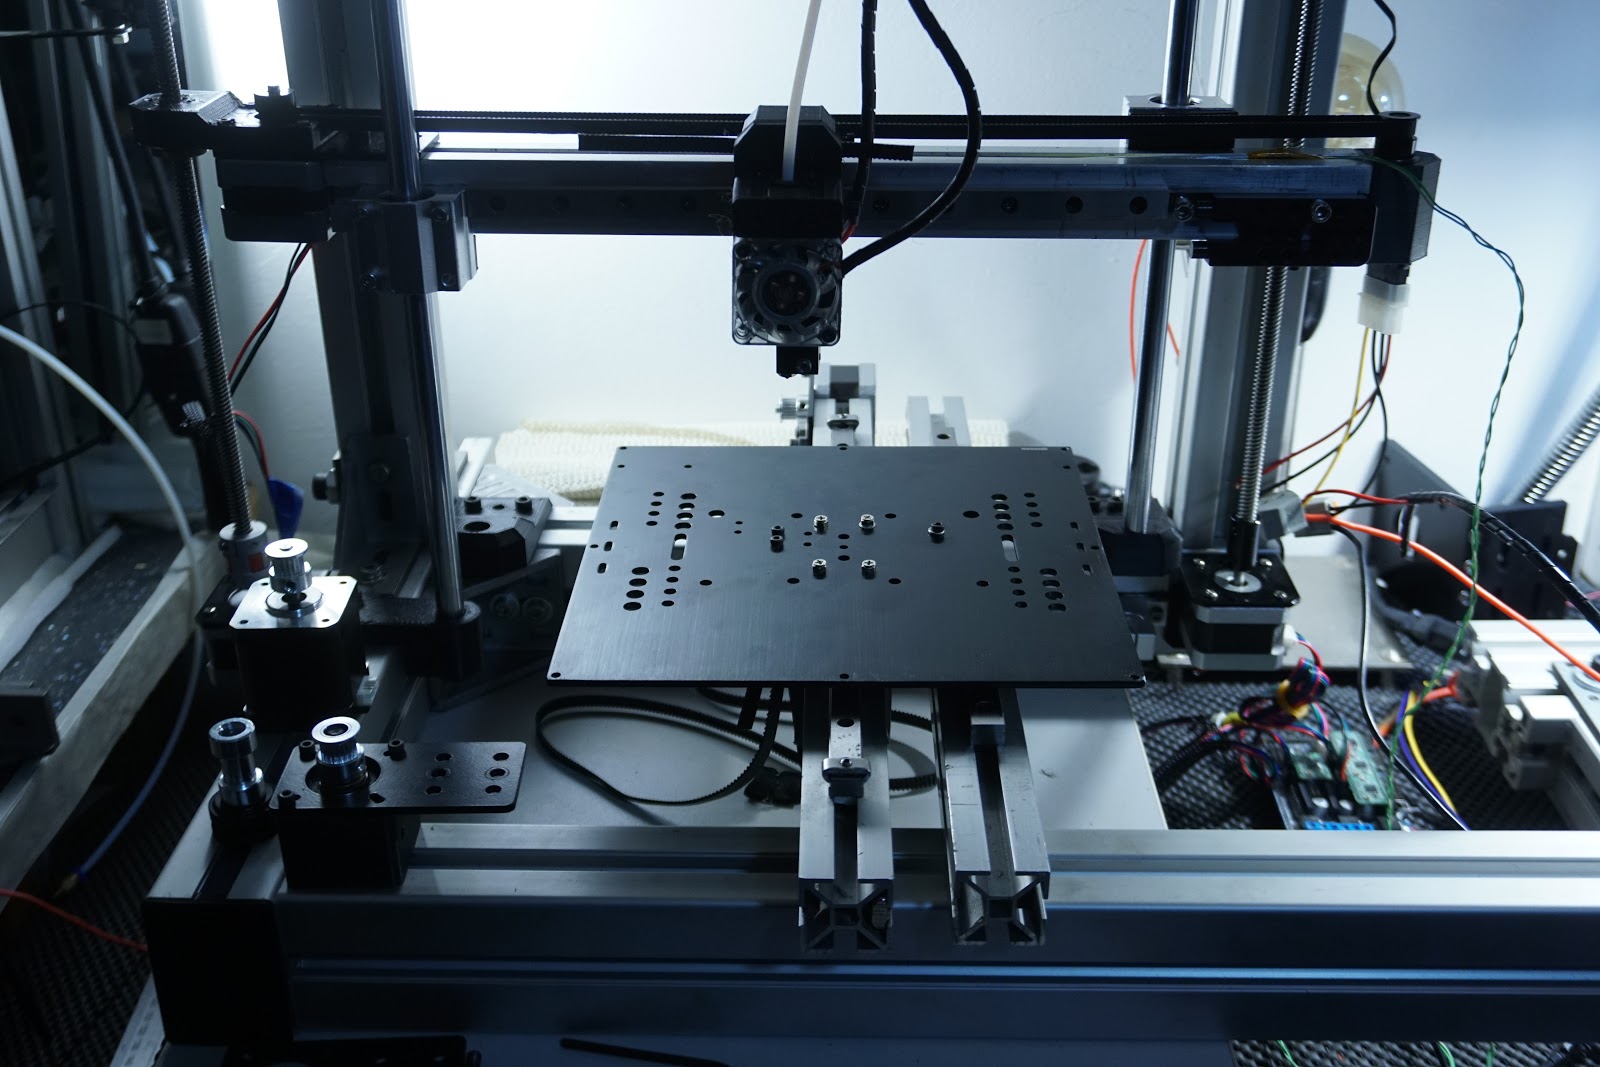
Workbench was getting a little overcrowded, Machine's & Parts all over the place, time to merge some machines. Of the machines not in use & under construction, there are four motion axis mechanisms using dual 12mm rods, not all on the same machine, i'd like to combine/consolidate them all into one machine, it's either that or order new parts? 12mm Rods always handy to have but with 9x IKO 300mm Linear Rails arriving today, I have to figure out how I will distribute the parts to make the most of them...


Mix & Match Make & Mend.


Combining A few more Concepts into each other, helps to spark other ideas & part postulation.
I've run out of motors, the nema on the 3030 is a small one and will be changed, but I was wondering if I put the motor on opposite side, and run it to a bearing via alternate size pulleys to get holding power up, and also a bigger motor.
Edited 1 time(s). Last edit at 09/16/2017 08:44AM by MechaBits.
|
Re: MechaBits KraftWerk'r September 19, 2017 02:55PM |
Registered: 8 years ago Posts: 1,671 |
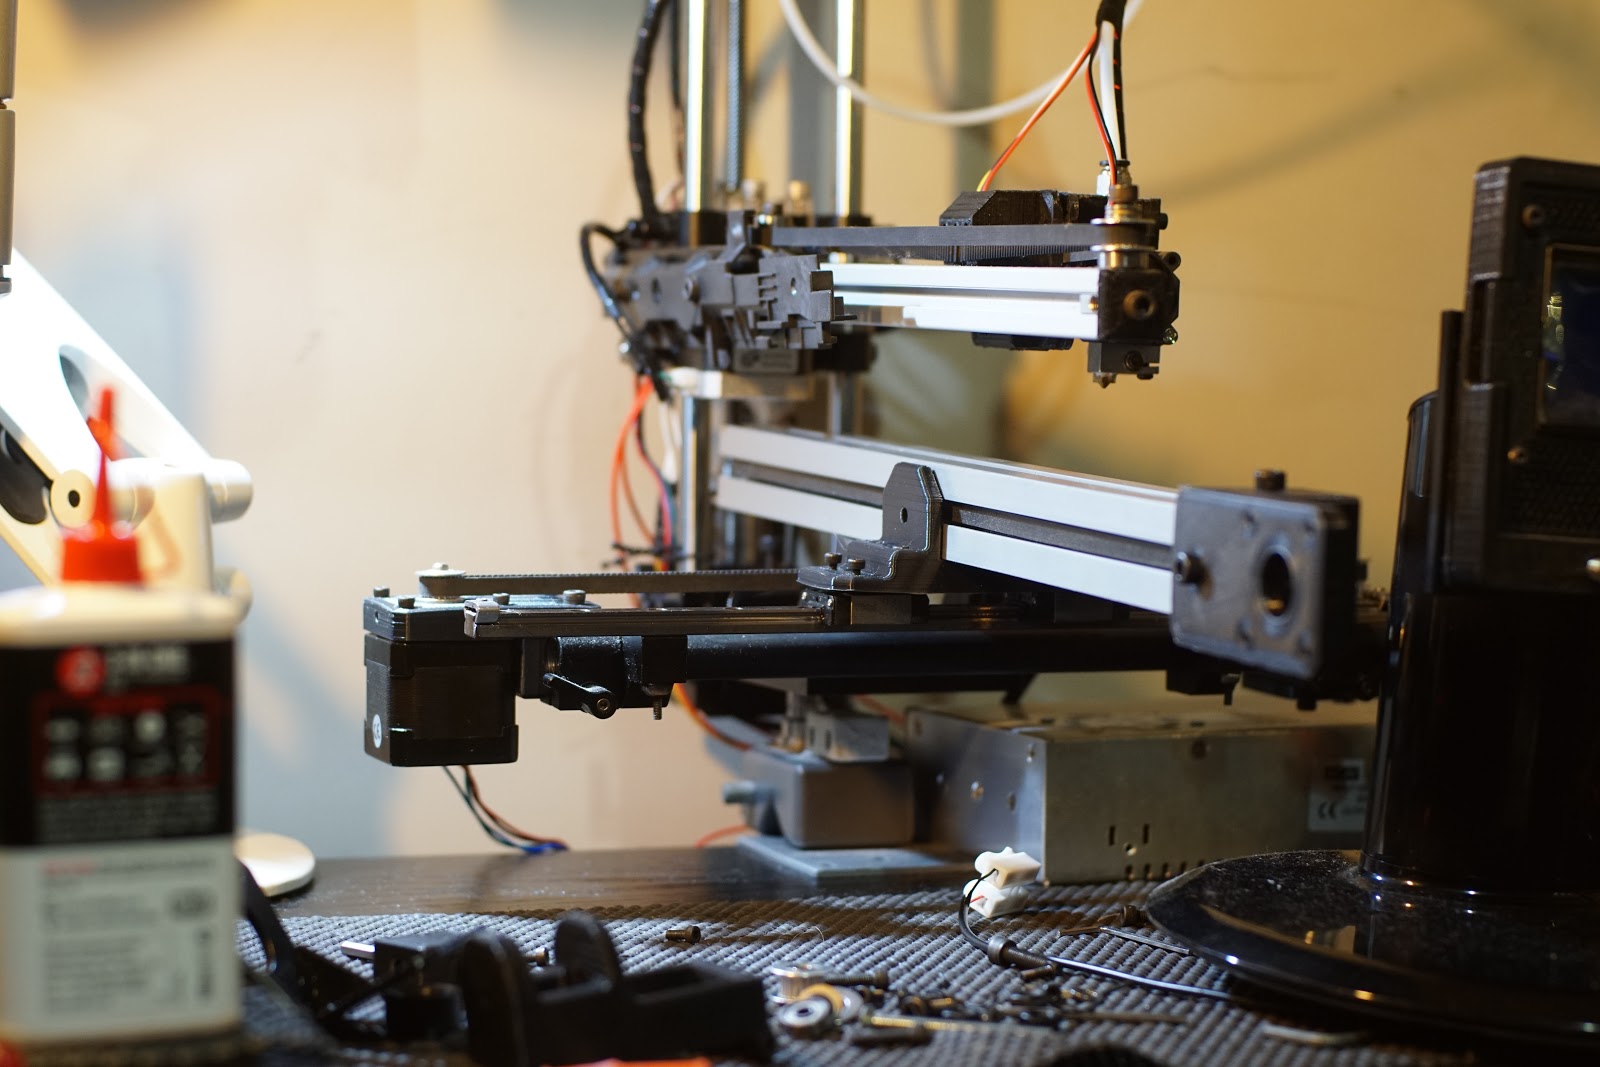
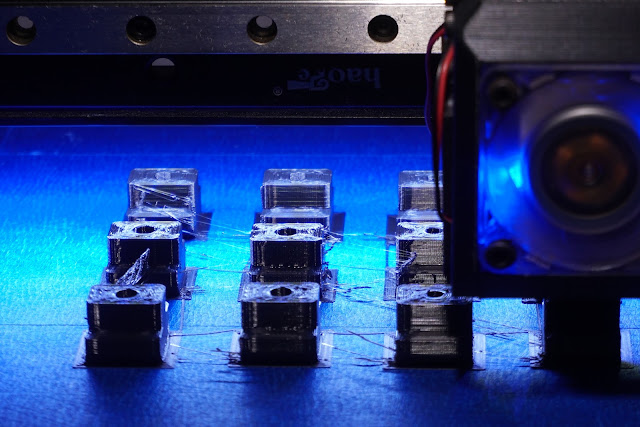
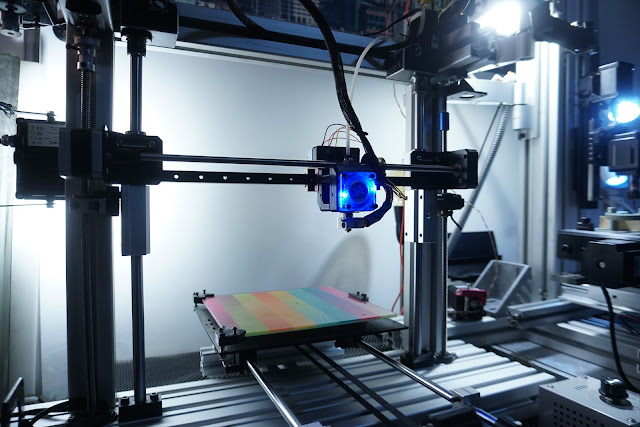
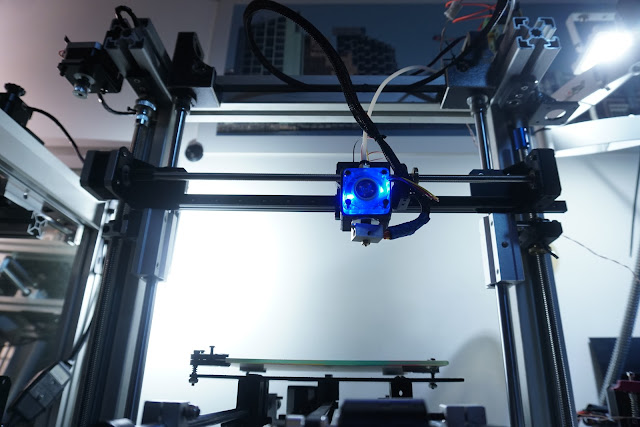
MechaBits Mini MakeOver

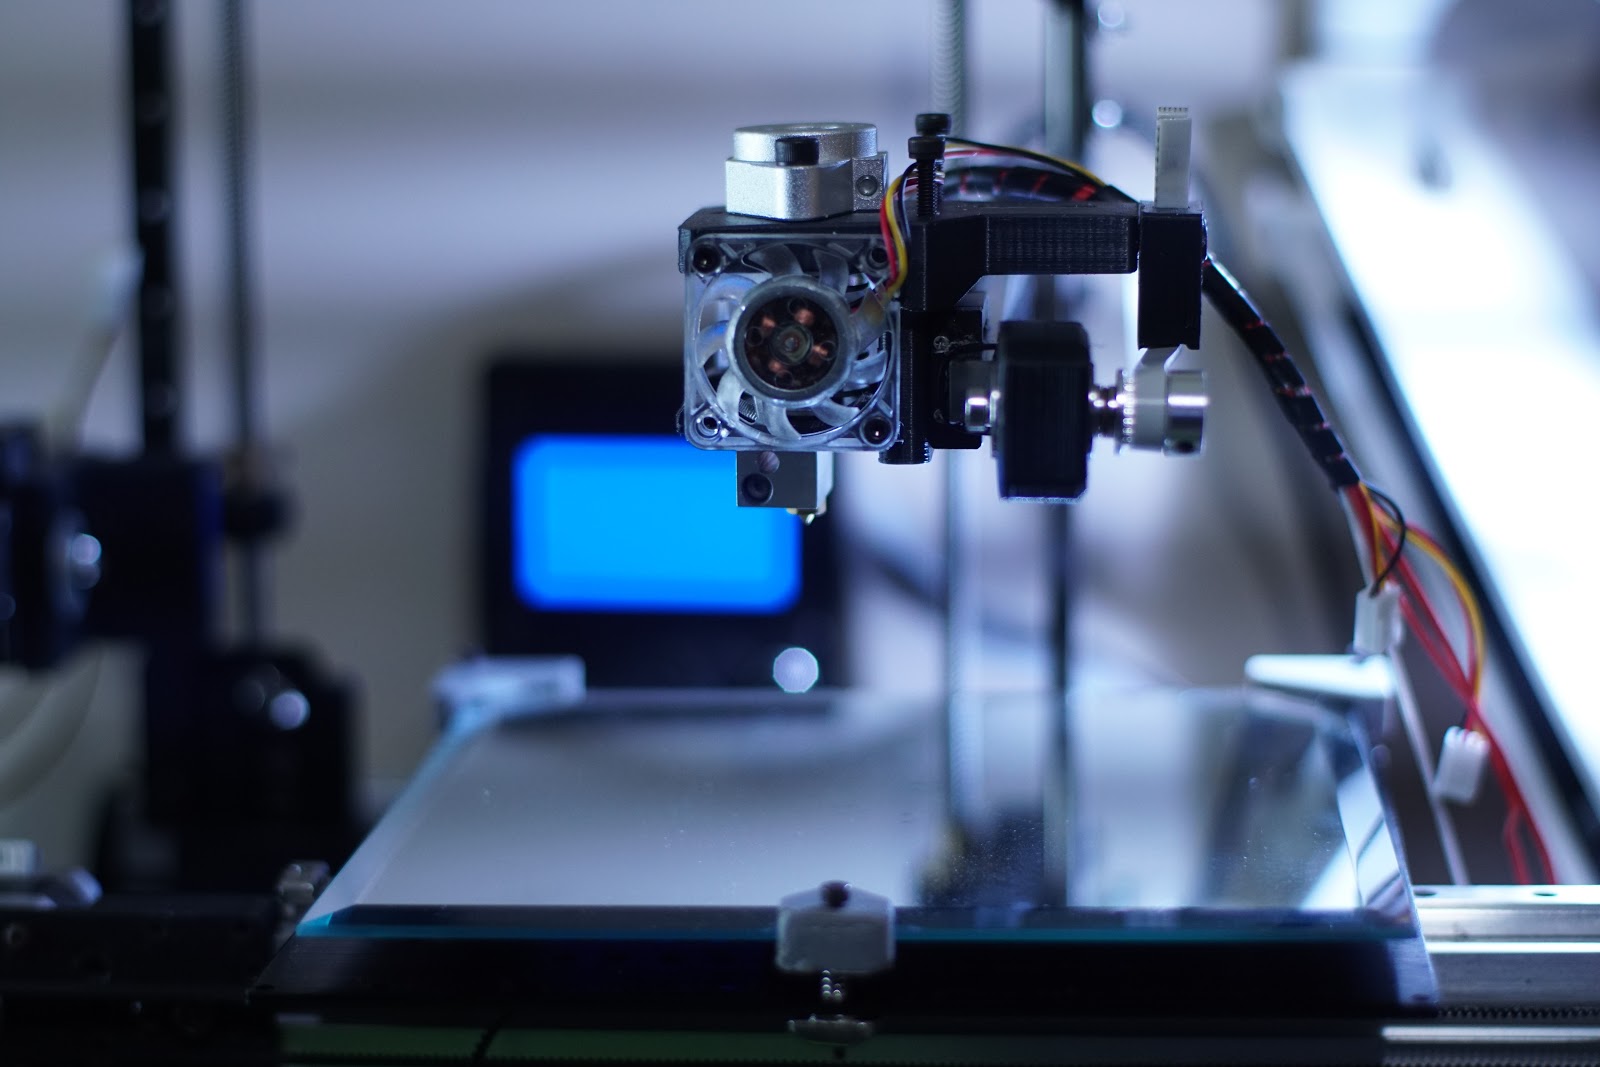
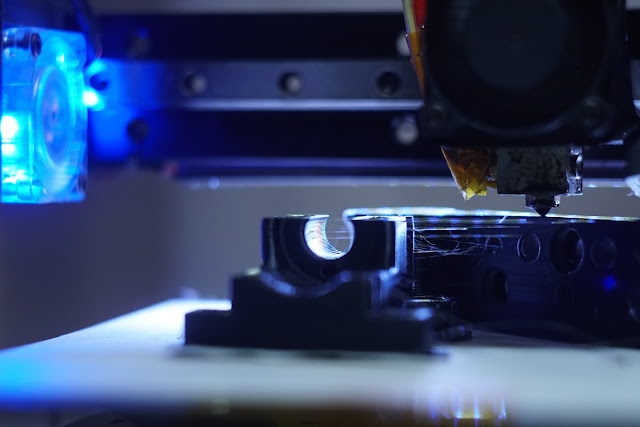
Parts Printed Assembly Begins, New Motors on order, spares used for pictures only.
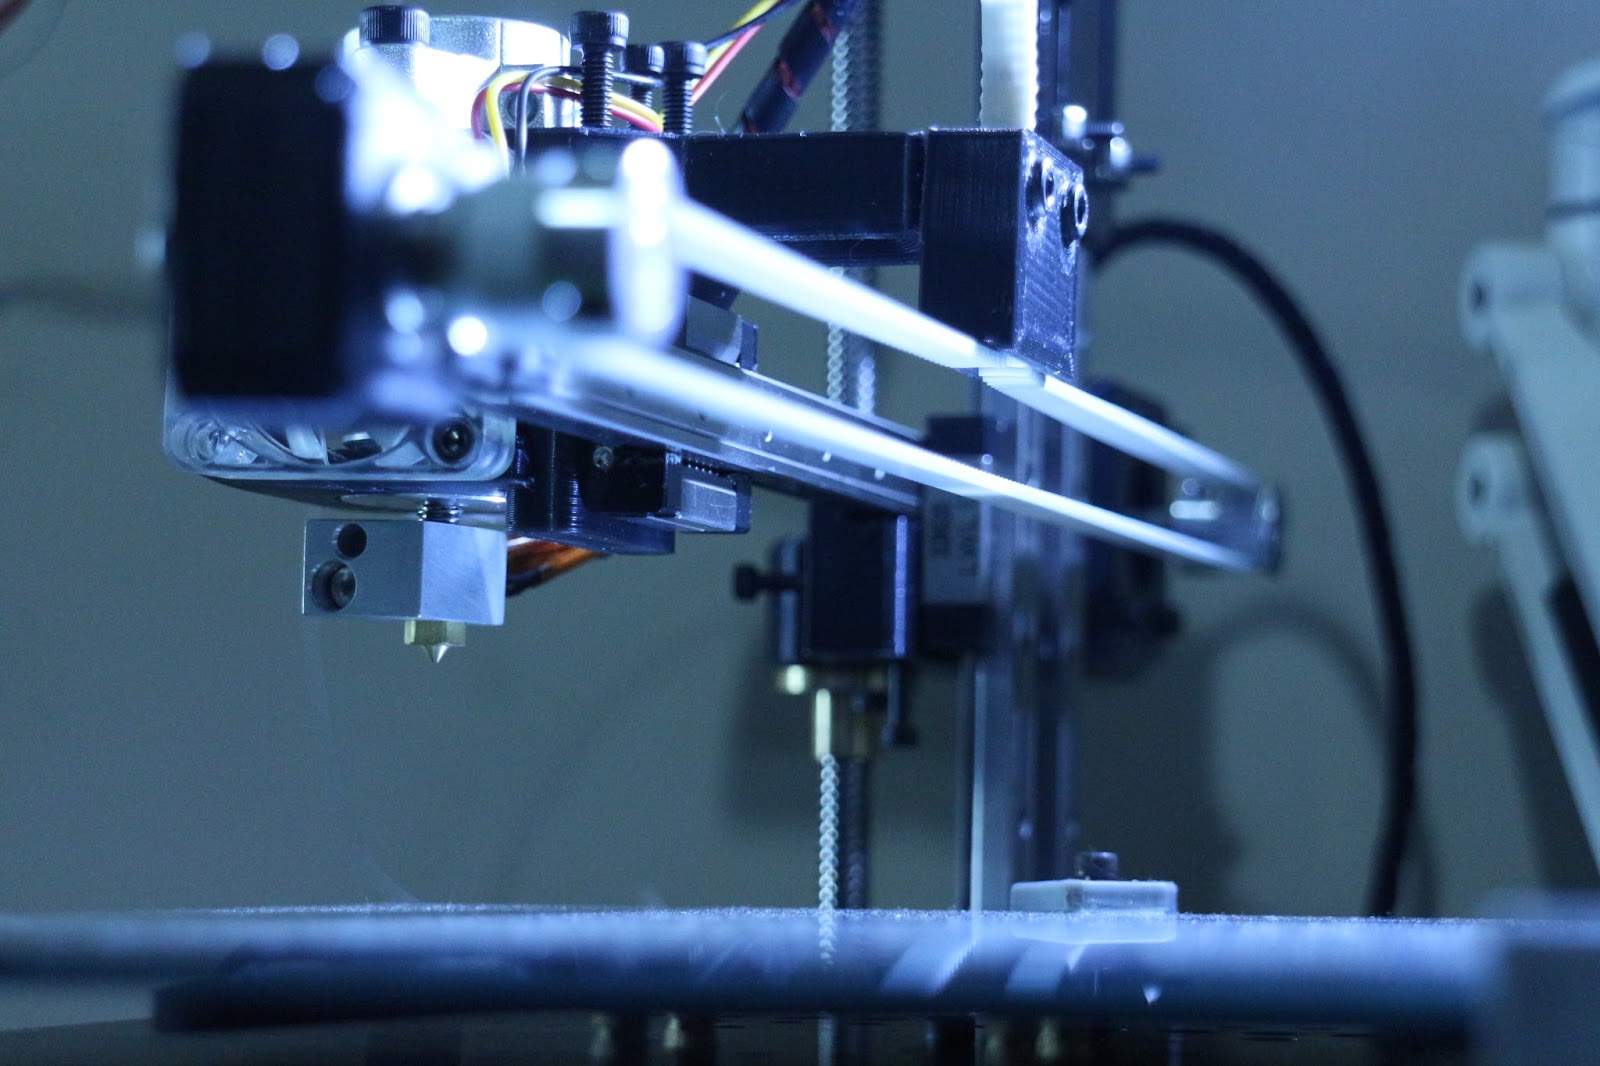
The 16mm metal rod support for hotend is a little over kill but things are stiff enough for it, though I have a printed version for replacement/use on others, just in case it has to be detrimental a little?.
Edited 1 time(s). Last edit at 09/20/2017 03:07PM by MechaBits.
|
Re: MechaBits KraftWerk'r September 21, 2017 12:40PM |
Registered: 8 years ago Posts: 1,671 |
|
Re: MechaBits KraftWerk'r October 19, 2017 02:01PM |
Registered: 8 years ago Posts: 1,671 |
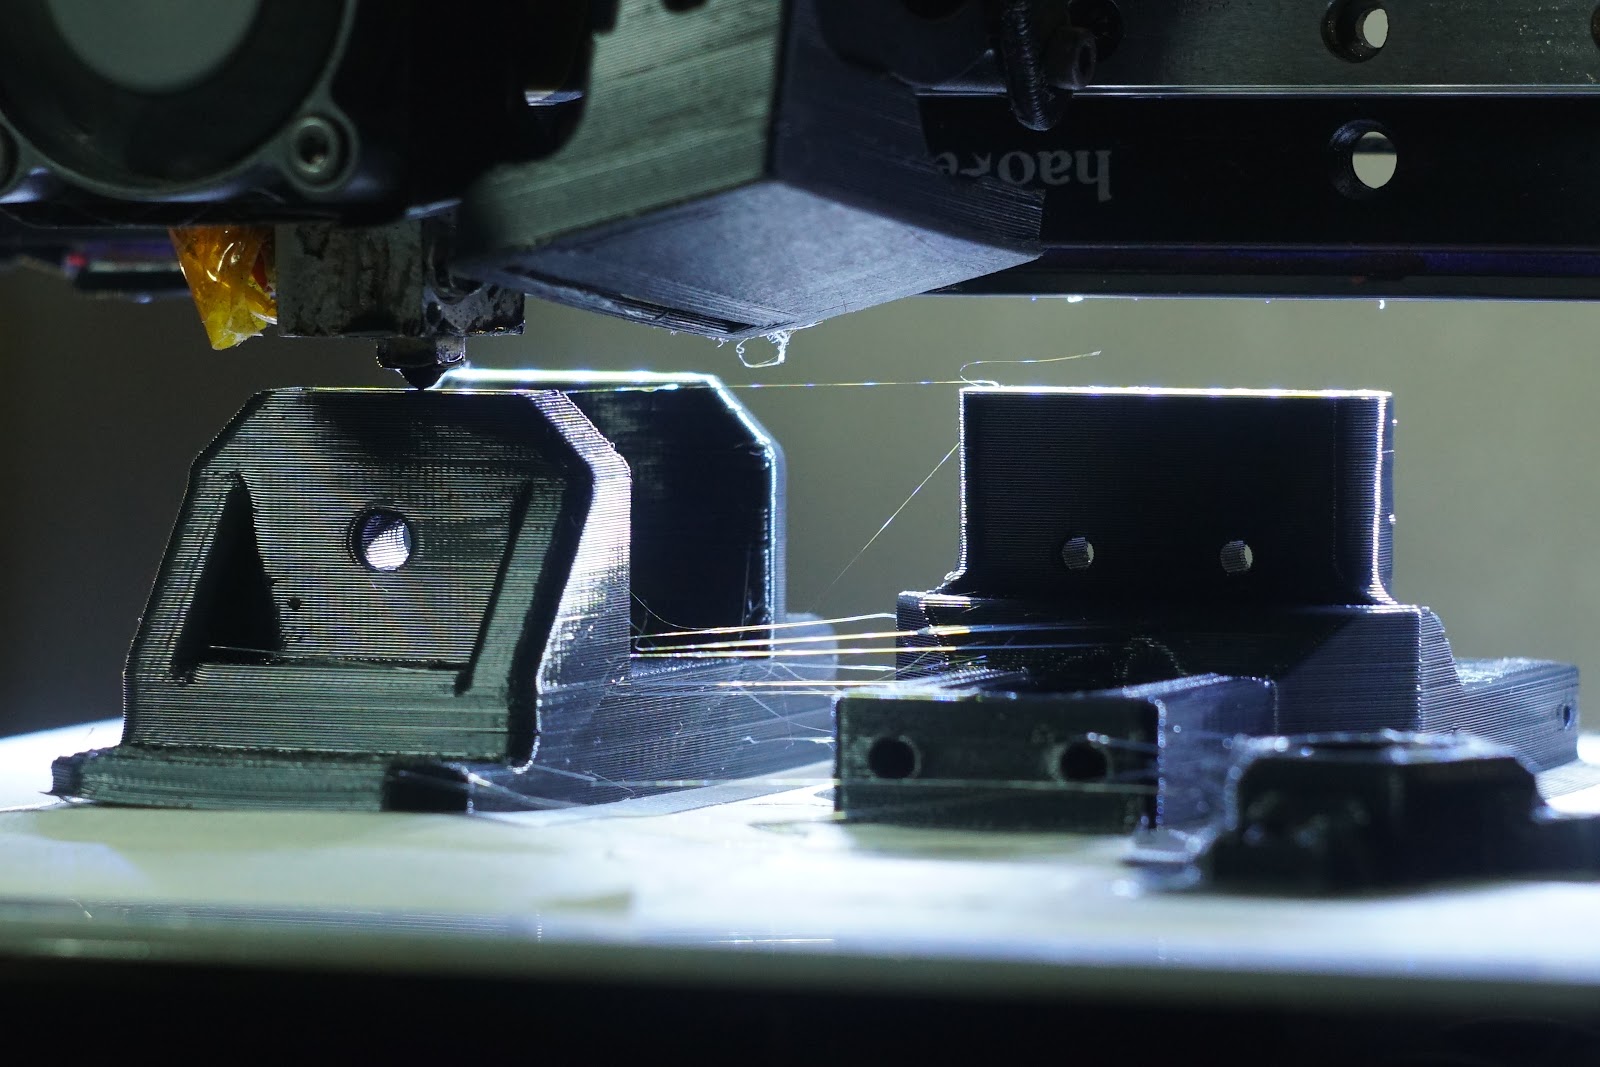
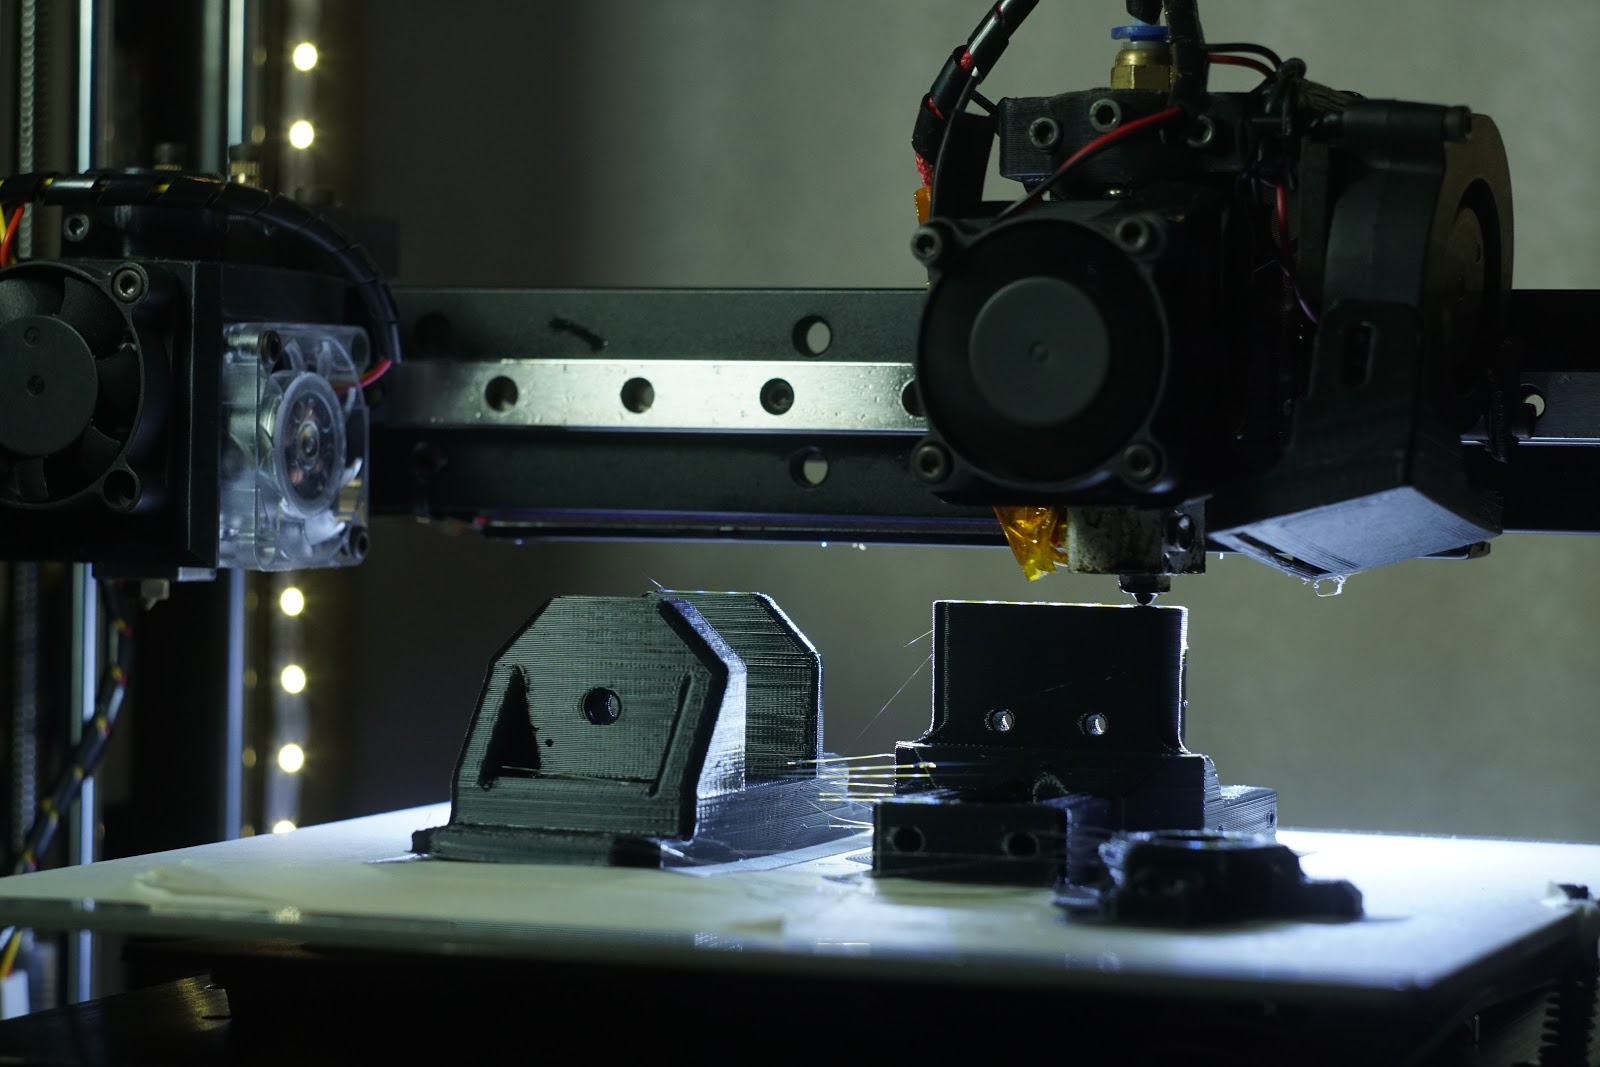
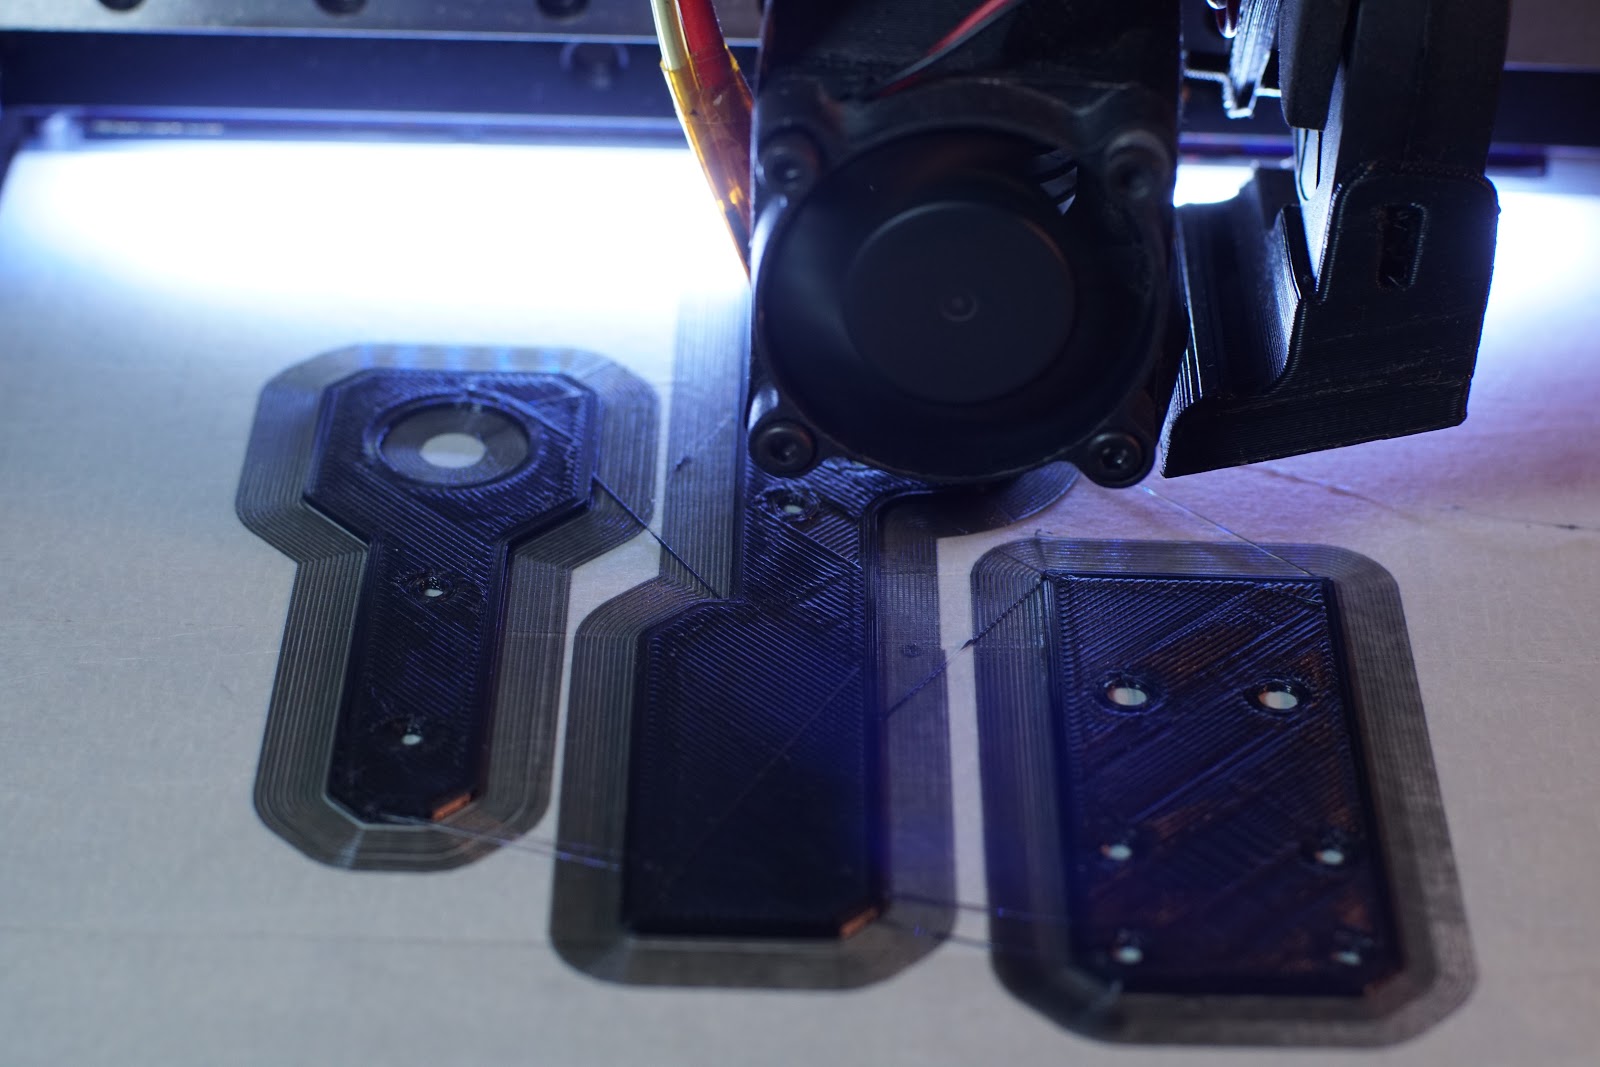
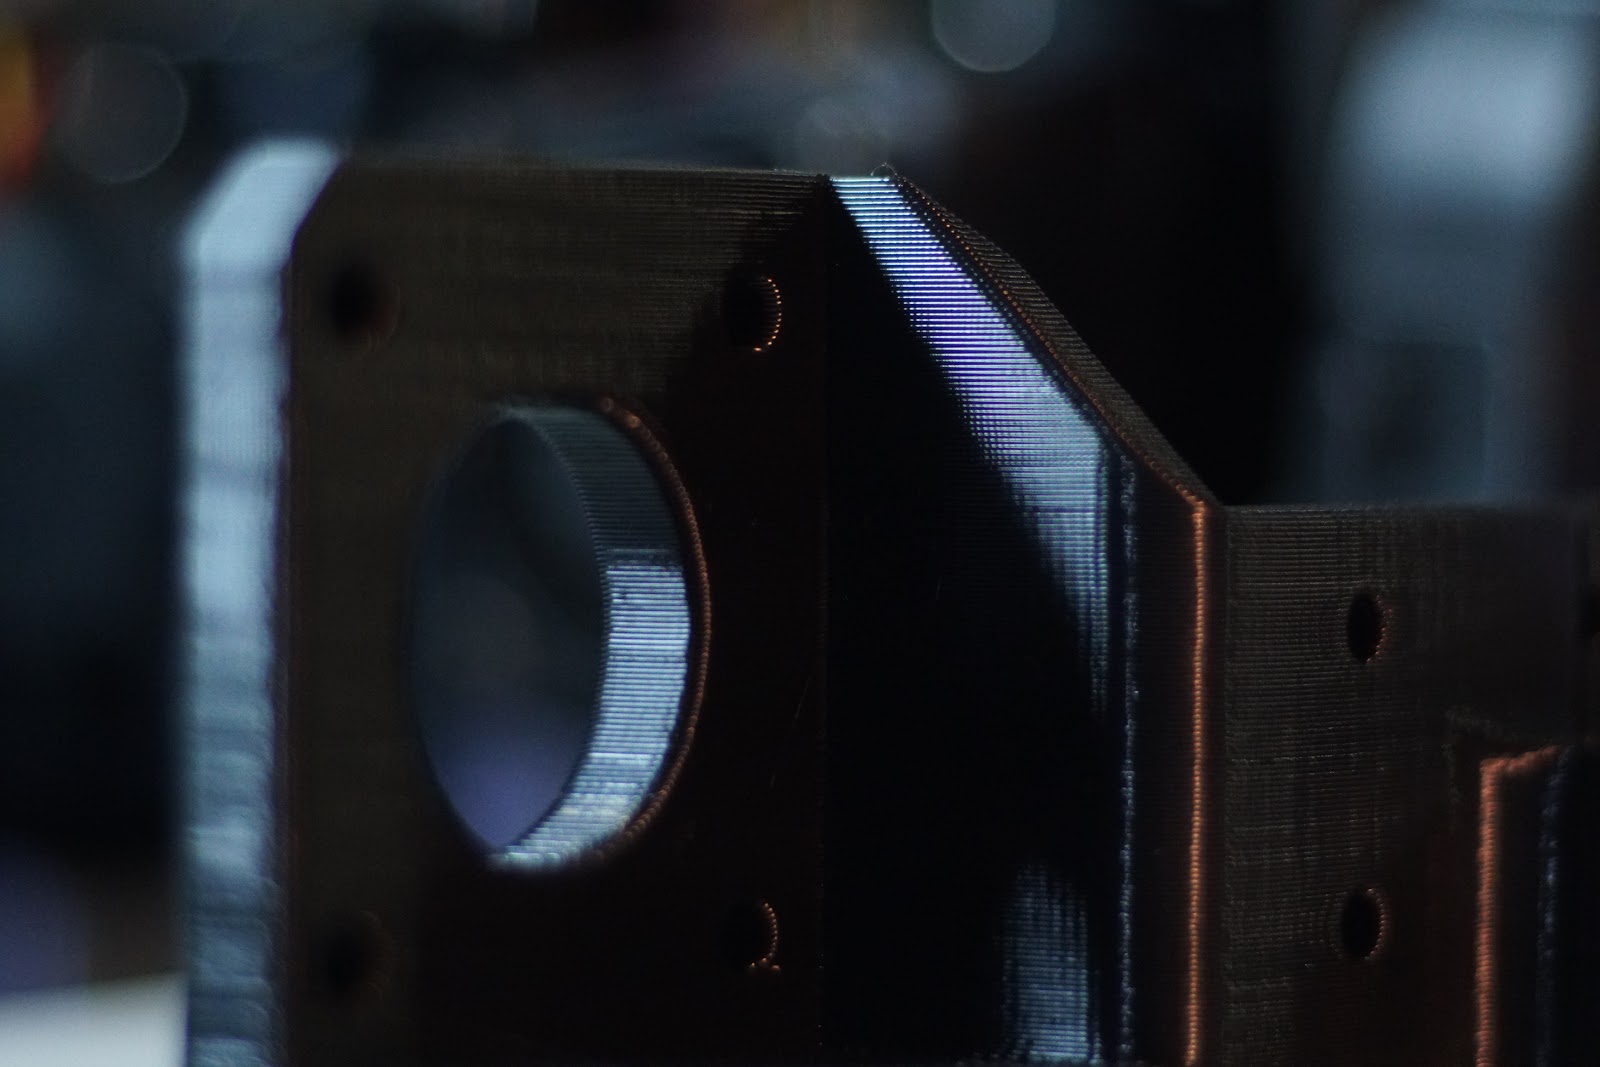
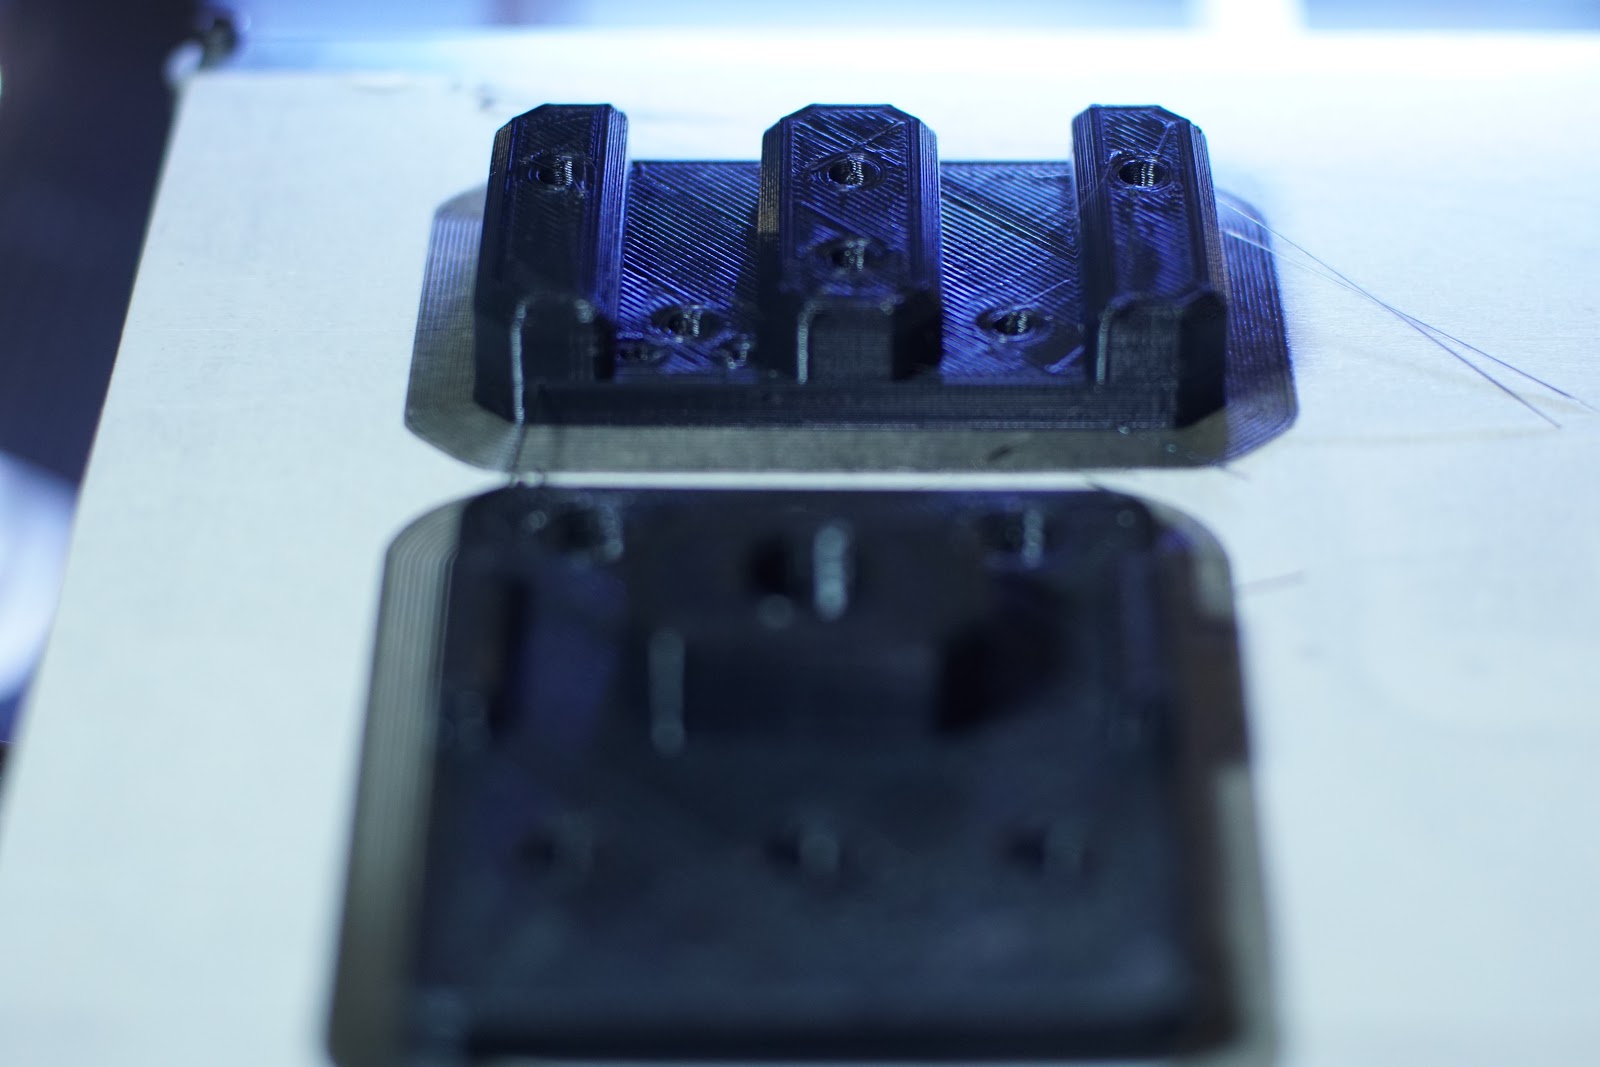
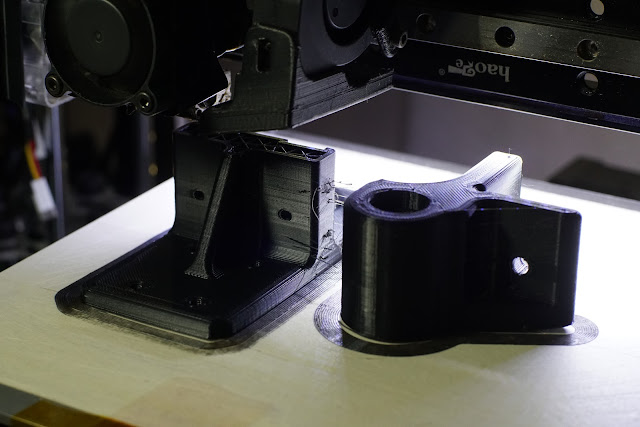
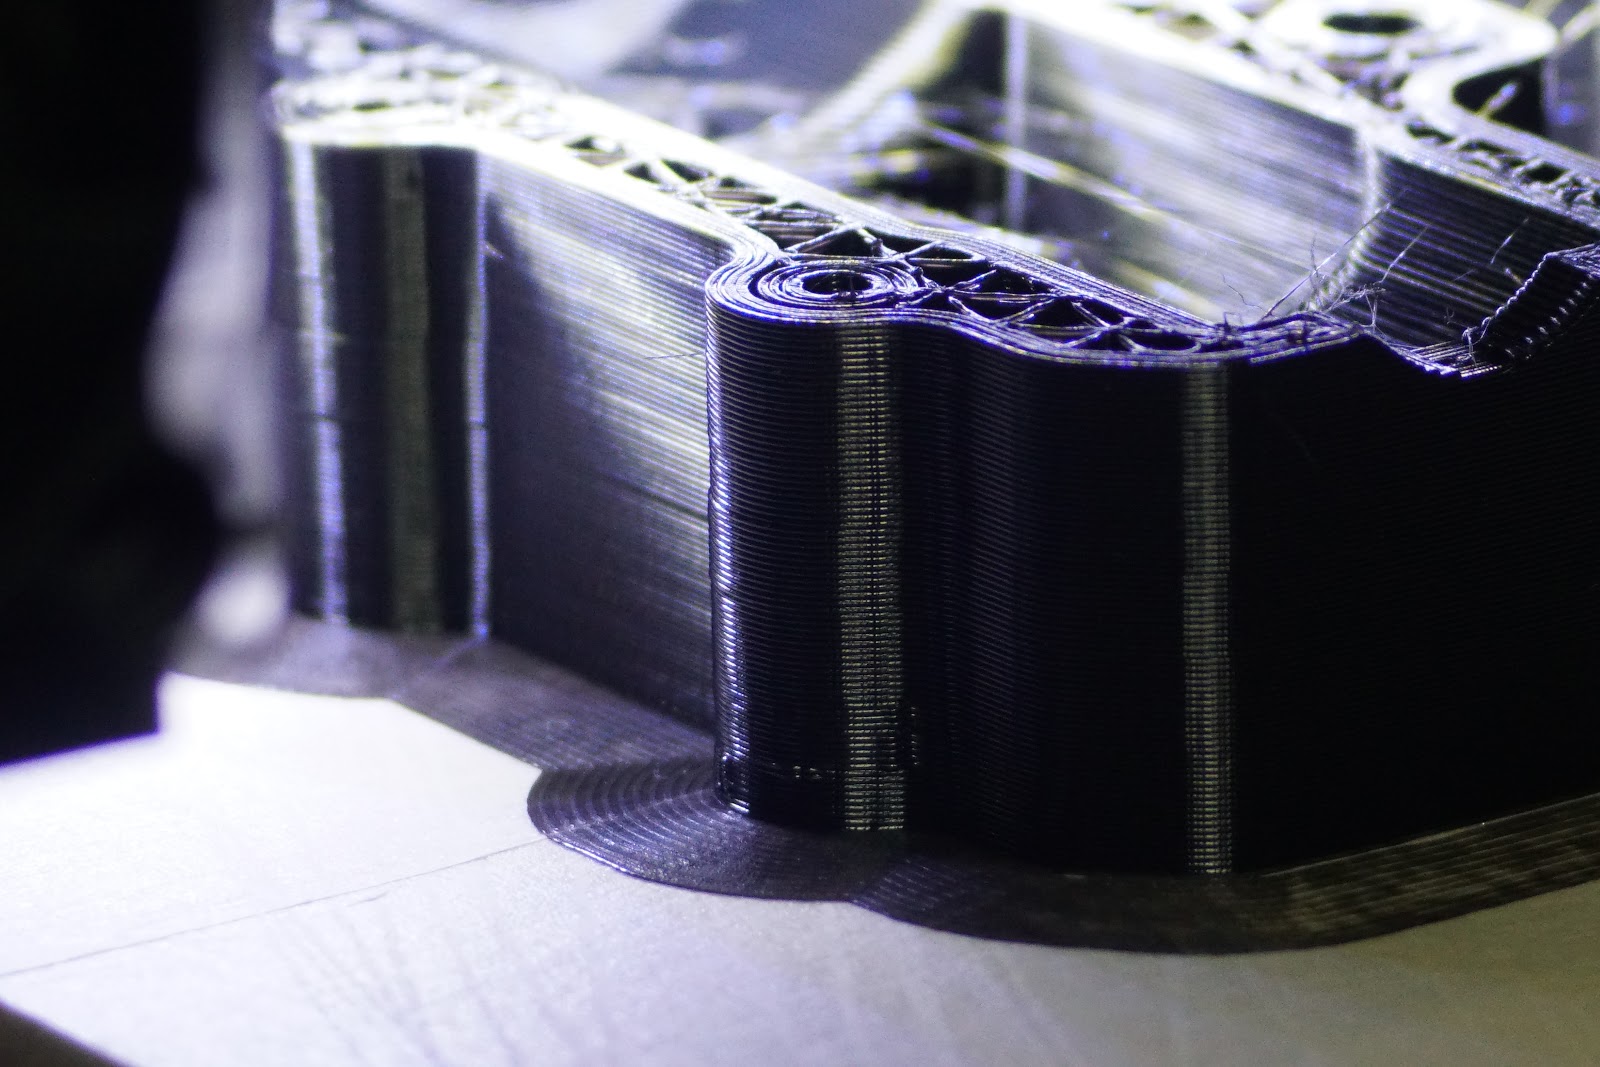
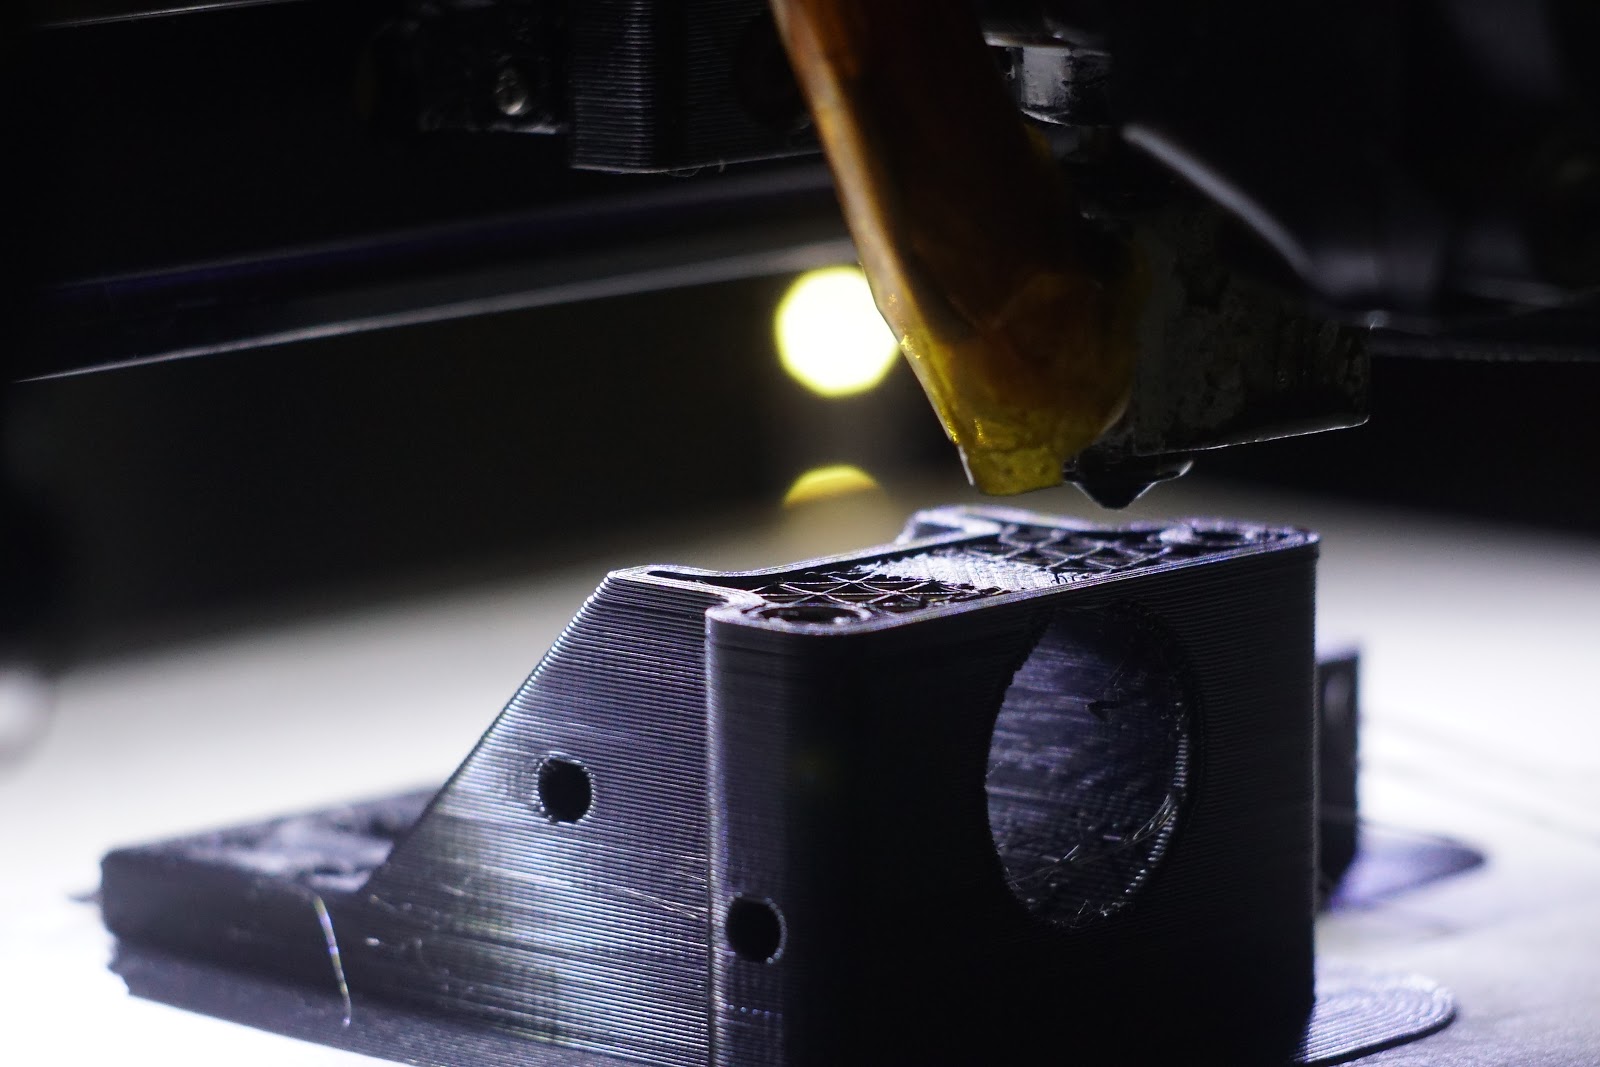
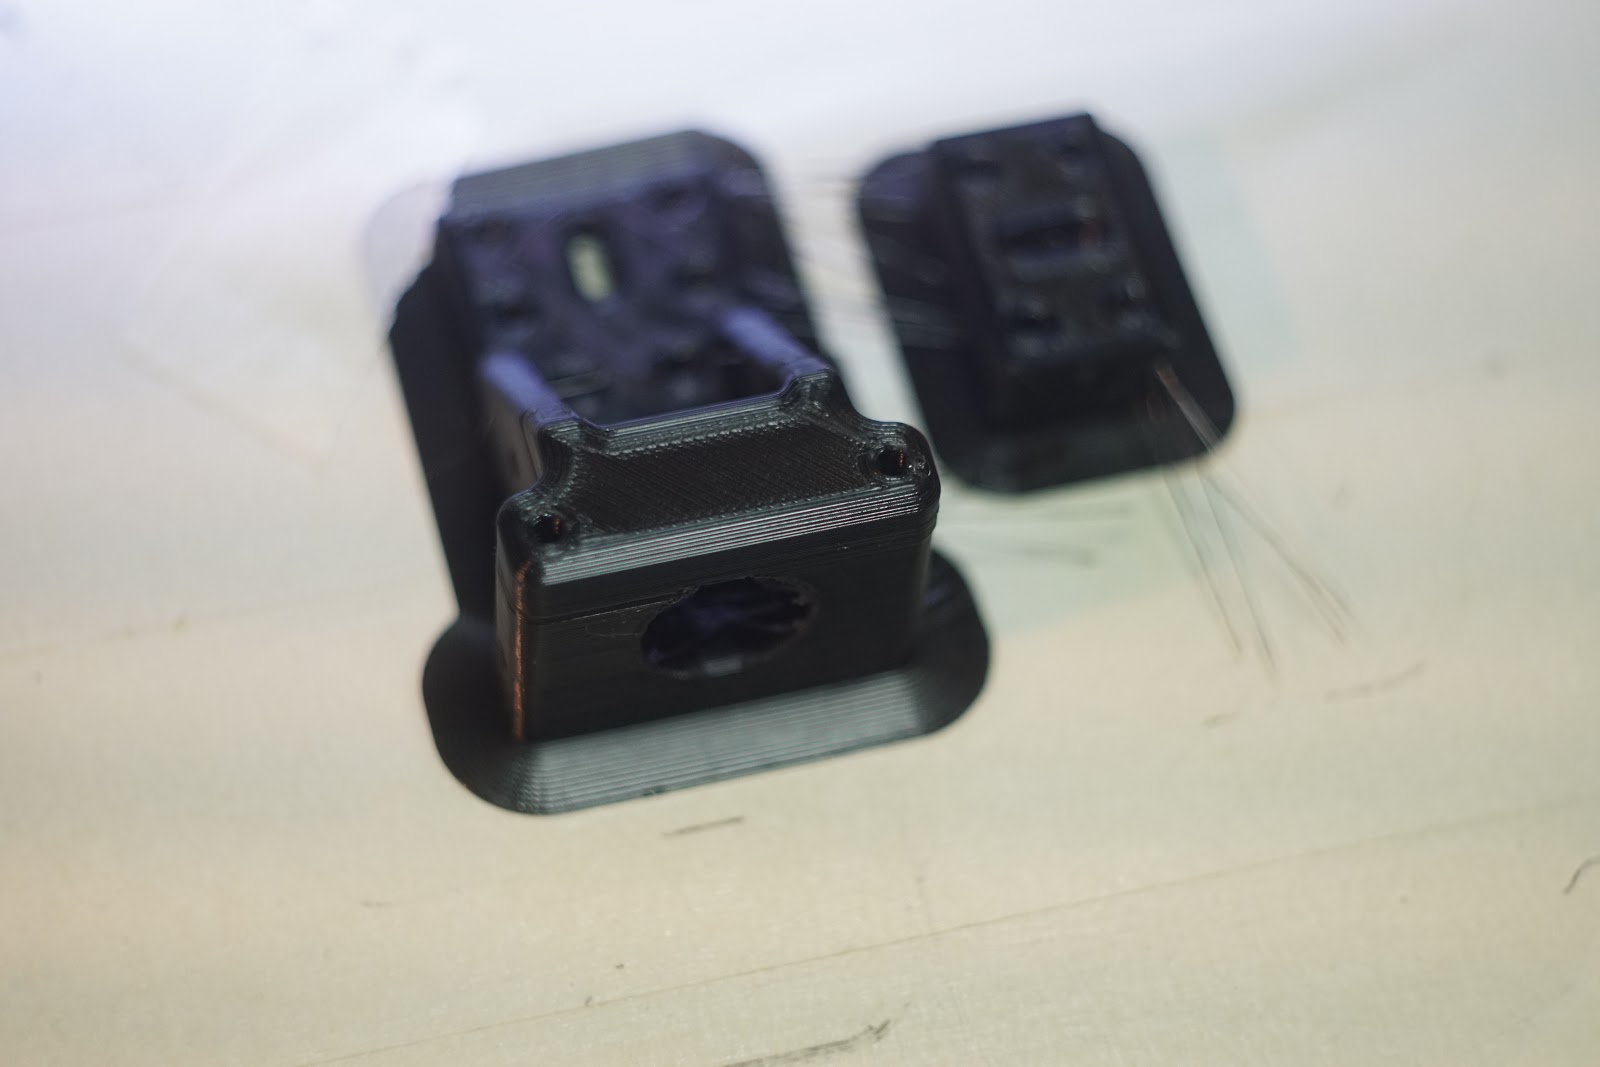
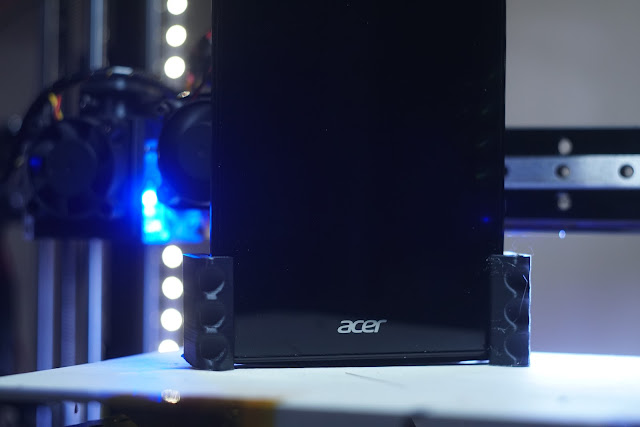
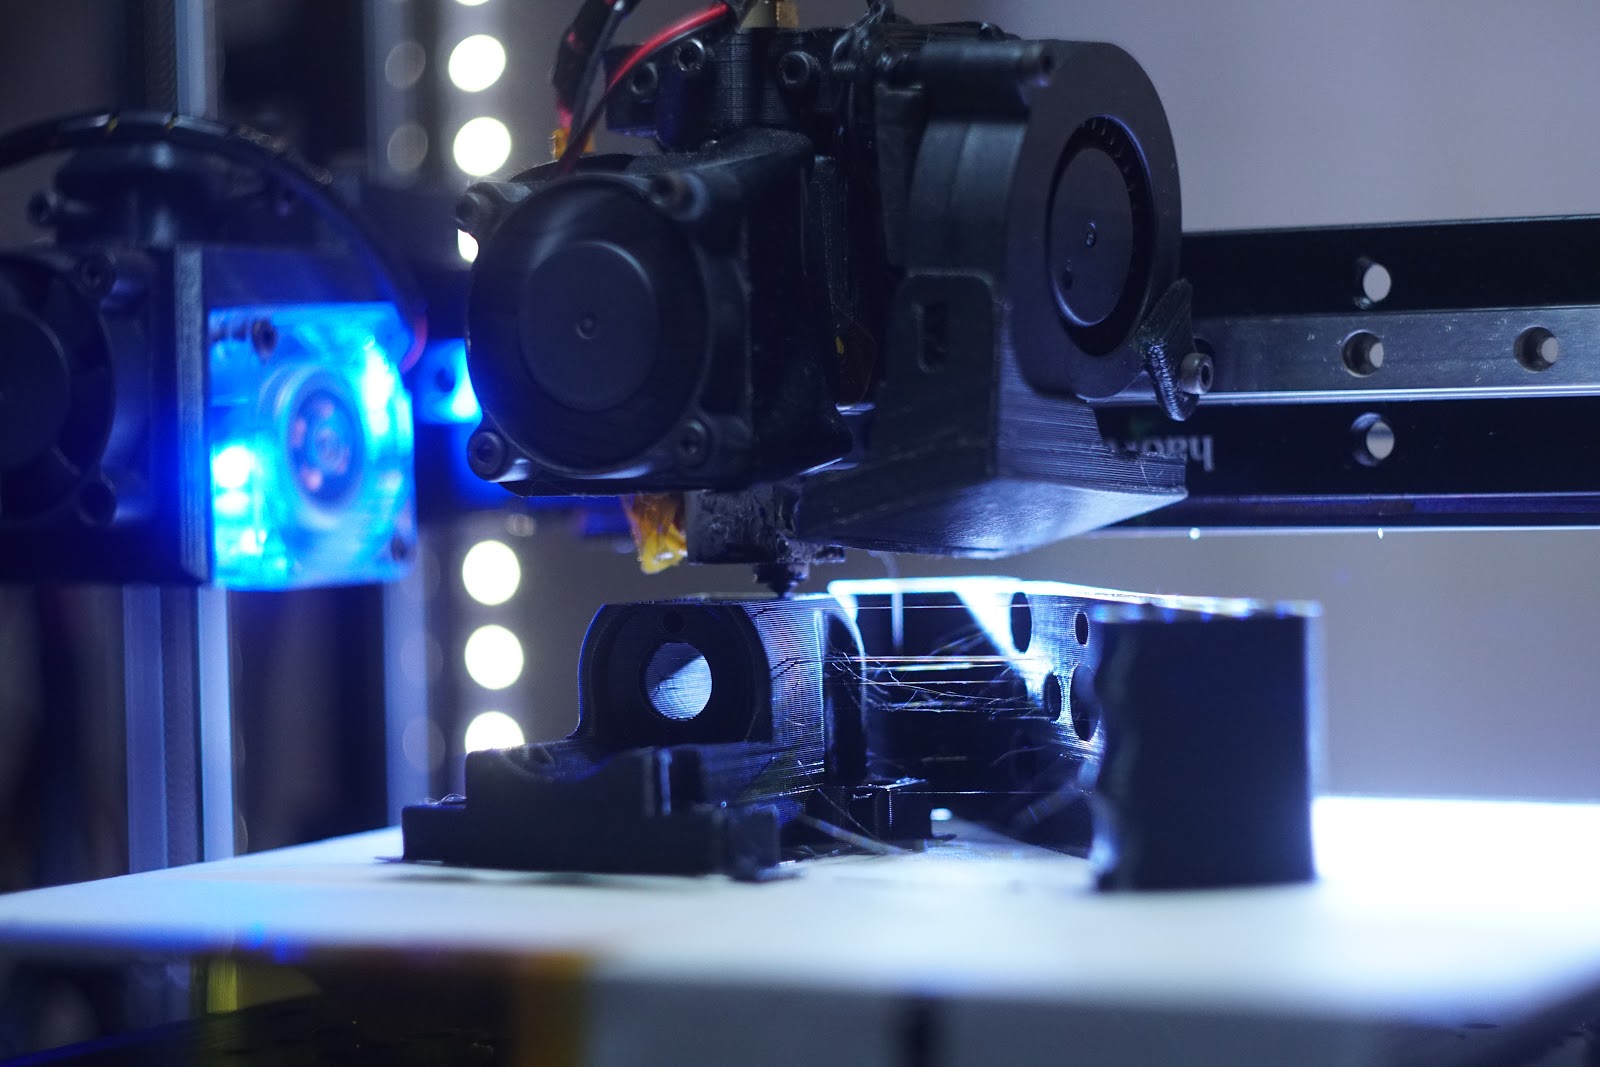
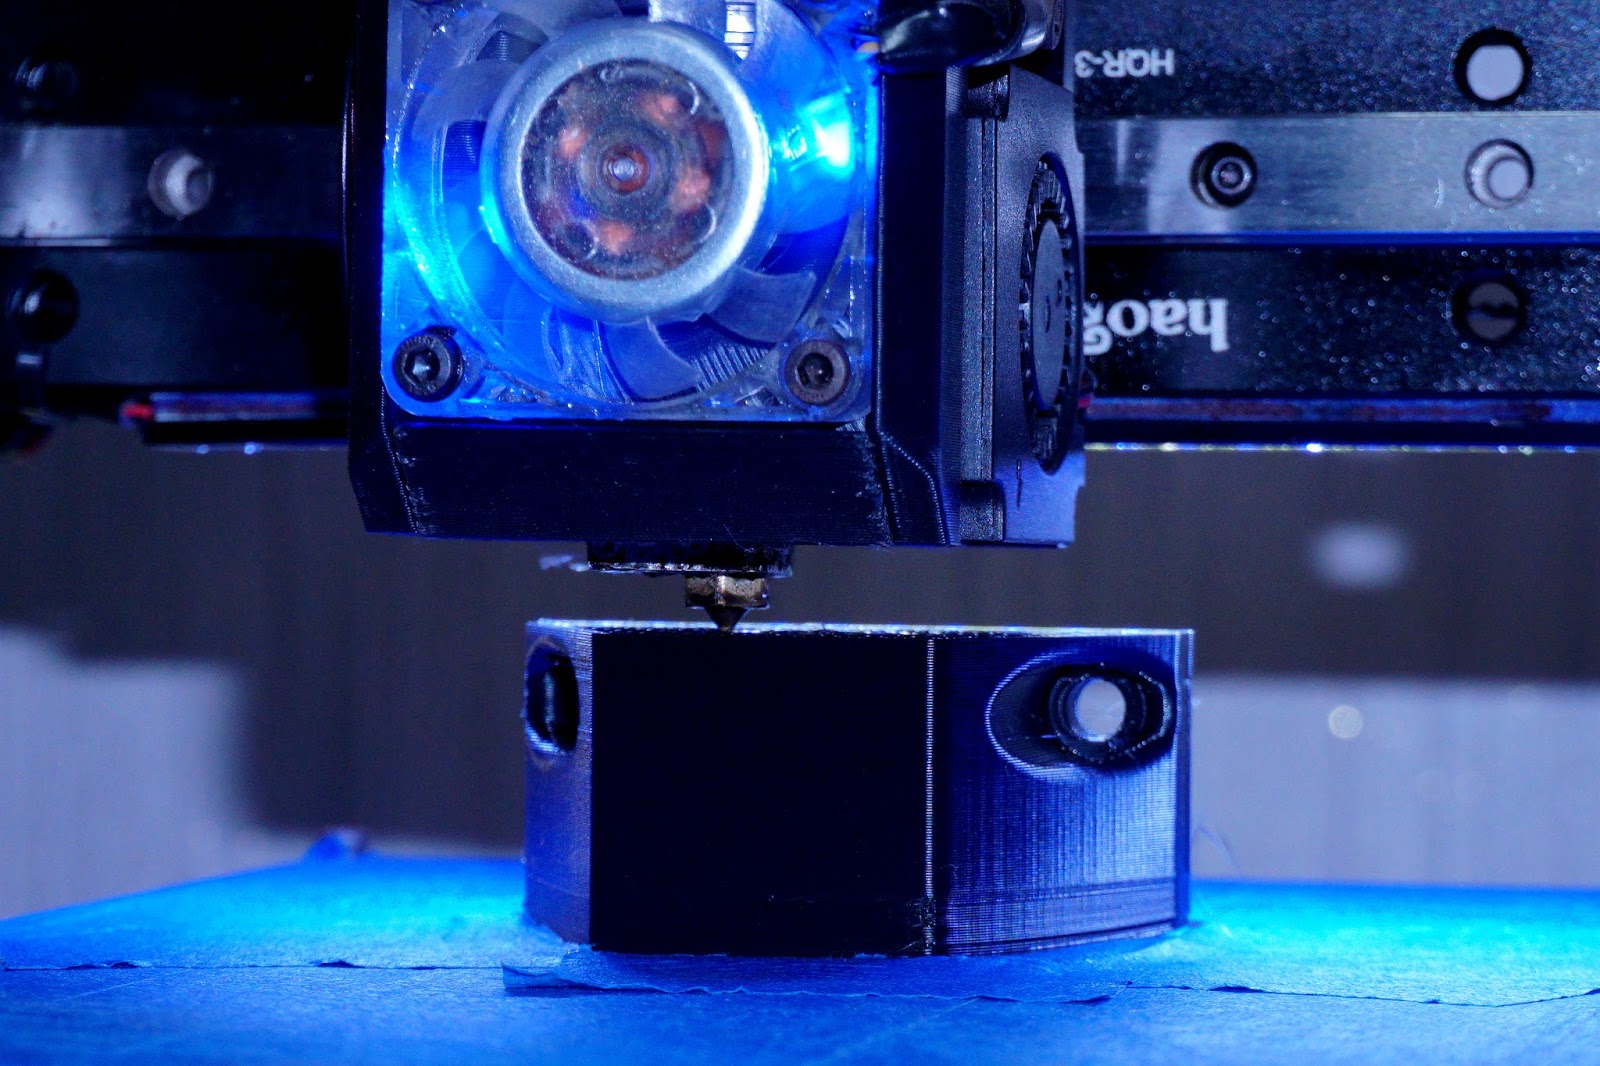
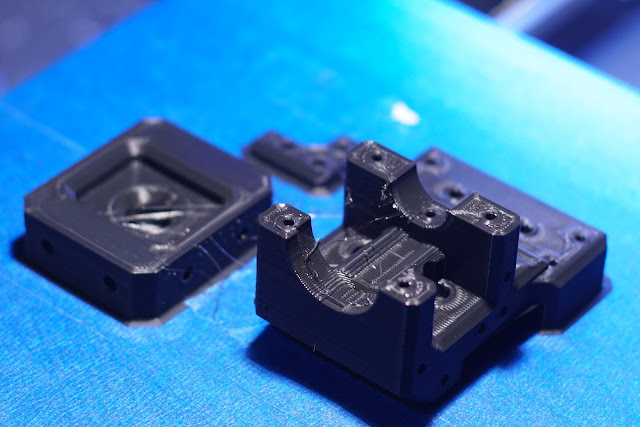
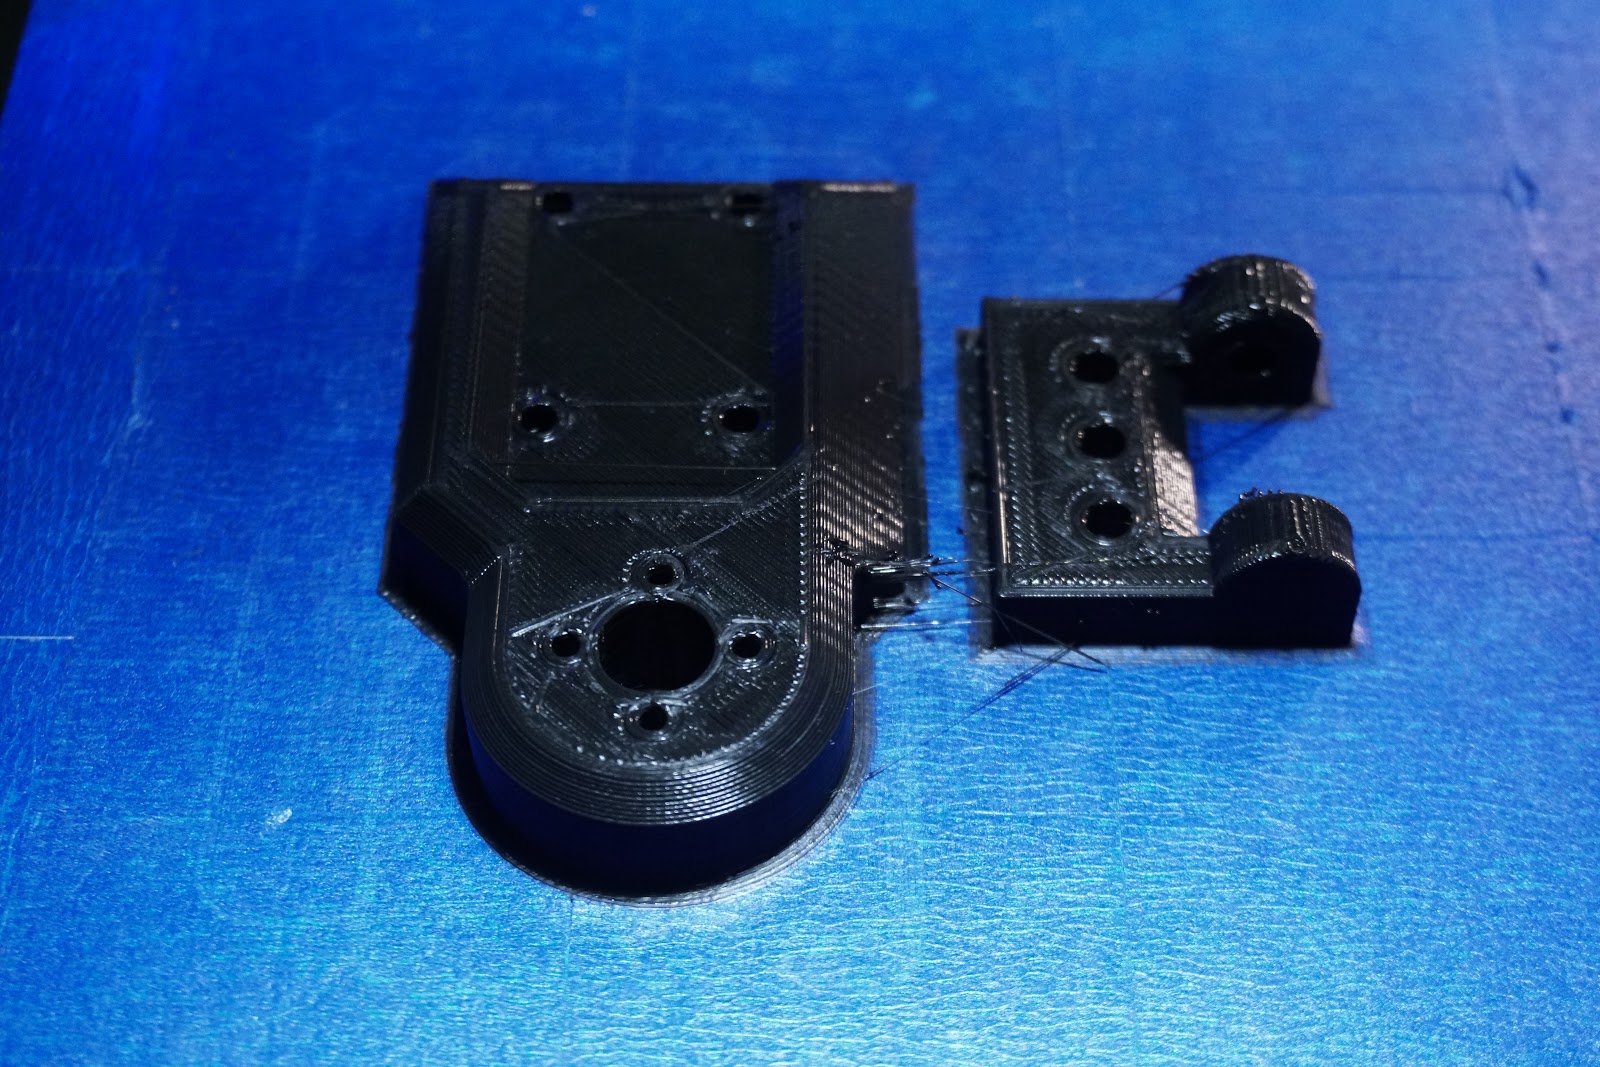
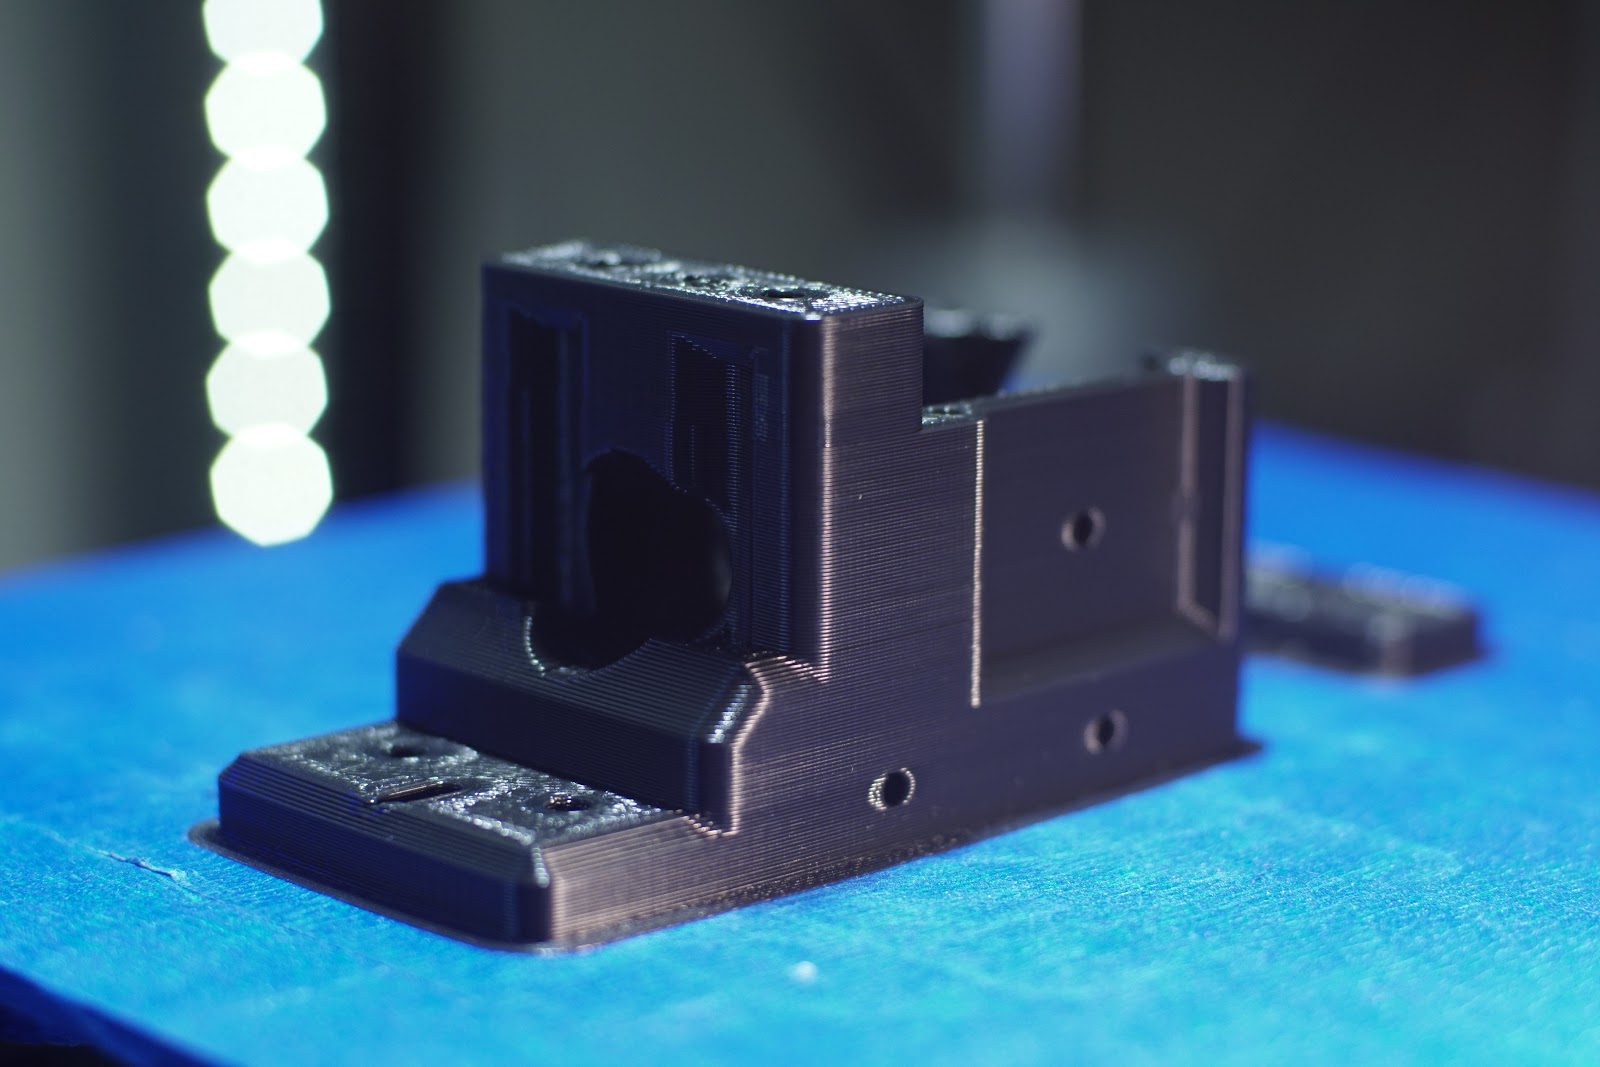
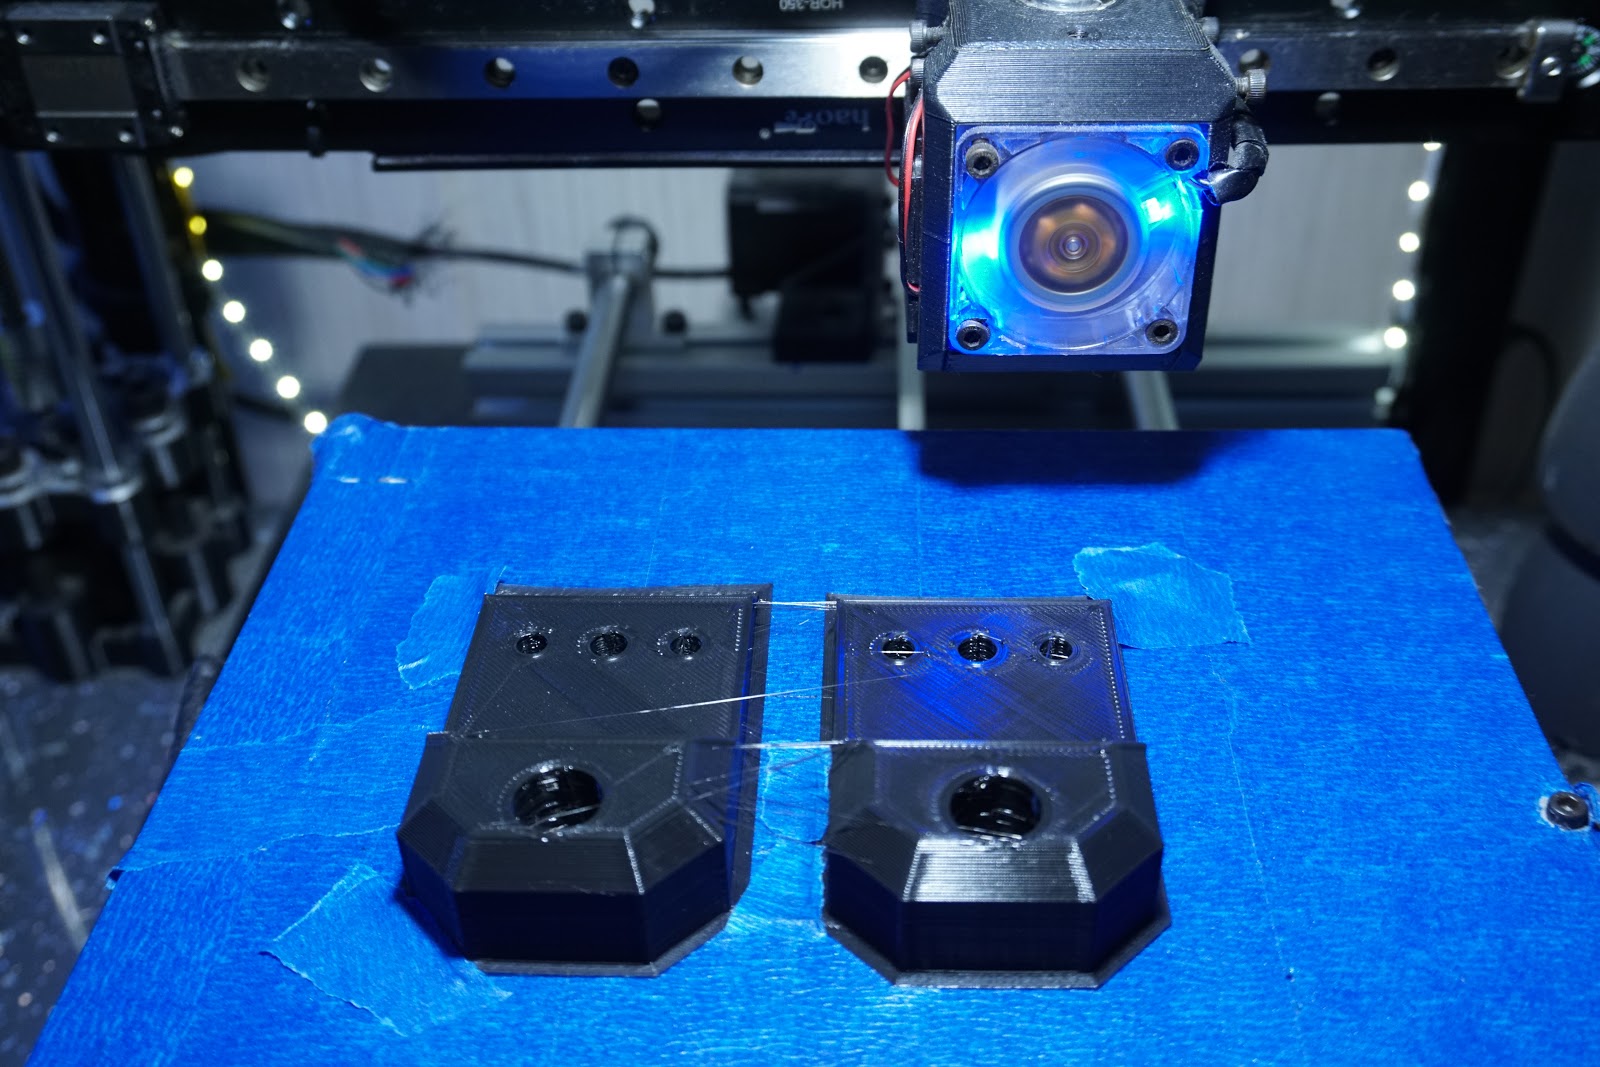
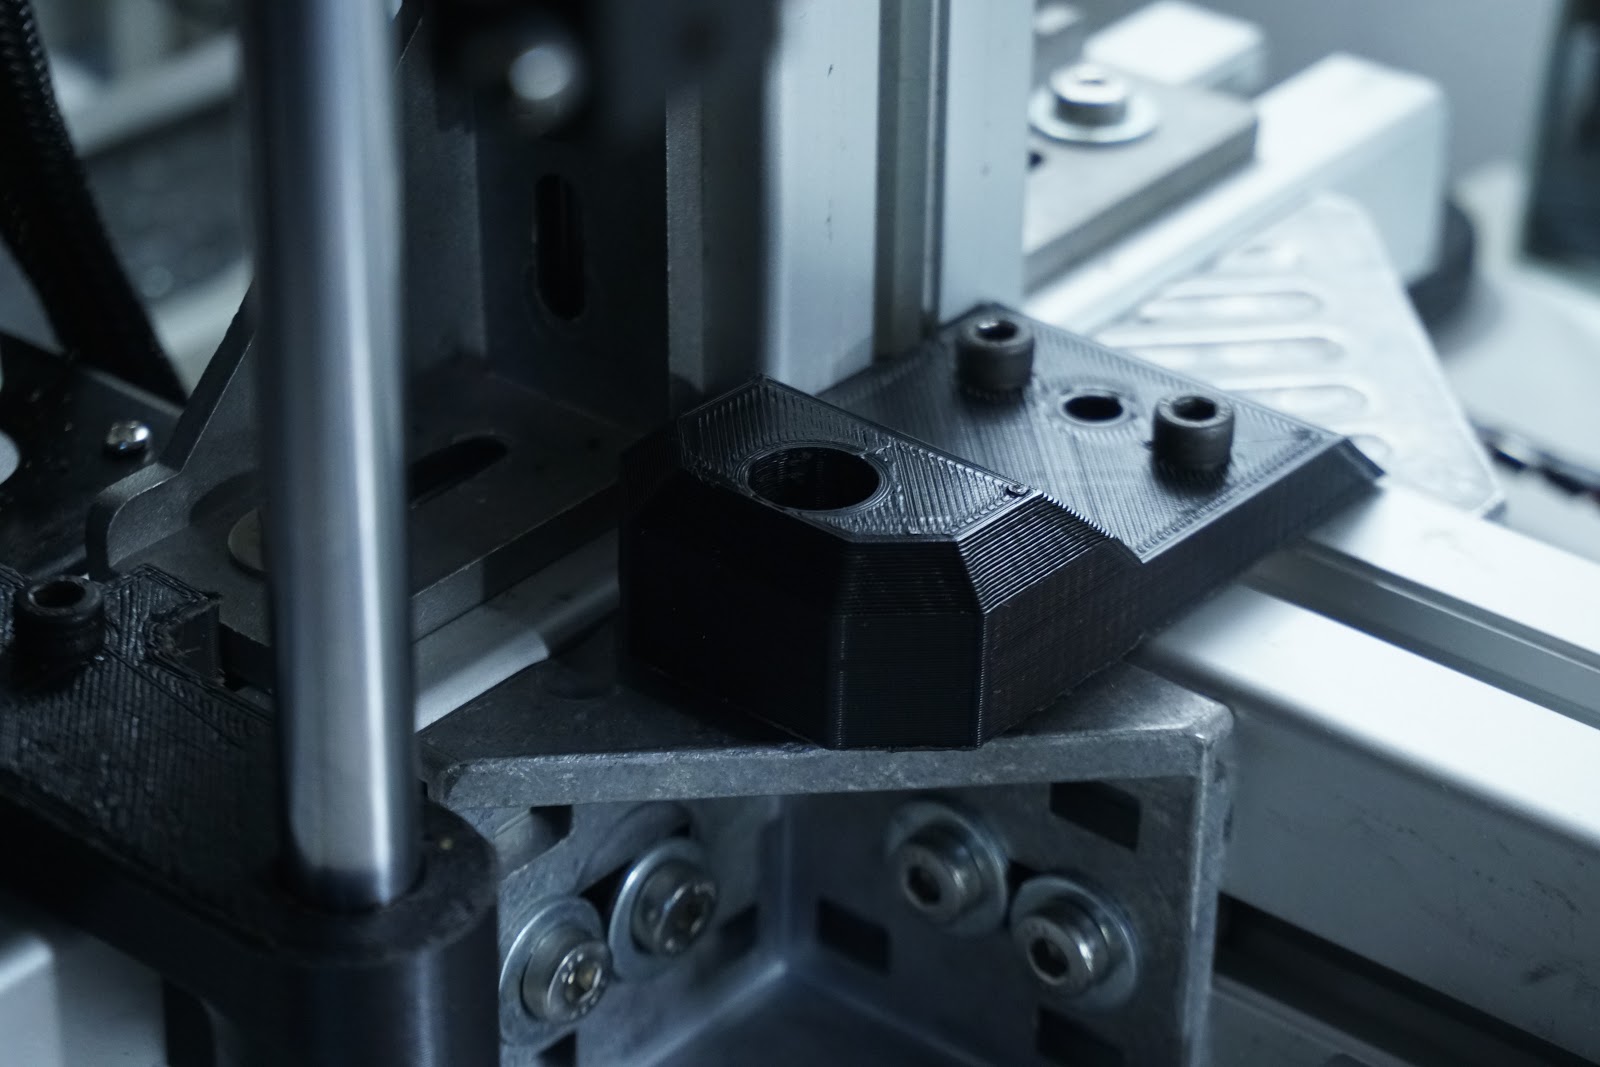
While i'm happy with mostly metal parts, it's also good to reclaim them for other use, by printing something to take its place and try to improve things(even though its not metal), I printed these bearing blocks for under the openbuild plate, not to be used in heated chamber, but if i'm only printing at PLA temps they should be alright for a while, reduce the mass a little, so maybe a little improvement.
Once again you do a number of versions, Big Dual Block, Smaller seperate blocks, just the right height, these are for the long(57mm) 12mm bearings, but only after I started the print did I realize instead of having a recess for the 57mm, I should have had a little extra room in there so i could use 2x the 30mm version instead of one long one.


Who are the Lurkers without voice or face?
Edited 1 time(s). Last edit at 10/19/2017 02:03PM by MechaBits.
Once again you do a number of versions, Big Dual Block, Smaller seperate blocks, just the right height, these are for the long(57mm) 12mm bearings, but only after I started the print did I realize instead of having a recess for the 57mm, I should have had a little extra room in there so i could use 2x the 30mm version instead of one long one.


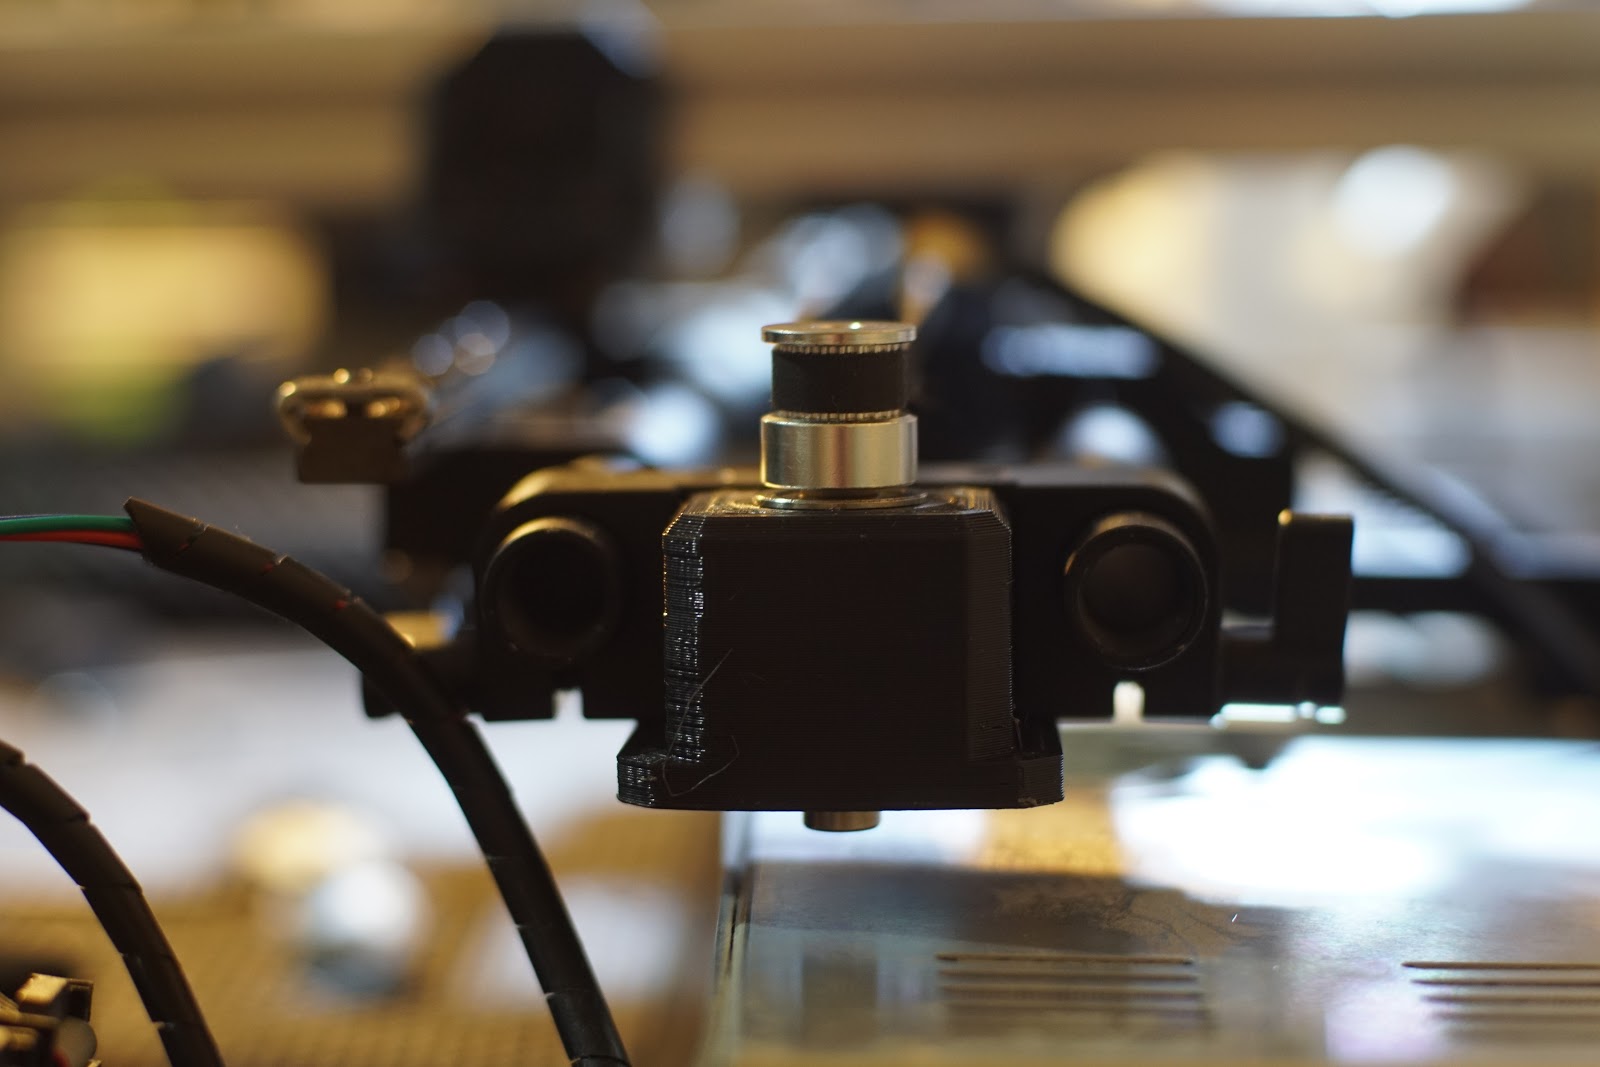
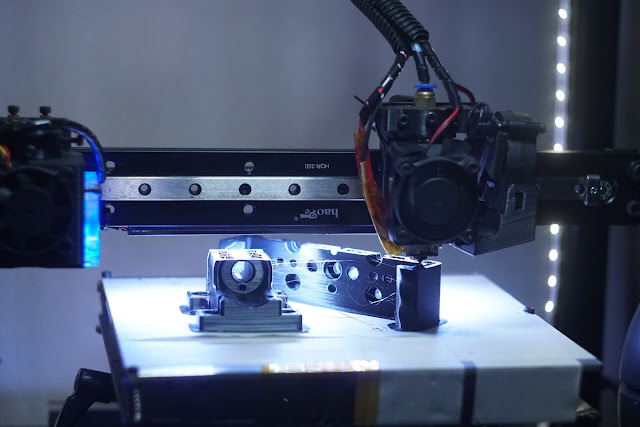
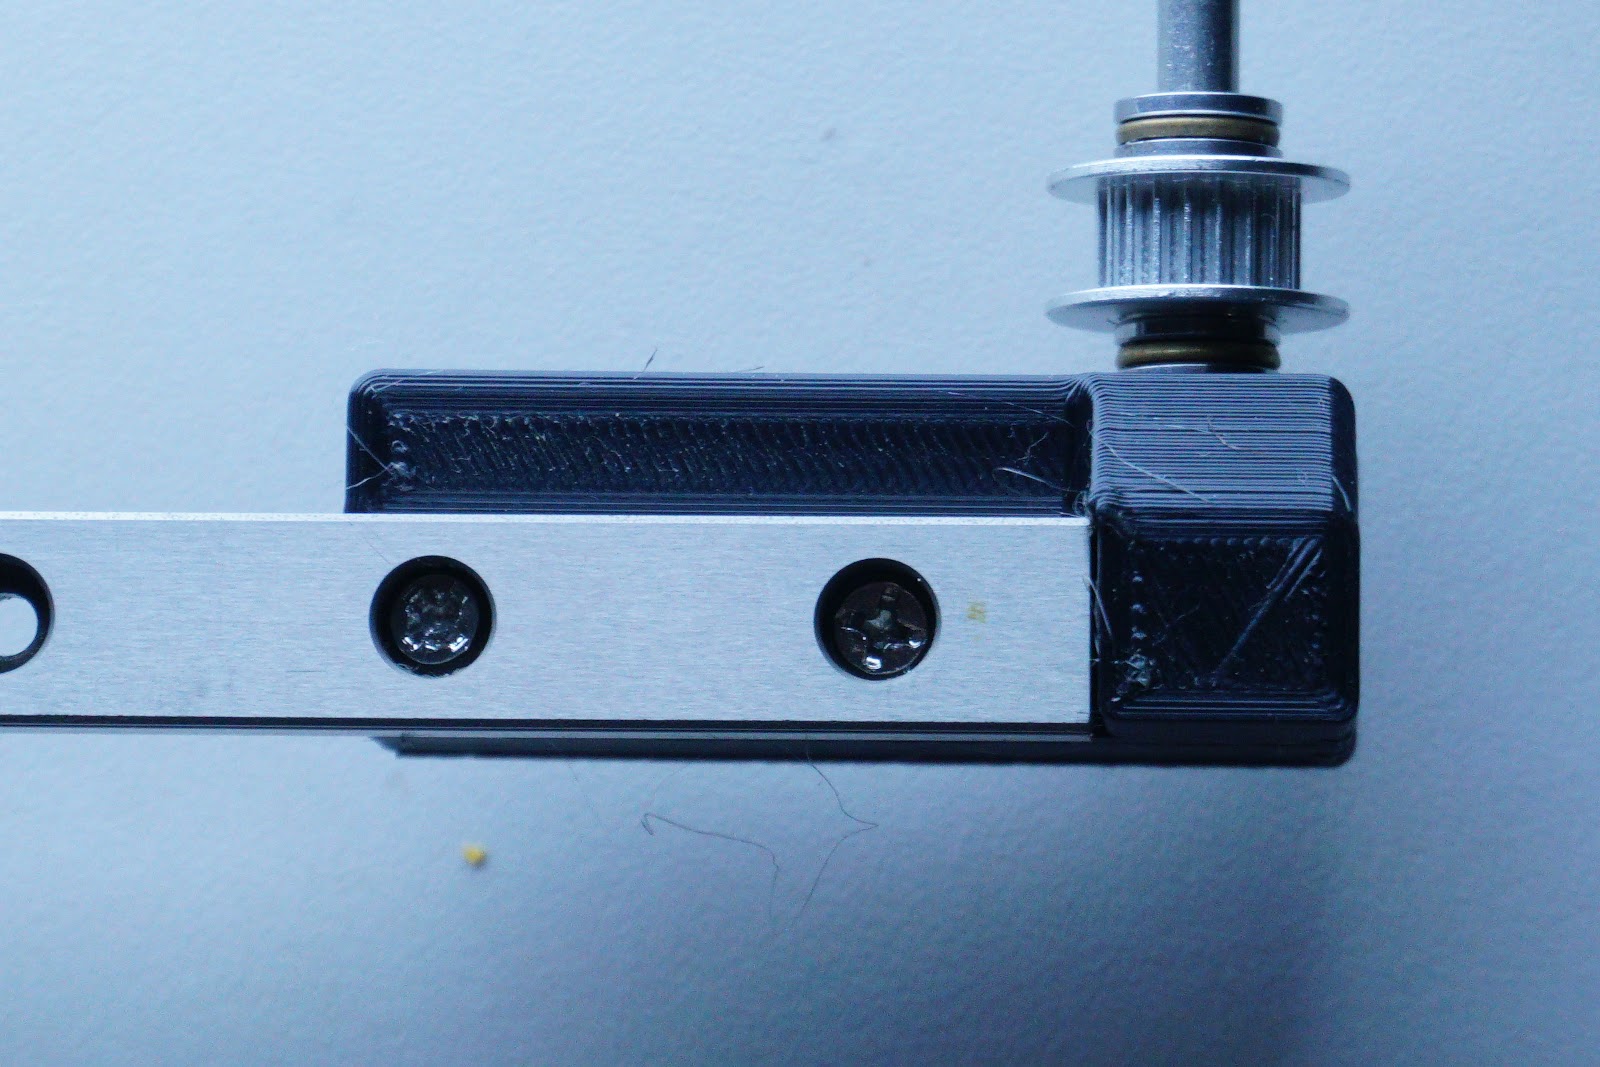
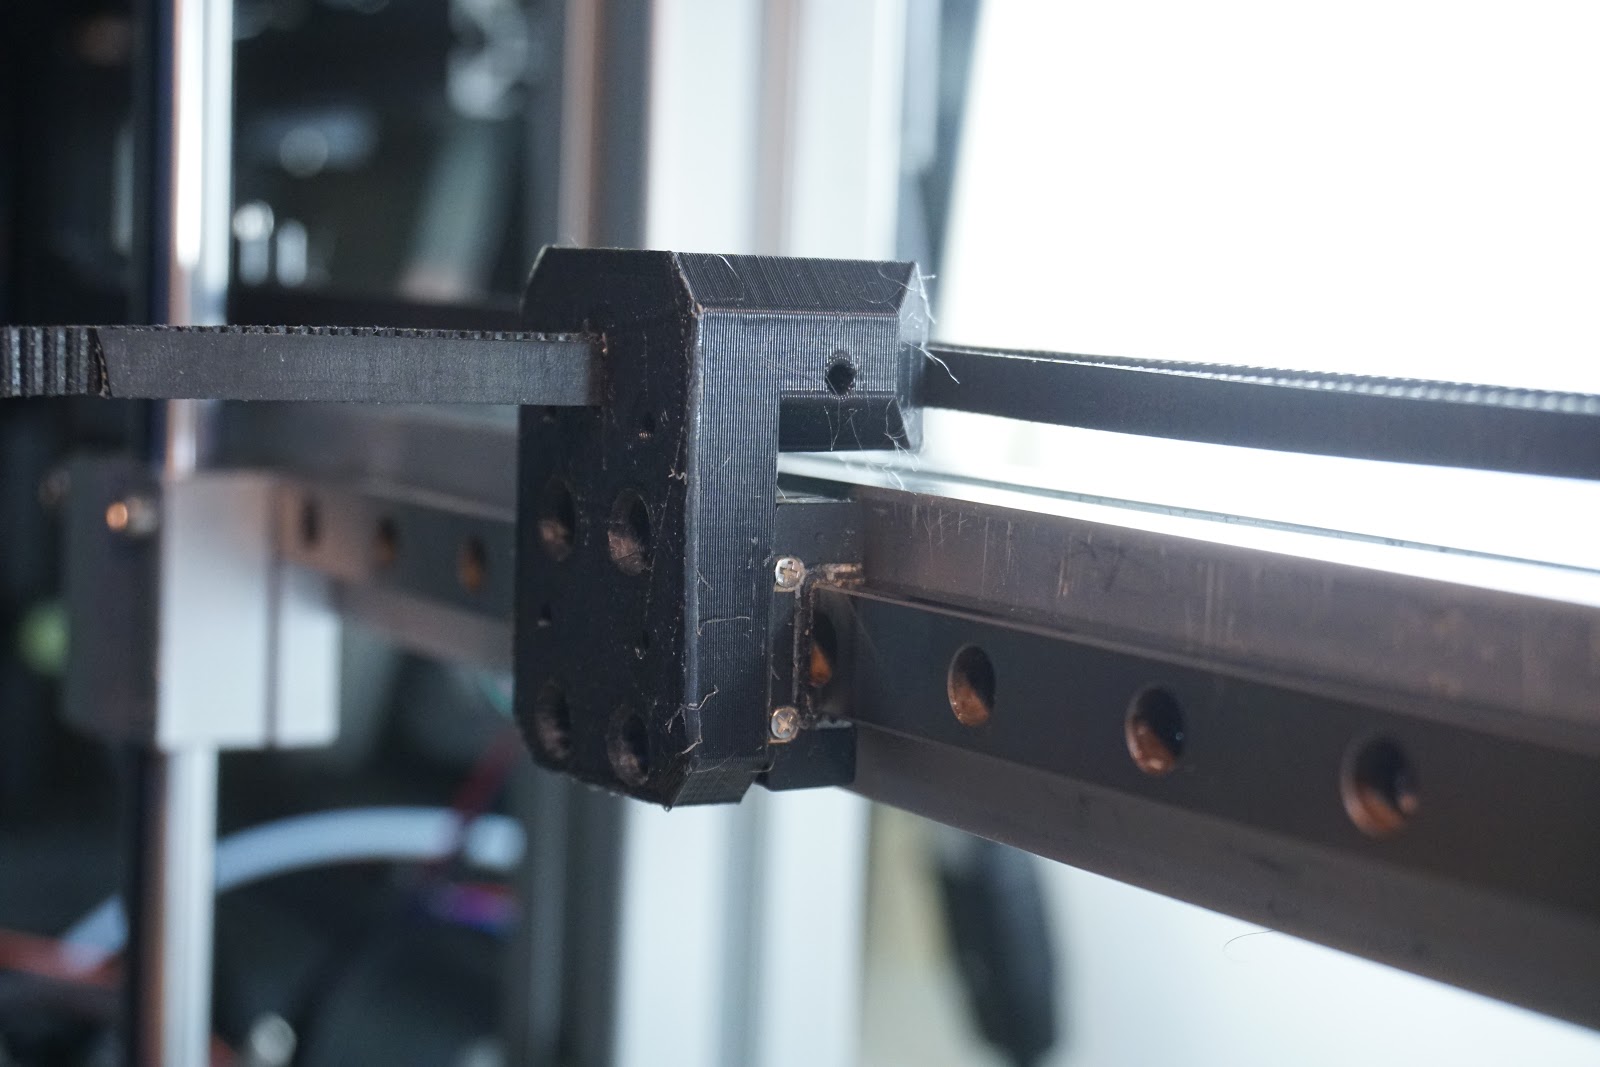
These are parts are 3030 Idler for the Bed,
and Extruder Mount/Rail Spacer for top of Z
on new Mini-Mech


Who are the Lurkers without voice or face?
Edited 1 time(s). Last edit at 10/19/2017 02:03PM by MechaBits.
|
Re: MechaBits KraftWerk'r October 19, 2017 10:35PM |
Registered: 10 years ago Posts: 770 |
|
Re: MechaBits KraftWerk'r October 20, 2017 02:33PM |
Registered: 8 years ago Posts: 1,671 |
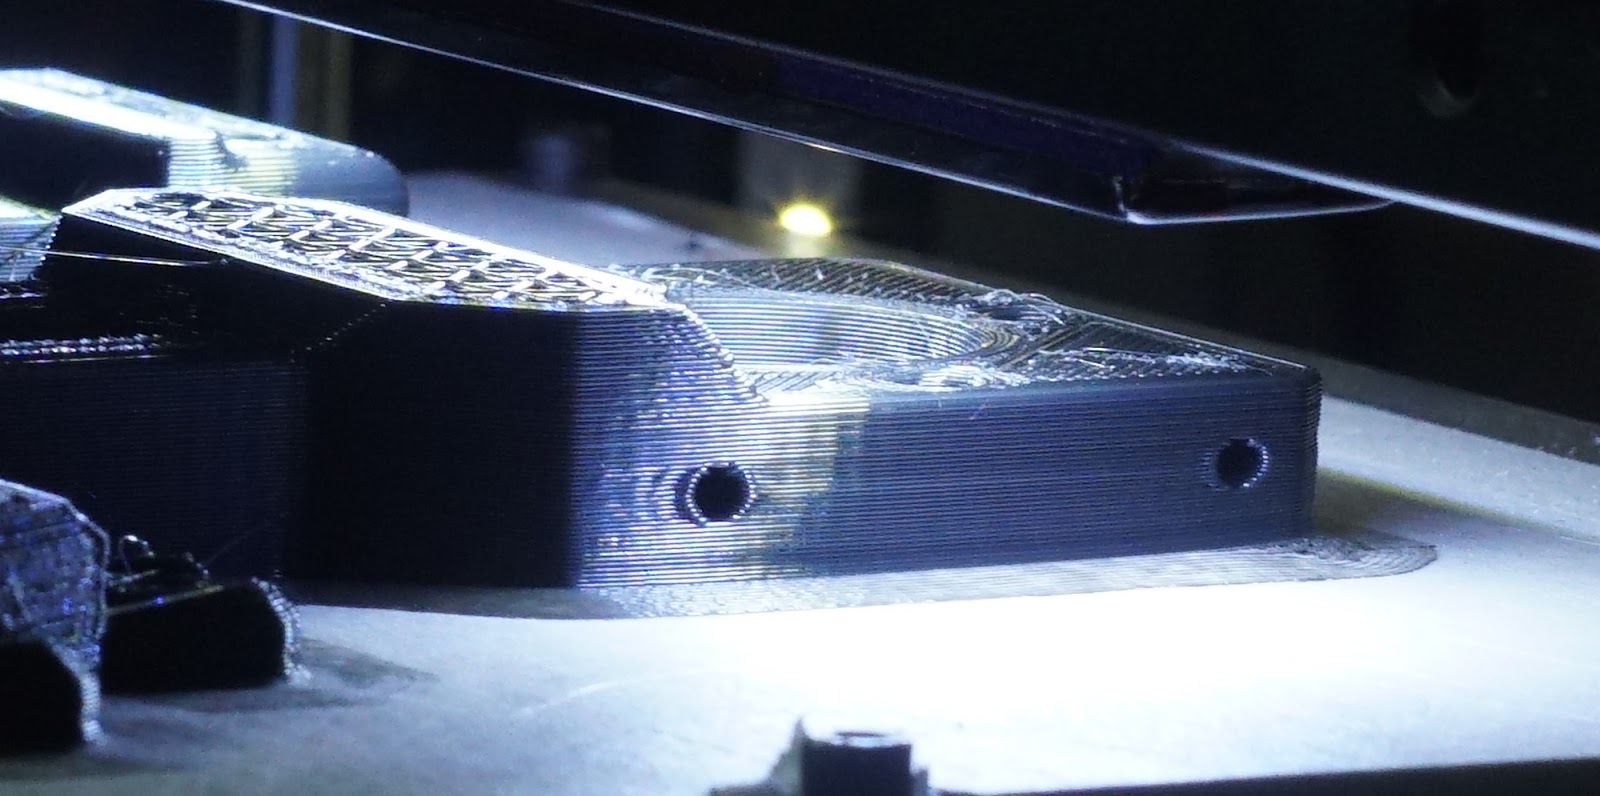
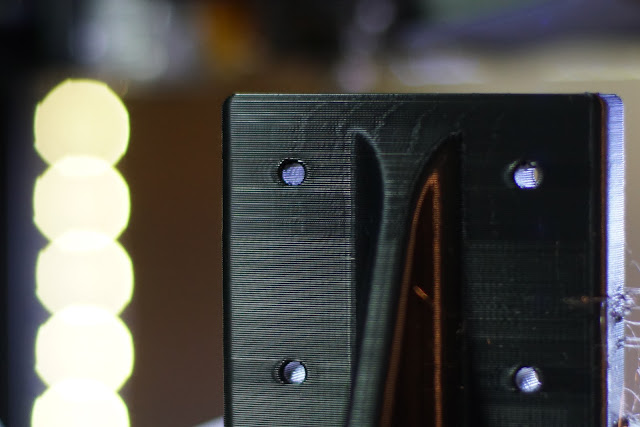
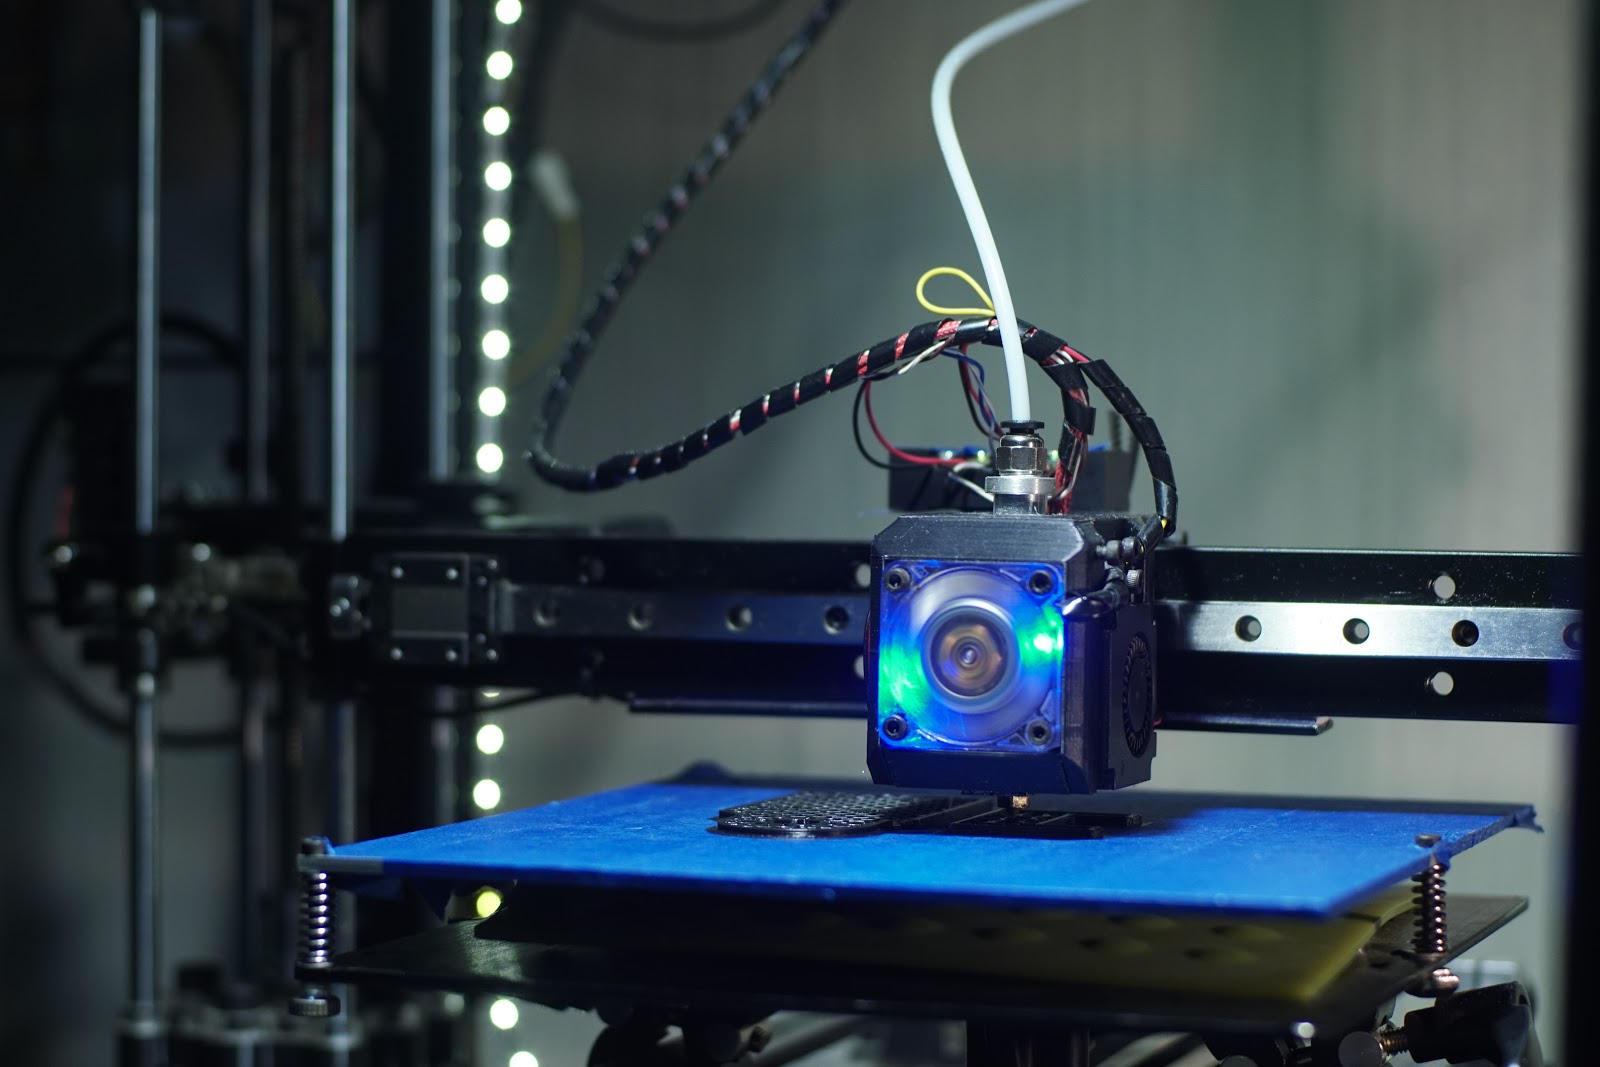
Cheers Floyd thanks for dropping by, we've all seen better but I'm happy enough, still got the warp issues, and maybe some other 'issues'  even though most times I can still use the part, it still means a re-print at some point to make things look better, but aside from getting some auto level to make things better, or expensive matte filament, or other more expensive options, i'll have to make do with tiny incremental user improvements, even though there are improvements sometimes I feel older prints have come out better and it seems to be only down to the filament used.
Just swapped a few things around and about to do another small print without re calibration, see if i've messed anything up in the process.
Edited 2 time(s). Last edit at 10/22/2017 02:17PM by MechaBits.
even though most times I can still use the part, it still means a re-print at some point to make things look better, but aside from getting some auto level to make things better, or expensive matte filament, or other more expensive options, i'll have to make do with tiny incremental user improvements, even though there are improvements sometimes I feel older prints have come out better and it seems to be only down to the filament used.Just swapped a few things around and about to do another small print without re calibration, see if i've messed anything up in the process.
Edited 2 time(s). Last edit at 10/22/2017 02:17PM by MechaBits.
|
Re: MechaBits KraftWerk'r October 21, 2017 08:36AM |
Registered: 8 years ago Posts: 1,671 |


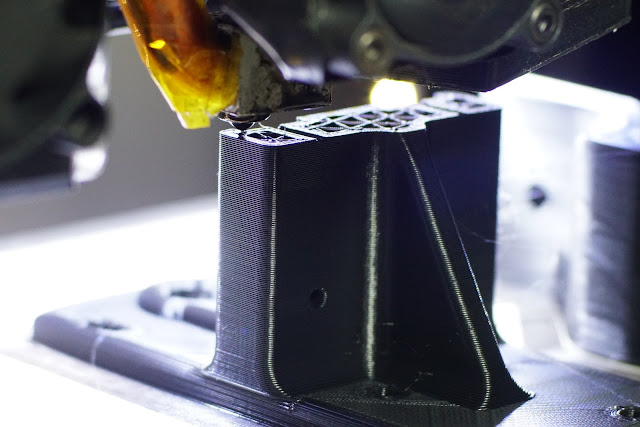
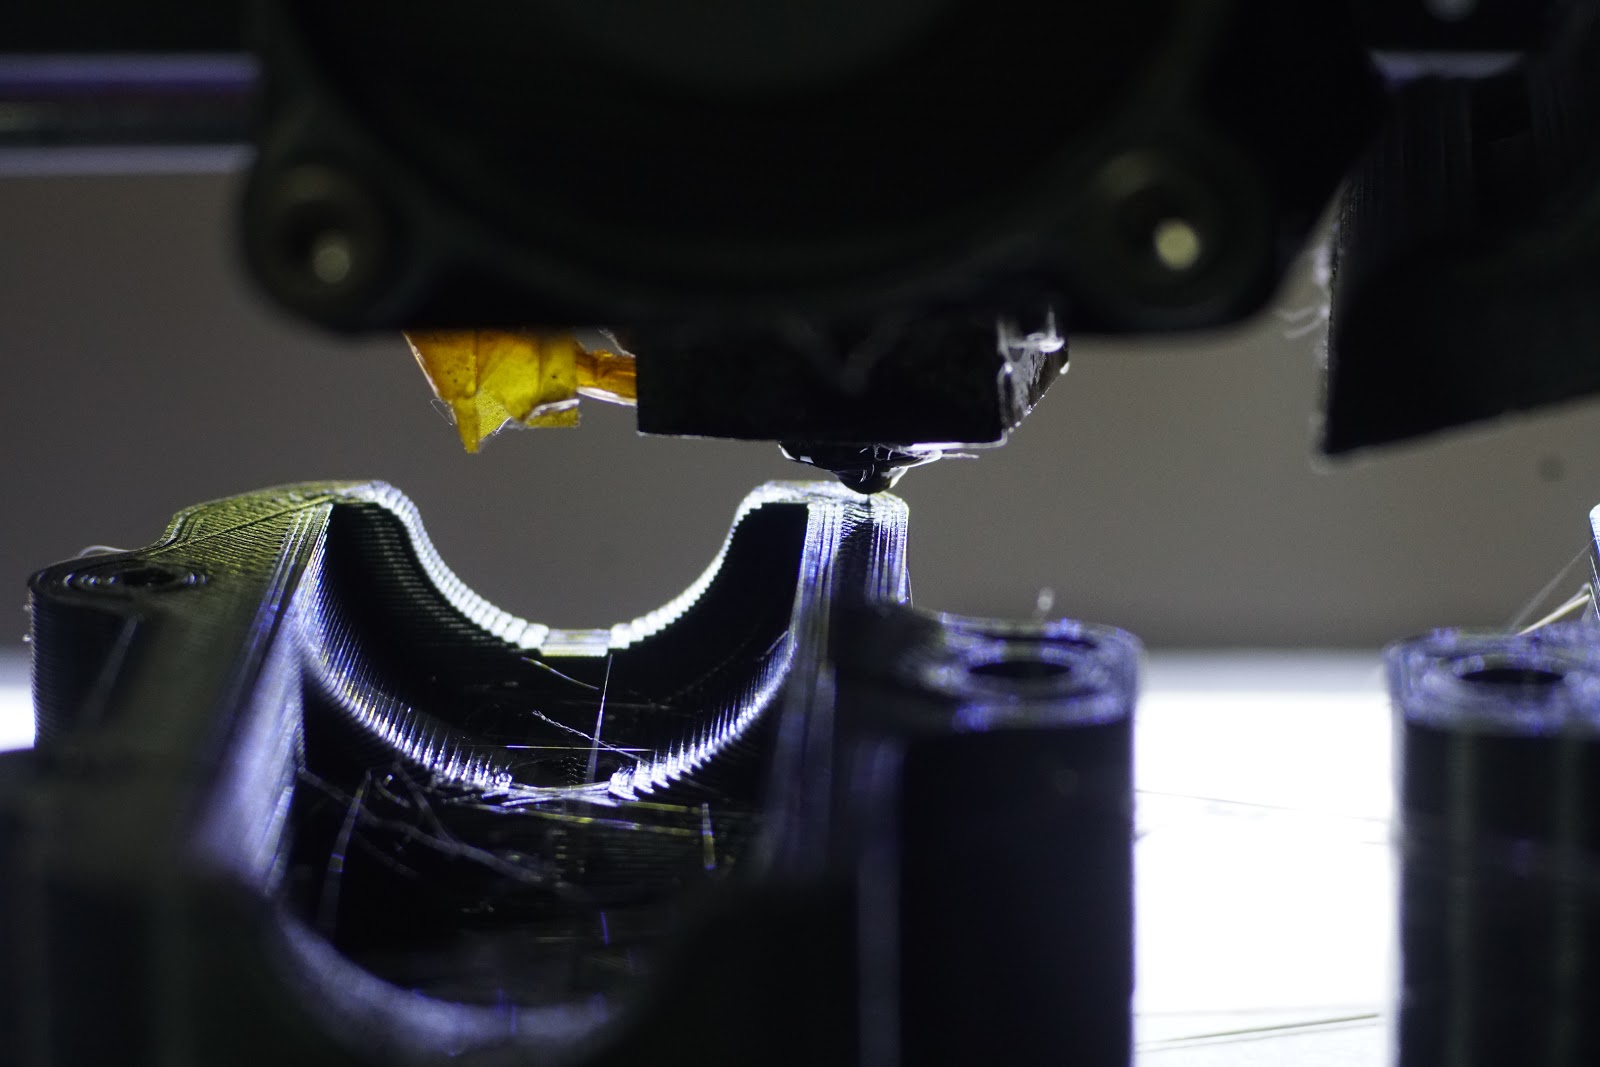
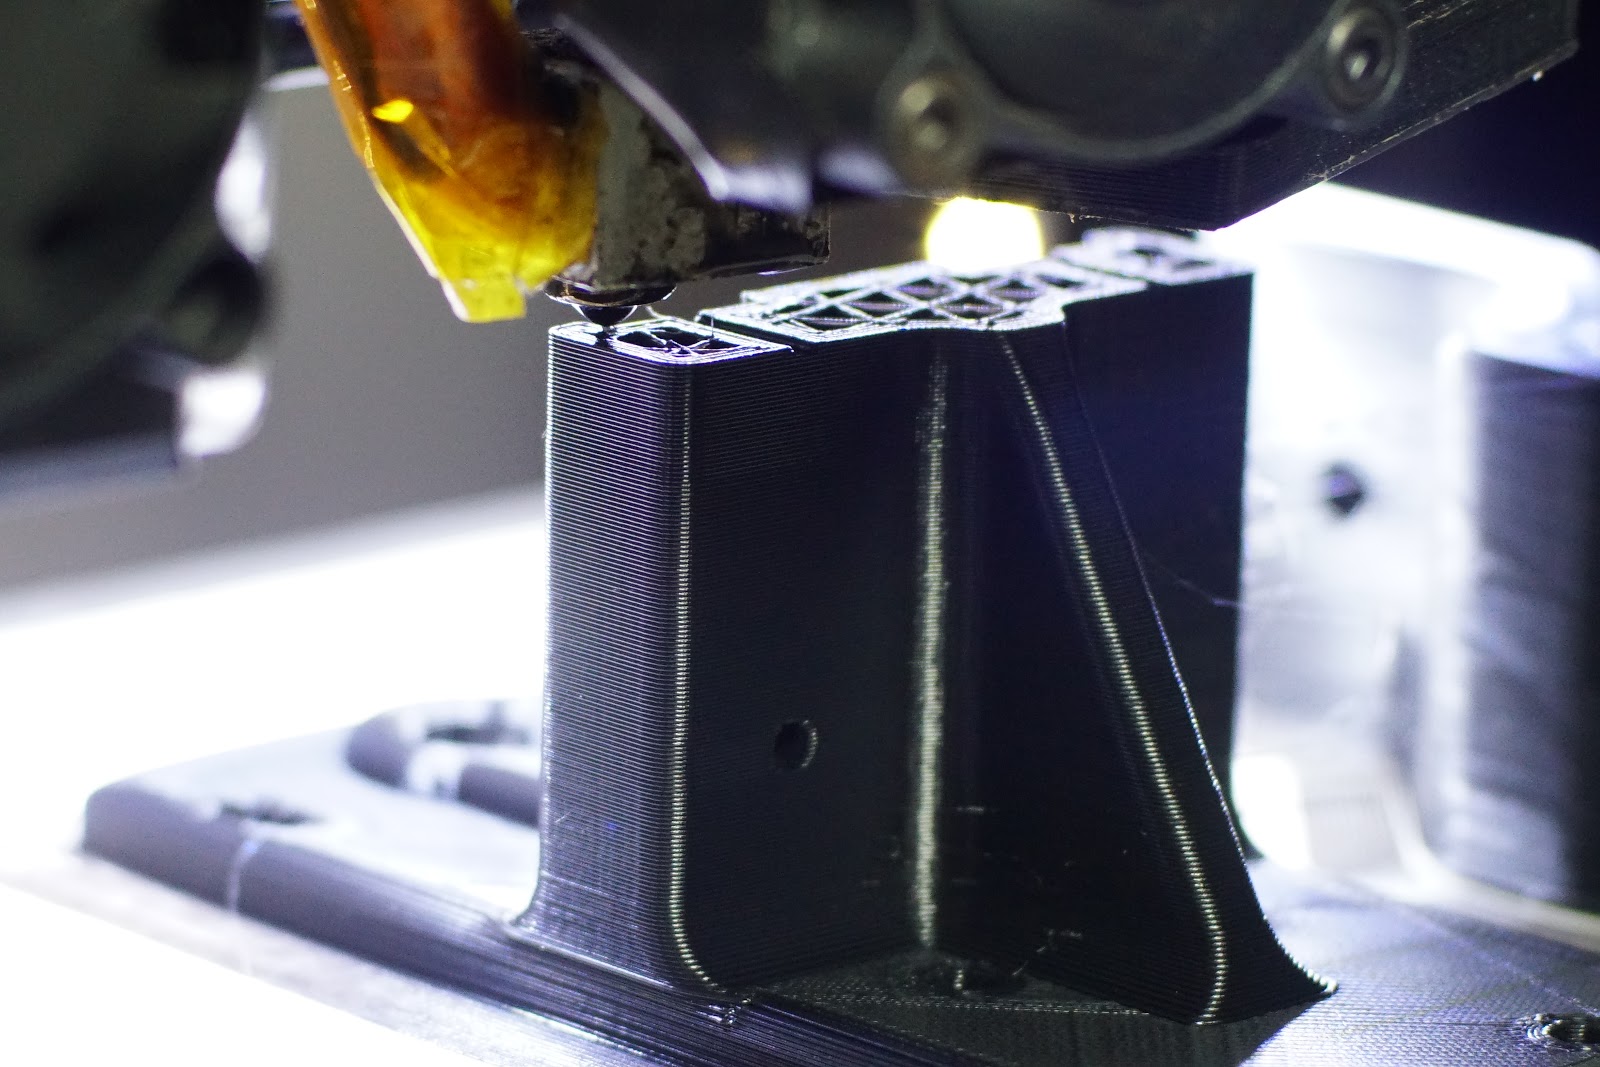
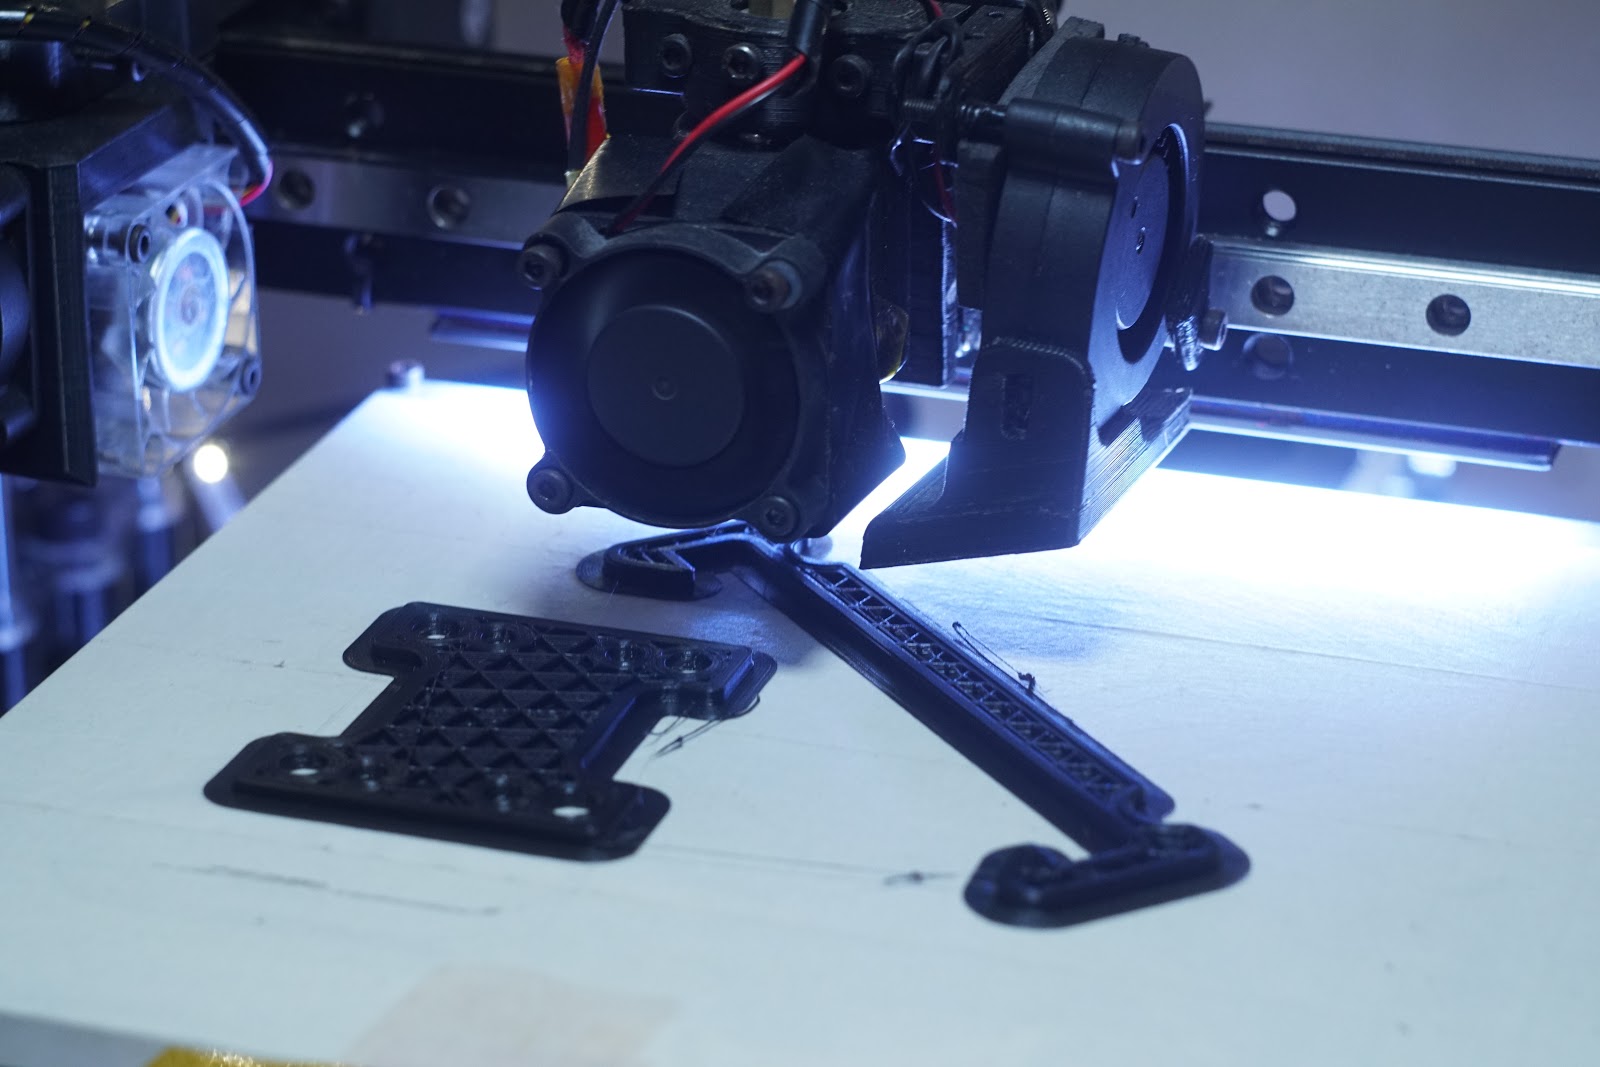
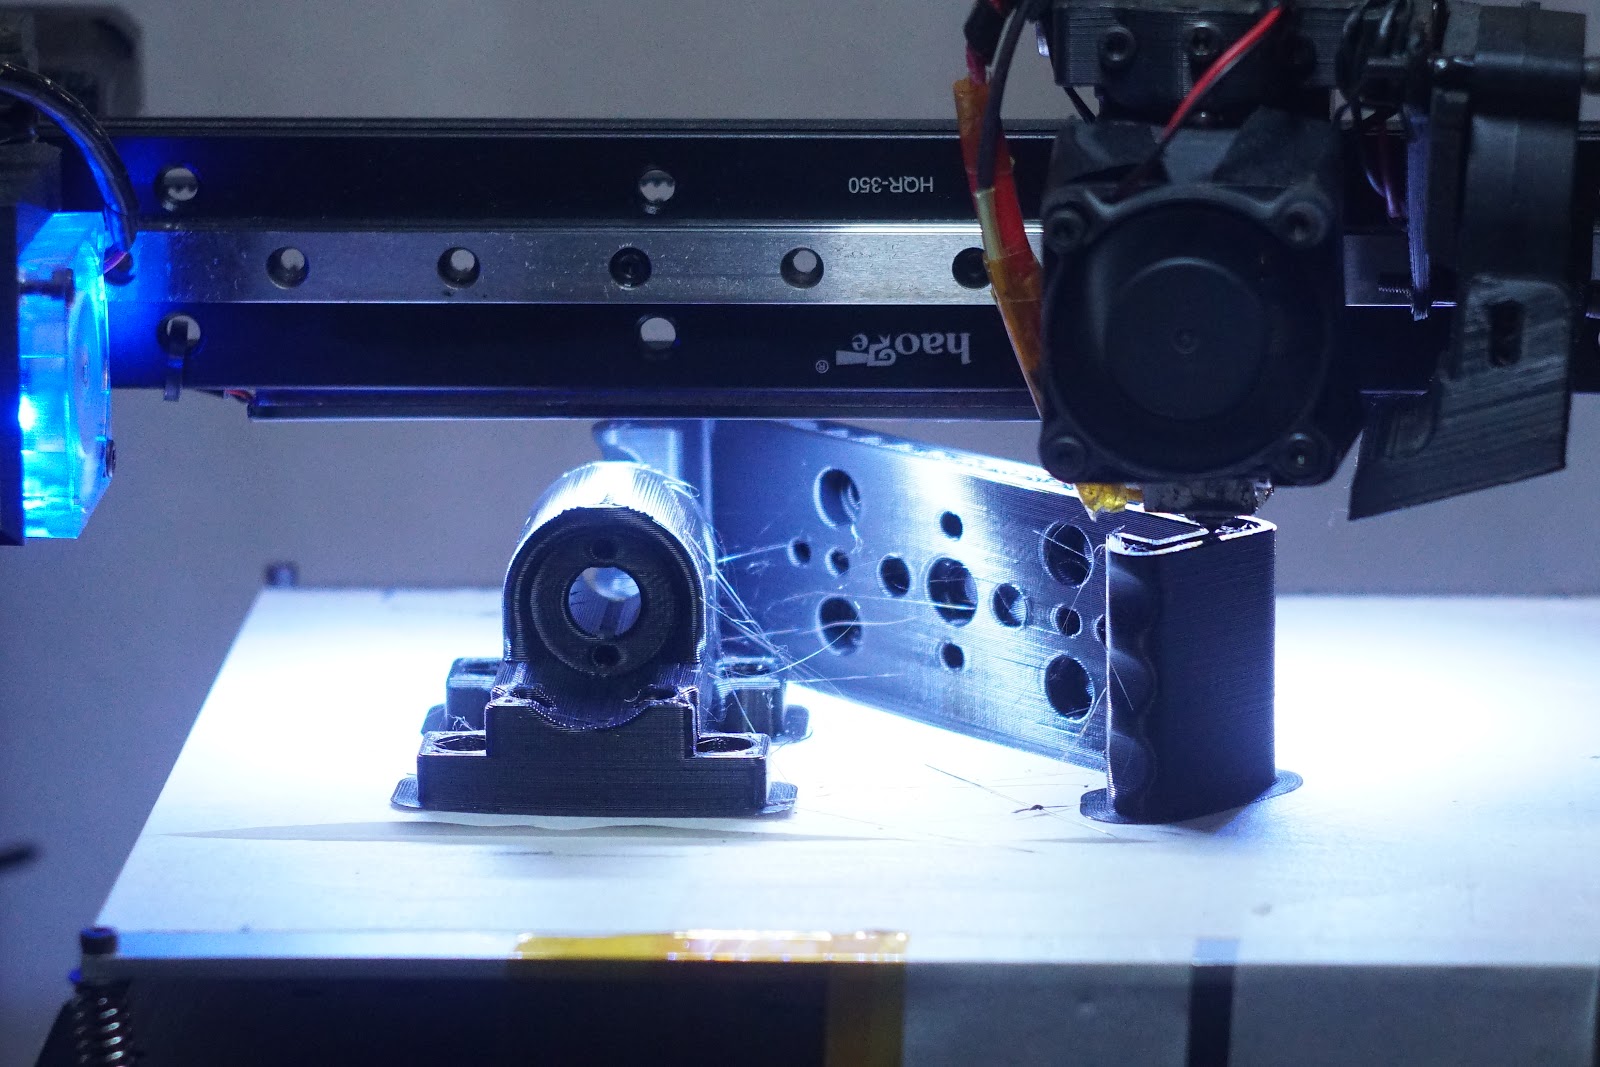
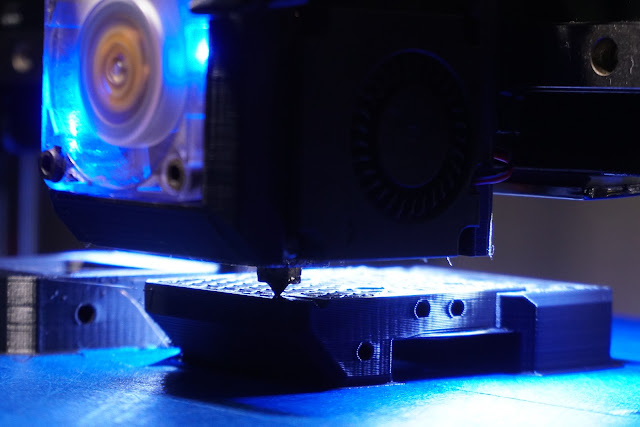
Just a quick part, it's a pain when you wake in the morning wanting to print something then spend all day in CAD trying to make the thing you want NOW(didnt spend all day on this though, it was wondering what the other part should be), the thing to go on the bed so the first thing wont warp, I decided not to bother on this one just printed on its own, so was expecting a little warp. I always prefer designing new part to going through the back catalogue, just incase thought process/requirements has changed.
Edited 2 time(s). Last edit at 10/21/2017 08:44AM by MechaBits.
|
Re: MechaBits KraftWerk'r October 21, 2017 09:59AM |
Registered: 11 years ago Posts: 5,780 |
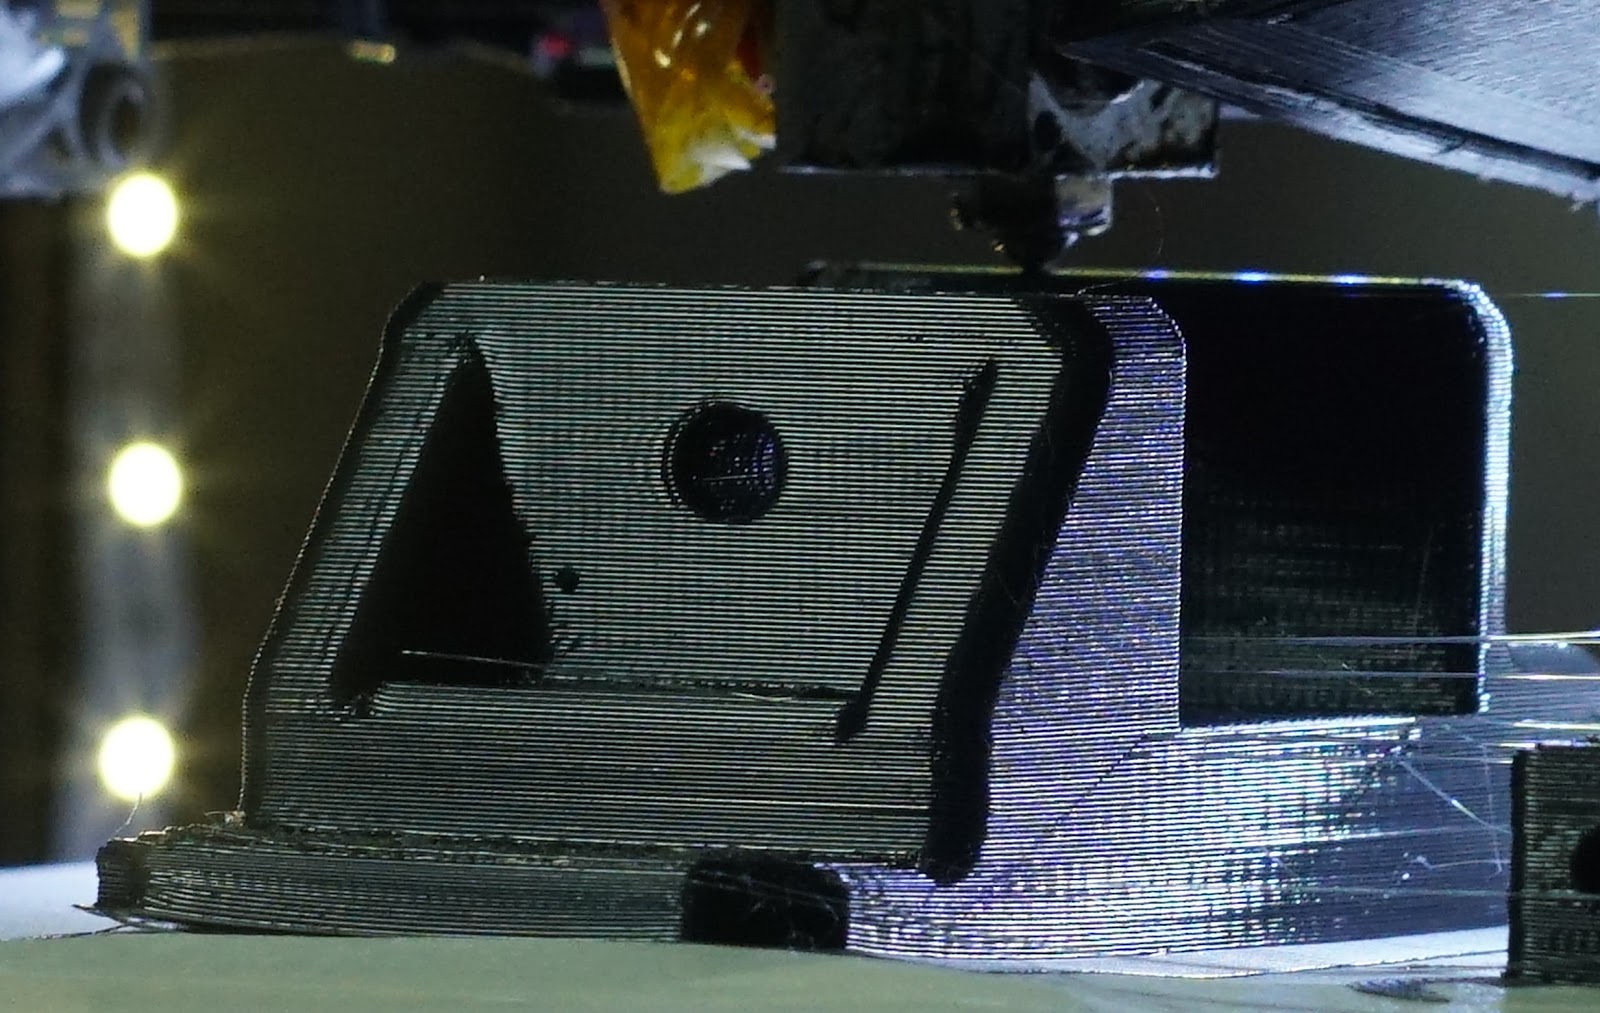
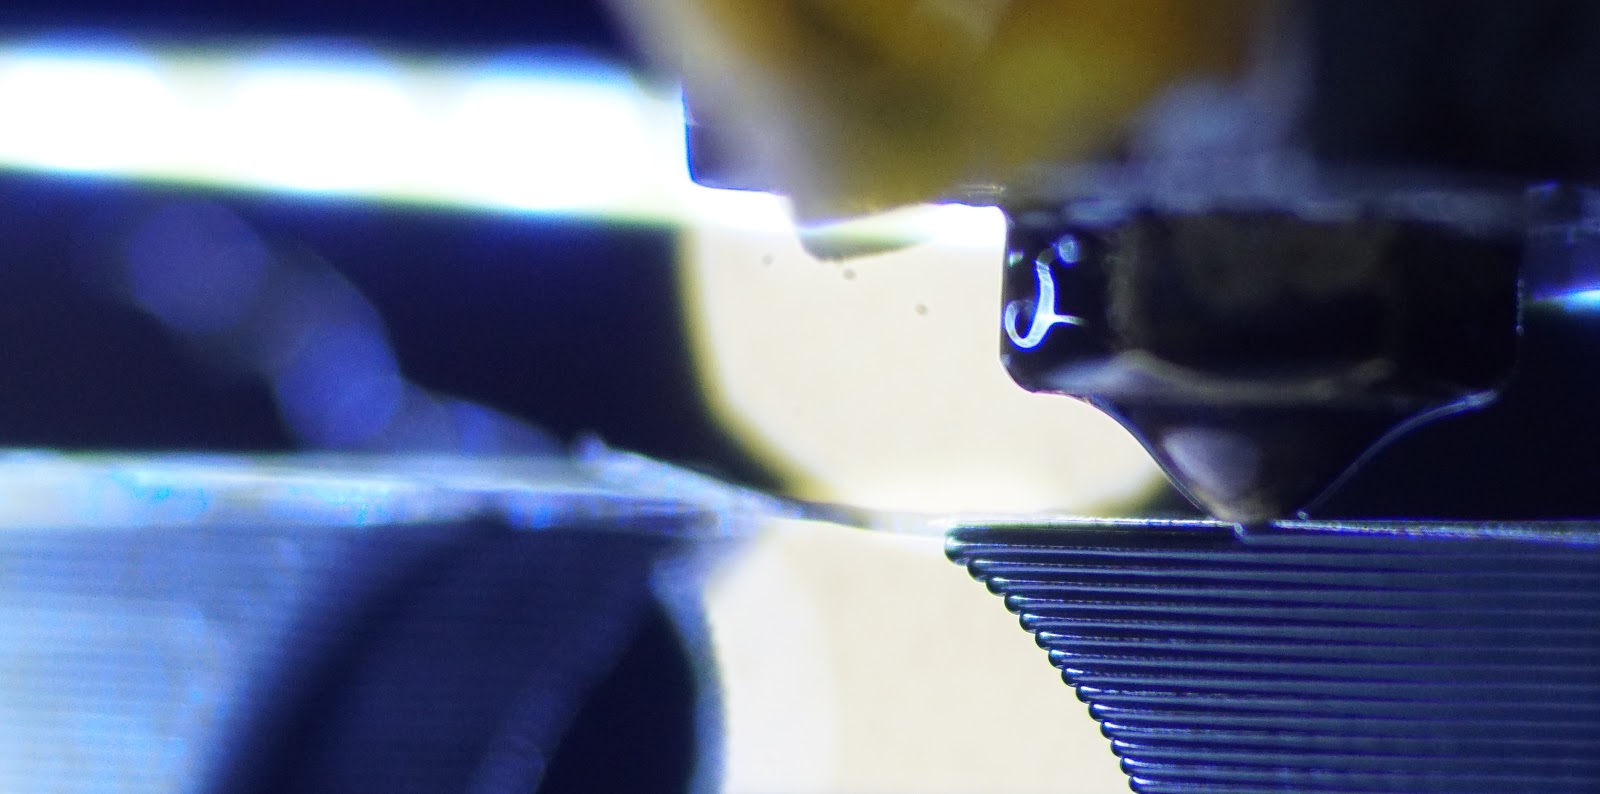
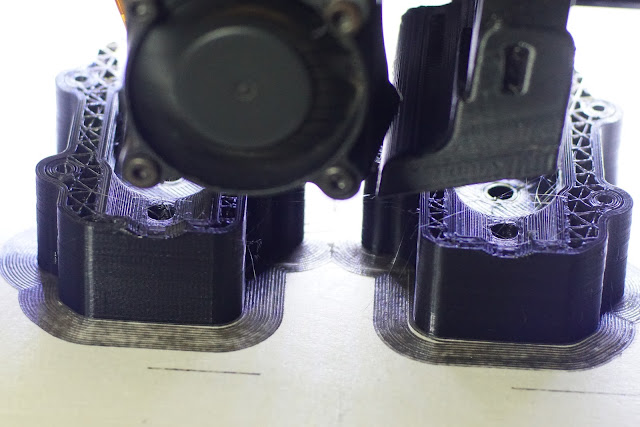
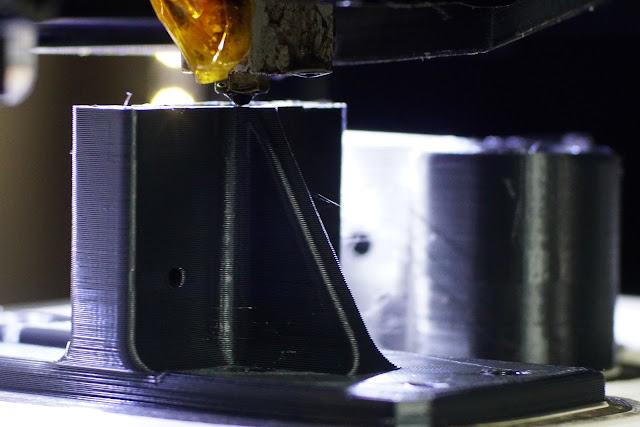
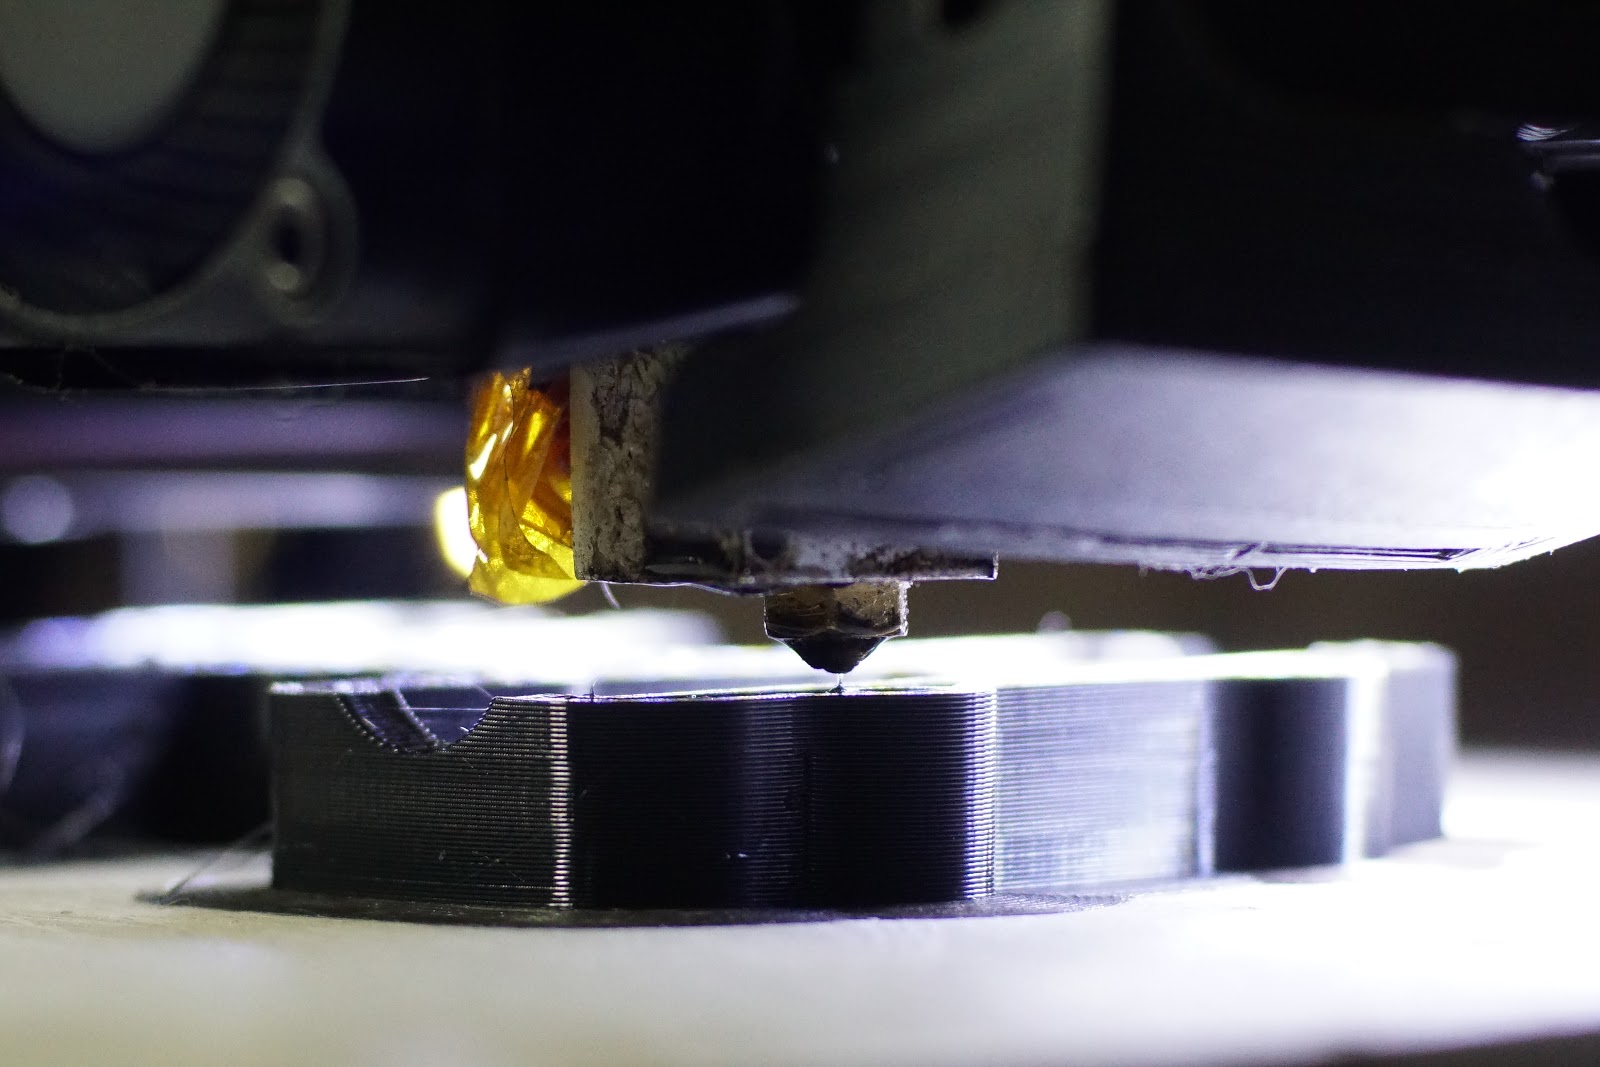
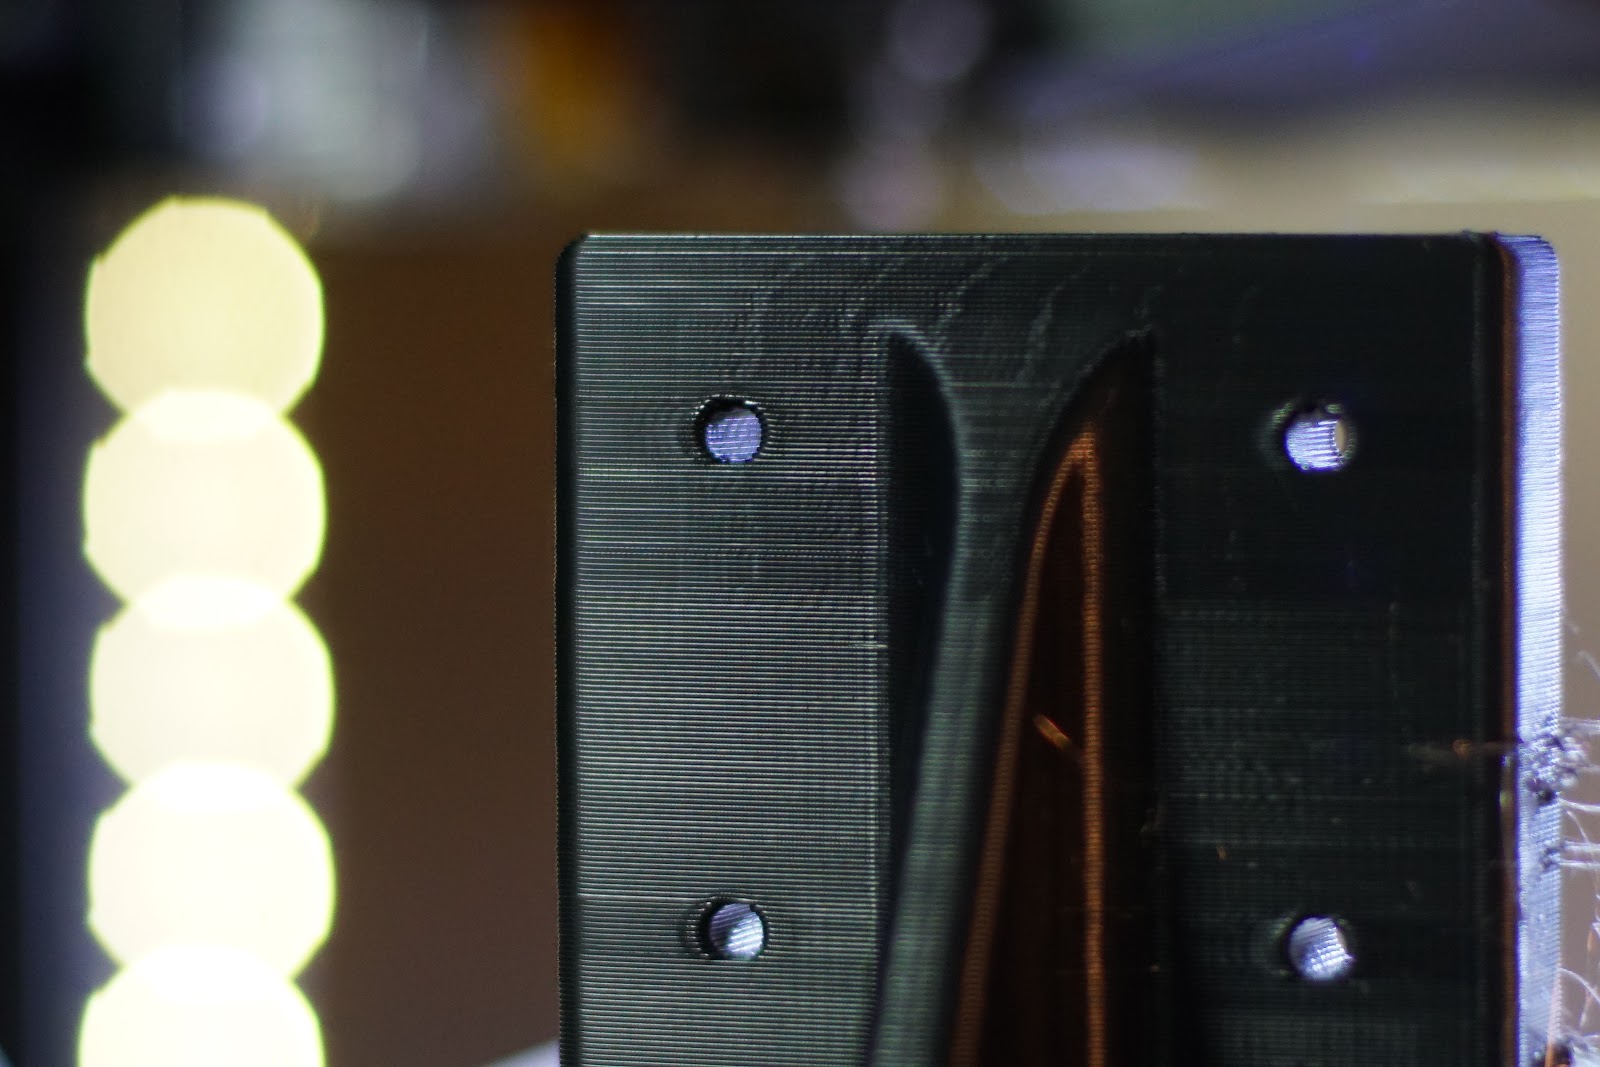
I see spacing between the brim lines, and spacing between the brim and the part. It's not supposed to be like that.
Ultra MegaMax Dominator 3D printer: [drmrehorst.blogspot.com]
Ultra MegaMax Dominator 3D printer: [drmrehorst.blogspot.com]
|
Re: MechaBits KraftWerk'r October 21, 2017 10:10AM |
Registered: 8 years ago Posts: 1,671 |
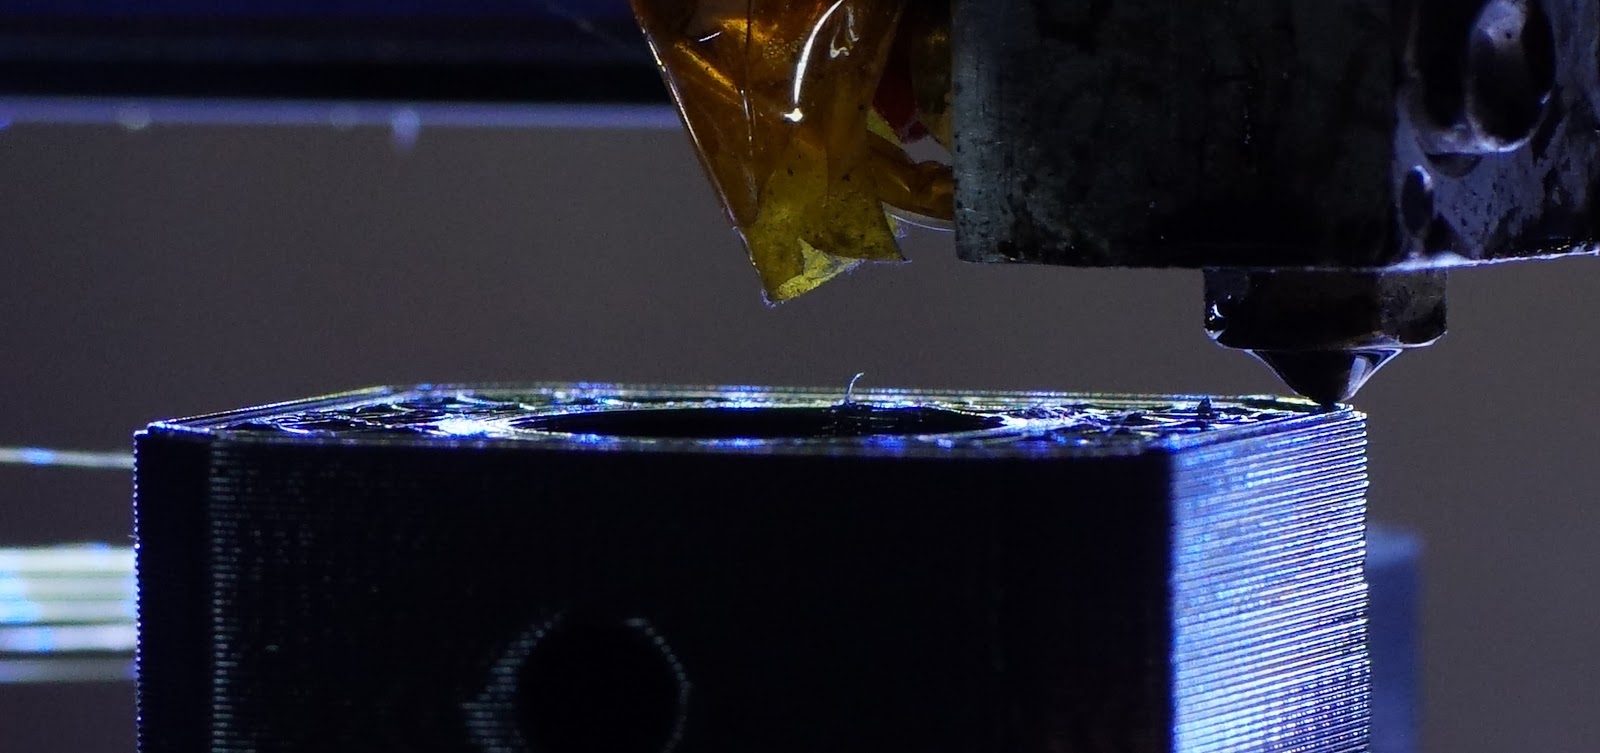
Under extrusion on first layer? its funny in the slicer its already set at 150% and then when its printing I increase multiplier there to 1.05 or 1.1, didnt do it this time, but I have first layer set at .1 and I really squish it, rest of layers .28
Maybe I should do first layer .24 or more than .28 would printer extrude more?.
Maybe I should do first layer .24 or more than .28 would printer extrude more?.
|
Re: MechaBits KraftWerk'r October 21, 2017 11:00AM |
Registered: 11 years ago Posts: 5,780 |
Since the rest of it looks like it's adequately extruded, maybe the nozzle is too high off the bed for that first layer.
Ultra MegaMax Dominator 3D printer: [drmrehorst.blogspot.com]
Ultra MegaMax Dominator 3D printer: [drmrehorst.blogspot.com]
|
Re: MechaBits KraftWerk'r October 21, 2017 11:42AM |
Registered: 8 years ago Posts: 1,671 |
possible but I think its more likely to be touching and all thats getting out is the width of the hole, will try higher but I just want it to stick, but might stick better if they are touching properly. What i would really like is for the first layer to be thicker than .28 including squash, even if it had to do it in 2 passes.
Edited 1 time(s). Last edit at 10/21/2017 12:55PM by MechaBits.
Edited 1 time(s). Last edit at 10/21/2017 12:55PM by MechaBits.
|
Re: MechaBits KraftWerk'r October 22, 2017 07:49AM |
Registered: 8 years ago Posts: 1,671 |
By Jove I think we Cracked it...thanks DD for making me look at the issue
Matter Control doesnt have line width settings so I never really got into that,
but I wonder if the advice given in the app hints has changed since I updated I'm sure it used to say the opposite.
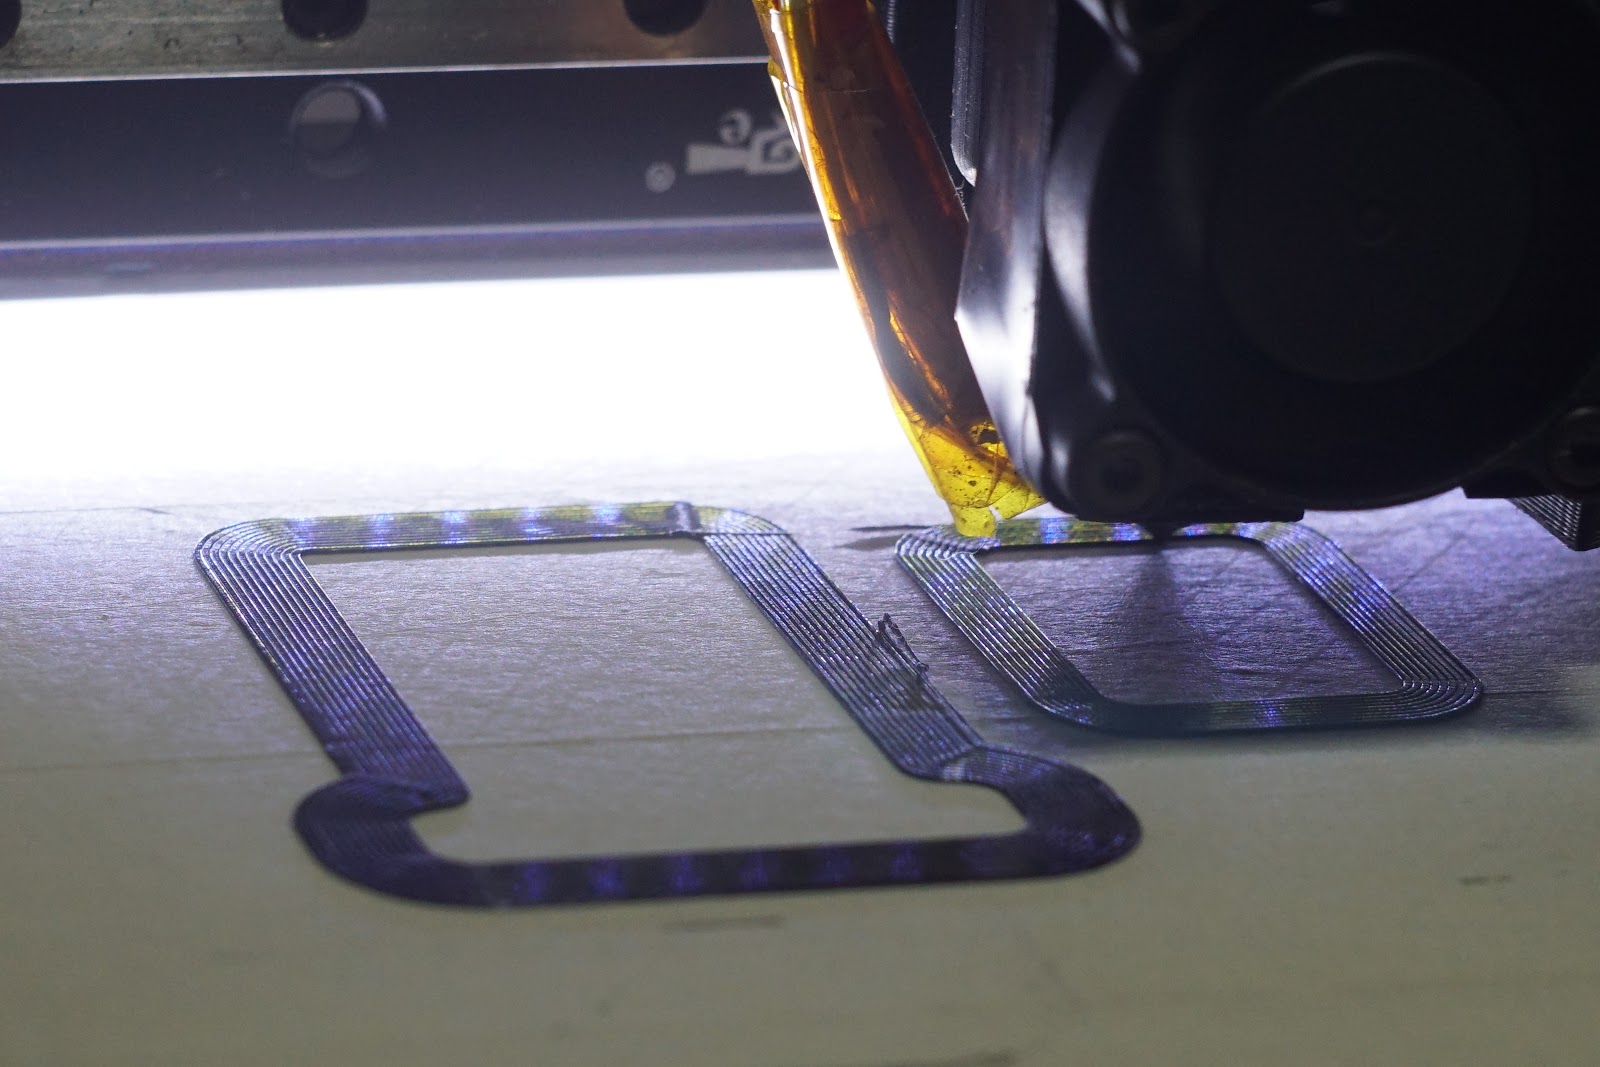
I always knew the brim even though it was set to 0 distance from part was weak, making many loops kinda pointless,
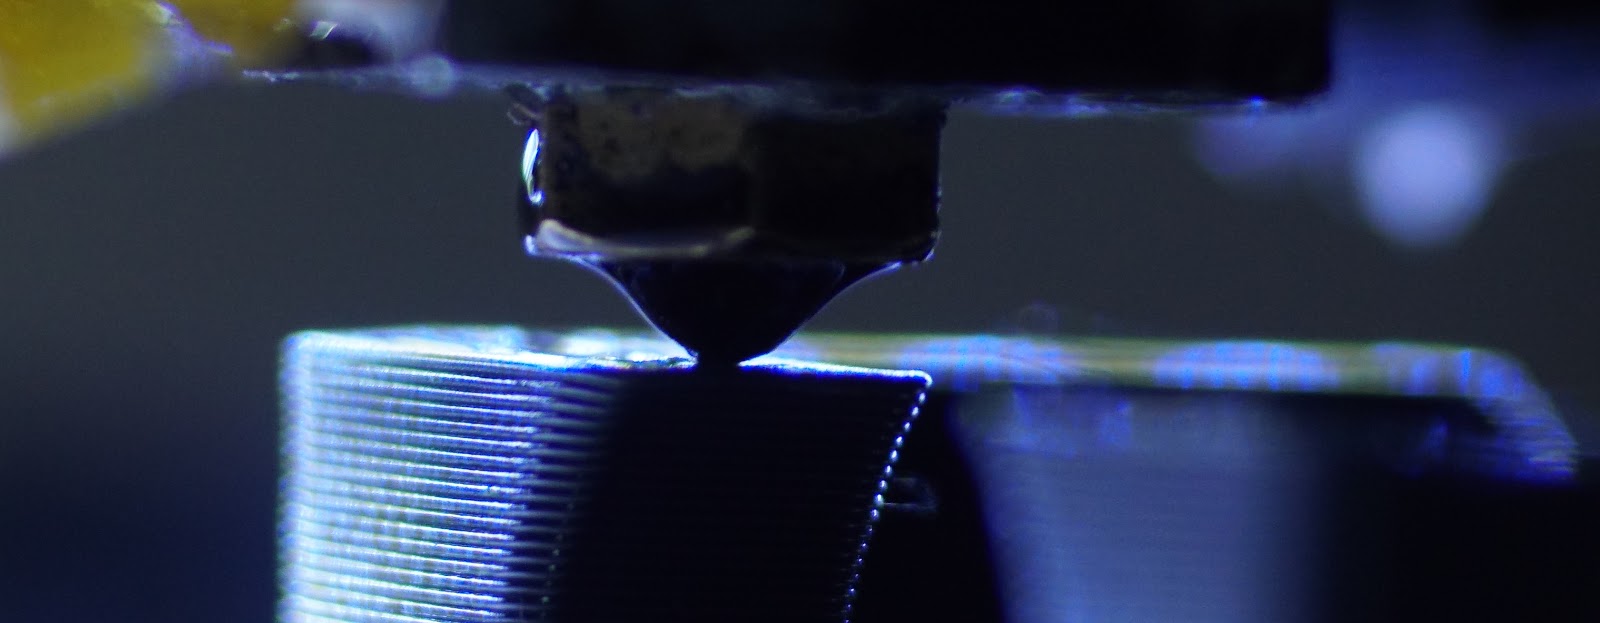
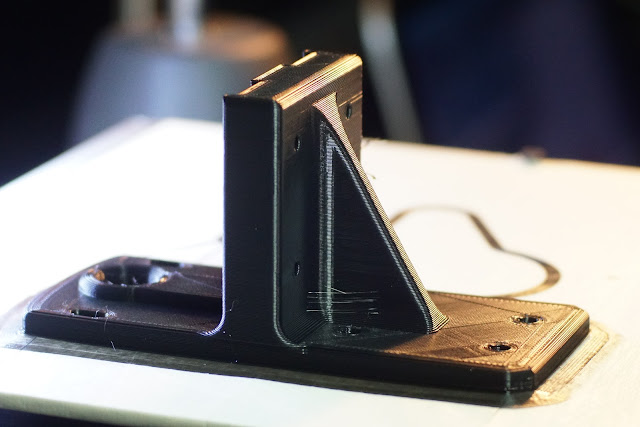
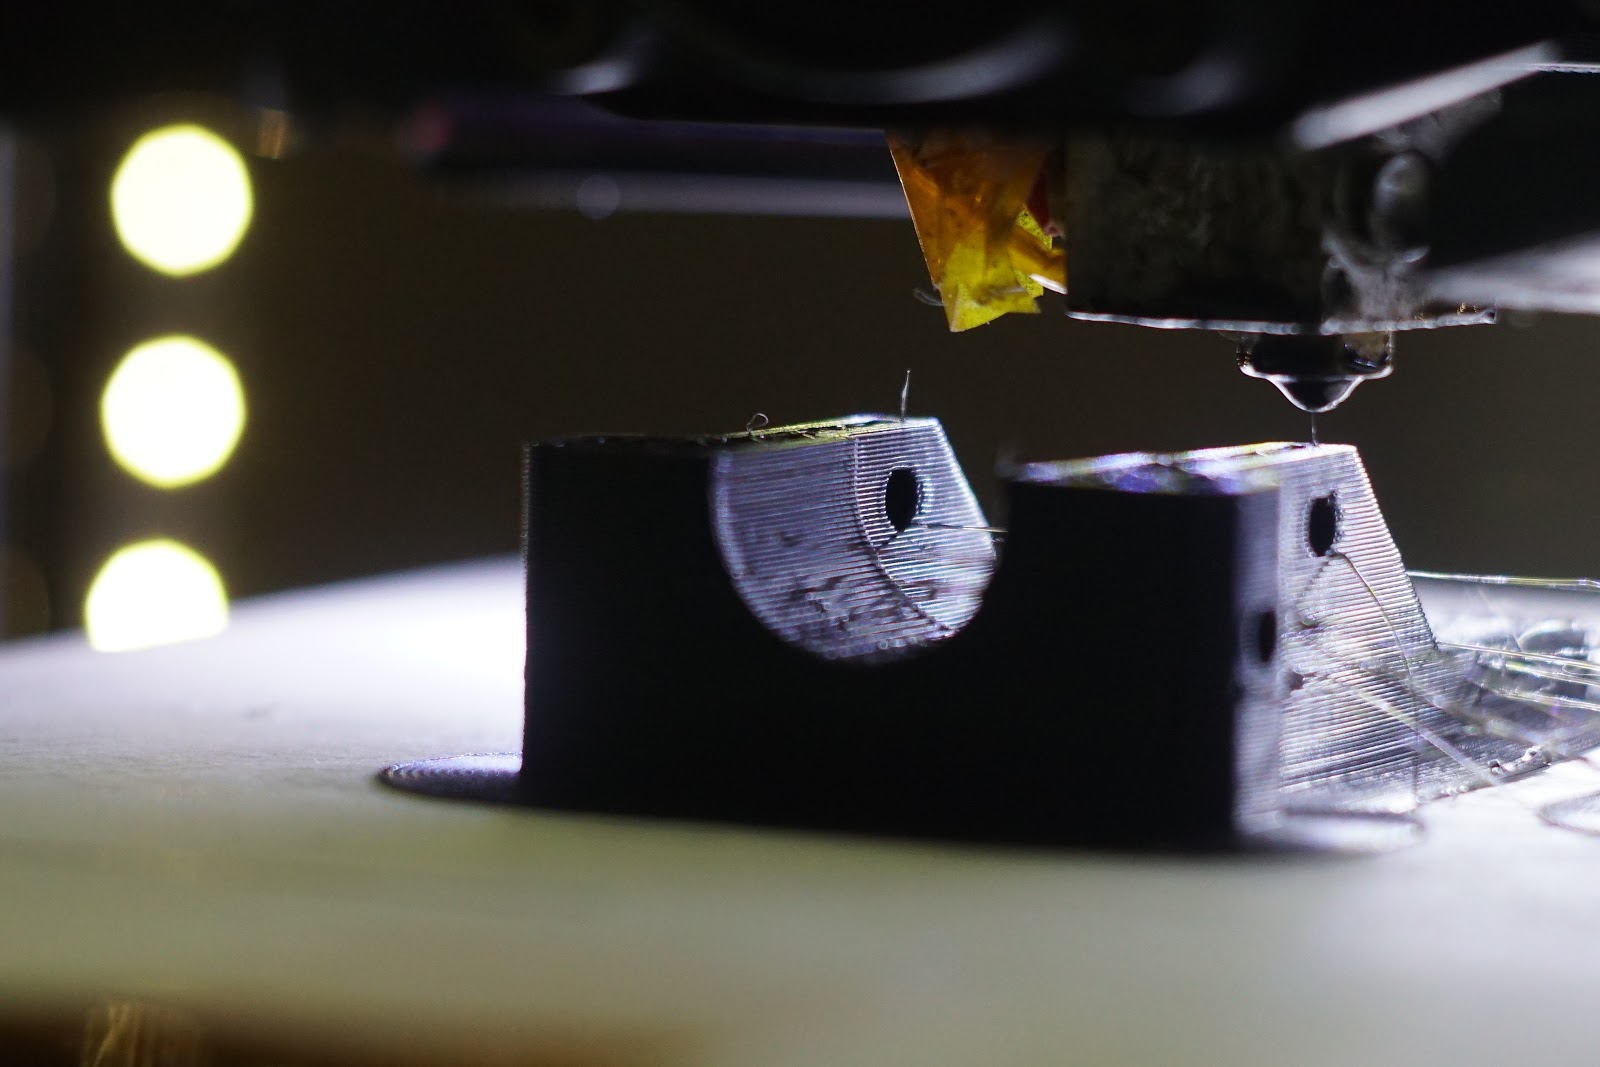
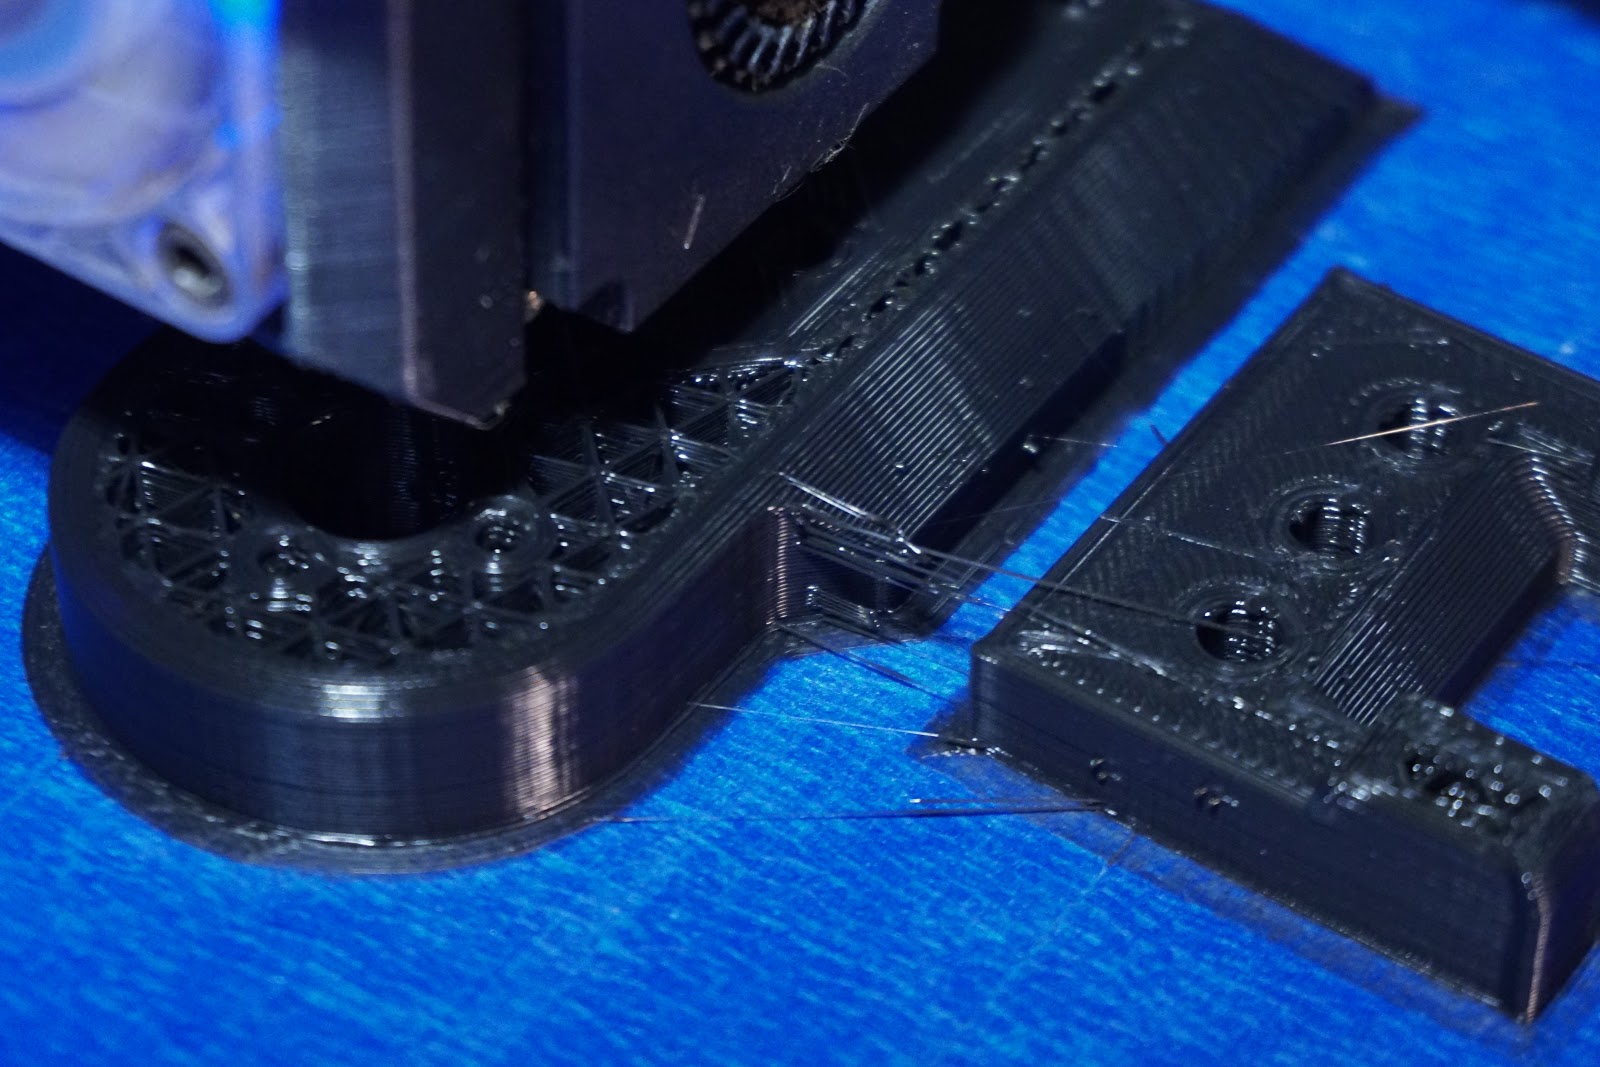
'First layer Helps to be taller', so instead of .1 i set at .32 and it almost worked off the bat,
really nice thick first layer(so it really does extrude more plastic based on layer height)
I thought I was squishing .28mm's worth of plastic into 0.1mm but obviously I wasnt
so got a little build up on my small 3mm holes and it was screwing it up,
so stopped & restarted did a little baby stepping down to about .2 bearing in mind I have no Z offset set
and it stuck much better..
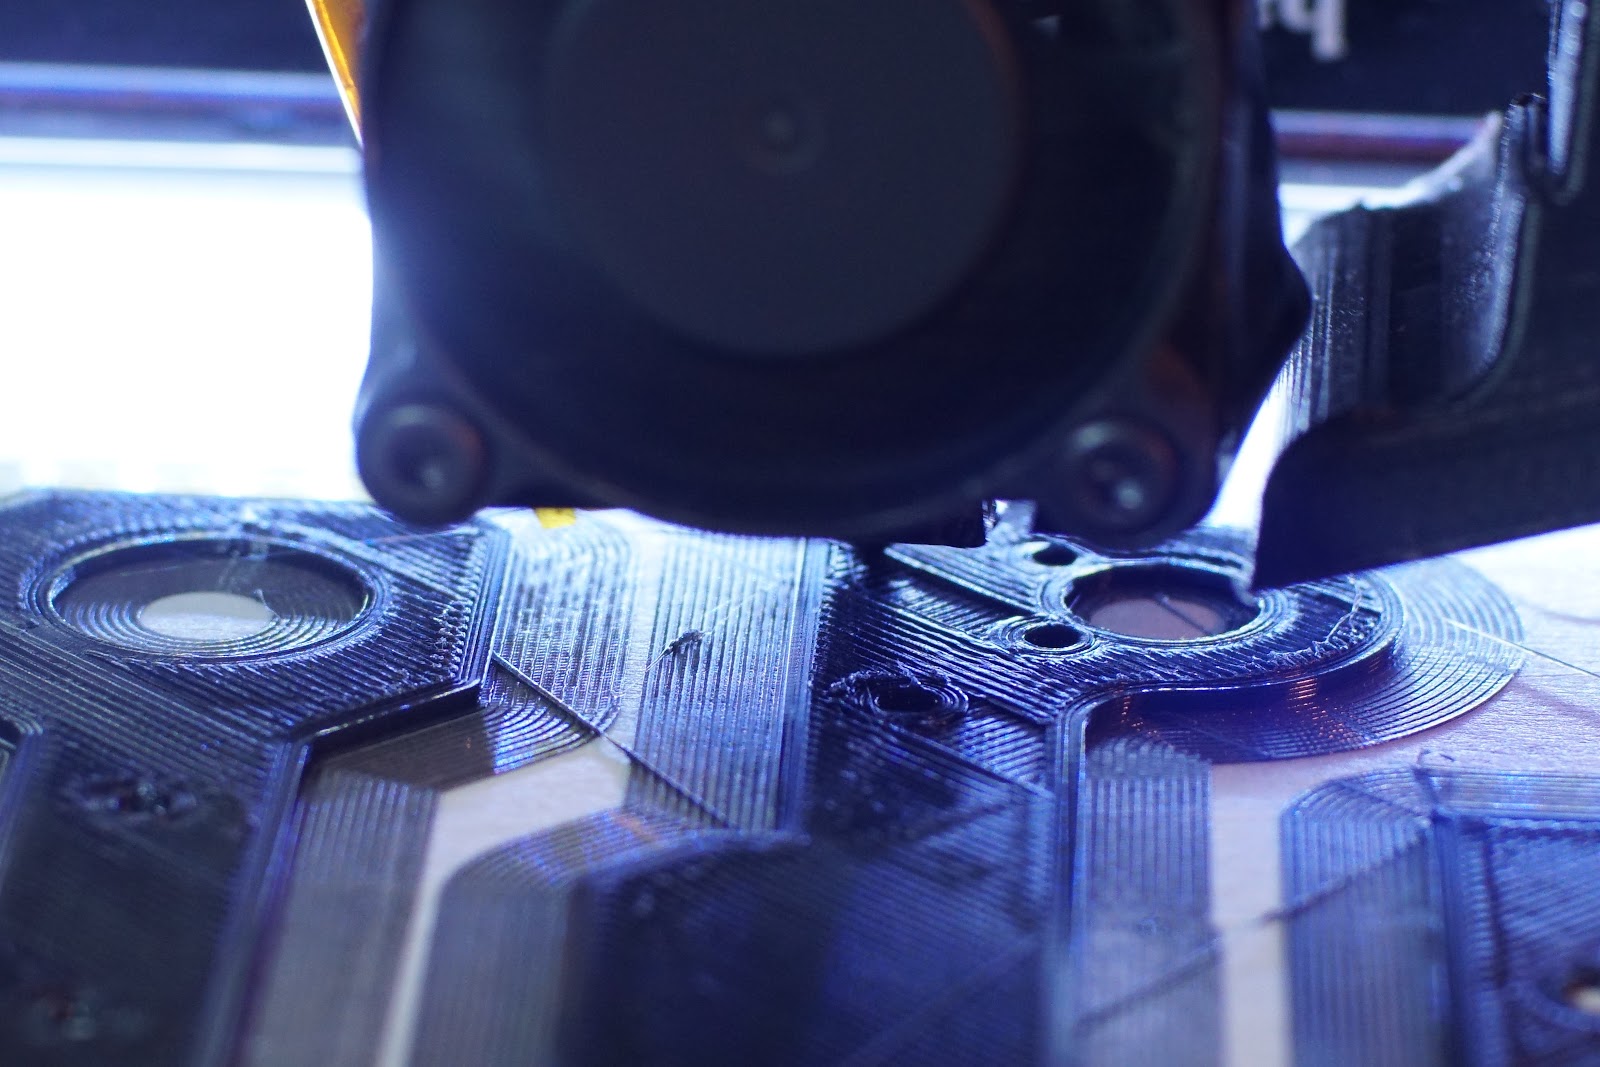
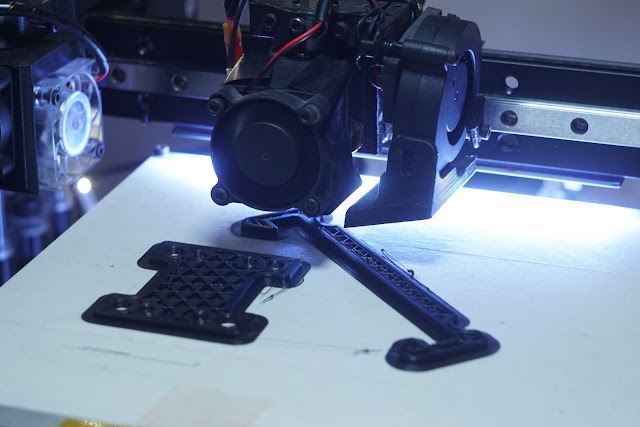
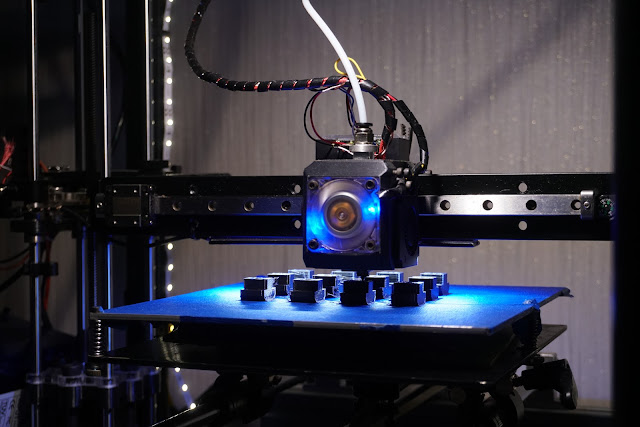
if I had done the part cooling (not the best arrangement) correctly it wouldnt have warped, now mounted a fan above bed
if I had kept track of the layers I would have got a better top surface(not actual top just top of a low mid section).
if i was using S3D i could get in there and alter that for auto better.
Maybe the new first layers are actually contributing less error into subsequent layers.
Though I think I was over extruding(first layer setting) a little might drop the multiplier from 150% to 130
then there is the overall extrusion multiplier which I sometimes reduce to .96
but I think some better prints from here on in, though a few other things could probably do with tweaking
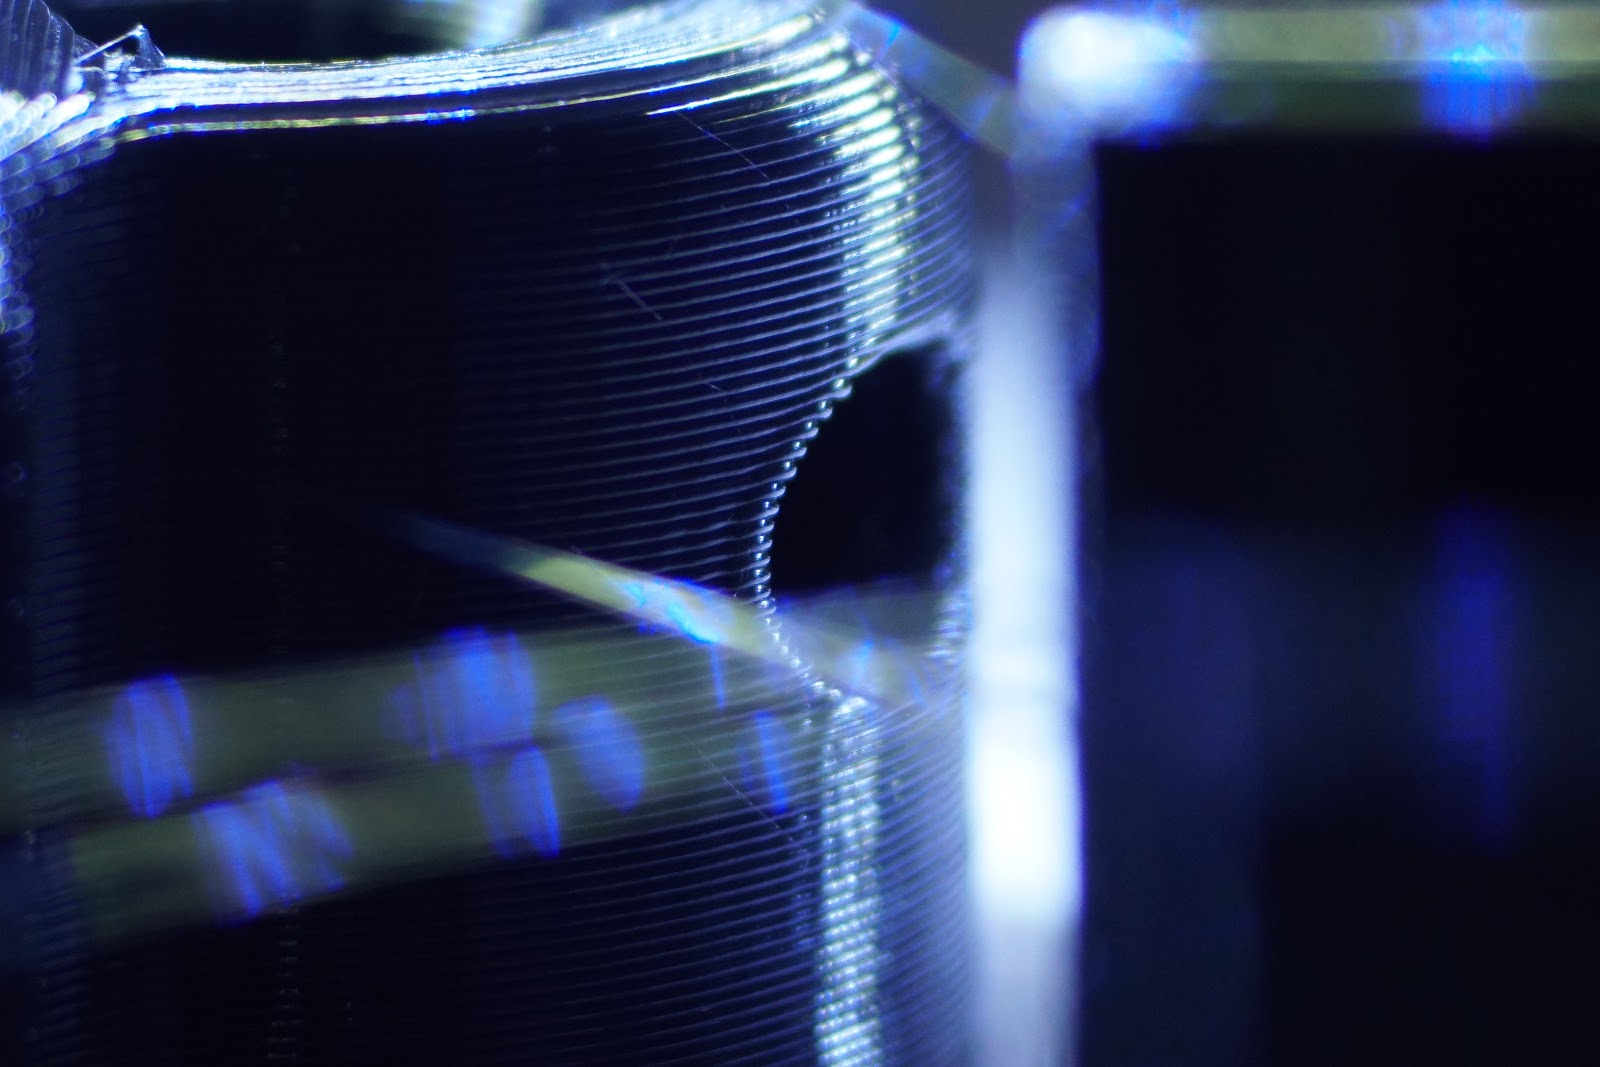
need to try No z hop as thats helping to start off some whispy's(new filament same settings), as is the cooling fan, maybe a tad more retraction or faster
then the extra filament after retraction, perimeter overlap, all these fiddly settings I never bother with....
But seeing some recent First Layer Porn has had me tempted to try new things.
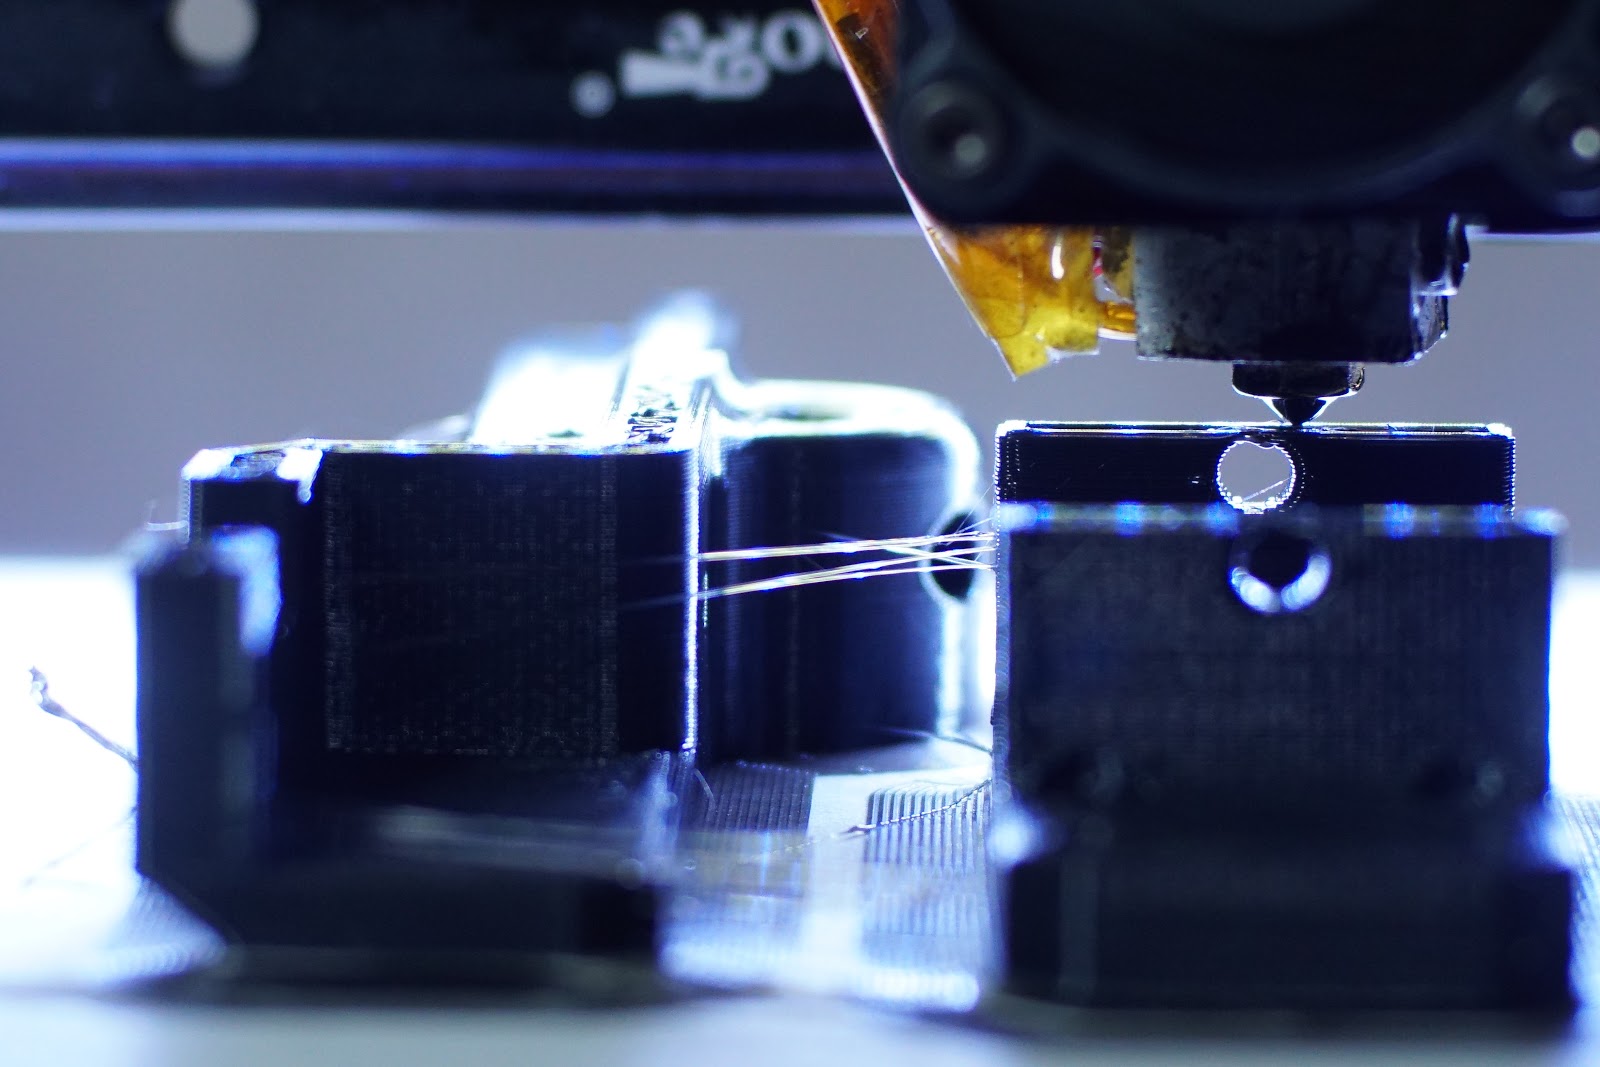
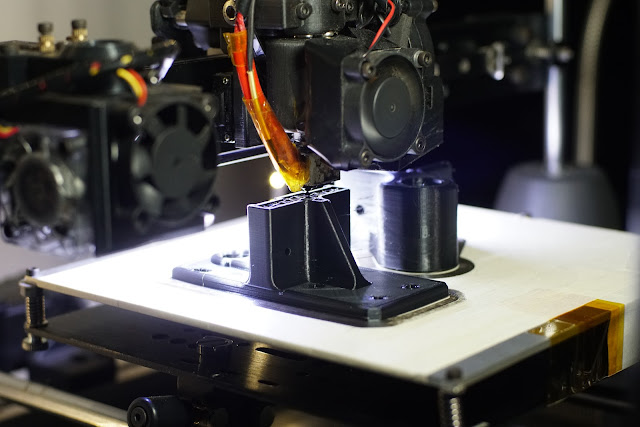
pics of part to follow, another hotend carriage, bit of a pain to design, wanted it small(though I have smaller design) but try to keep hotend up higher as it interfered with how i'm attaching the belt, so had to drop it lower than i wanted, but while I enjoy the CAD you can also get stuck in a rut on the same thing over & over gets a bit boring, but have to get the part out to complete the arm, so I can move onto focus on other things.
Edited 3 time(s). Last edit at 10/22/2017 08:36AM by MechaBits.
Matter Control doesnt have line width settings so I never really got into that,
but I wonder if the advice given in the app hints has changed since I updated I'm sure it used to say the opposite.
I always knew the brim even though it was set to 0 distance from part was weak, making many loops kinda pointless,
'First layer Helps to be taller', so instead of .1 i set at .32 and it almost worked off the bat,
really nice thick first layer(so it really does extrude more plastic based on layer height)
I thought I was squishing .28mm's worth of plastic into 0.1mm but obviously I wasnt
so got a little build up on my small 3mm holes and it was screwing it up,
so stopped & restarted did a little baby stepping down to about .2 bearing in mind I have no Z offset set
and it stuck much better..
if I had done the part cooling (not the best arrangement) correctly it wouldnt have warped, now mounted a fan above bed
if I had kept track of the layers I would have got a better top surface(not actual top just top of a low mid section).
if i was using S3D i could get in there and alter that for auto better.
Maybe the new first layers are actually contributing less error into subsequent layers.
Though I think I was over extruding(first layer setting) a little might drop the multiplier from 150% to 130
then there is the overall extrusion multiplier which I sometimes reduce to .96
but I think some better prints from here on in, though a few other things could probably do with tweaking
need to try No z hop as thats helping to start off some whispy's(new filament same settings), as is the cooling fan, maybe a tad more retraction or faster
then the extra filament after retraction, perimeter overlap, all these fiddly settings I never bother with....
But seeing some recent First Layer Porn has had me tempted to try new things.
pics of part to follow, another hotend carriage, bit of a pain to design, wanted it small(though I have smaller design) but try to keep hotend up higher as it interfered with how i'm attaching the belt, so had to drop it lower than i wanted, but while I enjoy the CAD you can also get stuck in a rut on the same thing over & over gets a bit boring, but have to get the part out to complete the arm, so I can move onto focus on other things.
Edited 3 time(s). Last edit at 10/22/2017 08:36AM by MechaBits.
|
Re: MechaBits KraftWerk'r October 22, 2017 10:46AM |
Registered: 8 years ago Posts: 1,671 |
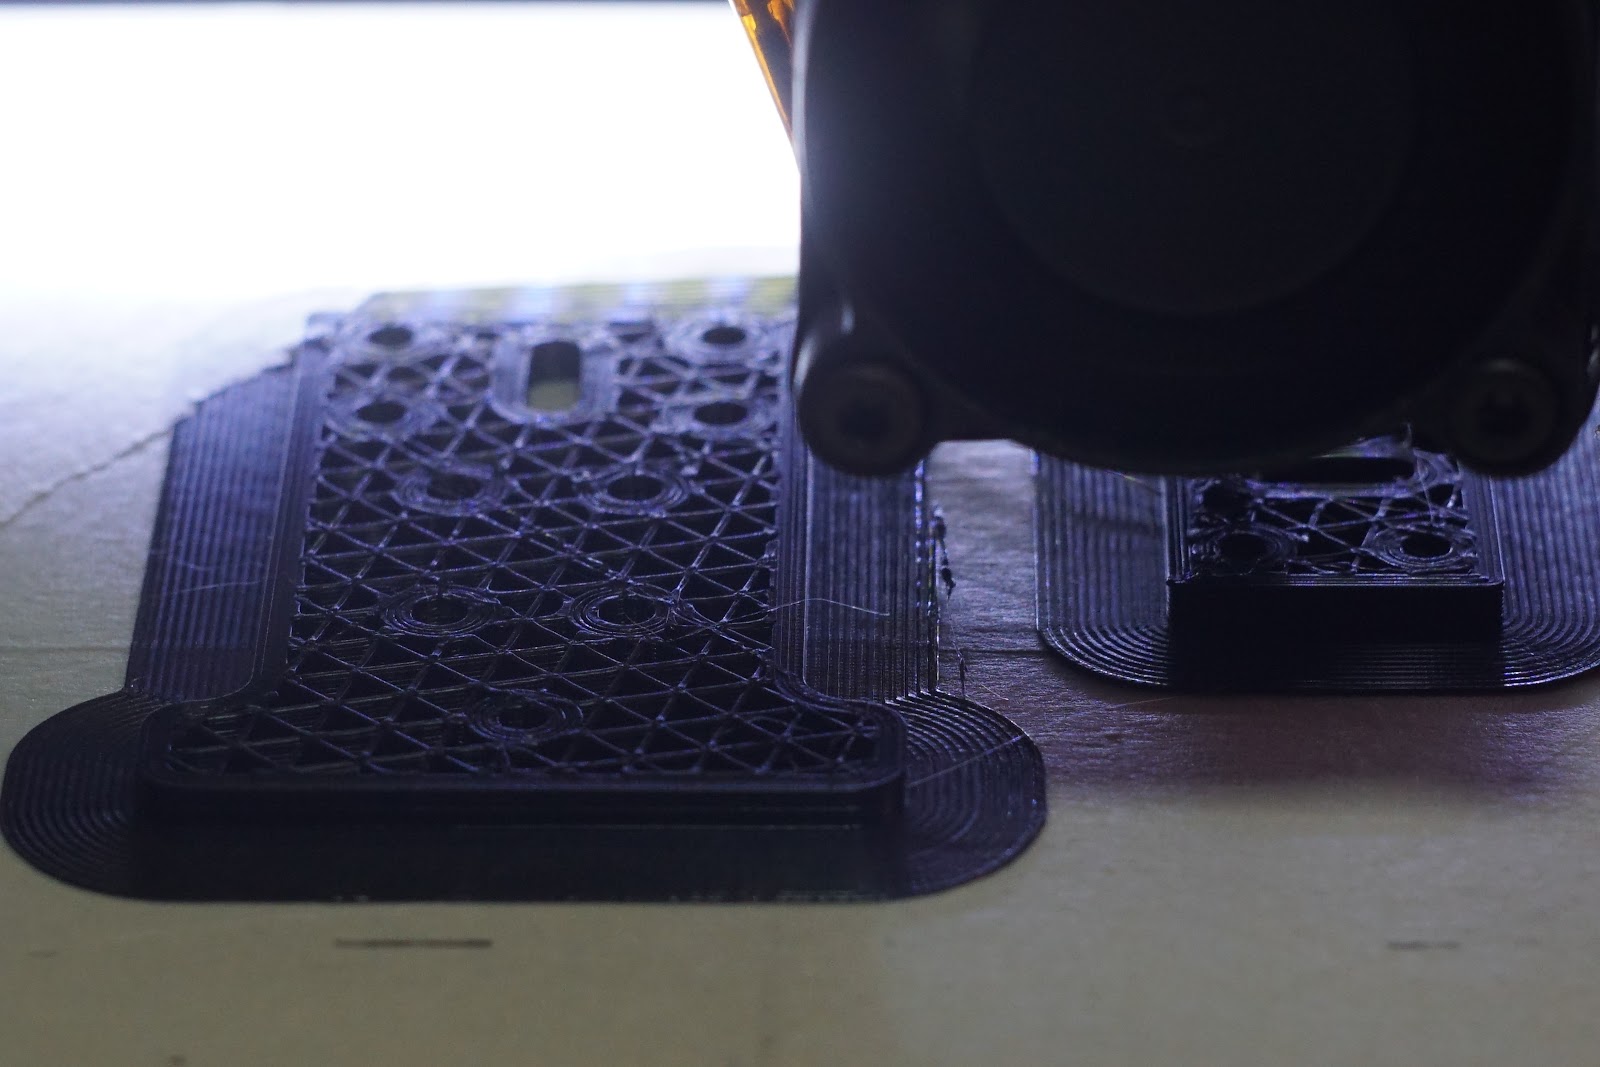
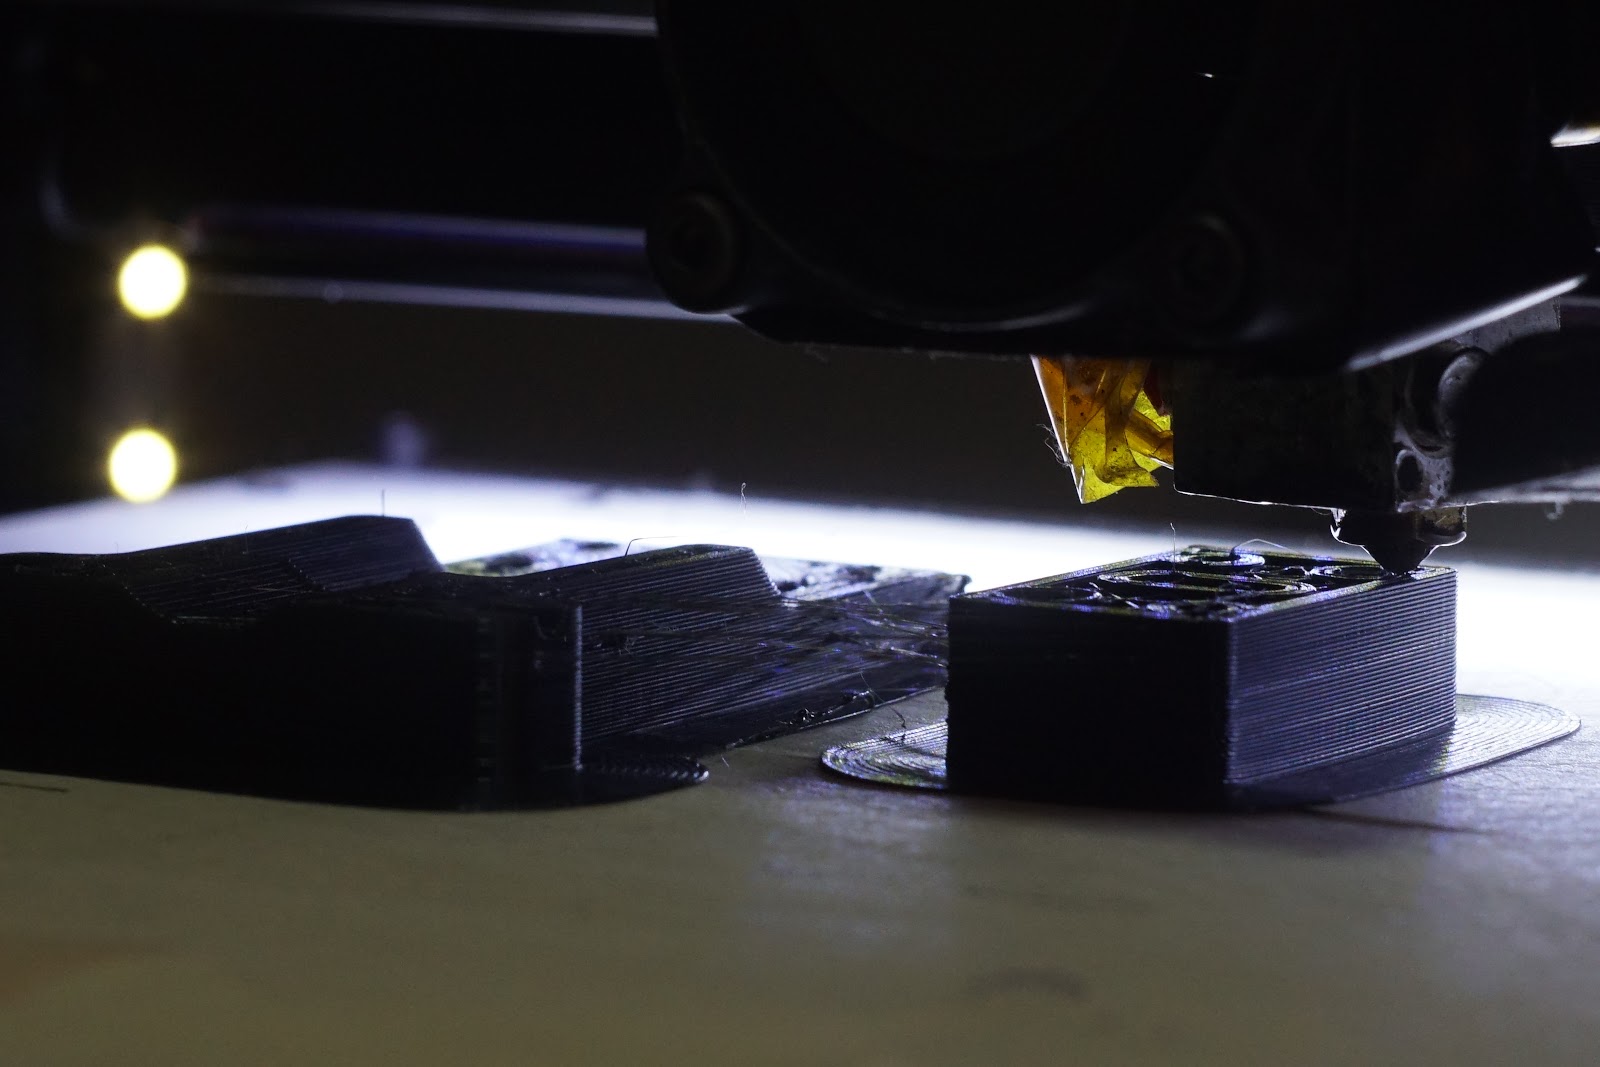
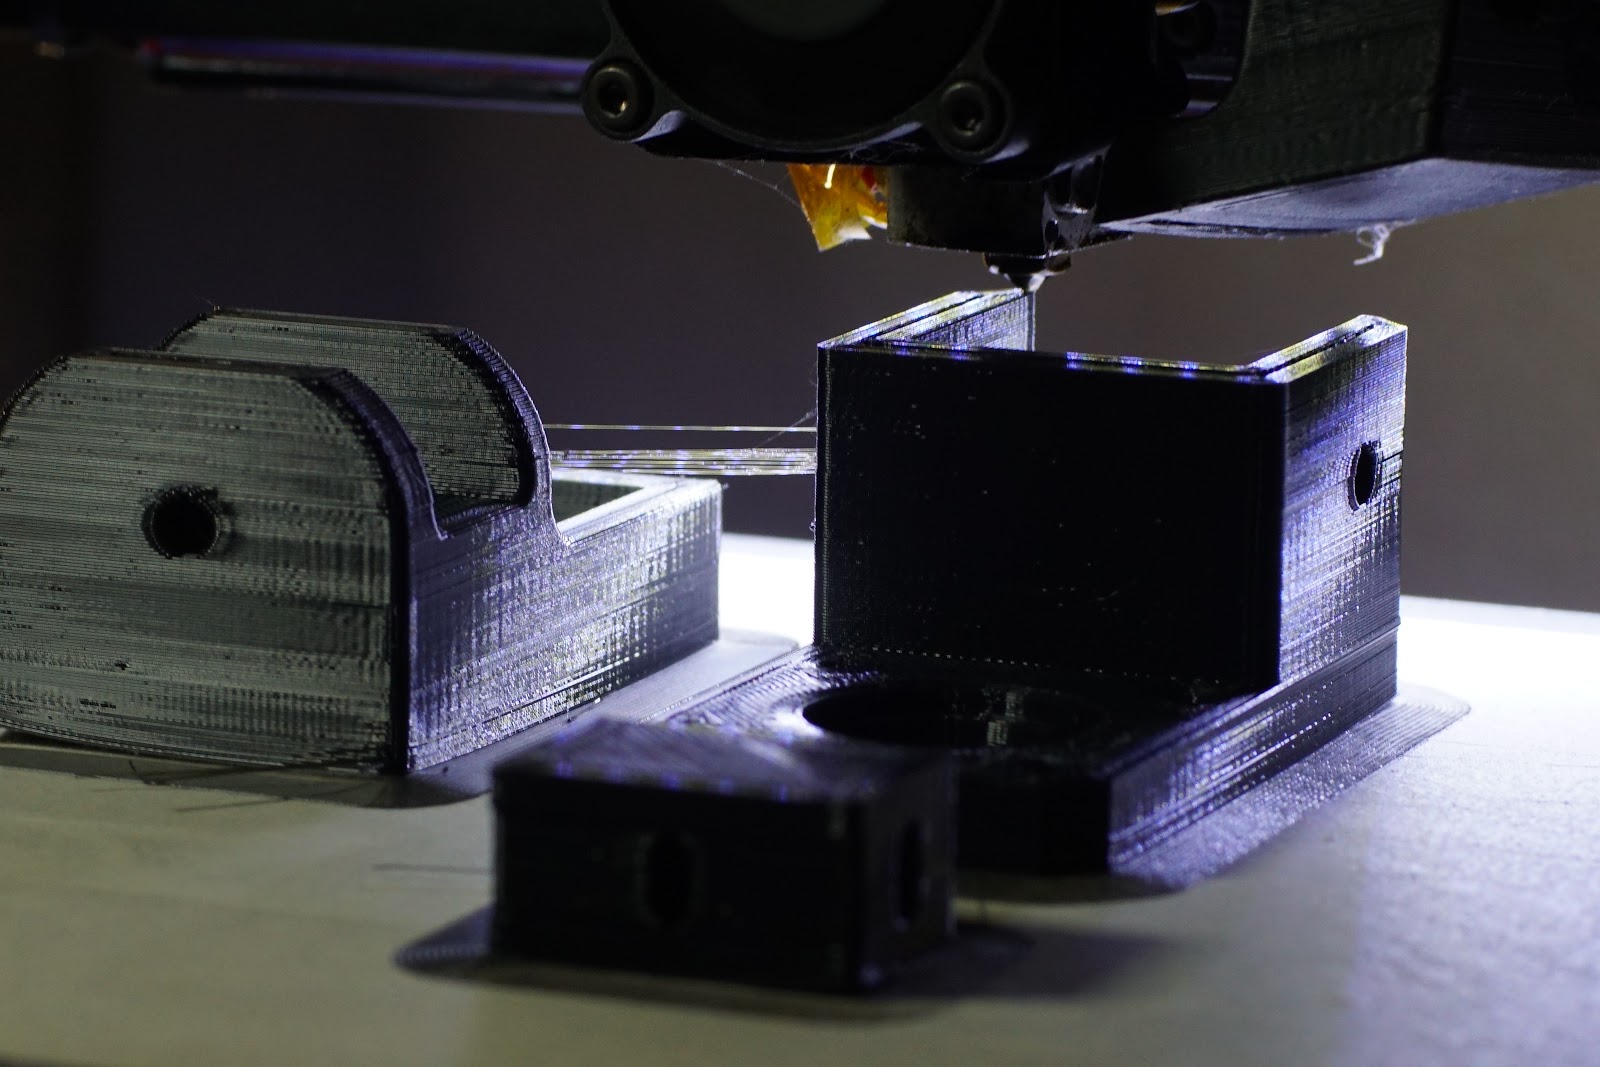
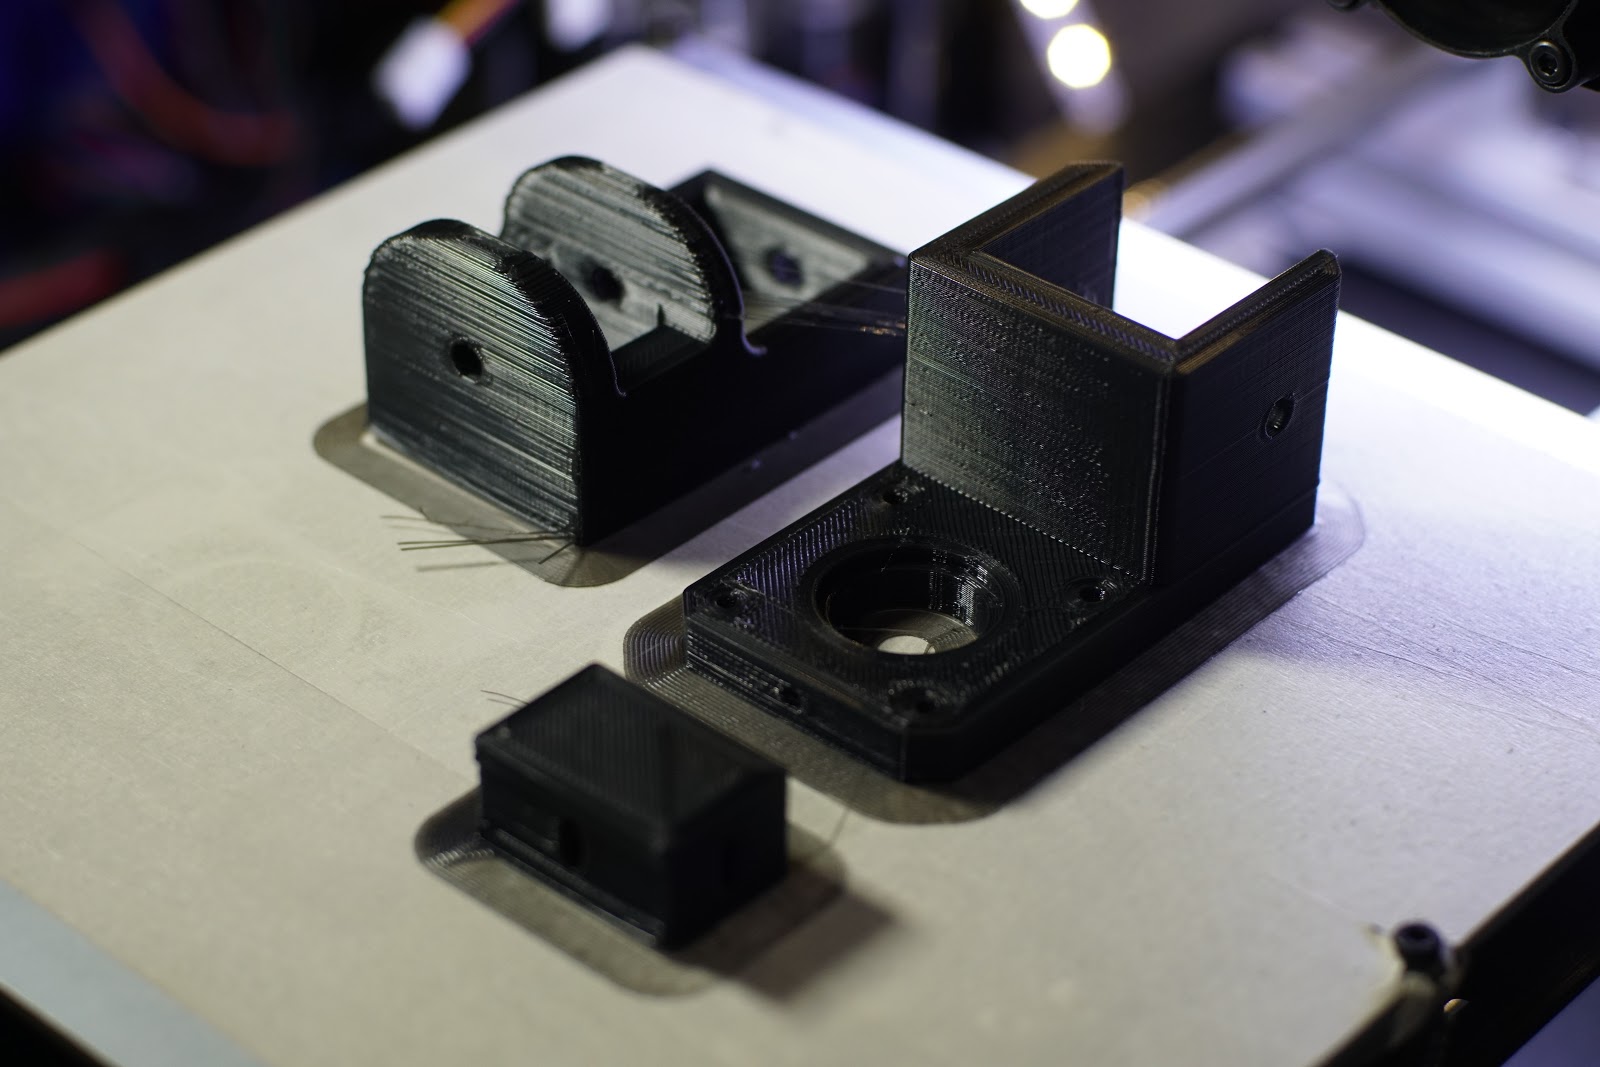
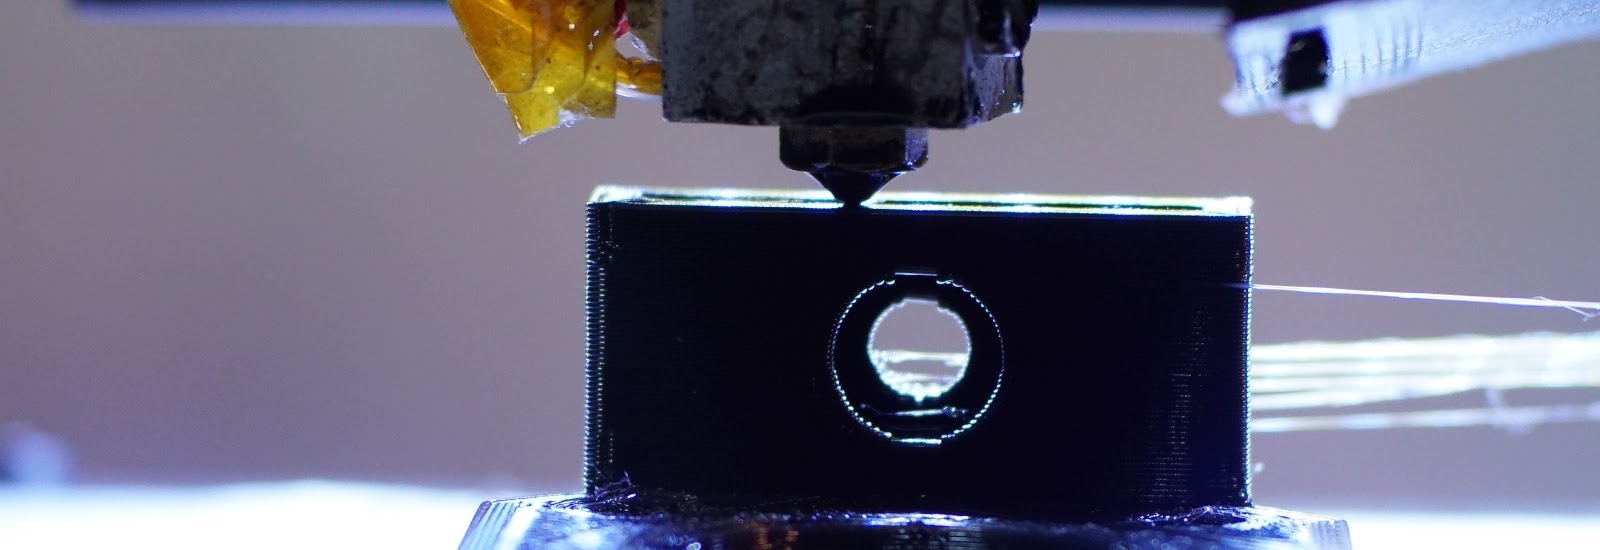
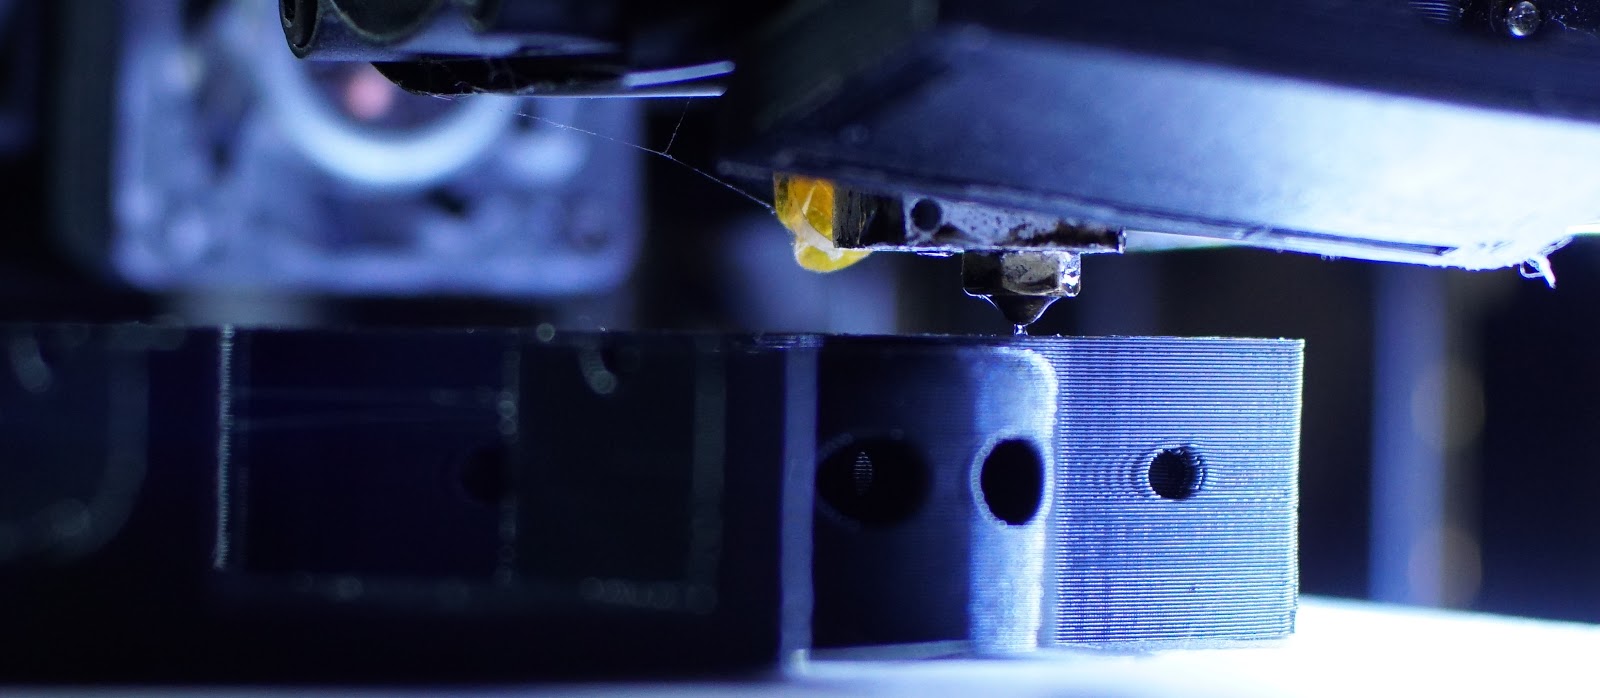
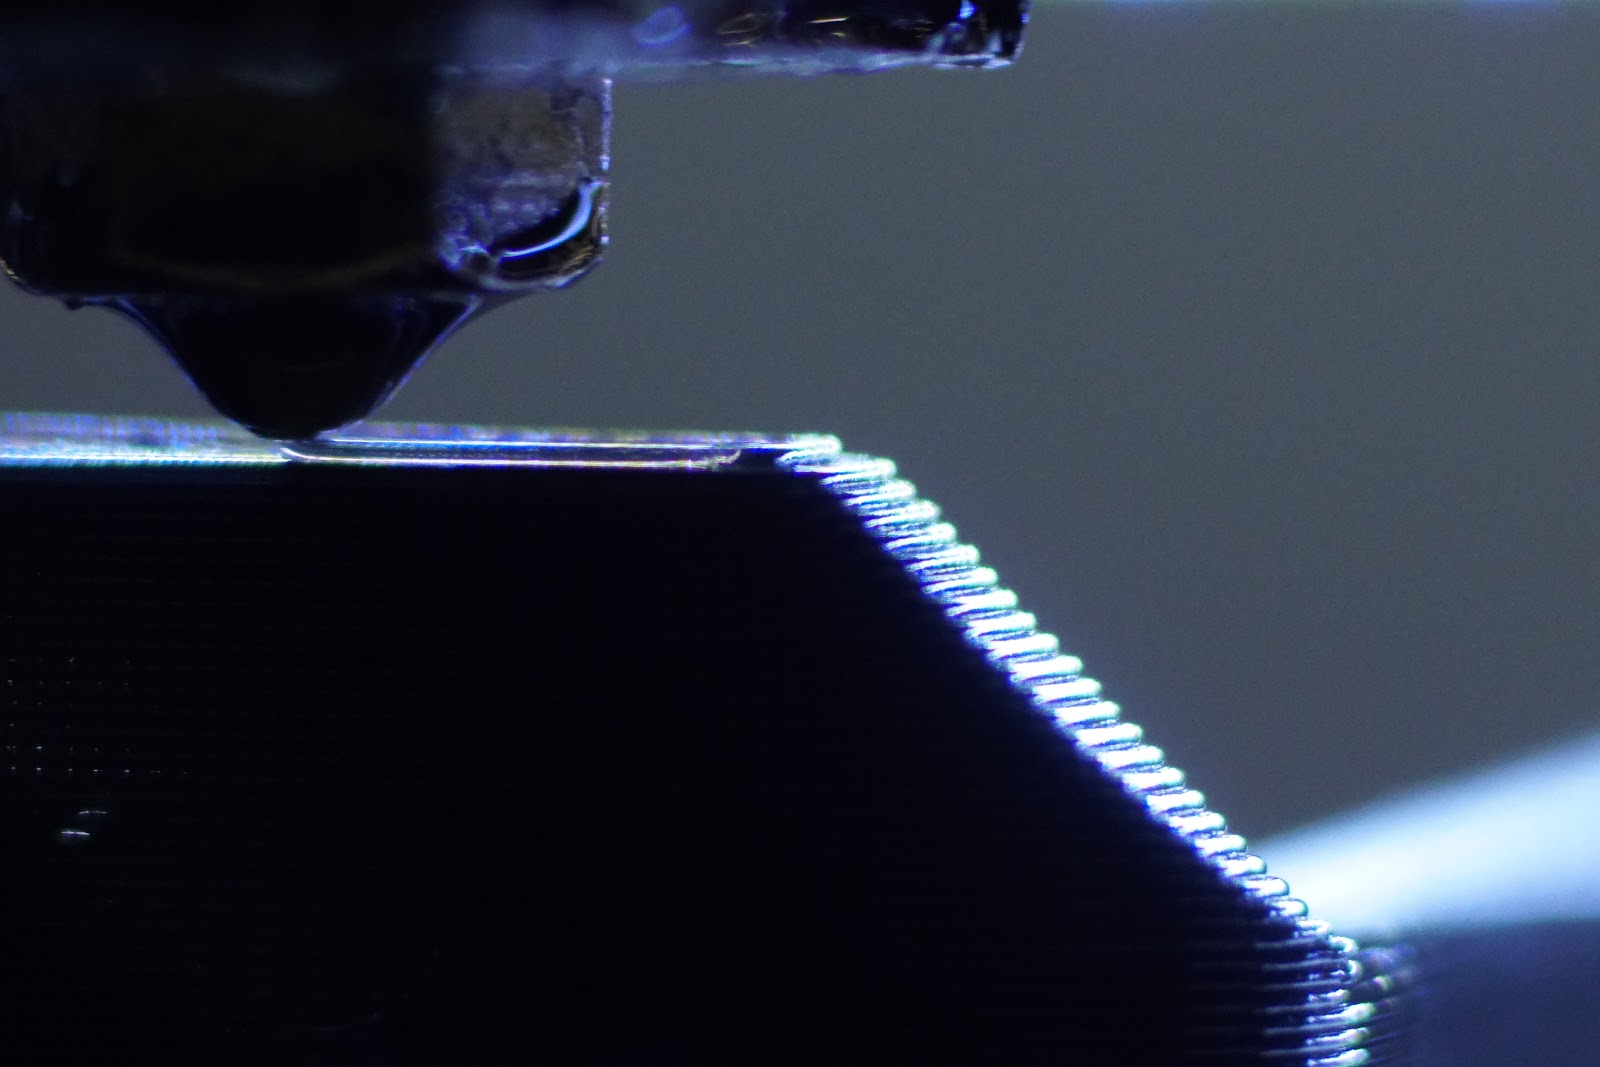
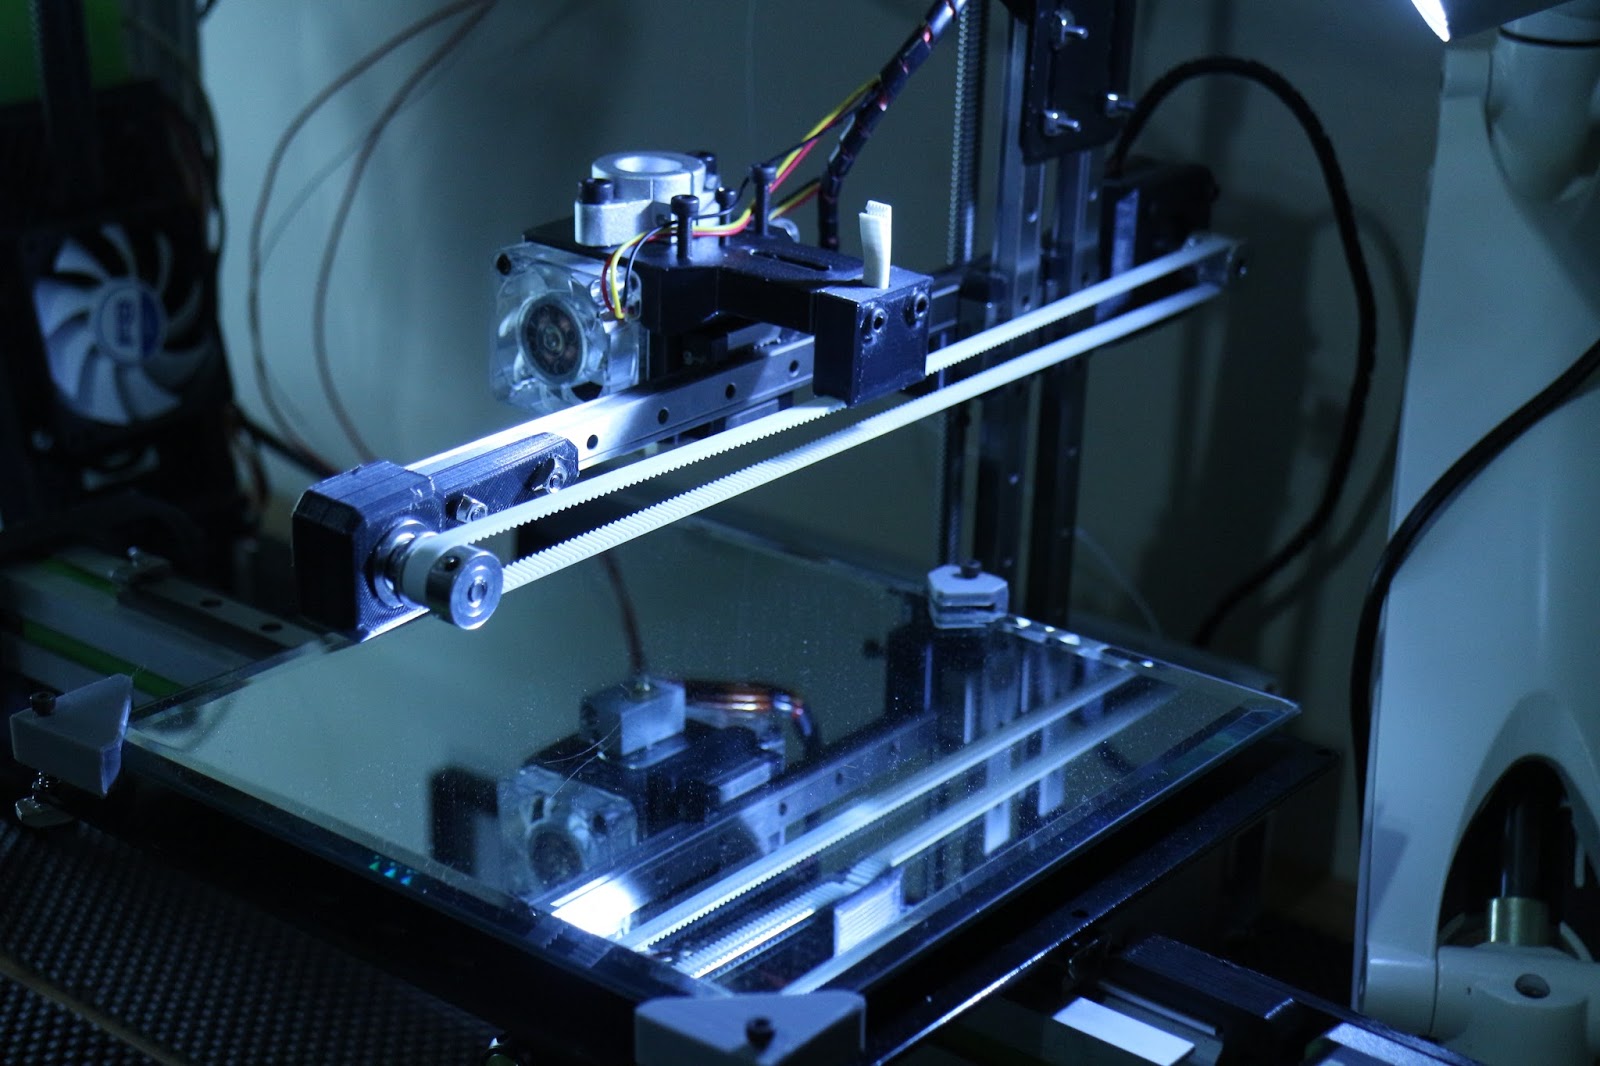
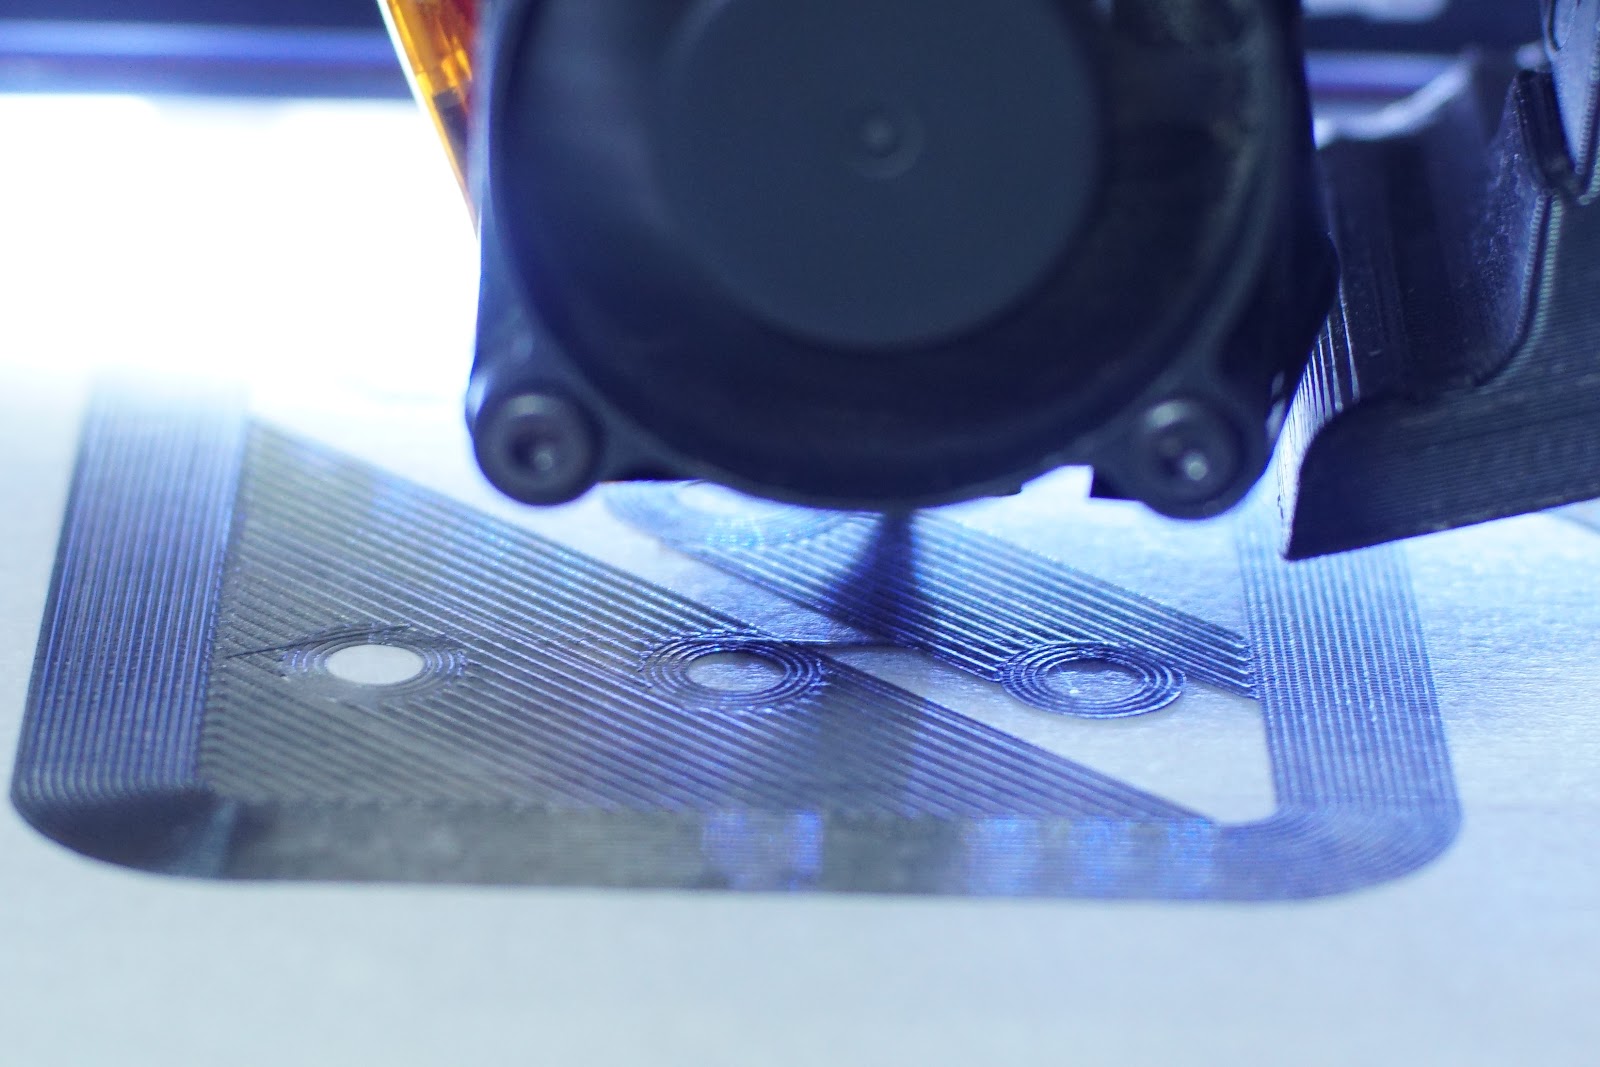
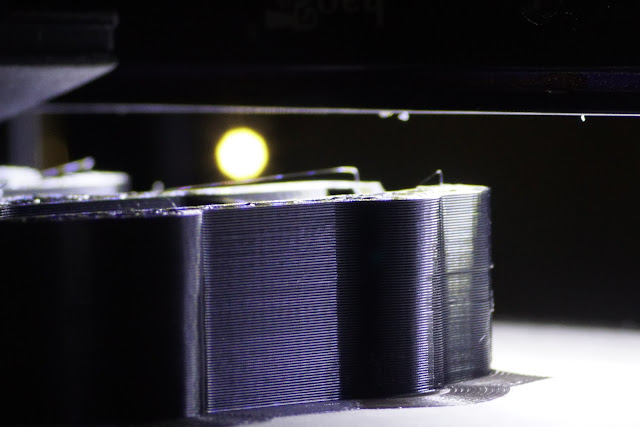
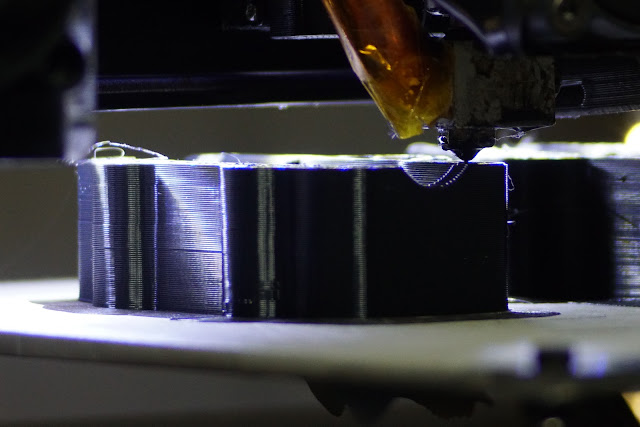
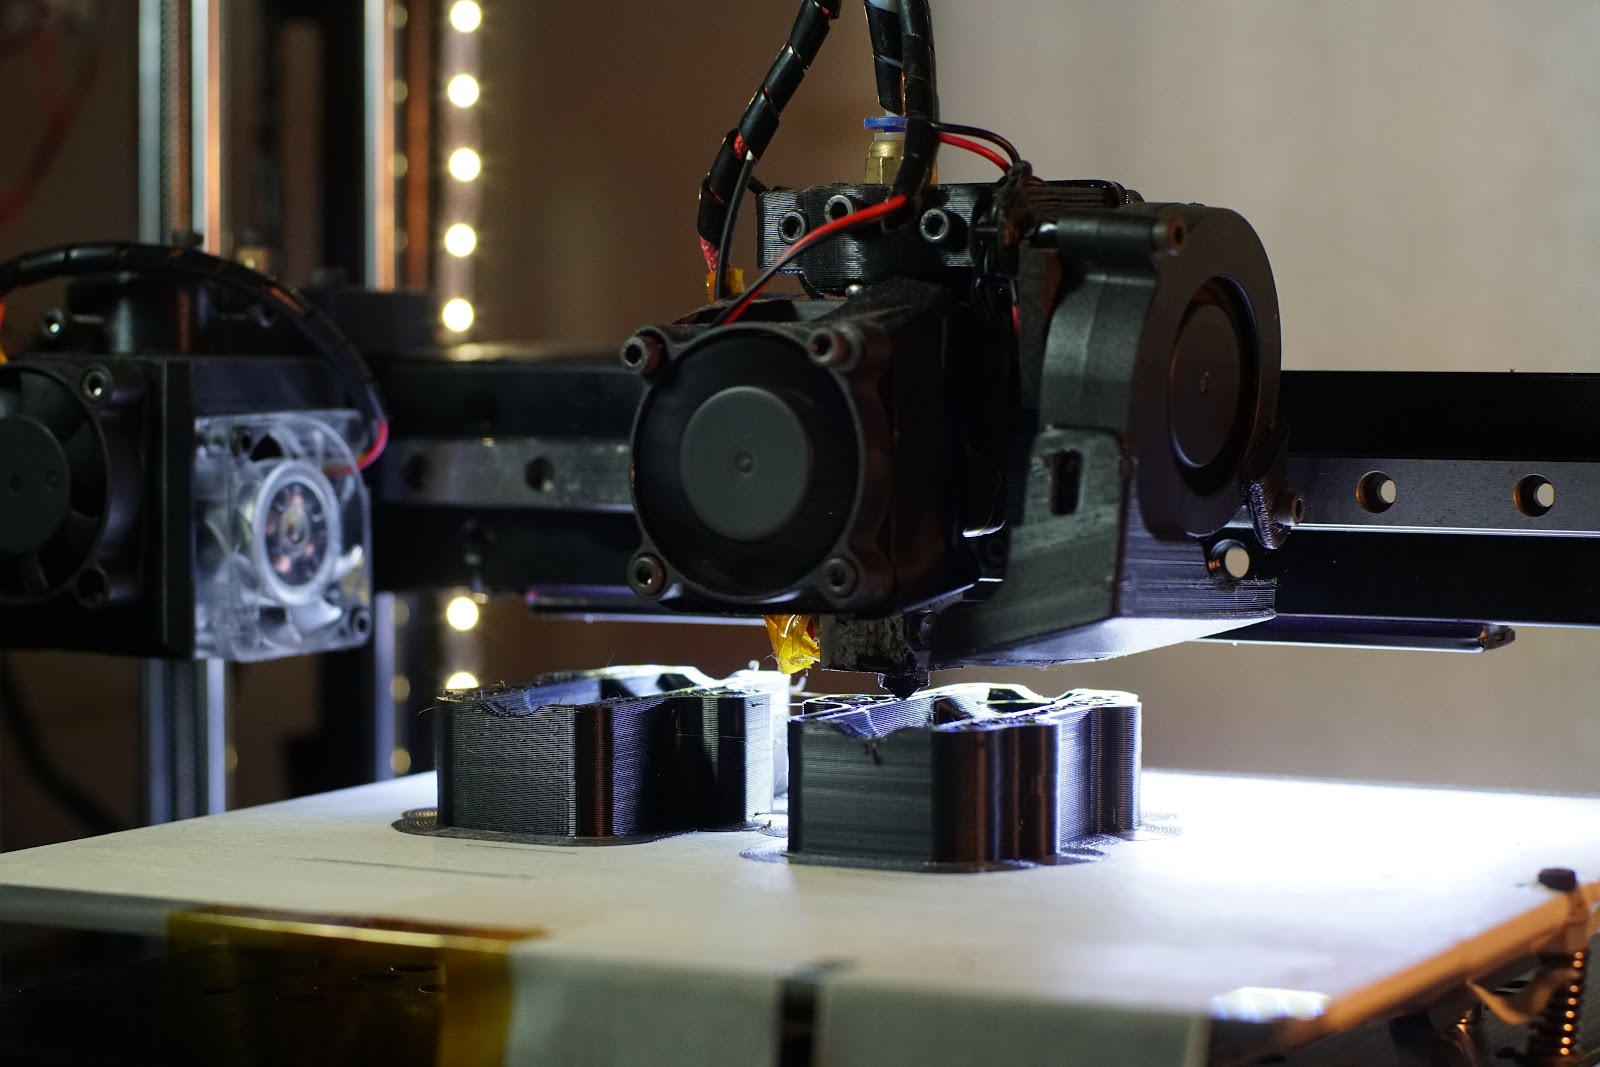
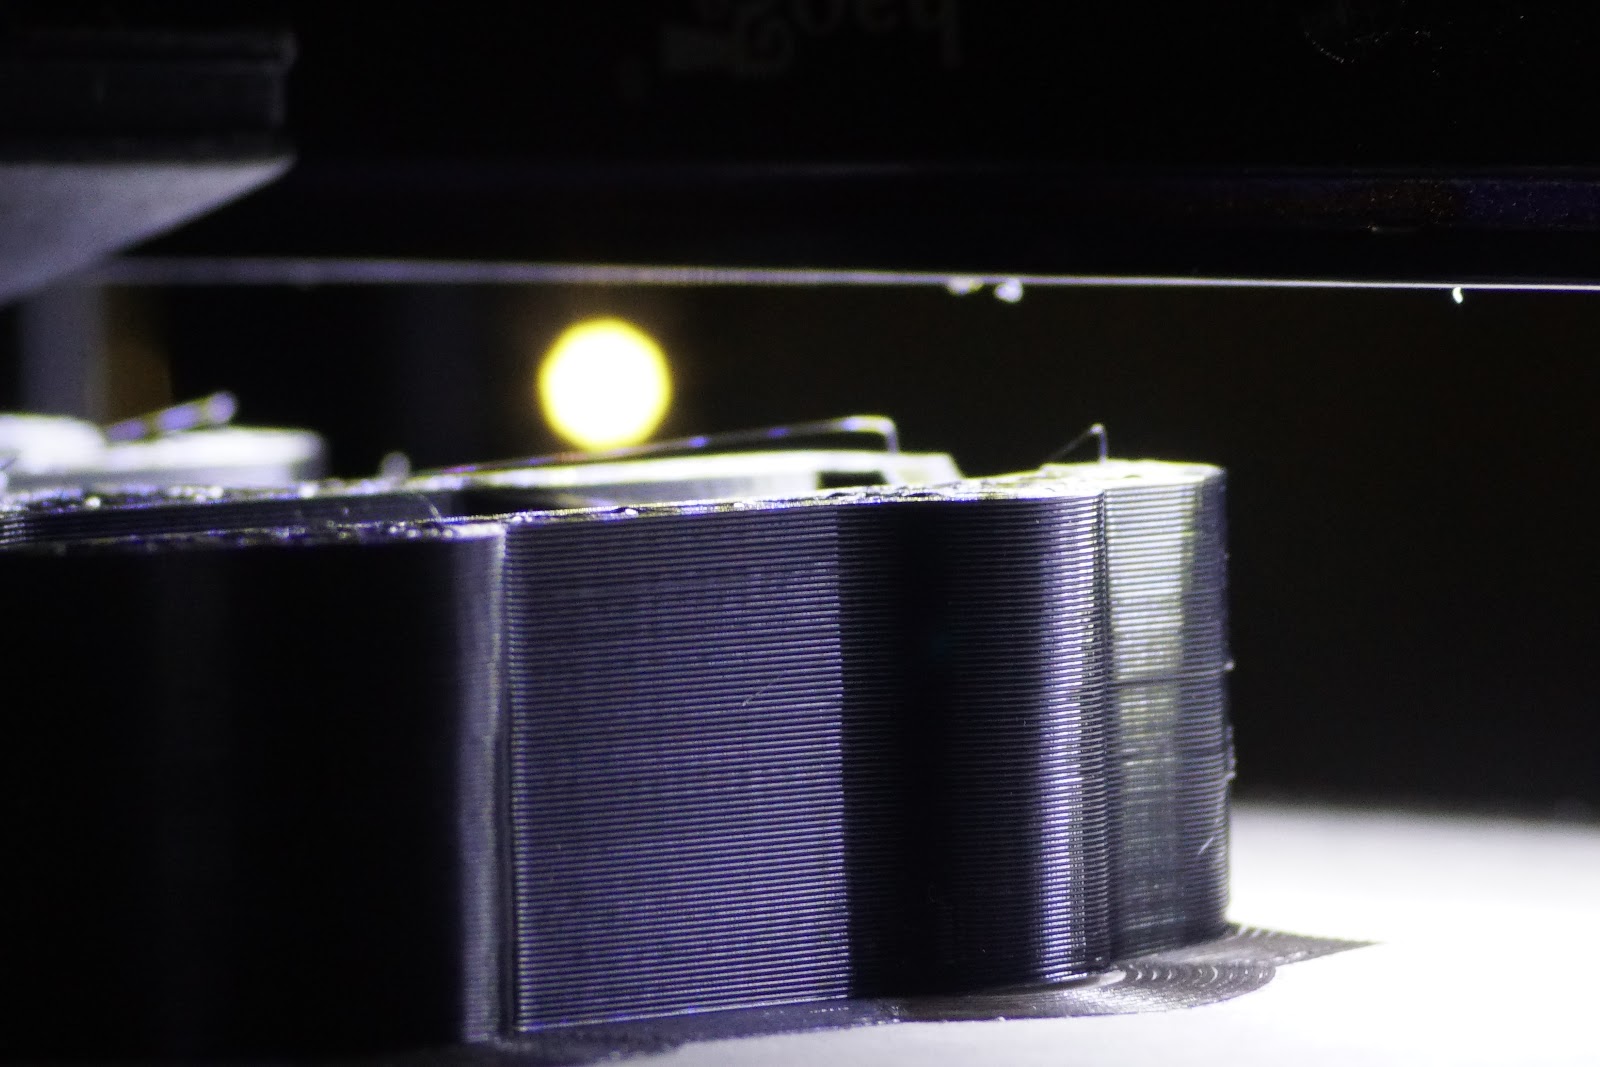
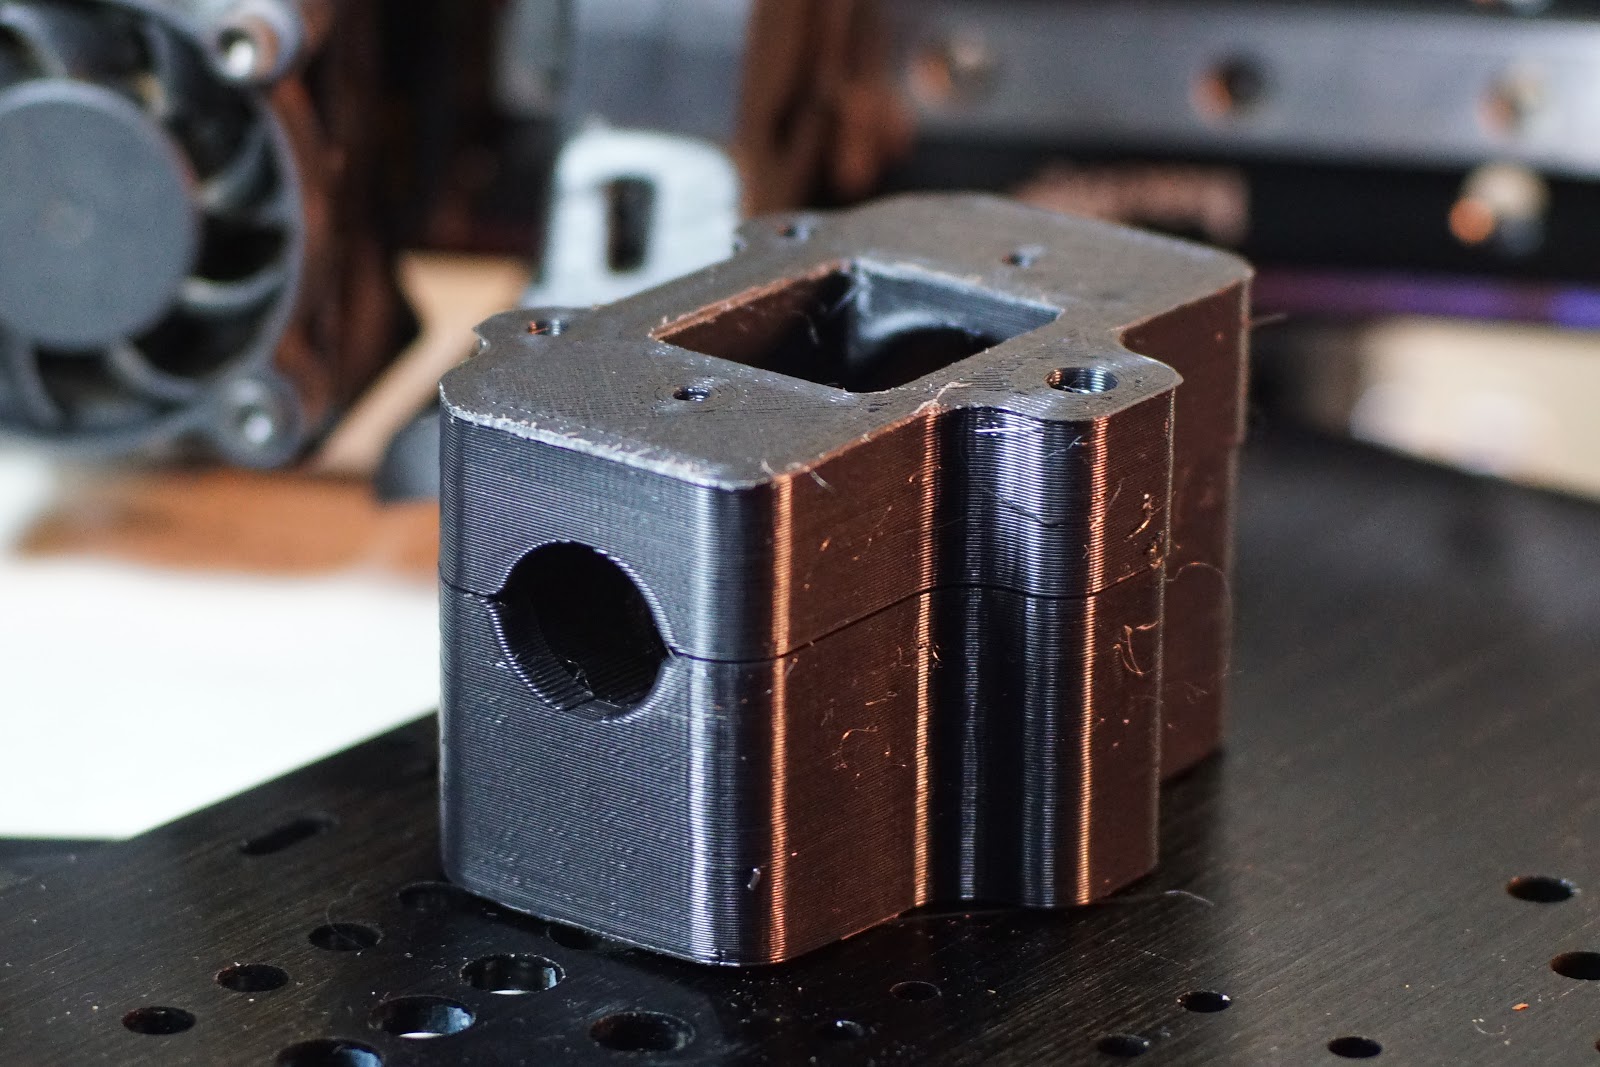
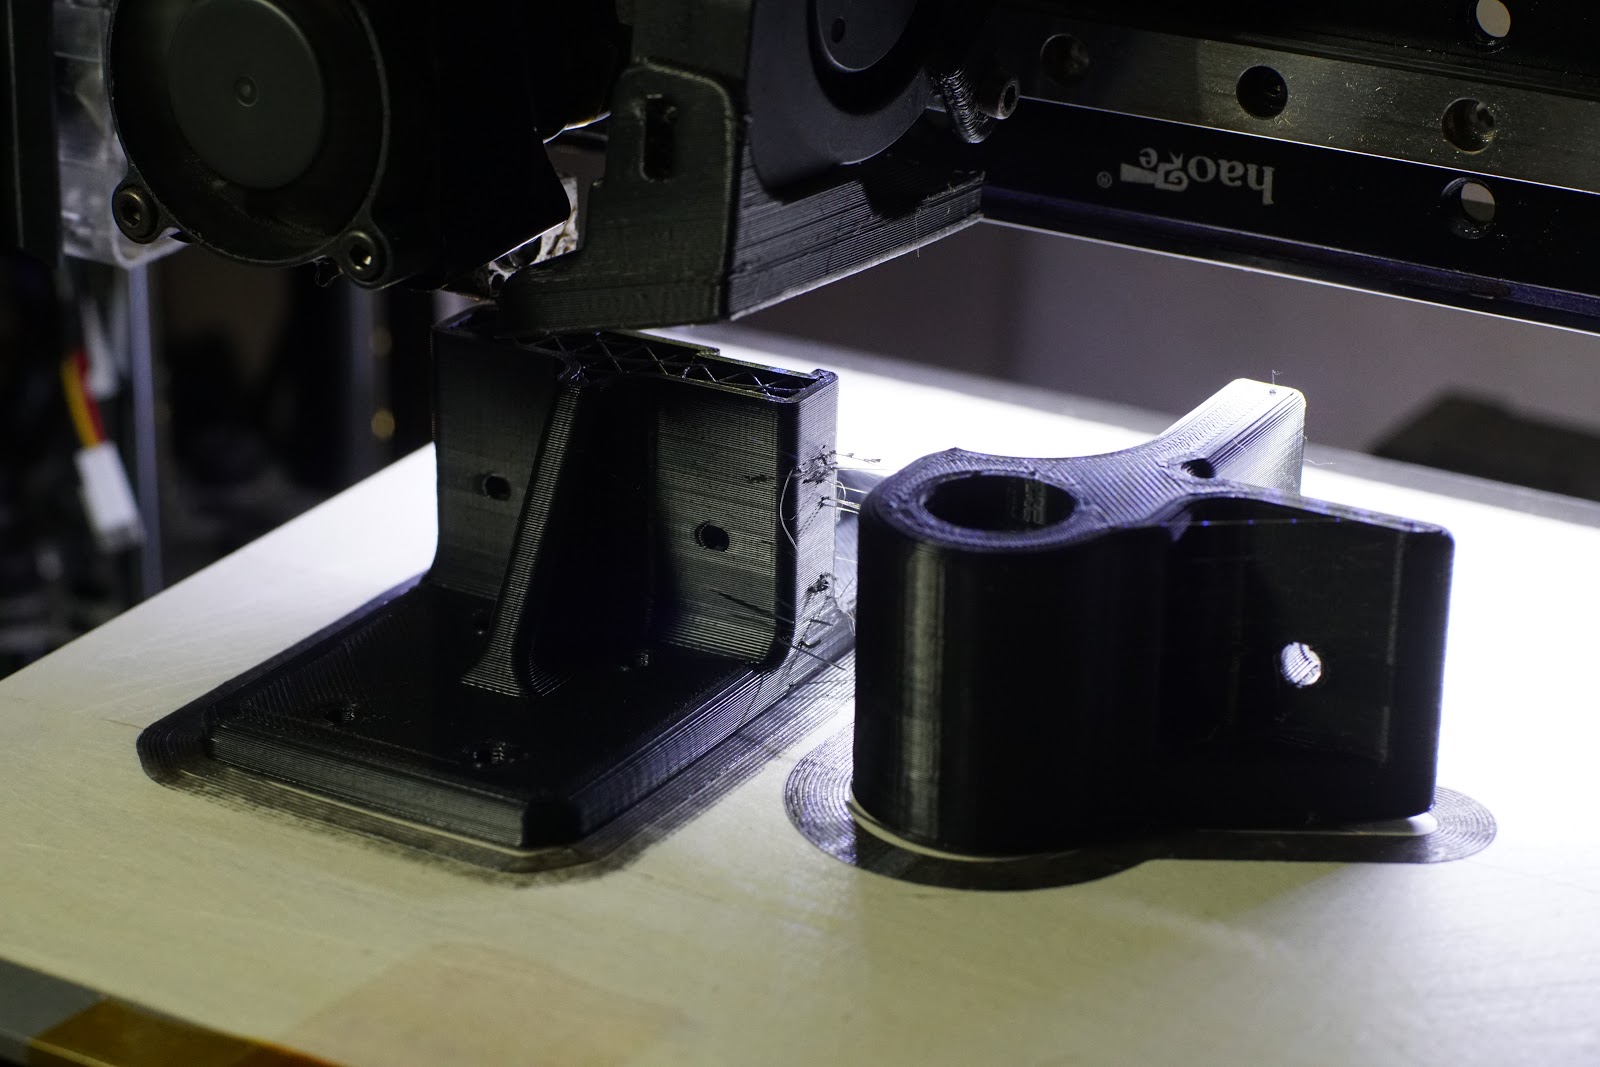
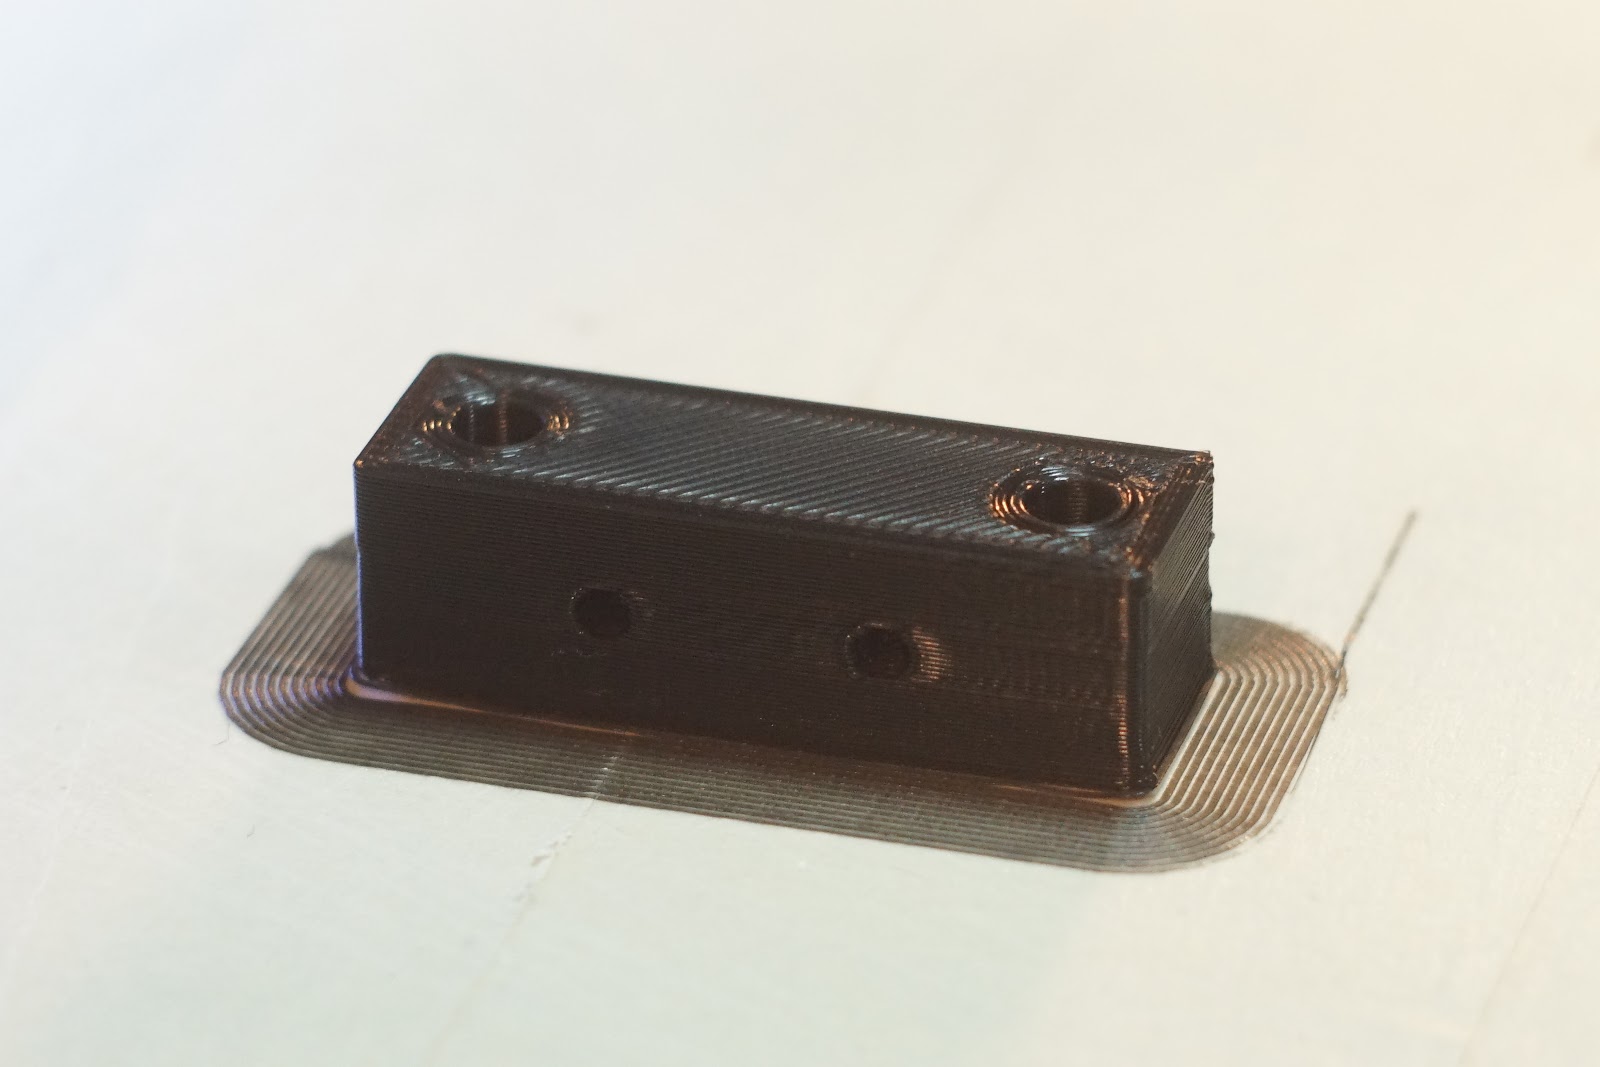
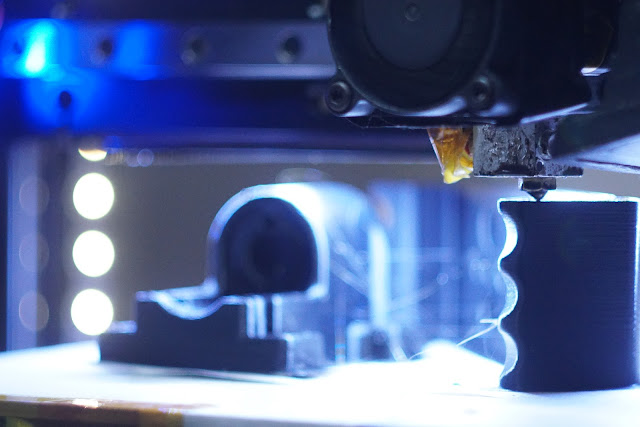
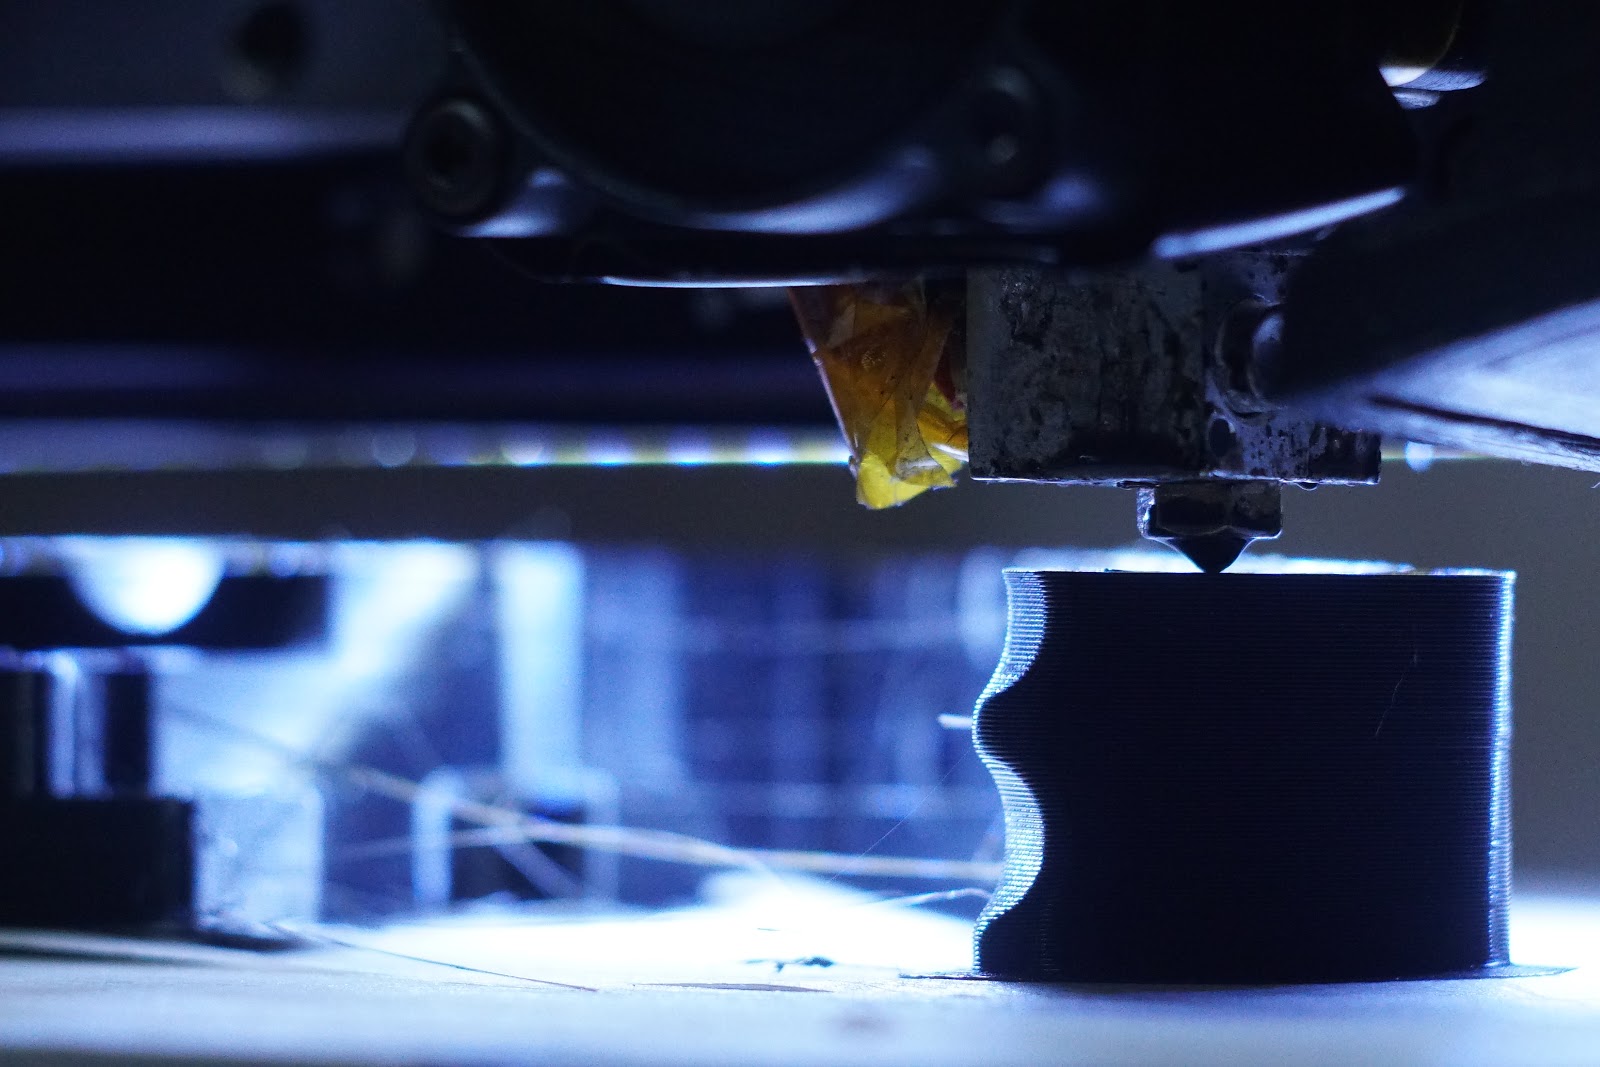
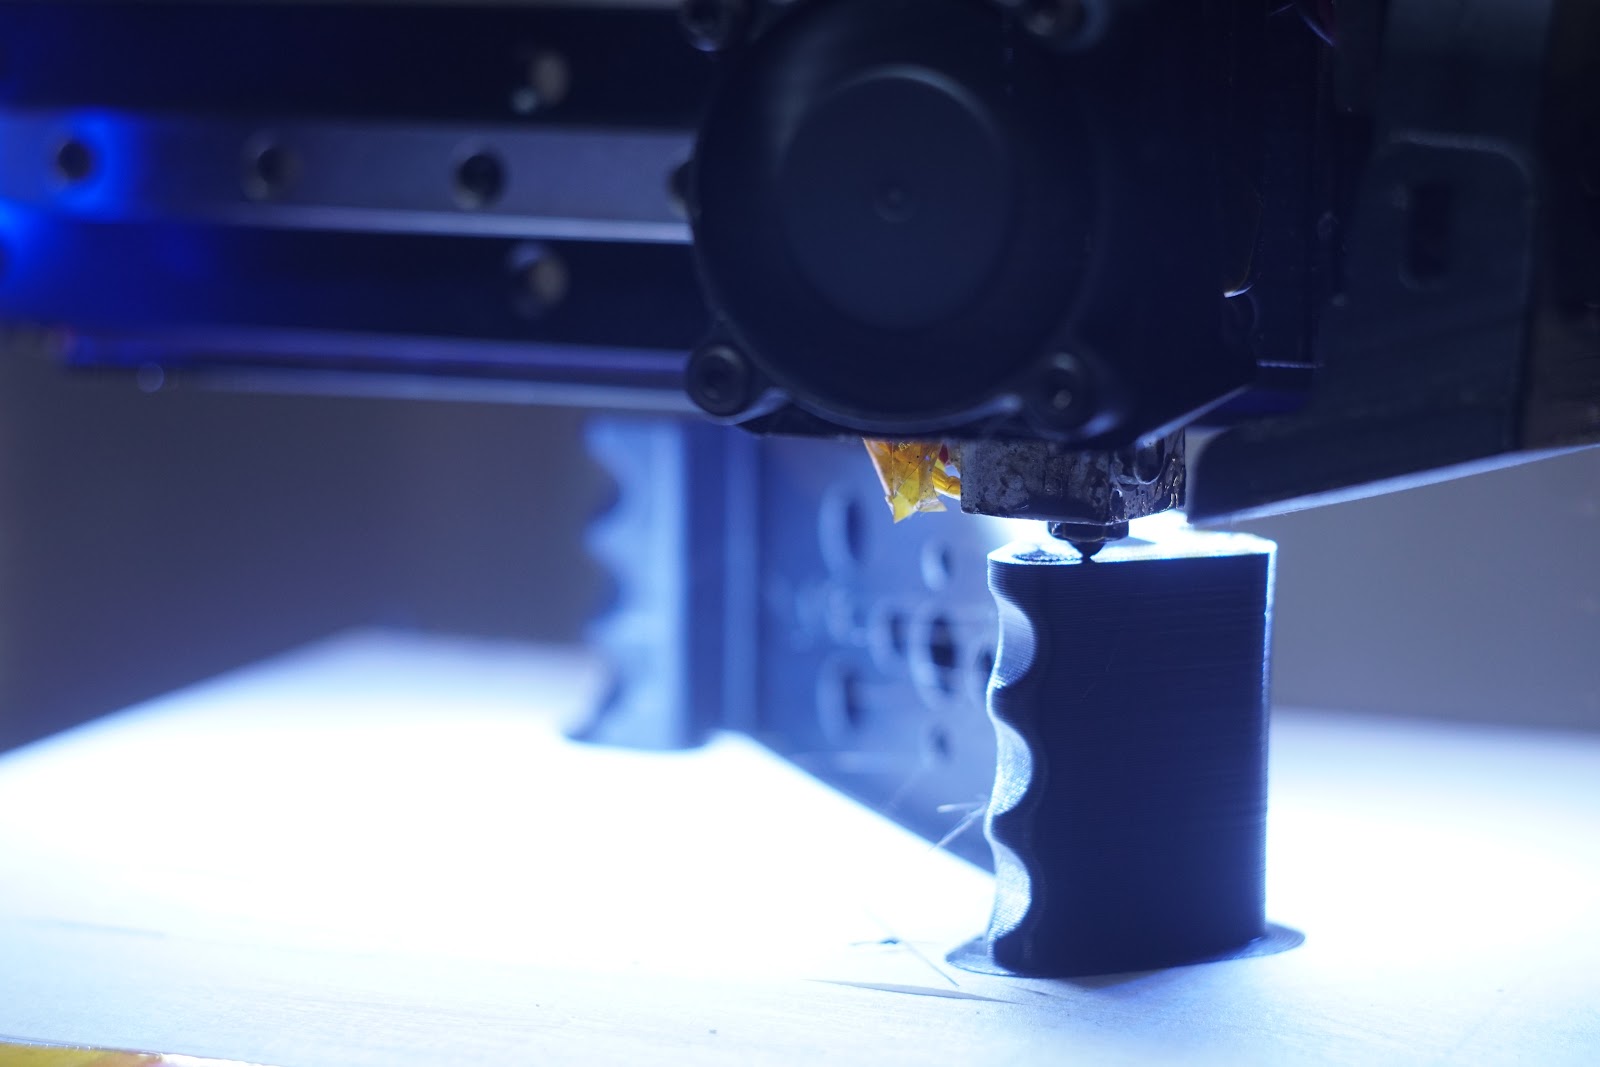
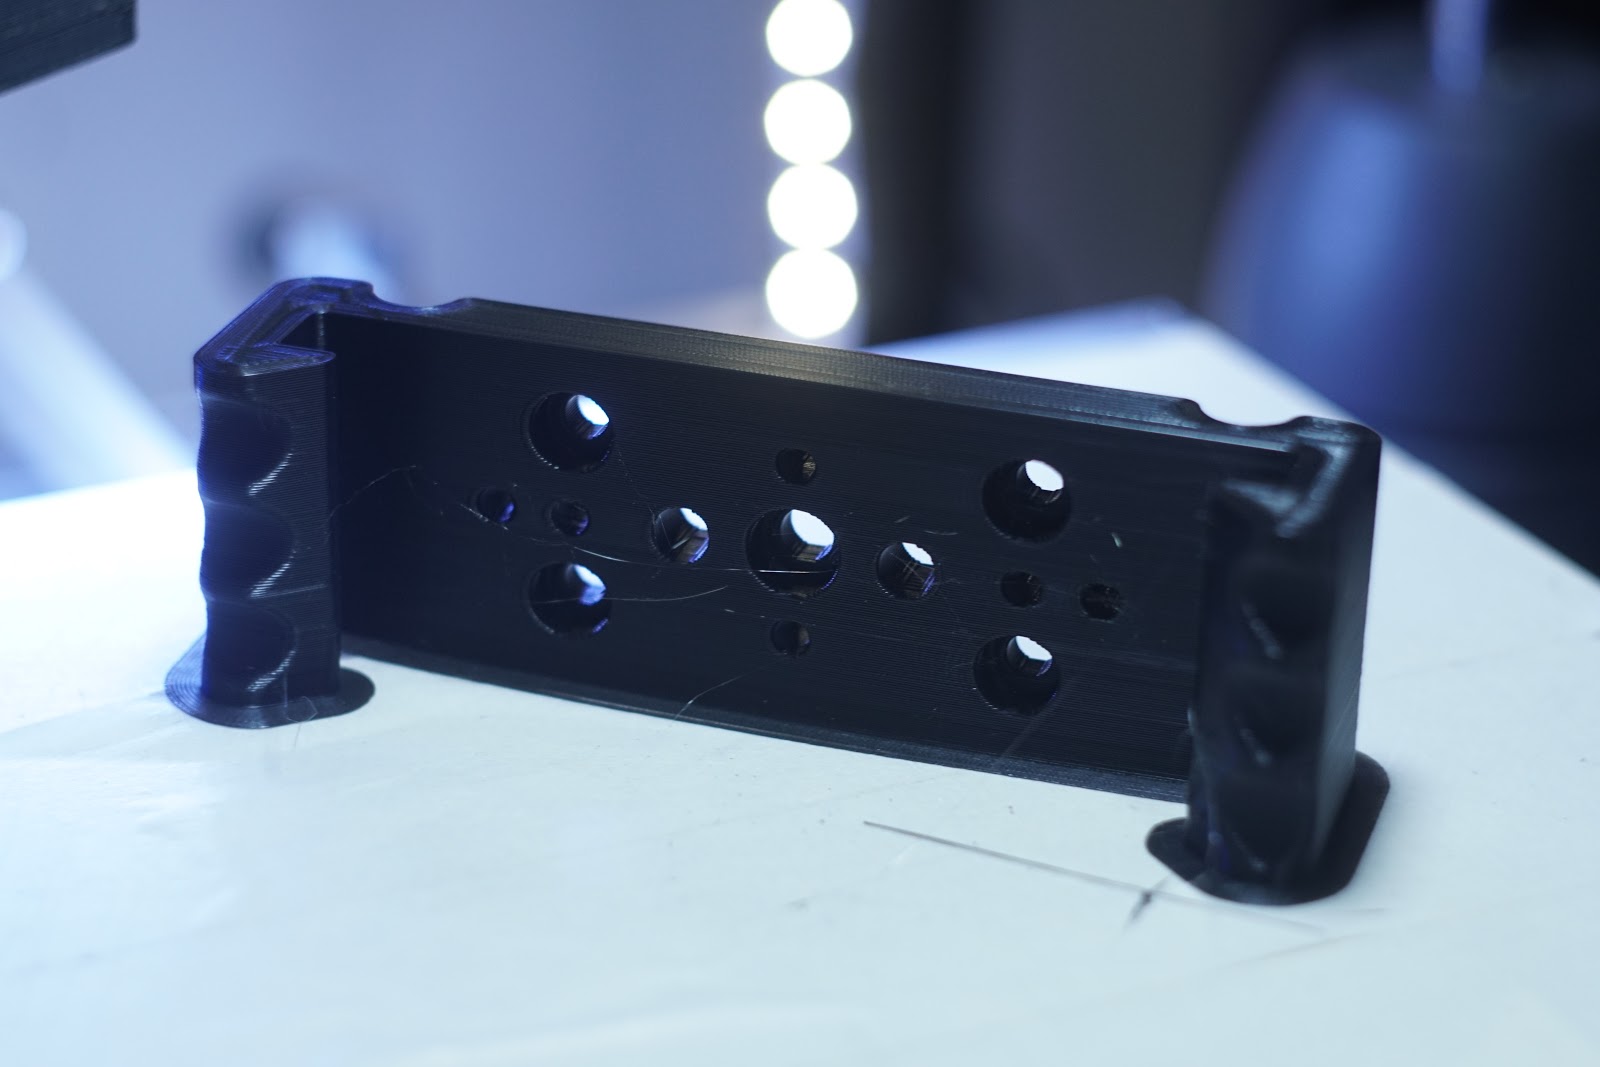
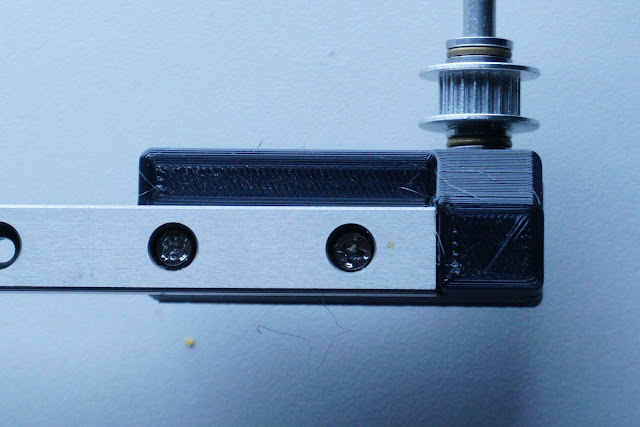
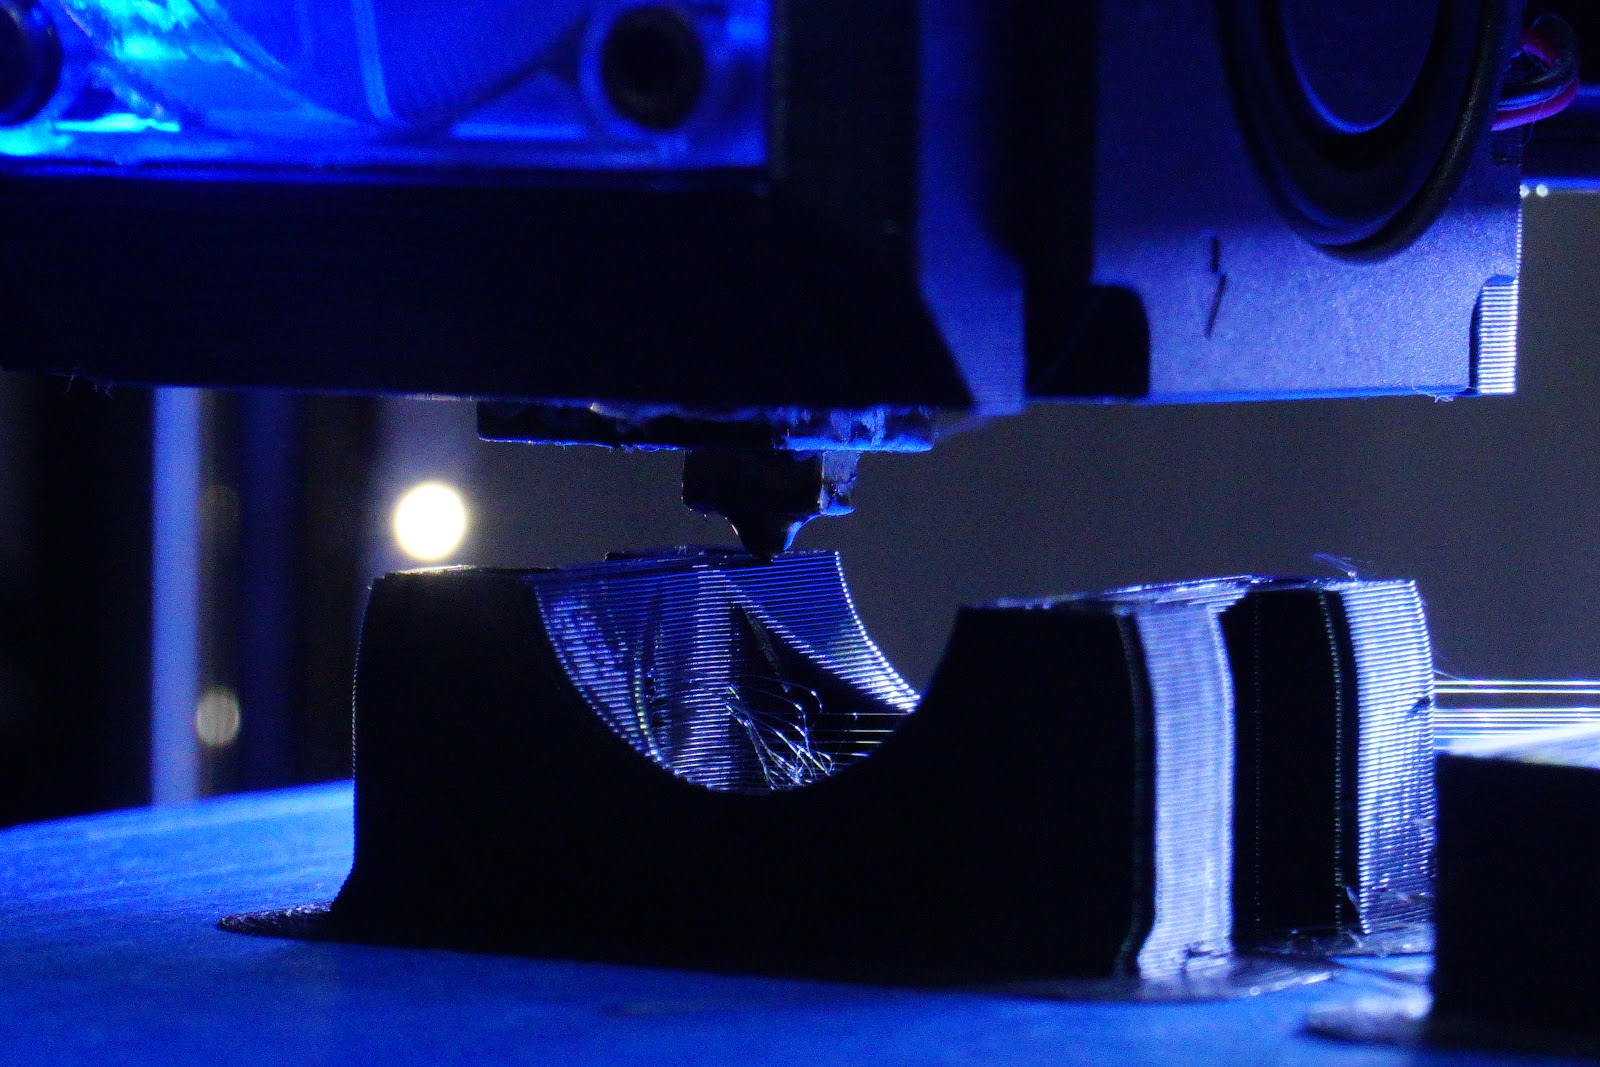
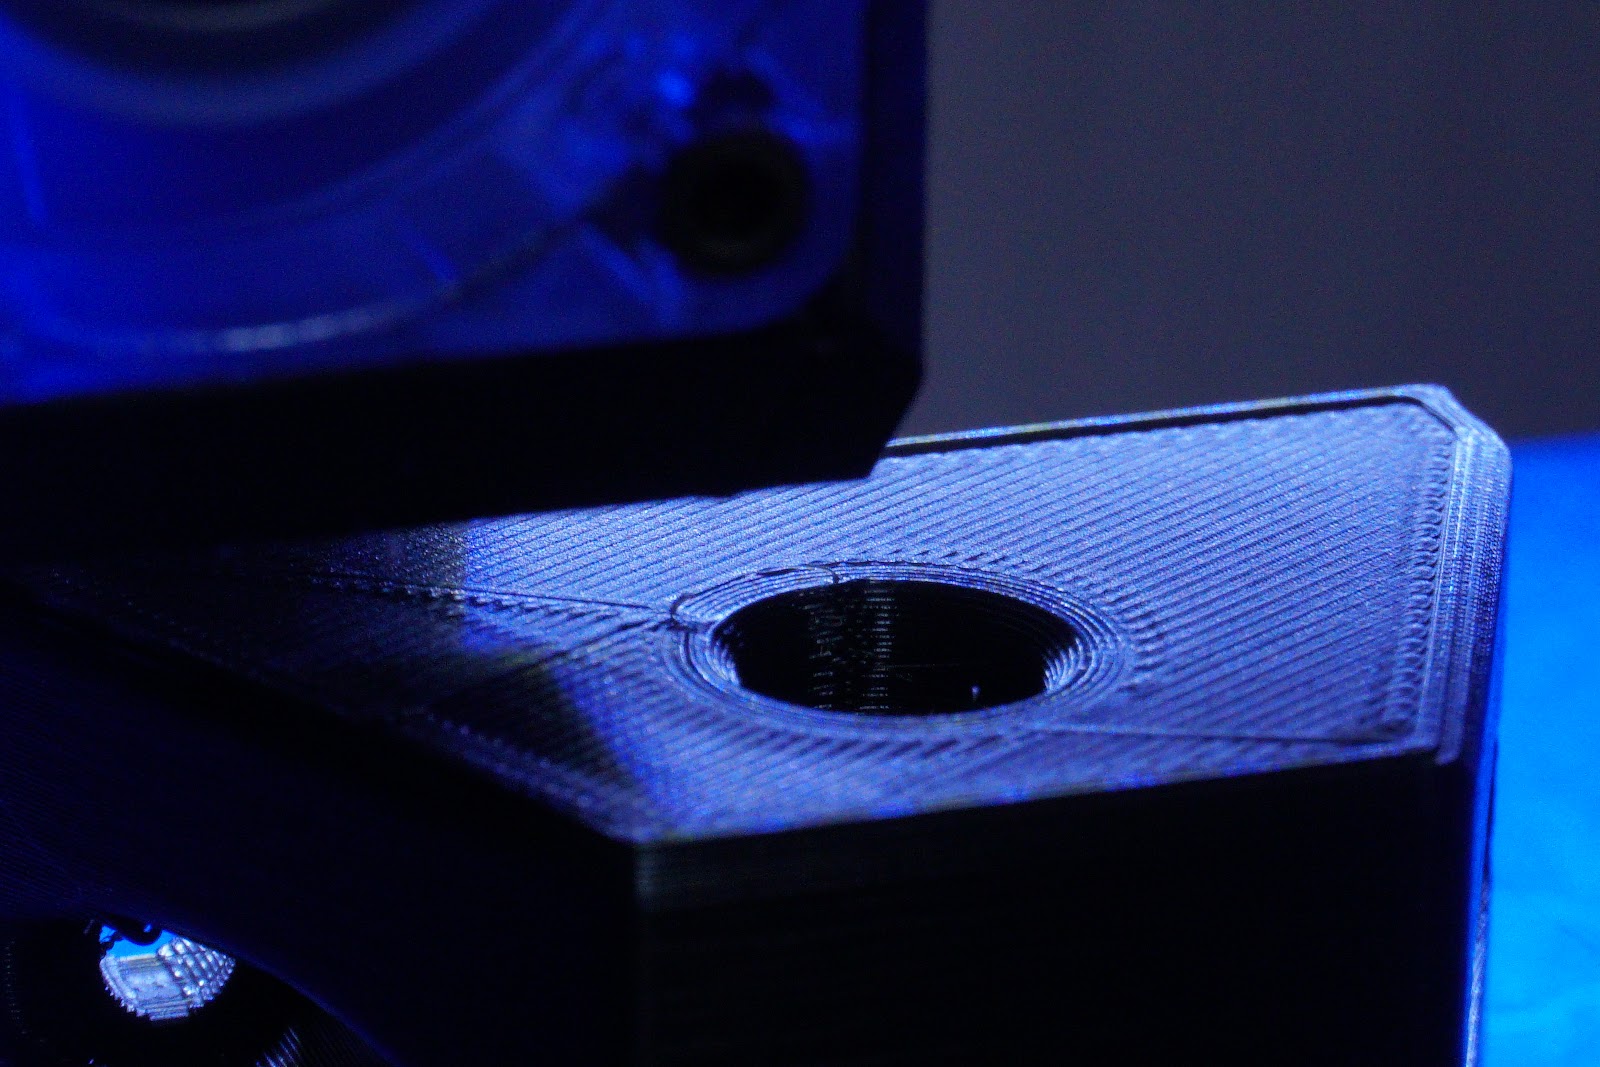
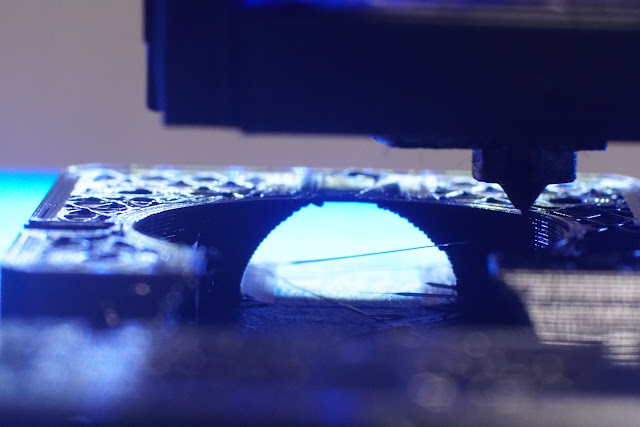
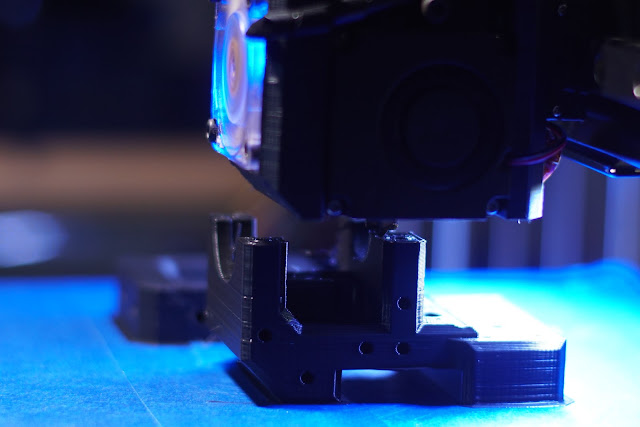
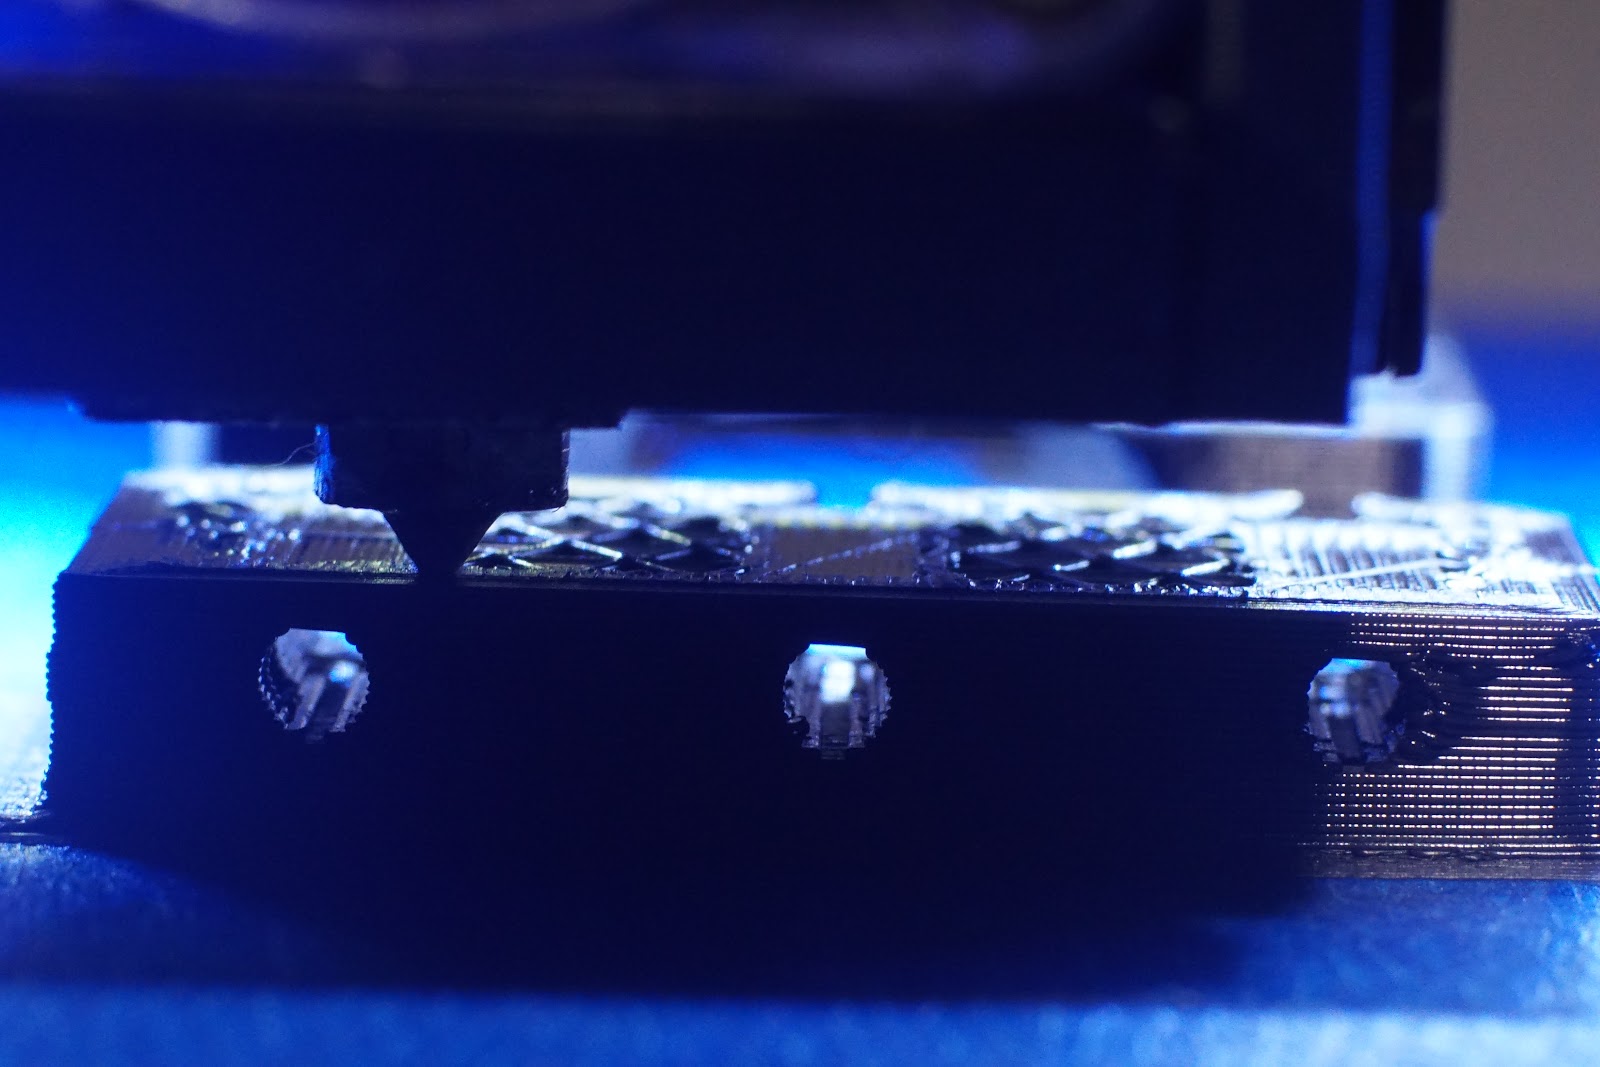
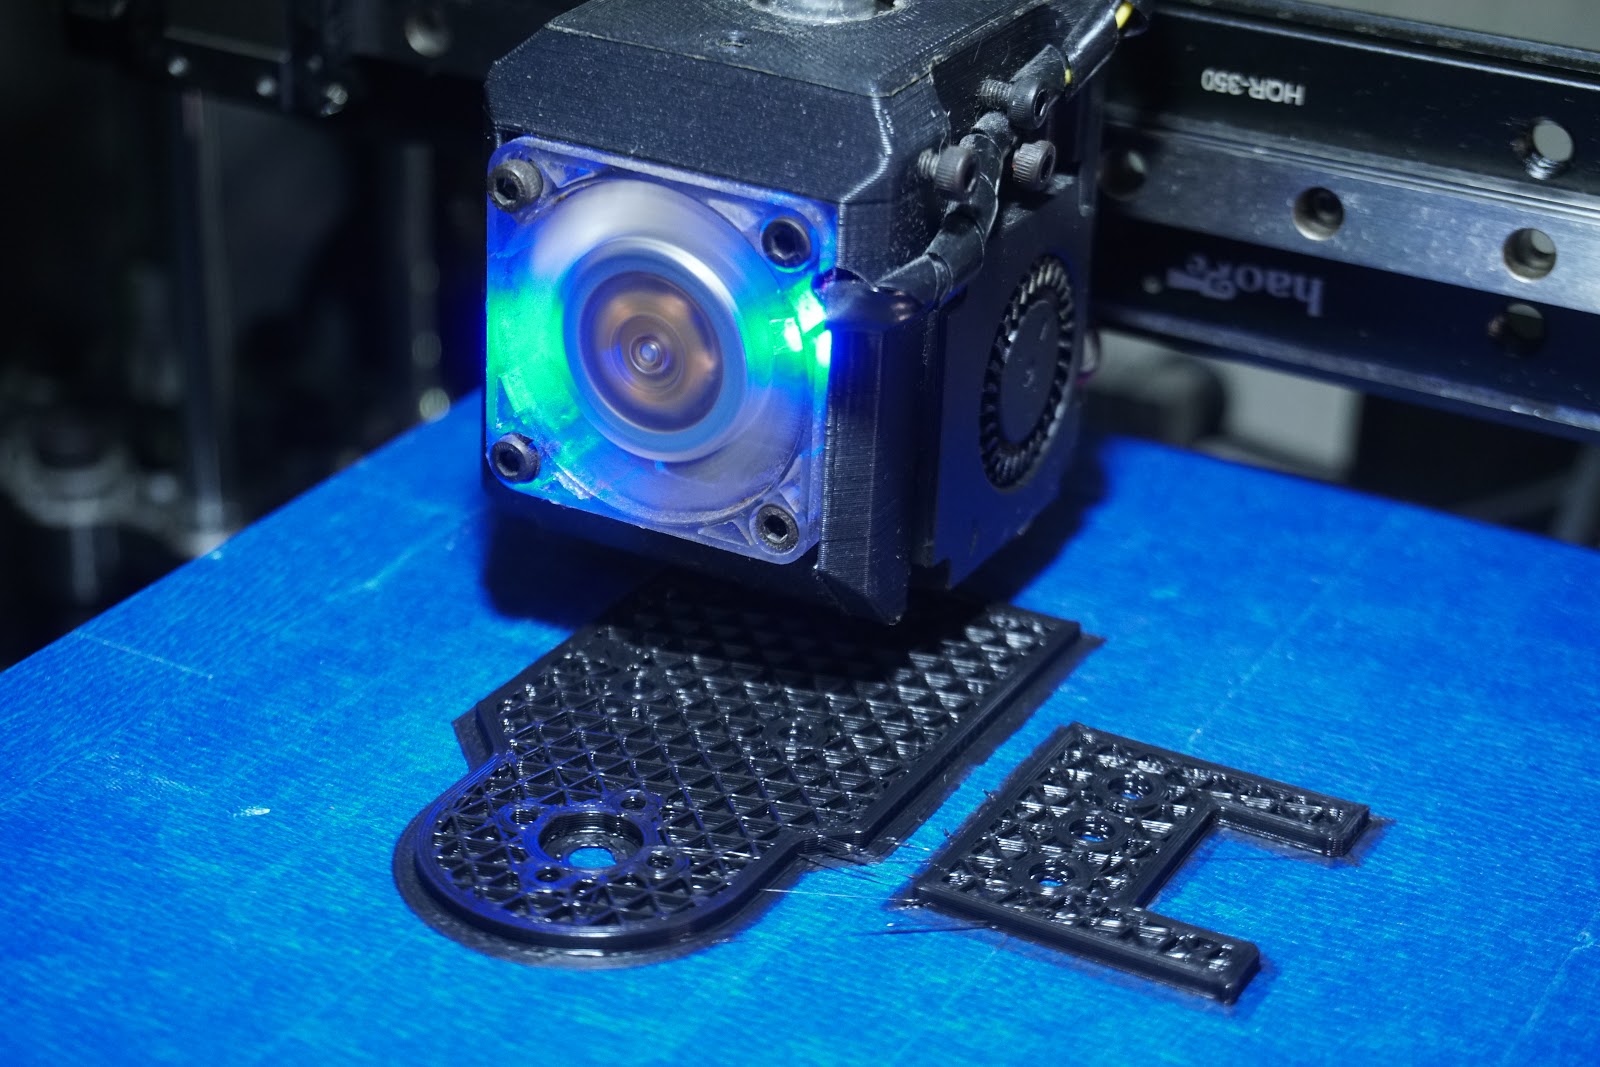
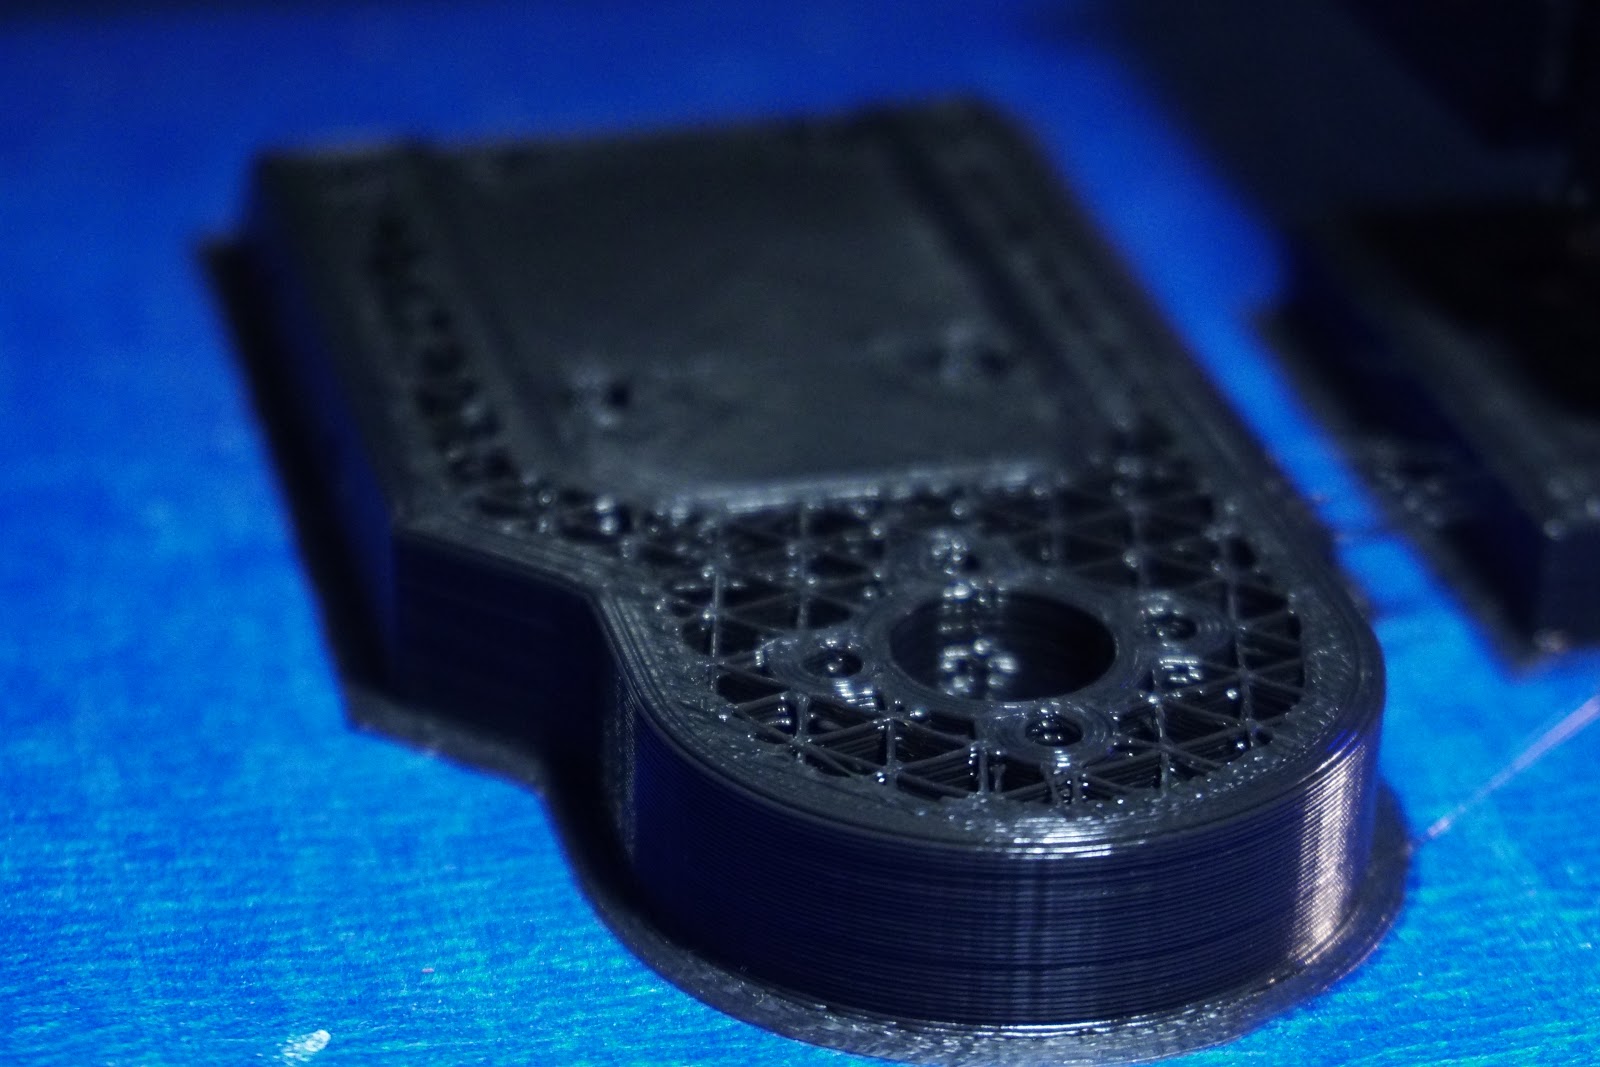
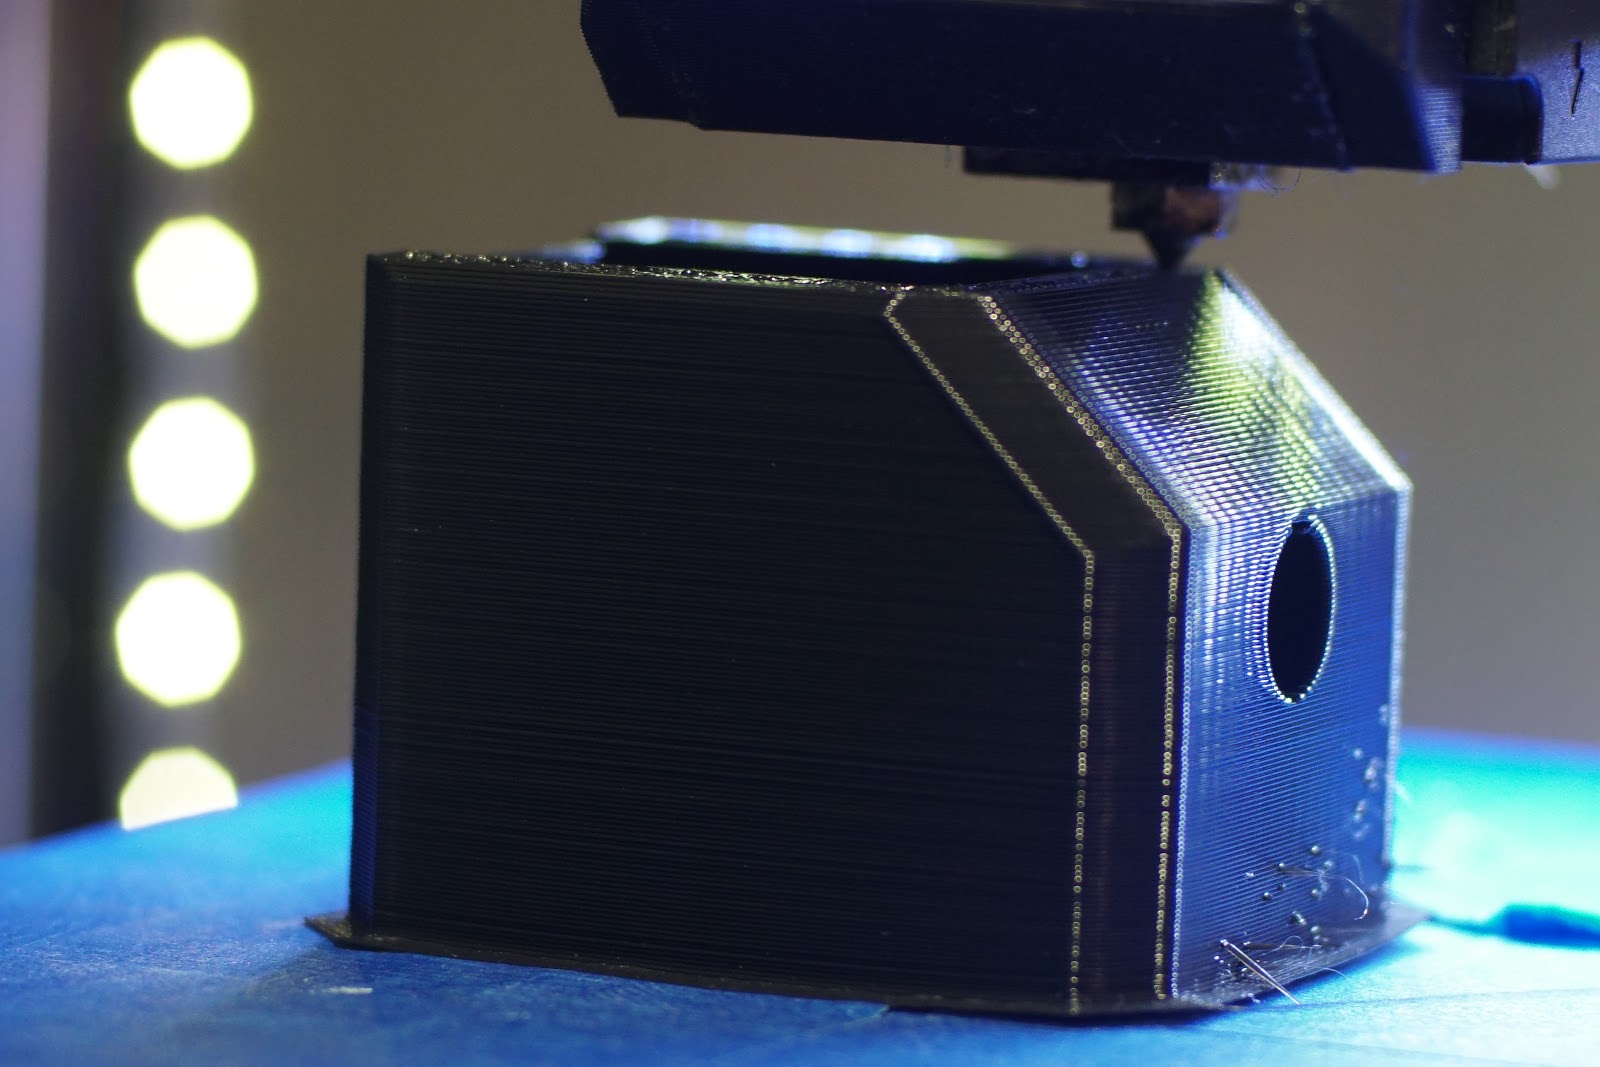
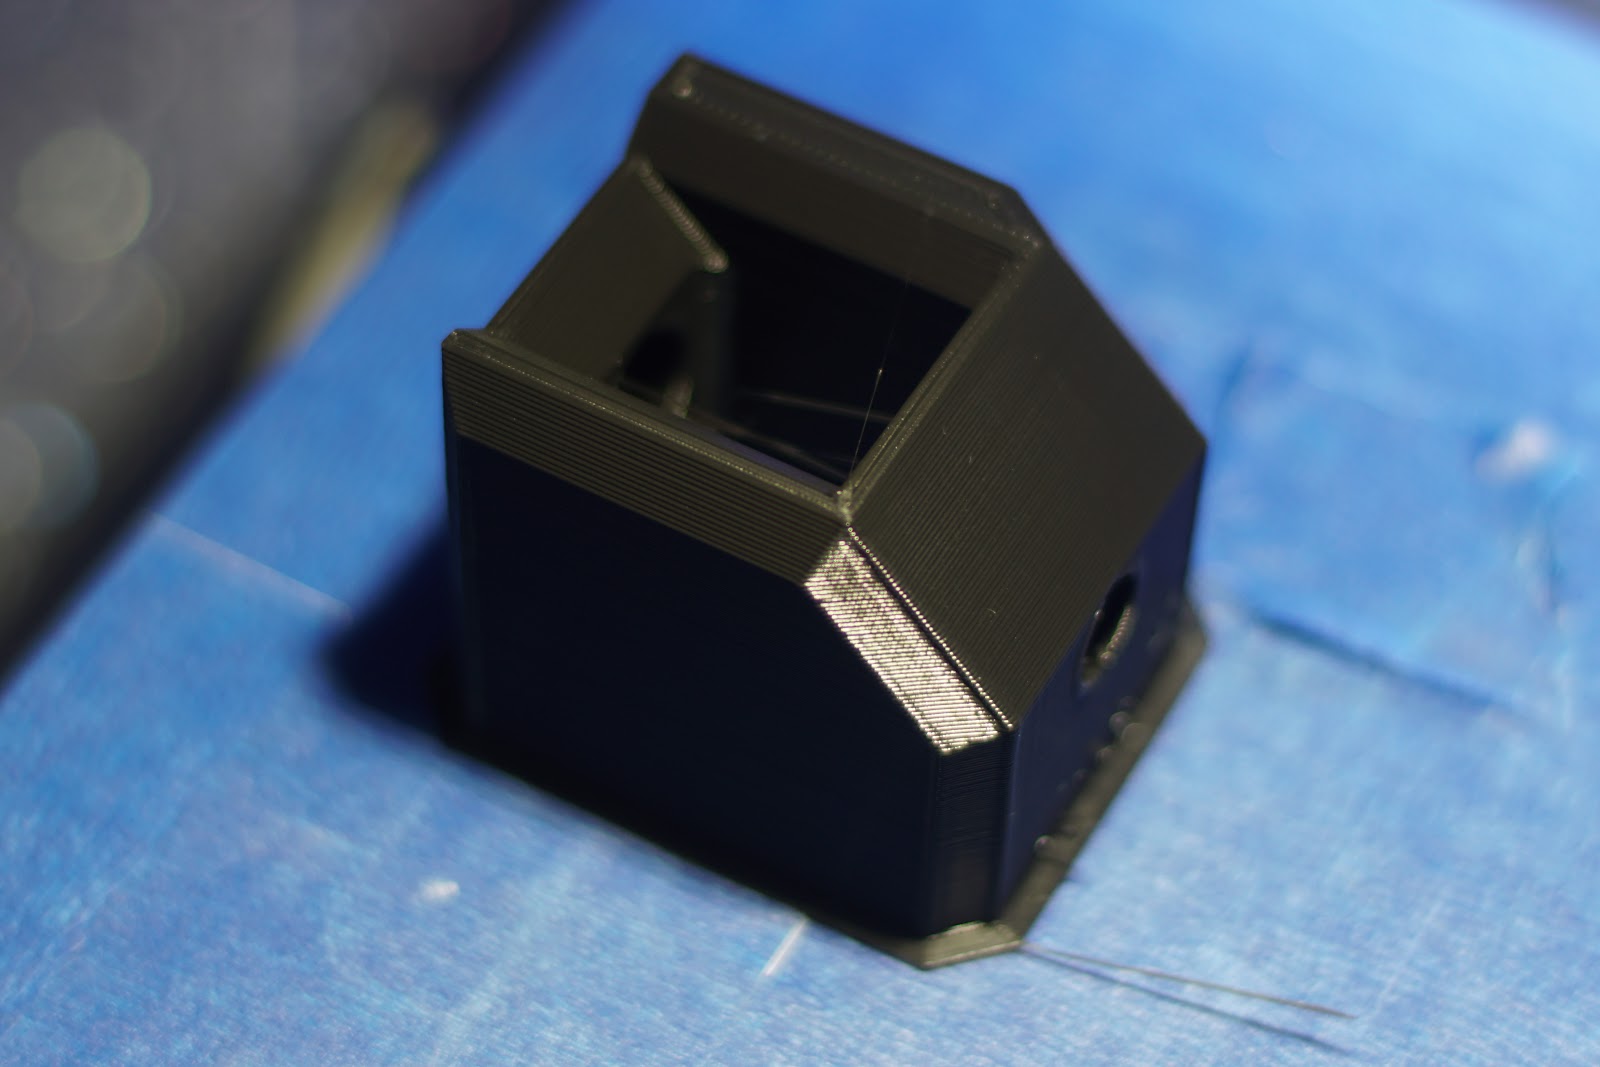
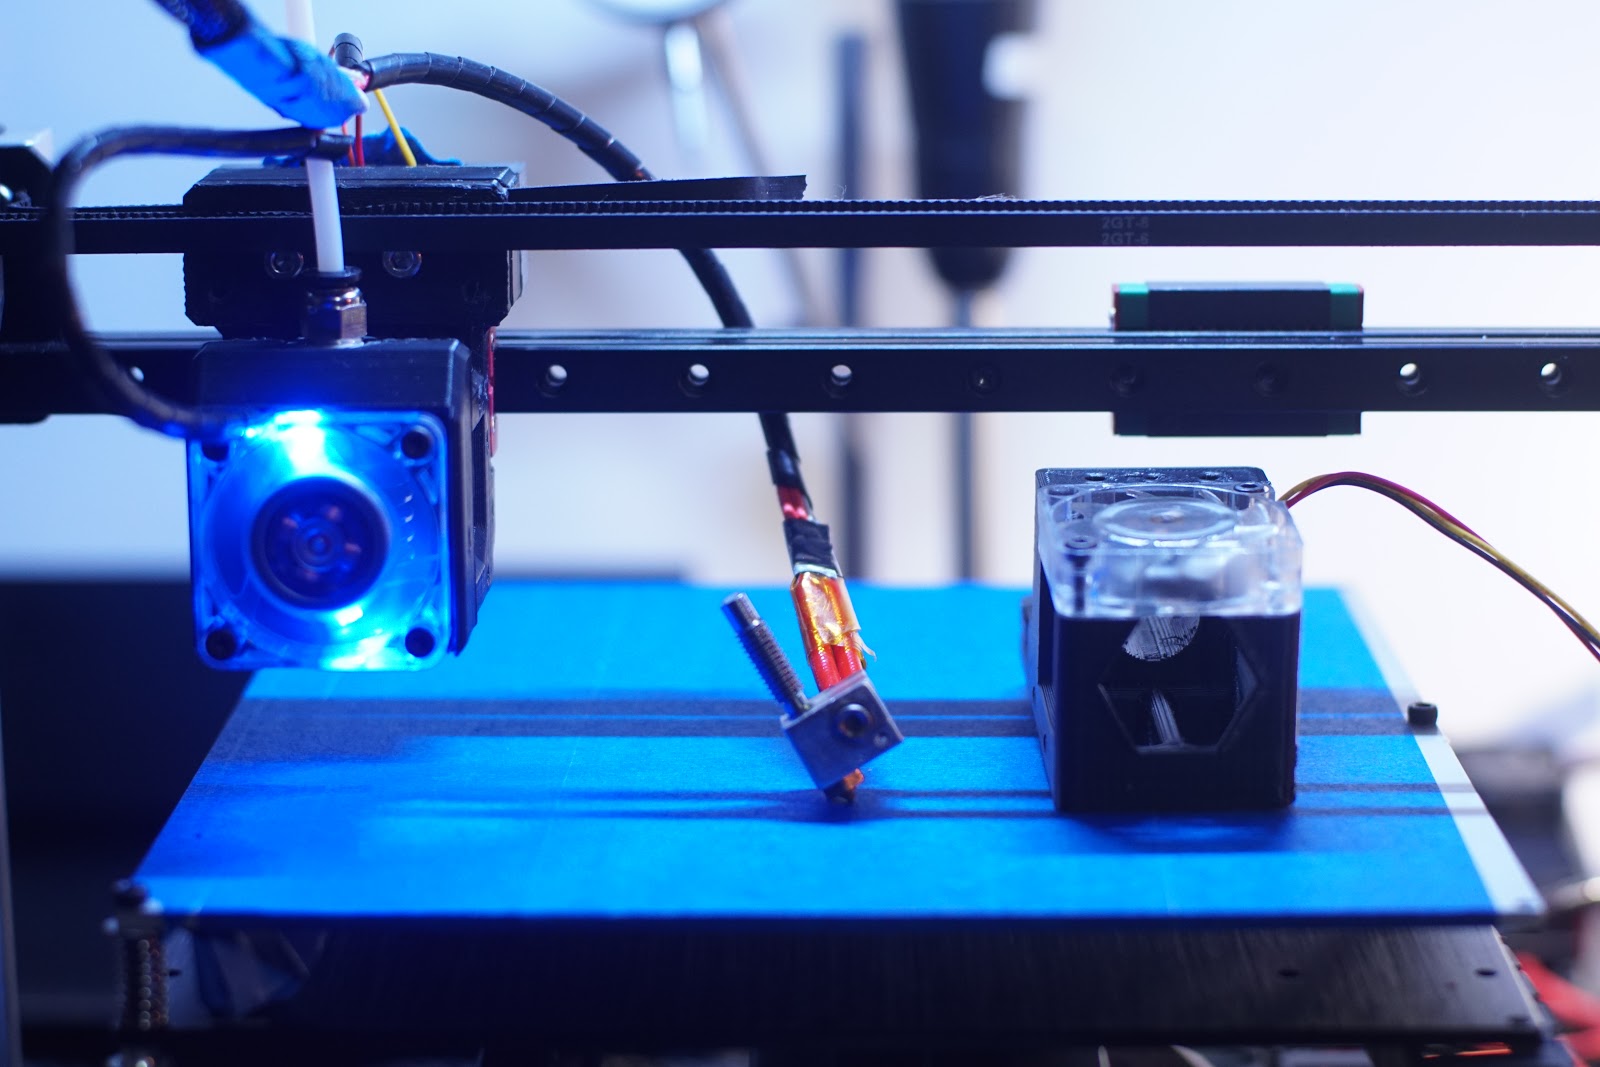
Not the cleanest print but a big fat brim at last, changed speeds a few times which messed things up near top.
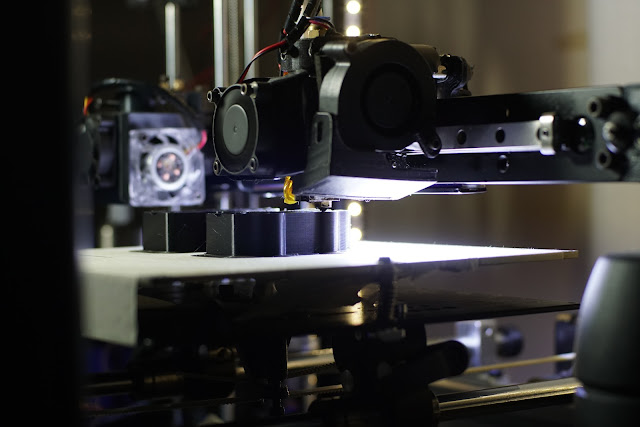
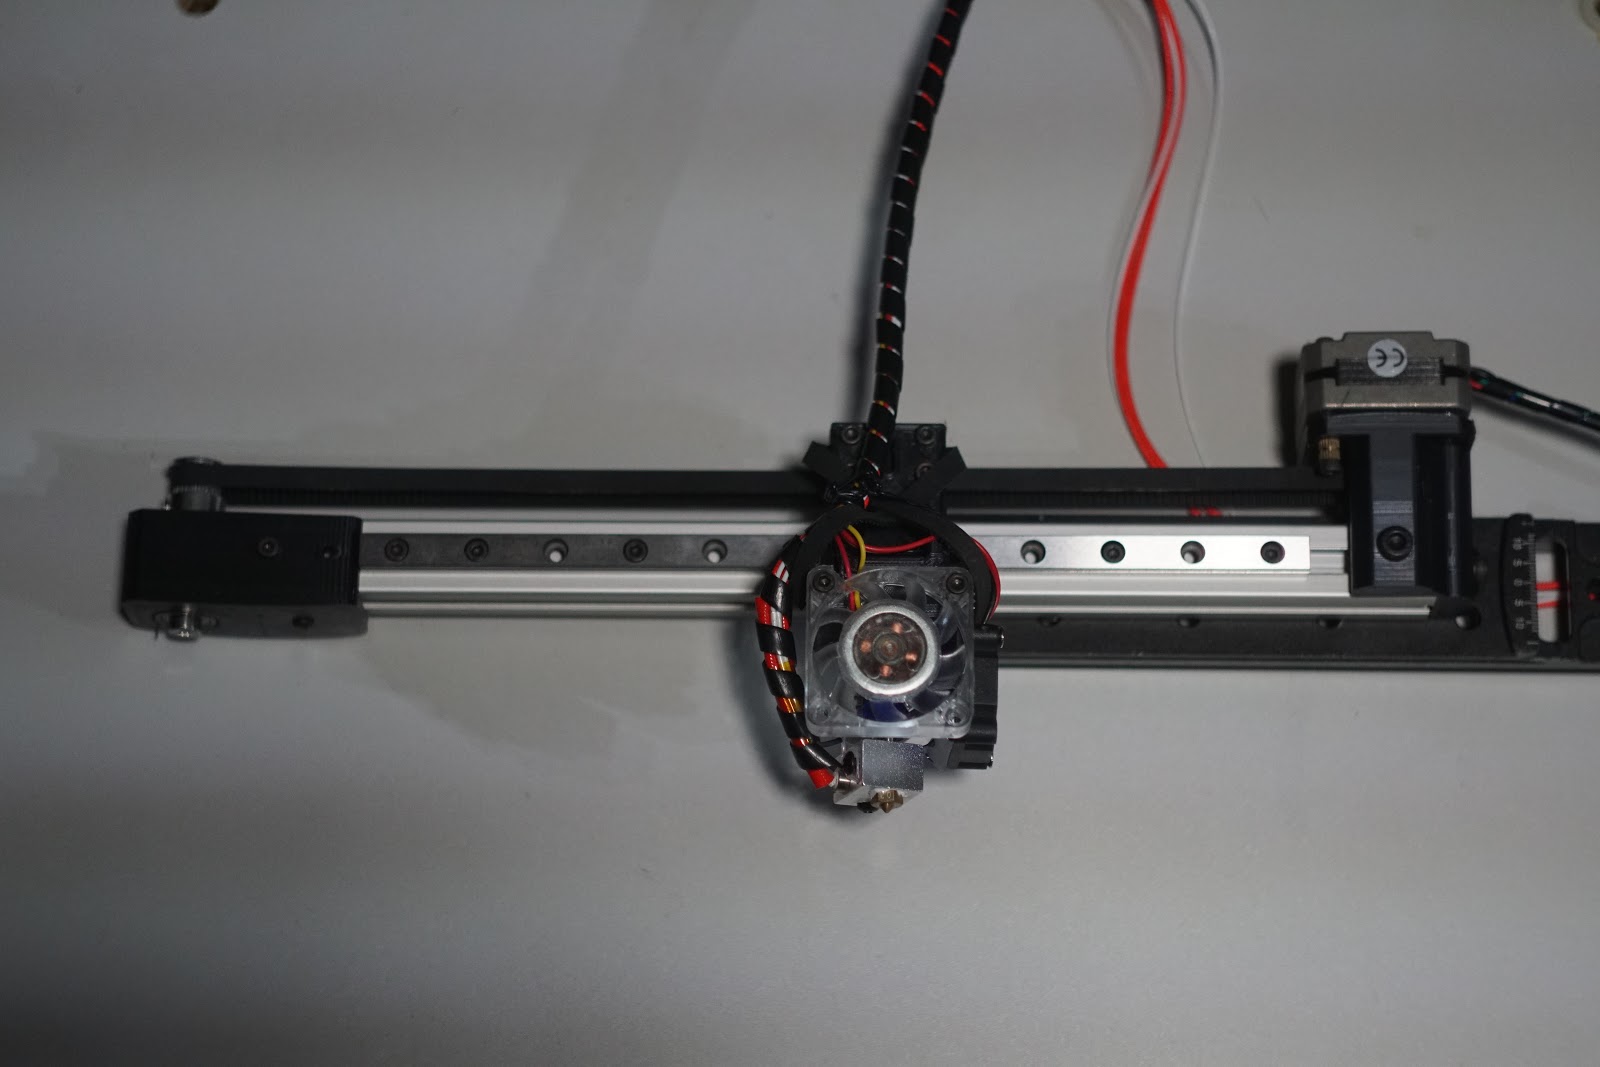
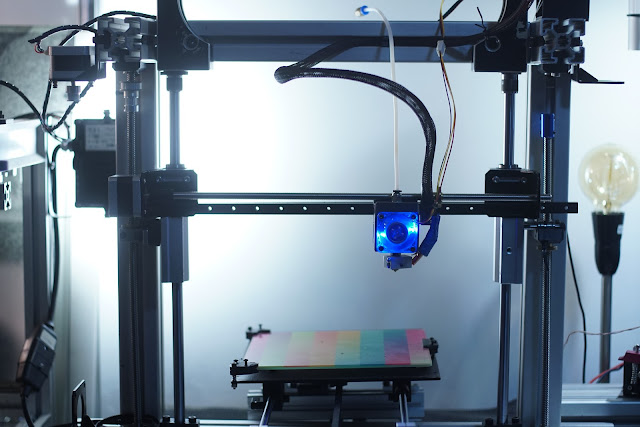
Waiting on slightly bigger motor, not tried this one yet, always used as a stand in for something better.
Though its a super light action rail, glides very easy, light head, just dont hit any bumps and maybe the motor could handle it?
Edited 3 time(s). Last edit at 10/23/2017 07:22PM by MechaBits.
|
Re: MechaBits KraftWerk'r November 01, 2017 02:28PM |
Registered: 8 years ago Posts: 1,671 |
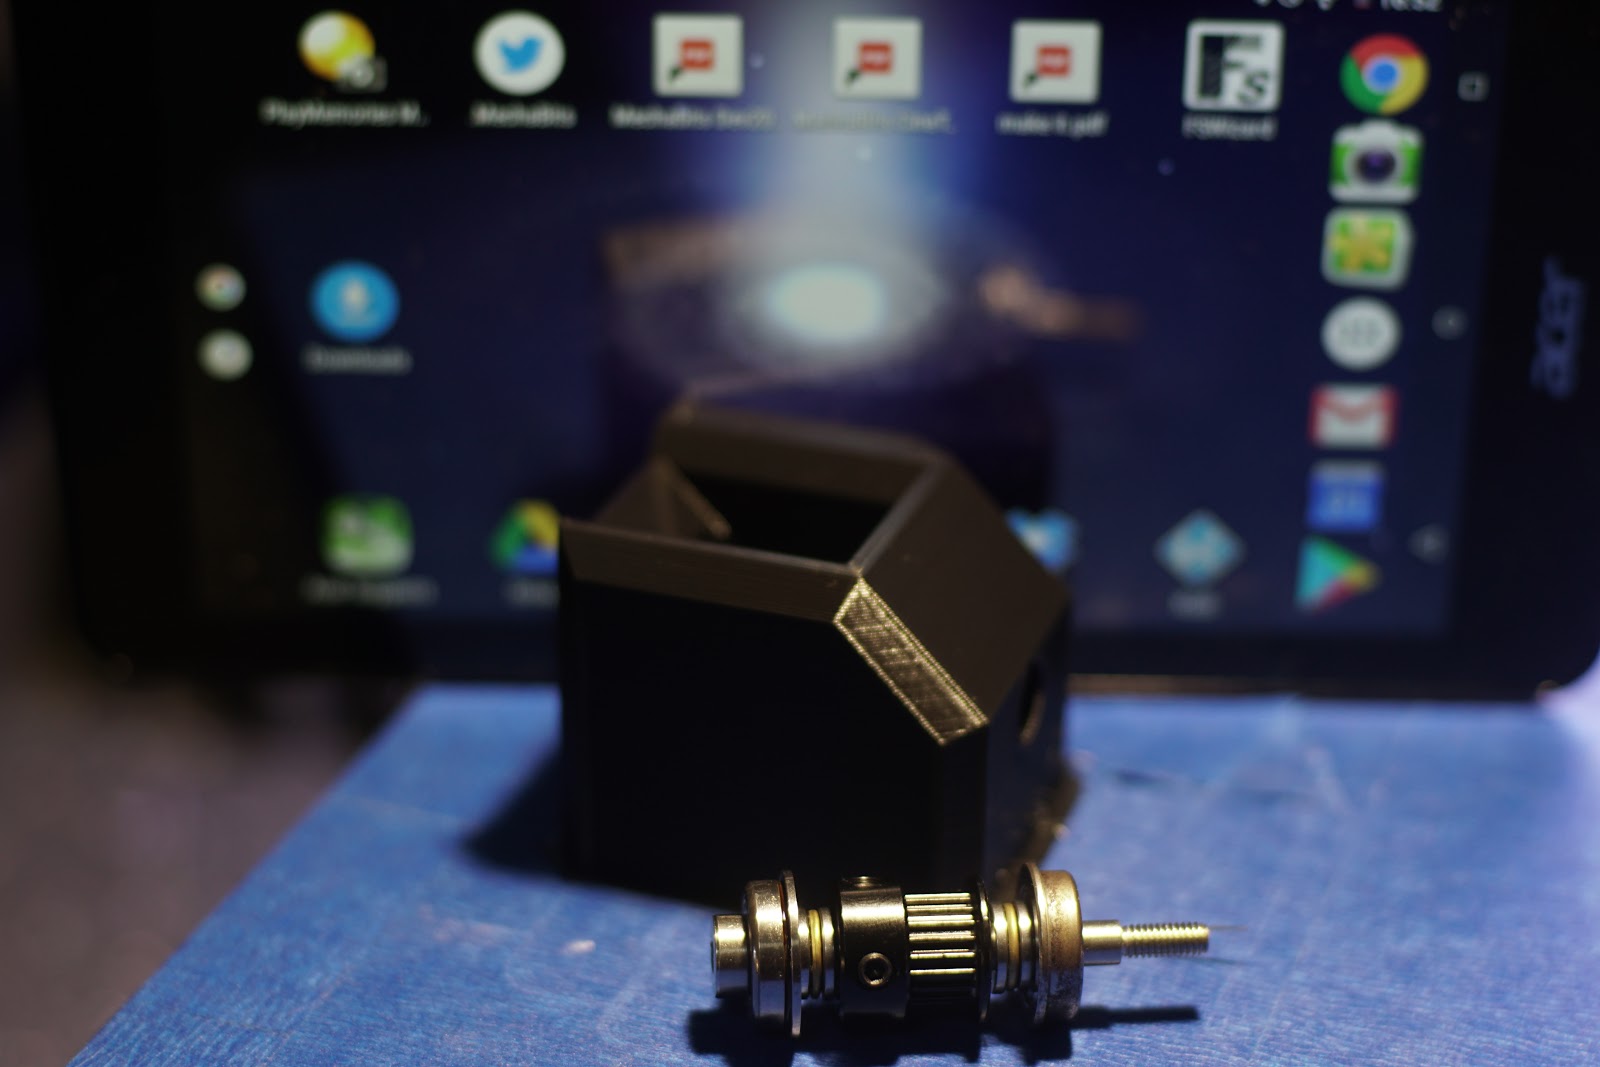
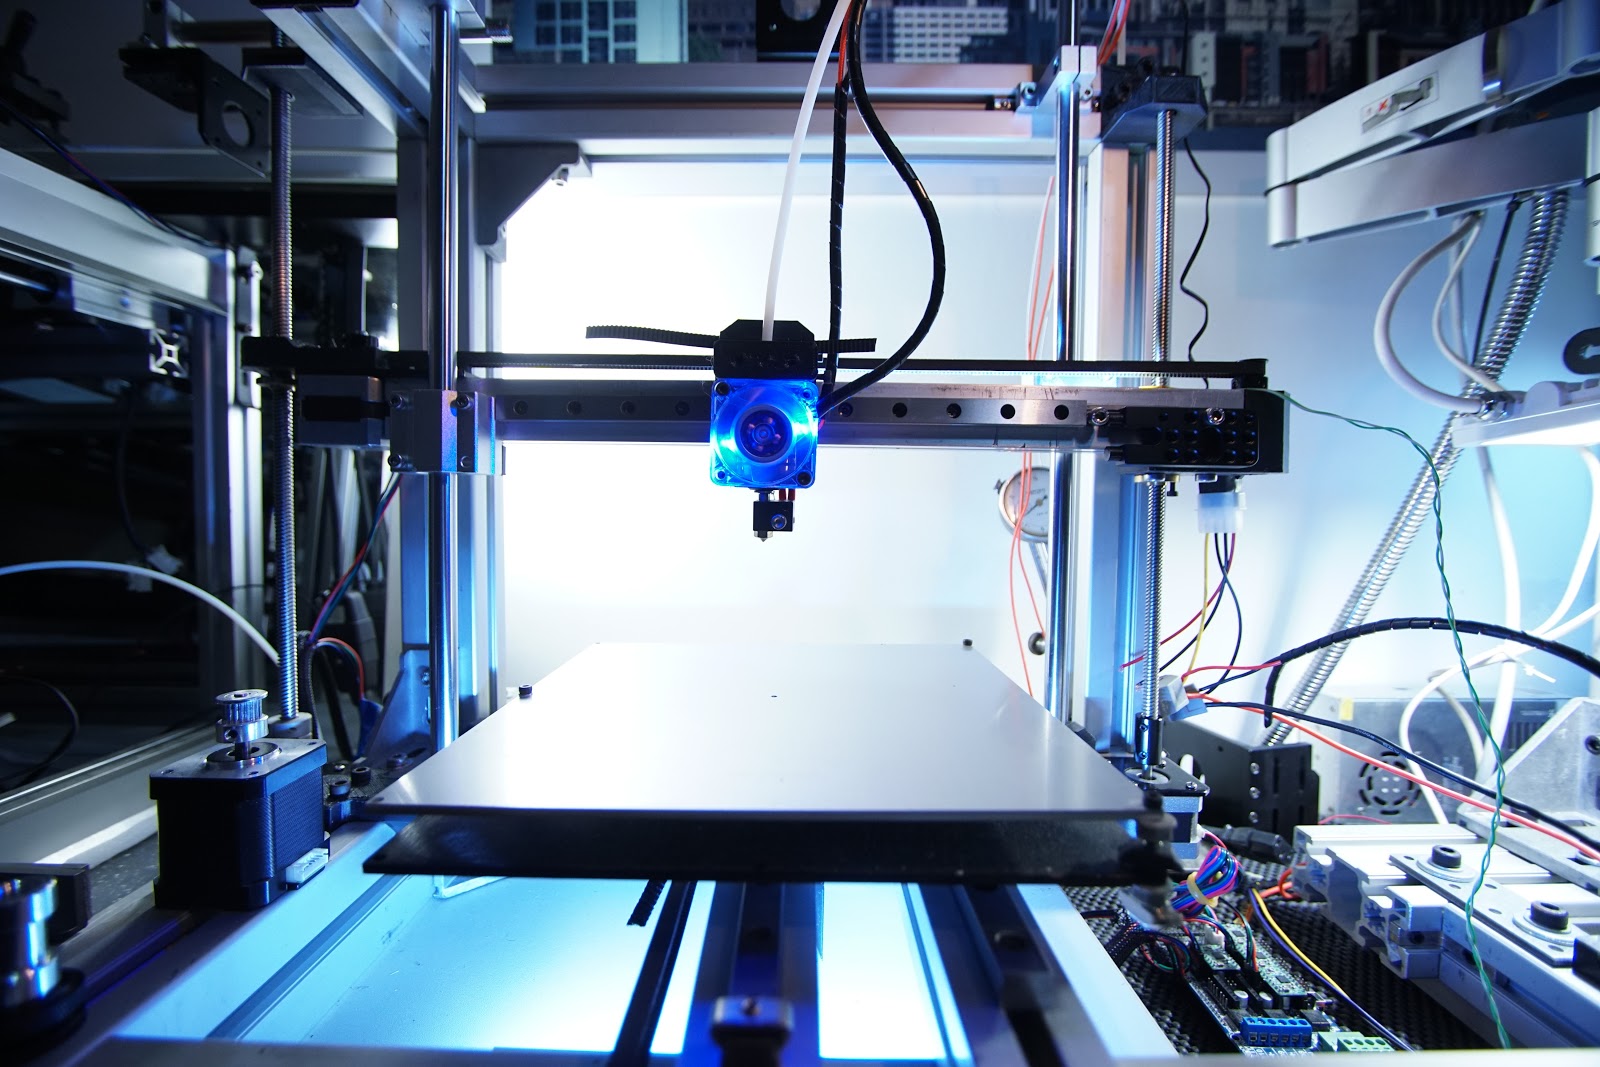
Some New Blue Prints made real with 3D printing, makes a change to do something not for the printer, ie the tablet mount, plenty of holes for vesa mounting on the arm I got cheap, or for mounting on the camera rig using the wifi for screen, but maybe one day i'll use it with the 3D printer so still not got away from 3D printer related items.


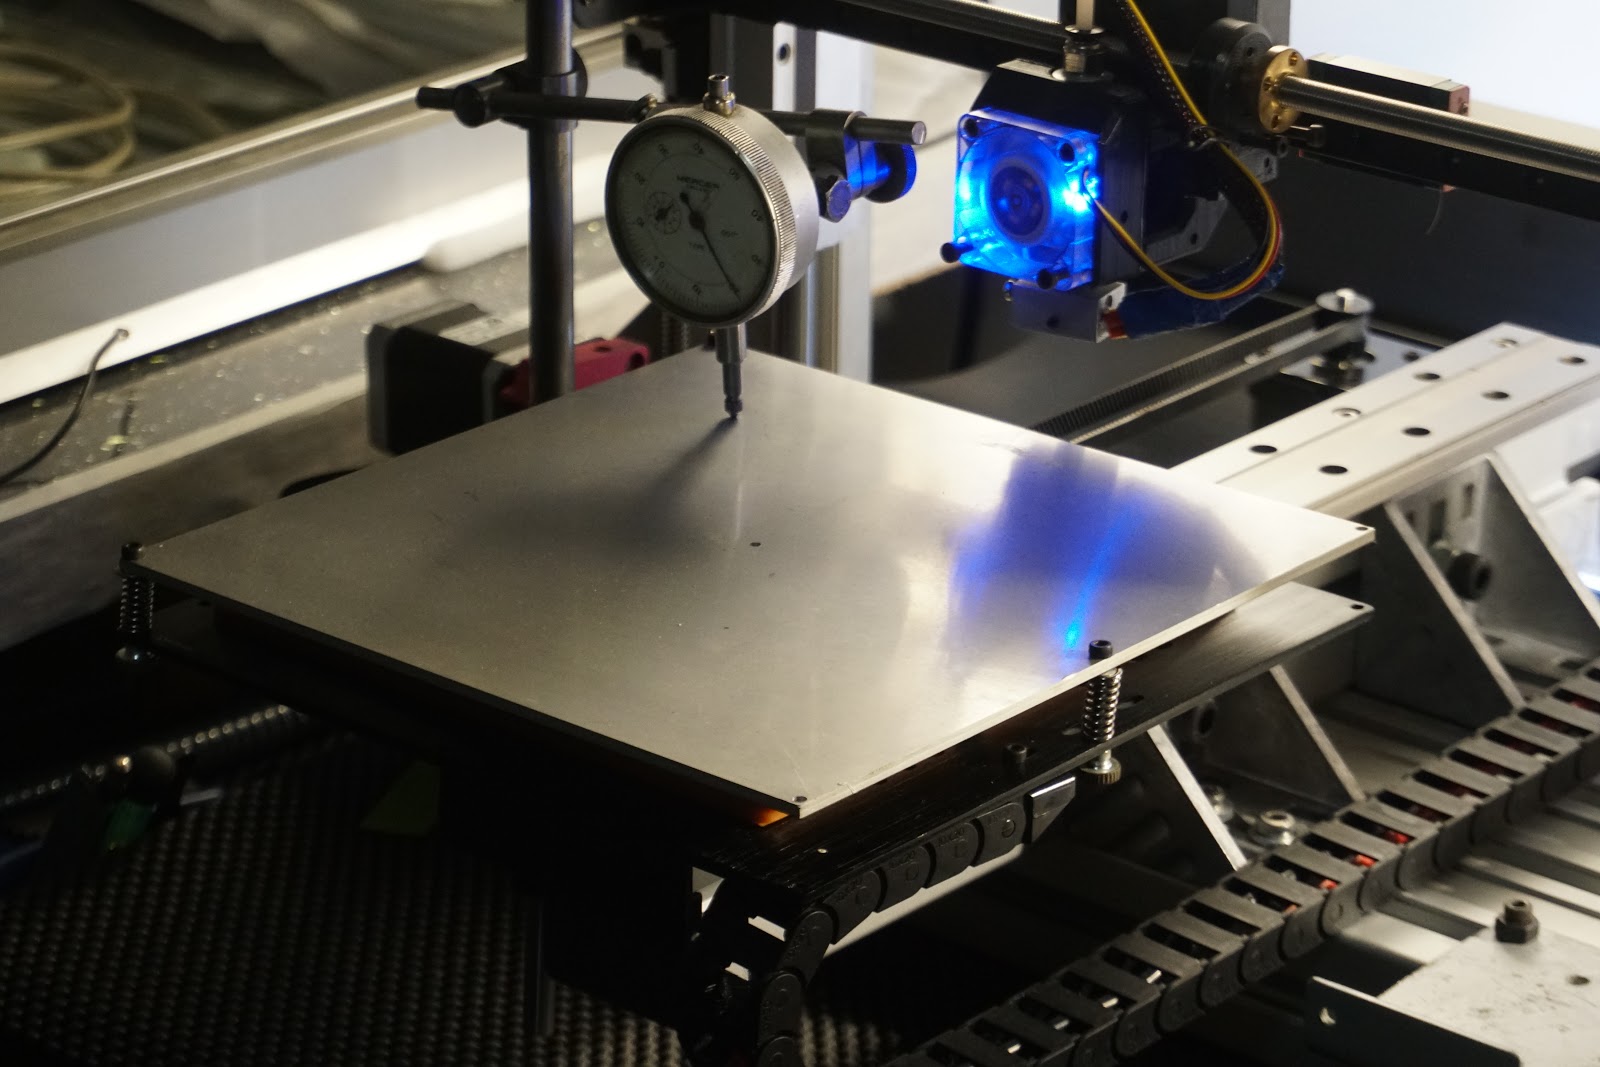
I need to get the heatbed sorted one day will hopefully see the end of warped prints.
Edited 1 time(s). Last edit at 11/01/2017 02:30PM by MechaBits.


I need to get the heatbed sorted one day will hopefully see the end of warped prints.
Edited 1 time(s). Last edit at 11/01/2017 02:30PM by MechaBits.
|
Re: MechaBits KraftWerk'r November 02, 2017 12:51PM |
Registered: 7 years ago Posts: 257 |
|
Re: MechaBits KraftWerk'r November 02, 2017 04:15PM |
Registered: 8 years ago Posts: 1,671 |
|
Re: MechaBits KraftWerk'r November 07, 2017 07:26PM |
Registered: 8 years ago Posts: 1,671 |
|
Re: MechaBits KraftWerk'r November 24, 2017 10:06PM |
Registered: 8 years ago Posts: 1,671 |
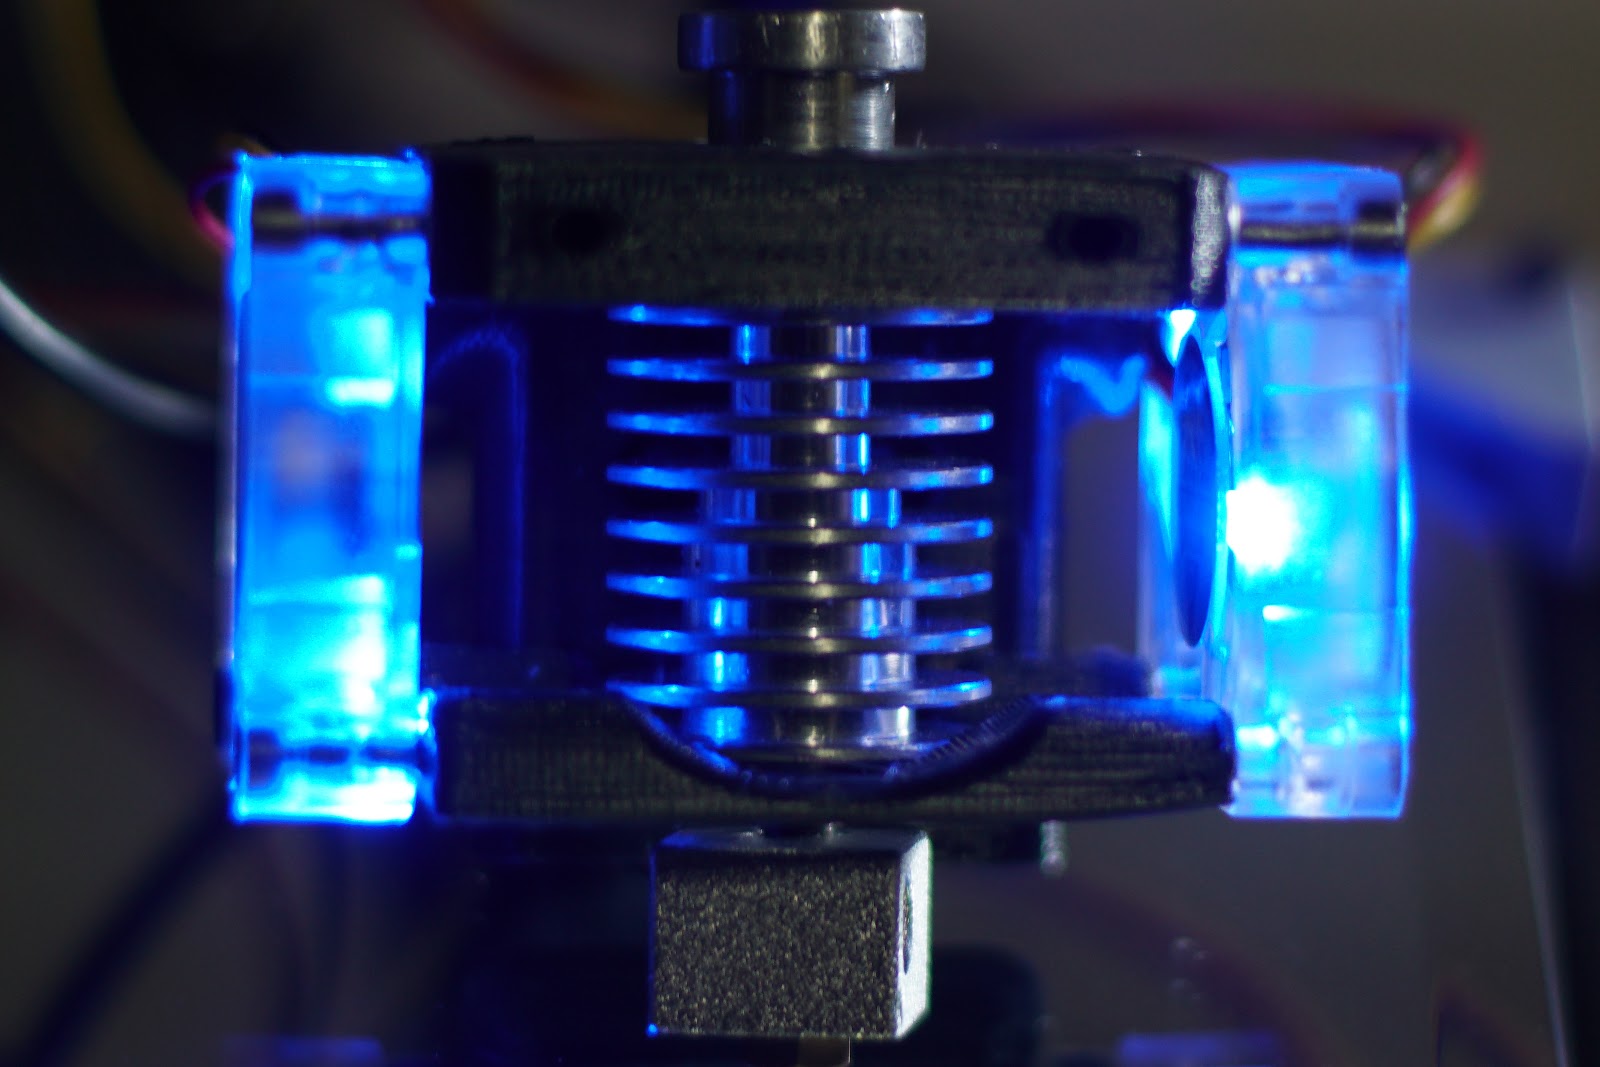
You know I was only Jesting dont ya CNT, i mean CWAA
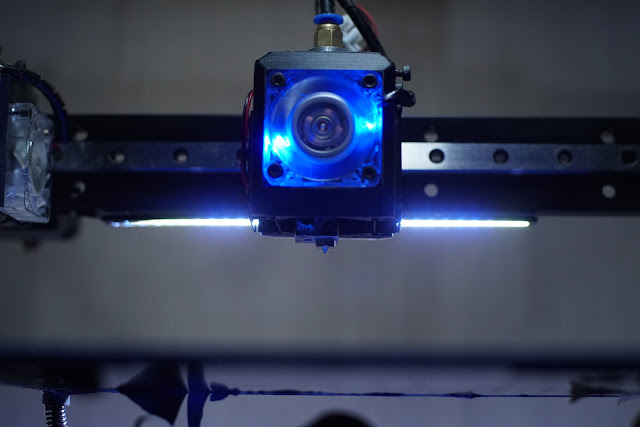

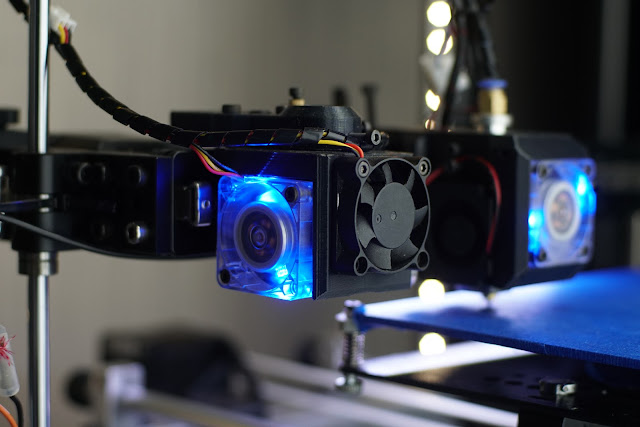

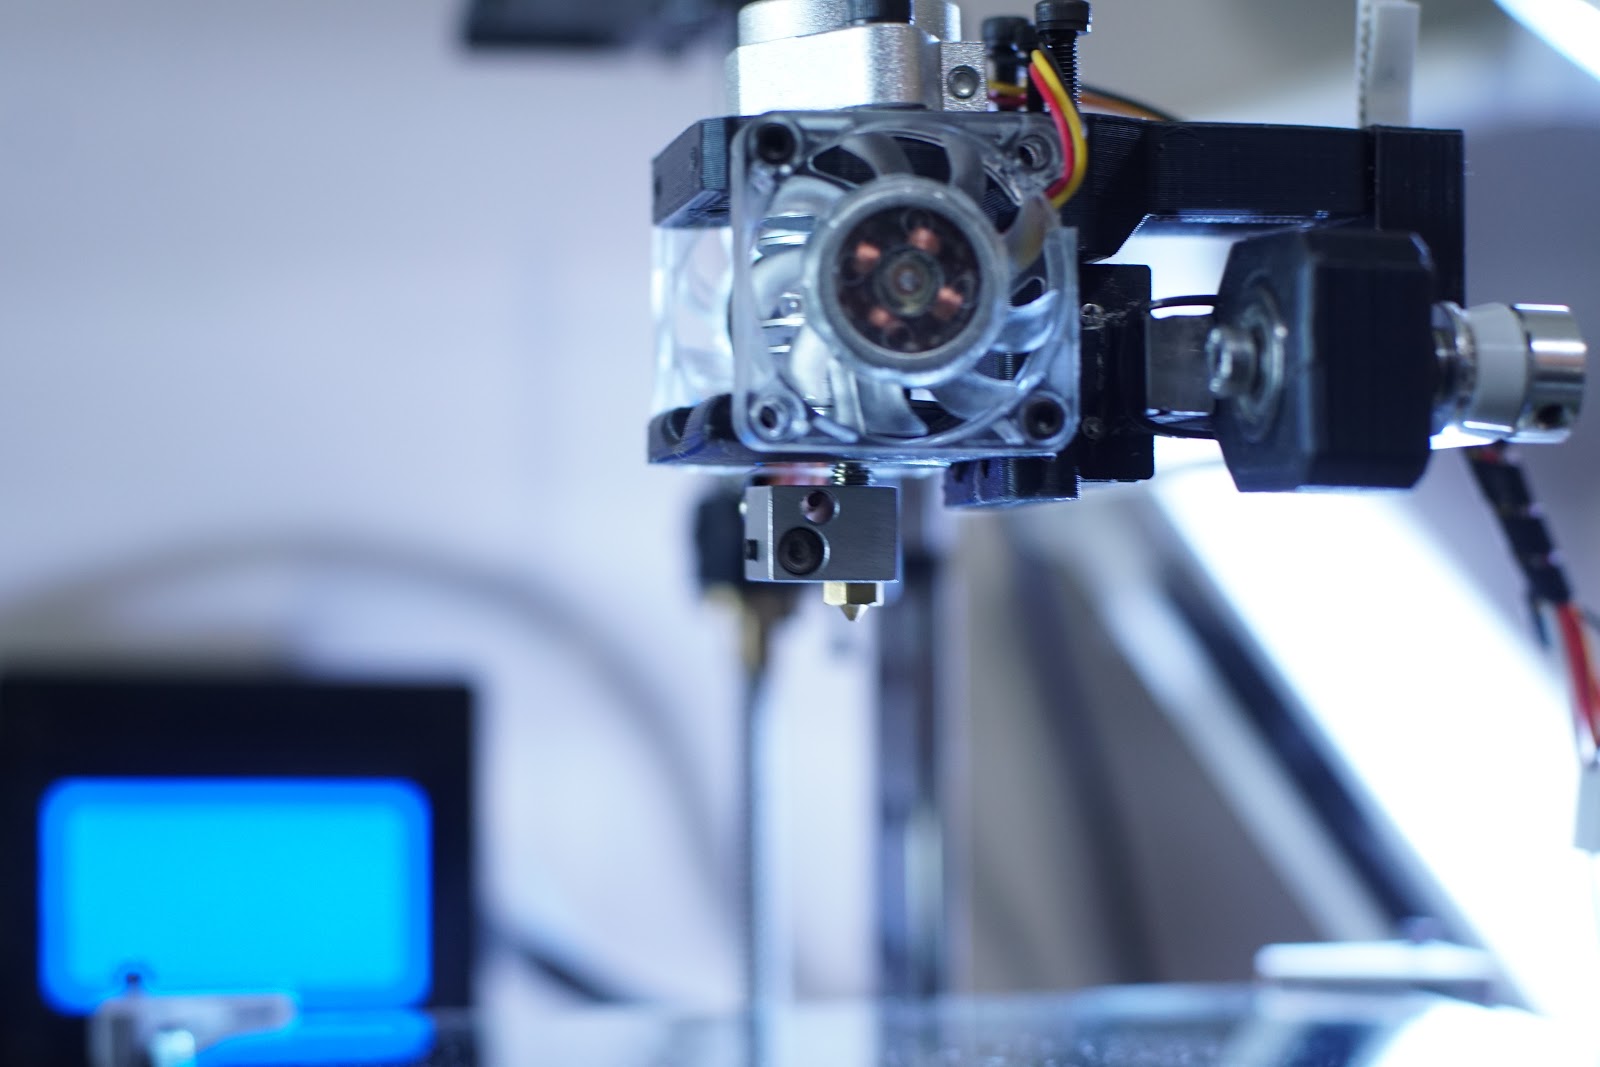
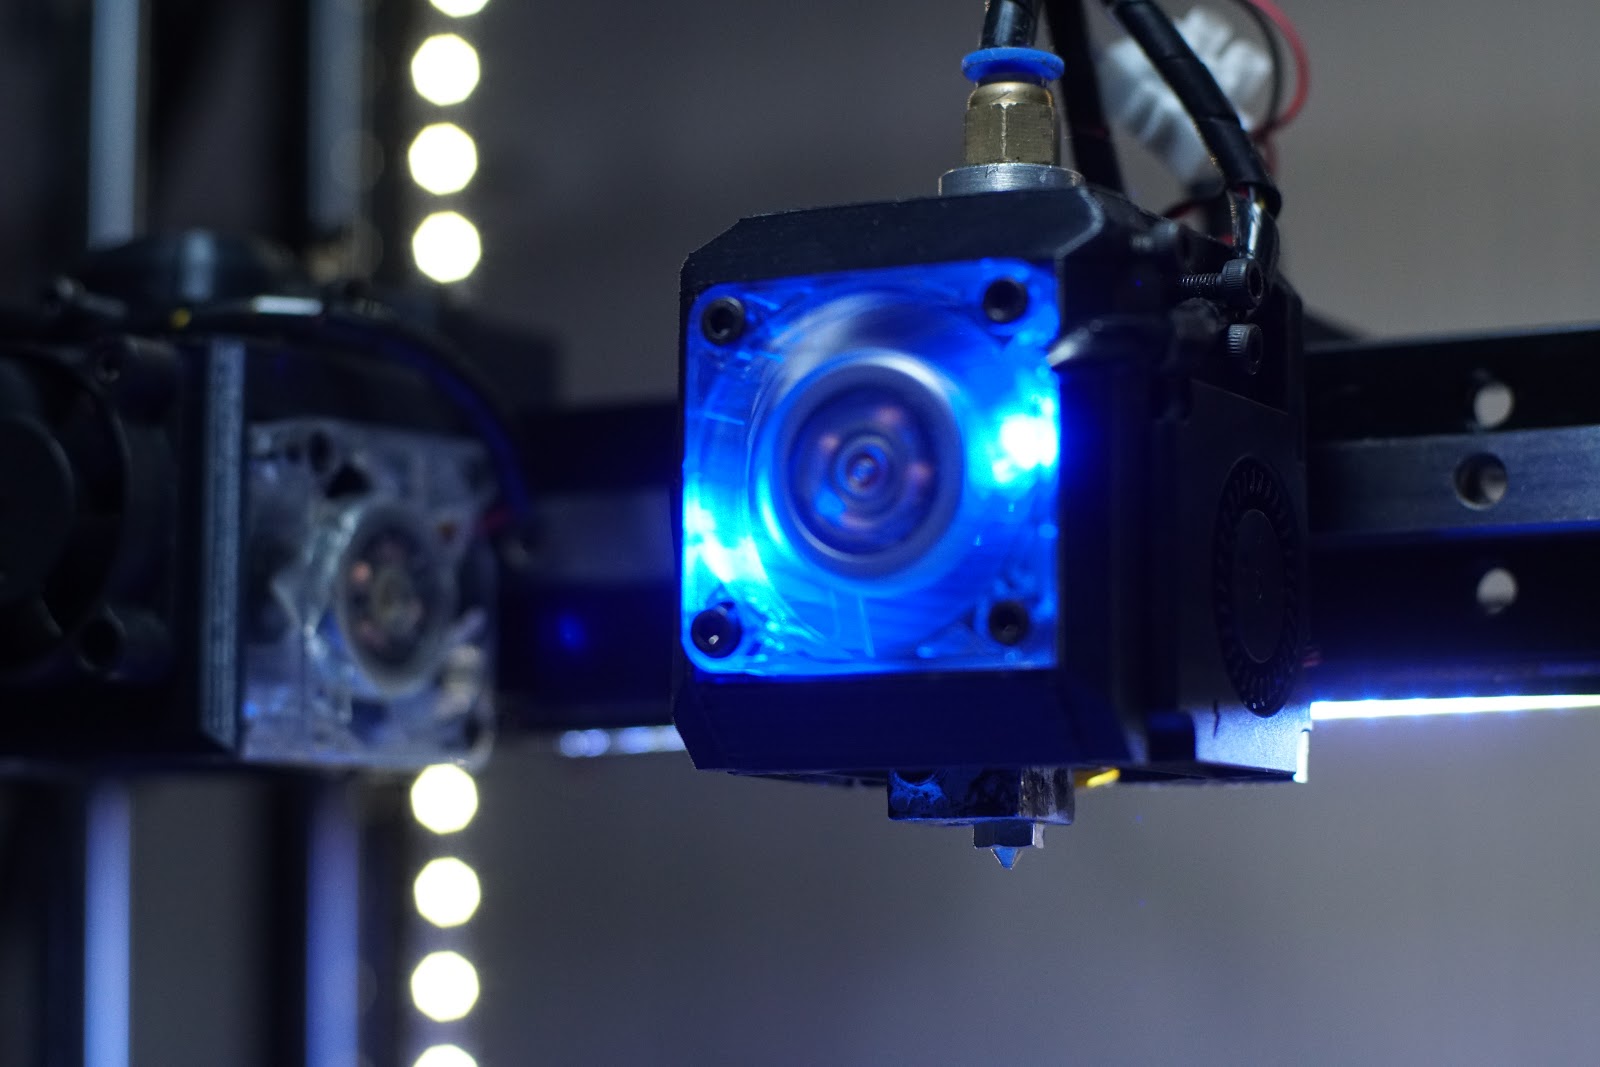
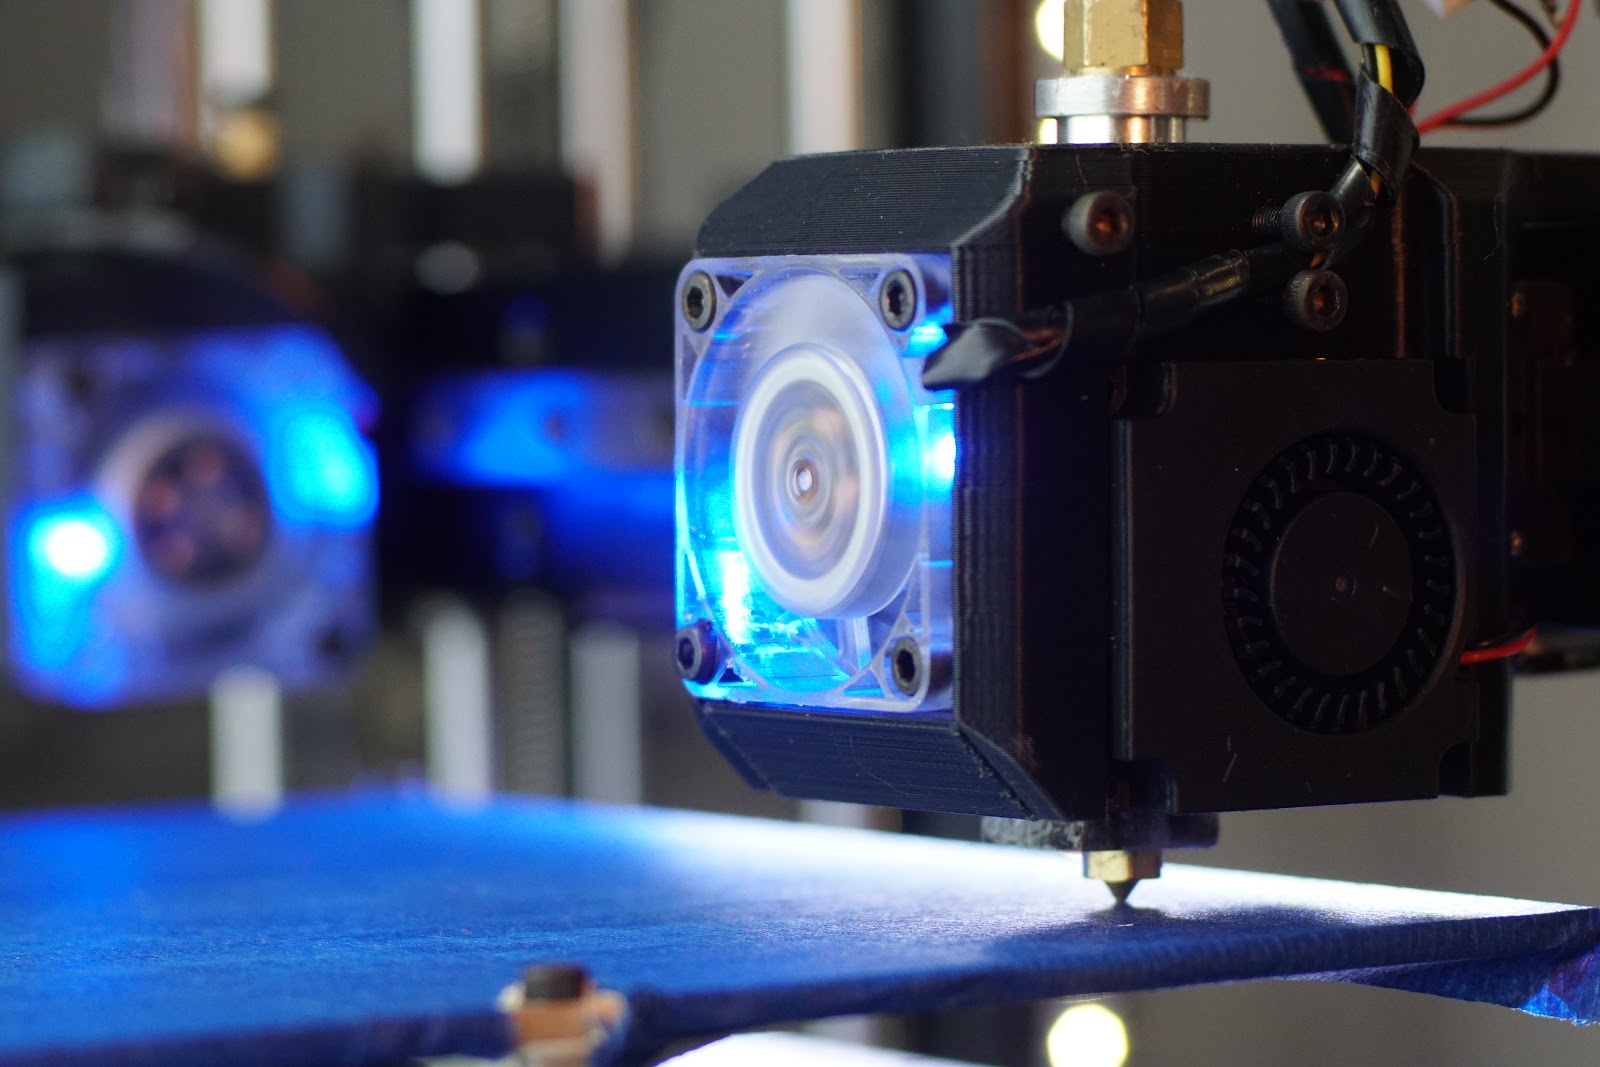
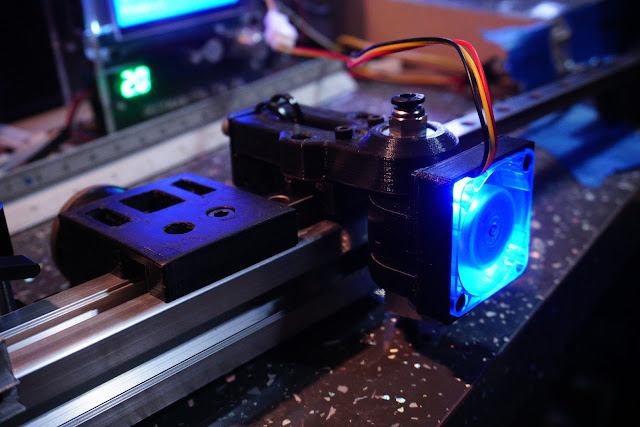
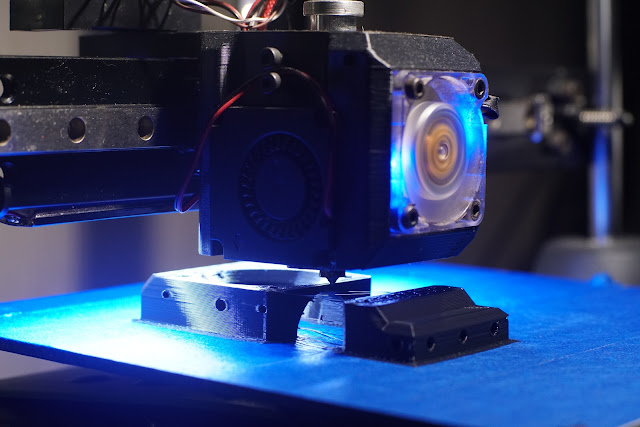
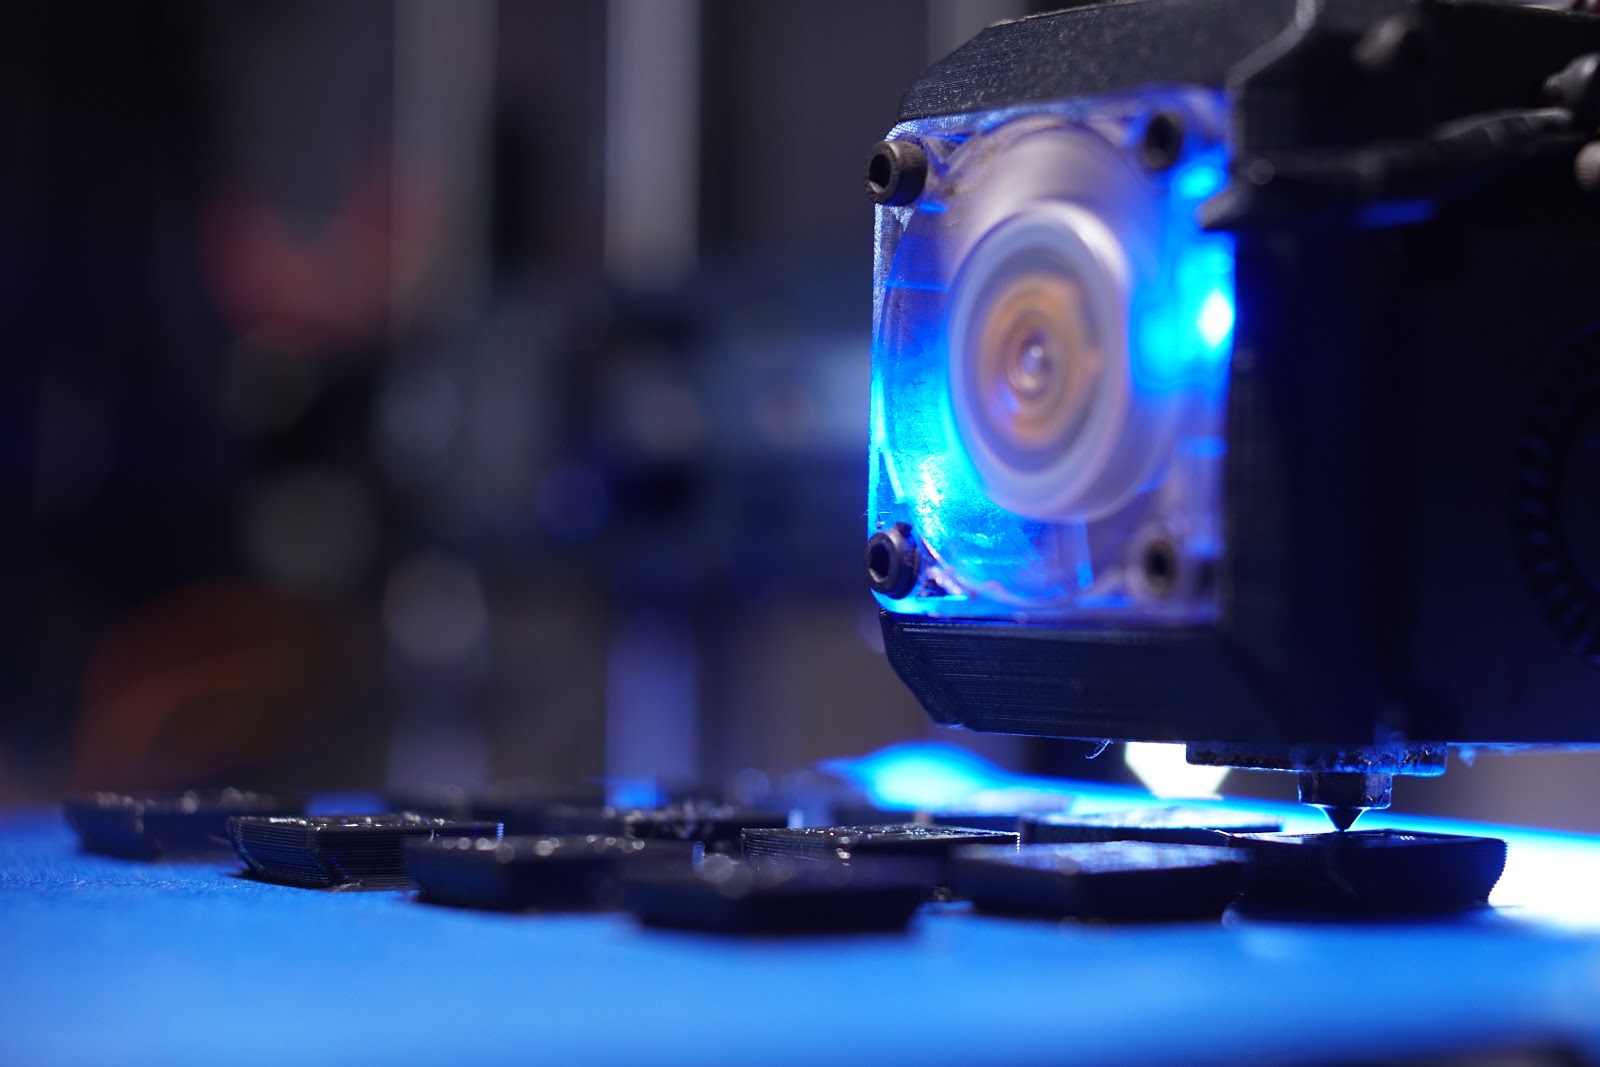
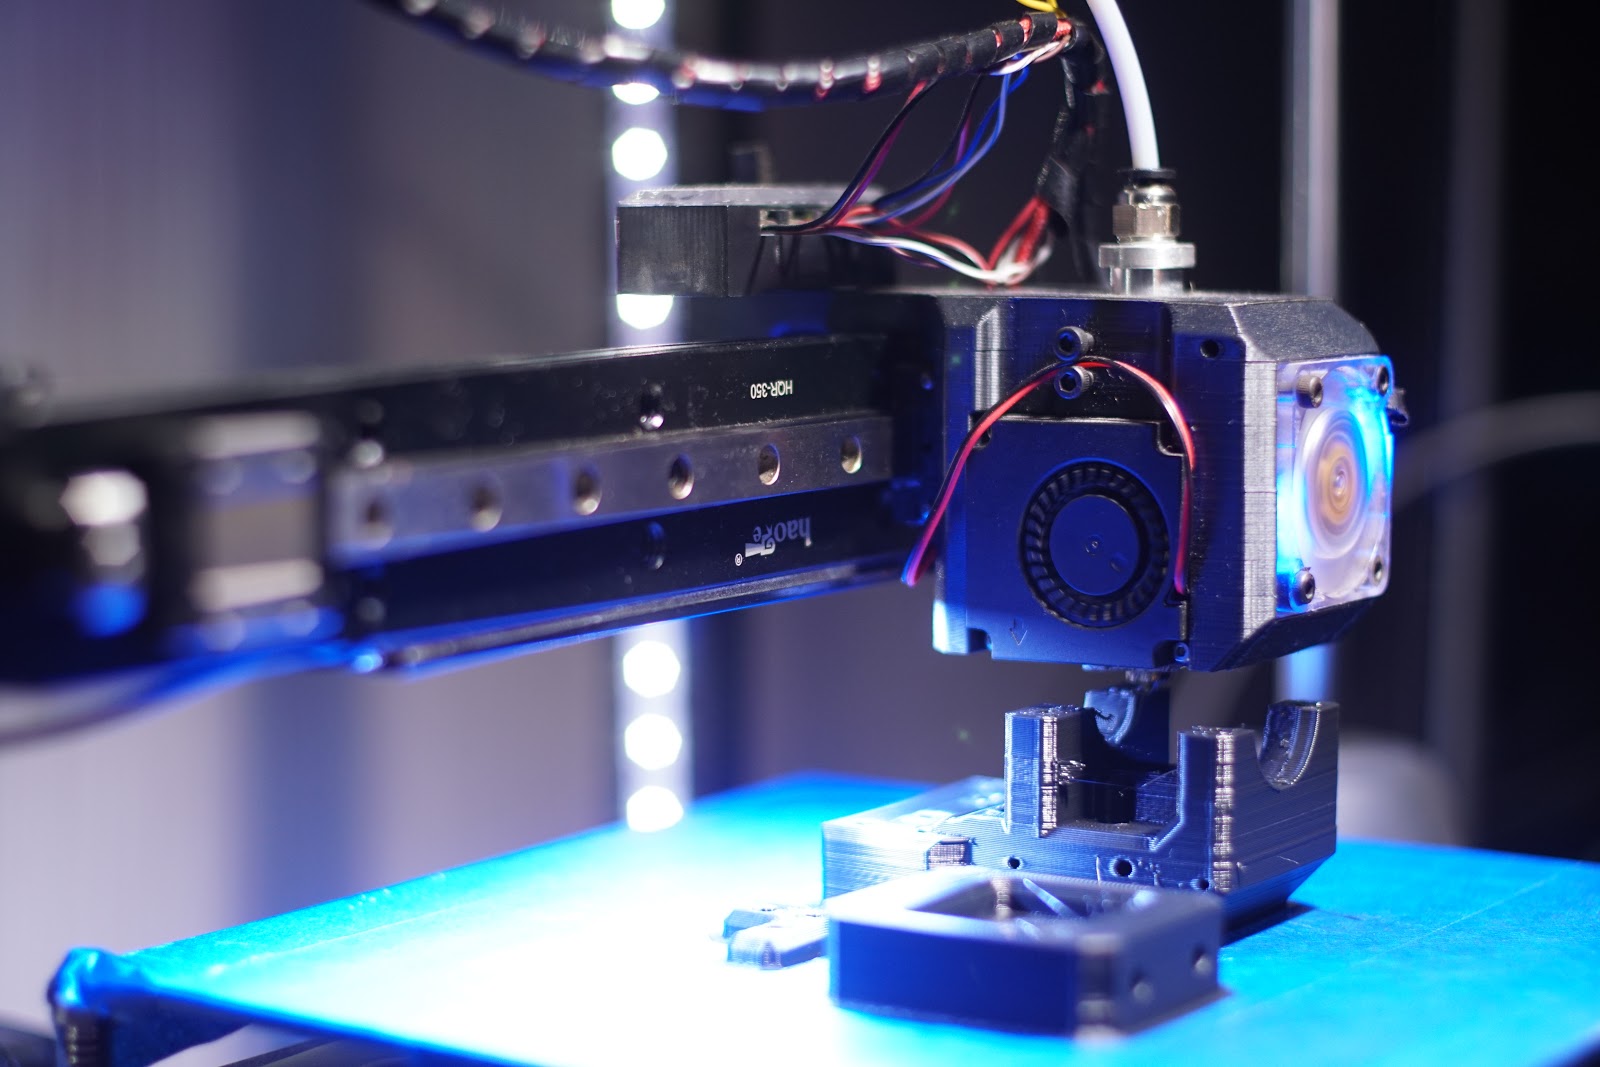
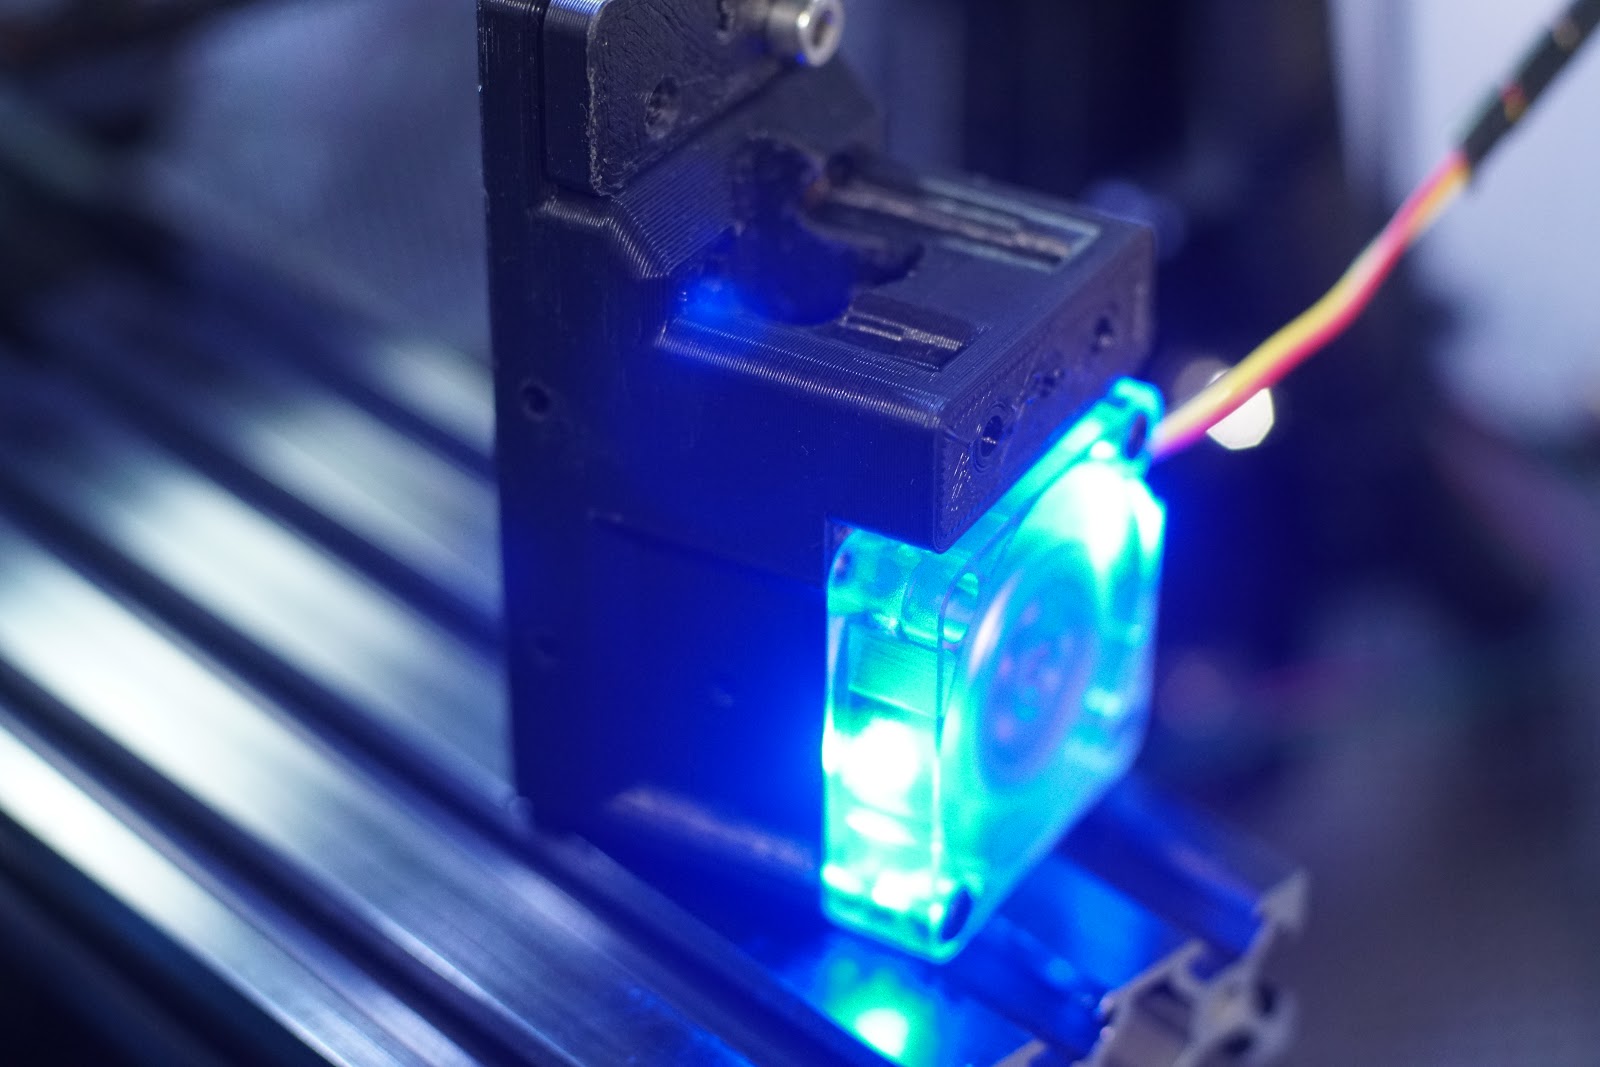
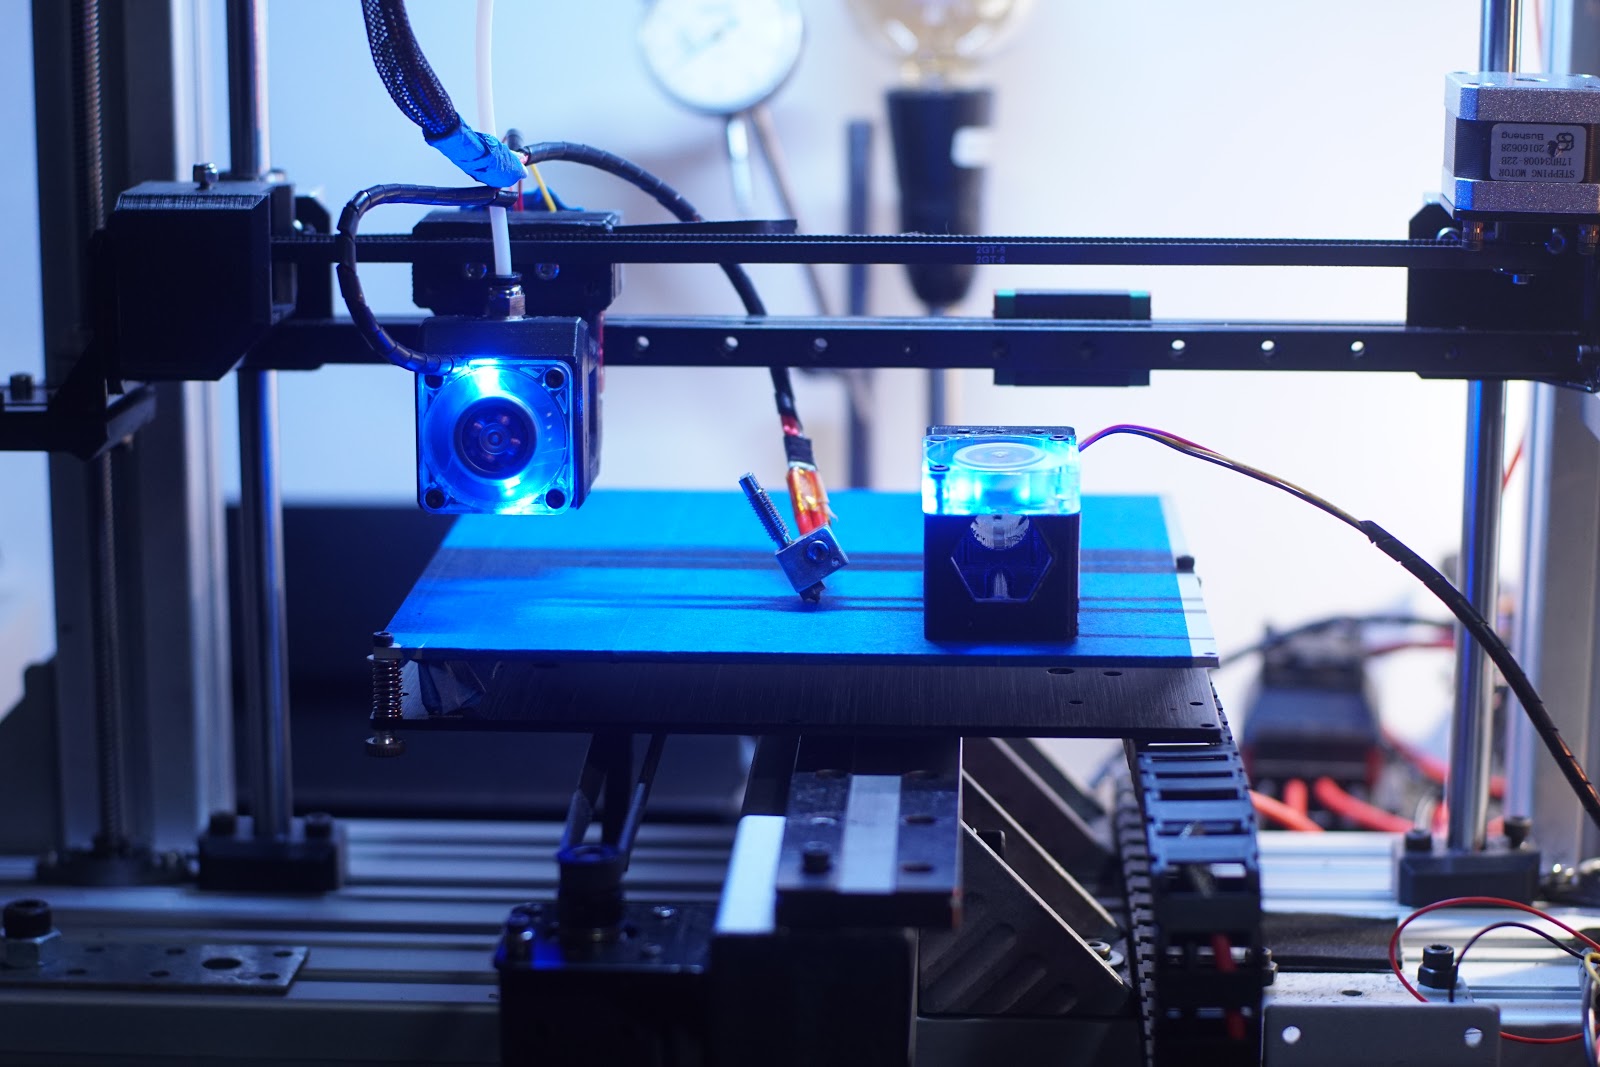
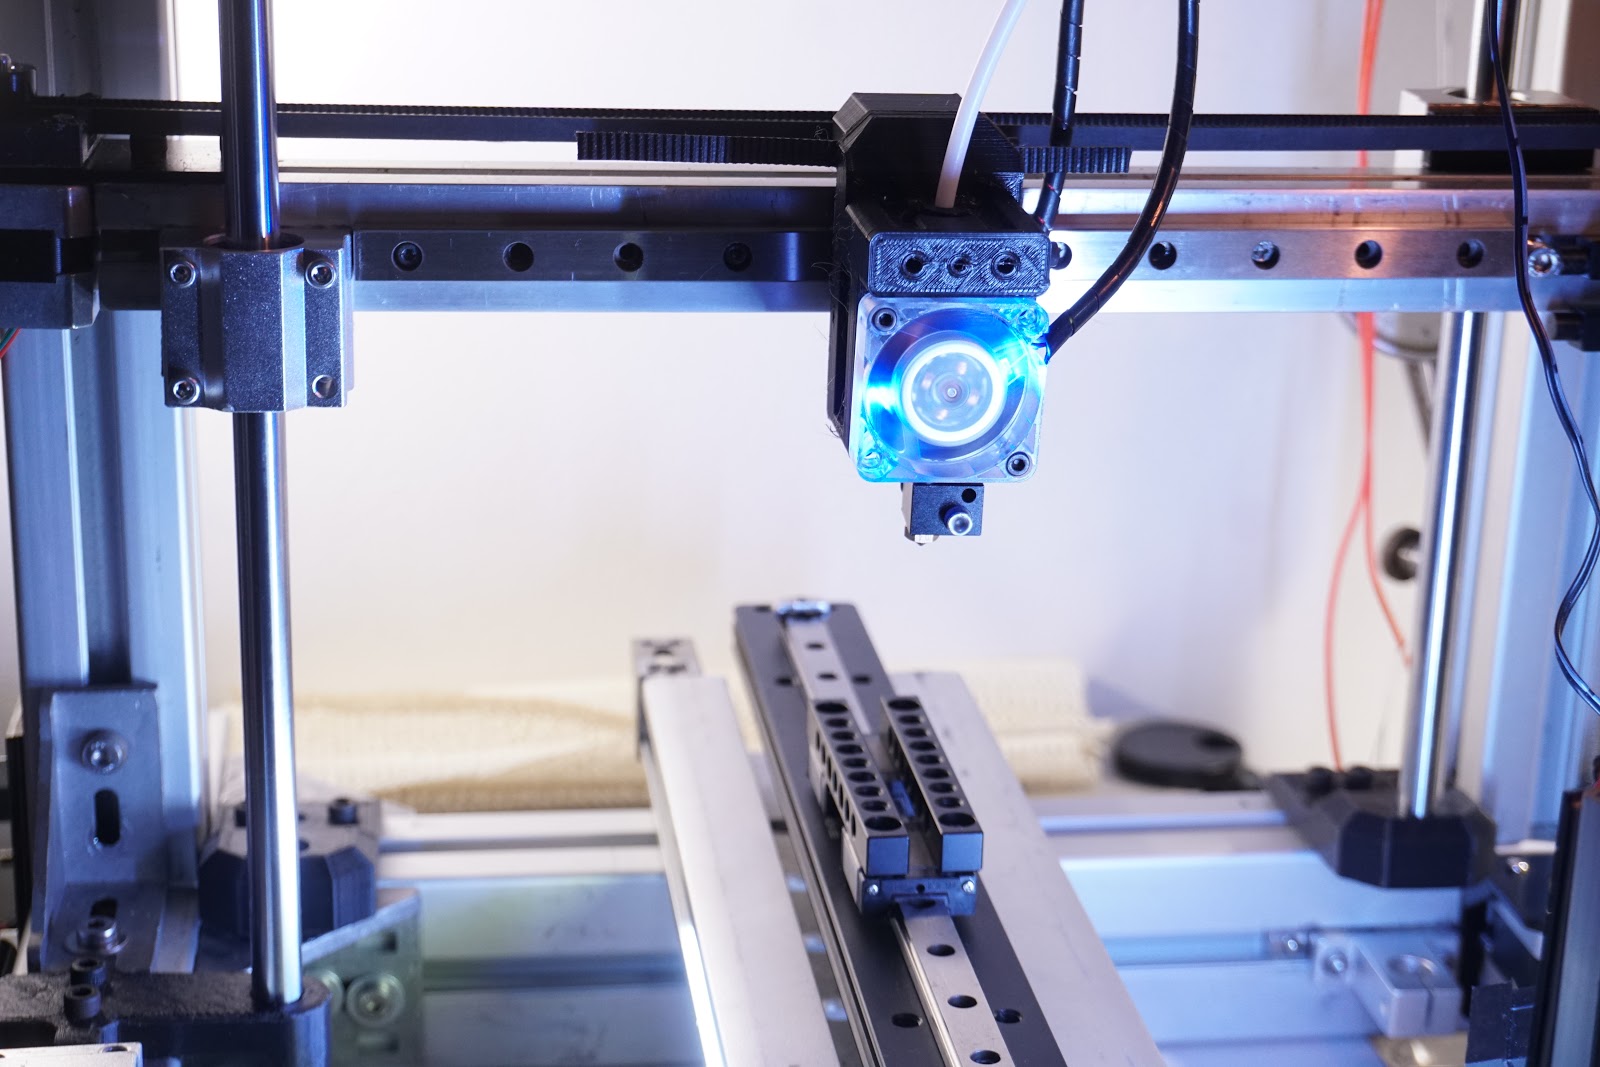
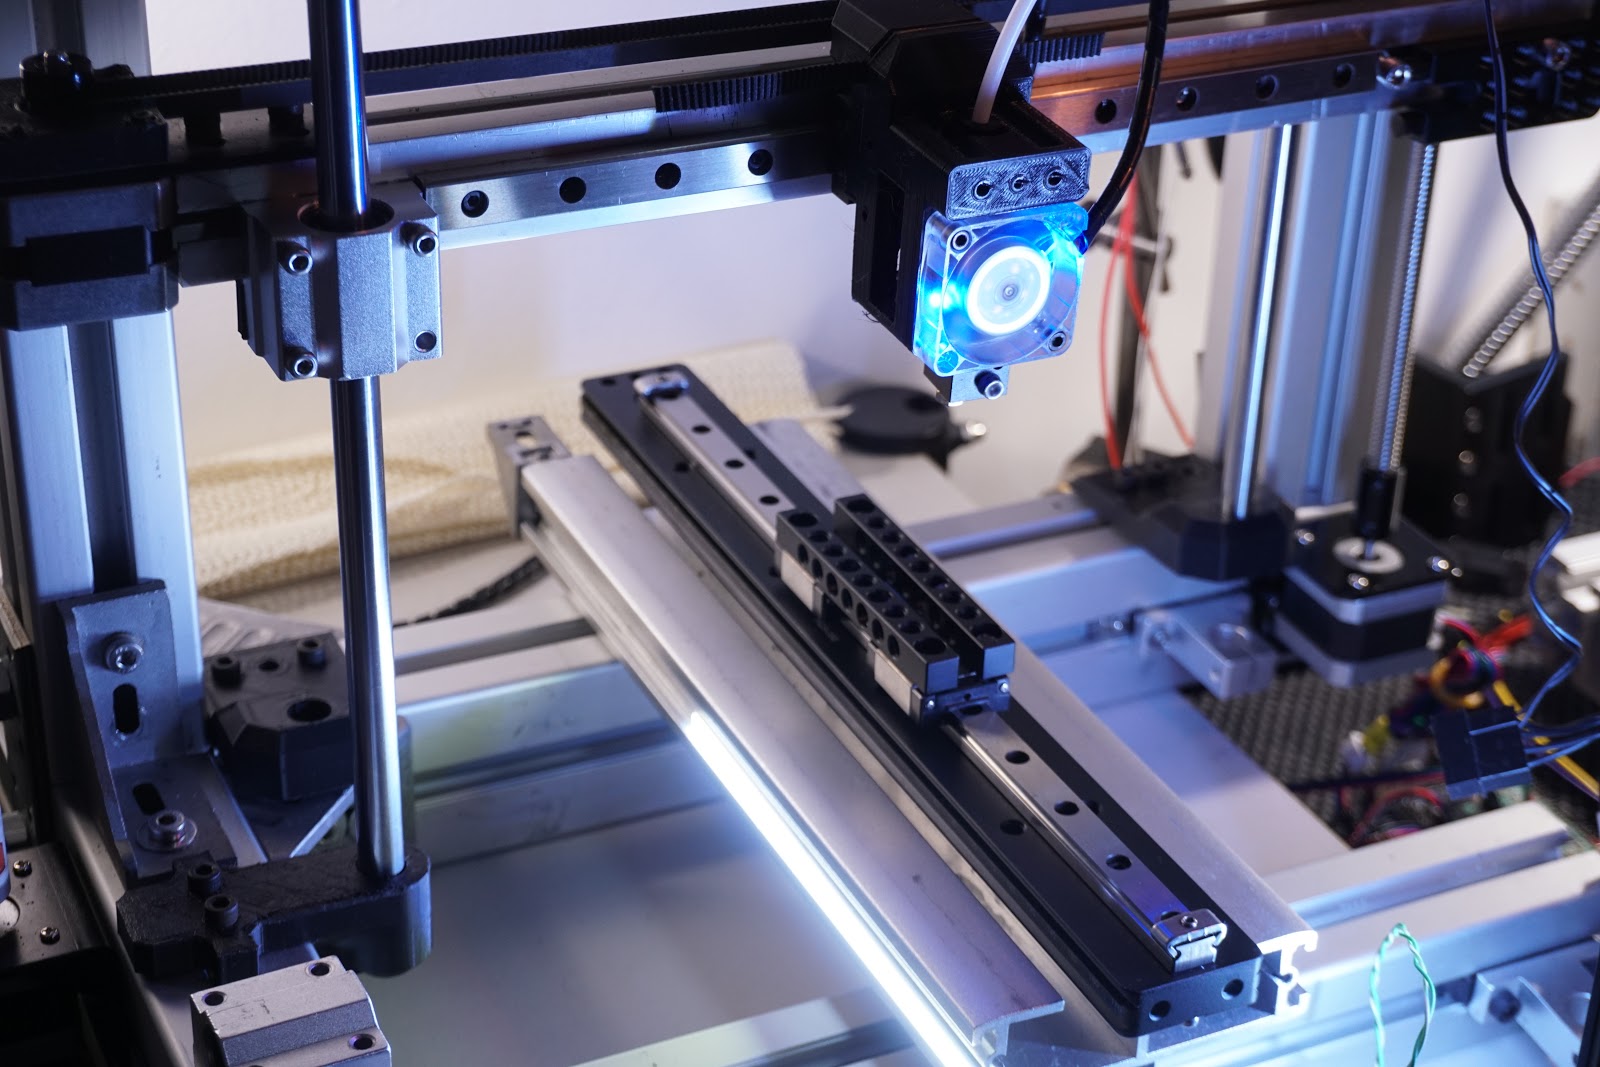
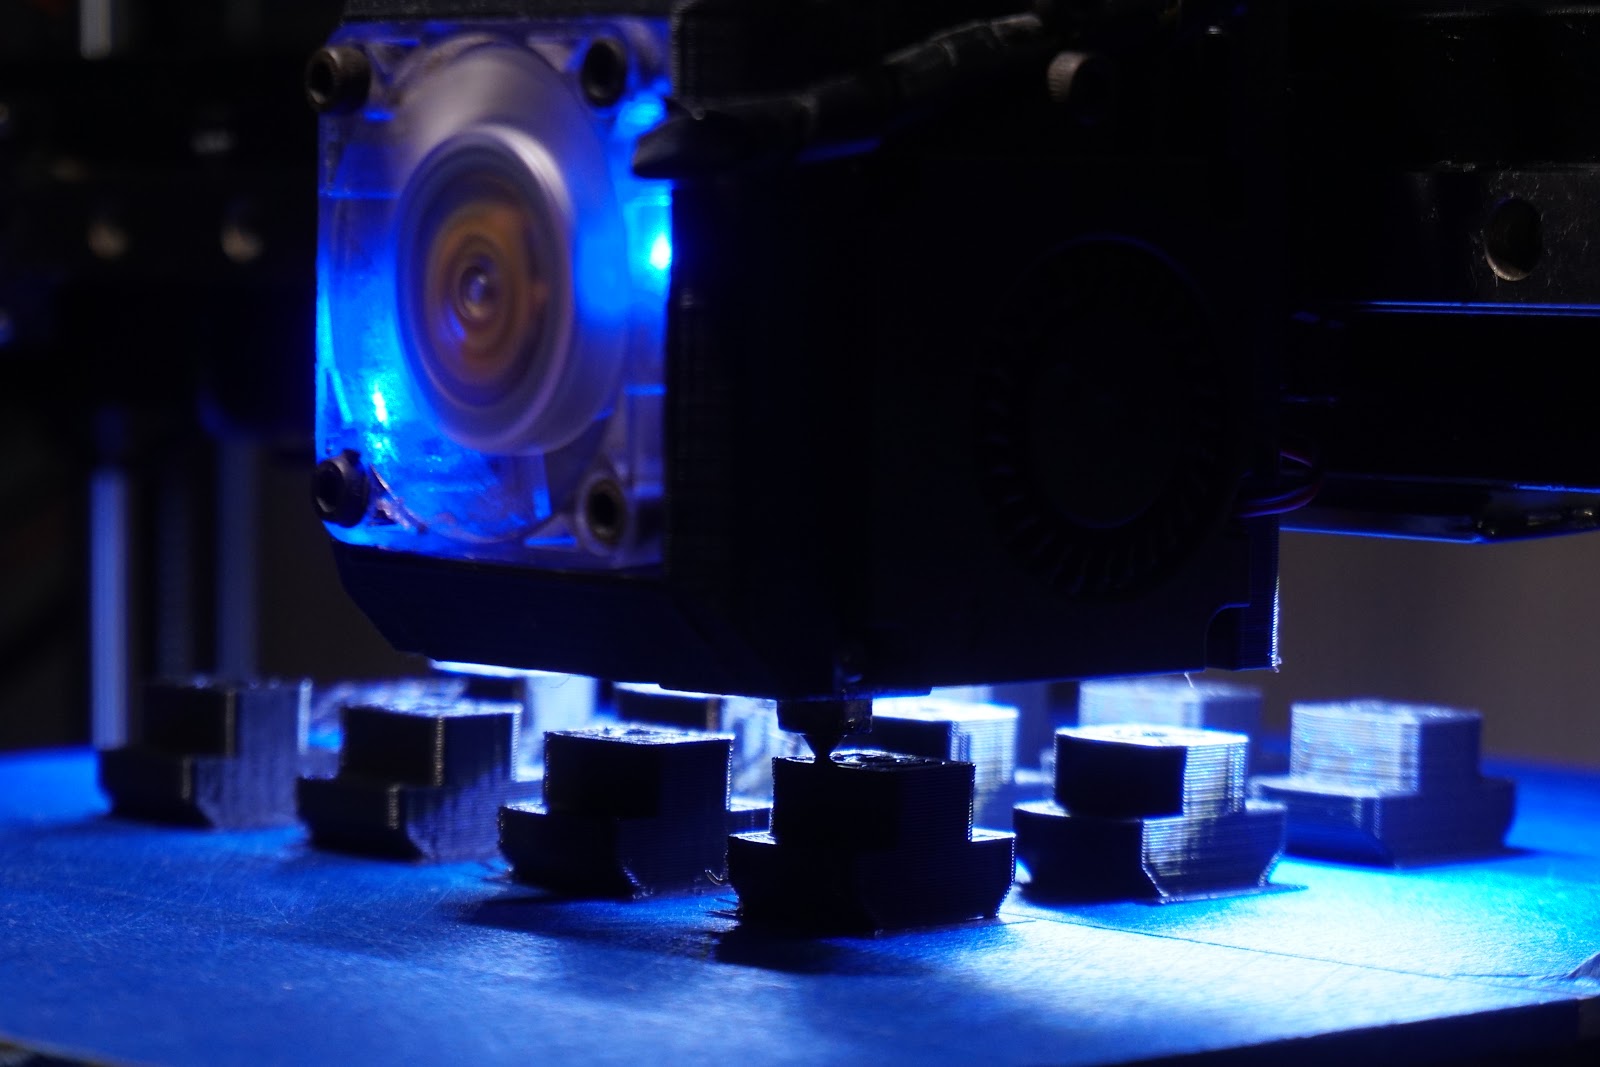
A bit of a blue bugger meanie, I like it, but was a ball ache to fit, multipart is the way to go with these things but I had to give it a go. I decided not to embed fans totally just leave about 2mm out especially for the blue one but also on the sides, should have printed a little slower as the sharp edge on the front shows, .24 layers, one day I want to try .1 layers but really not looking forward to the neck ache.


A bit of a blue bugger meanie, I like it, but was a ball ache to fit, multipart is the way to go with these things but I had to give it a go. I decided not to embed fans totally just leave about 2mm out especially for the blue one but also on the sides, should have printed a little slower as the sharp edge on the front shows, .24 layers, one day I want to try .1 layers but really not looking forward to the neck ache.
|
Re: MechaBits KraftWerk'r December 05, 2017 02:22AM |
Registered: 8 years ago Posts: 49 |
|
Re: MechaBits KraftWerk'r January 25, 2018 03:47AM |
Registered: 8 years ago Posts: 1,671 |
Ooops not even subbed my own thread...Updating web is high on list of things to do, but never seems to get done, What are you after that hasnt already been shown, parts? stl's, BoM's, PM for info.
Where have you been hiding for 2 years?
Some evolution updates:
The Father of RepRap Spawns a new Creation...
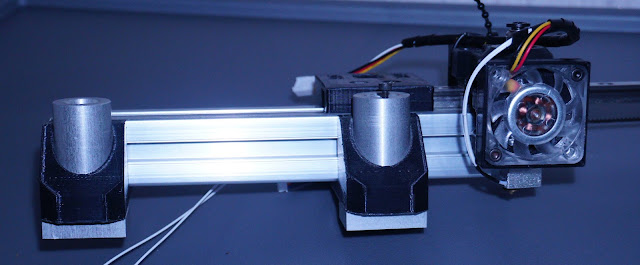
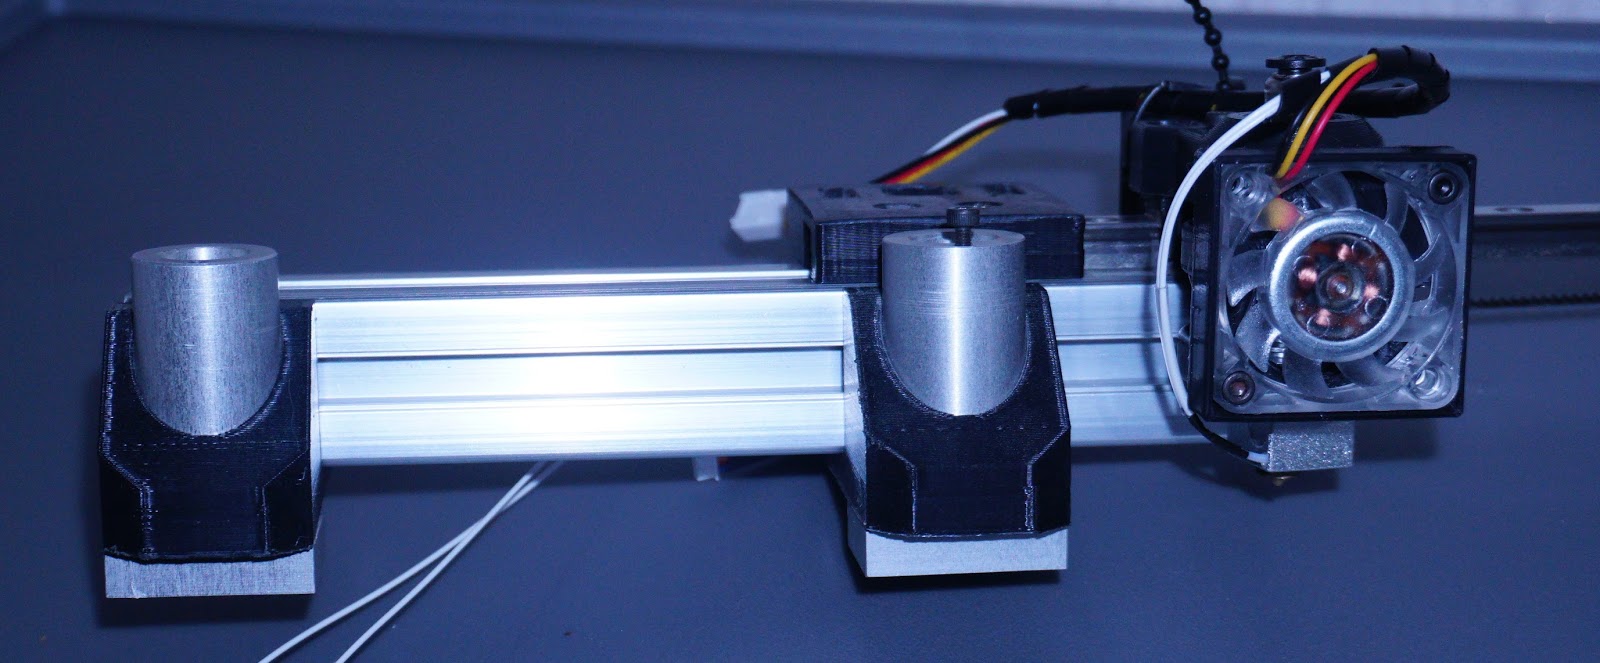
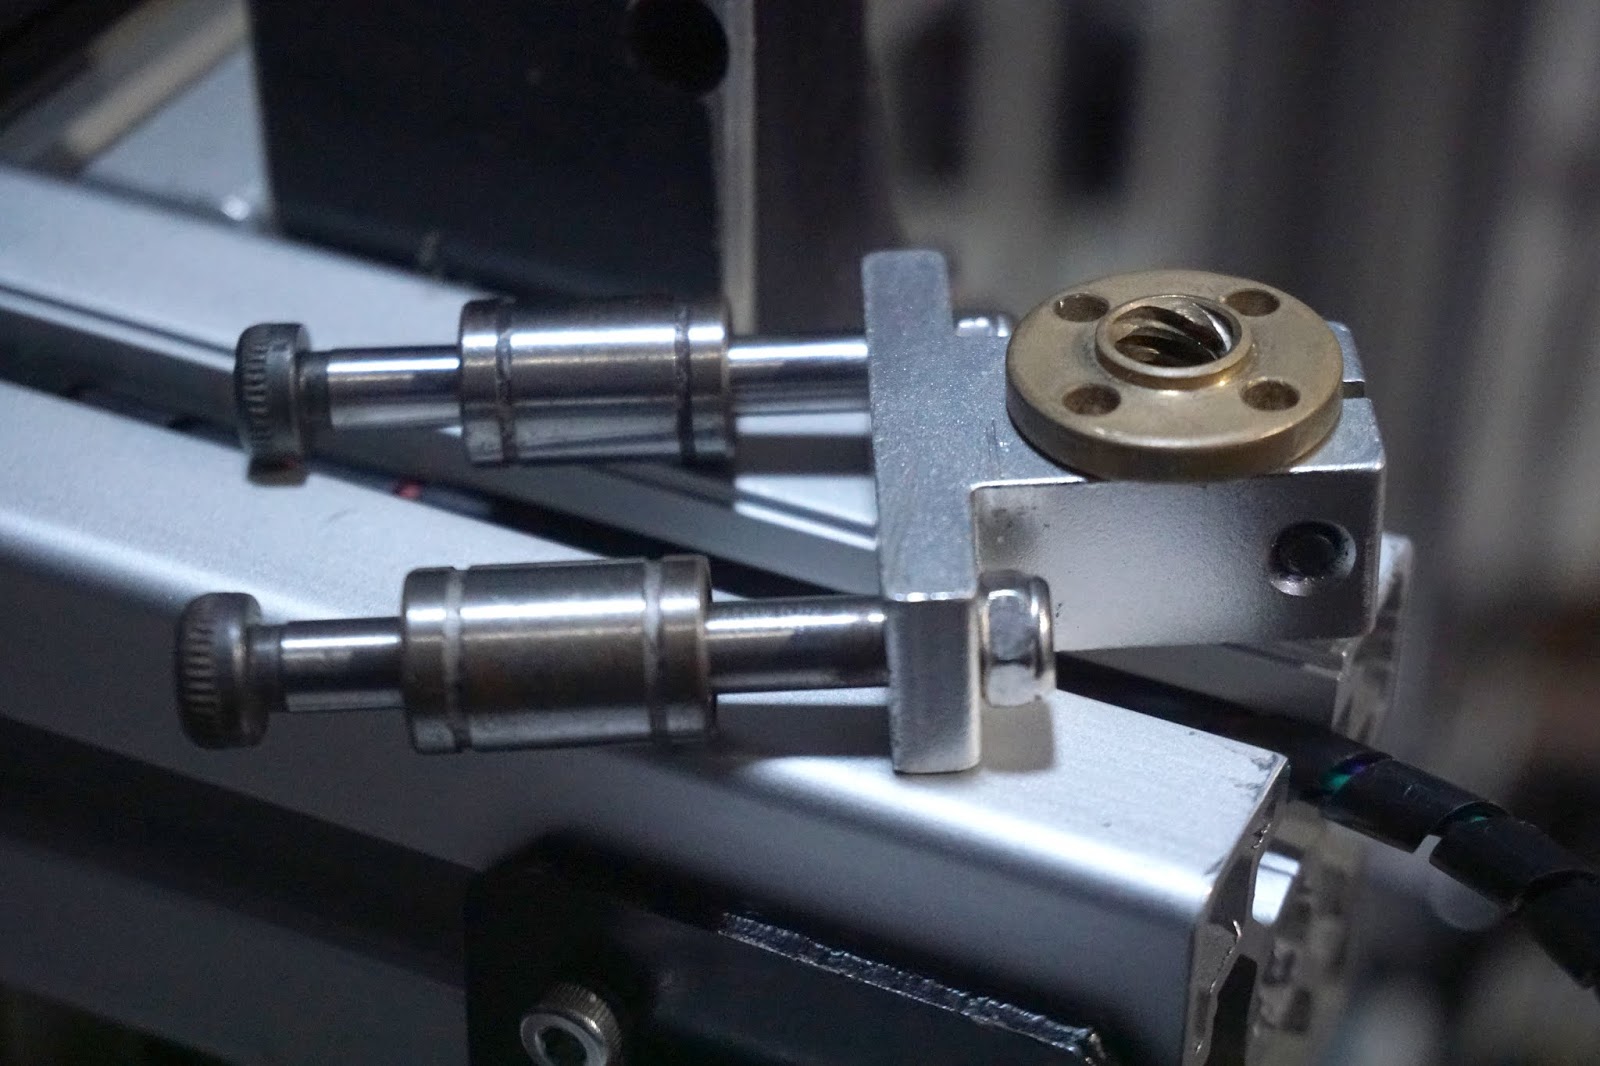
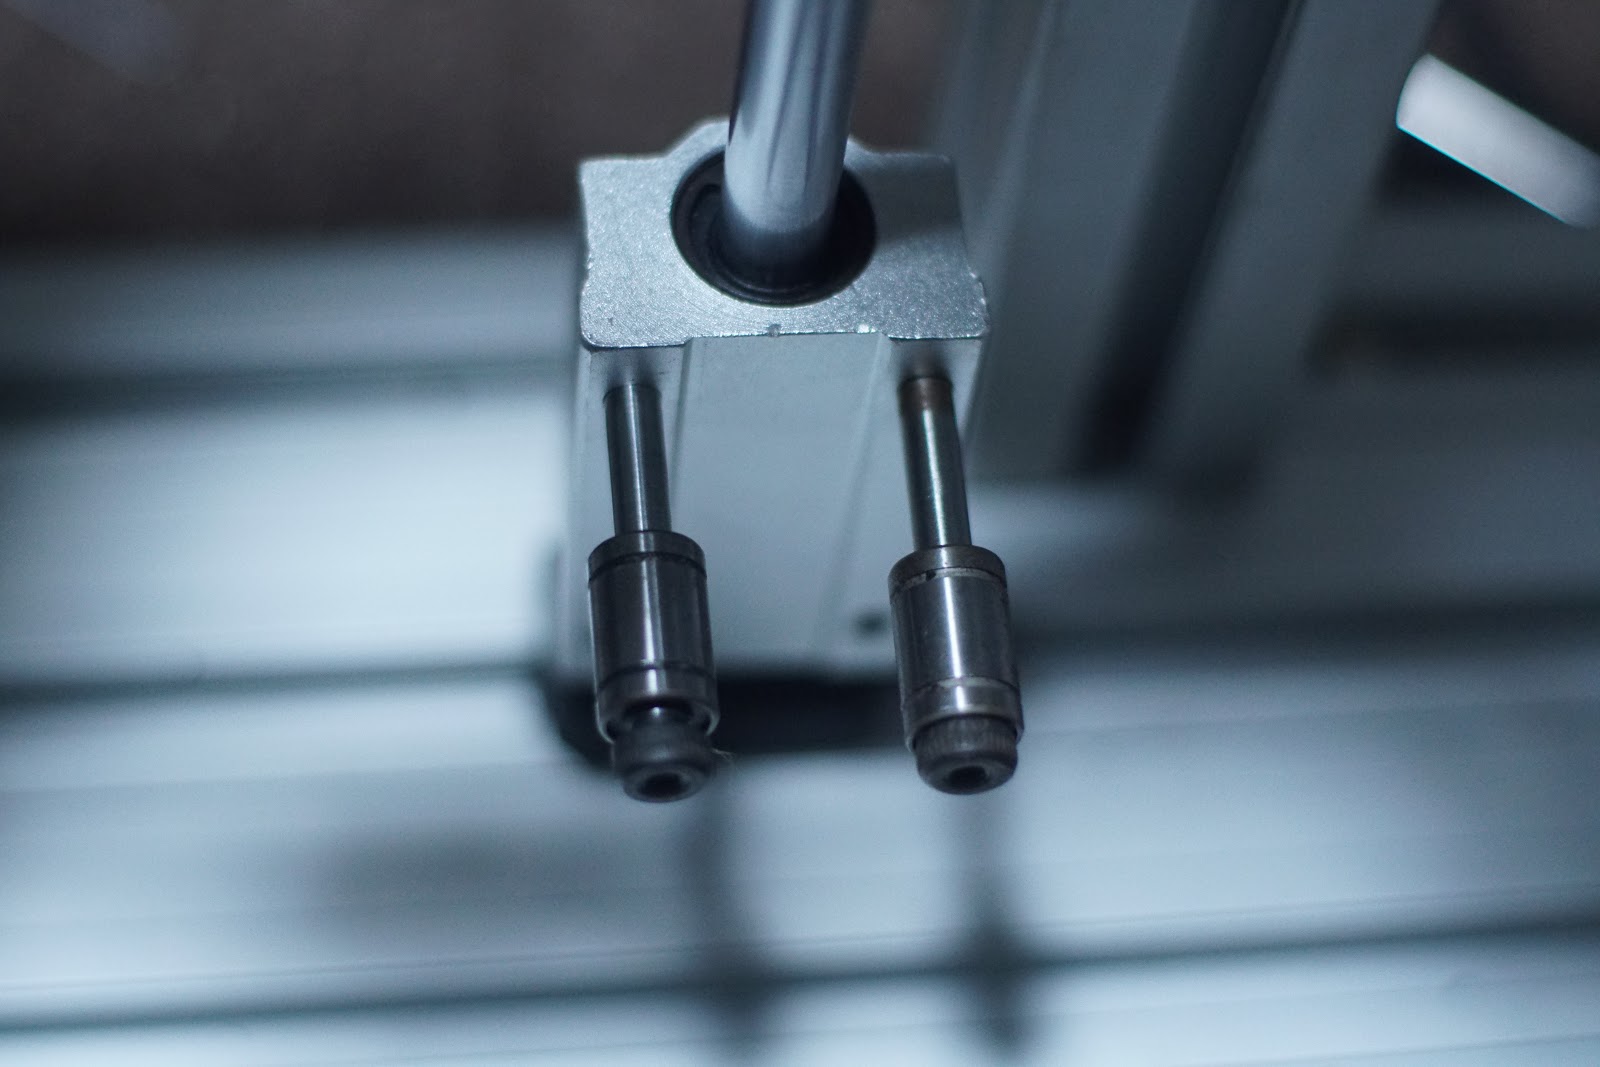
While putting together some bits, I realized I had these 8mm Linear Bearings( a surprise gift in an ebay purchase of linear rails,
So decided to put them to use.
I Built another 4 rod Z, but wanted to try out 2, as the arm is quite light, and I thought it would add interesting look.
Initial tests didnt seem so smooth as i didnt have rods anchored accurately( at all)
But I love the look, so I ordered a few 12mm flange bearings, & some in pillow blocks,
but the flange ones are only 30mm long, I wanted 60mm ish for one of them.
the long pillow blocks have 4 holes, and needs some interface making so it sits righ on the rail.
but the 30mm block bearing with 2 central holes will fit nice, so i'll be torn on which to use.
Plan is to mount the 12mm rods into the work surface, & motor would be cool.


Z 3030


Where have you been hiding for 2 years?
Some evolution updates:
The Father of RepRap Spawns a new Creation...
While putting together some bits, I realized I had these 8mm Linear Bearings( a surprise gift in an ebay purchase of linear rails
,So decided to put them to use.
I Built another 4 rod Z, but wanted to try out 2, as the arm is quite light, and I thought it would add interesting look.
Initial tests didnt seem so smooth as i didnt have rods anchored accurately( at all)
But I love the look, so I ordered a few 12mm flange bearings, & some in pillow blocks,
but the flange ones are only 30mm long, I wanted 60mm ish for one of them.
the long pillow blocks have 4 holes, and needs some interface making so it sits righ on the rail.
but the 30mm block bearing with 2 central holes will fit nice, so i'll be torn on which to use.
Plan is to mount the 12mm rods into the work surface, & motor would be cool.


Z 3030


|
Re: MechaBits KraftWerk'r February 06, 2018 03:31PM |
Registered: 8 years ago Posts: 49 |
|
Re: MechaBits KraftWerk'r July 08, 2018 11:49AM |
Registered: 8 years ago Posts: 1,671 |
|
Re: MechaBits KraftWerk'r July 24, 2018 07:05PM |
Registered: 8 years ago Posts: 1,671 |
|
Re: MechaBits KraftWerk'r October 19, 2018 12:49AM |
Registered: 8 years ago Posts: 1,671 |
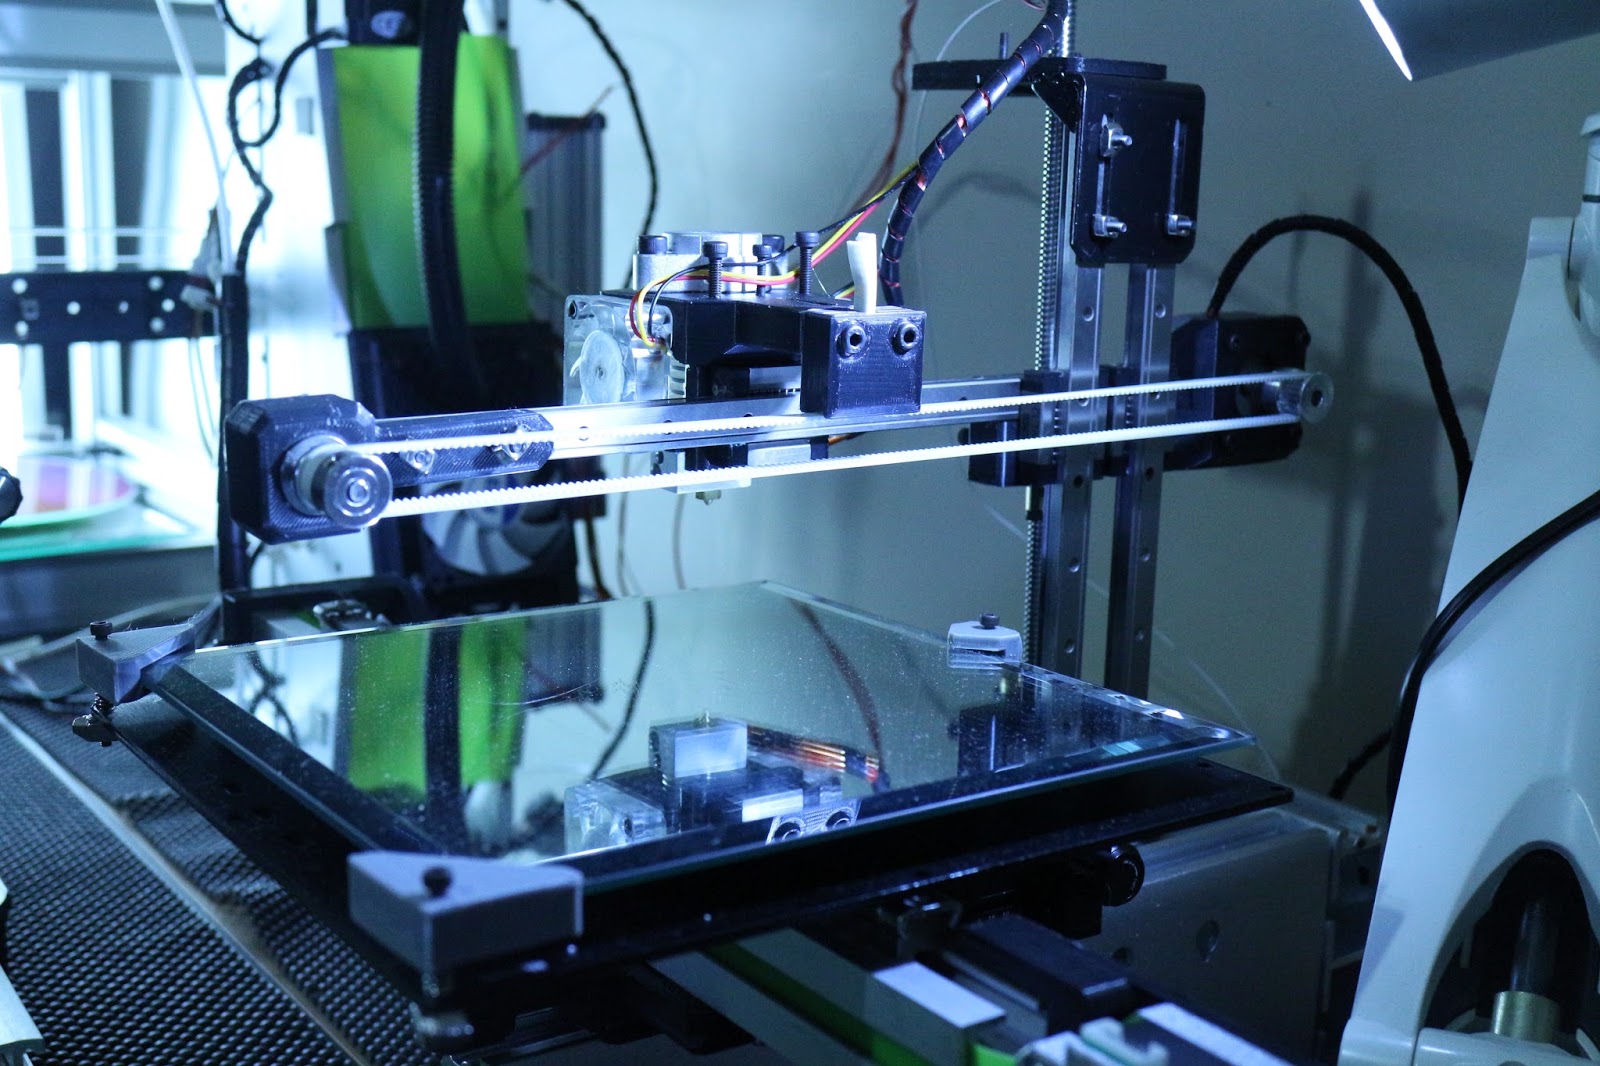
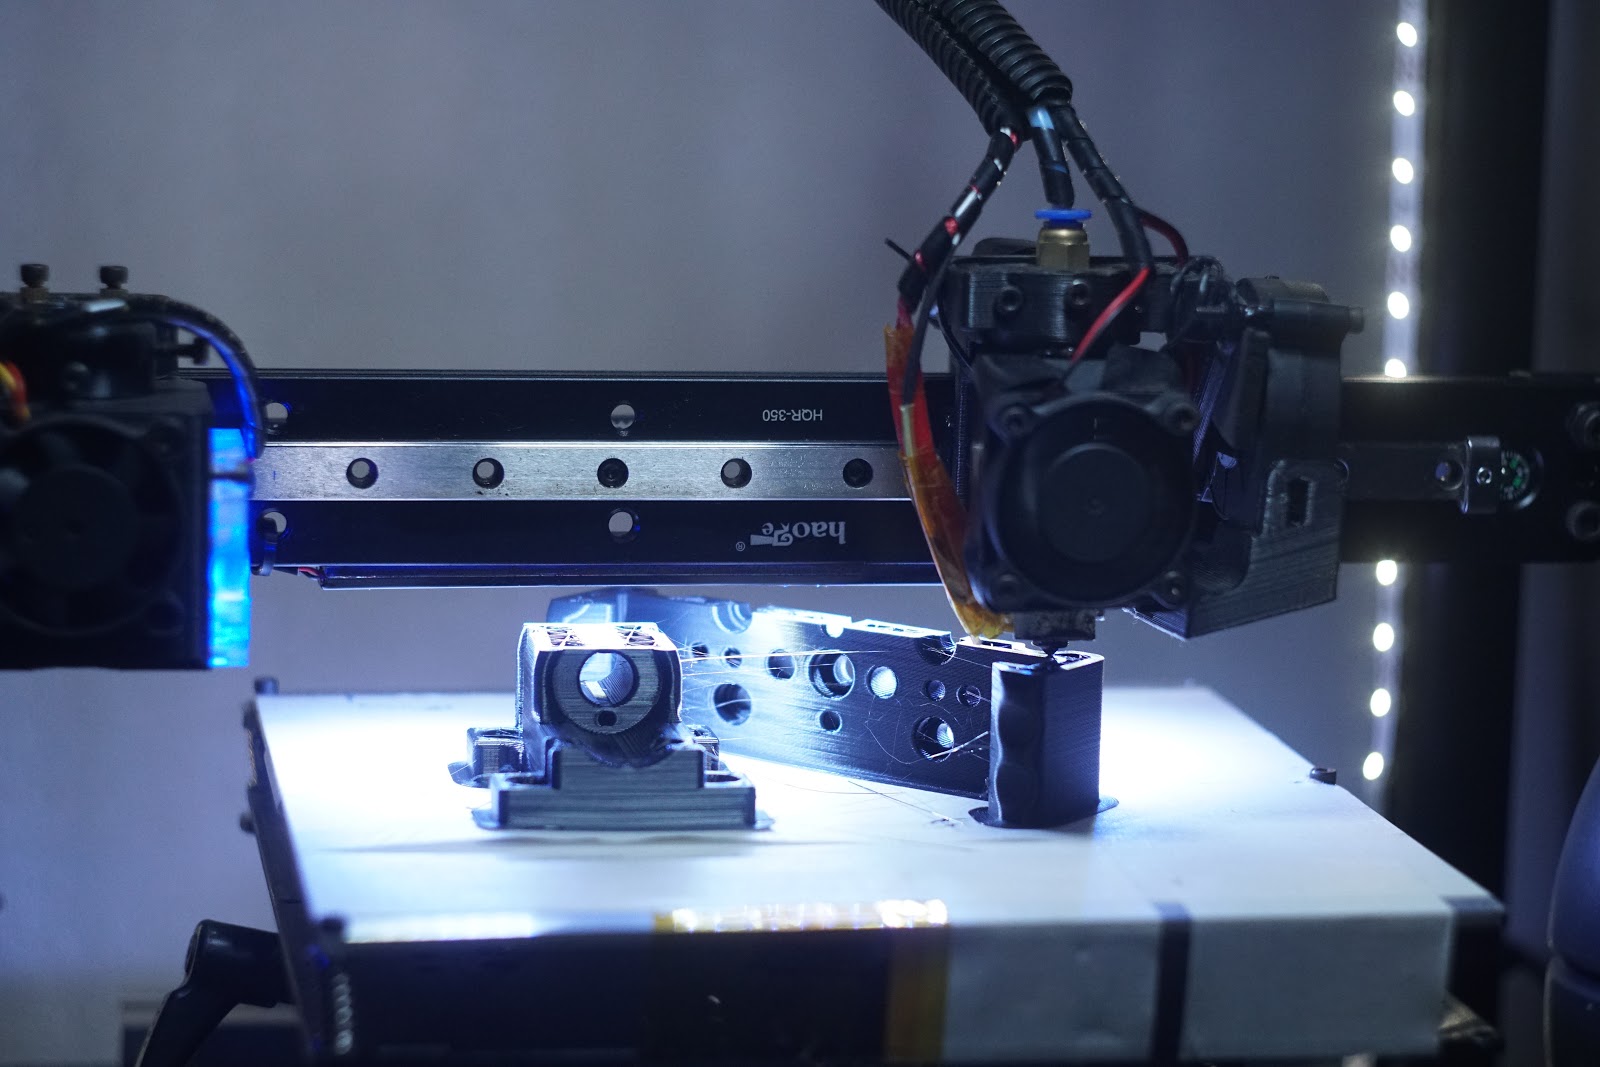
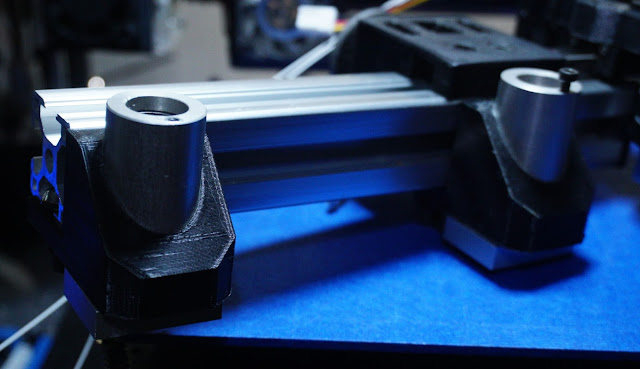
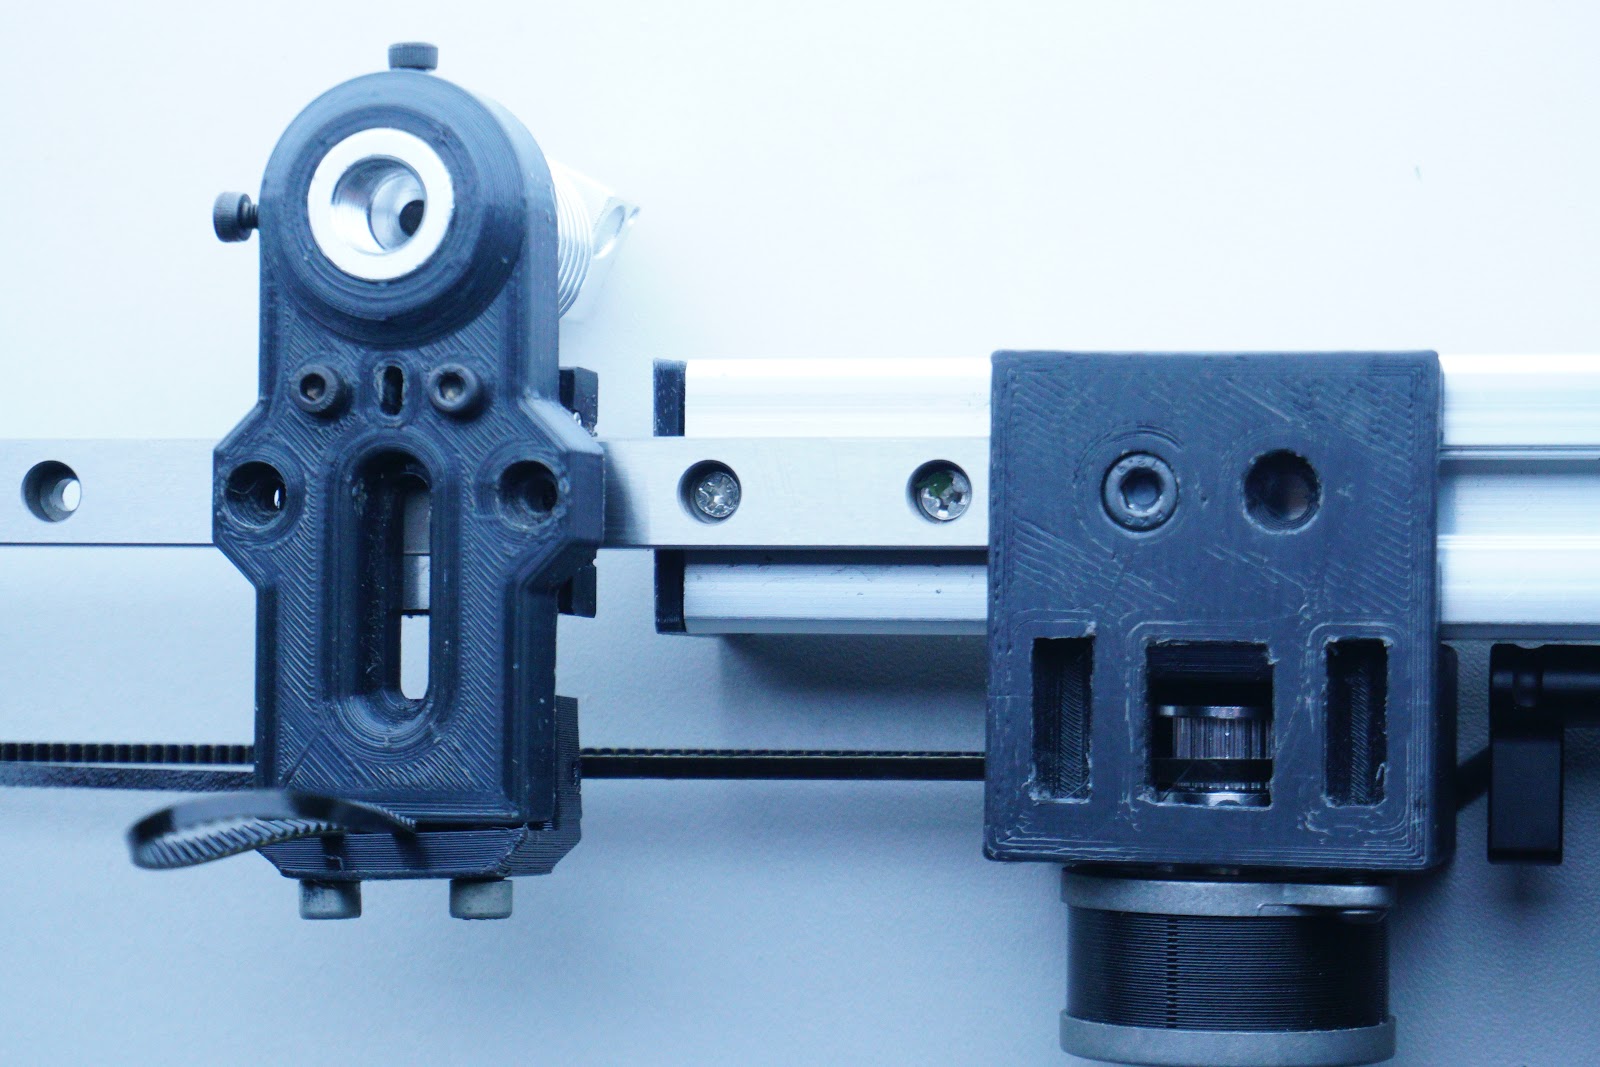
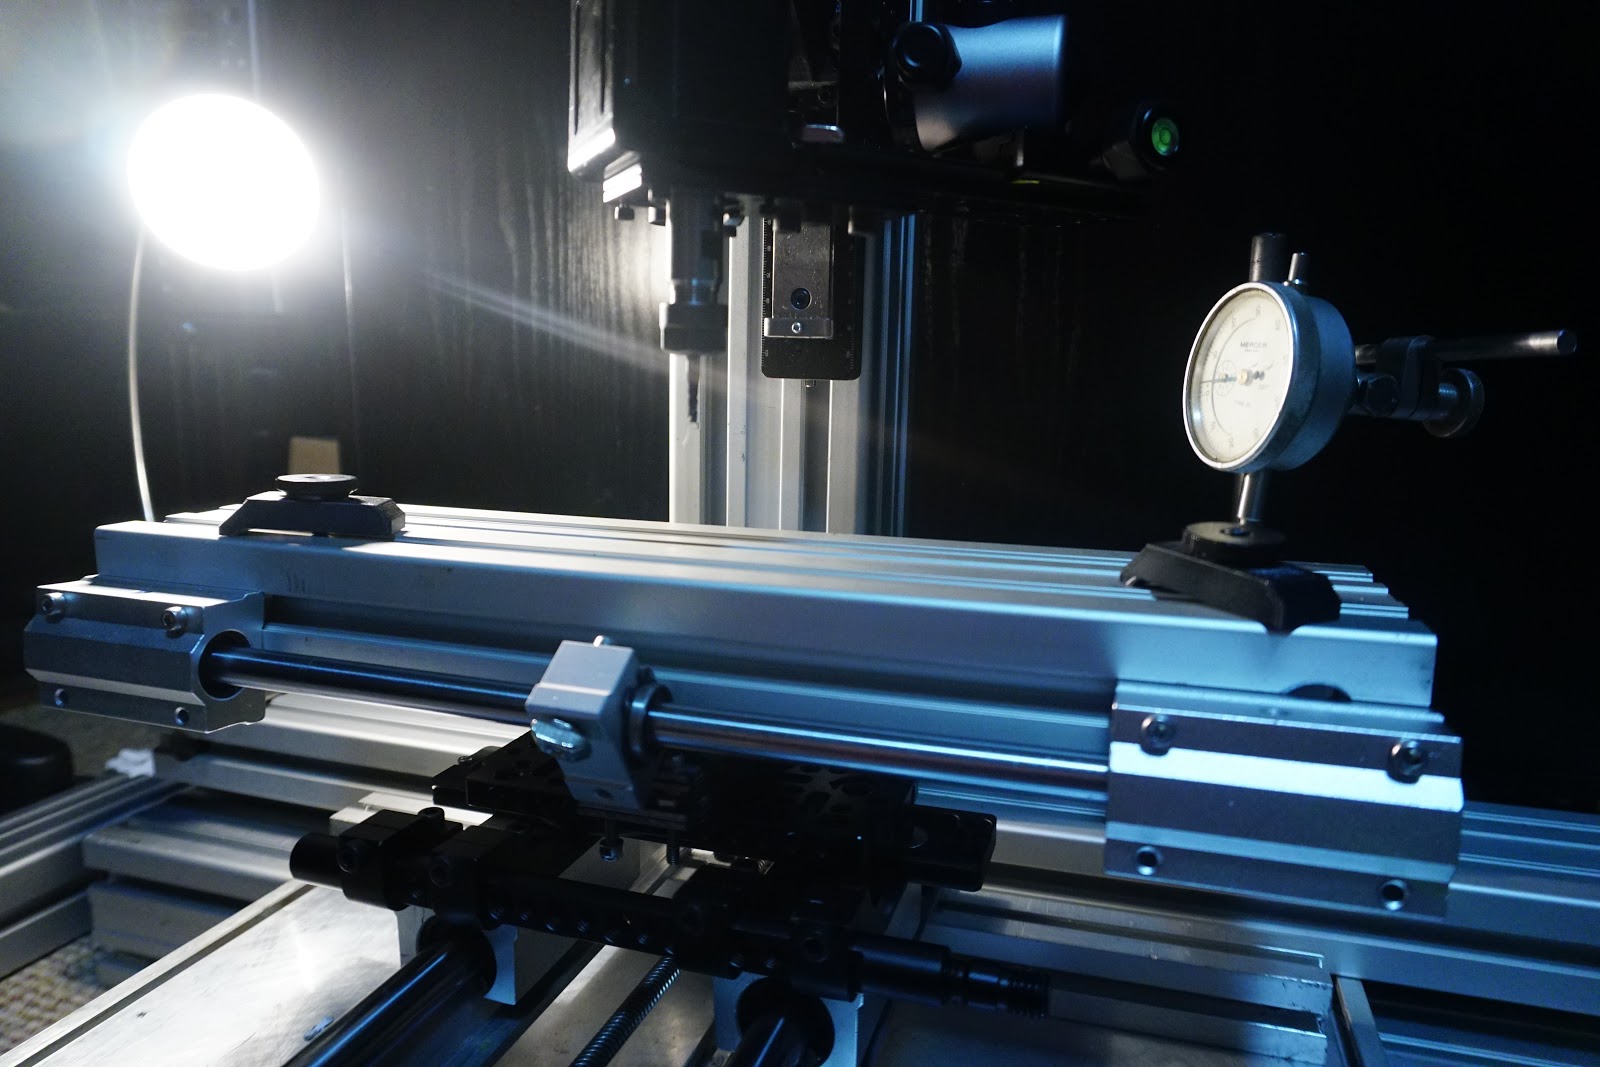
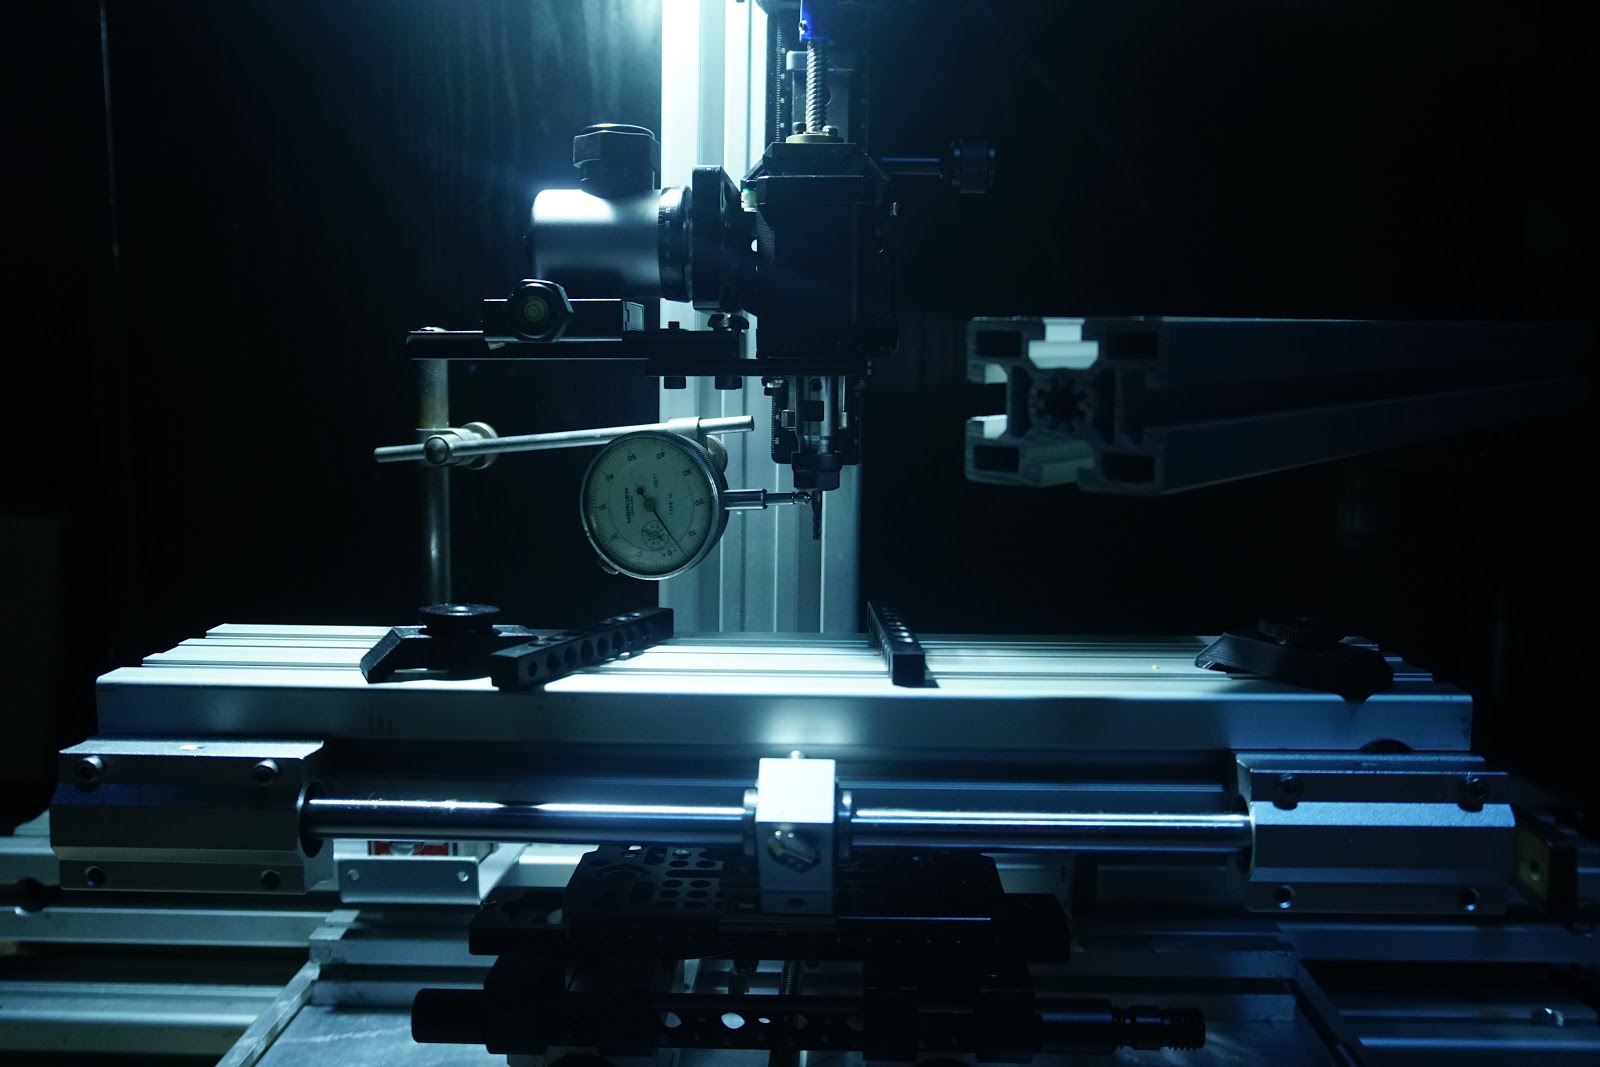
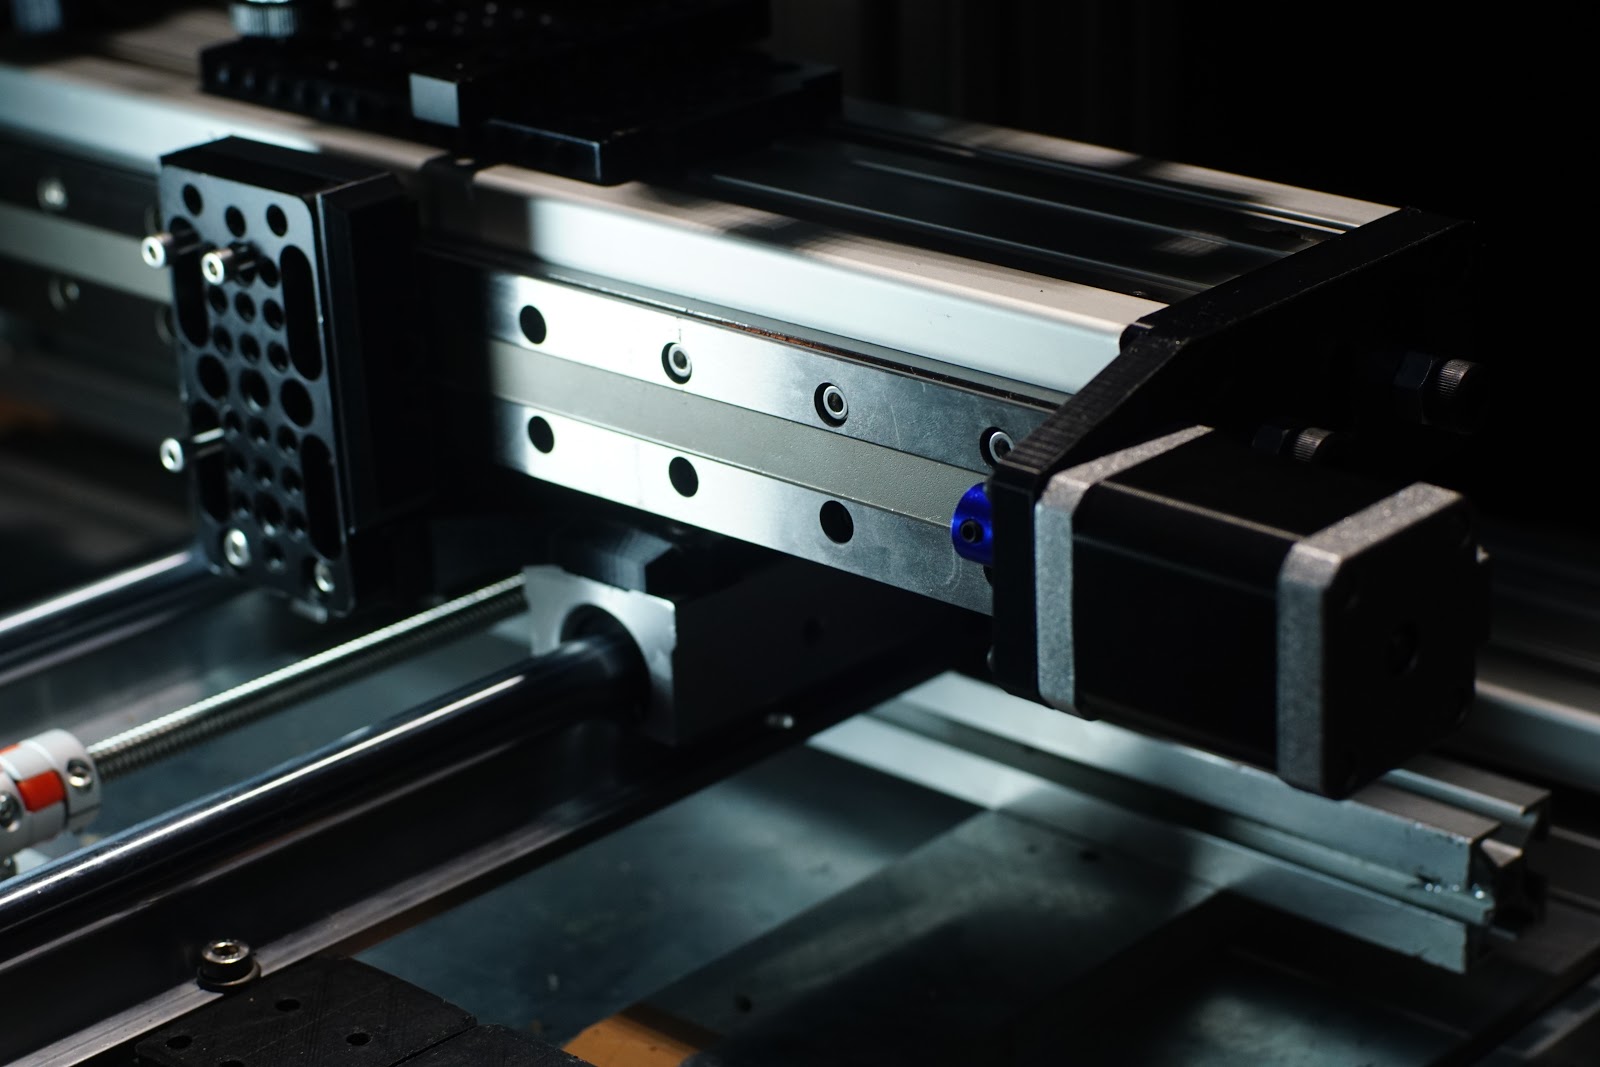
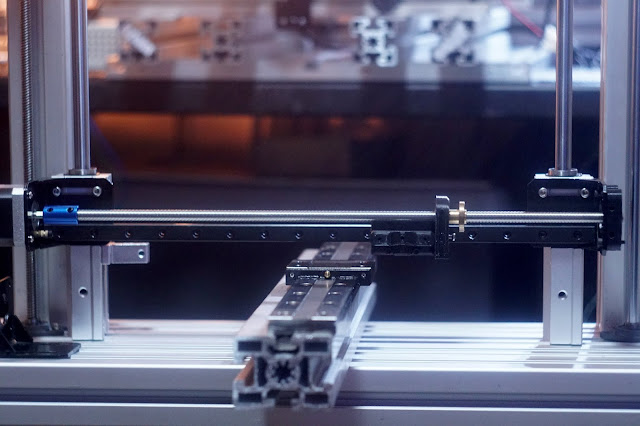
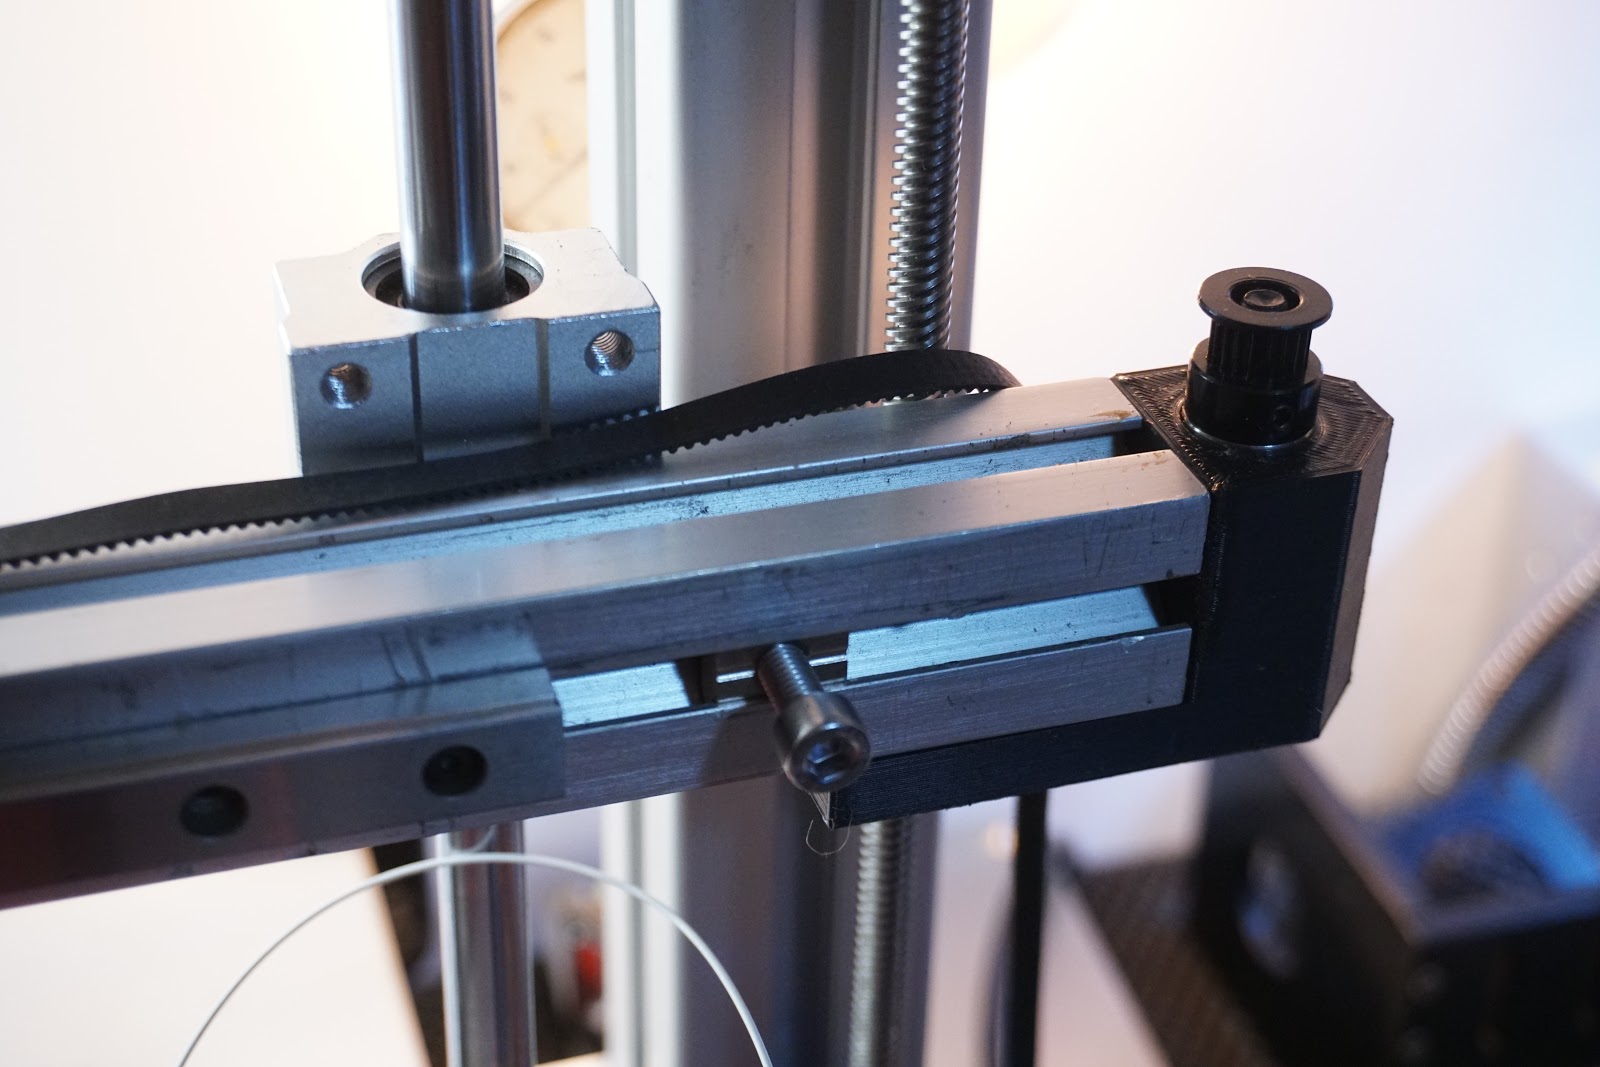
So Back to Building with Profile, pretty soon after saying I didnt want another design on the cards,
after buying a load of profile 9090 9045 4545 6045 for £120...and getting so much done with it,
I decided I better get some more, unfortunately the 9090 had all gone, what was left was mainly 4545 & 6045
so another 150 quid bought enough to make at least 3 printers, though maybe the way I used it i'll only get two.
so after waiting 2 weeks when it was supposed to be 3 days...I thought it had got lost, eventually it came
and I sort of already had Z & X figured and ready to bolt to the frame, the day it arrived the frame was done
& Z&X in place, while the measuring for the key parts begun,
this is how it went.
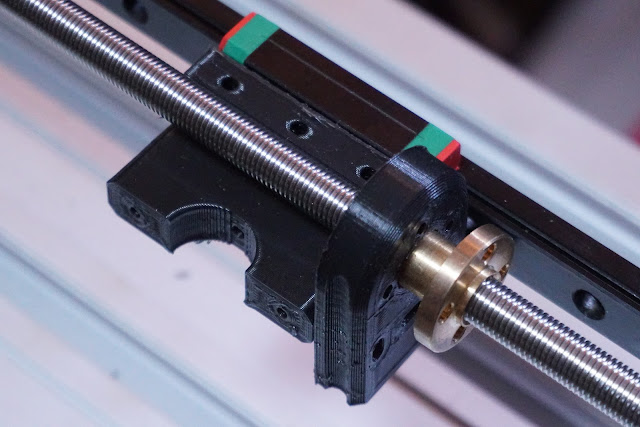
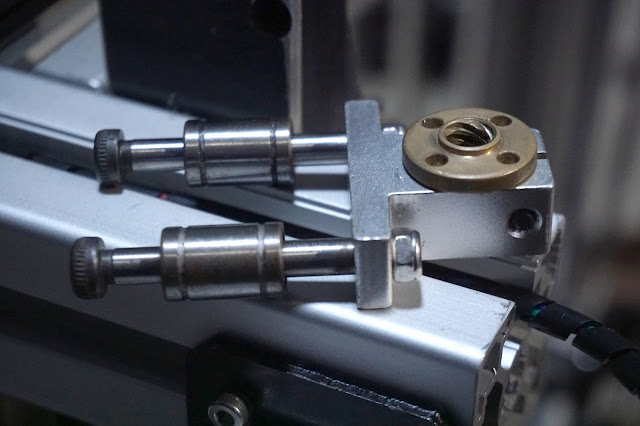
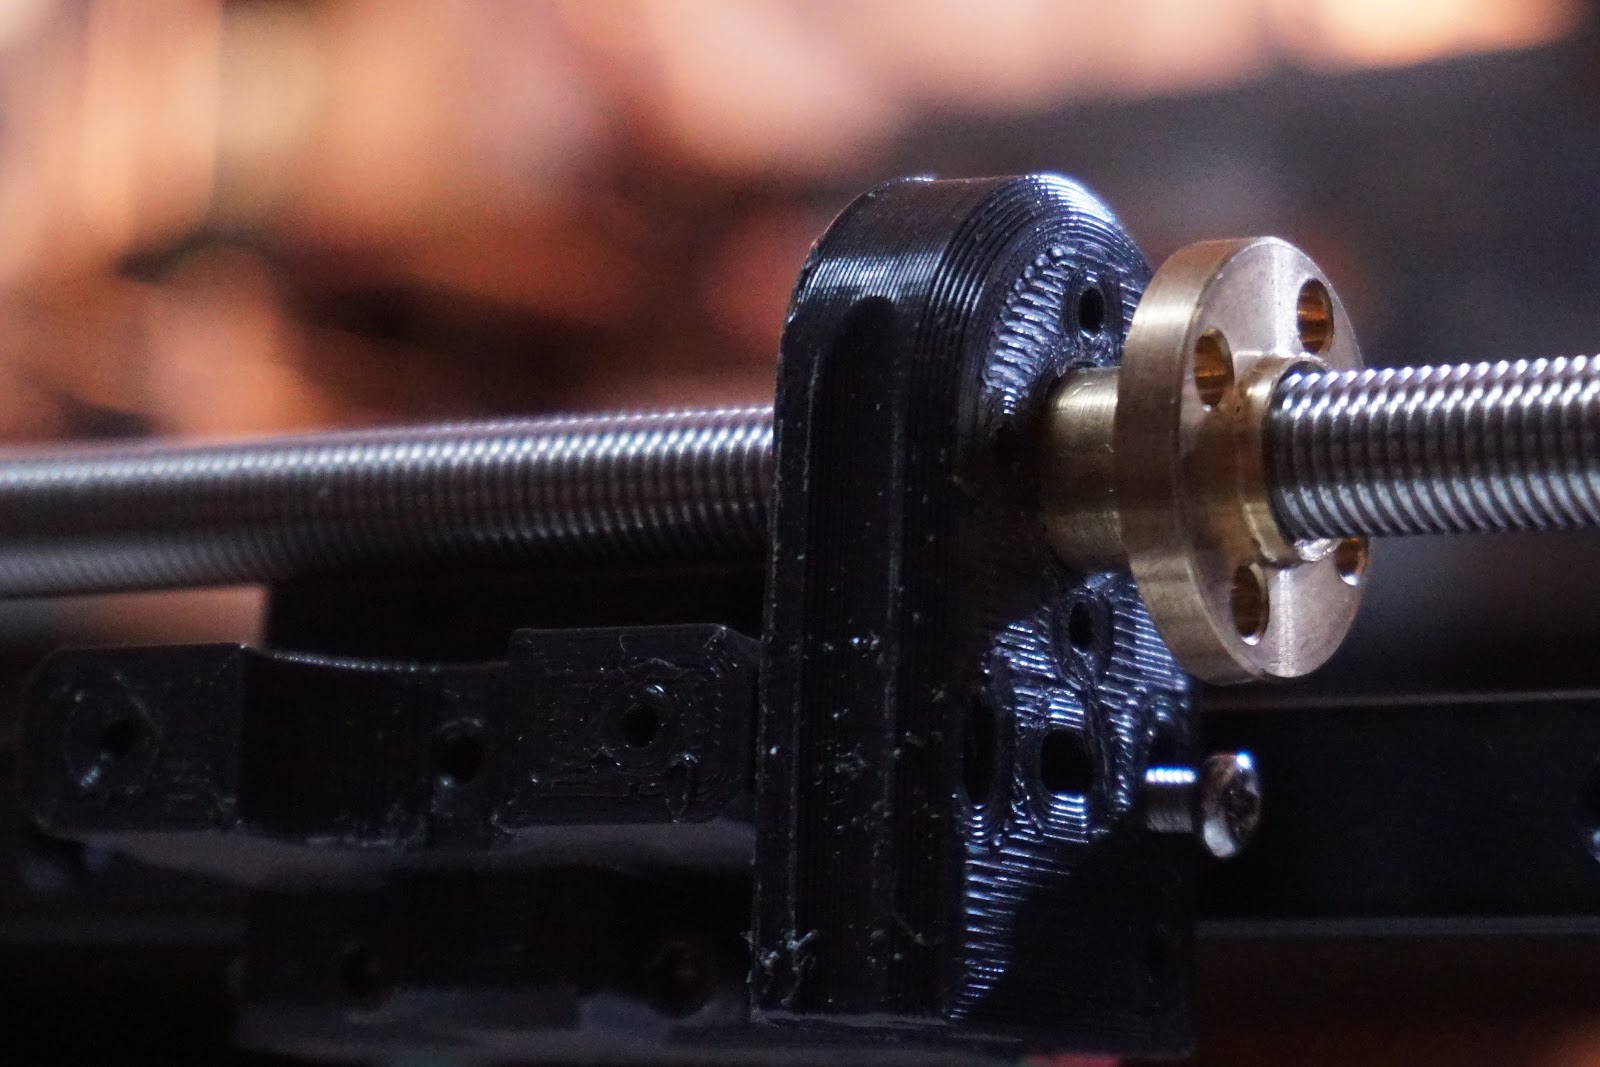
I will mirror the metal Z nut thing, to the right side and do away with the bearings even though I like them, it doesnt need it,
I added the second rail behind the other, in case I want a flying extruder...could be tricky to get it inline, maybe a very short bowden,
there is a good way to attach more rails to the rear using metal rod ends, strengthening the frame & providing alternate placement for the leadscrews, behind current rails, which would allow me to position the single Z motor better and try to drive with closed loop.
The Lower bearing blocks can obviously rotate 90 degree, to use new leadscrew position...dims all the same.
In time sort out a bigger bed.


Edited 1 time(s). Last edit at 10/19/2018 12:51AM by MechaBits.
after buying a load of profile 9090 9045 4545 6045 for £120...and getting so much done with it,
I decided I better get some more, unfortunately the 9090 had all gone, what was left was mainly 4545 & 6045
so another 150 quid bought enough to make at least 3 printers, though maybe the way I used it i'll only get two.
so after waiting 2 weeks when it was supposed to be 3 days...I thought it had got lost, eventually it came
and I sort of already had Z & X figured and ready to bolt to the frame, the day it arrived the frame was done
& Z&X in place, while the measuring for the key parts begun,
this is how it went.
I will mirror the metal Z nut thing, to the right side and do away with the bearings even though I like them, it doesnt need it,
I added the second rail behind the other, in case I want a flying extruder...could be tricky to get it inline, maybe a very short bowden,
there is a good way to attach more rails to the rear using metal rod ends, strengthening the frame & providing alternate placement for the leadscrews, behind current rails, which would allow me to position the single Z motor better and try to drive with closed loop.
The Lower bearing blocks can obviously rotate 90 degree, to use new leadscrew position...dims all the same.
In time sort out a bigger bed.


Edited 1 time(s). Last edit at 10/19/2018 12:51AM by MechaBits.
|
Re: MechaBits KraftWerk'r November 01, 2018 07:05AM |
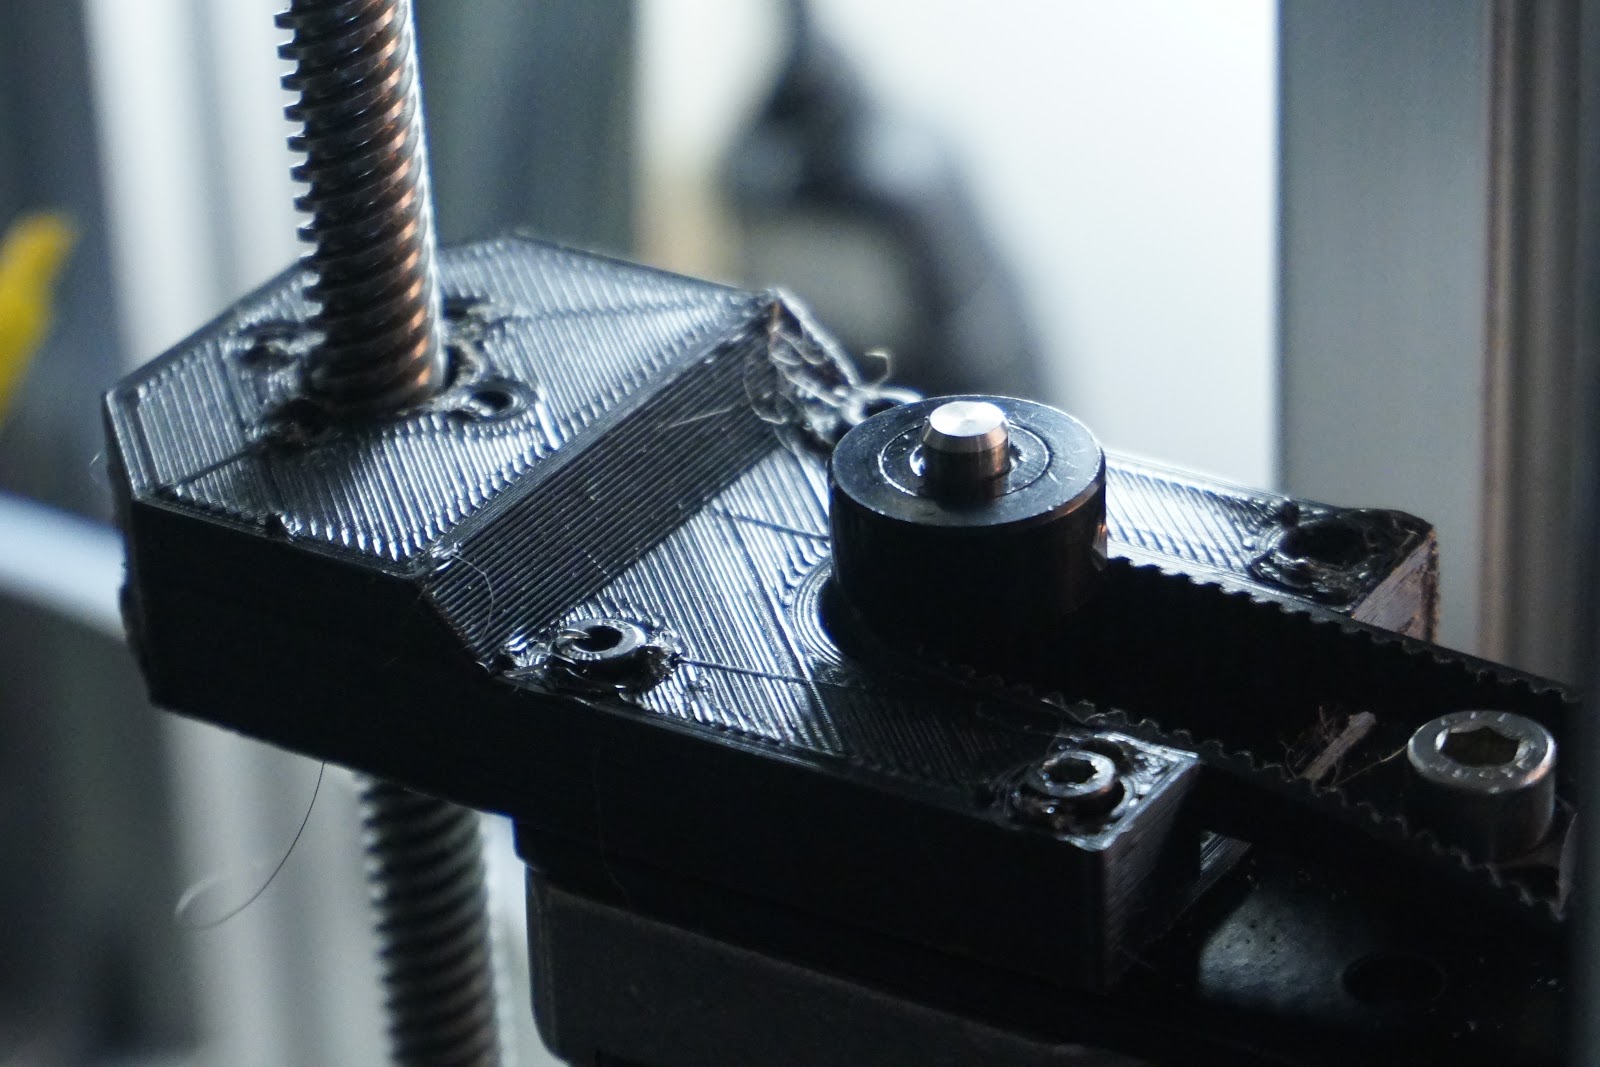
Registered: 8 years ago Posts: 1,671 |


A few new bits for Z & X, now I knew it was a little OTT to have the big block bearings doing very little, though removing them might mean the small ones will wear quicker, but for now 'll get a better use out of them elsewhere, the last weeks have been like musical chairs for grown up's ie doing the 3Dprinter part shuffle...ohh this part goes better over here...now I need a widget for here...shuffle things around till I get some order to the chaos.
decided to upgrade leadscrew x to belt before I even tried it out...couldnt resist designing the extra parts needed.
[youtu.be]
Edited 1 time(s). Last edit at 11/01/2018 08:29AM by MechaBits.
|
Re: MechaBits KraftWerk'r November 10, 2018 12:56AM |
Registered: 8 years ago Posts: 1,671 |


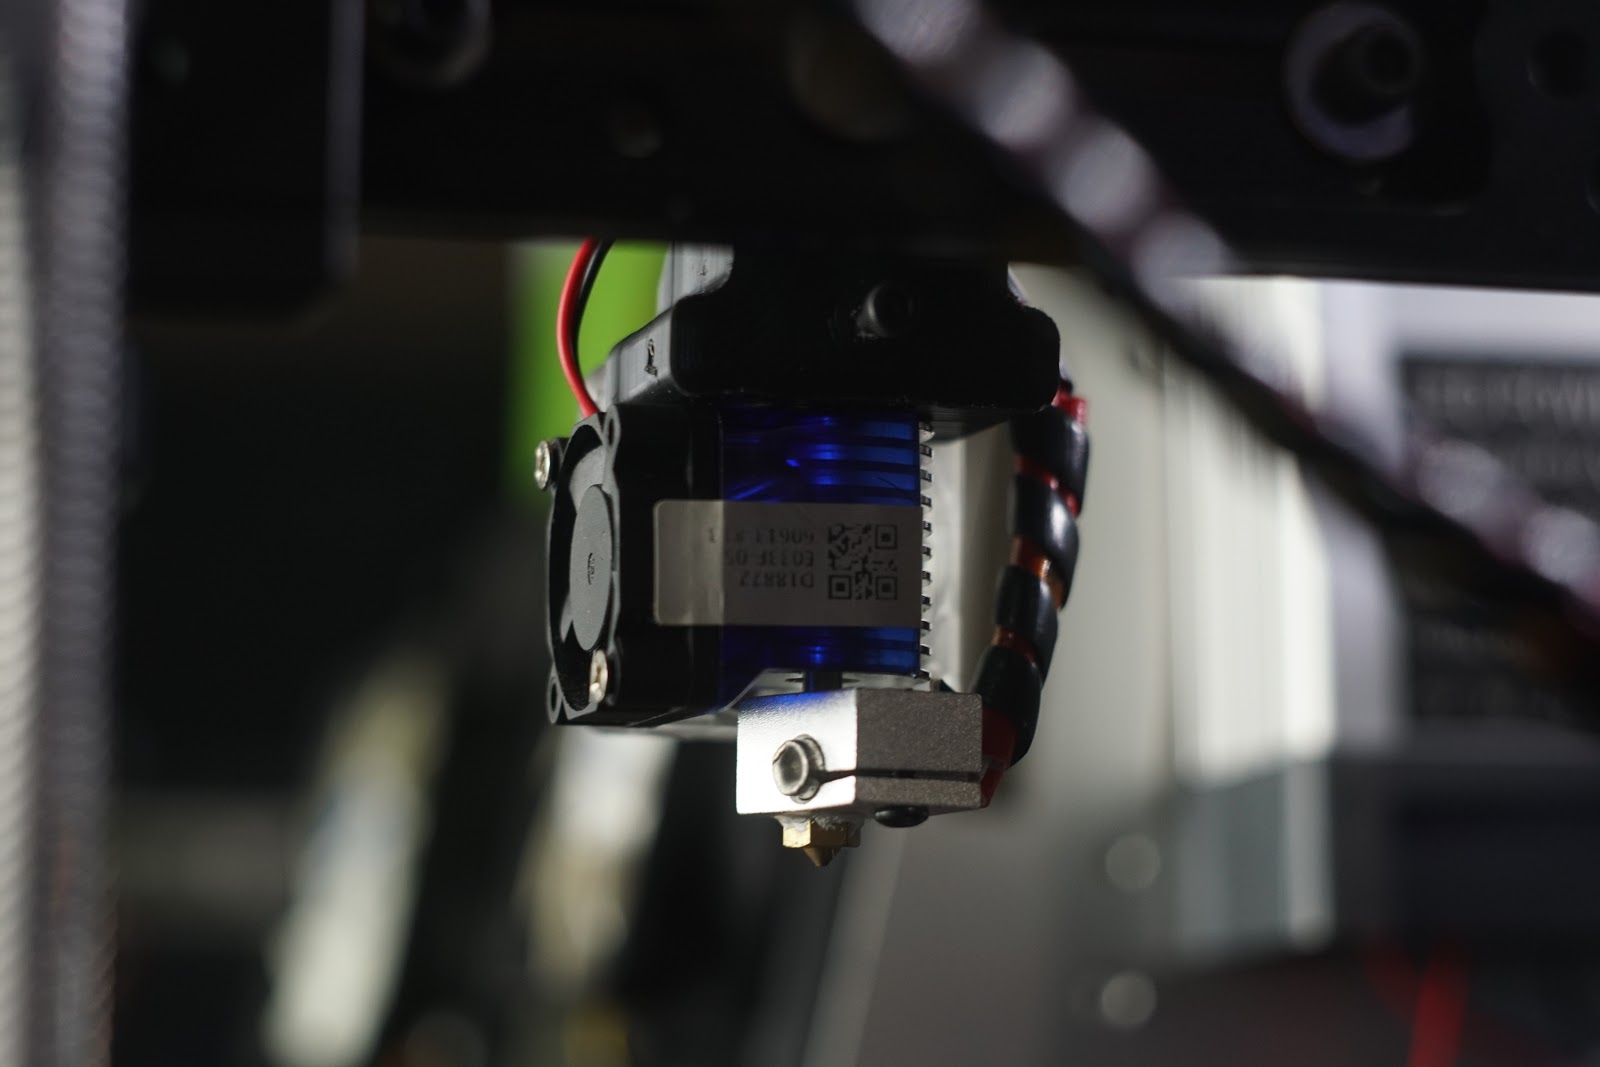
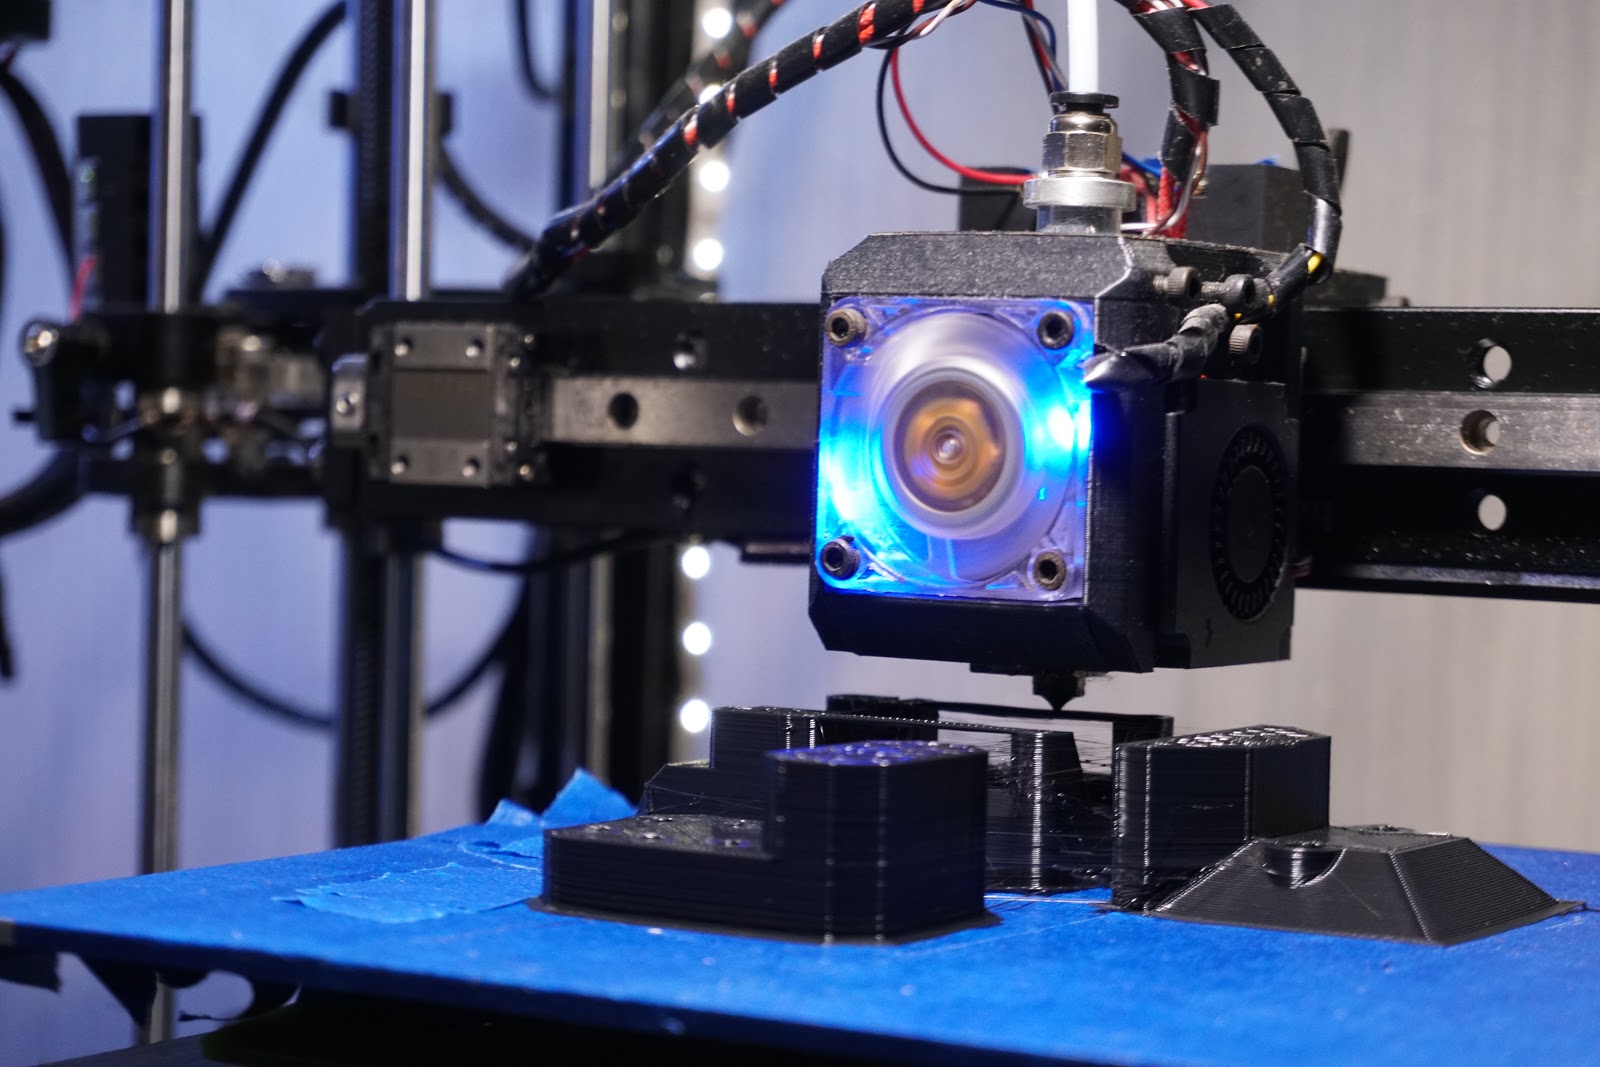
3rd time lucky, vers1 for leadscrew, v2 for belt and no sooner had I mounted everything I realize I need more parts for the V5 hotend, but I decided to look for another hotend, mainly one with quick change throat, the one I found that a new V6 fits the bill is also Black & Hex shape and did I say Cheap! also has a thru tube of ptfe...has to be better than the V5

Edited 1 time(s). Last edit at 11/10/2018 12:57AM by MechaBits.
|
Re: MechaBits KraftWerk'r November 10, 2018 07:27AM |
Registered: 11 years ago Posts: 5,780 |
I put one of those hot ends on UMMD. It's been working well for about 6 months. The cooling fan bracket is metal and screwed to the heatsink so unlike the E3D parts, it can't melt or rotate. The set screws holding the heat break are also a plus because the heatbreak can't decide to loosen itself in the heatsink while you're printing -I've had V6's do that several times. The neck of the heatbreak is a bit thicker than E3D's so it is a lot less fragile. The coating on the heater block will burn and turn brown in the first hour or so but it doesn't affect operation. That hot-end and heater block are about as long as an E3D V6 with a volcano heater block, so you will have to give up a little of your vertical print capacity.
Ultra MegaMax Dominator 3D printer: [drmrehorst.blogspot.com]
Ultra MegaMax Dominator 3D printer: [drmrehorst.blogspot.com]
|
Re: MechaBits KraftWerk'r November 10, 2018 09:28AM |
Registered: 8 years ago Posts: 1,671 |
Didnt realize i'd get a fan bracket with it, or I might have waited to design alternate mount, I actually messed up the design & made it too tall so block would be touching PLA, but I just made a little spacer to fit over the top to drop it about 4mm, save printing a new one(I actually need it the way I made it, it's probably same size as V5, maybe they even used old V5 heatsinks and shaved off the sides, it certainly does address some design flaws of the V5 & V6...bummer about the heatblock but can't have everything.
|
Re: MechaBits KraftWerk'r February 20, 2019 01:26AM |
Registered: 8 years ago Posts: 1,671 |


Sorry, only registered users may post in this forum.