MechaBits KraftWerk'r
Posted by MechaBits
|
Re: MechaBits KraftWerk'r August 31, 2020 03:18PM |
Registered: 8 years ago Posts: 1,671 |

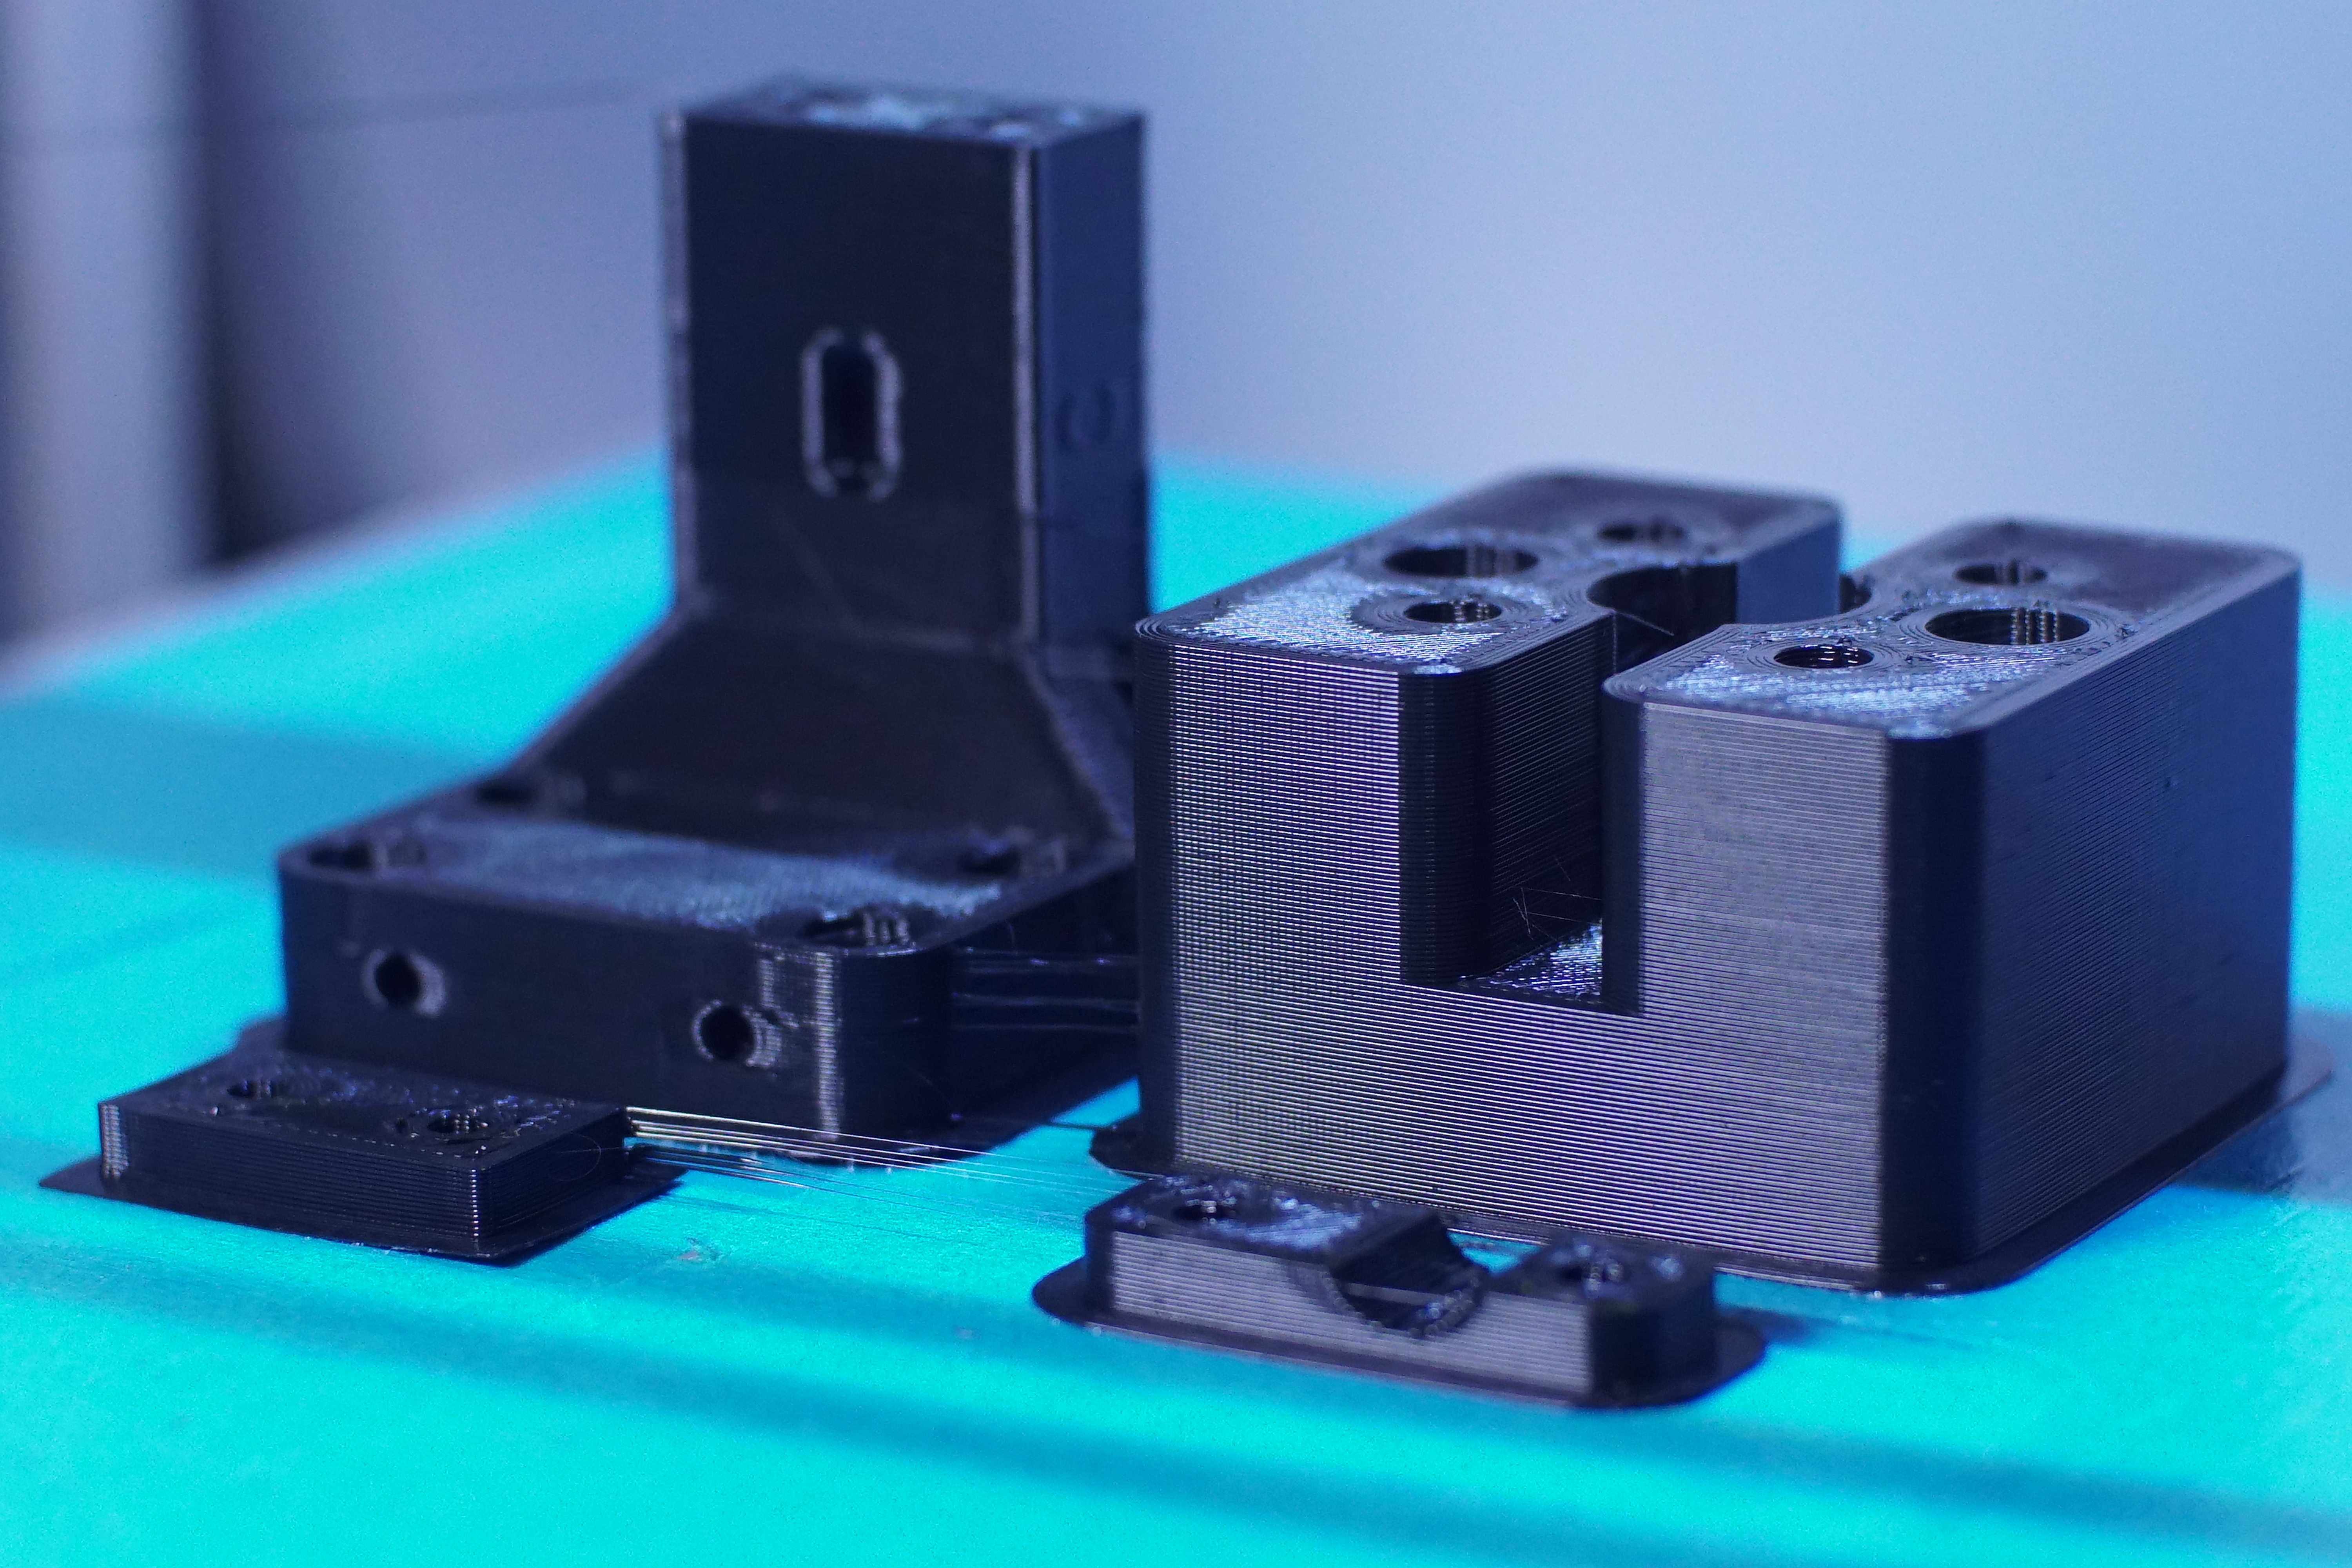
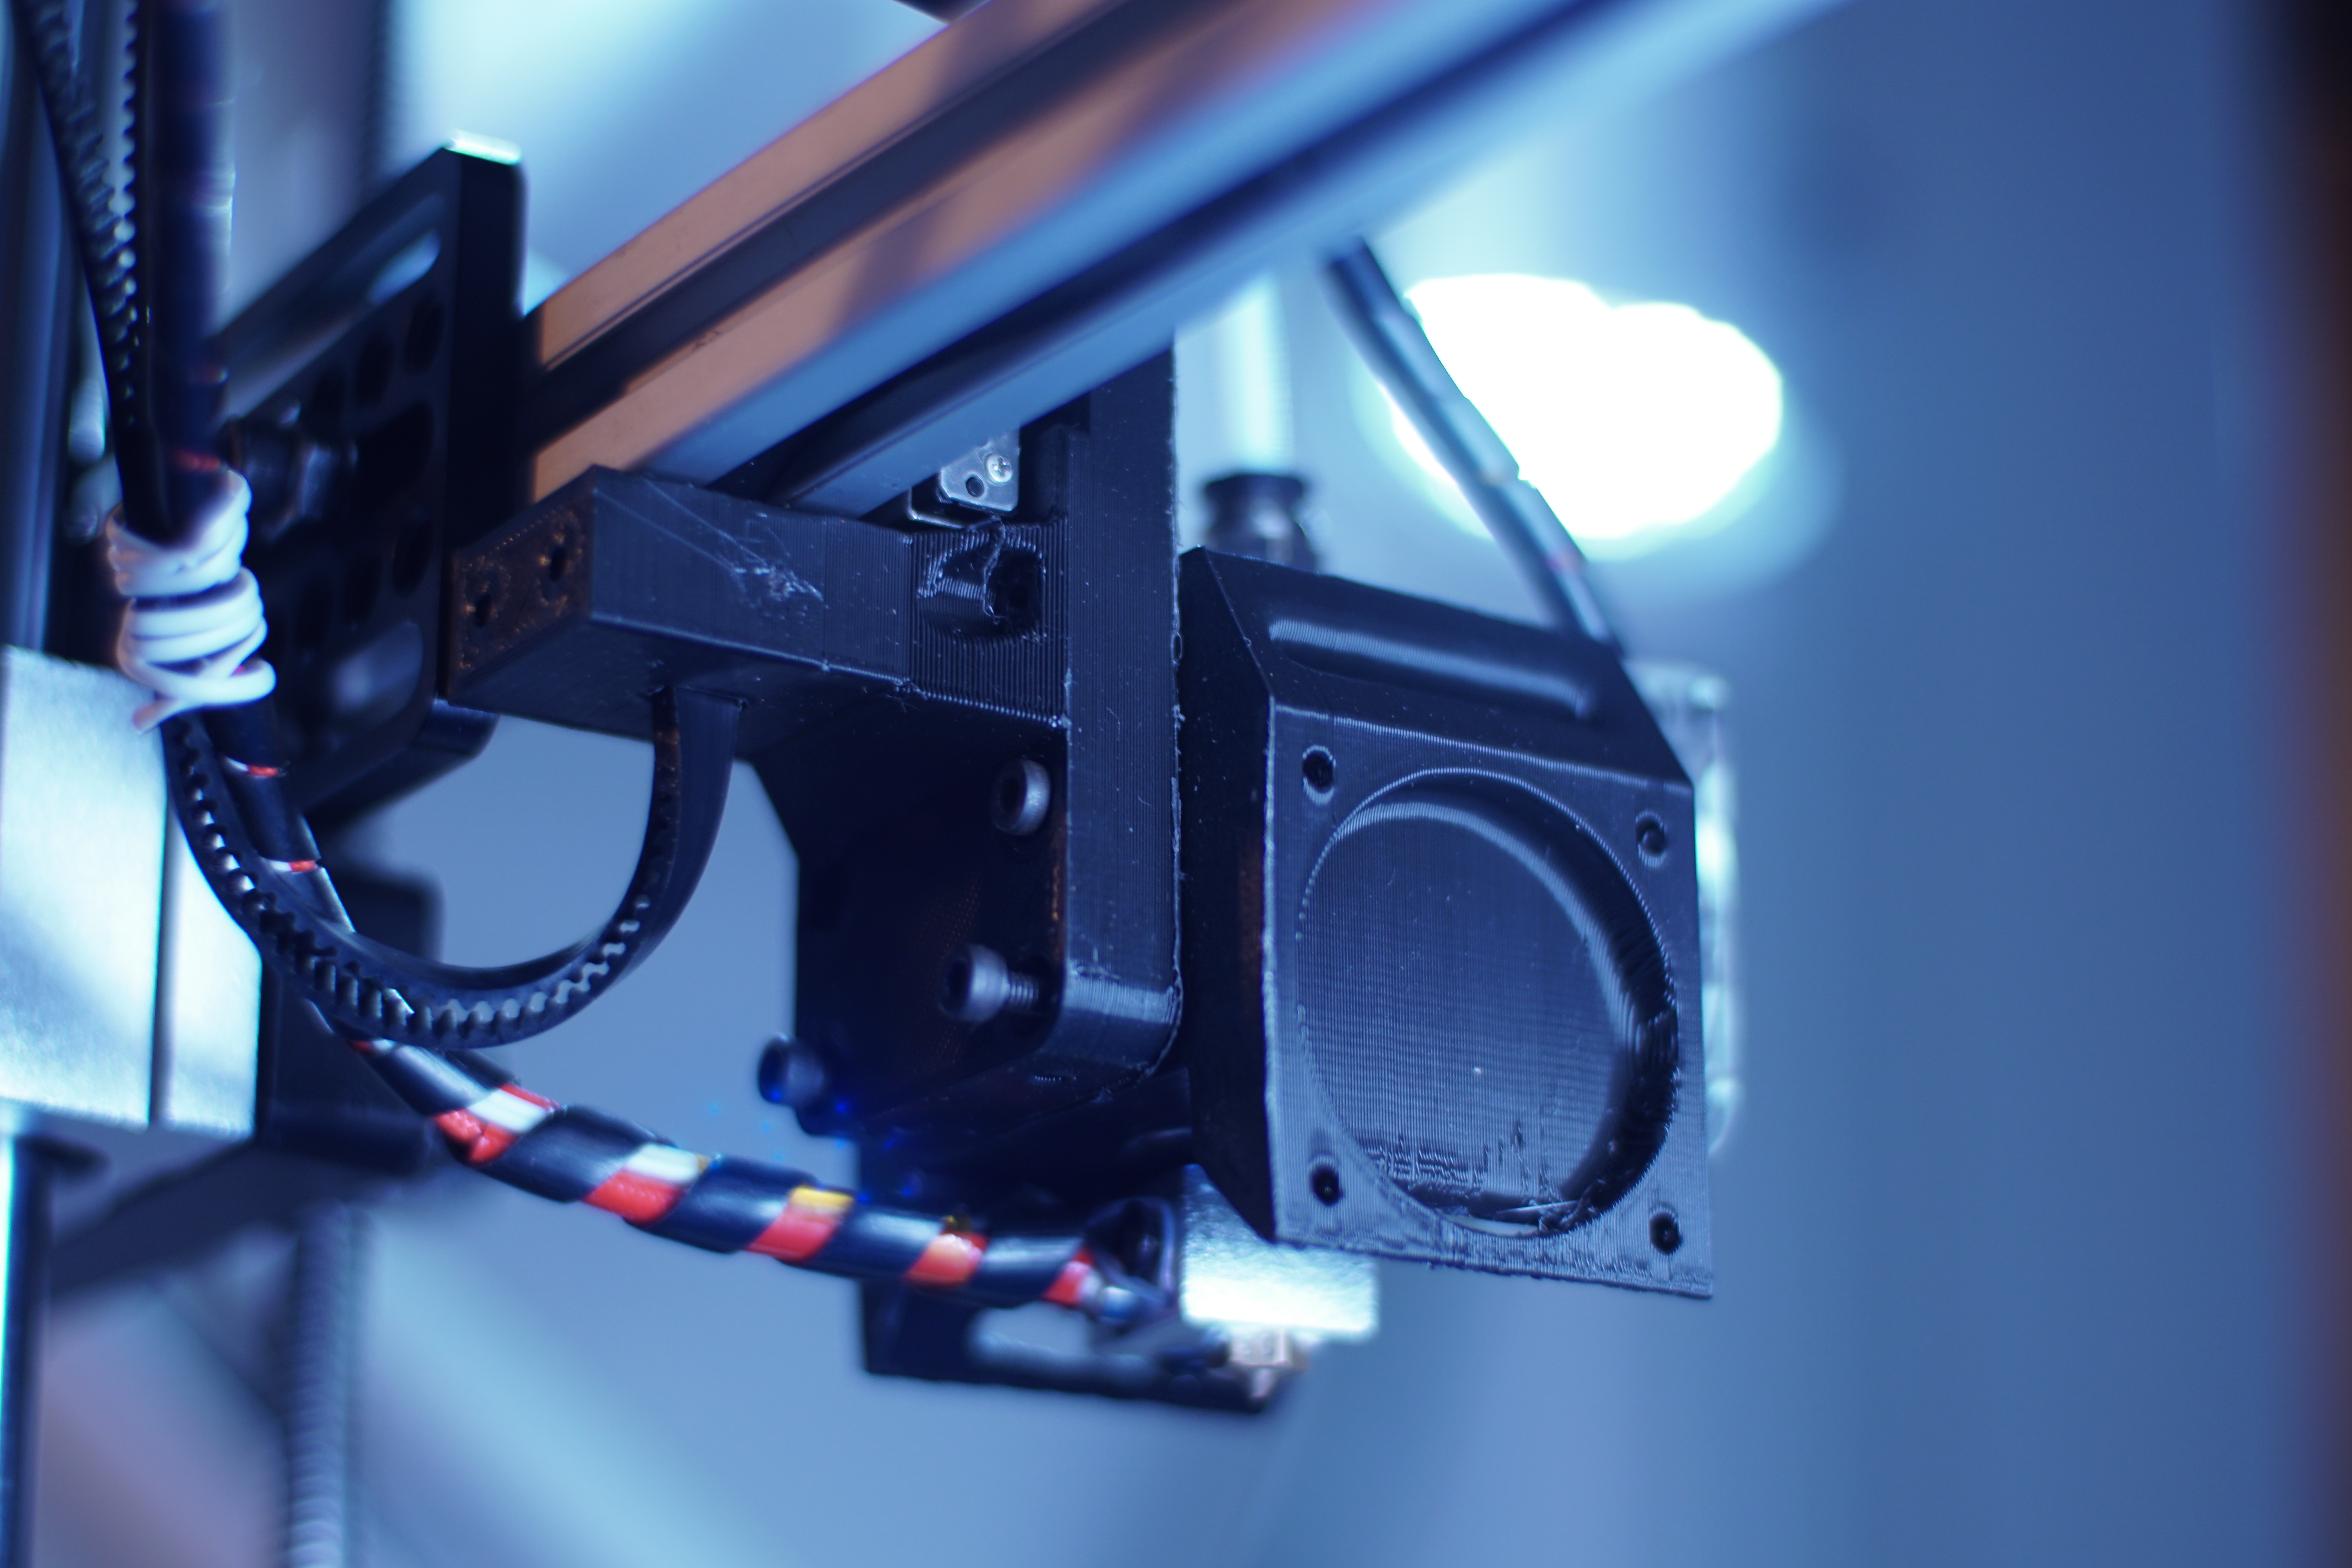
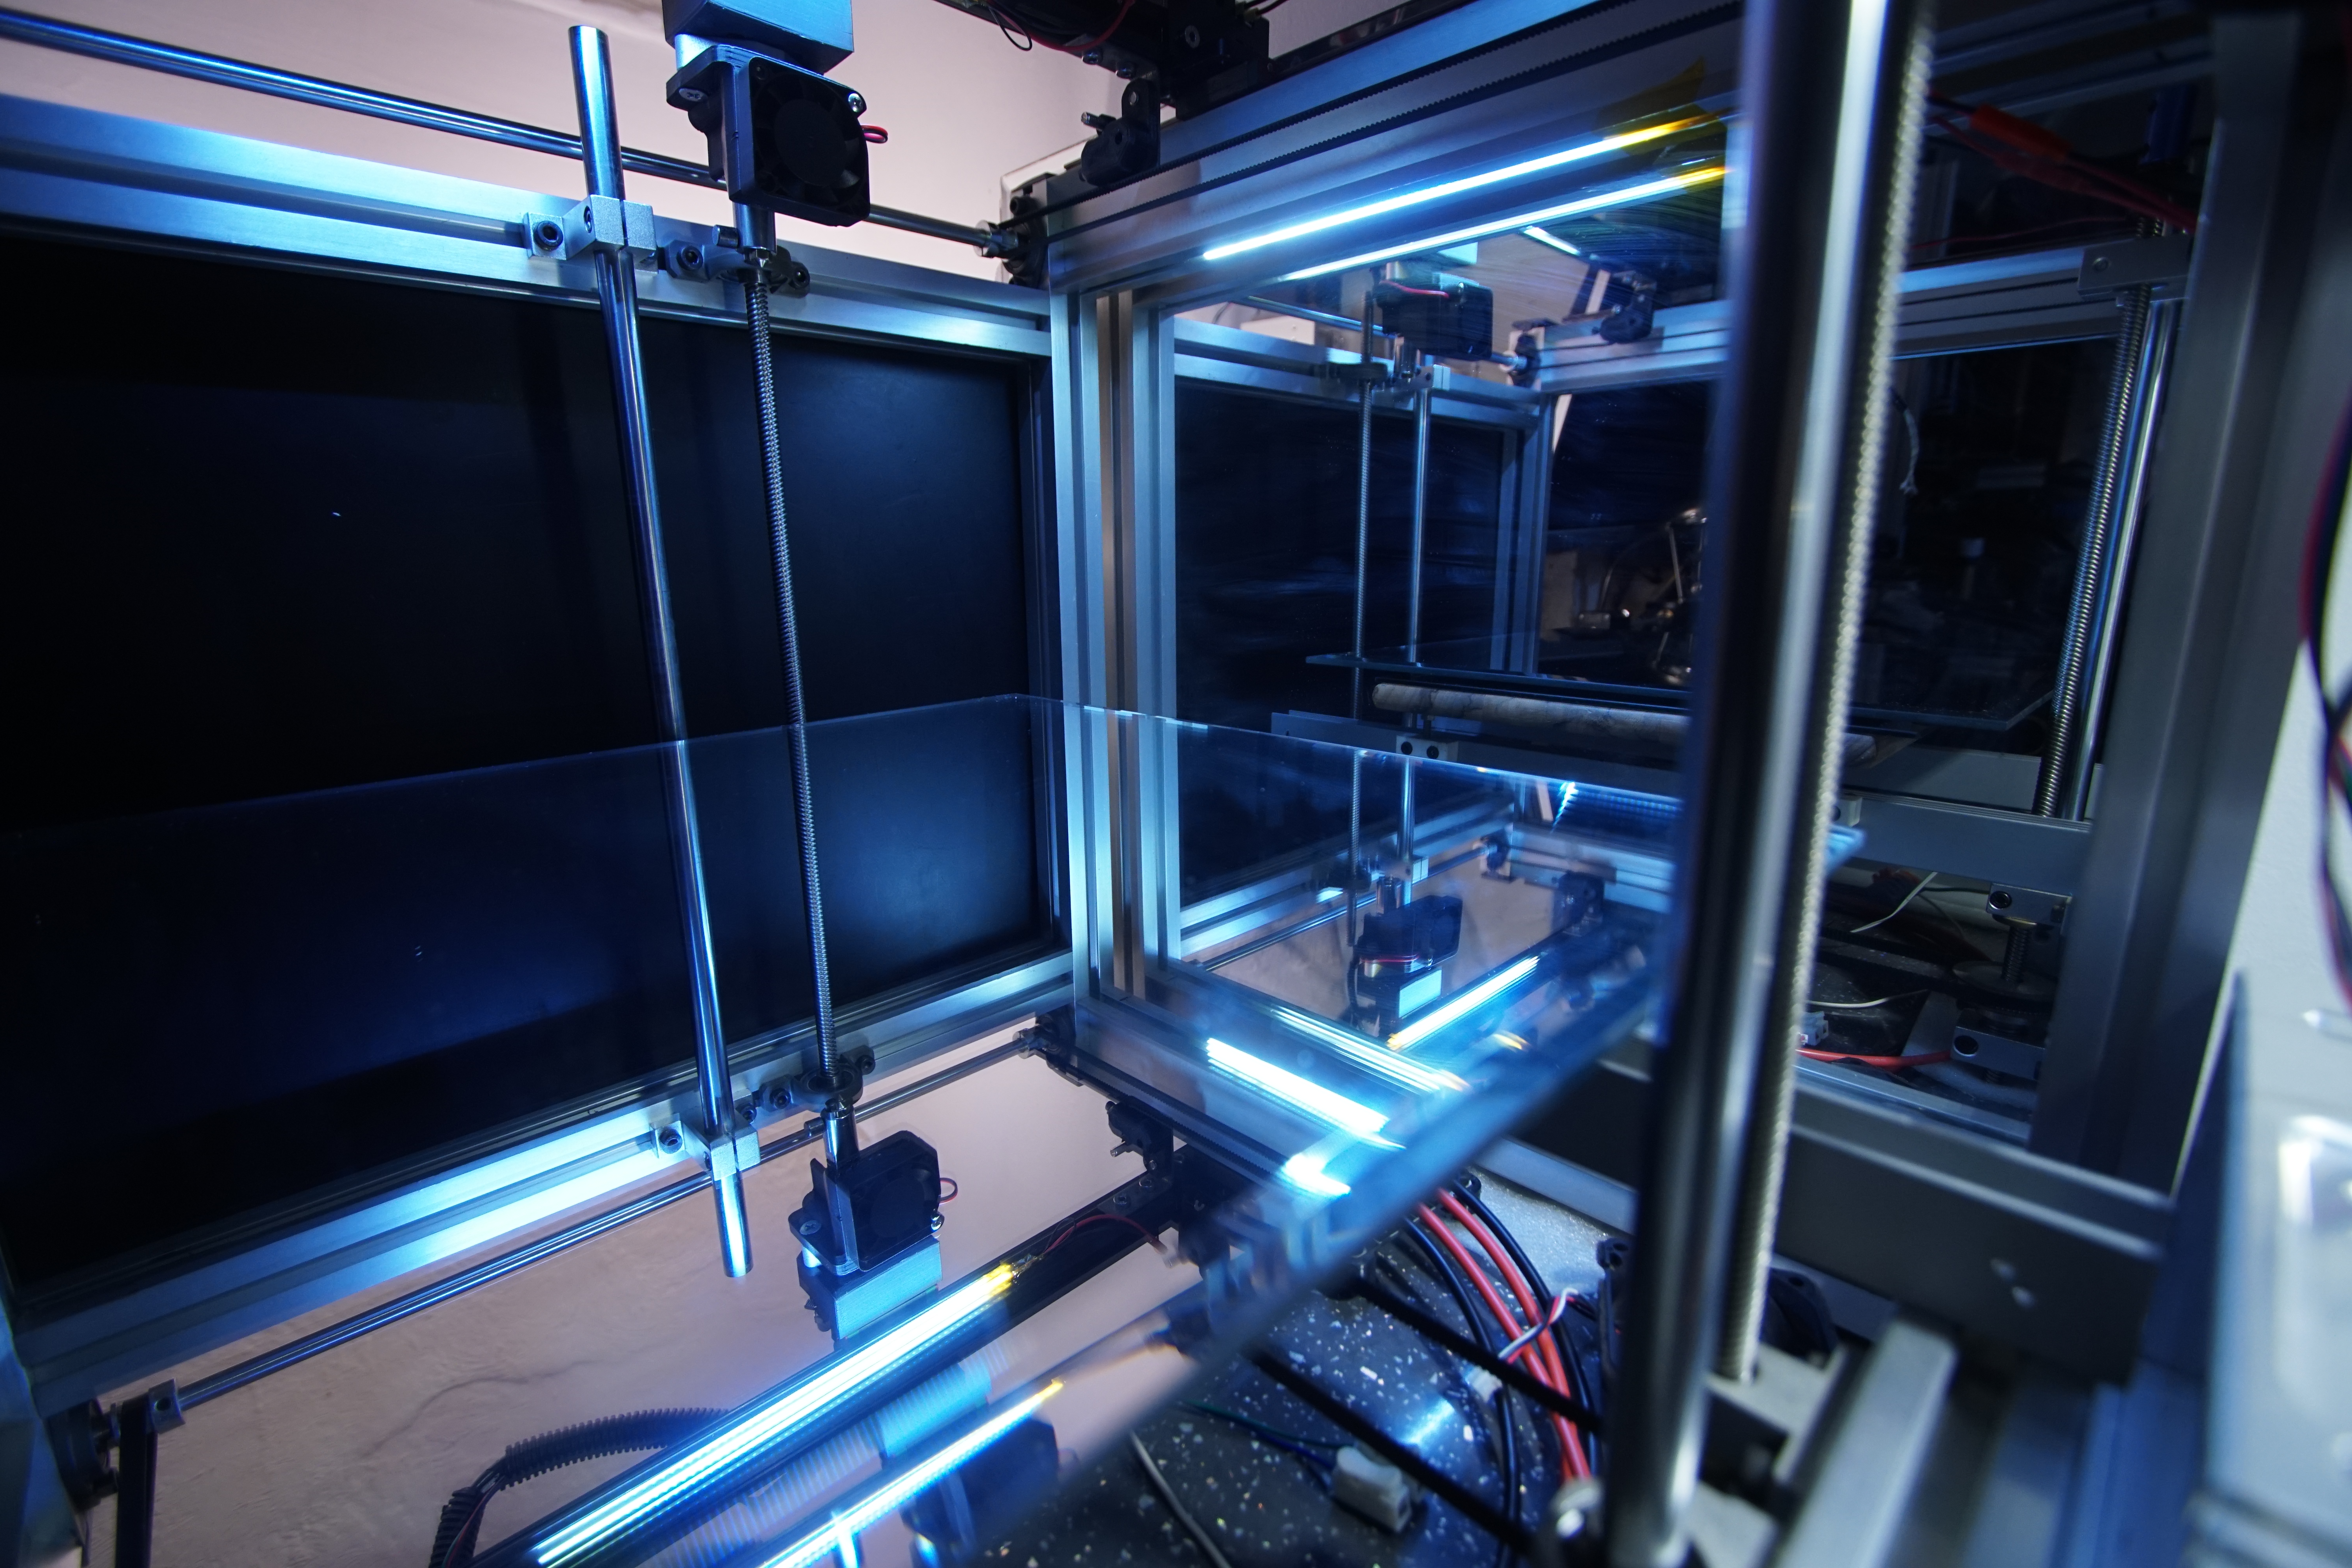
Pondering Phase...Printer almost complete, I need to print a part cooler but don't want to print just one part...pondering for days, when I decided on a 90x90x20 interface plate to raise & mount the bed at the required height...though that was going to triple the print time...then I chopped it down to 50mm wide...before realizing I didnt even need to print anything & could do it better with metal parts, which just so happened to be 20mm high as needed. So far there's 10 or 11 plastic parts, I could have made it just six, or 4 & 2 sheet metal parts, it pay's to ponder longer.

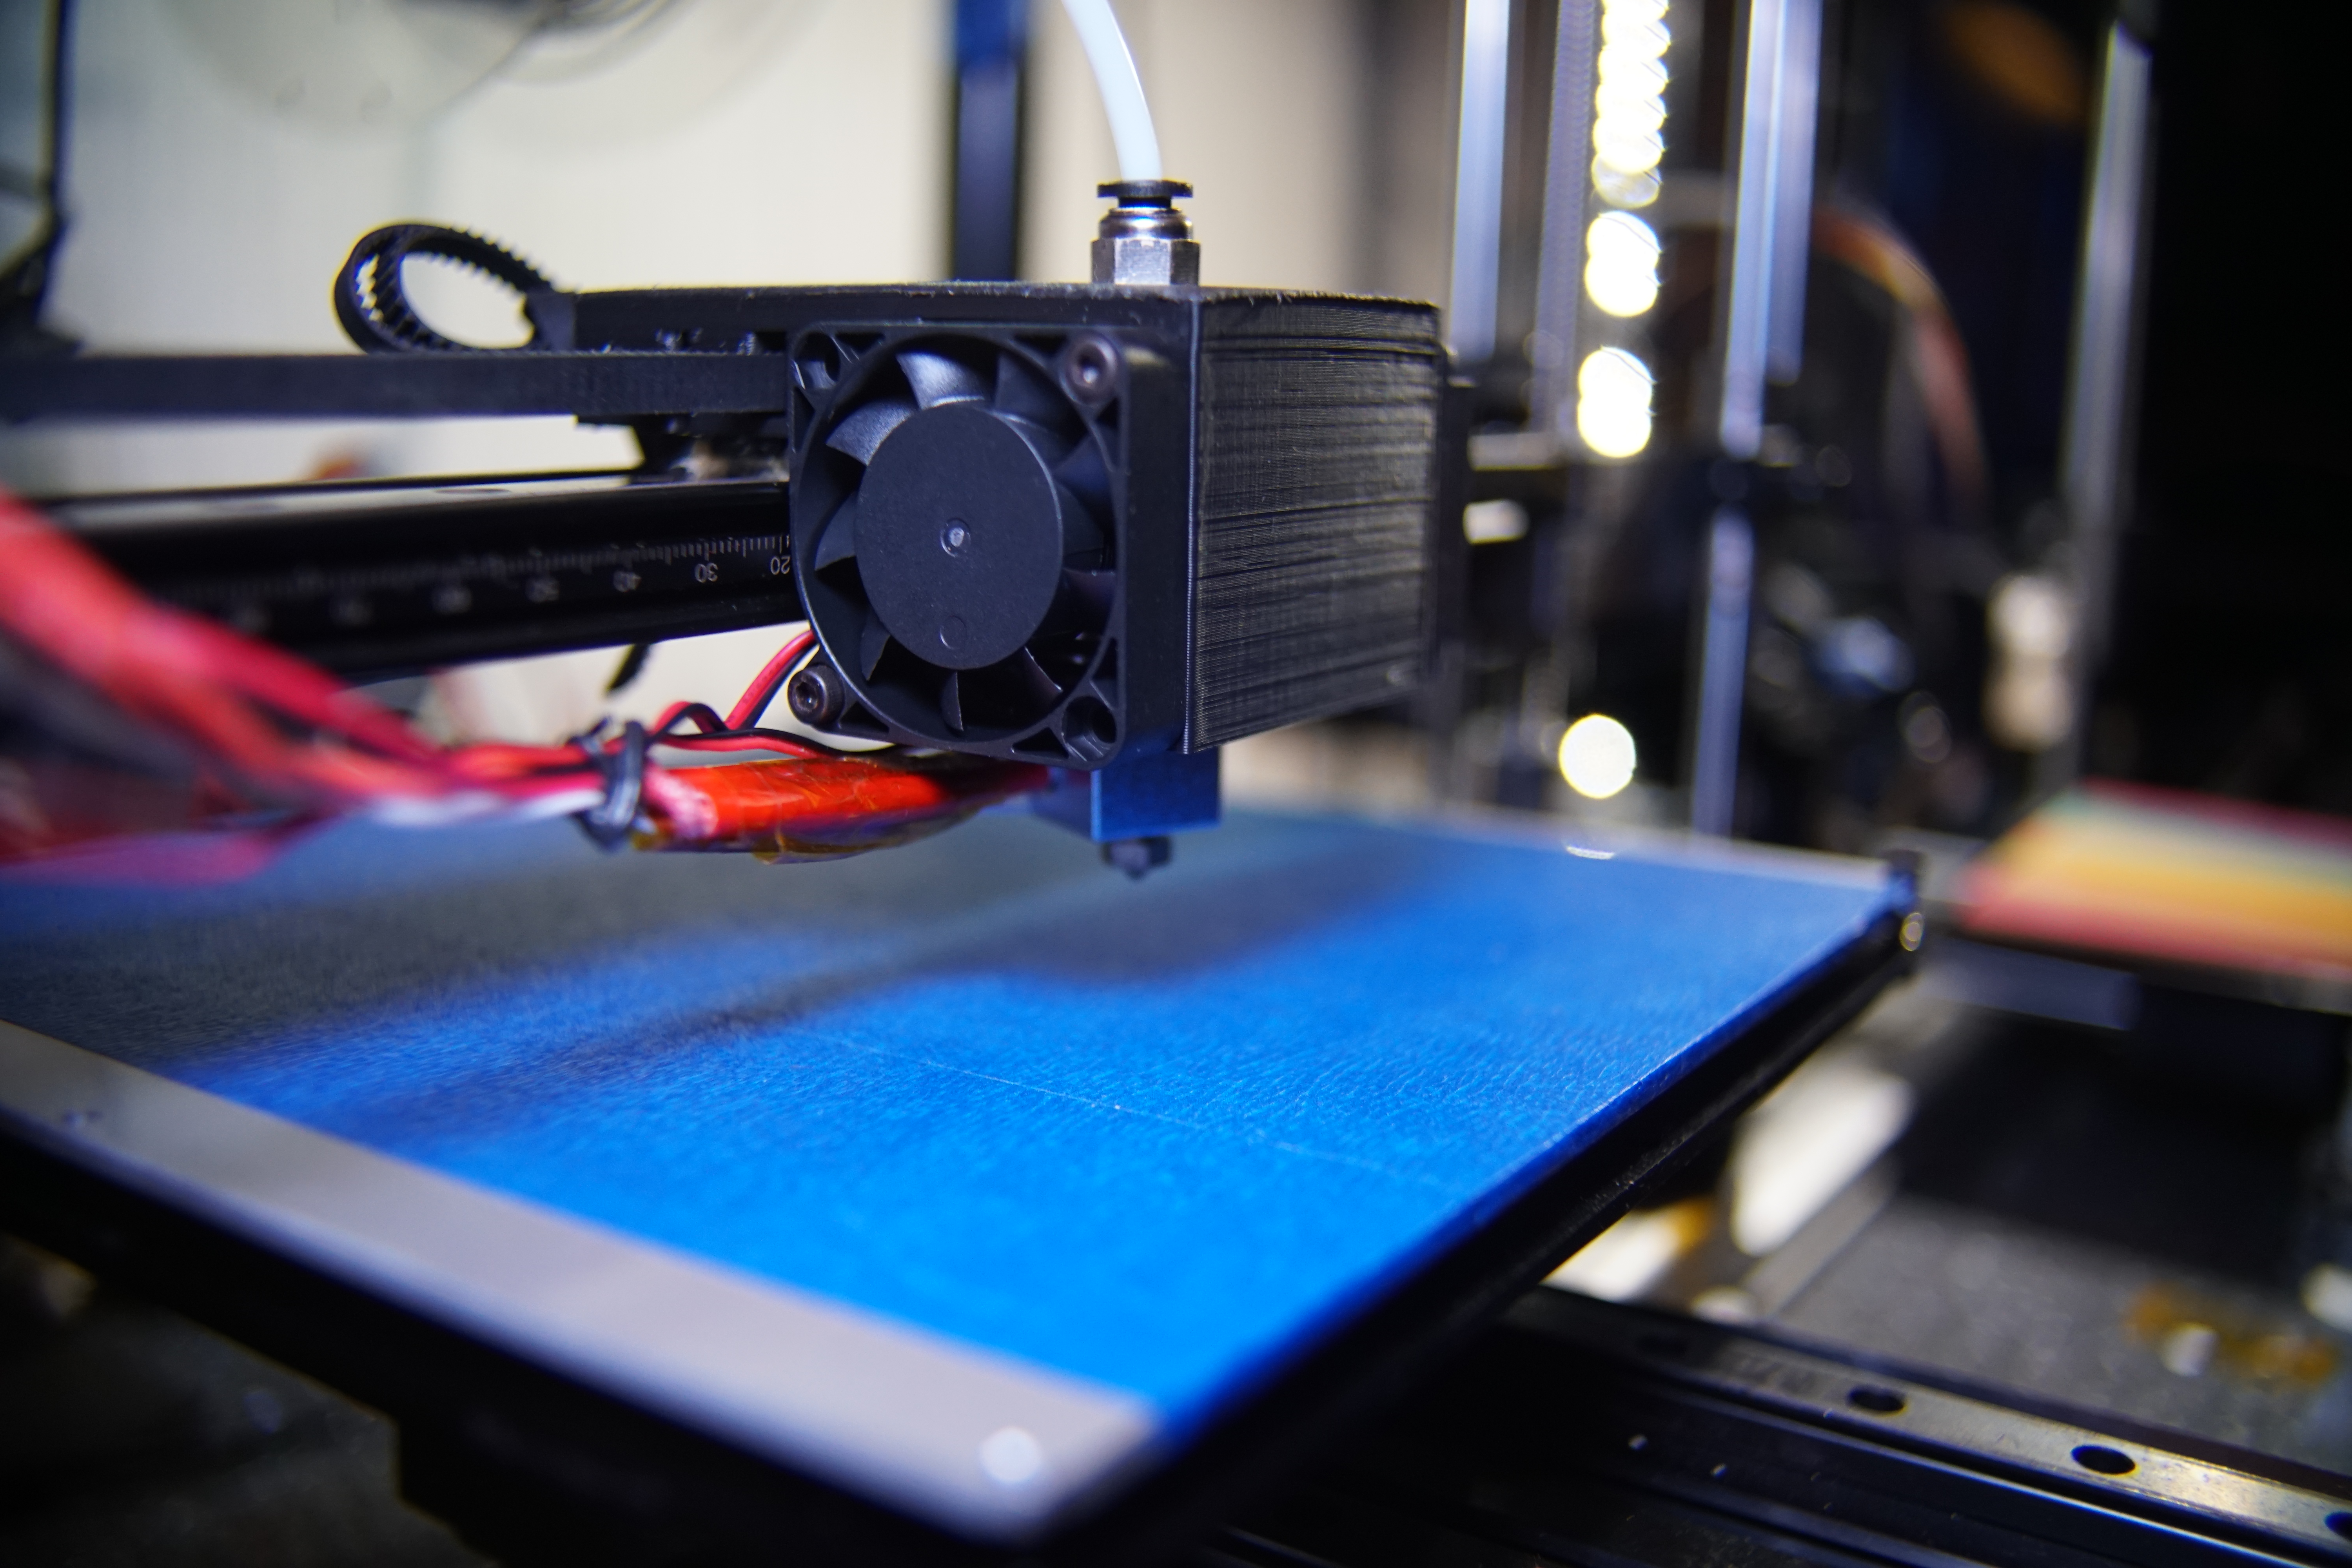
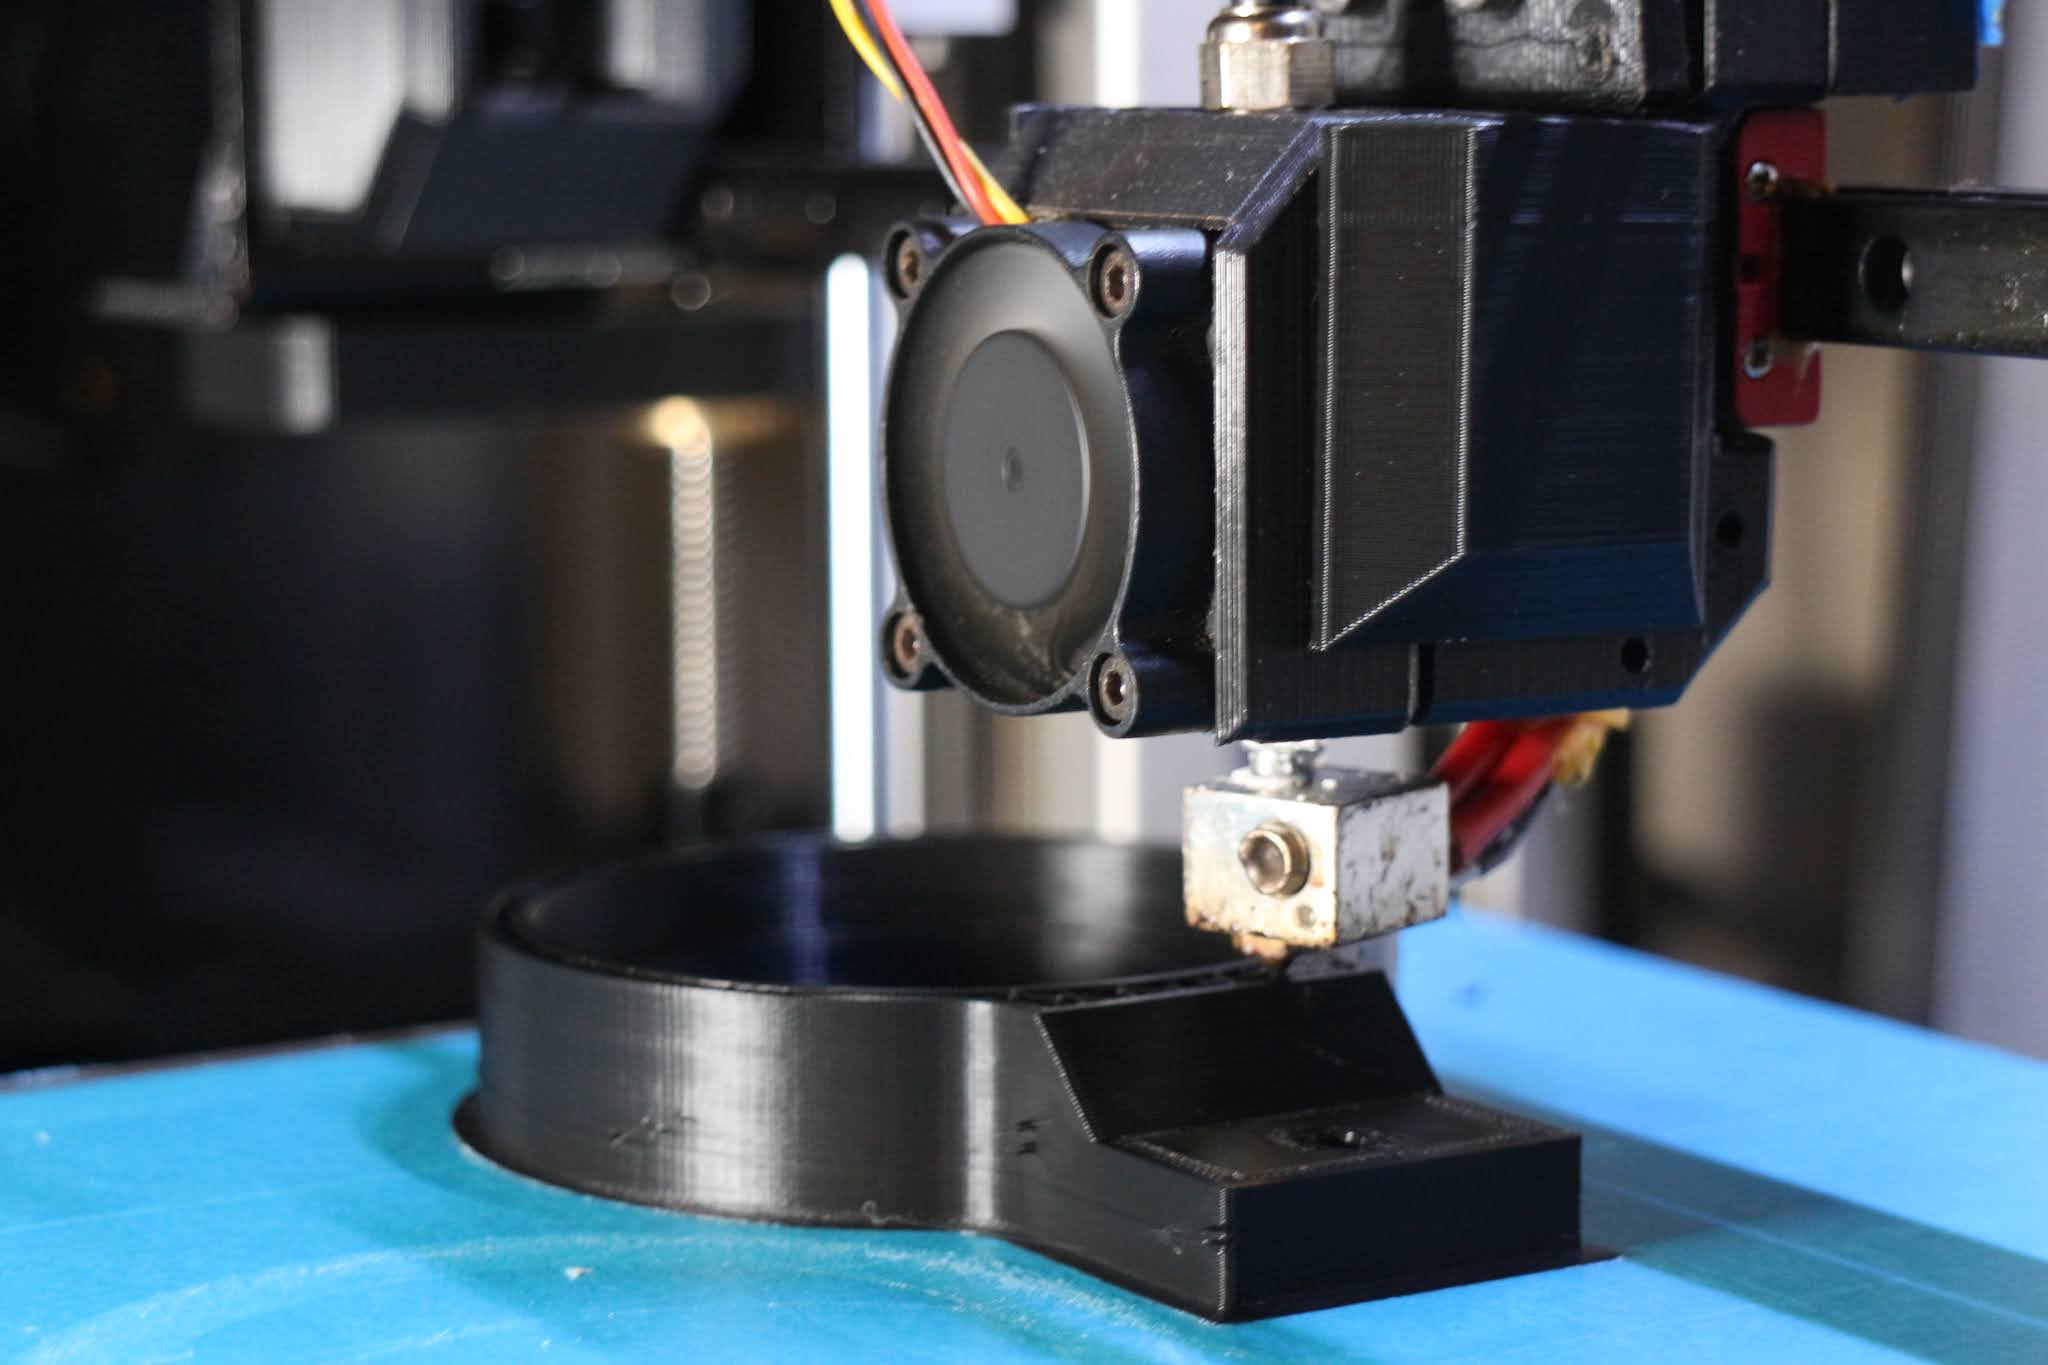
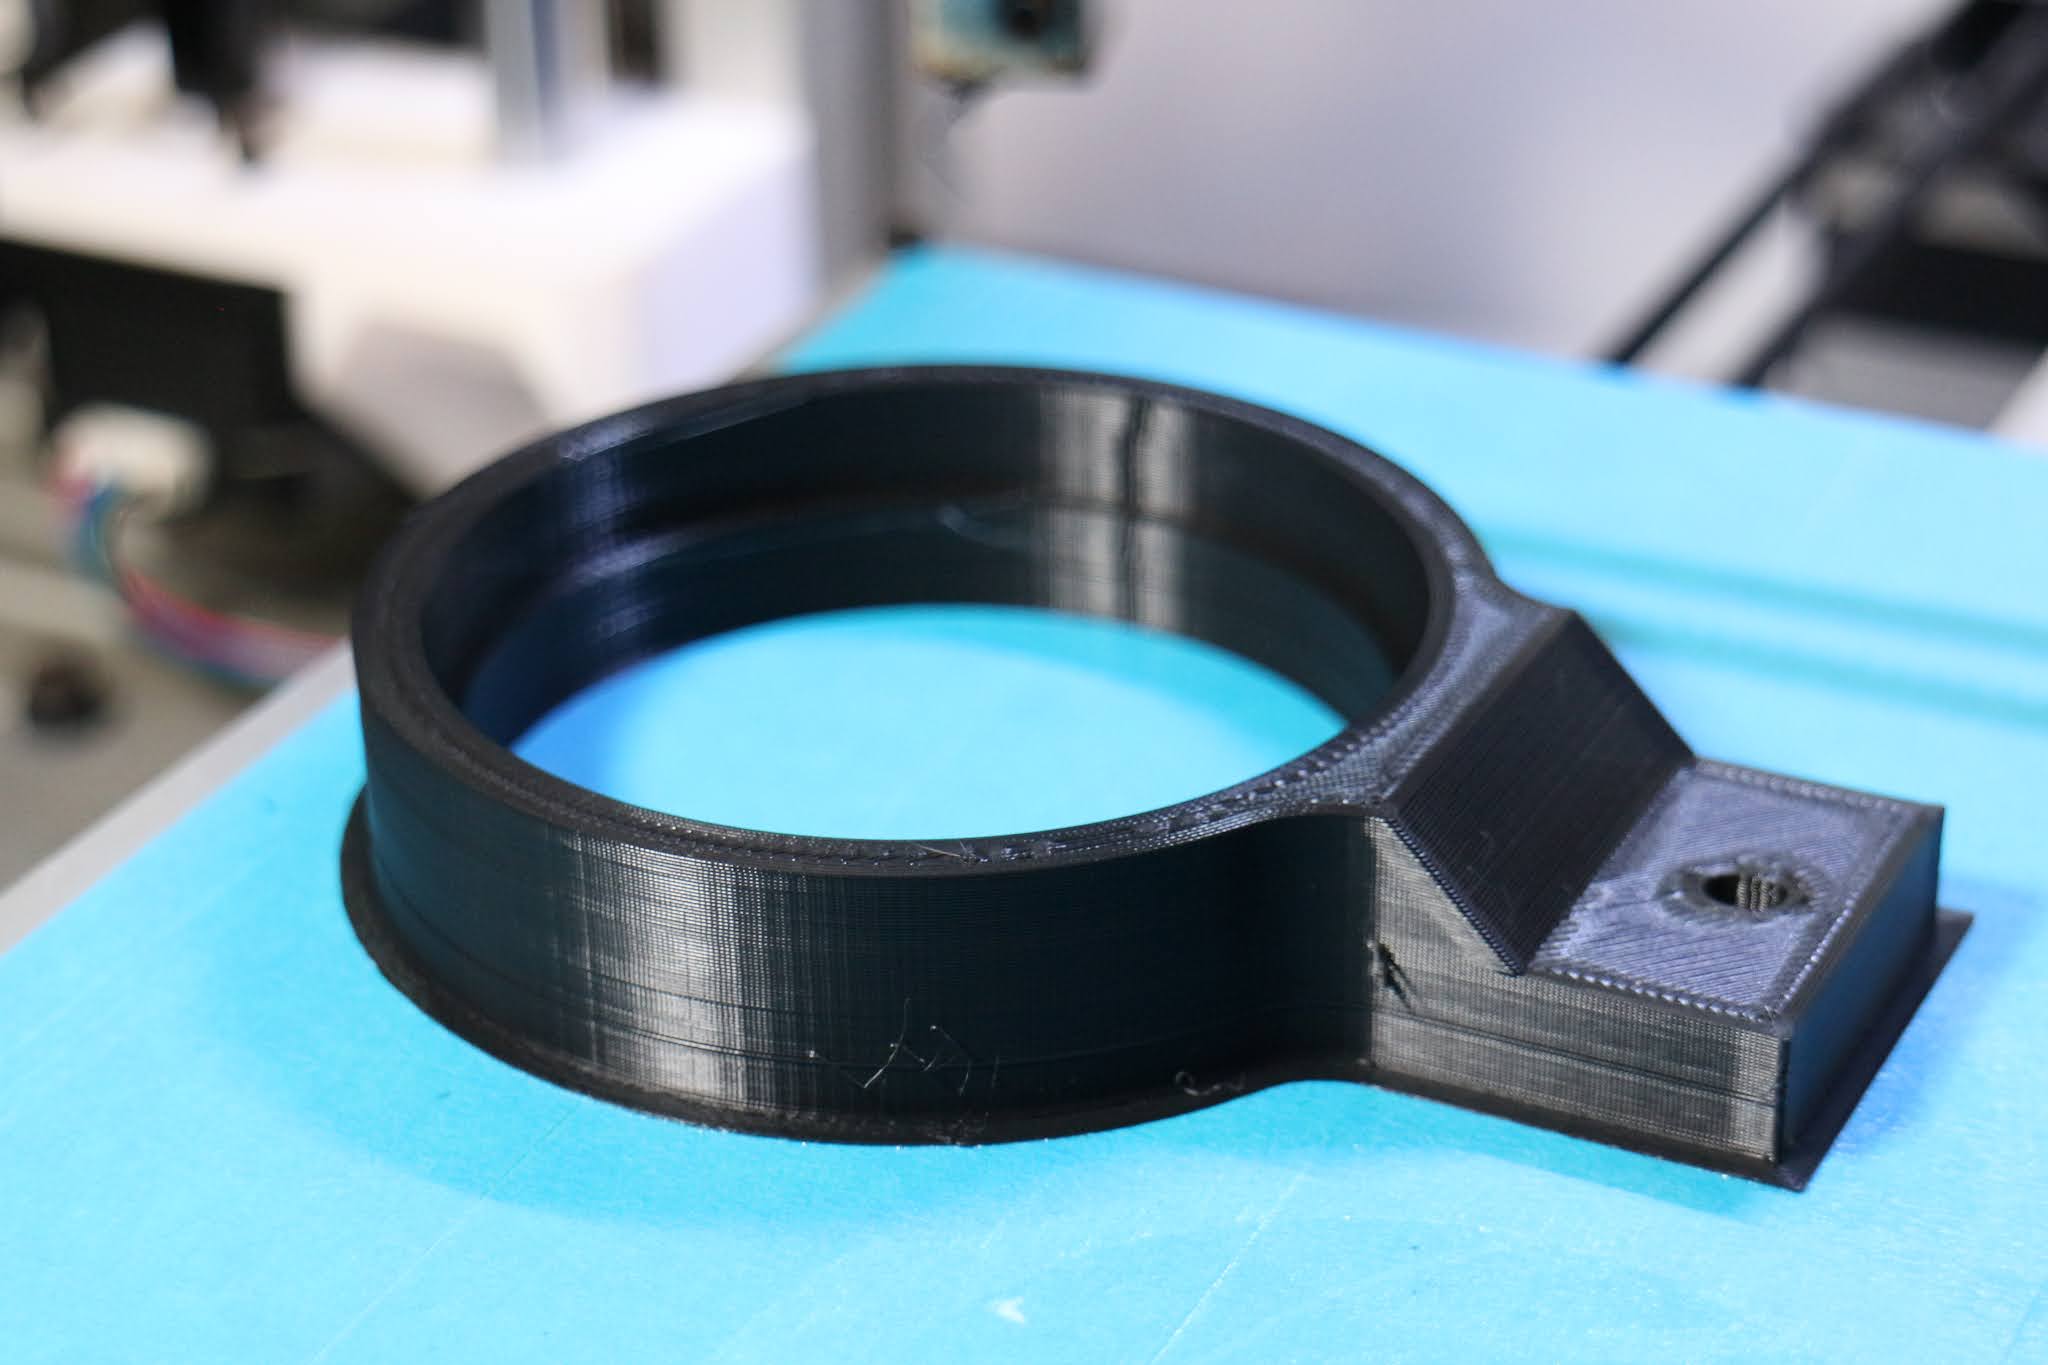
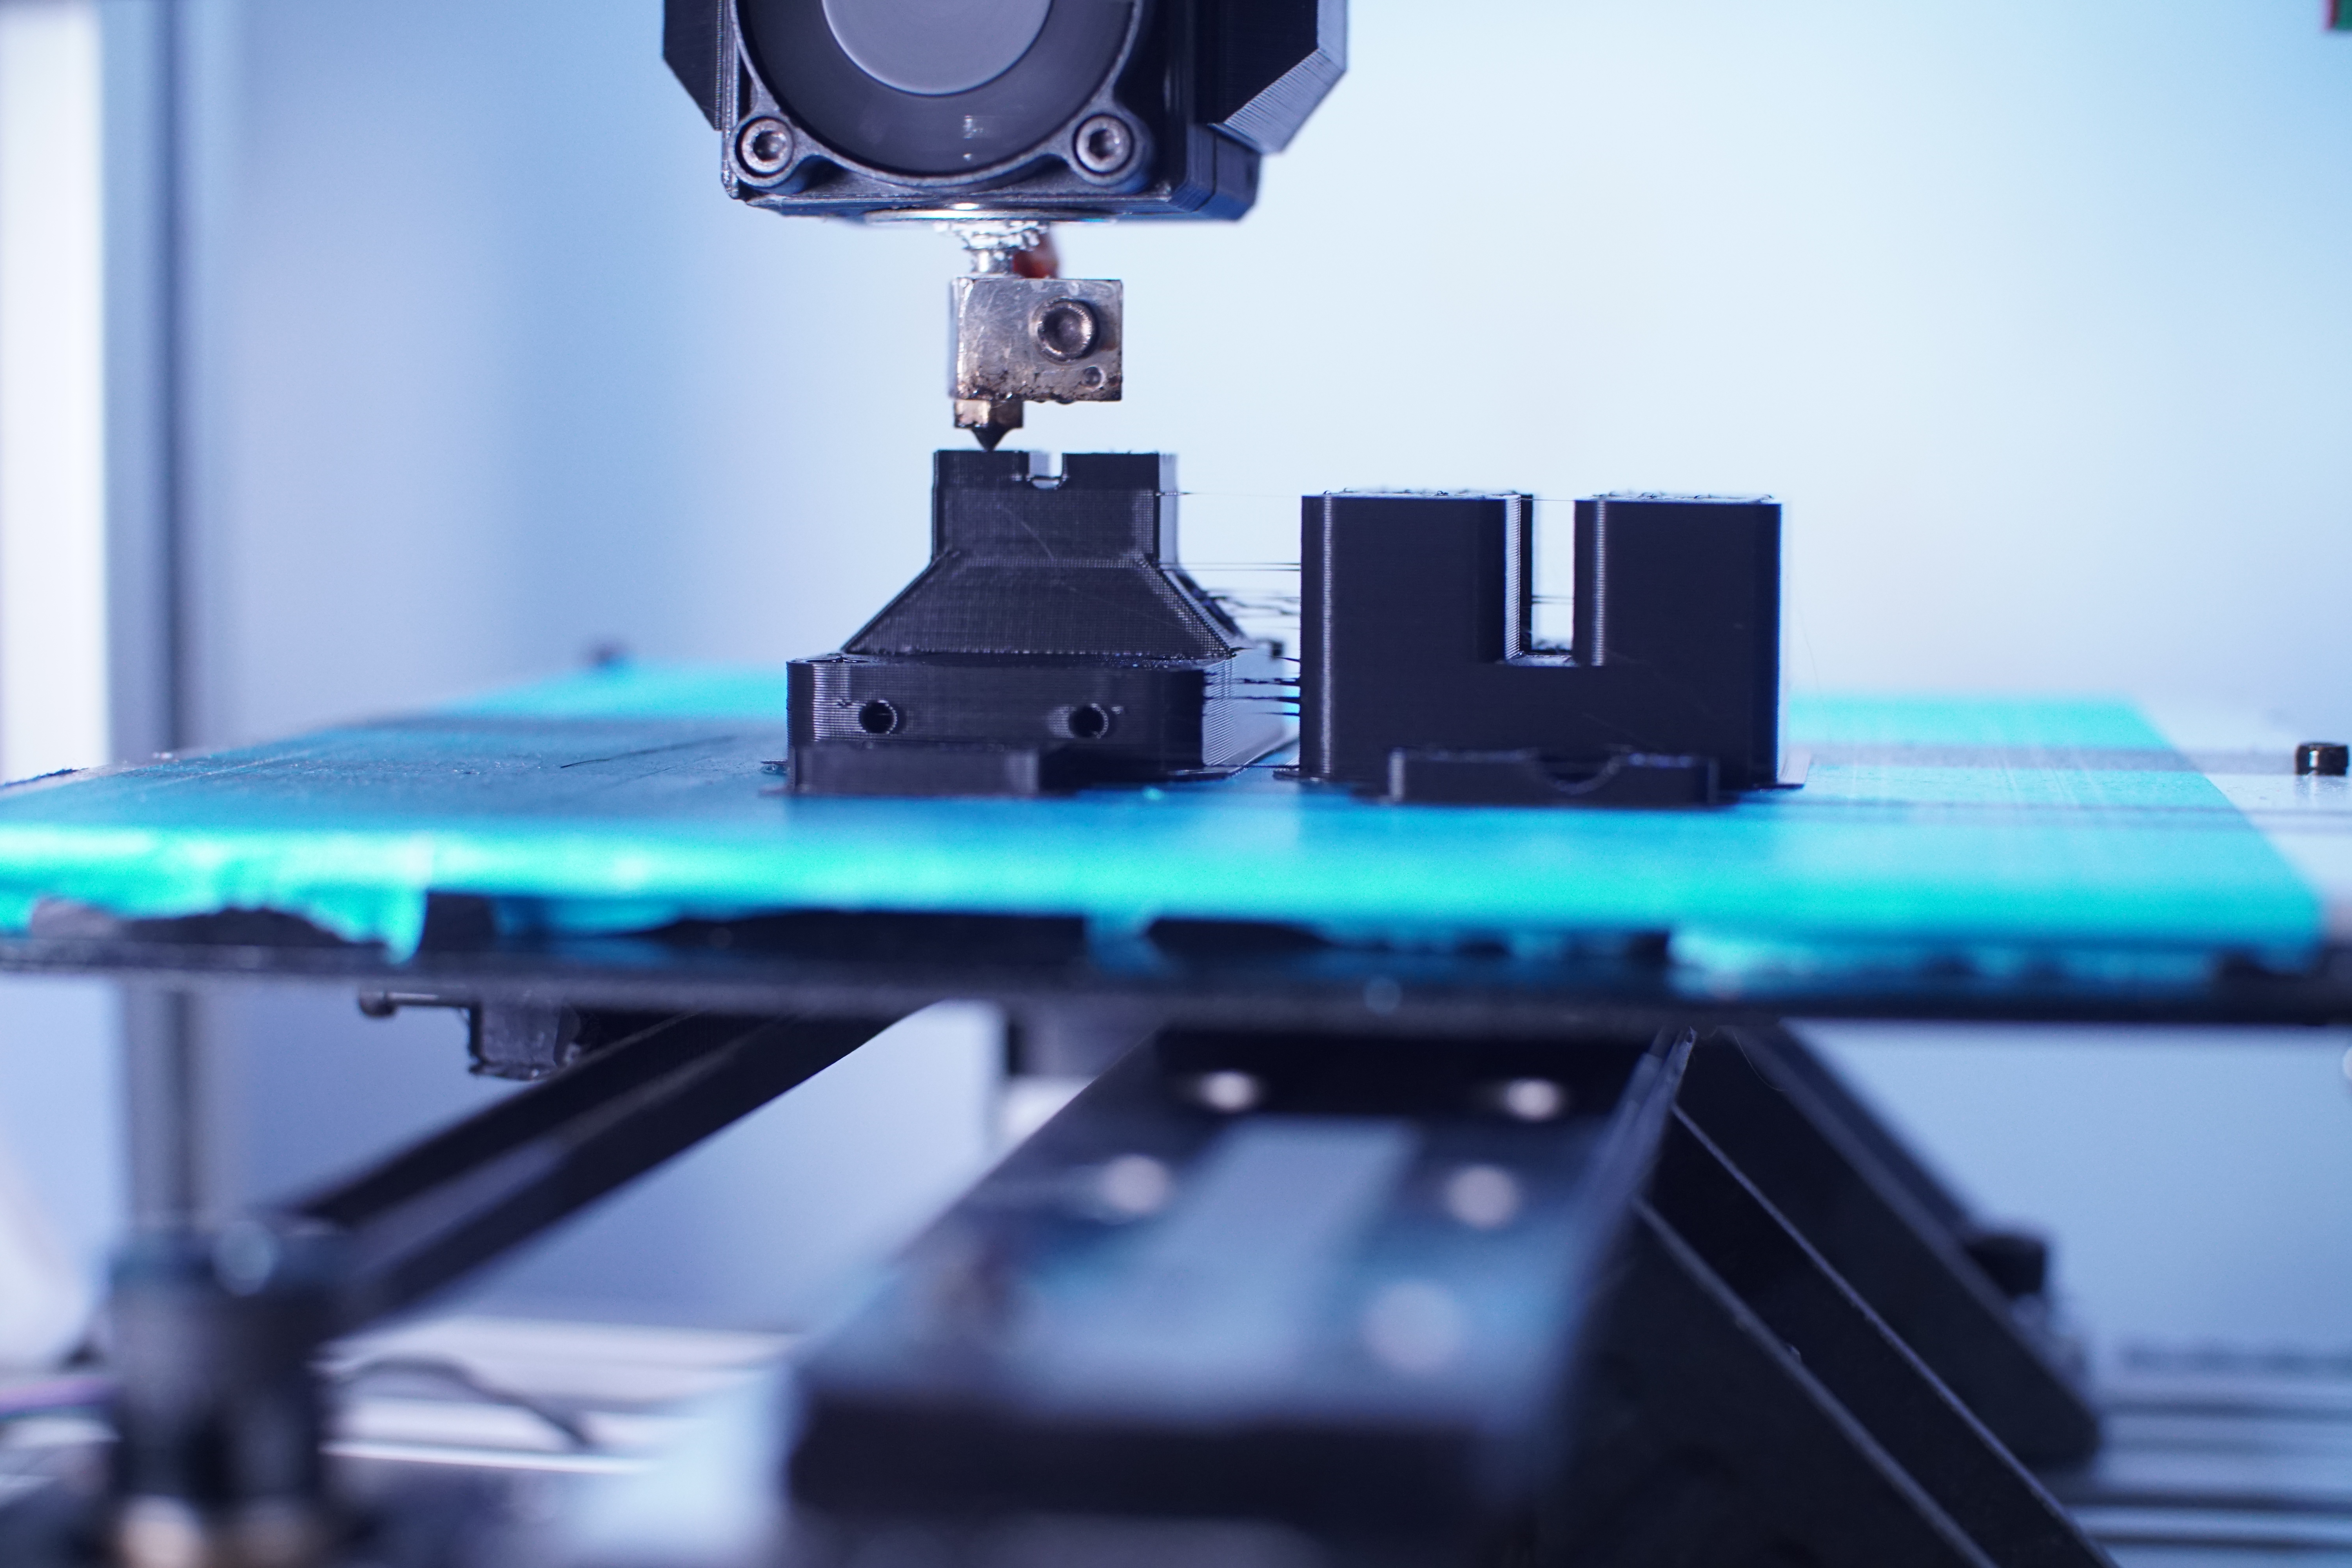
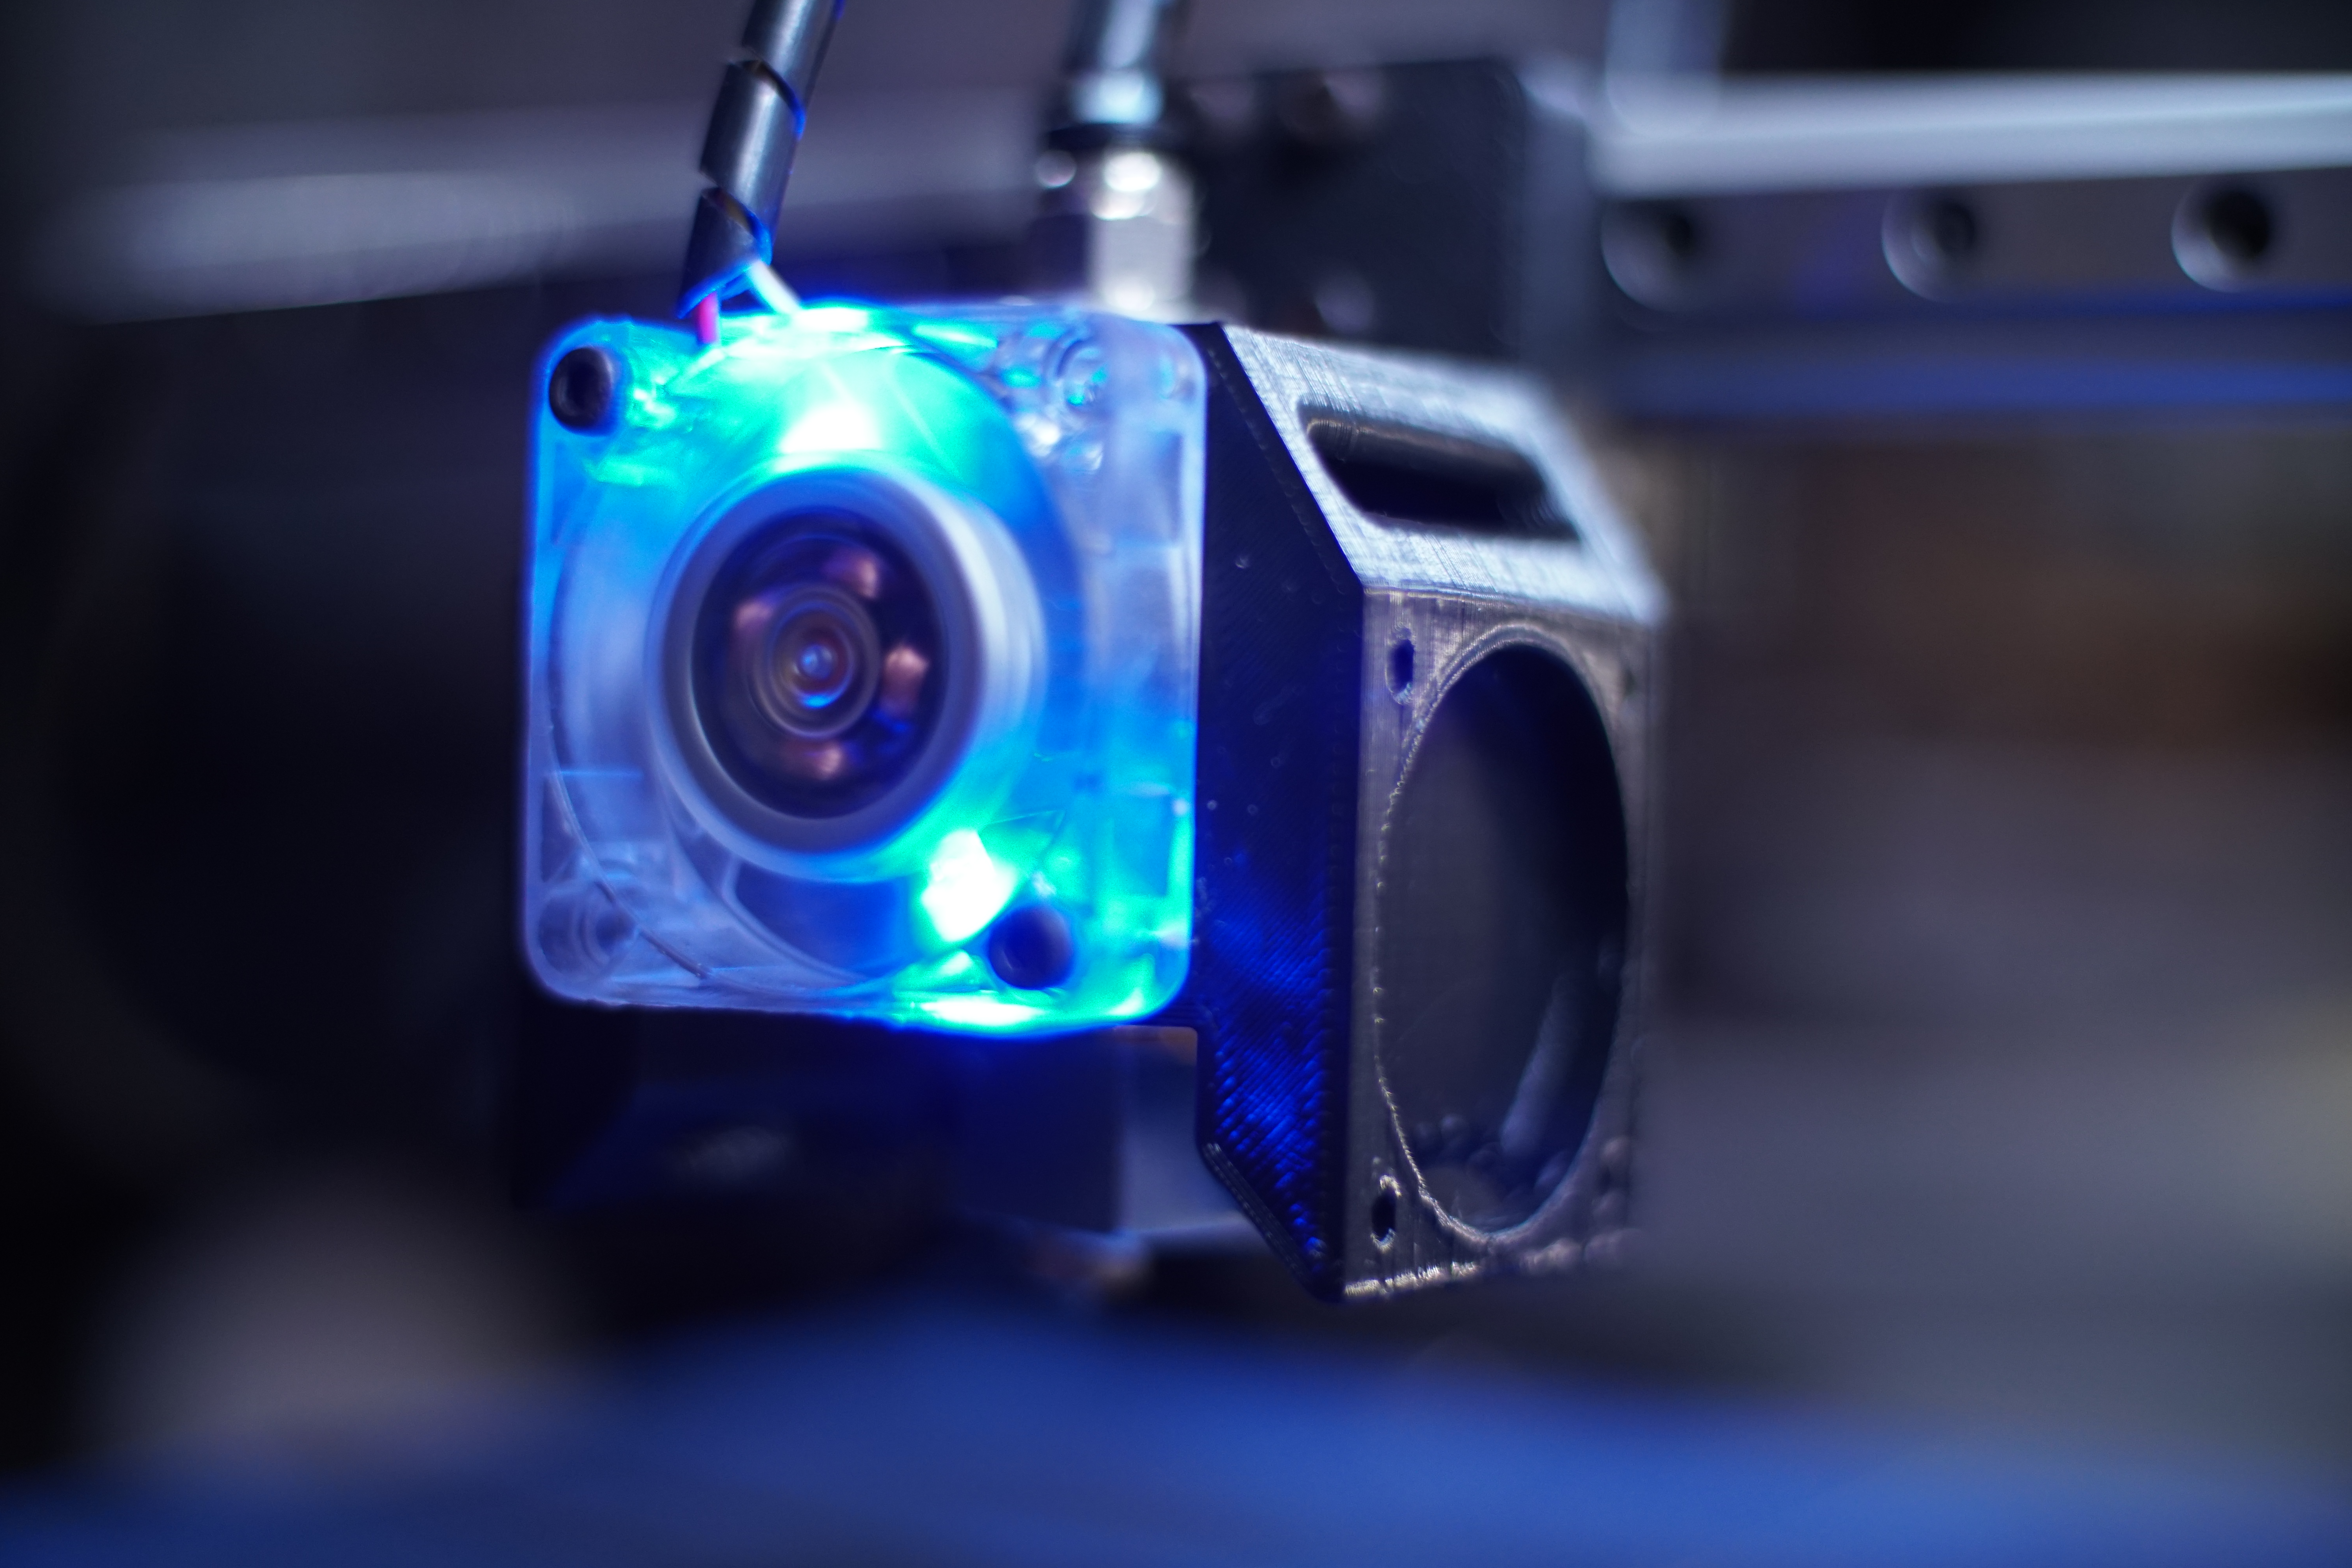
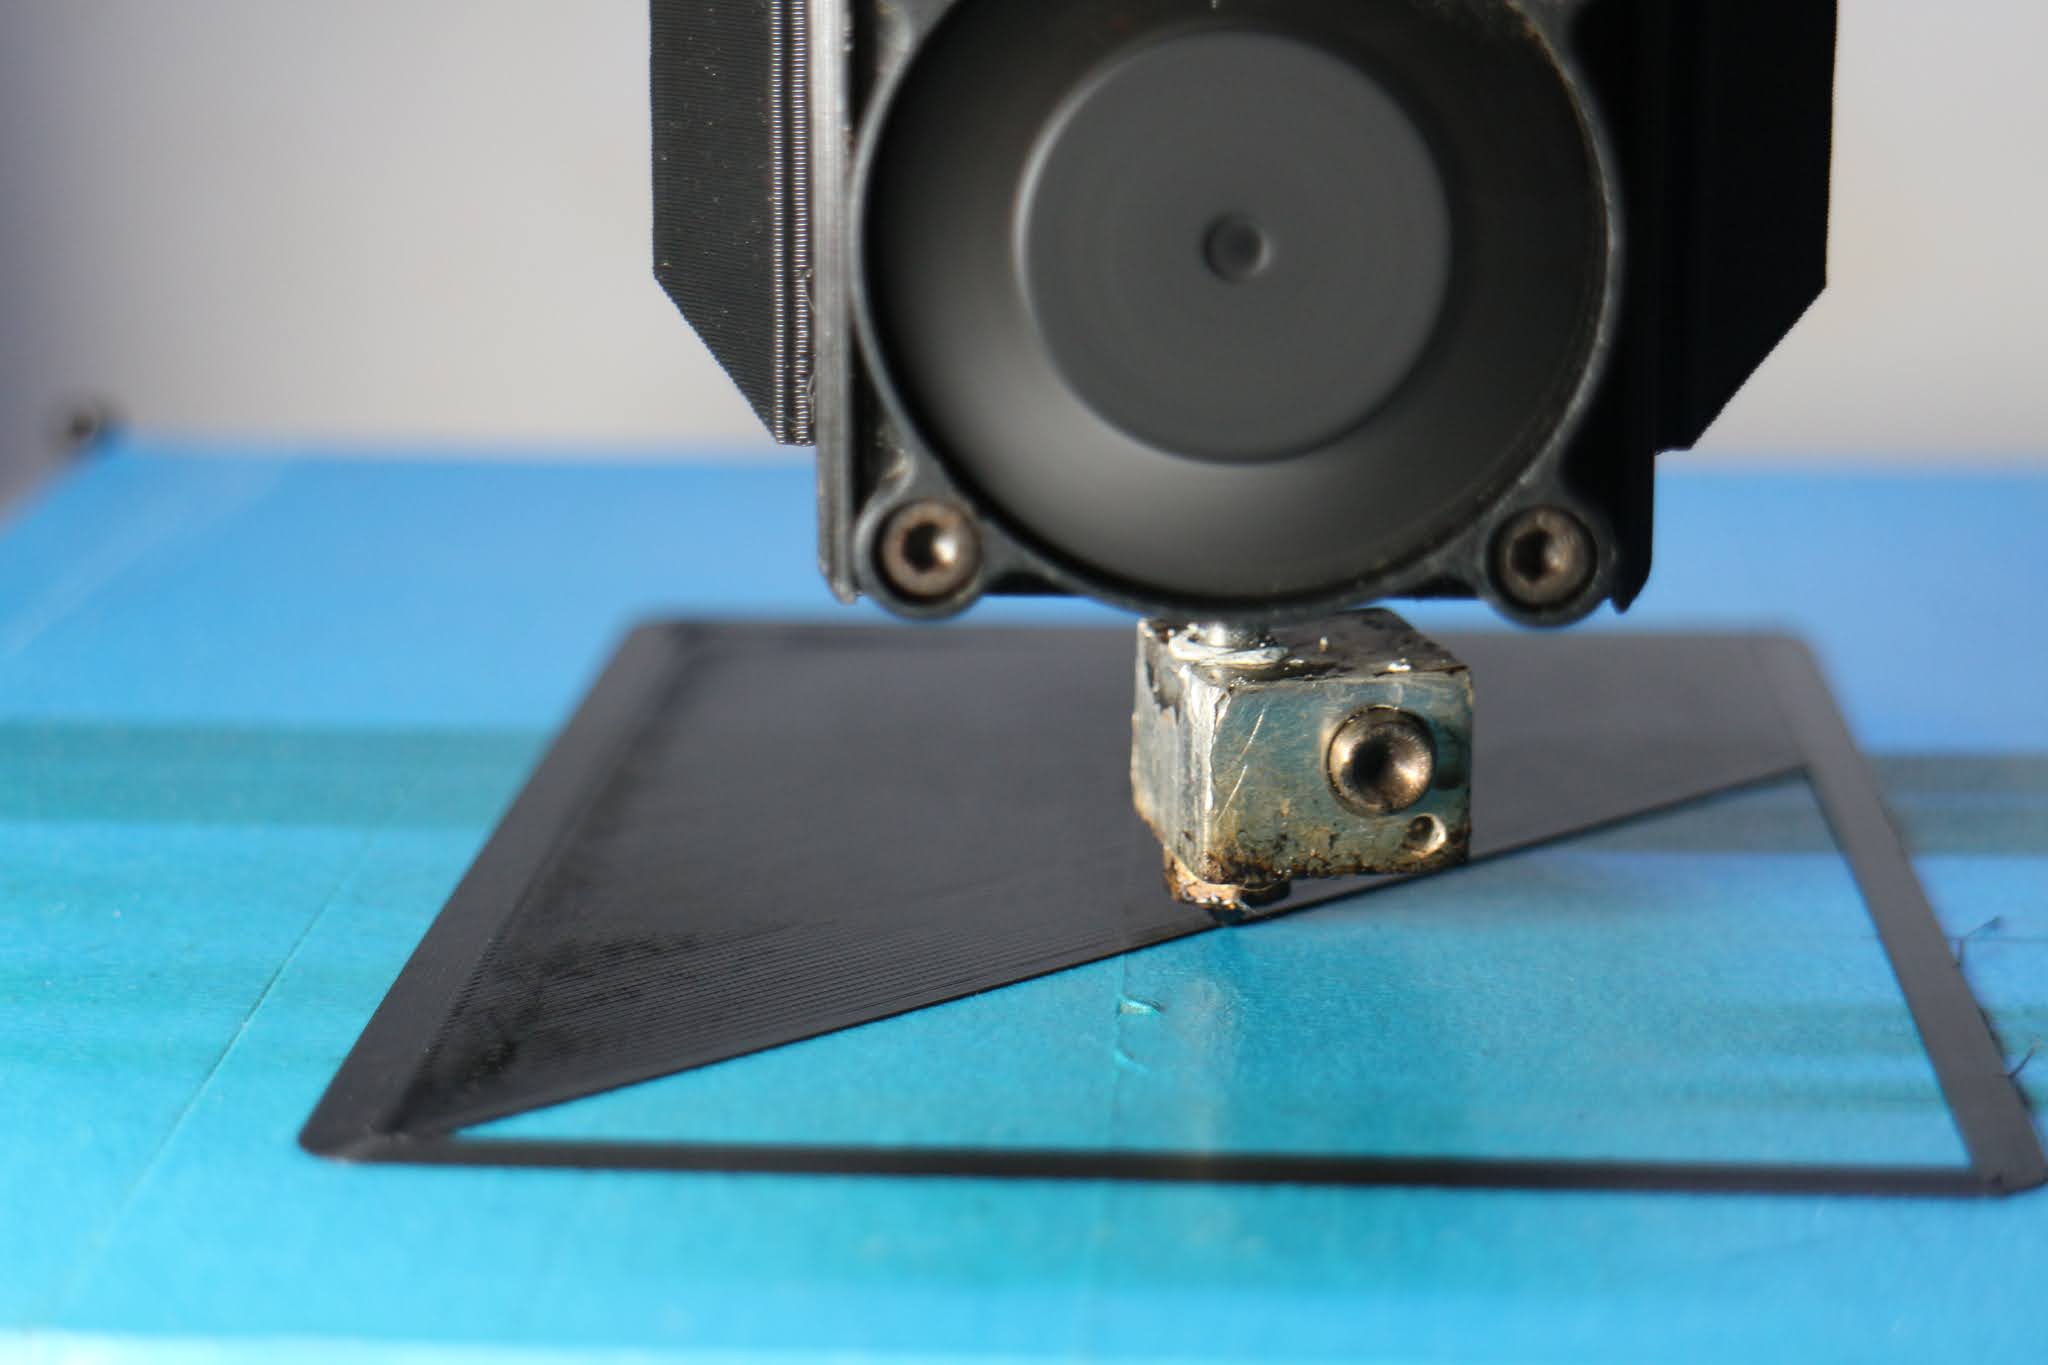
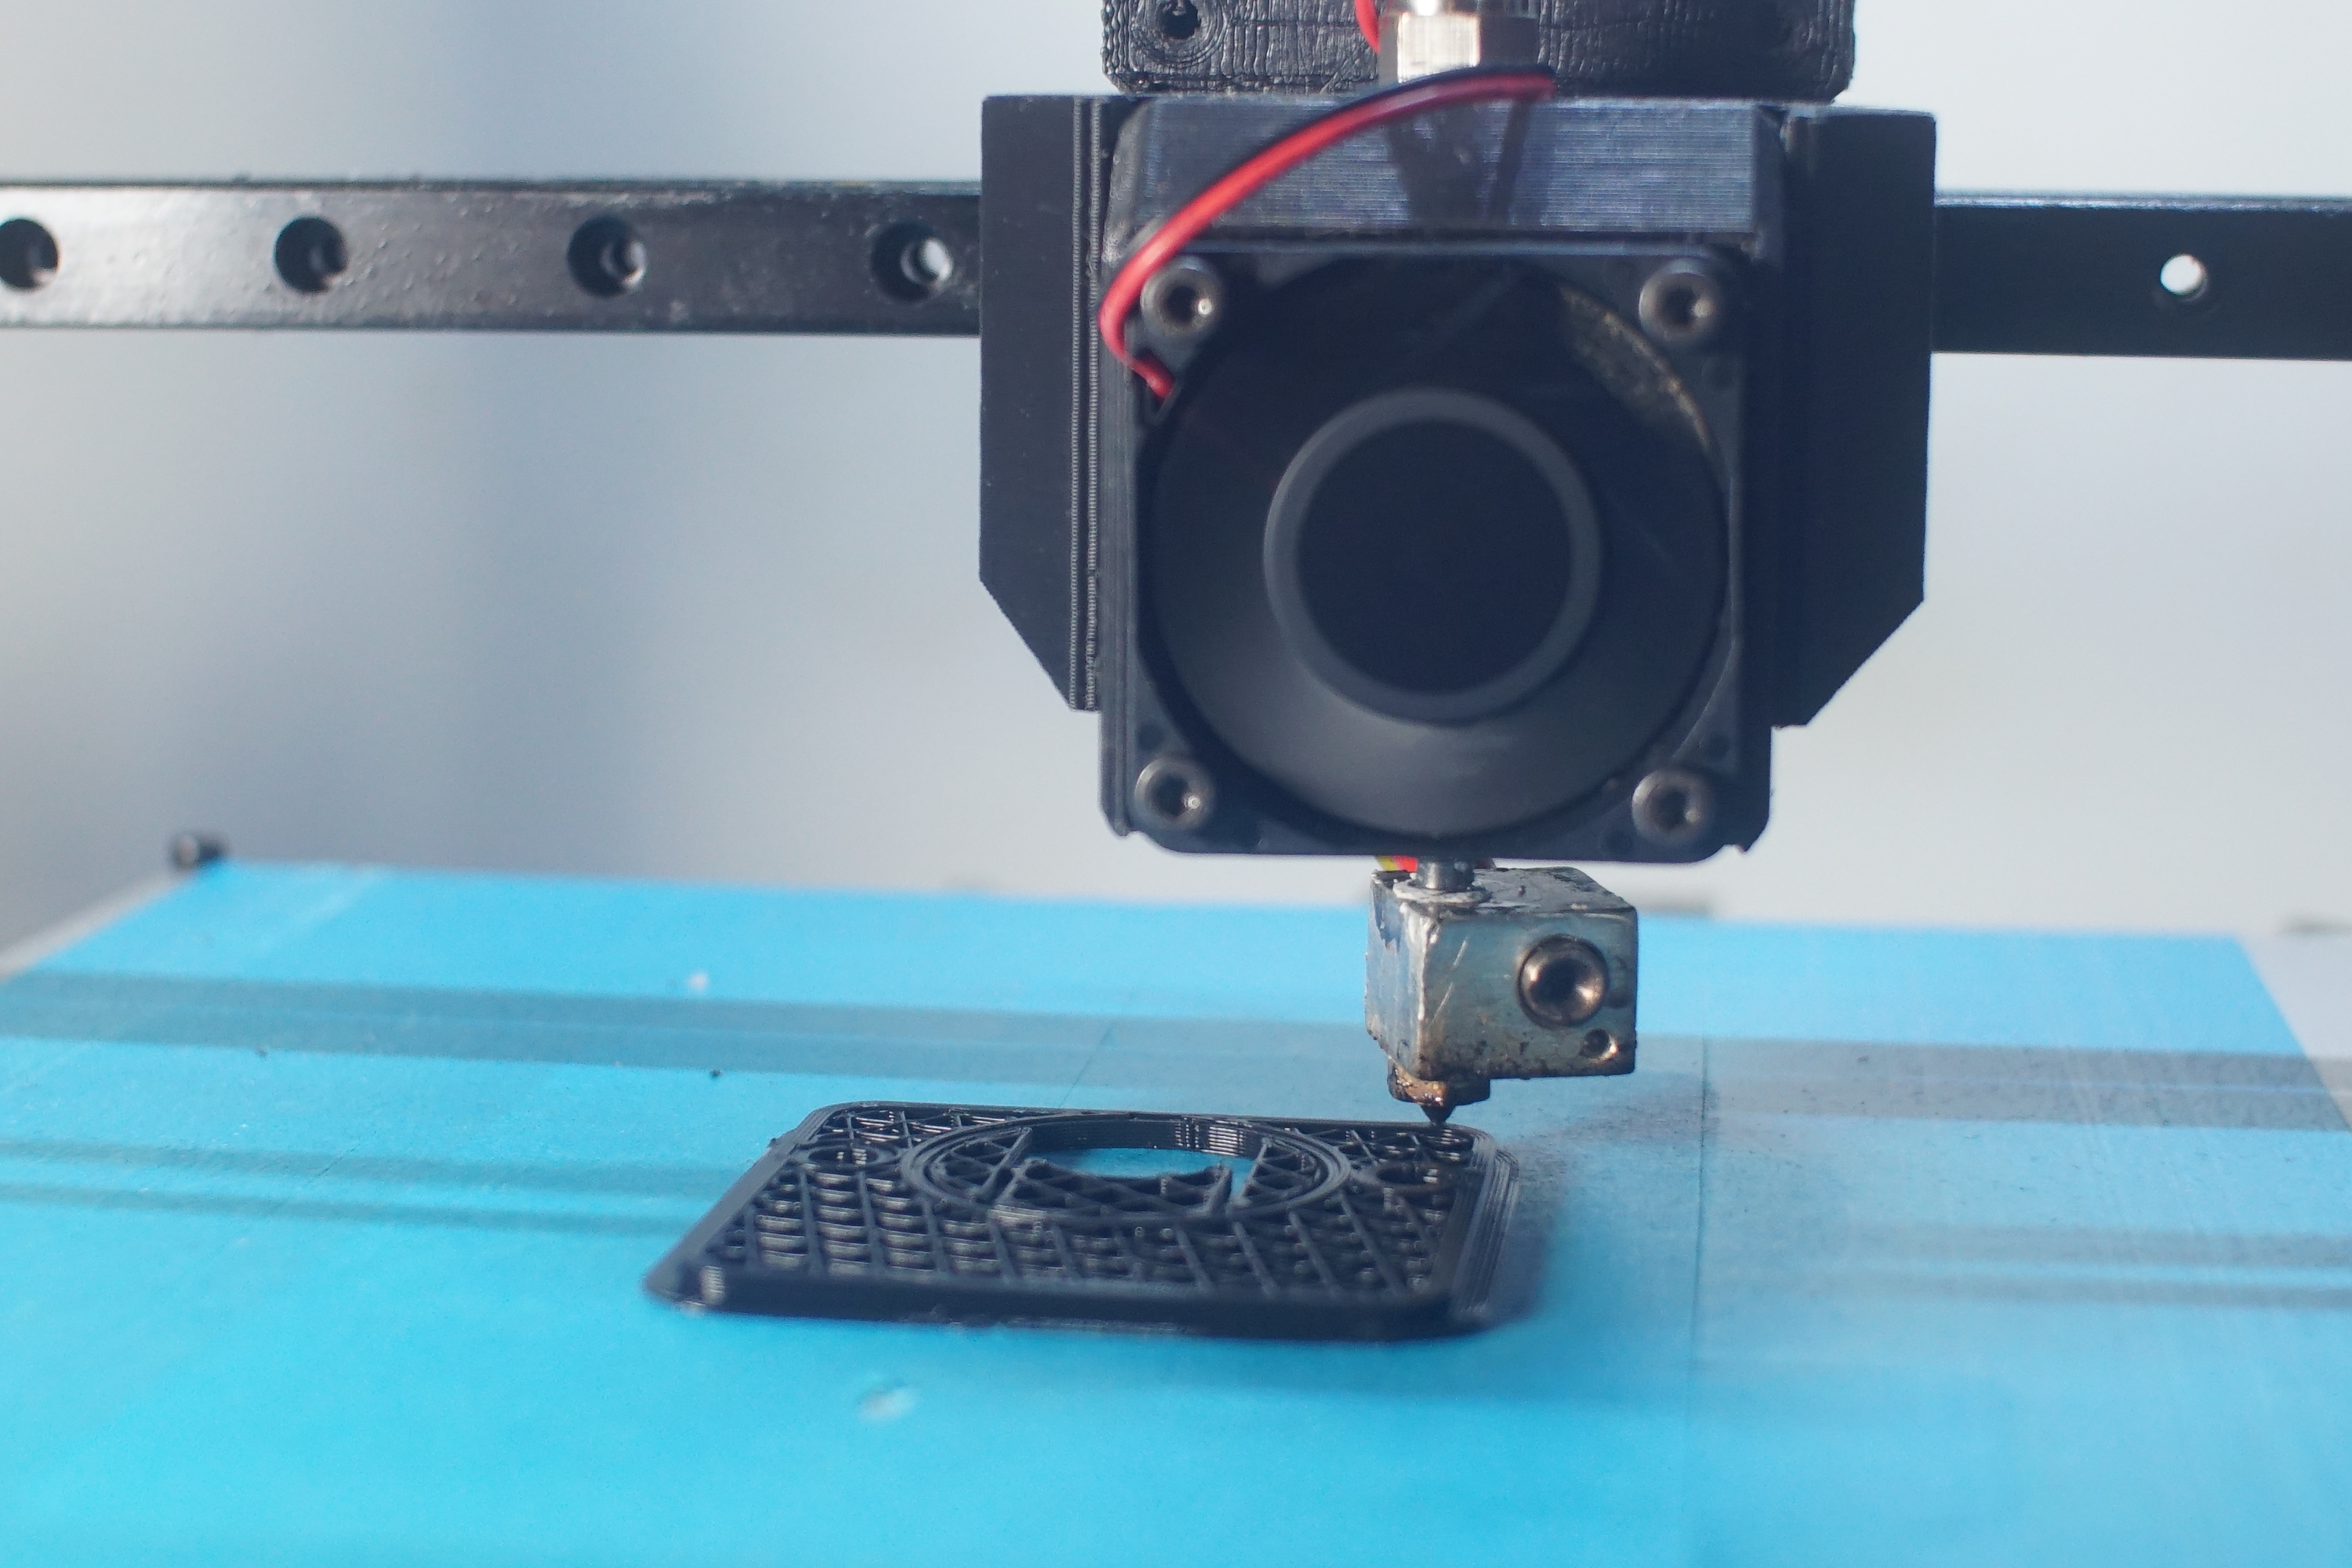
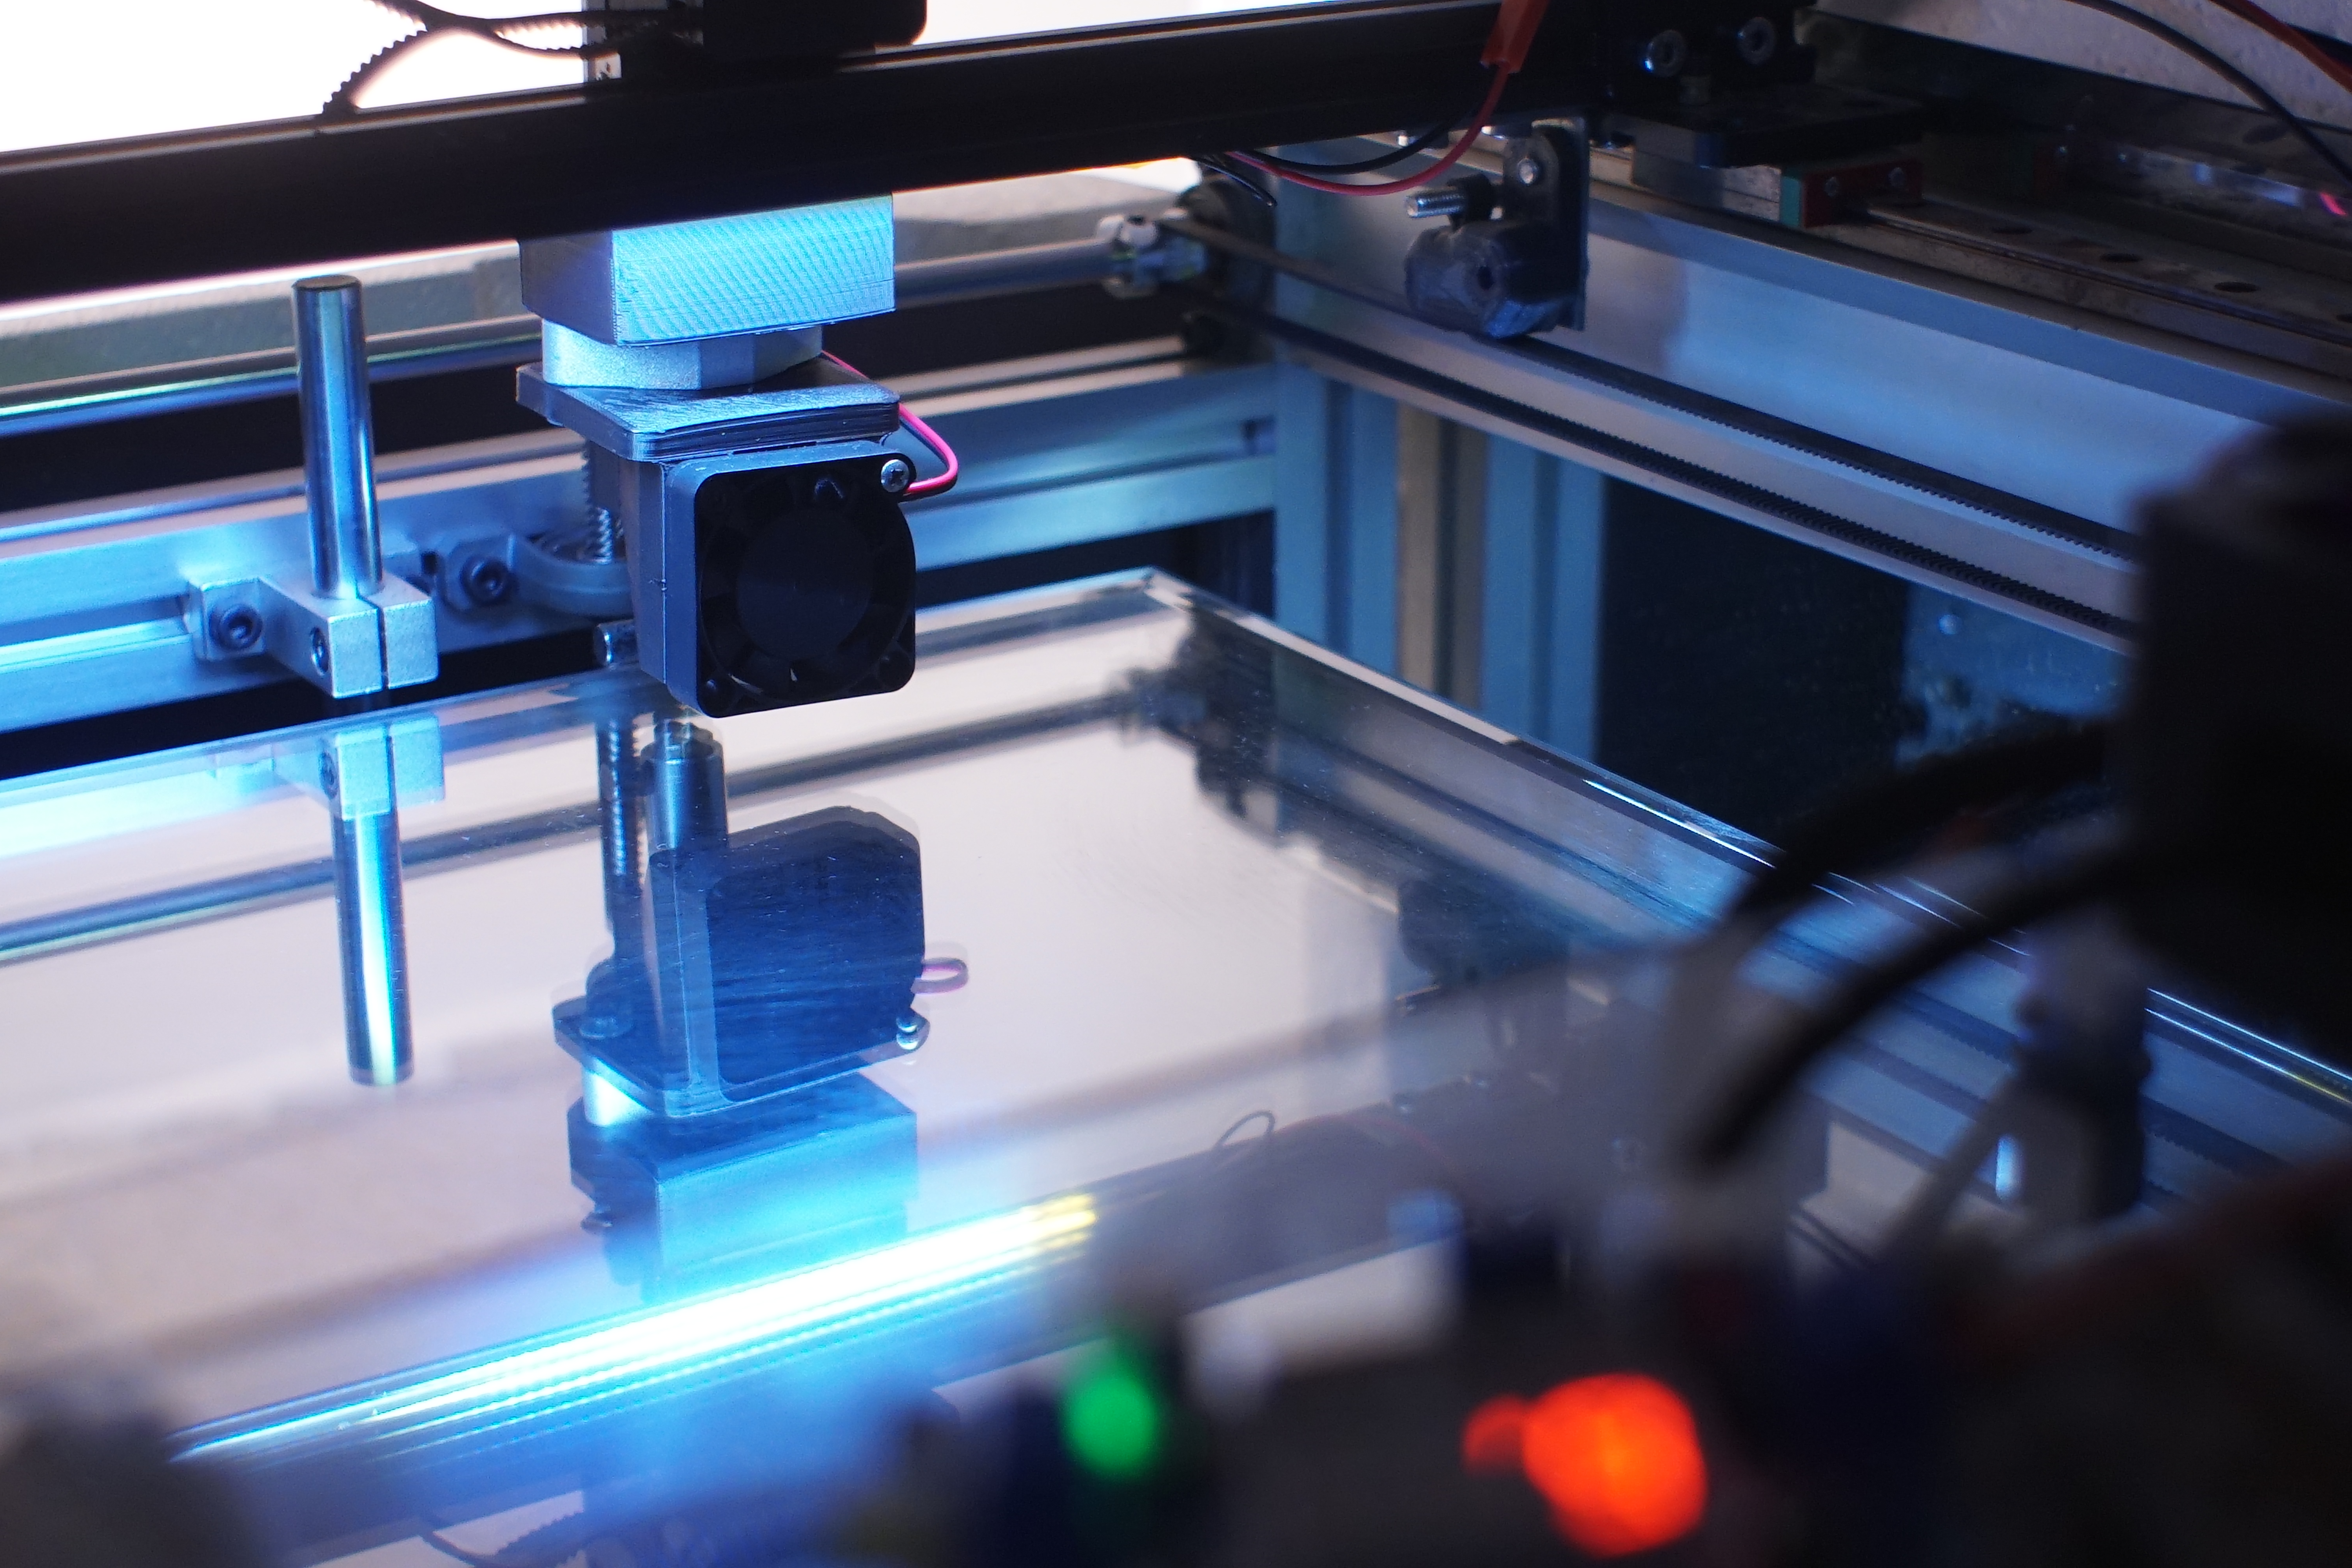
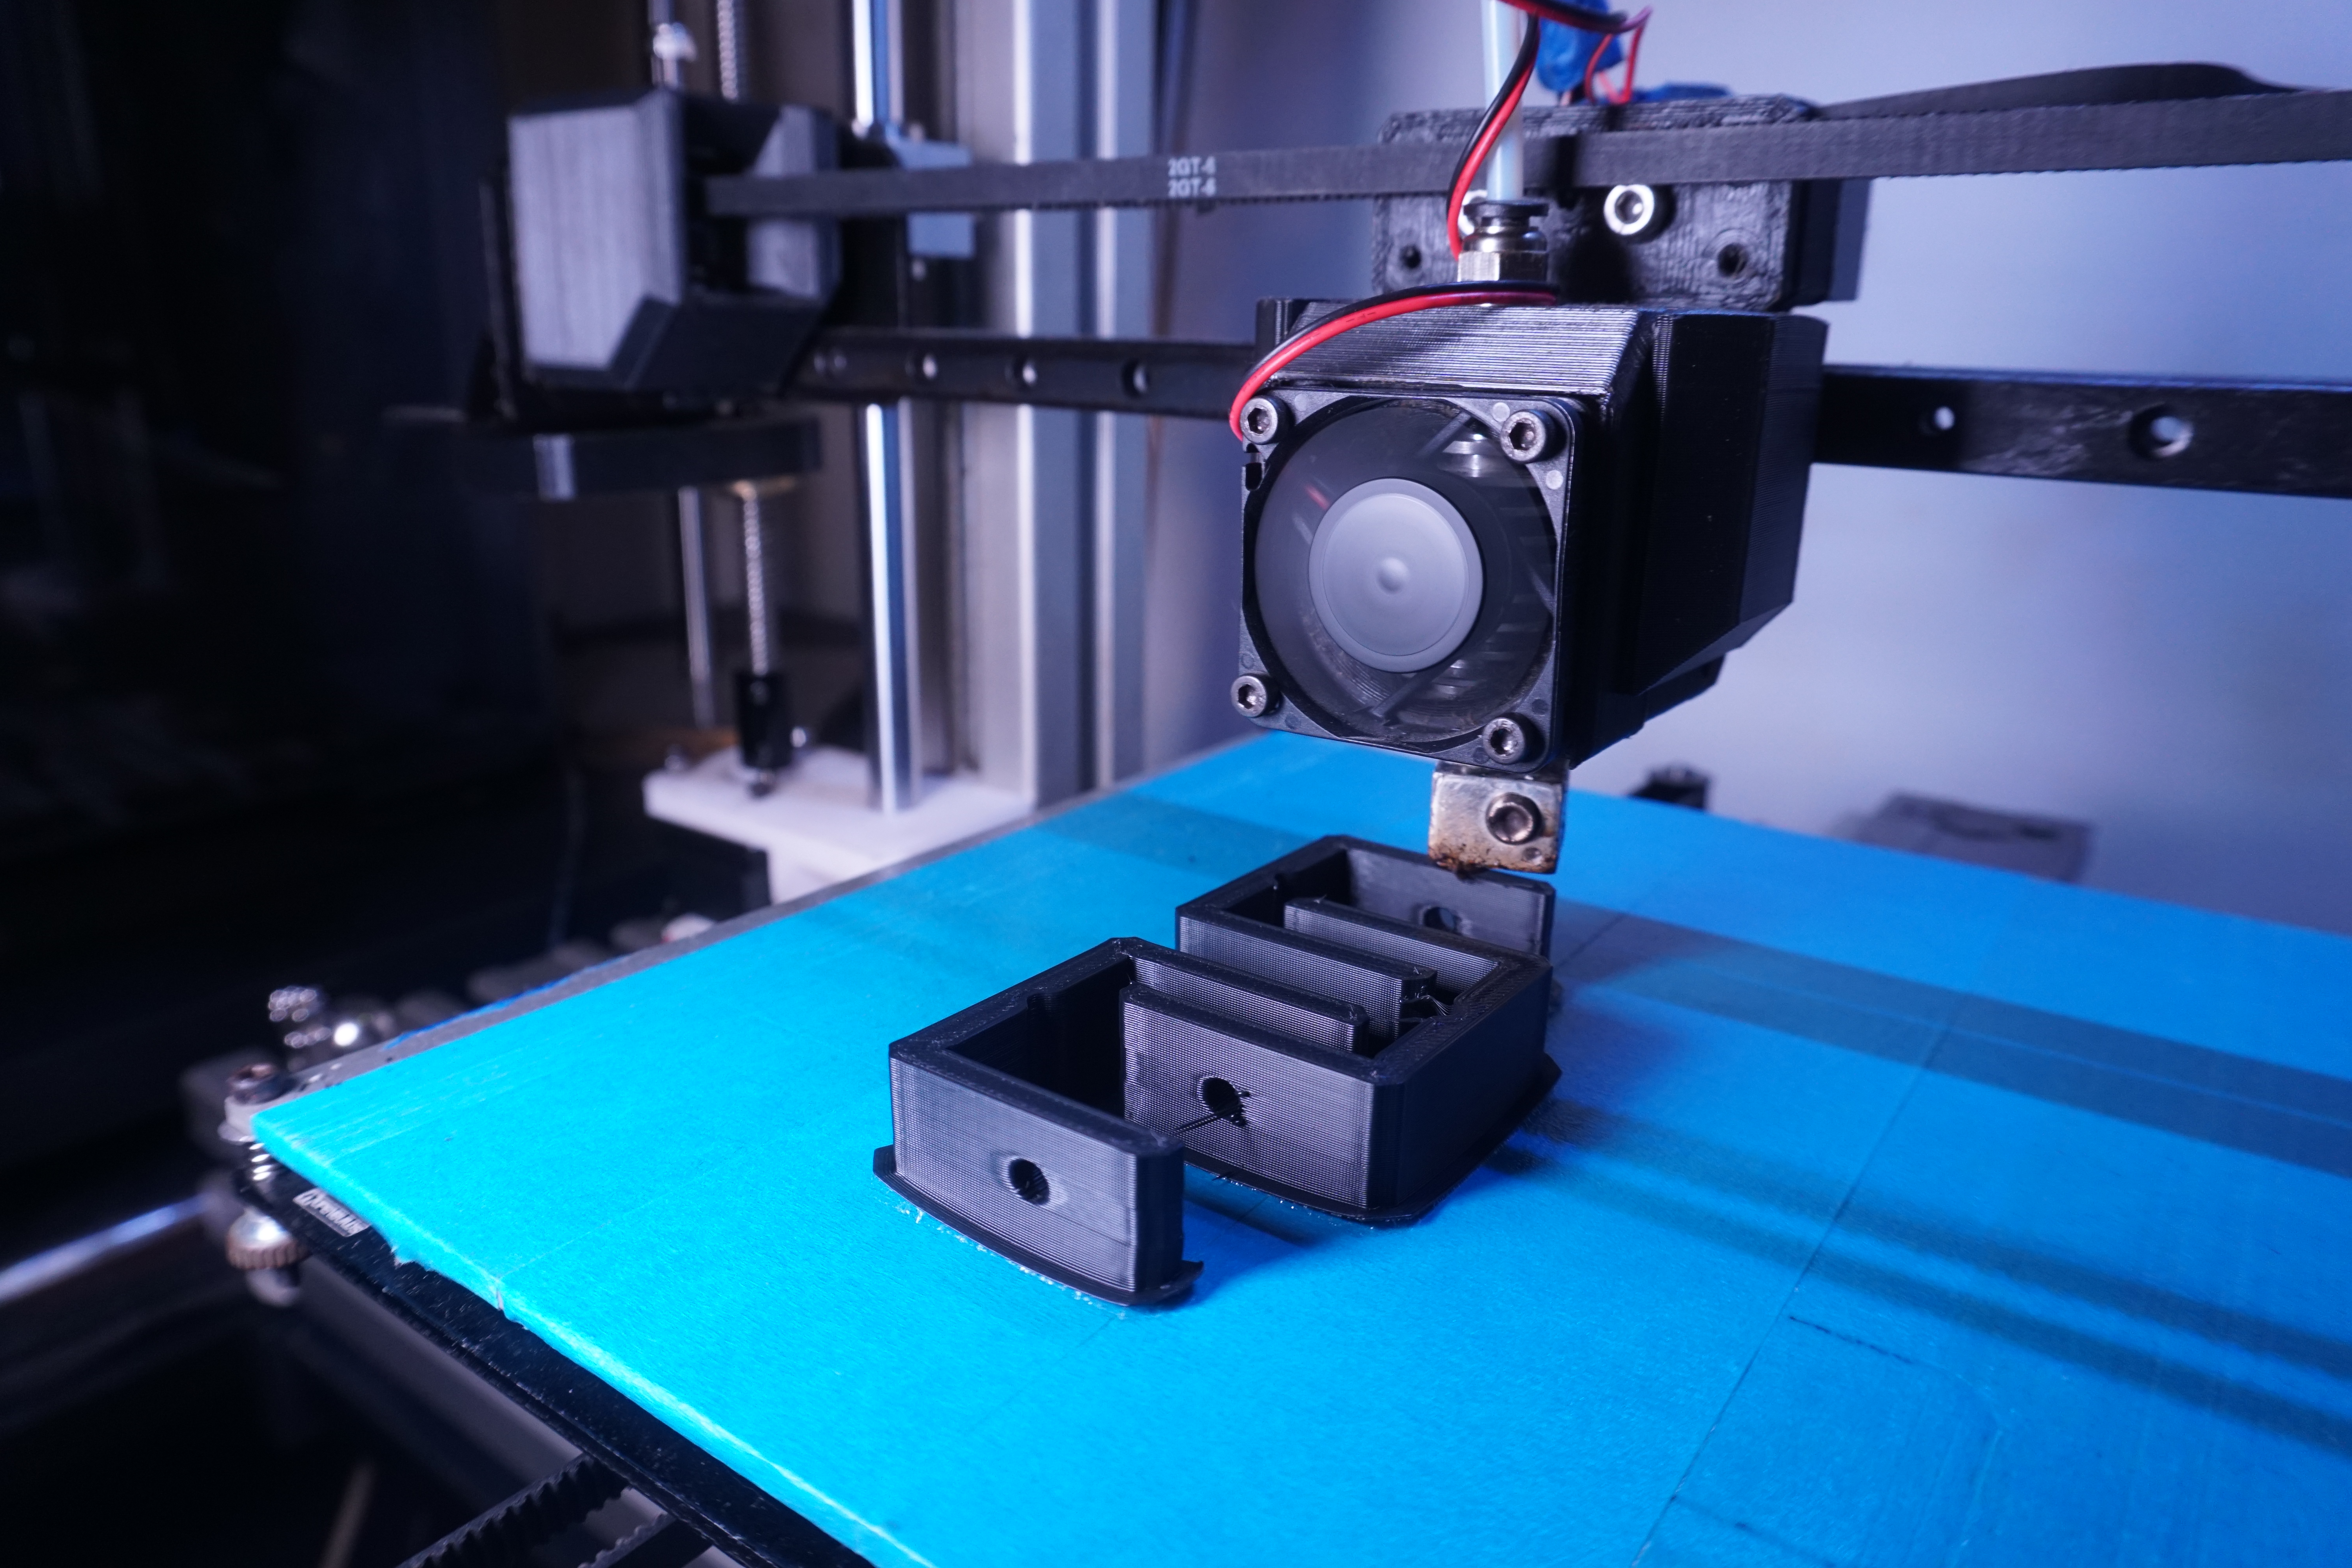
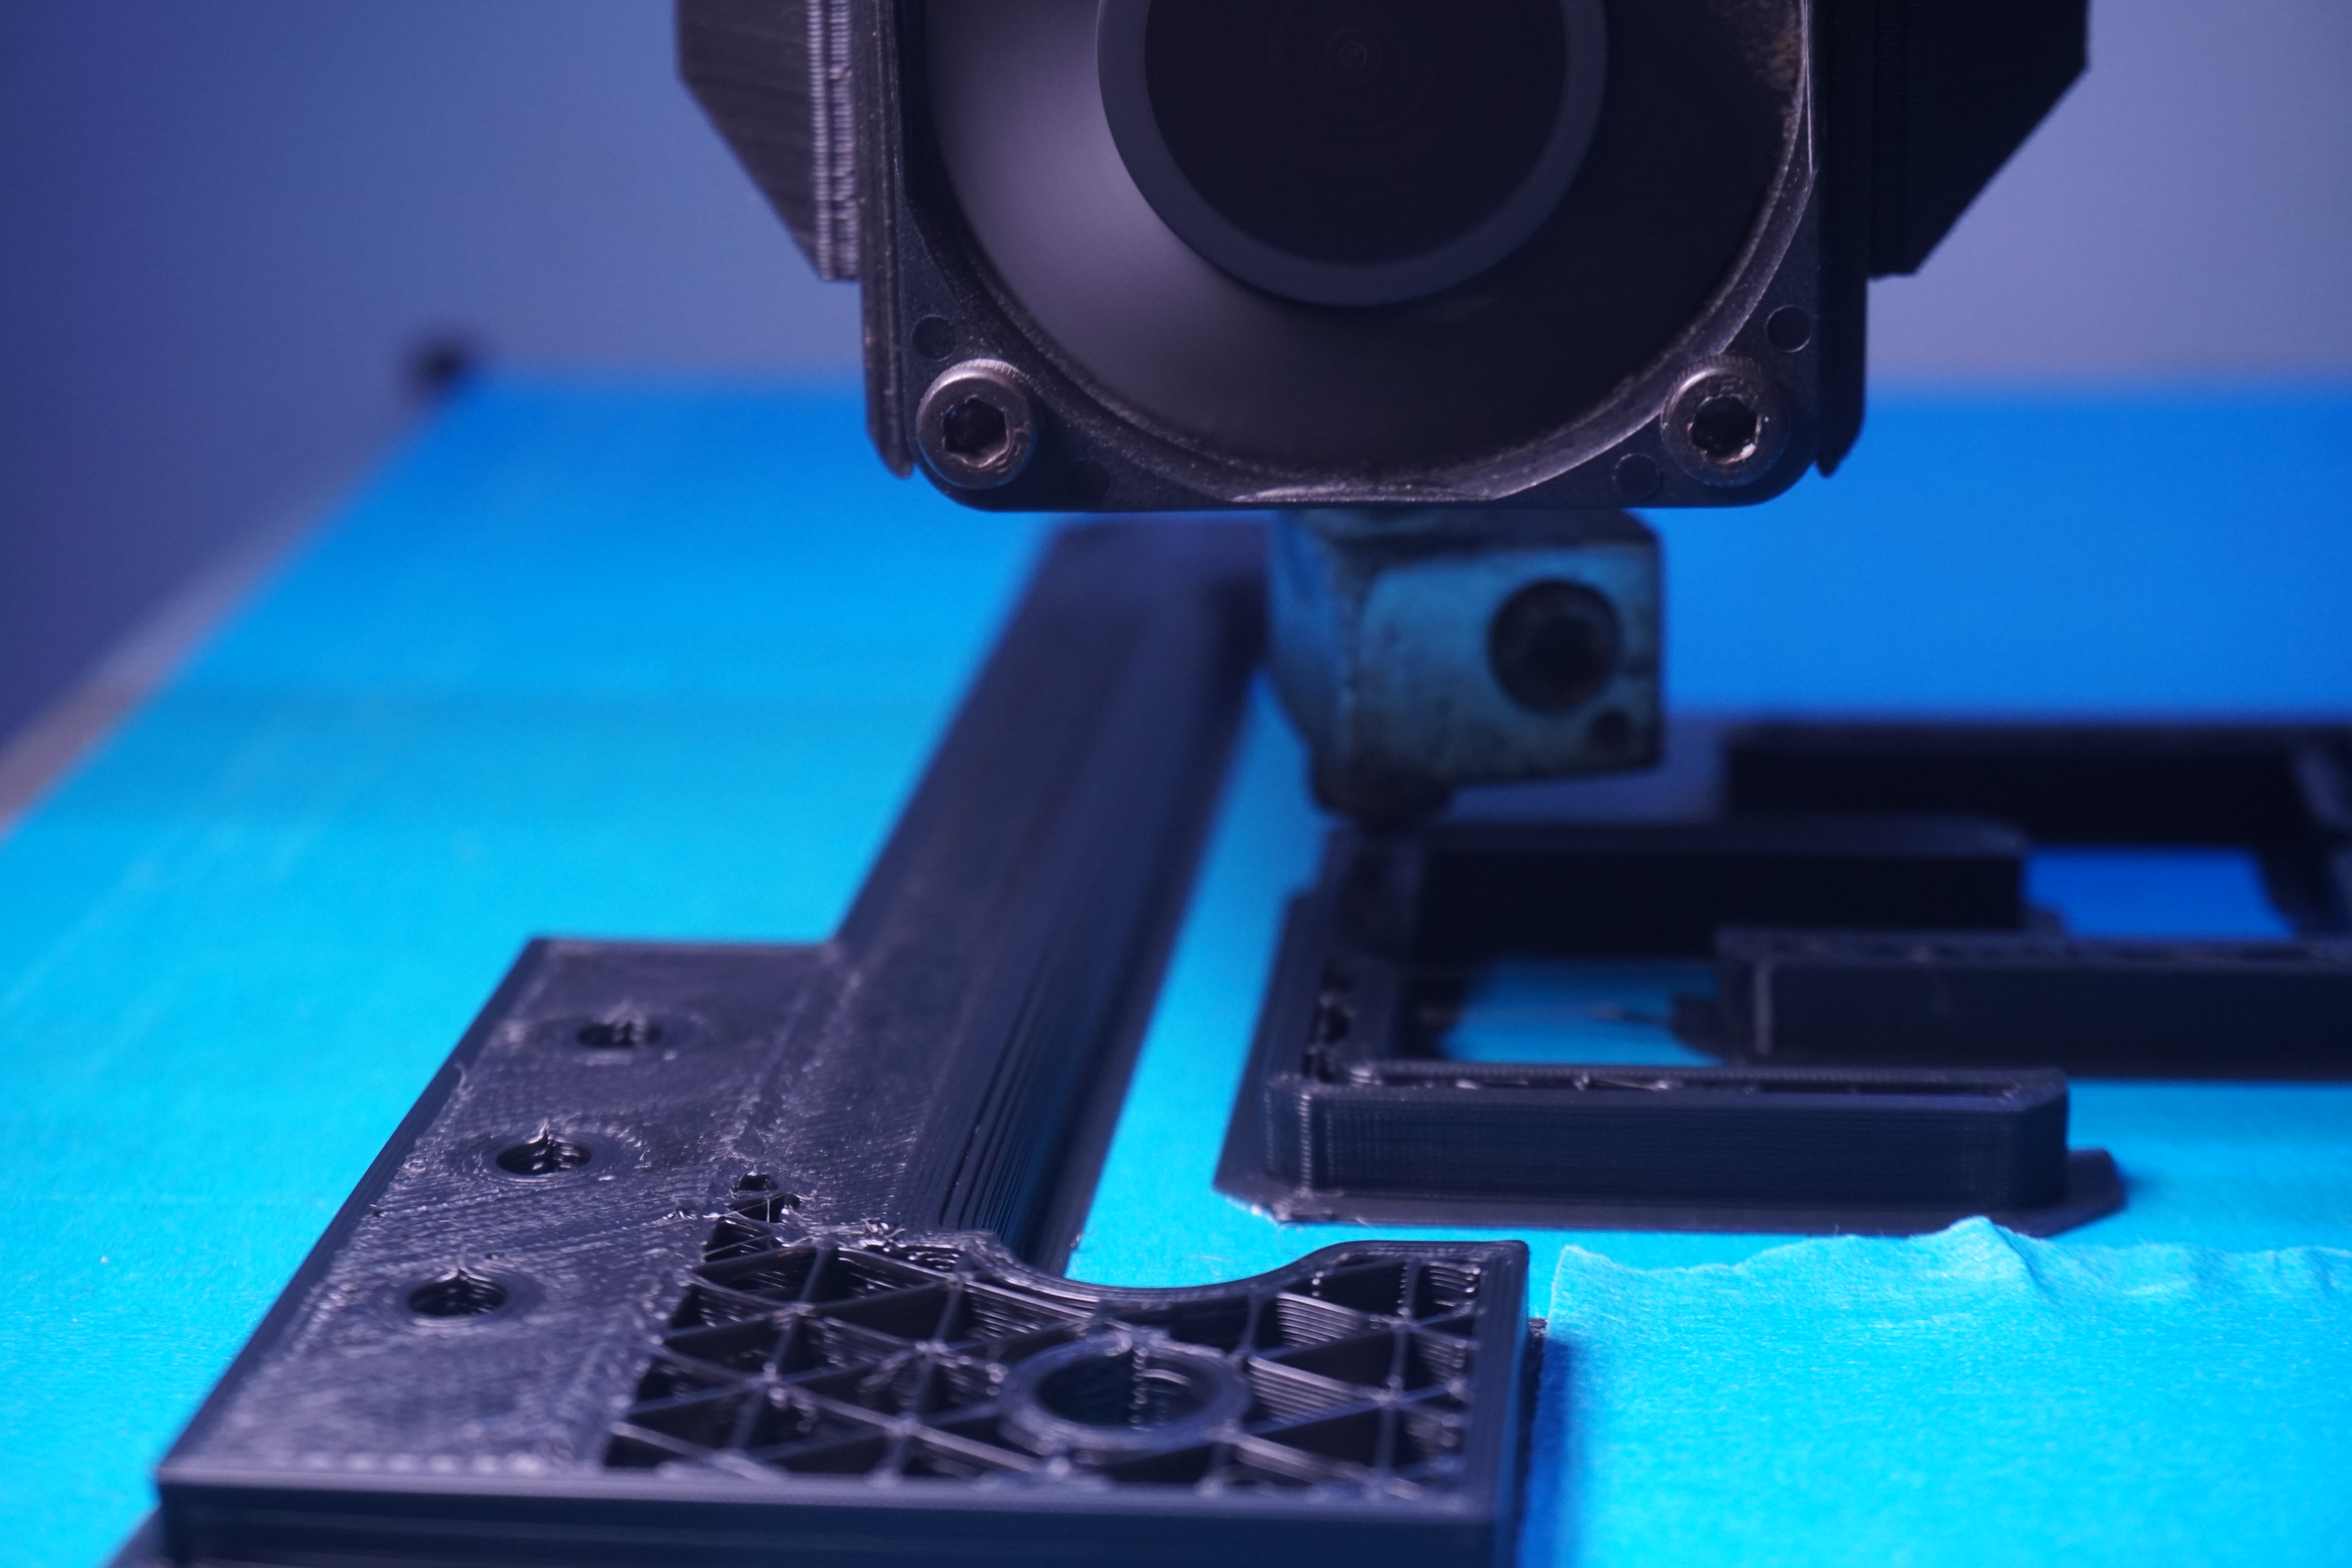
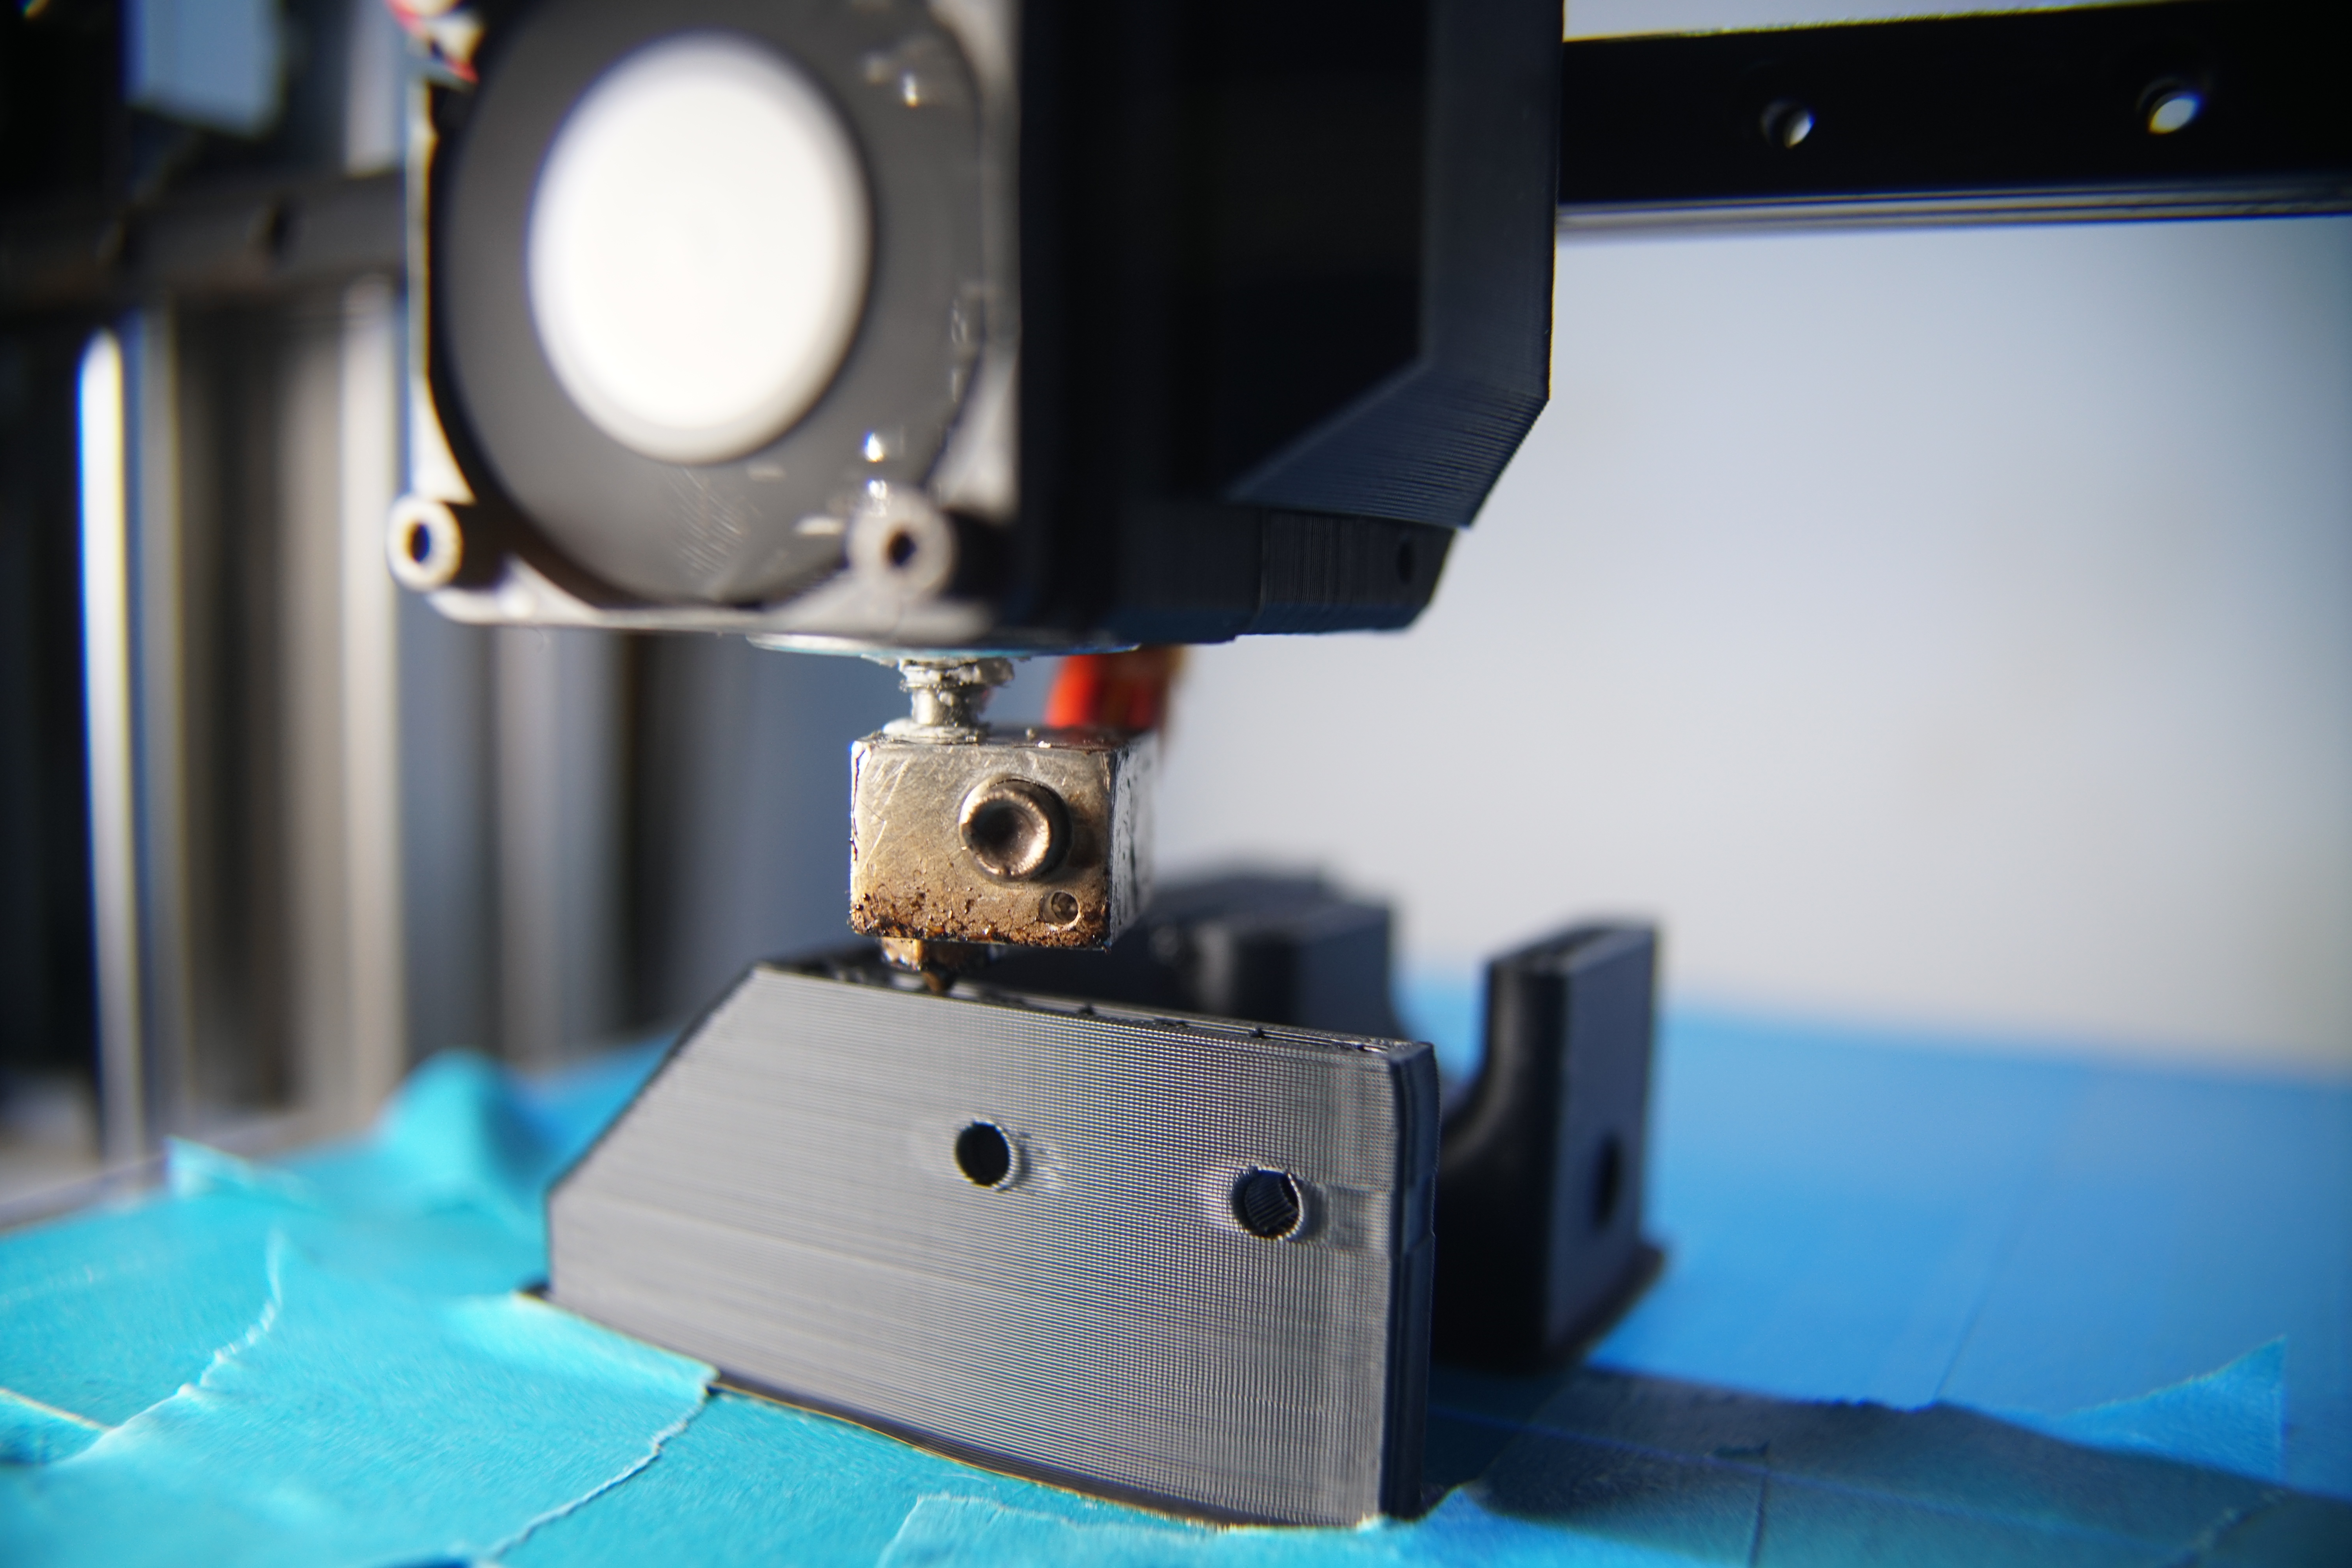
Finally got around to printing the fan duct, the blue tape didnt look good on the pics...I had left holes for one in the future but decided to not use them for this, not sure why I didnt extend it a little further, but it covers what it needs to. Also printed another part cooler duct for the current build, though not put it on yet.
|
Re: MechaBits KraftWerk'r September 18, 2020 06:56AM |
Registered: 8 years ago Posts: 1,671 |
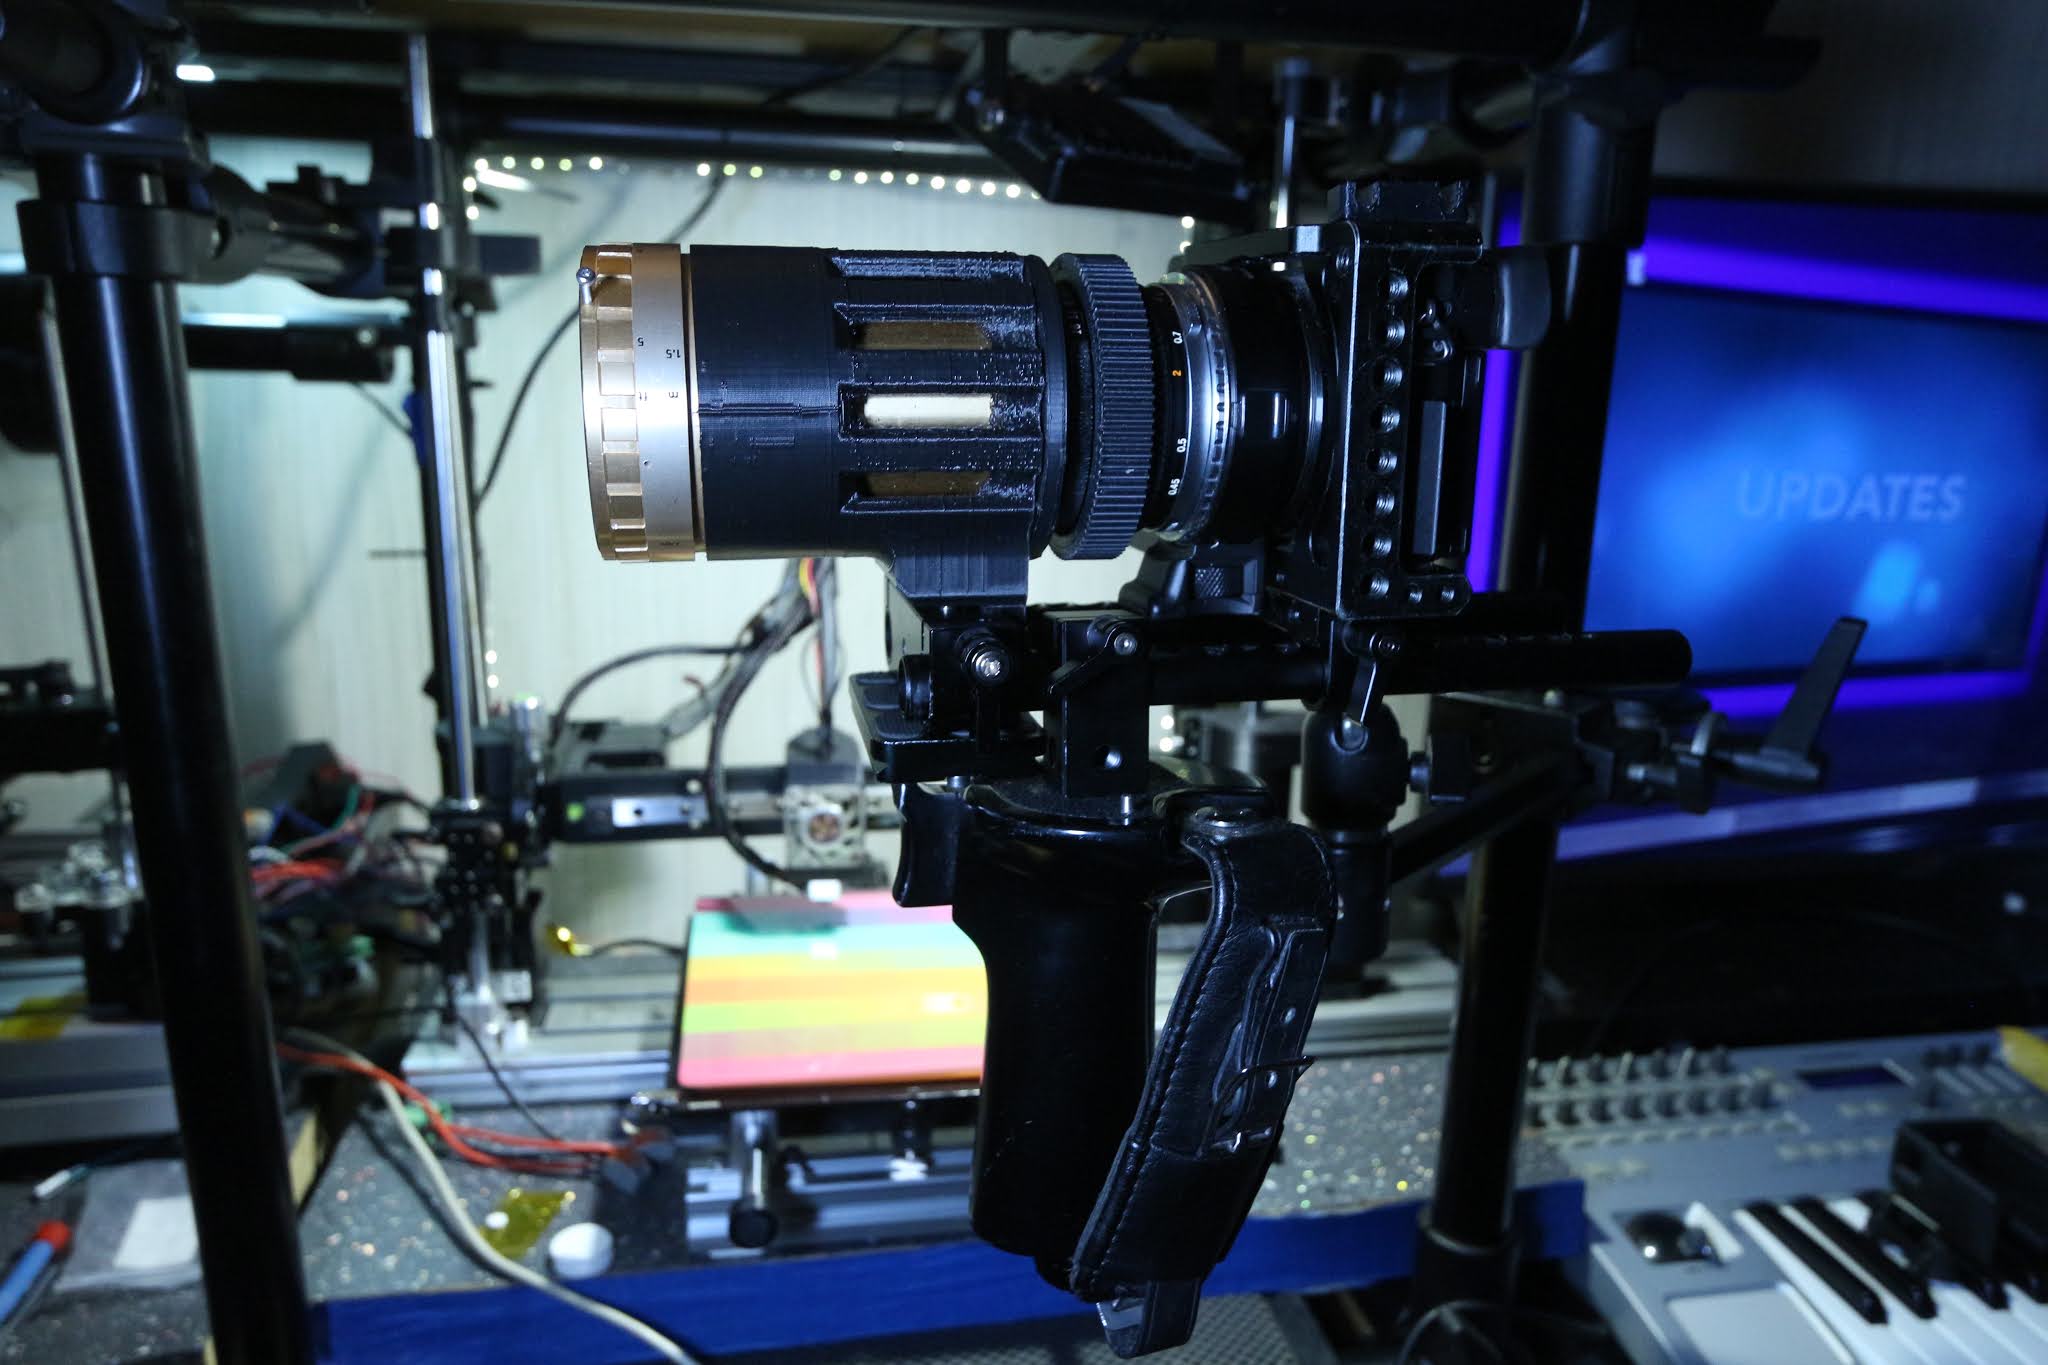
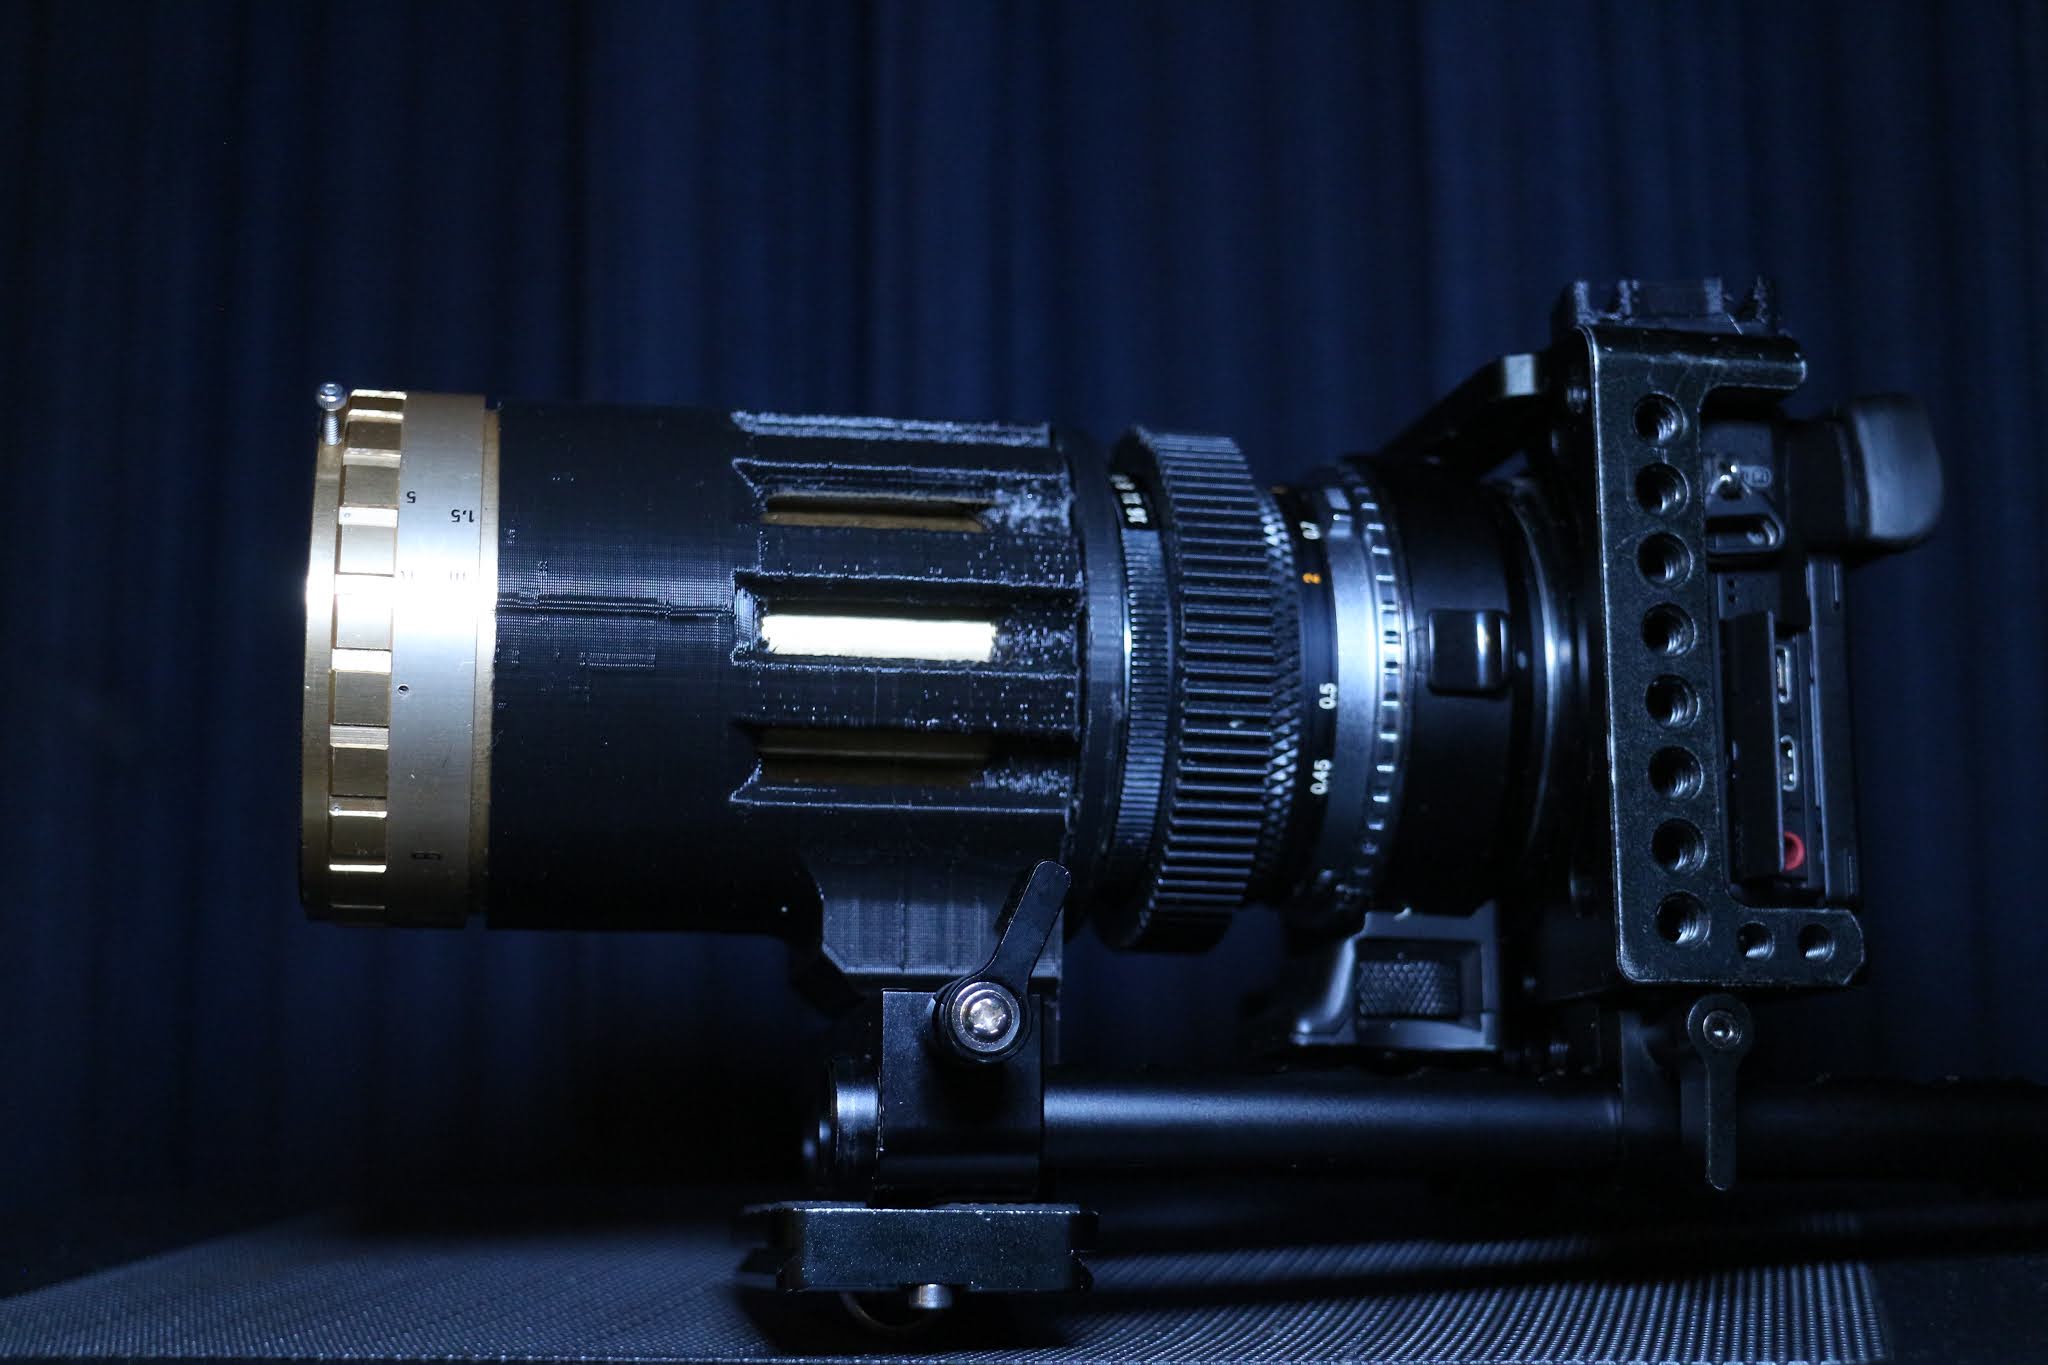
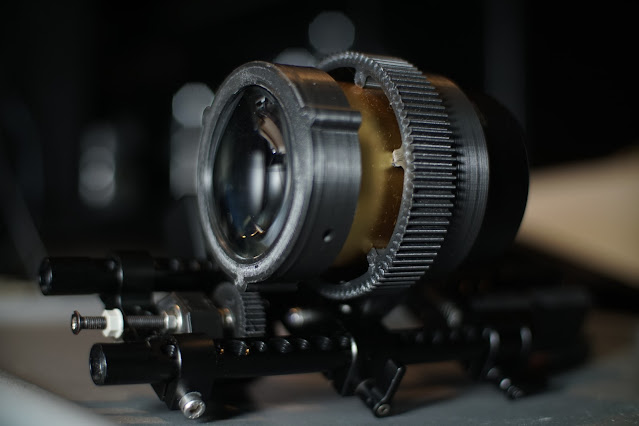
Printing Printer Parts on hold while I plug a few other holes in the shooting armory, manual focus is a pain, dual focus a bigger pain, & close focus with anamorphics another challenge.
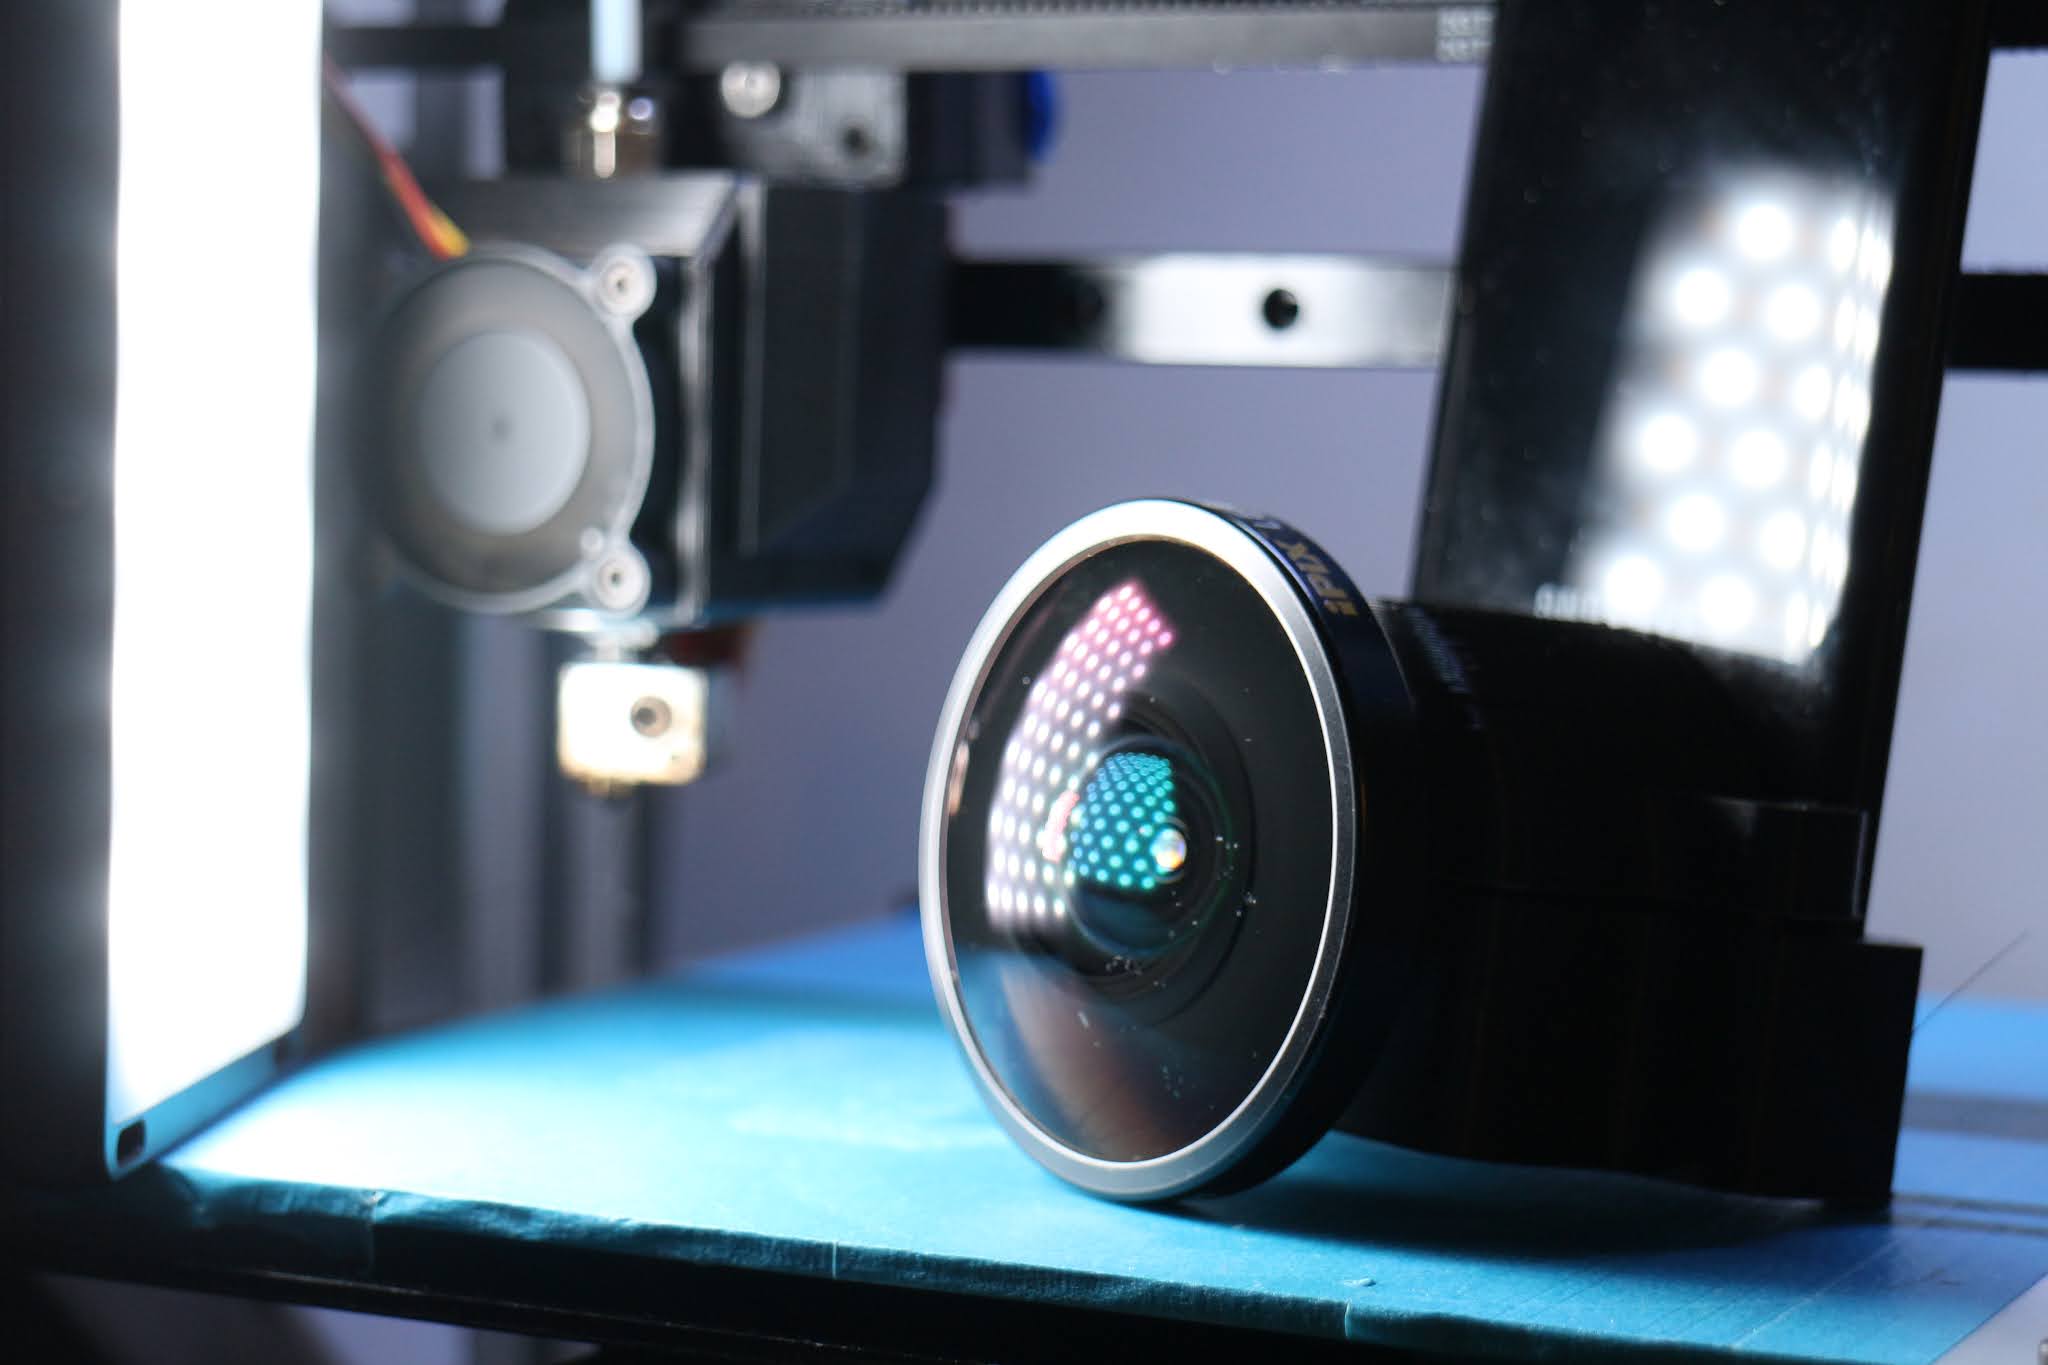
Cinelux closest focus is apparently 3 meters and the smaller Ultrastar about 1.2m, I have two Cinelux anamorphics but one is set at infinity and needs to be fixed there, as I I have the VFD focuser that goes on the end of the chain(not pictured), changing focus all the time is not ideal, so I thought I'd setup the other as a closer focus unit, so it's set at it's minimum(not sure if there was more turns available didnt want to break any glass). Using the cheap Tamron 77mm close-up 0.5 diopter get's a more usable range. I found a smaller stronger close up lens and fitted that on the Ultrastar so with that I can go closer again, about 0.75m-1m.


Edited 1 time(s). Last edit at 09/18/2020 06:57AM by MechaBits.
|
Re: MechaBits KraftWerk'r September 23, 2020 07:59AM |
Registered: 8 years ago Posts: 1,671 |
|
Re: MechaBits KraftWerk'r February 12, 2021 11:49AM |
Registered: 8 years ago Posts: 1,671 |
remember those little cable clamps I made, now you can get them on line
[www.ebay.co.uk]
[www.ebay.co.uk]
|
Re: MechaBits KraftWerk'r February 14, 2021 02:27PM |
Registered: 8 years ago Posts: 1,671 |
2021 Now I can release the secret of how to make a kilo of PLA last a year, whilst being locked in a room with only 3D Printers for company. I think I still have half a roll, the race is on to see if I can finish it by 2022. Though if I want to complete the latest gizmo I need to print a couple of 110mm diameter parts which should finish the roll off...so because I hate the long prints, i'll focus on some smaller components for my linear focus assist gizmo, 2 new products for the film maker, can I make this product a reality before it becomes a craze? (there's at least 3 different forks).


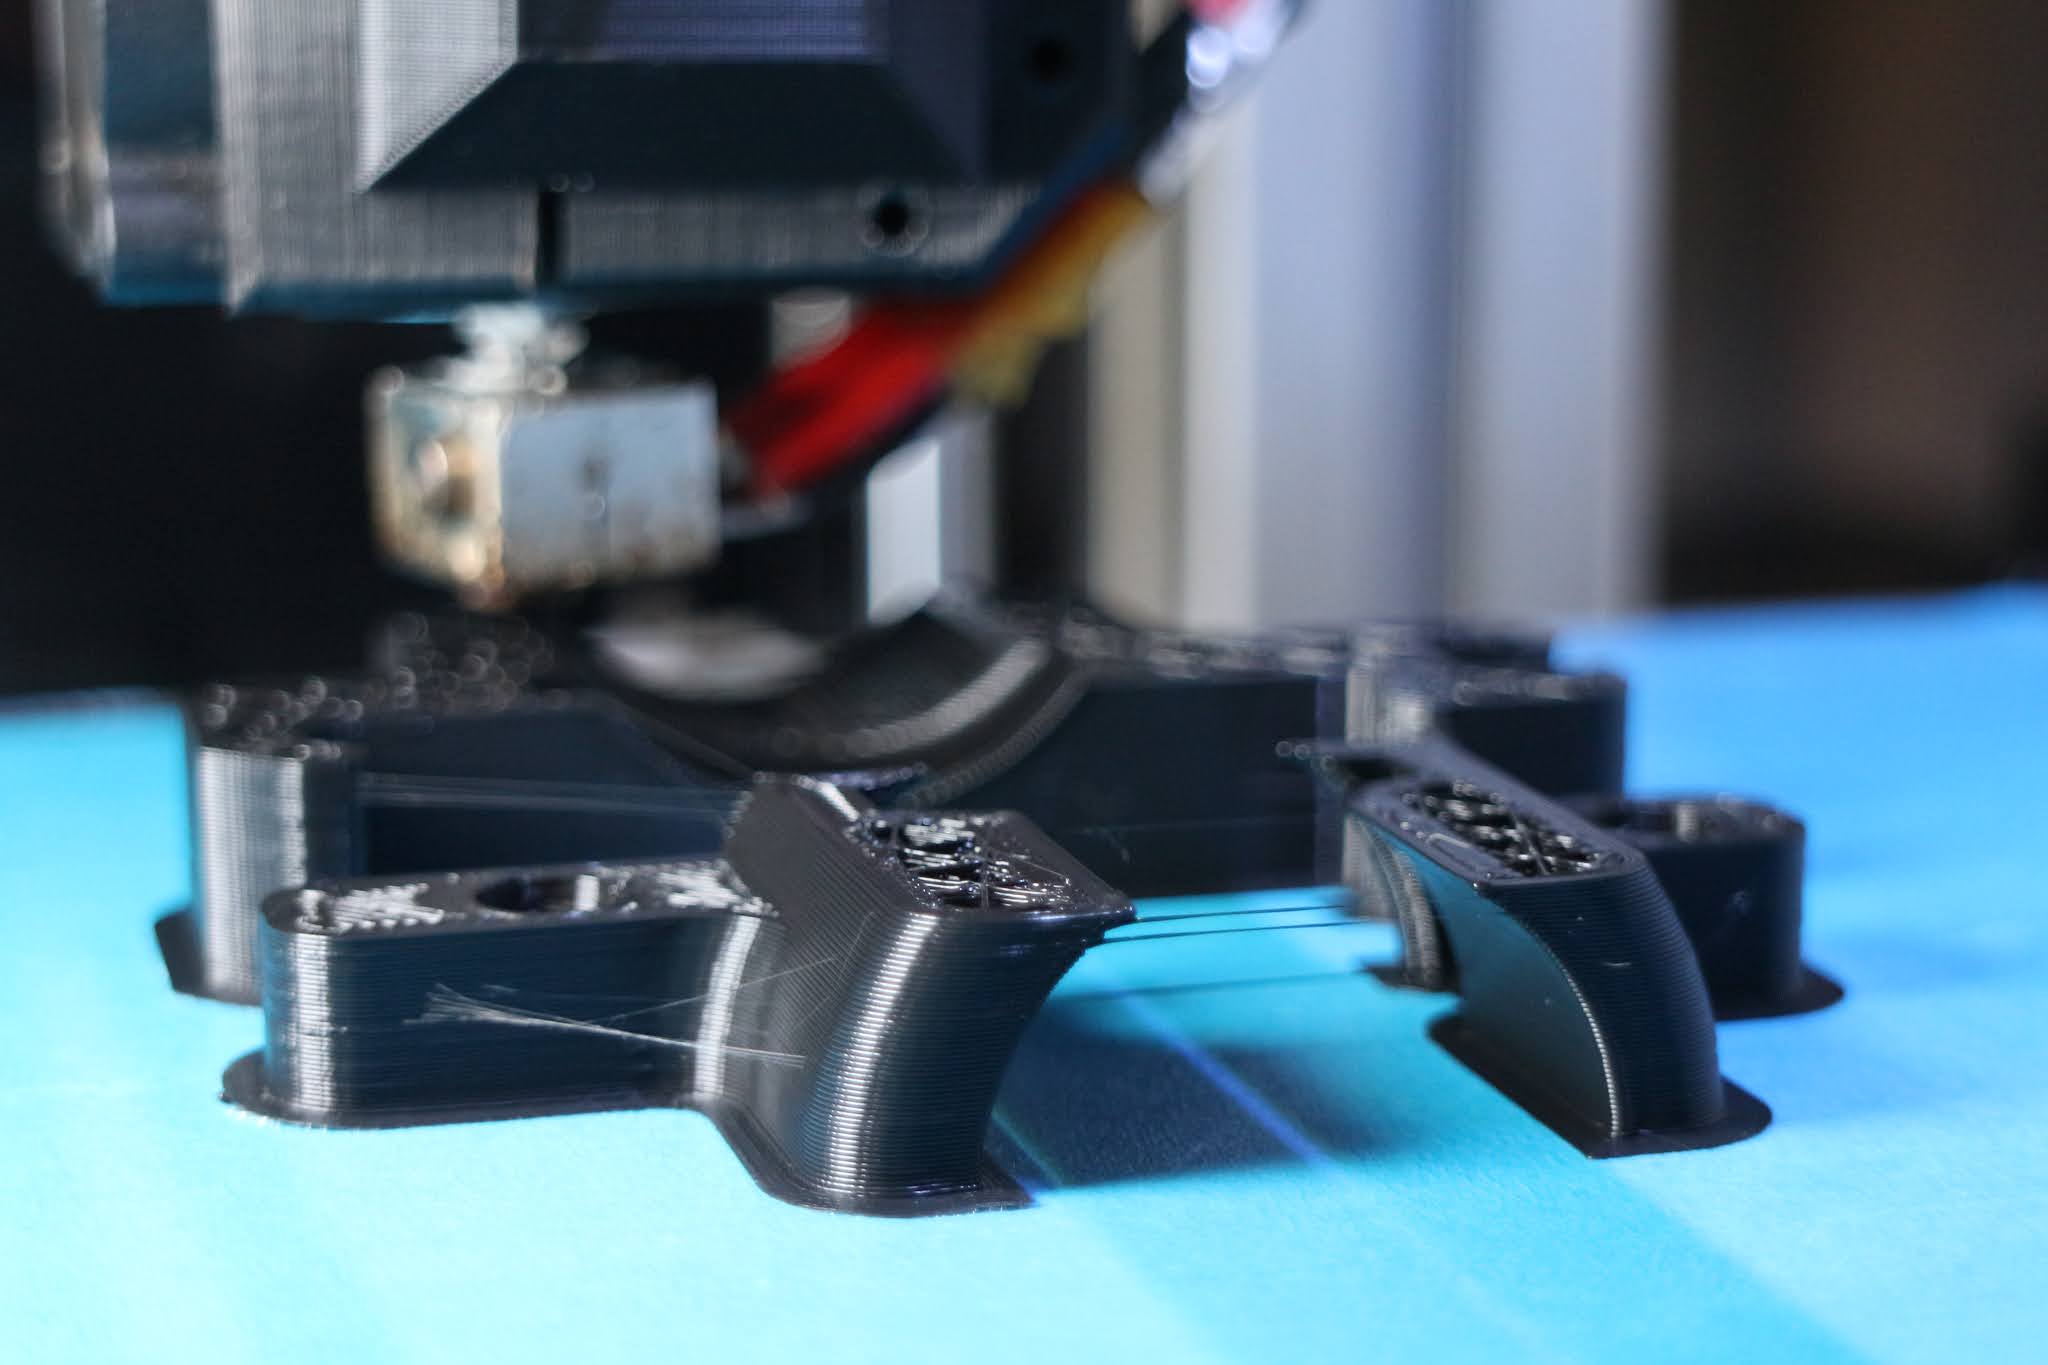
I've been thinking about making a mini actuator for many years finally got round to doing it, though it's much cheaper with a standard hex bolt(needs less components) i've not seen any in the camera gear yet, maybe they didnt see a need, but I have a few places to use it. Funny how far you can stretch 20g's of stuff....
Edited 2 time(s). Last edit at 02/15/2021 05:29PM by MechaBits.
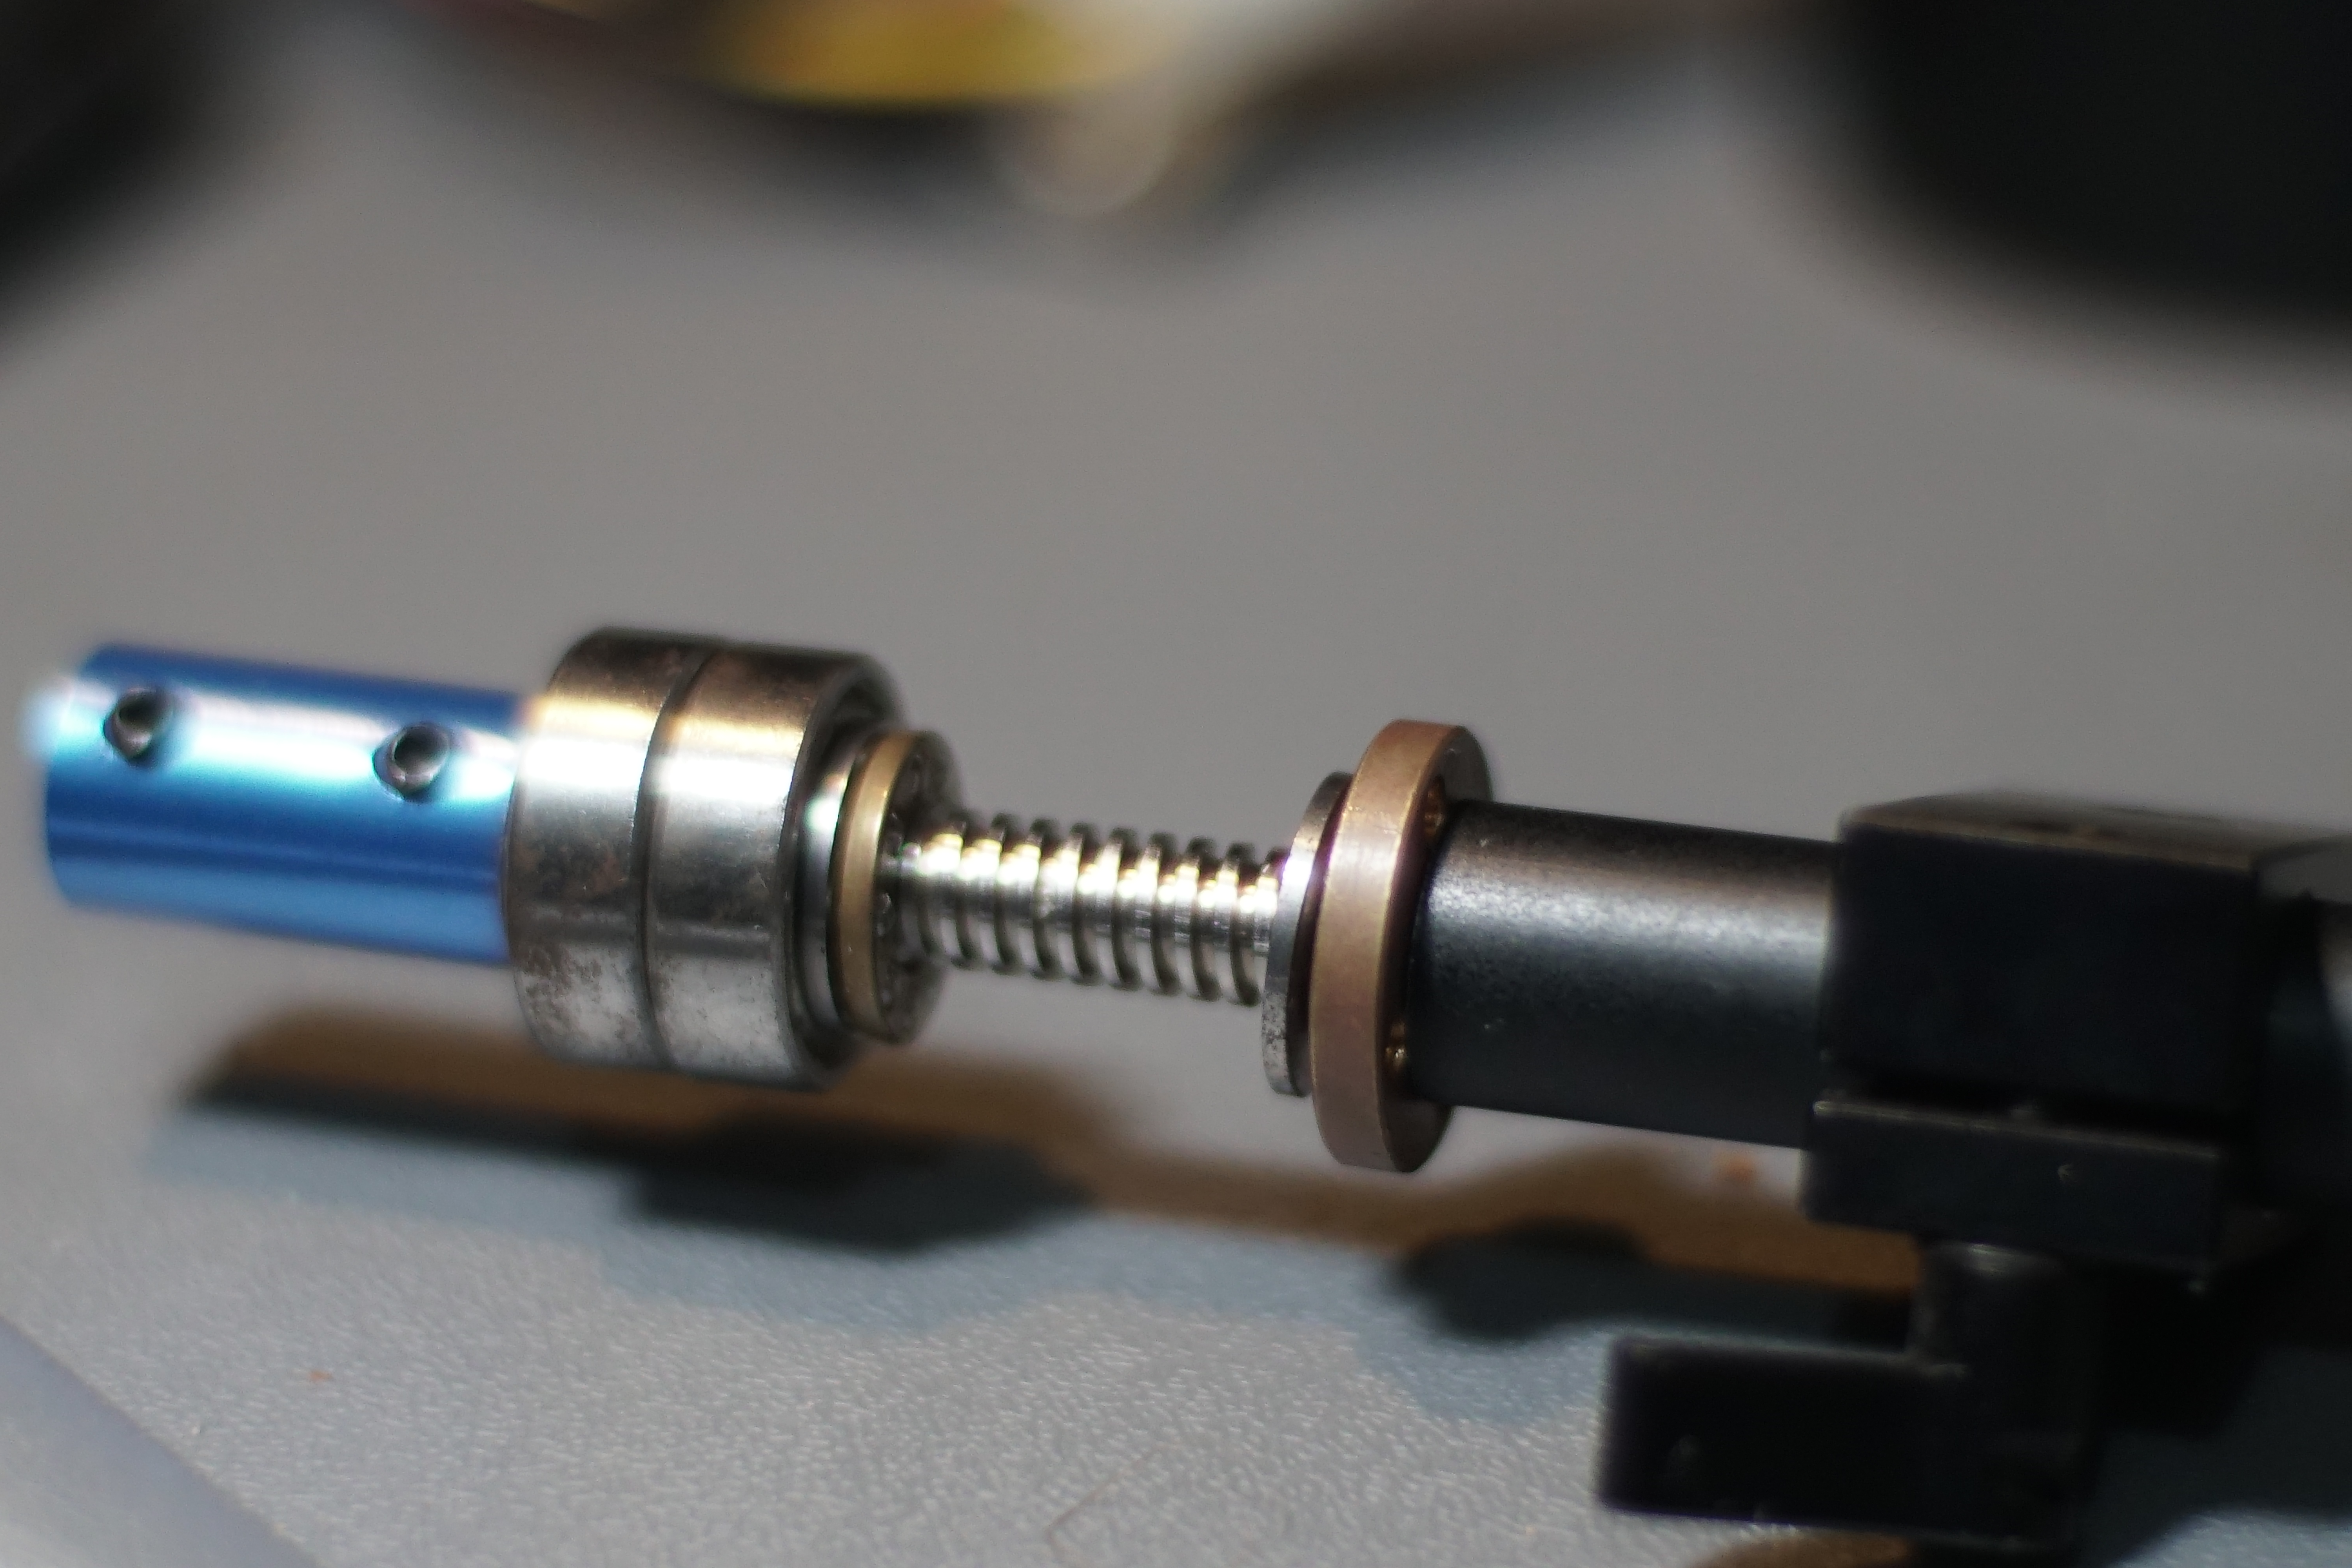
|
Re: MechaBits KraftWerk'r March 01, 2021 11:27PM |
Registered: 8 years ago Posts: 1,671 |

Not many parts arriving in the post these days, but when they do it's fun trying to figure out where to use it, spotted a new useful plate,
though they didnt list the dimensions so wasnt exactly sure what i'd do with it, decided to switch out a rather large overkill plate for this new one.
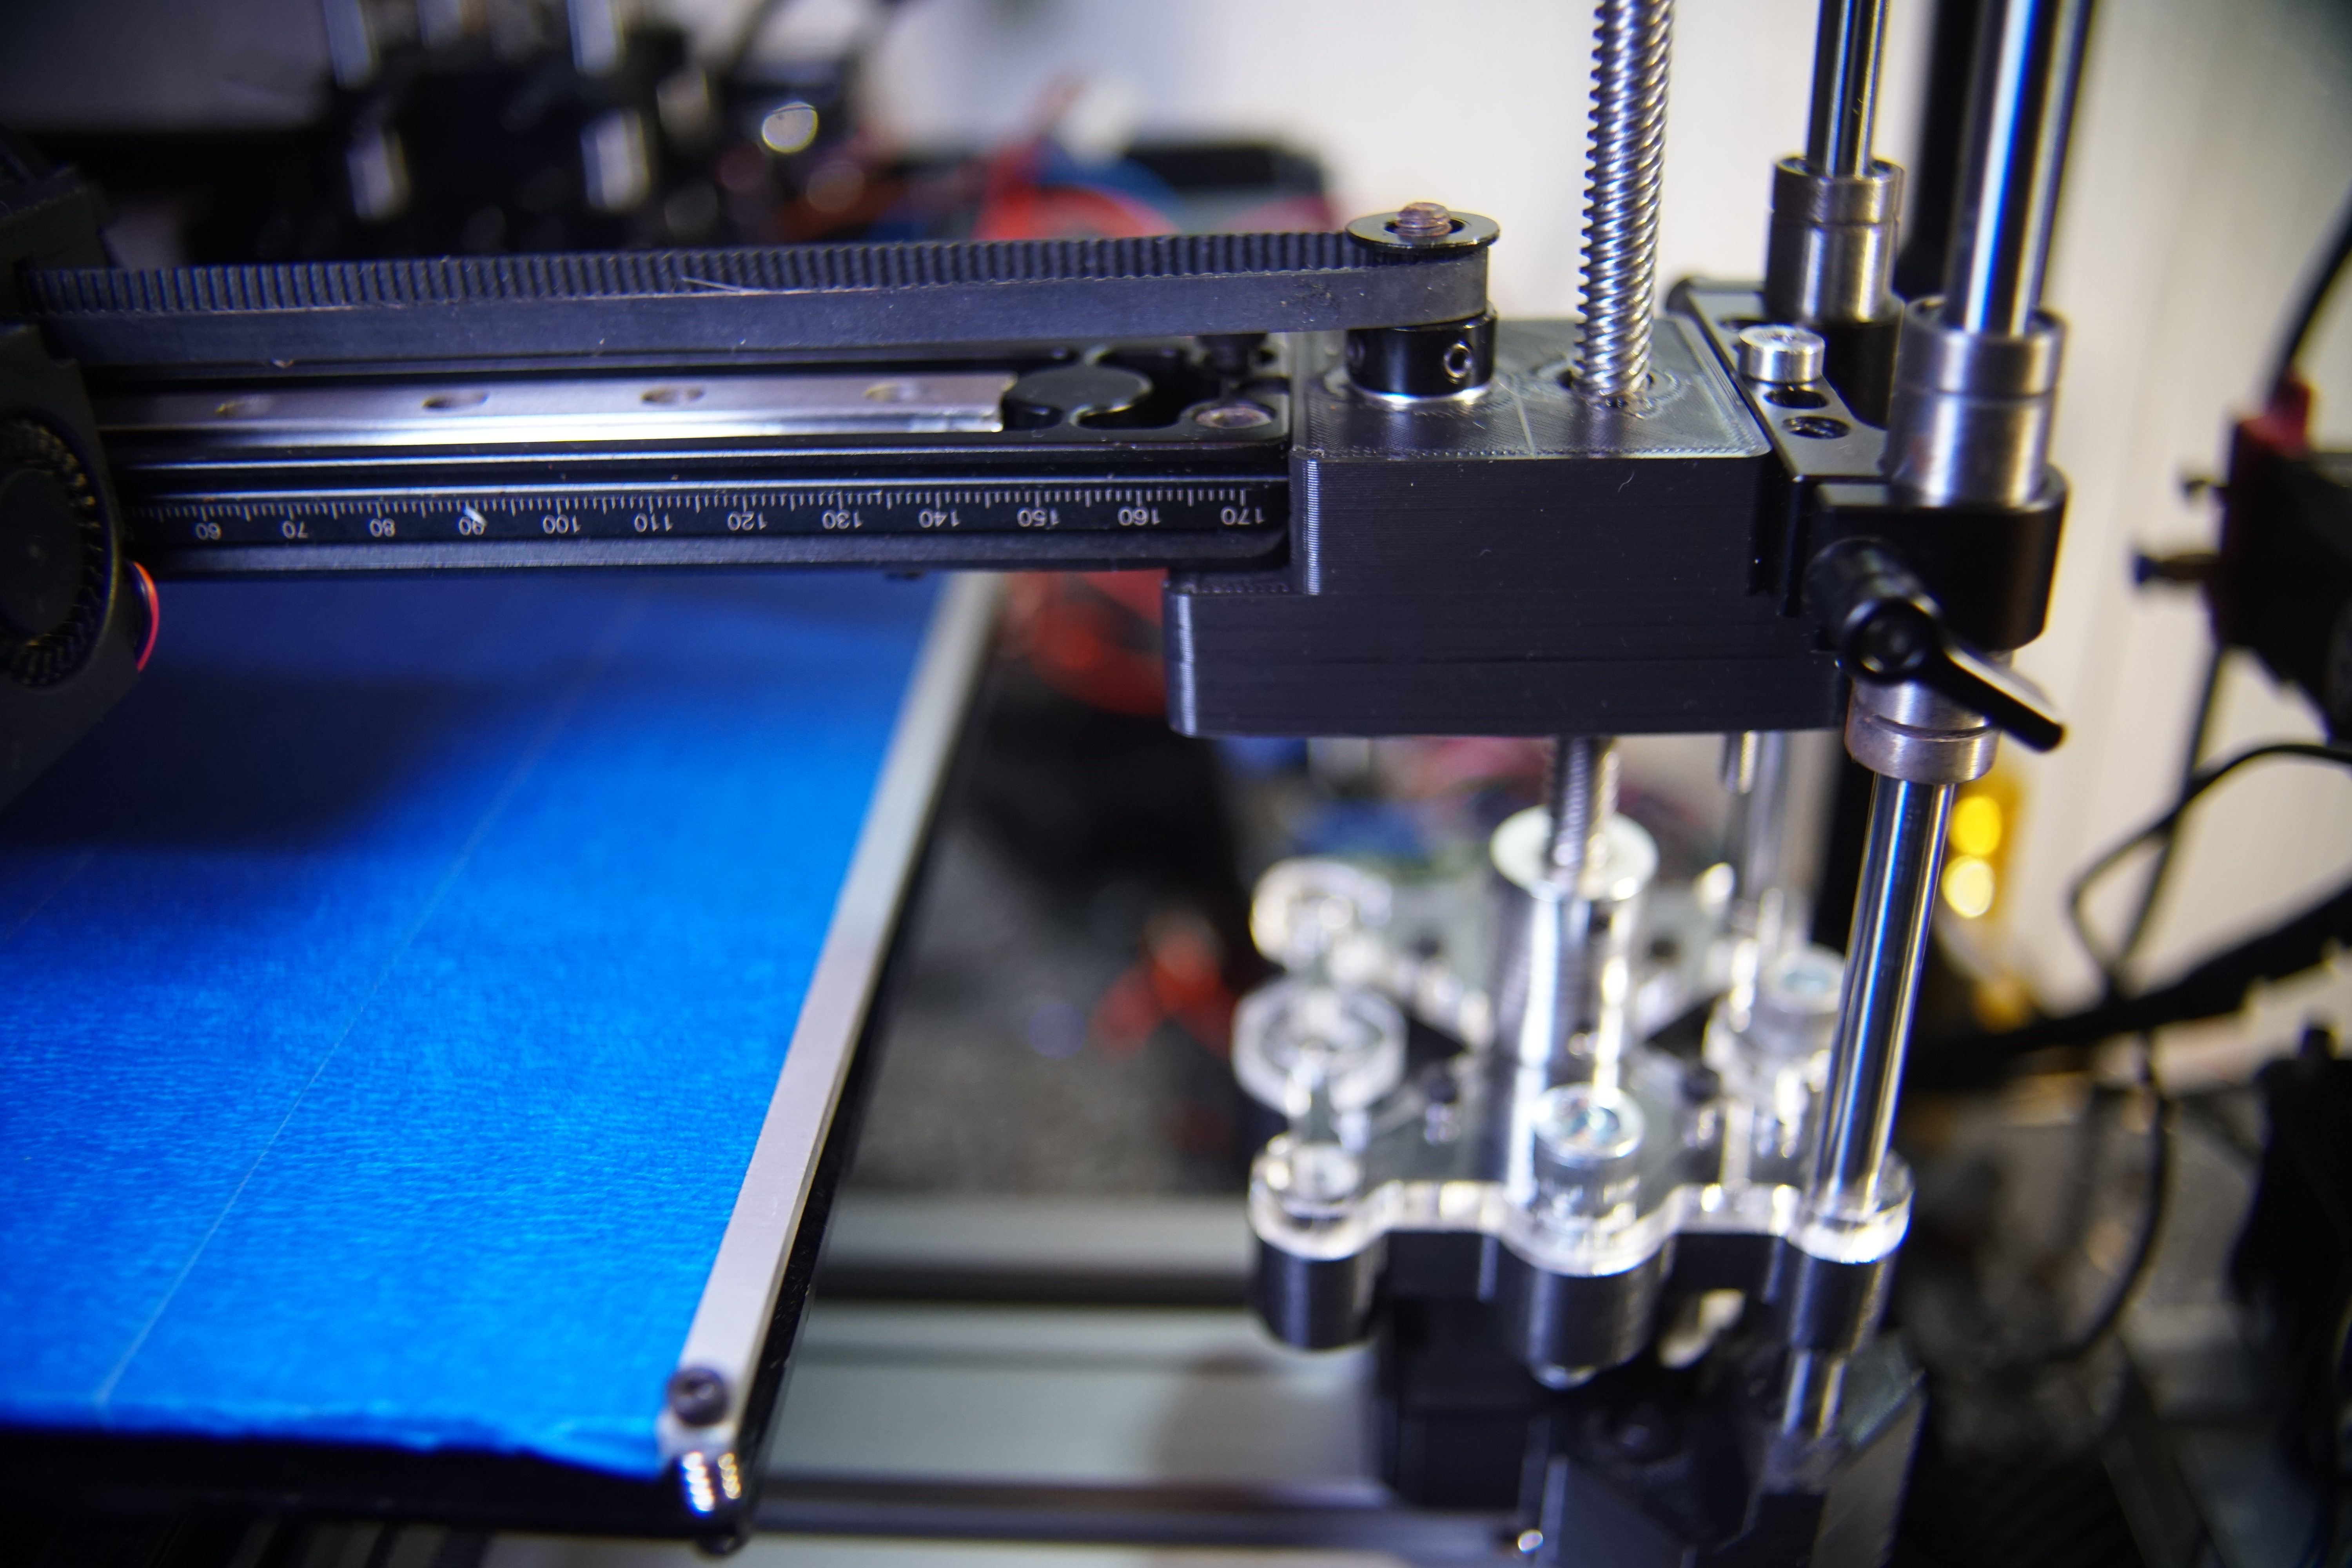
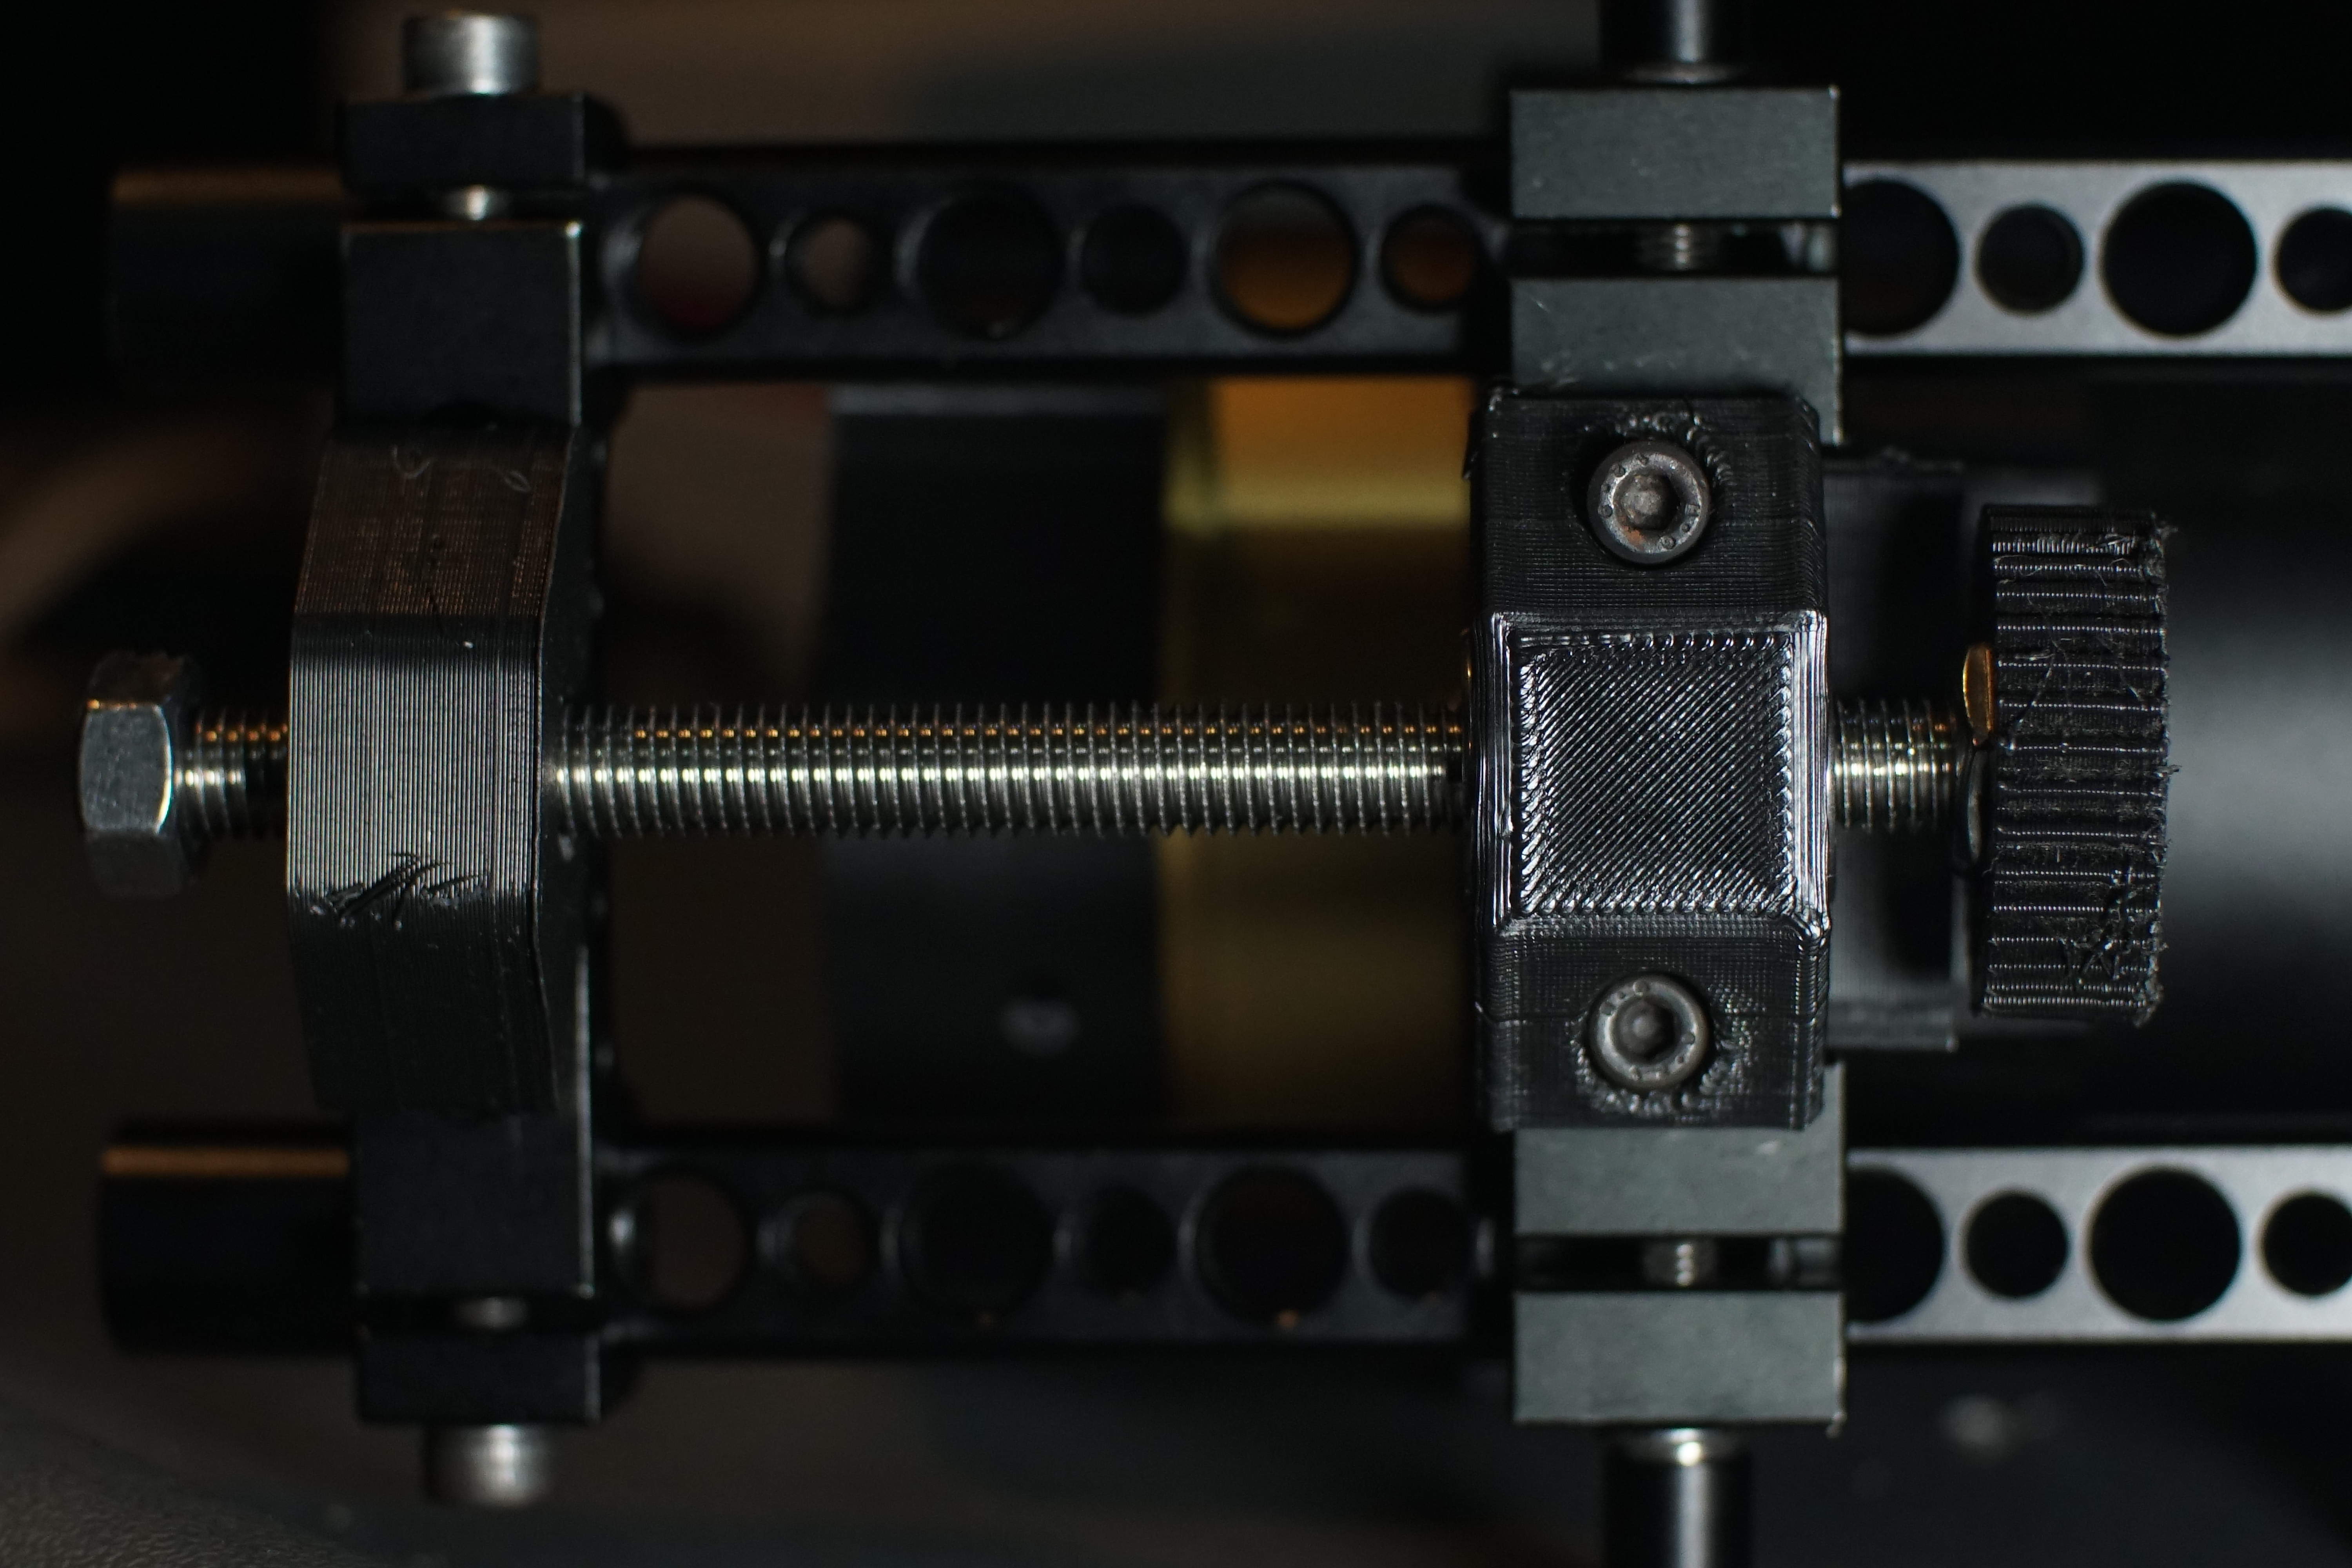
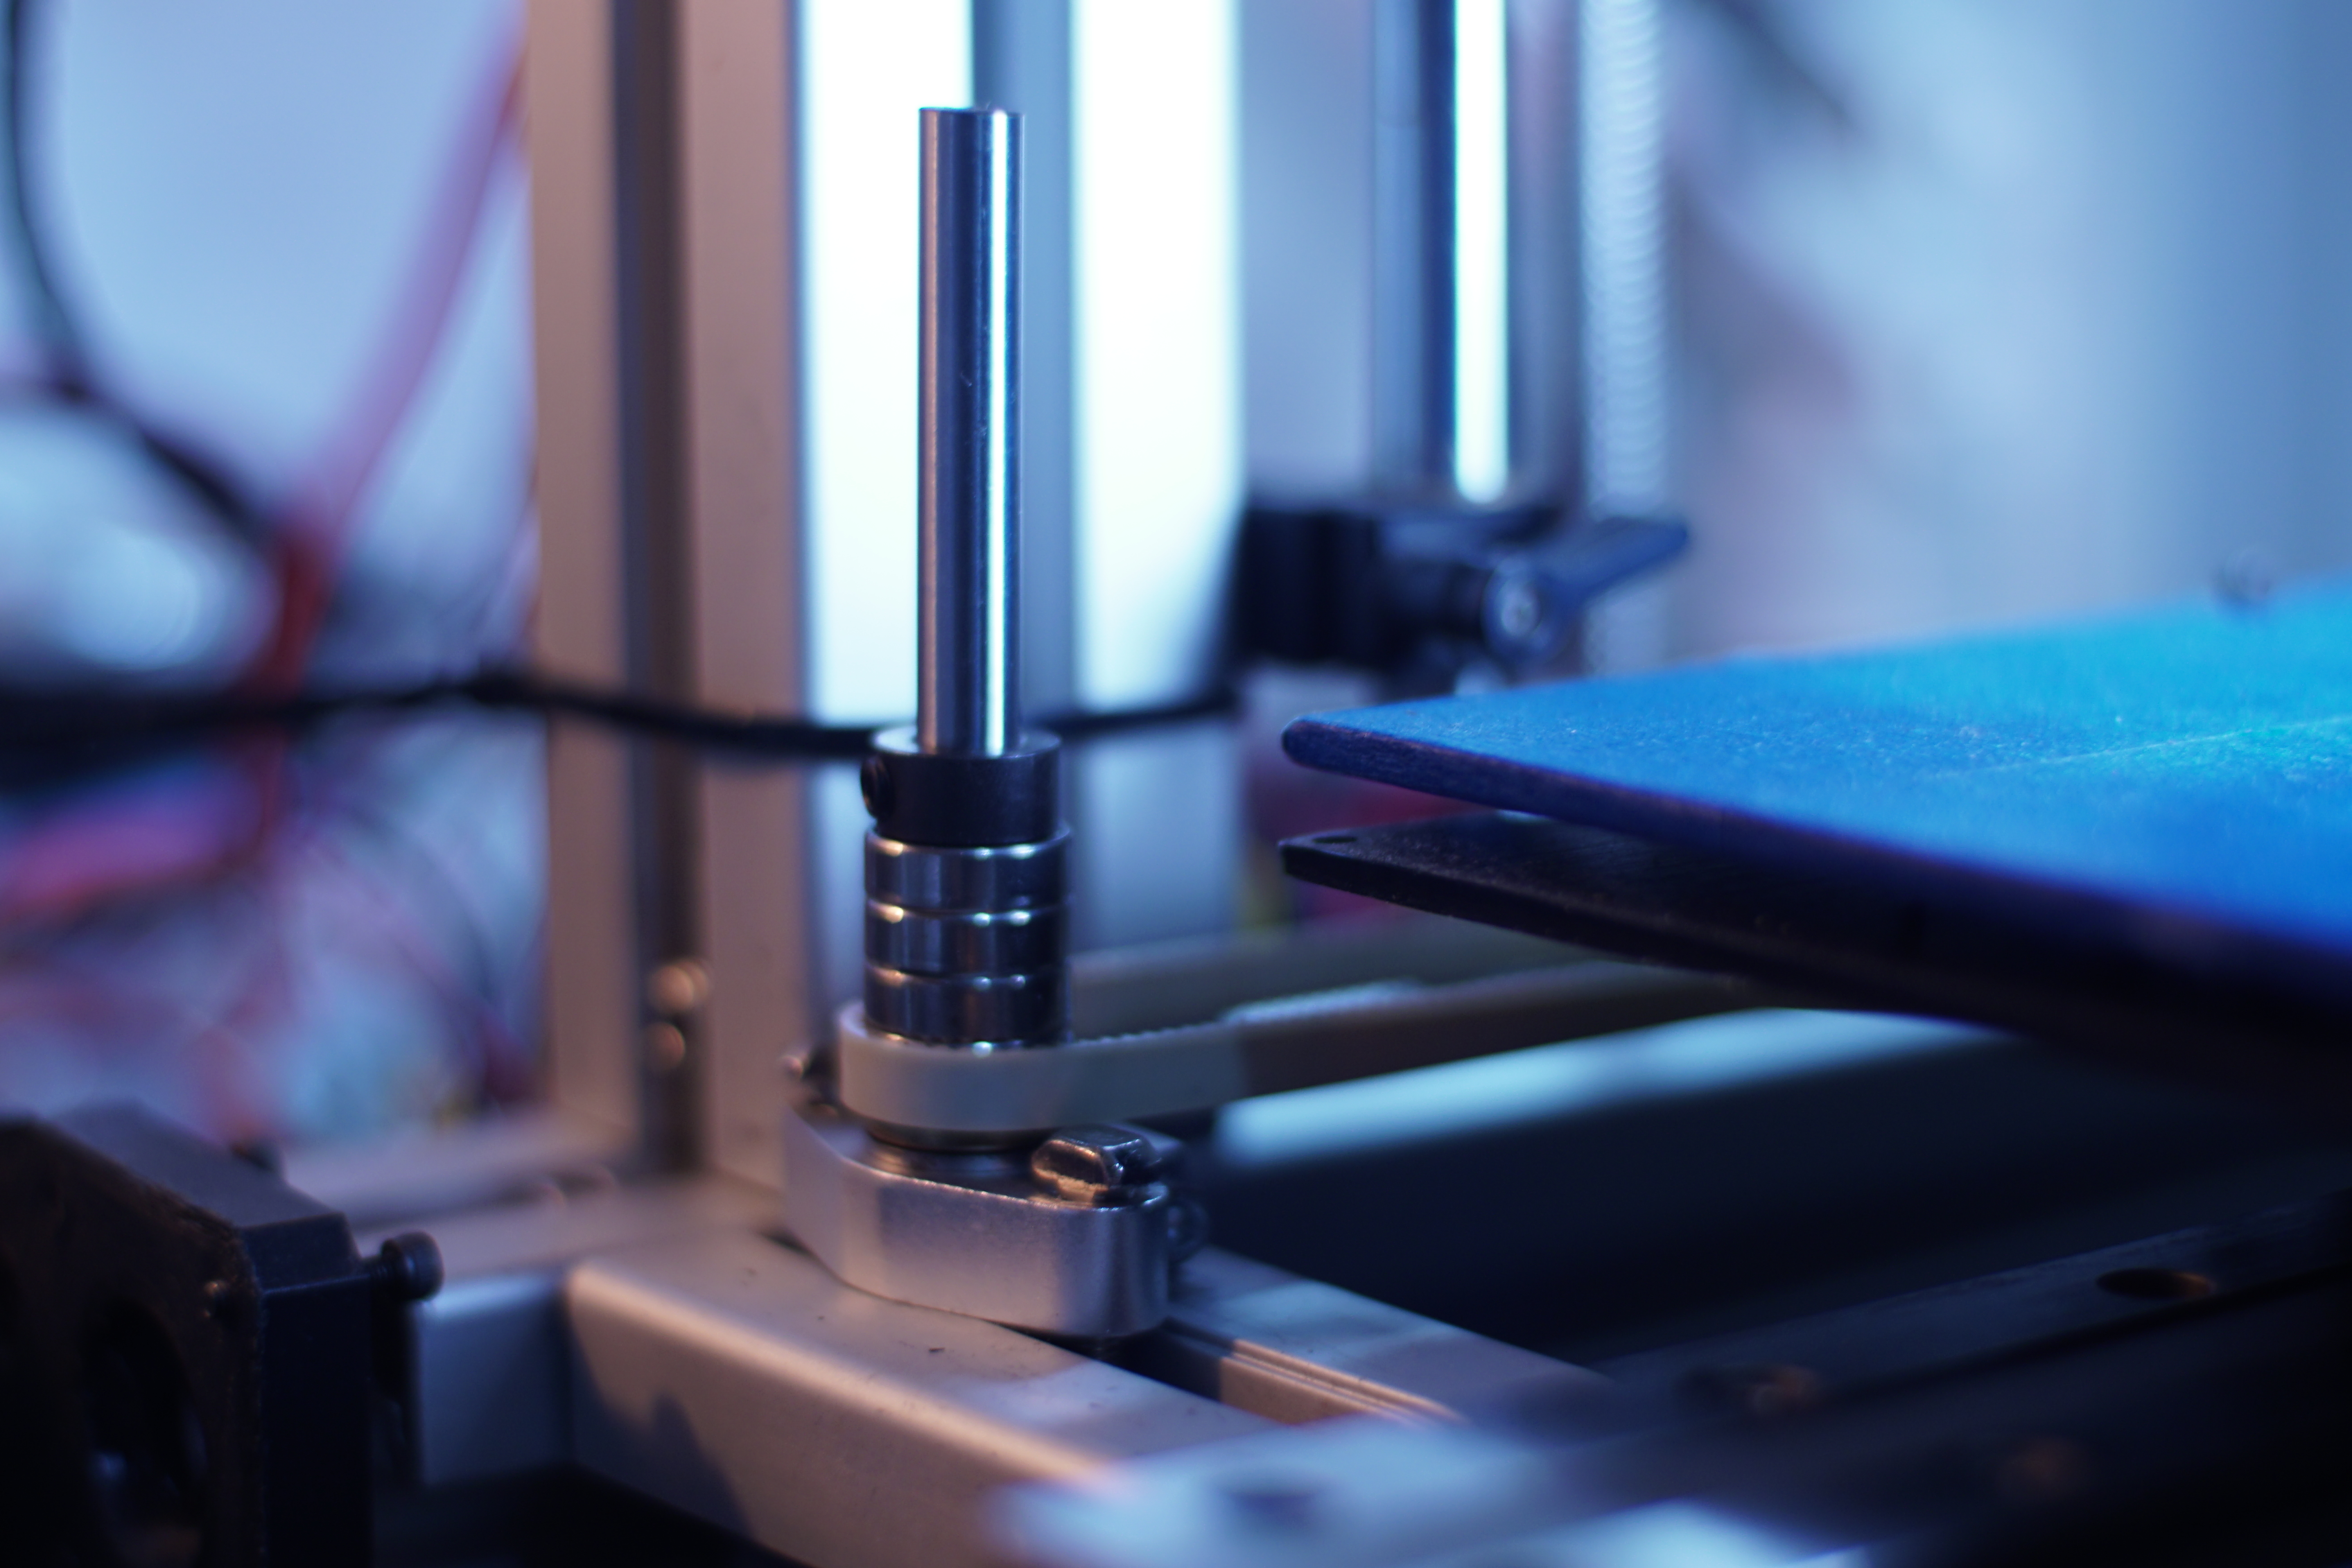
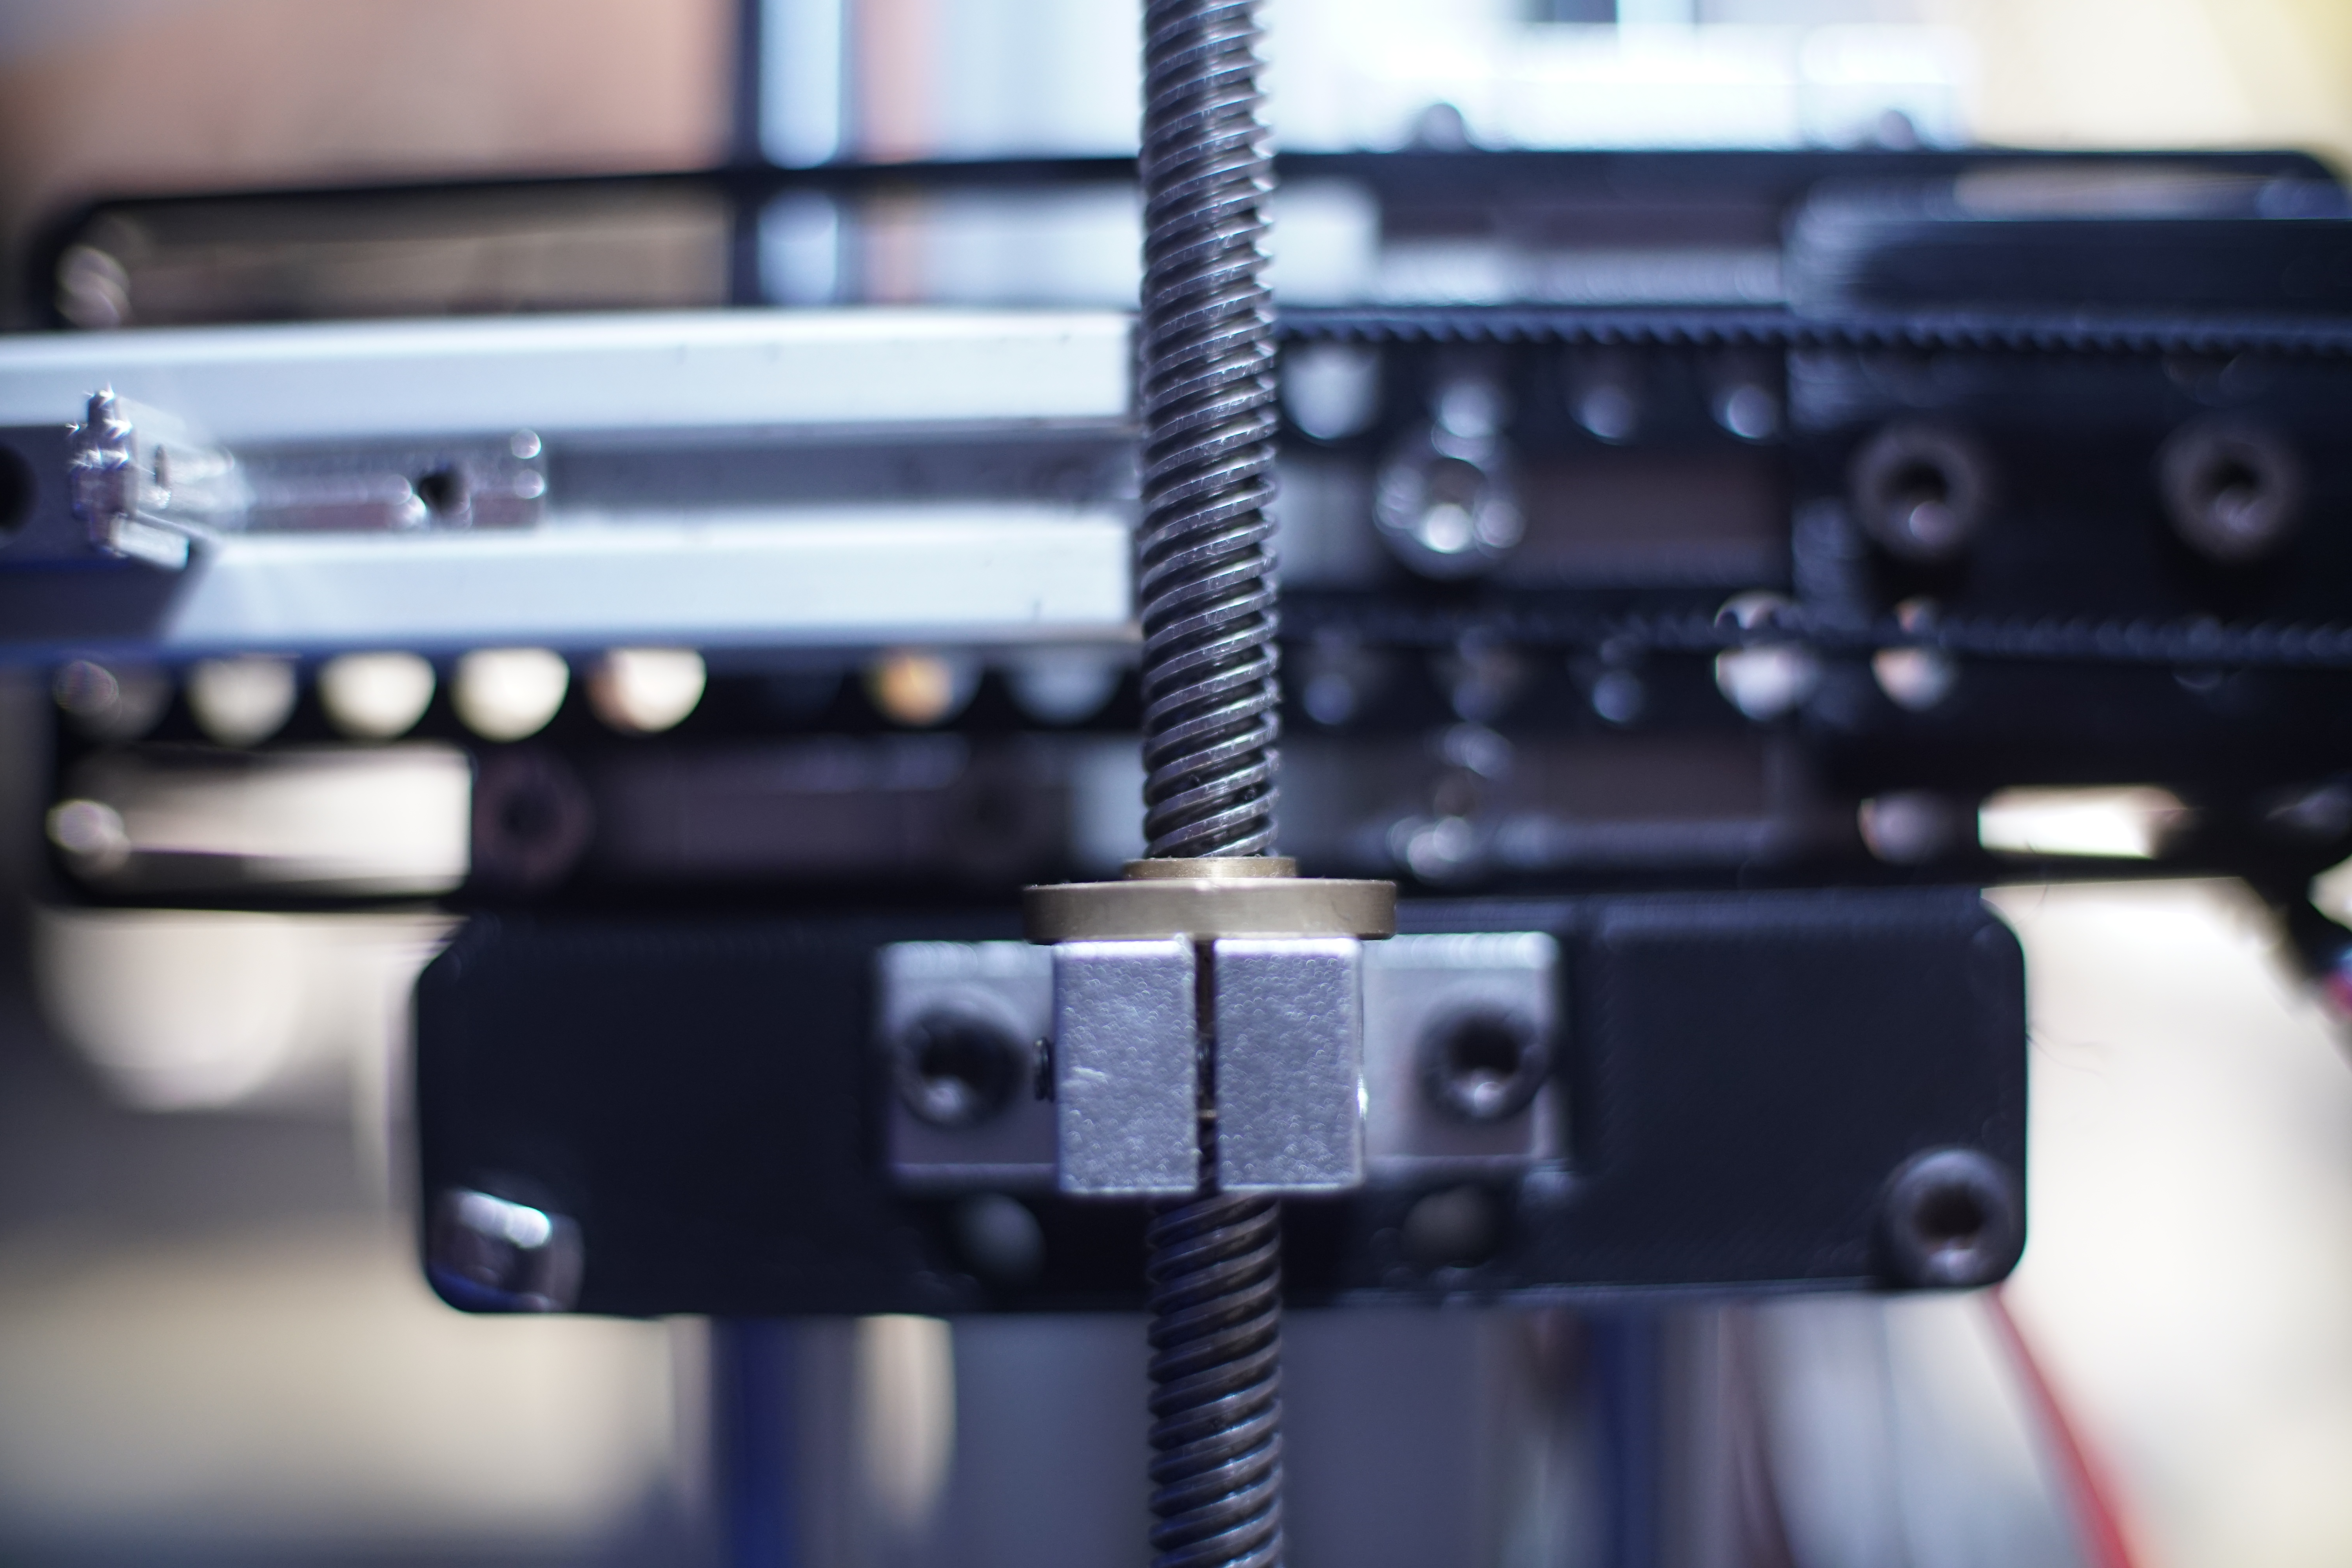
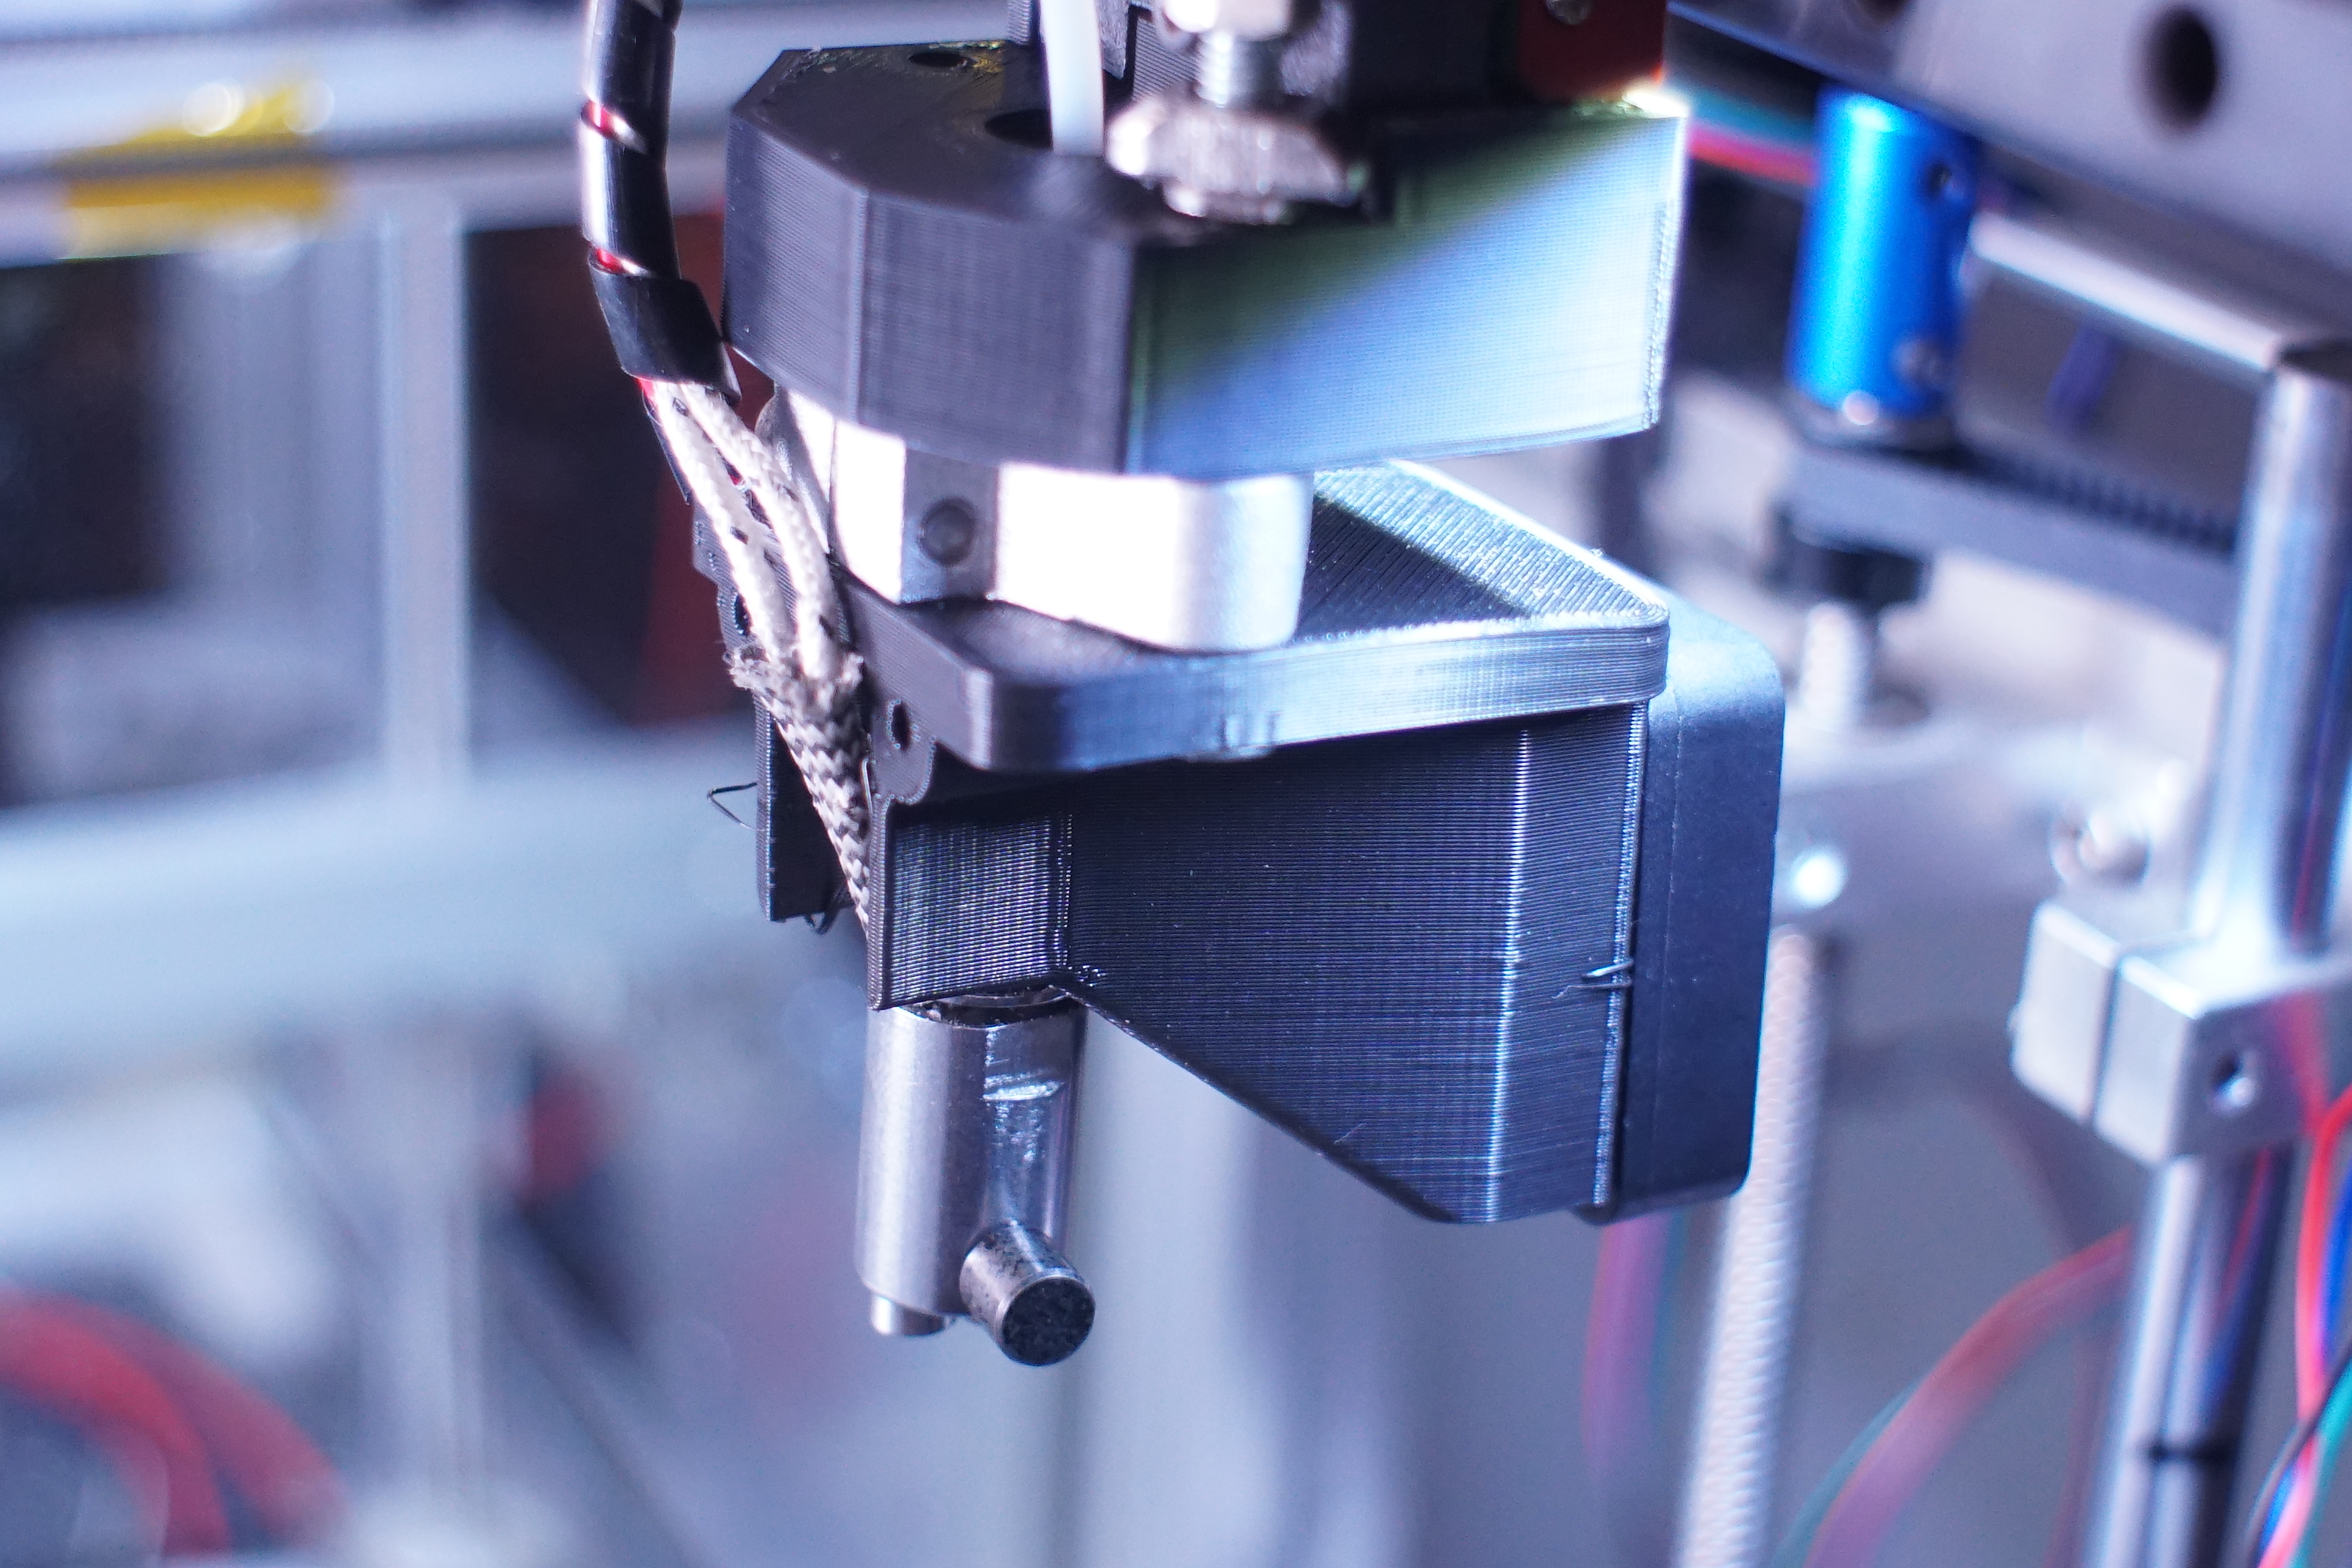
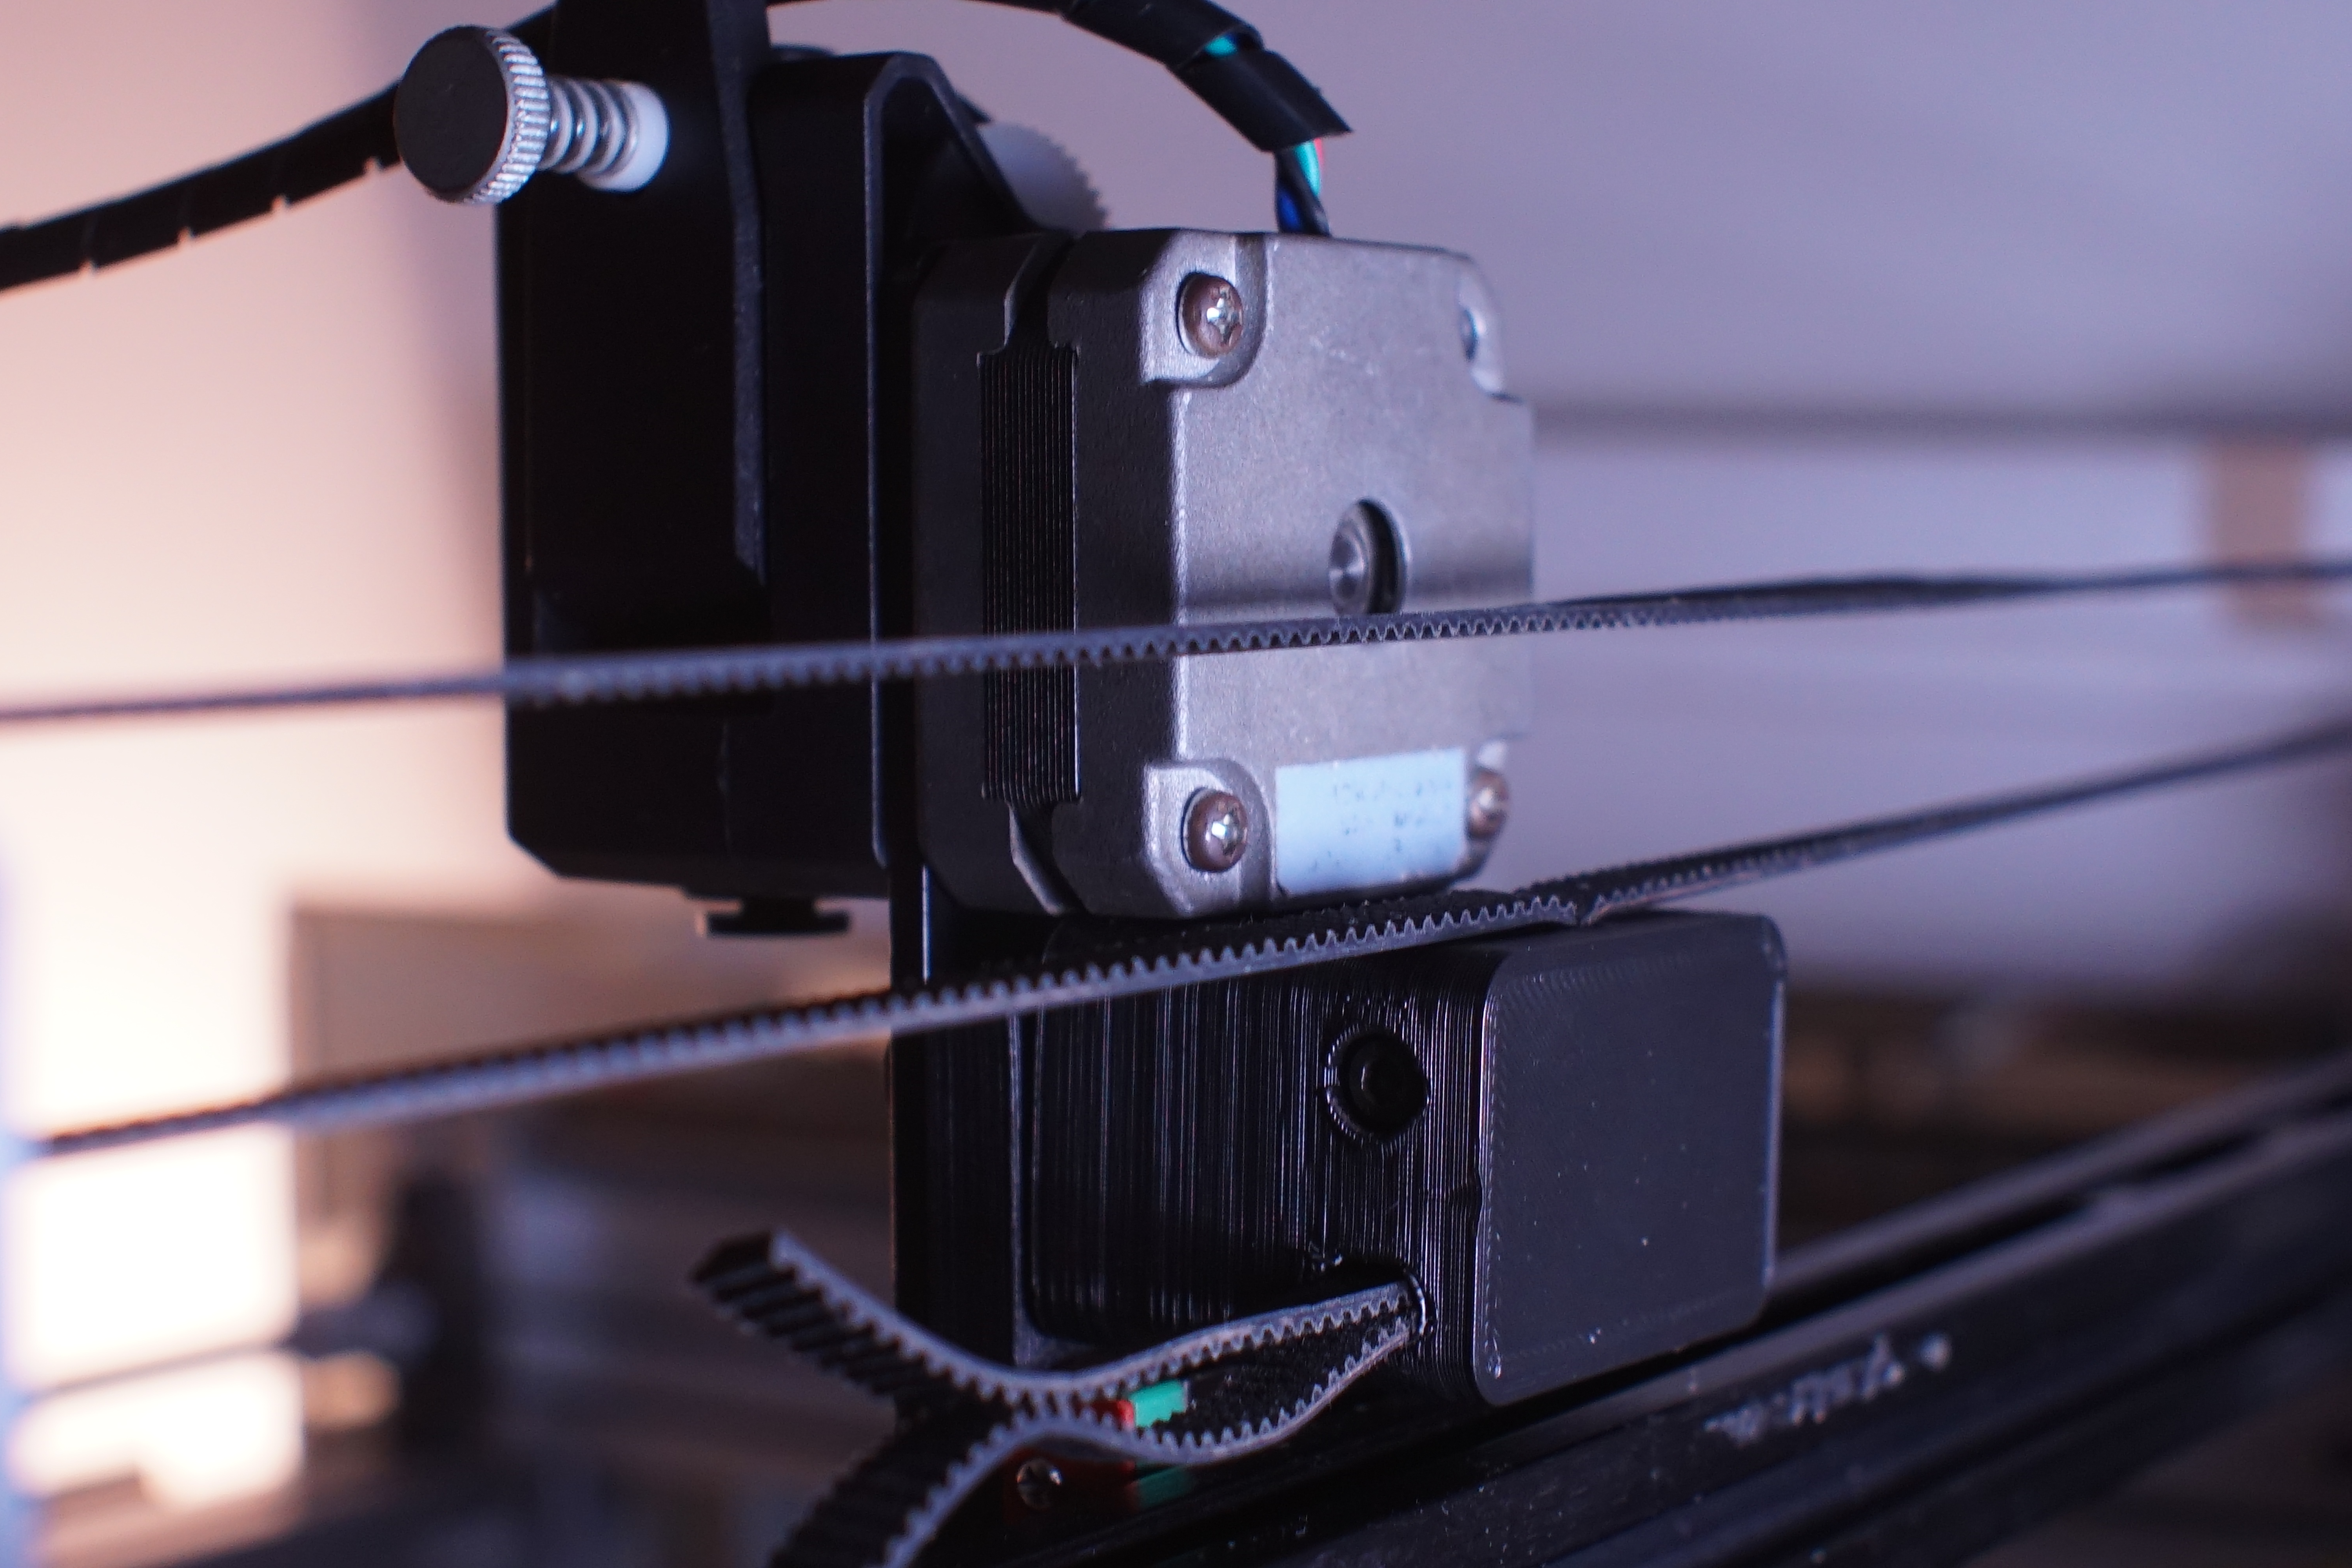
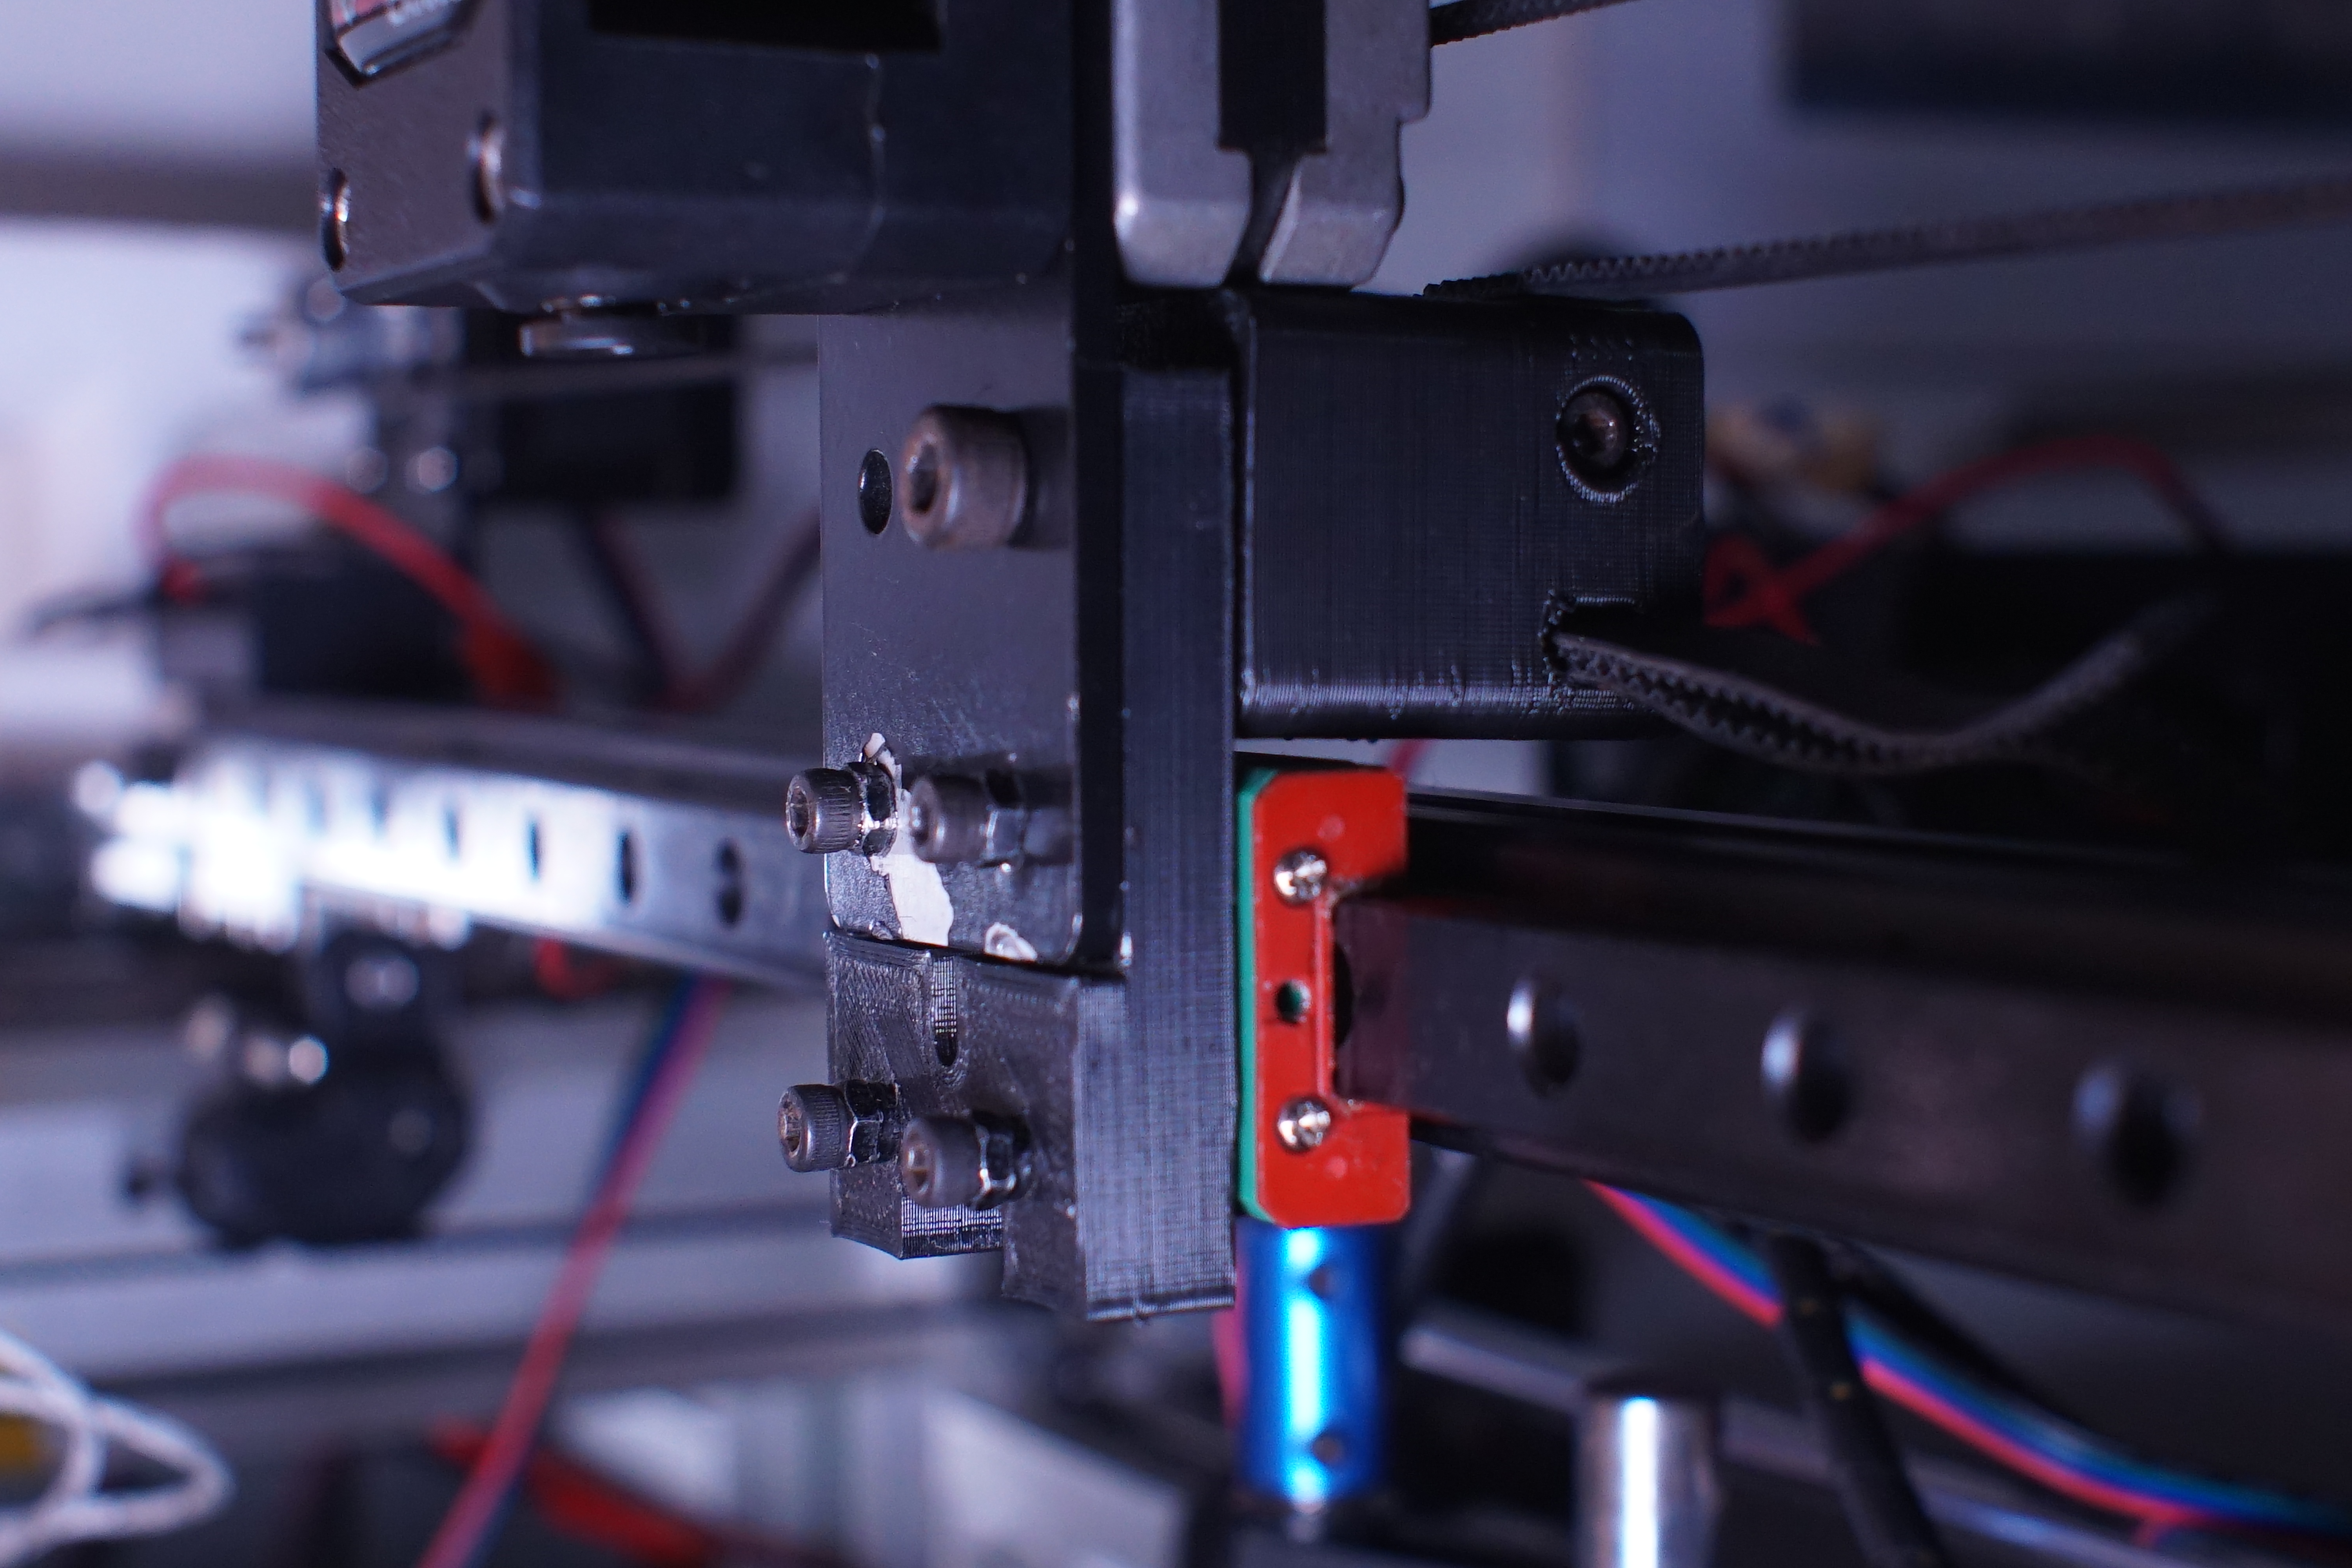
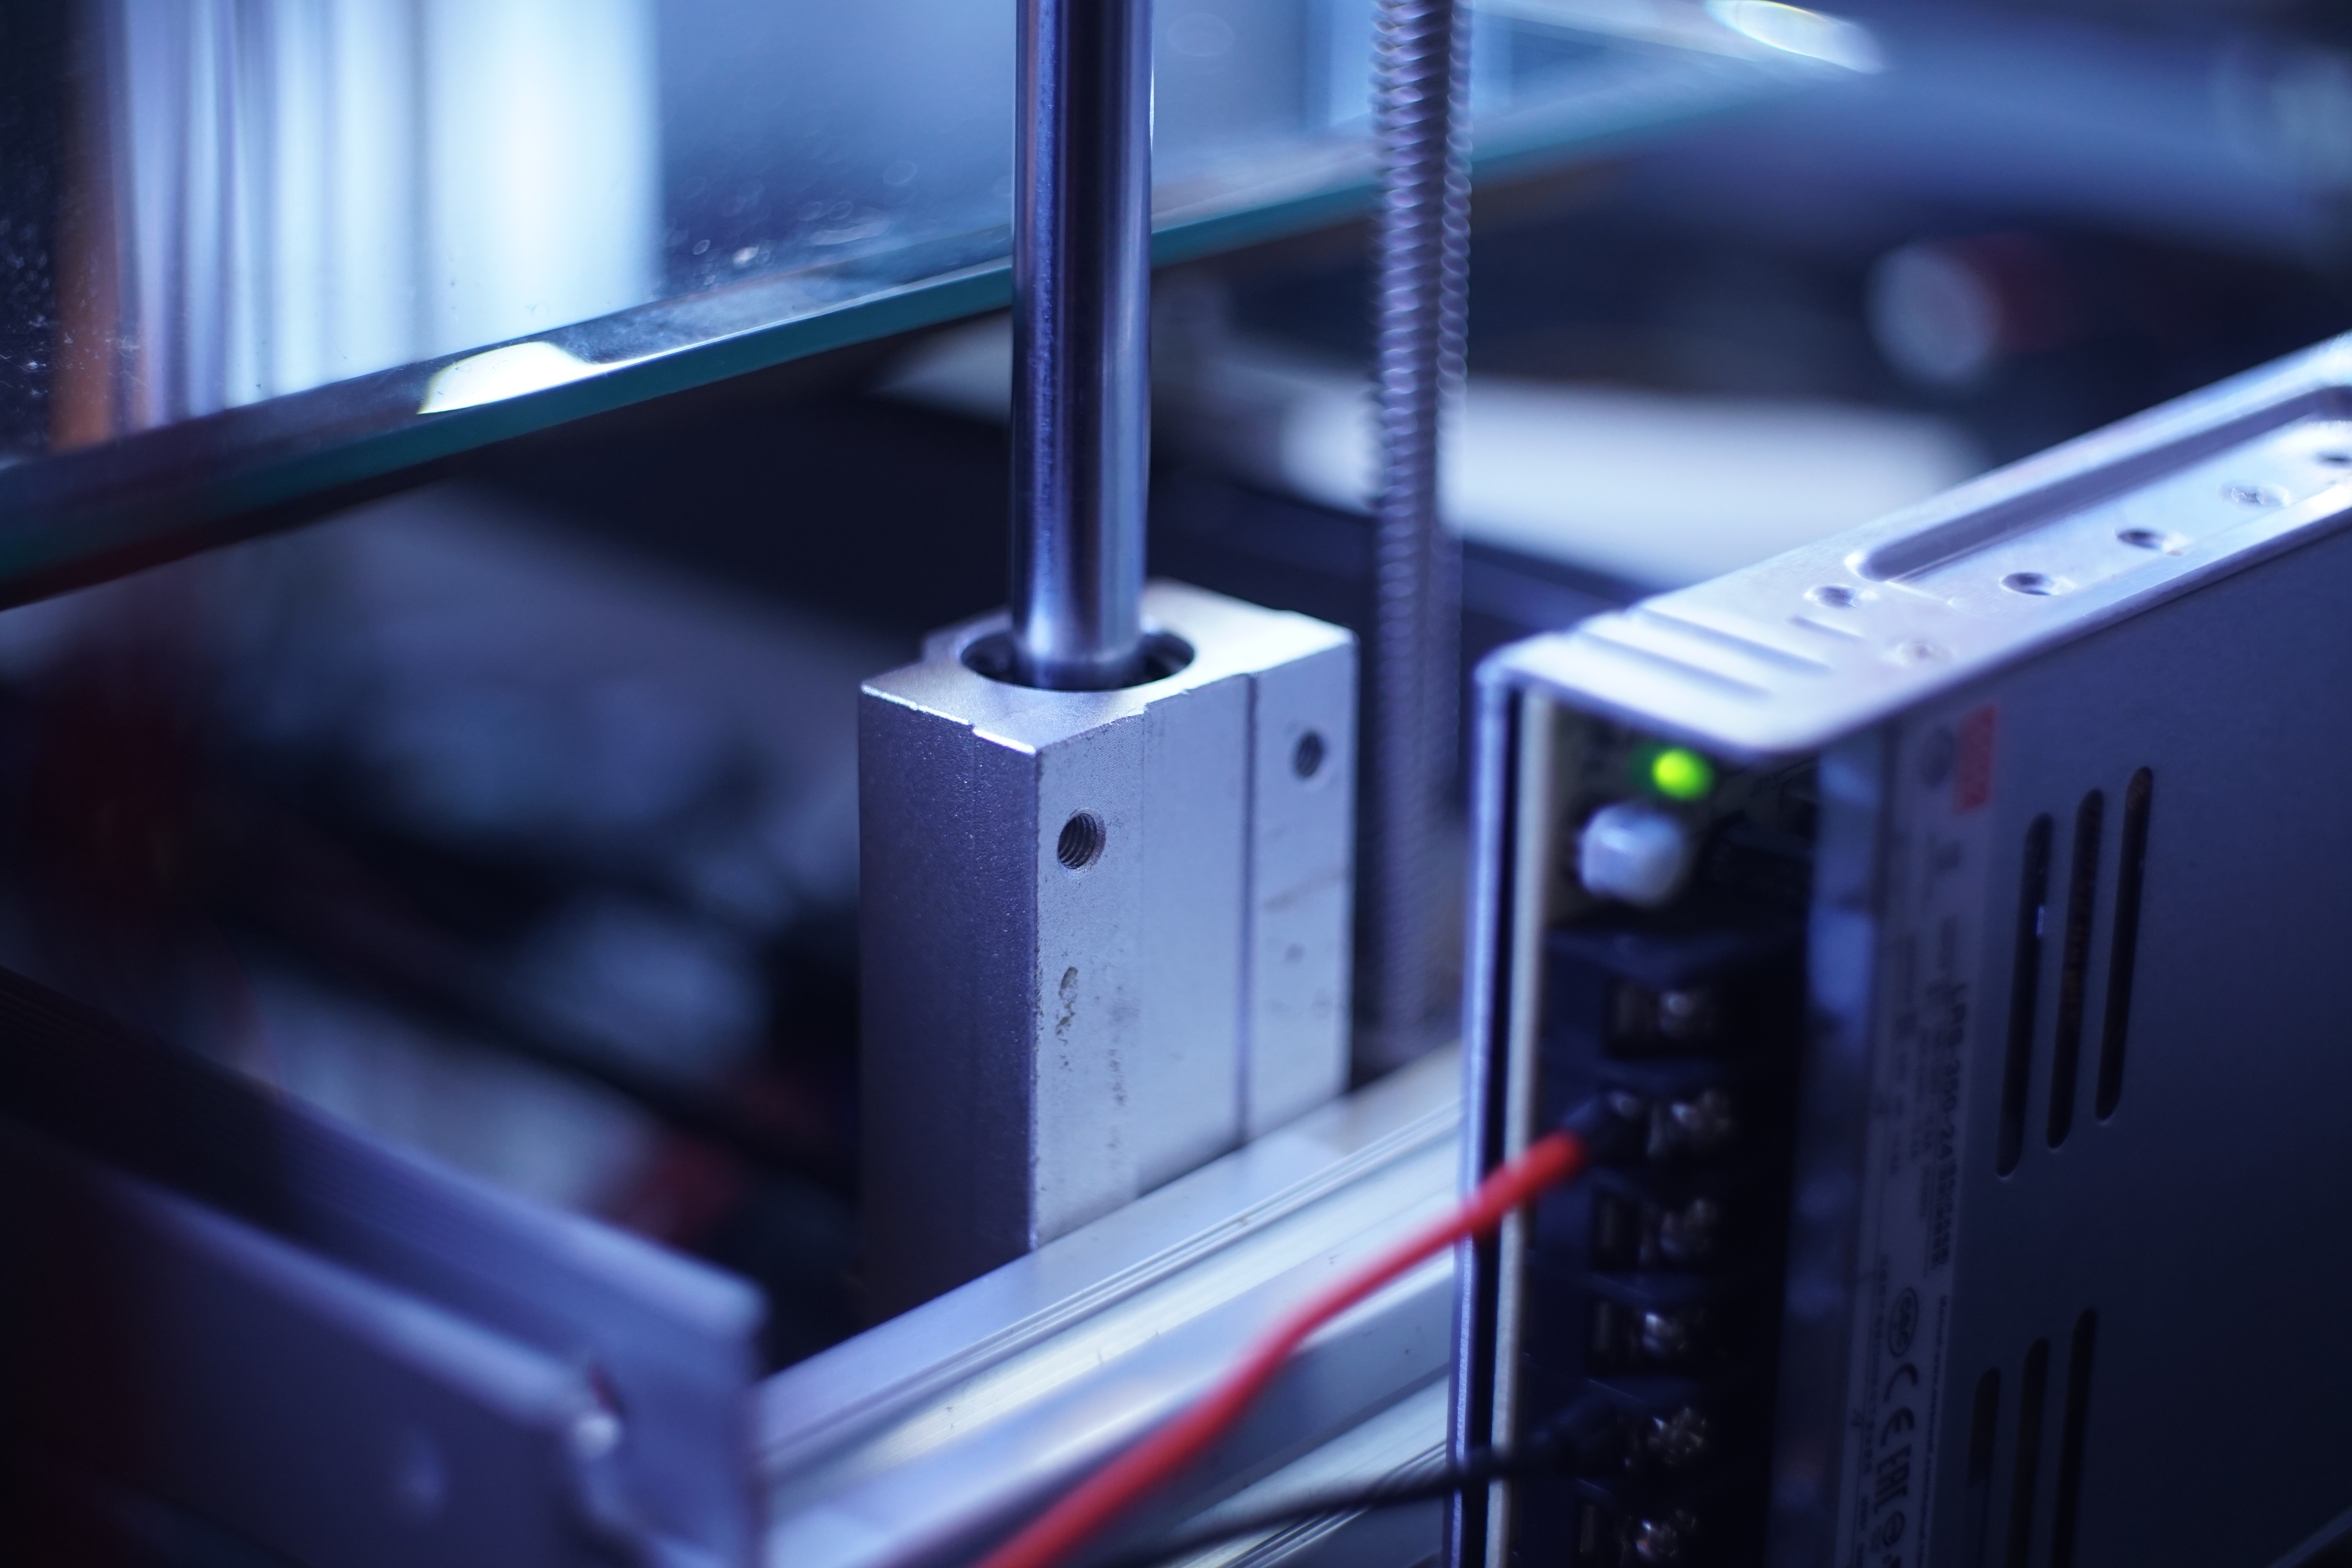
The small cantilever printer seemed a good fit, but now I need to alter the belt path from before, which means a new idler for the 2020 & new cart/hotend holder and new Z nut holder, lucky I already had a similar one printed, finding the orig' project would have been more time consuming than importing the old stl & remaking another to fit better. I could just print a one piece item and do away with the rod holder part, thinking about some POM nuts....or if the profile had of been a tad longer i'd have mounted one of the plastic z nuts on the side of the profile. If I made a backing plate for Z and then placed the new part on top things to neaten things up??? While designing a new hotend holder I've been looking at getting something else that fits with the design better, I really like the Biqu all metal (stainless) vertical heater hotend, cheap enough at the moment...but i'm sure that besides the mounting problem there may be other problems with it, or with me and more exotic materials, and by the time it is mounted and covered in fans, it negates the reason for buying it...I want to see it looking sexy. Not many others at a decent price to choose from so may just keep the v6. China seems to be going premium prices these days...congratulations to our wonderful governments for helping facilitate this. Keeping printed parts to a minimum on this machine, so rather than print an idler for the 2020 or using the method I used on another machine,, I just bought a complete tensioner for £6 almost the same price as the parts for my other method, and much neater to boot. Only 3 printed parts in this machine if I swap out the printed idler for a metal solution...and I just realized dont even need an idler plate to do it, the 45 profile that makes the frame will hold an 8mm stud.
|
Re: MechaBits KraftWerk'r March 08, 2021 02:12AM |
Registered: 8 years ago Posts: 1,671 |


|
Re: MechaBits KraftWerk'r March 08, 2021 10:37AM |
Registered: 12 years ago Posts: 1,450 |
|
Re: MechaBits KraftWerk'r March 09, 2021 05:55AM |
Registered: 8 years ago Posts: 1,671 |
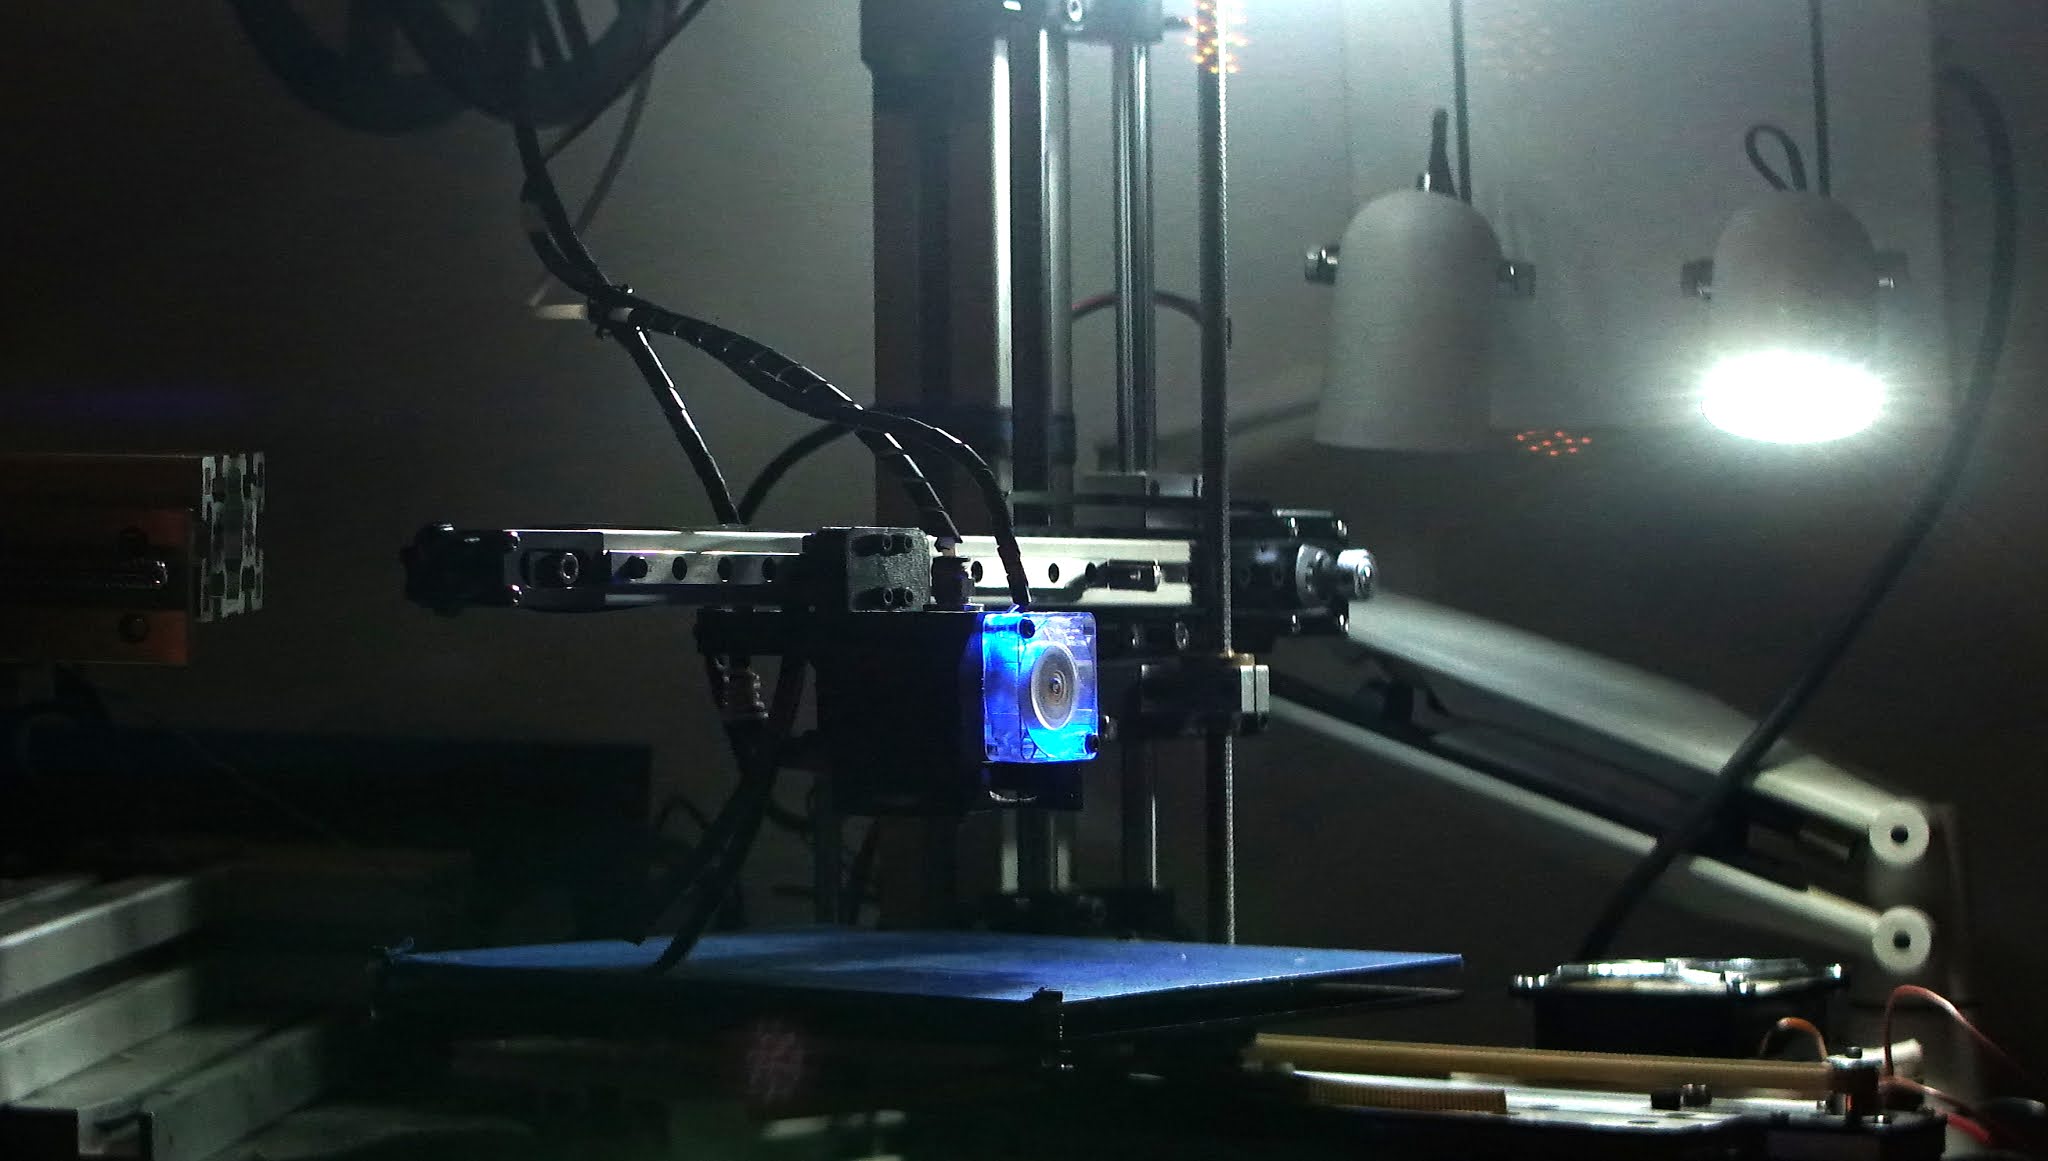
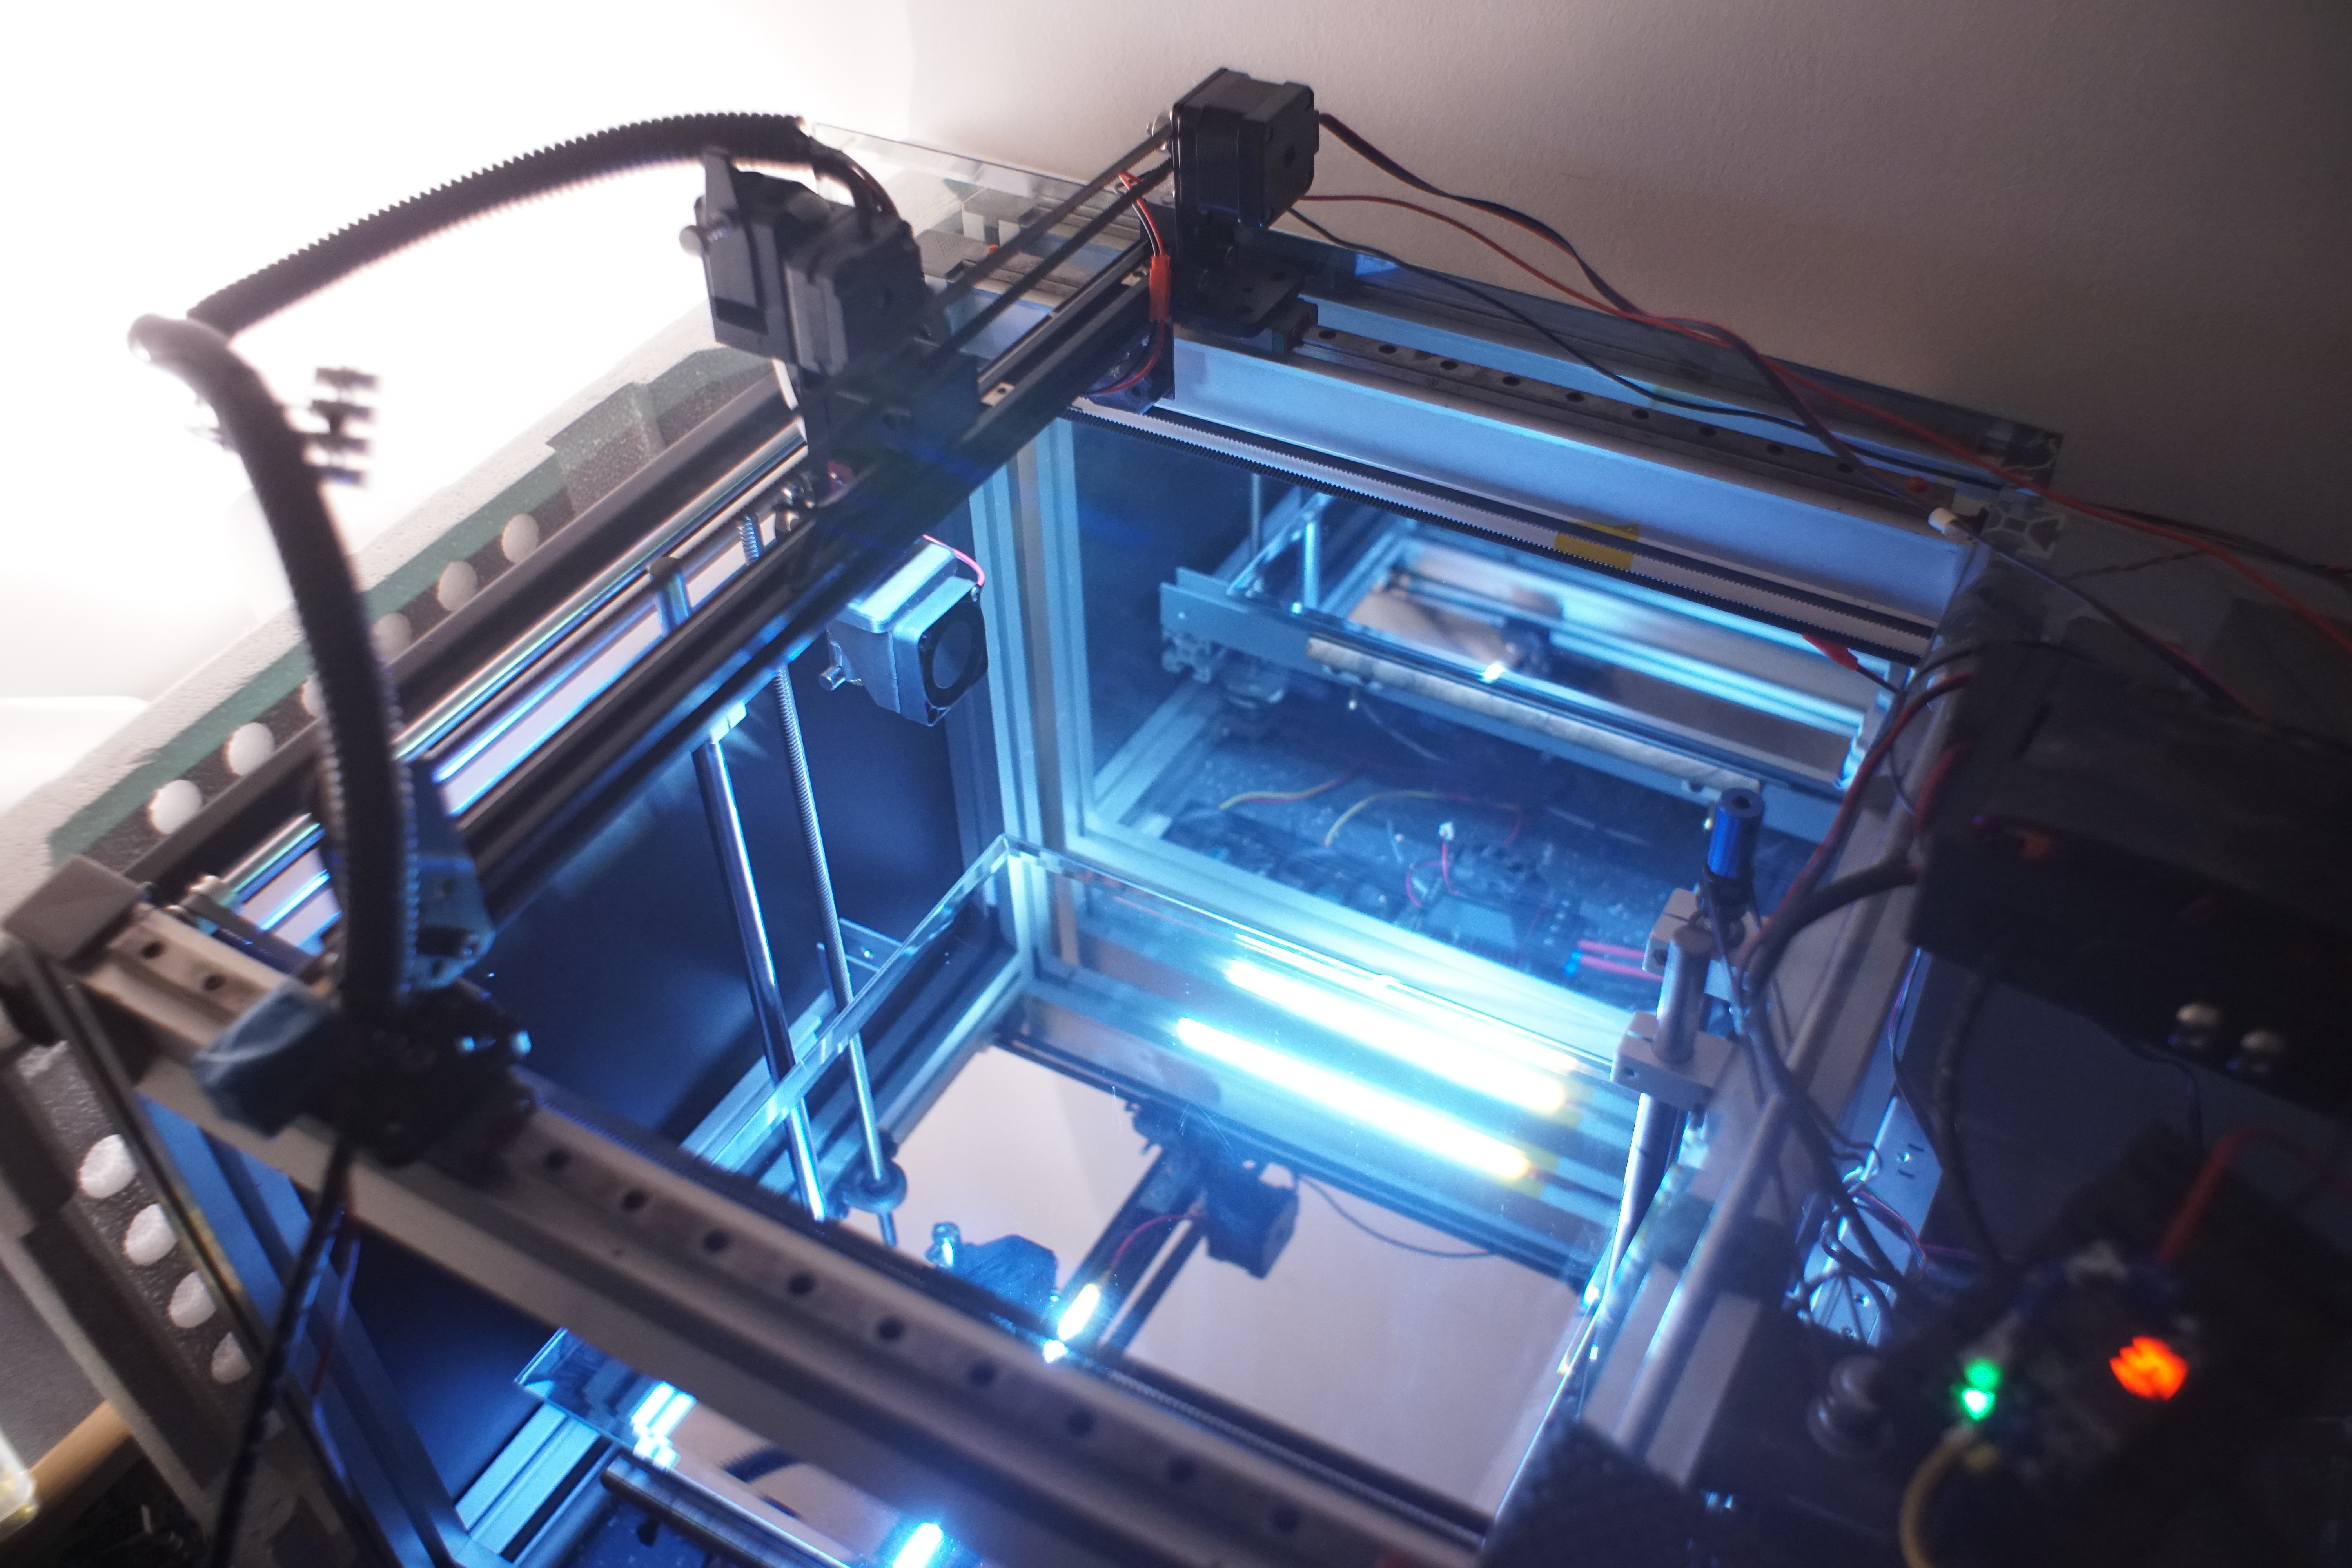
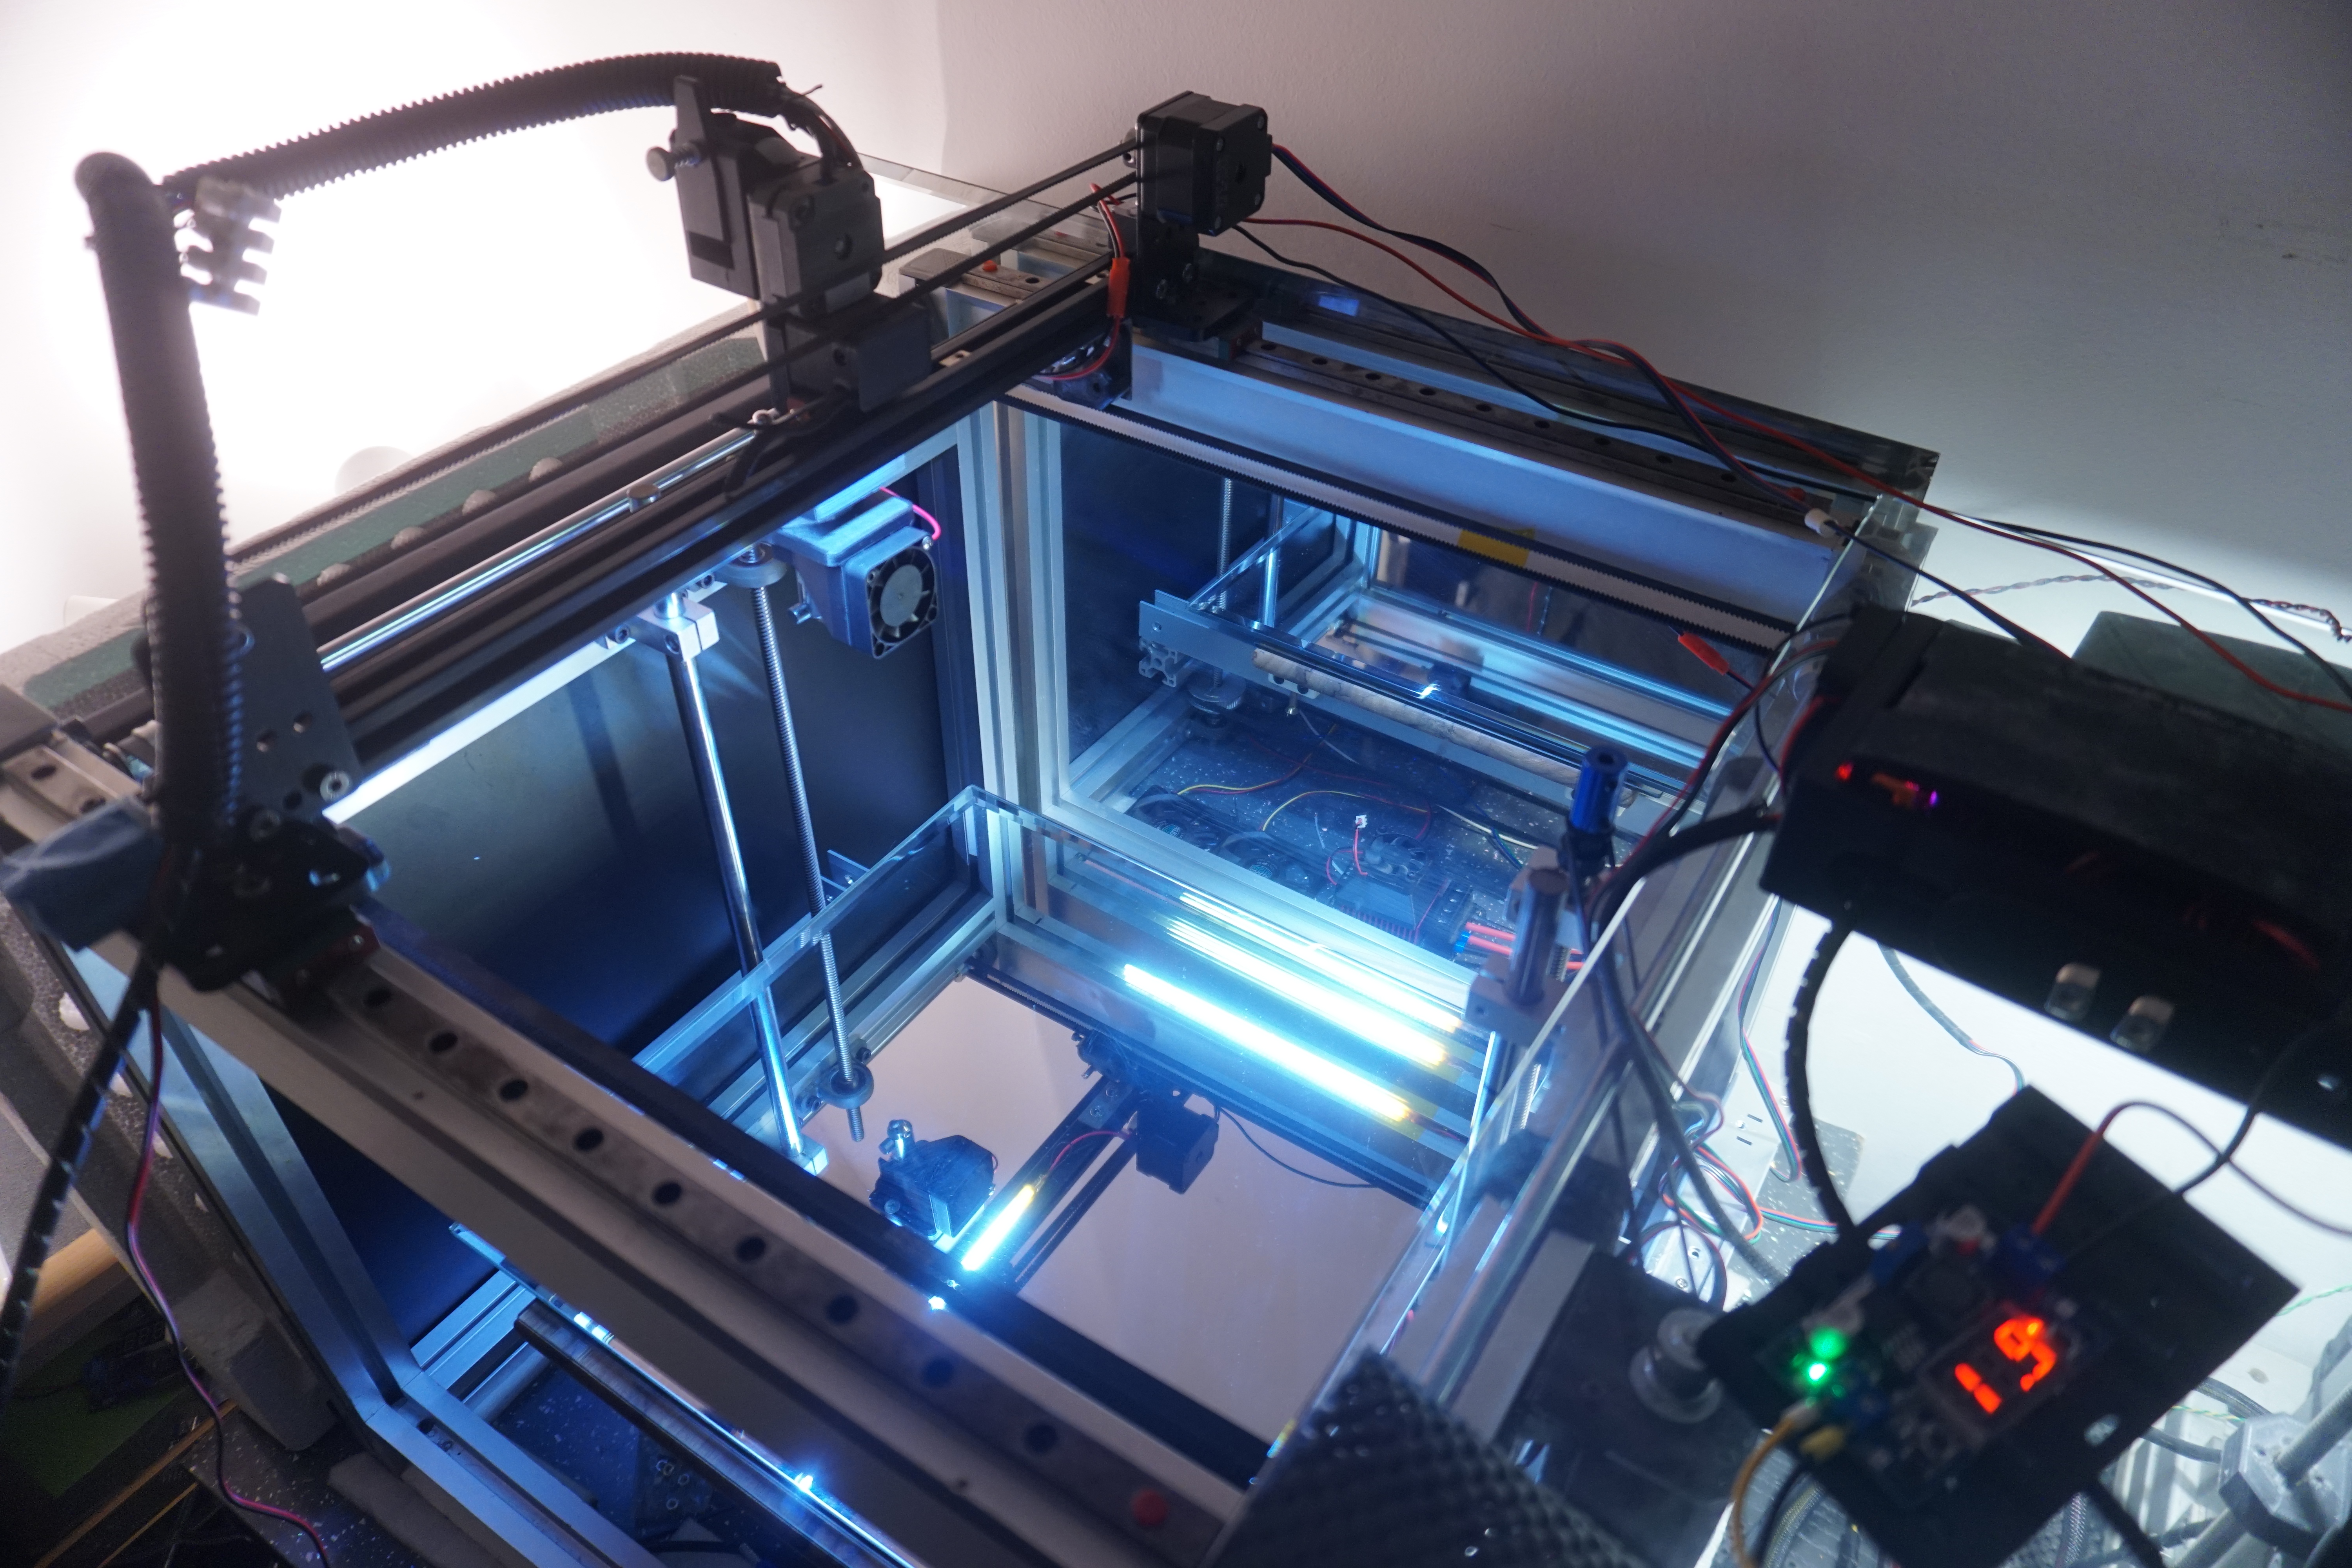
Cheers Mike here's a couple with the lights on.


 Printer decided to play space invaders while waiting for the cowl to finish.
Idler for X still on the boat, still undecided on new hotend parts, wondering if doing away with the 3rd Z bearing would be too detrimental, might look better with slight rearrangement, ie one metal bearing housing and the other by the motor 3d printed but with a longer bearing, will get a shorter shaft for the bed idler at some point and if I can find the 8mm flange bearings i'll slip them in.
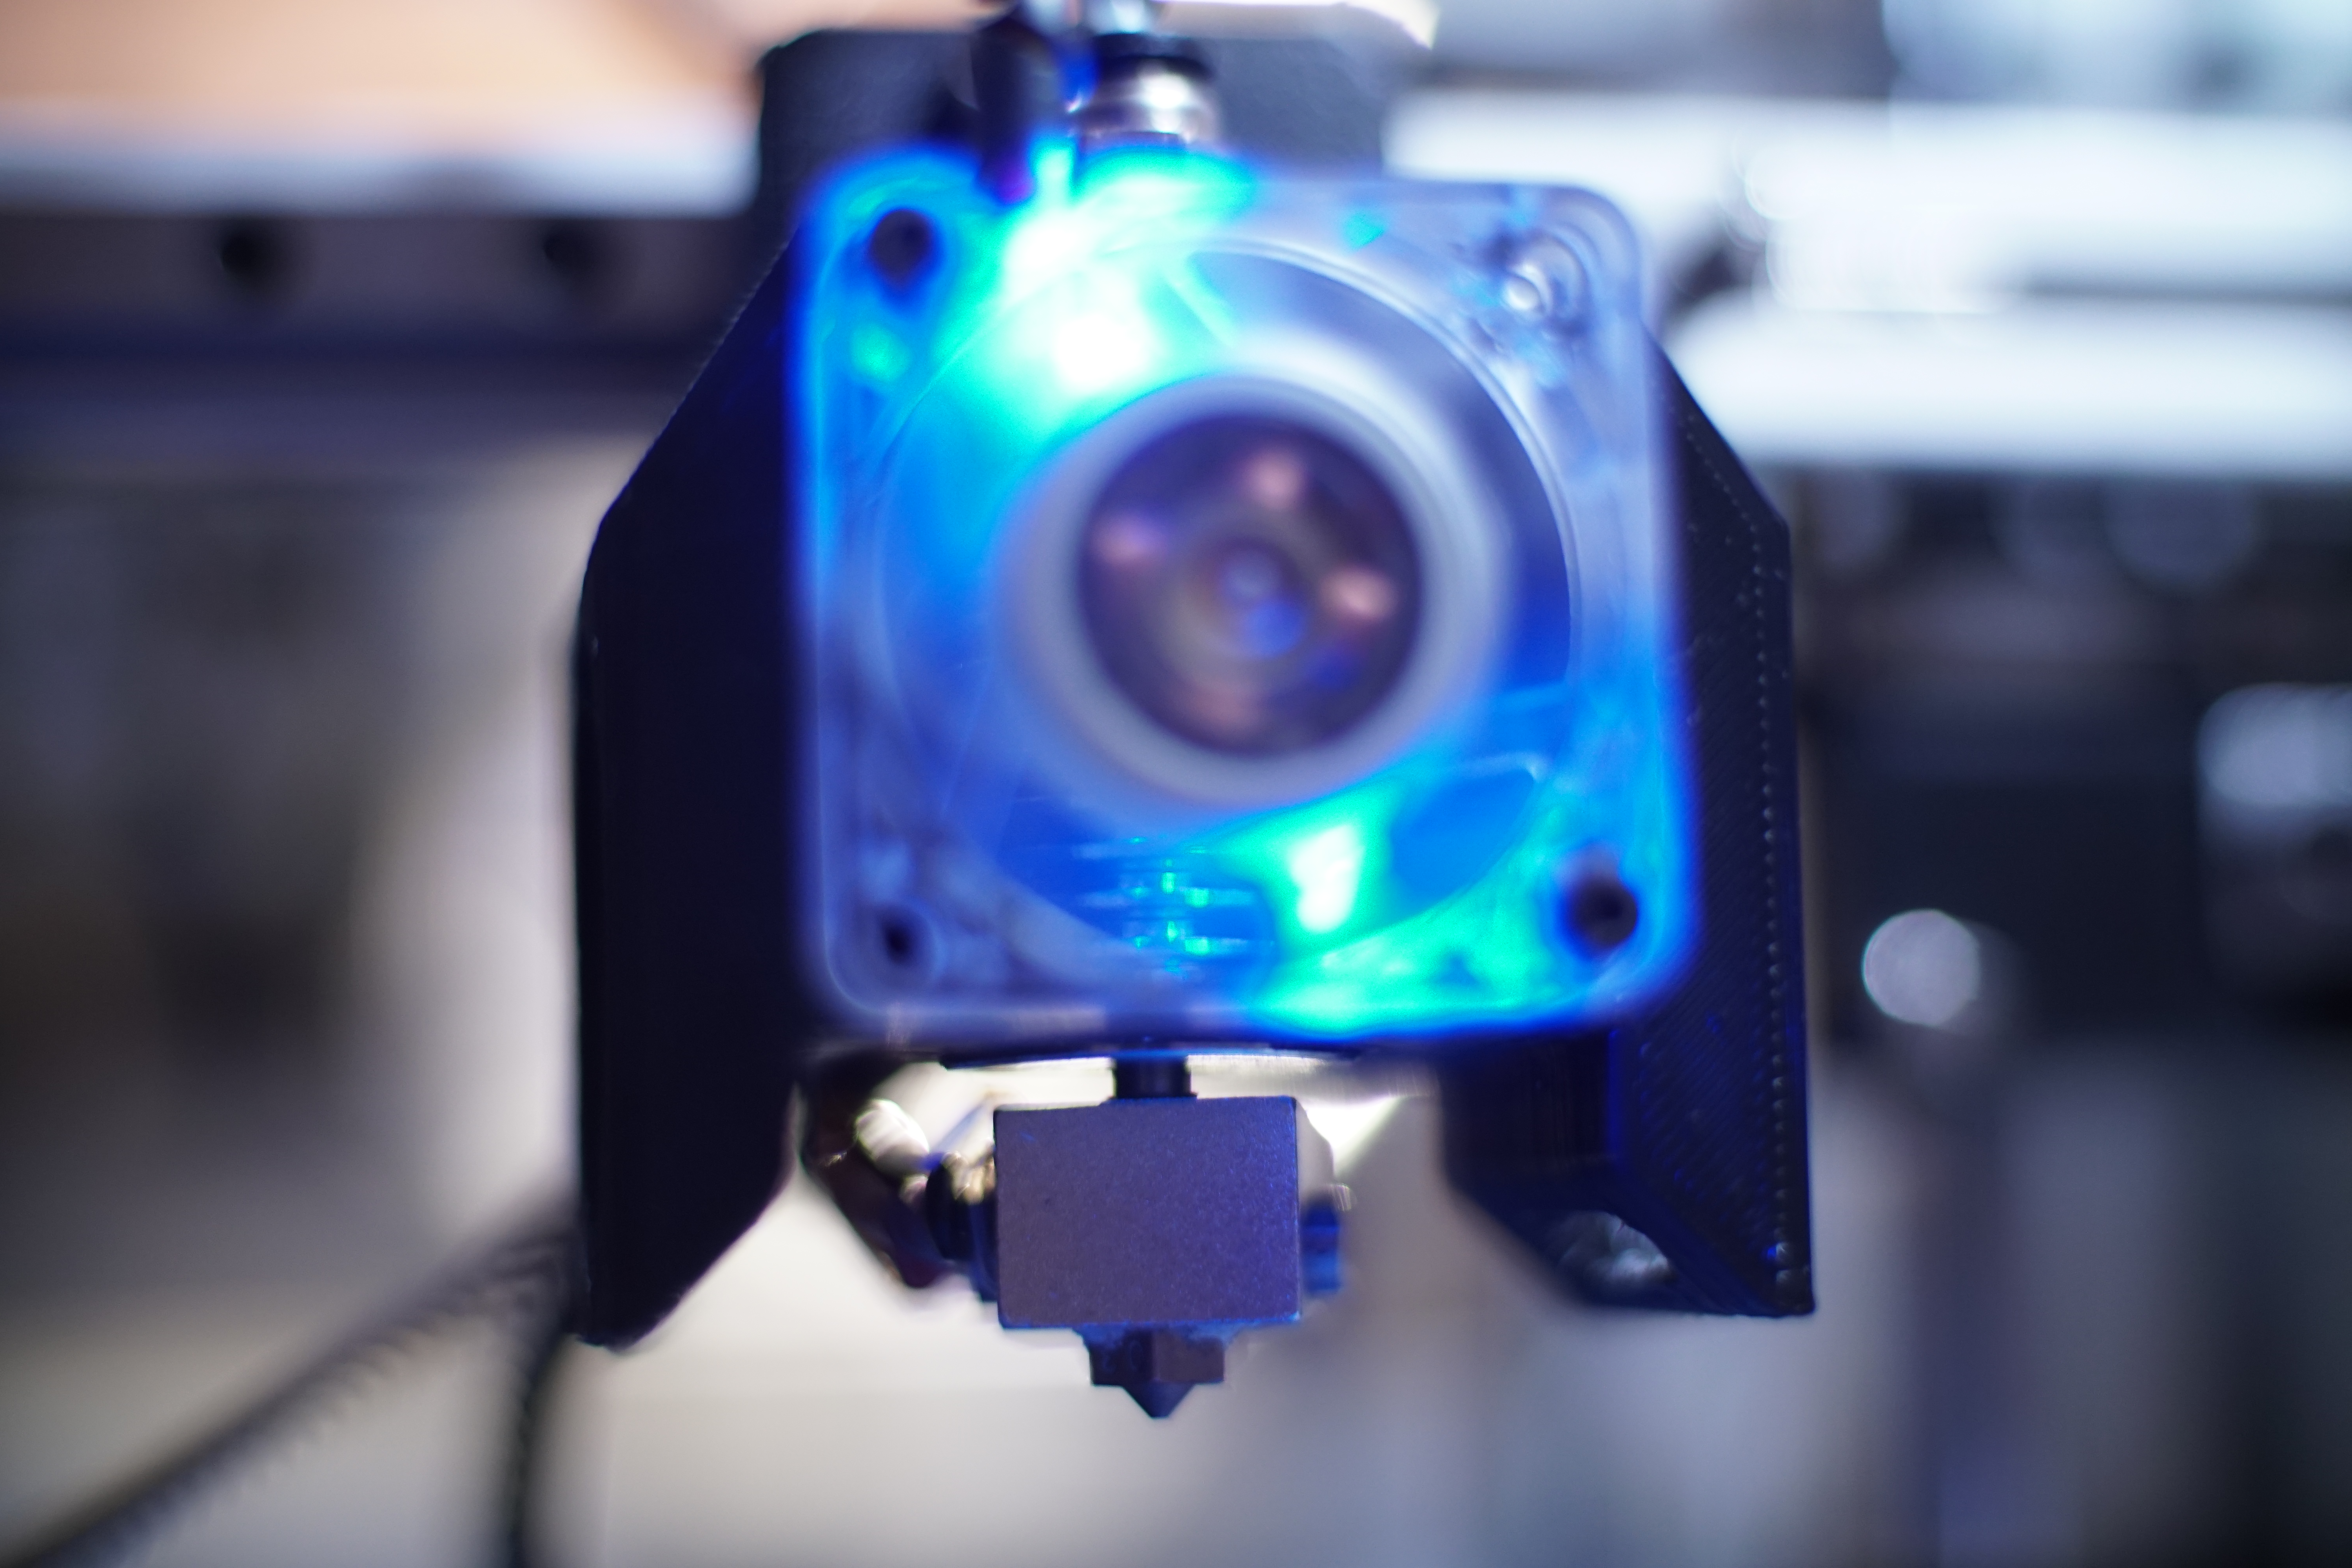
I wish there was a little more choice on 40mm fans, the standard 40mm has some nice contours that this LED one doesnt have or can't be seen, i'd prefer the outer part black & just the blades glowing some patterns would be cool.....I can wait. I think the slits on the side mount part cooling fans are probably too wide at 4mm was going to go thinner, maybe next time, I doubt i'll be needing them anyway just put them there for a little flexibility in the future. Maybe move filament roll of top of Z, though I can hit the column quite had without any noticeable movement
Tempted to get a little skr board to neaten things up a little more compared to a bulky ramps sandwich.


Idler for X still on the boat, still undecided on new hotend parts, wondering if doing away with the 3rd Z bearing would be too detrimental, might look better with slight rearrangement, ie one metal bearing housing and the other by the motor 3d printed but with a longer bearing, will get a shorter shaft for the bed idler at some point and if I can find the 8mm flange bearings i'll slip them in.
I wish there was a little more choice on 40mm fans, the standard 40mm has some nice contours that this LED one doesnt have or can't be seen, i'd prefer the outer part black & just the blades glowing some patterns would be cool.....I can wait. I think the slits on the side mount part cooling fans are probably too wide at 4mm was going to go thinner, maybe next time, I doubt i'll be needing them anyway just put them there for a little flexibility in the future. Maybe move filament roll of top of Z, though I can hit the column quite had without any noticeable movement
Tempted to get a little skr board to neaten things up a little more compared to a bulky ramps sandwich.
|
Re: MechaBits KraftWerk'r March 21, 2021 05:05PM |
Registered: 8 years ago Posts: 1,671 |
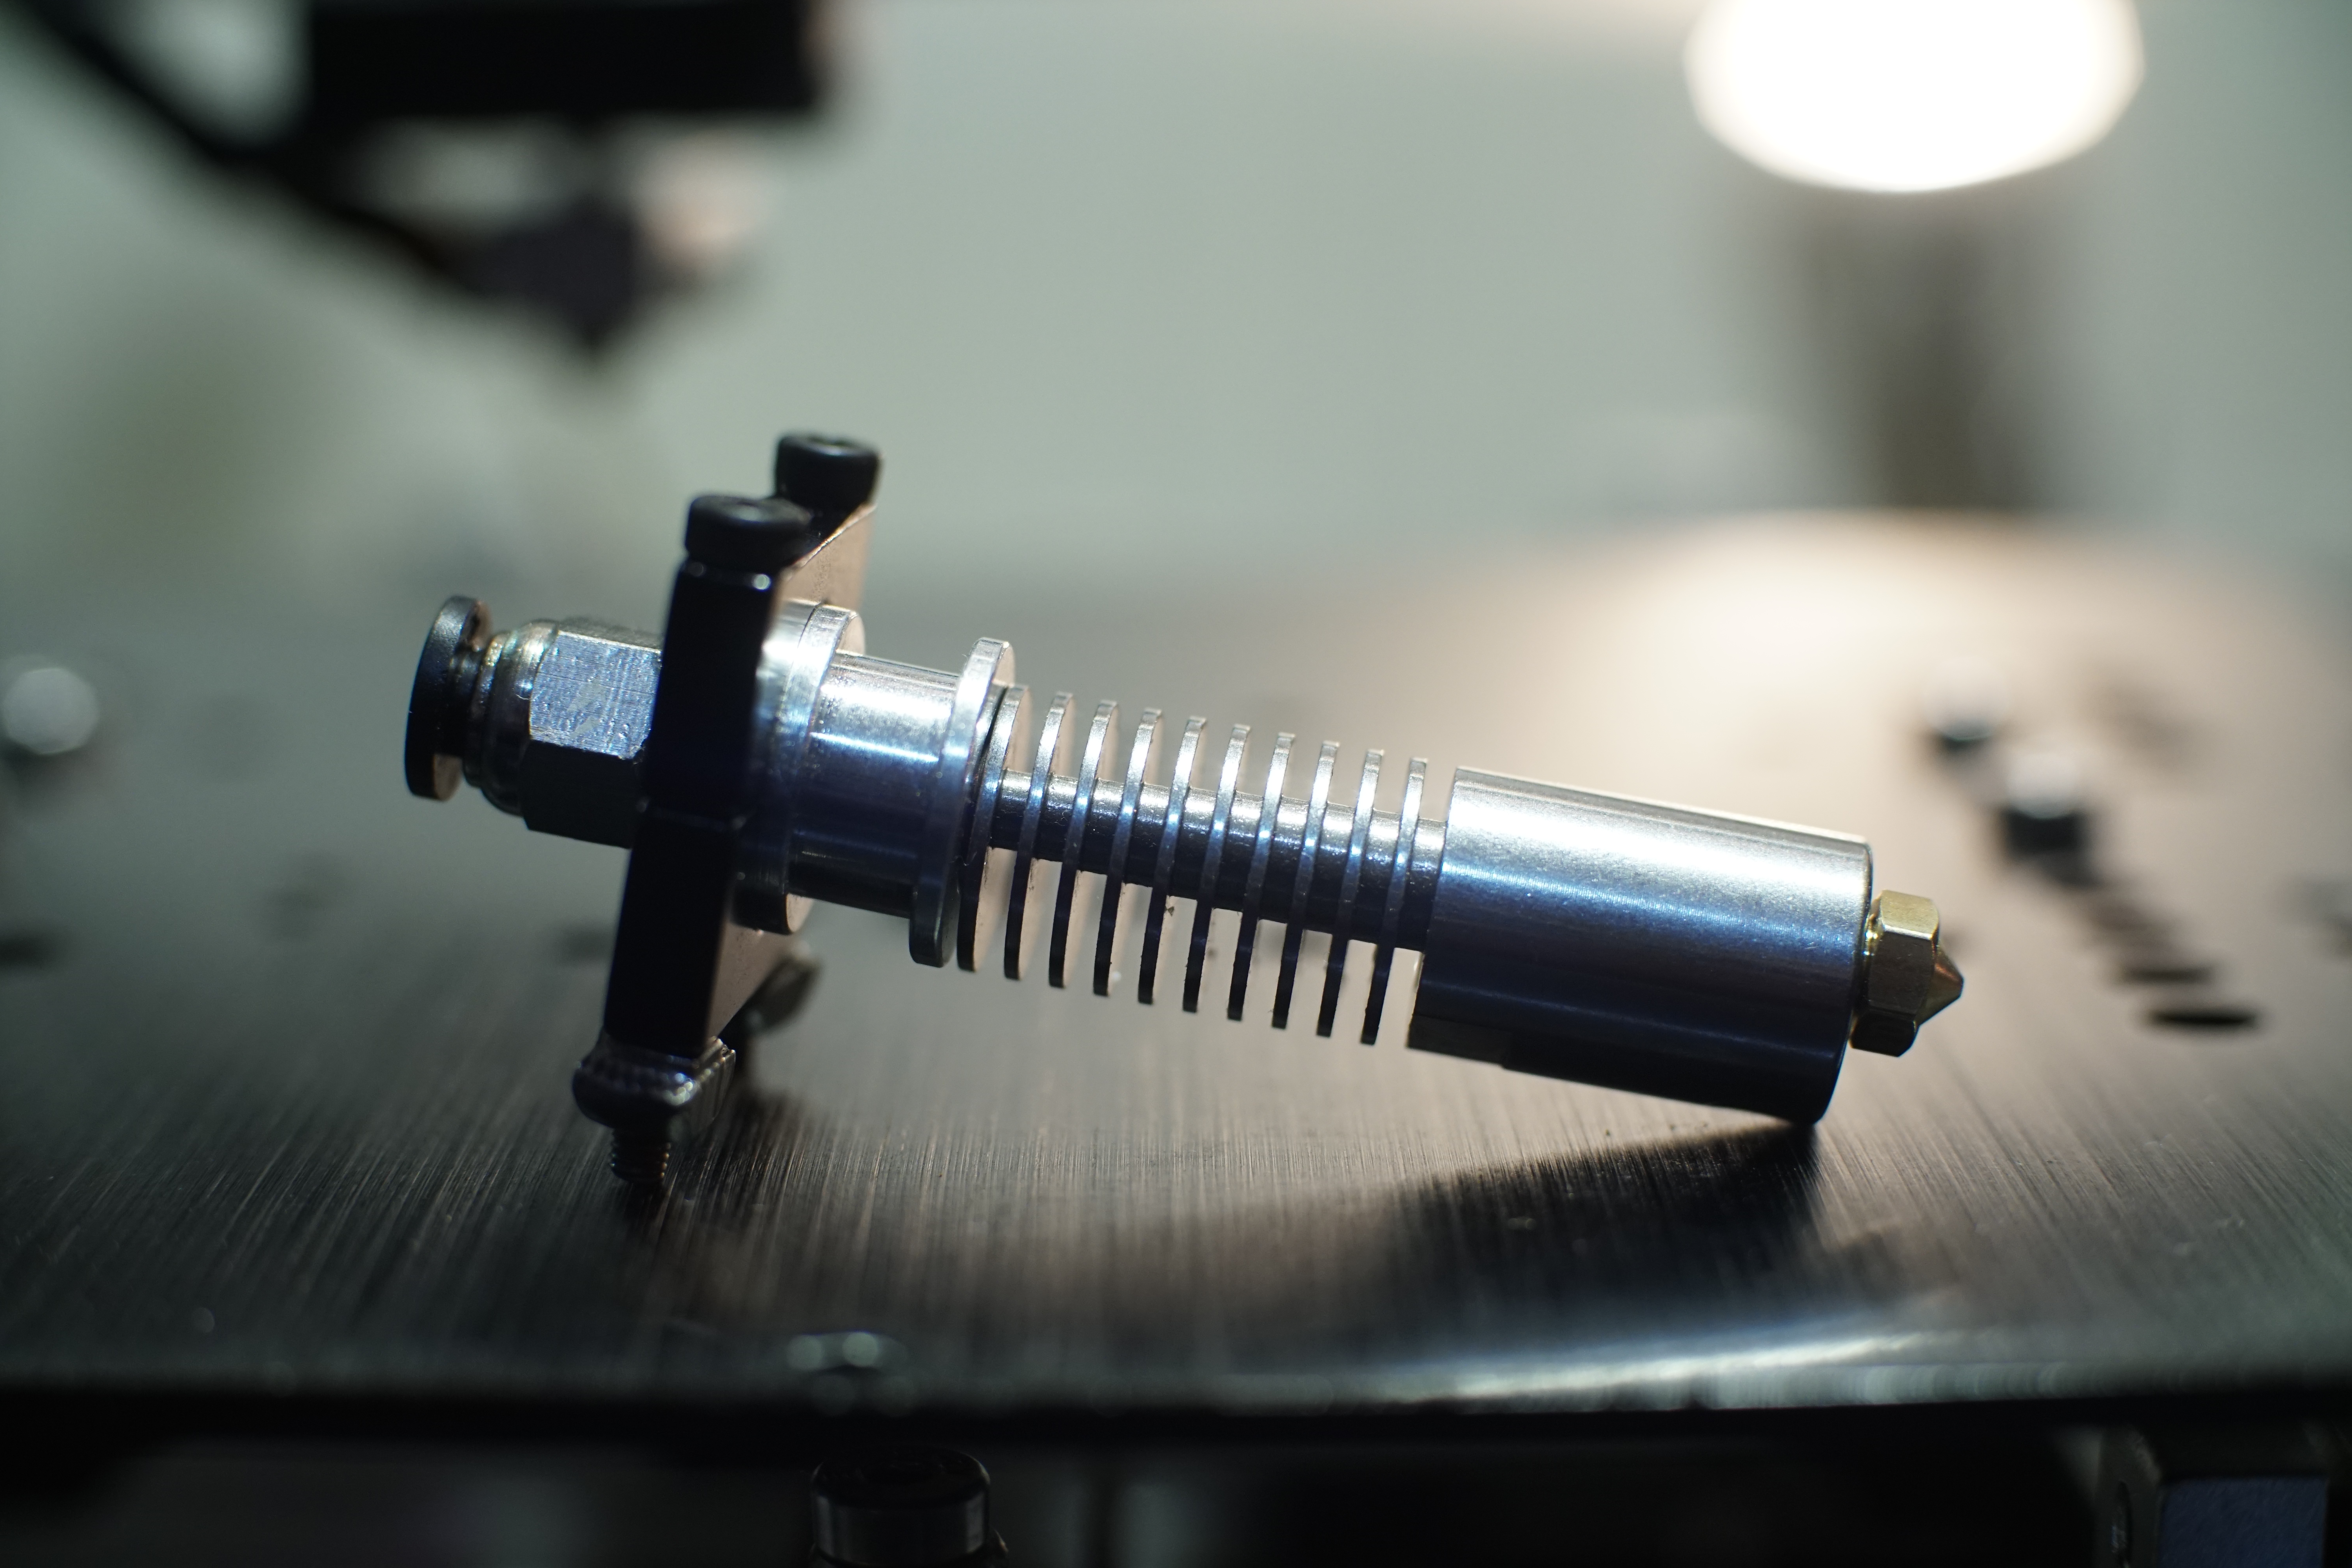
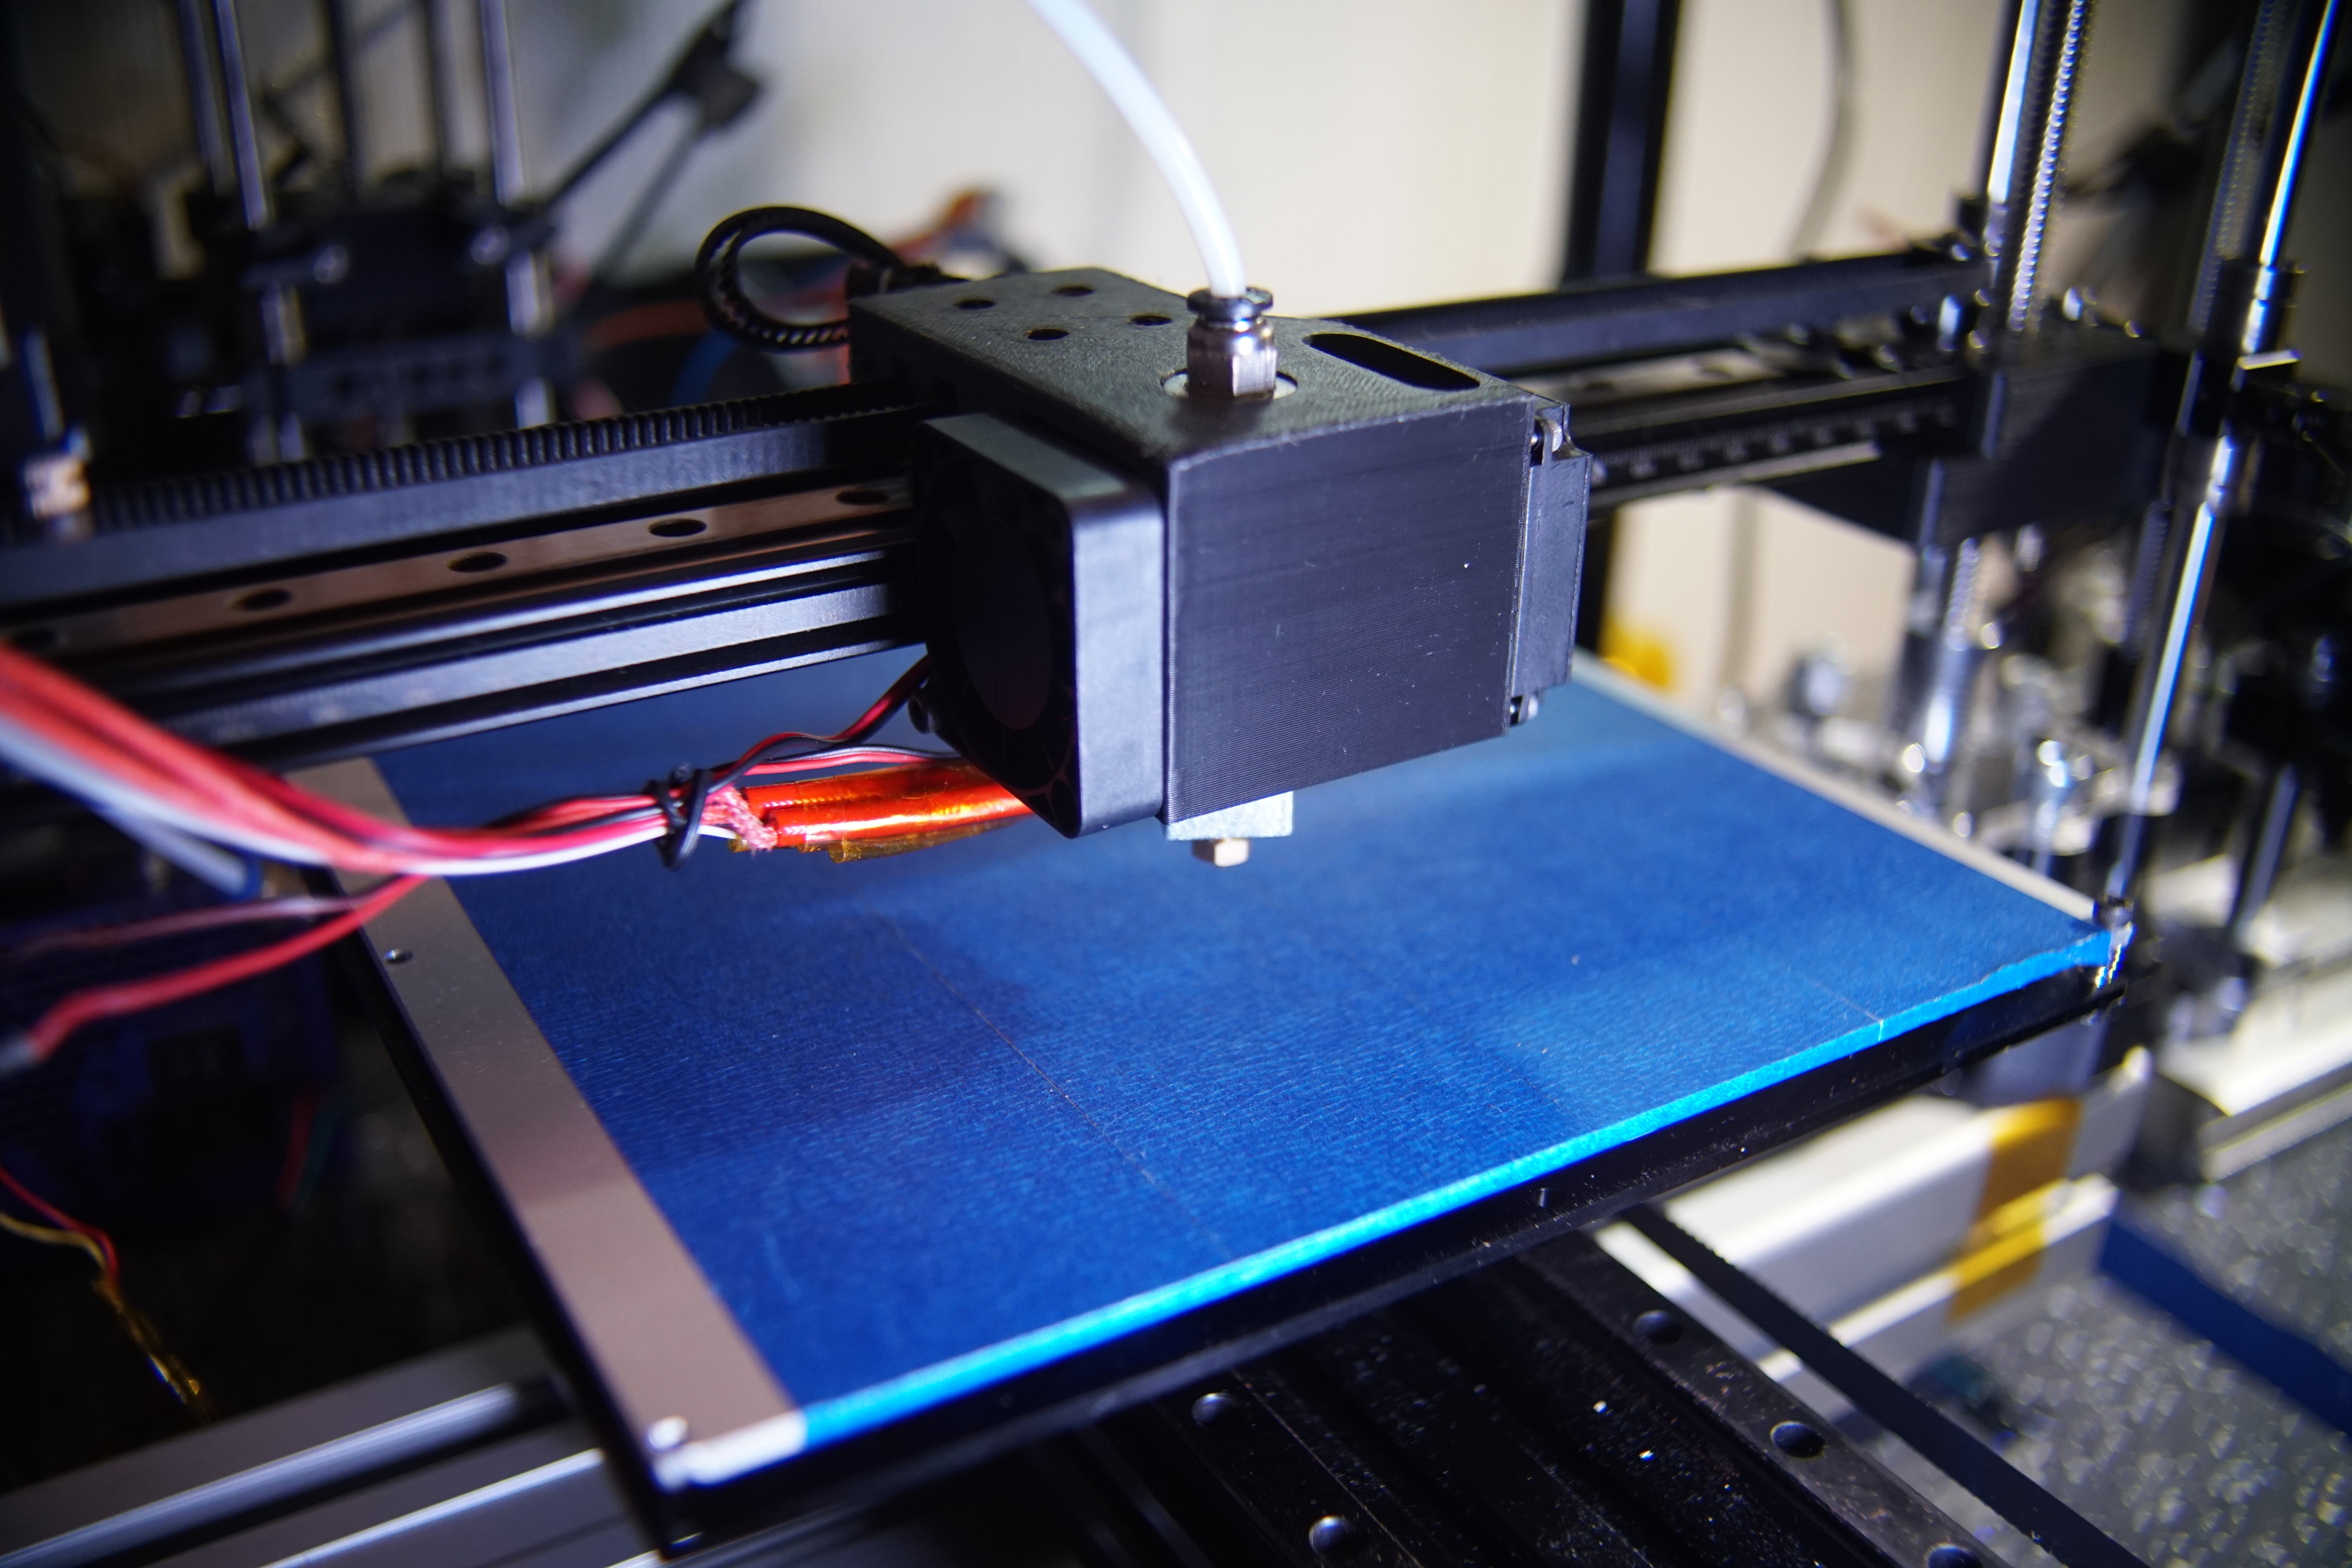
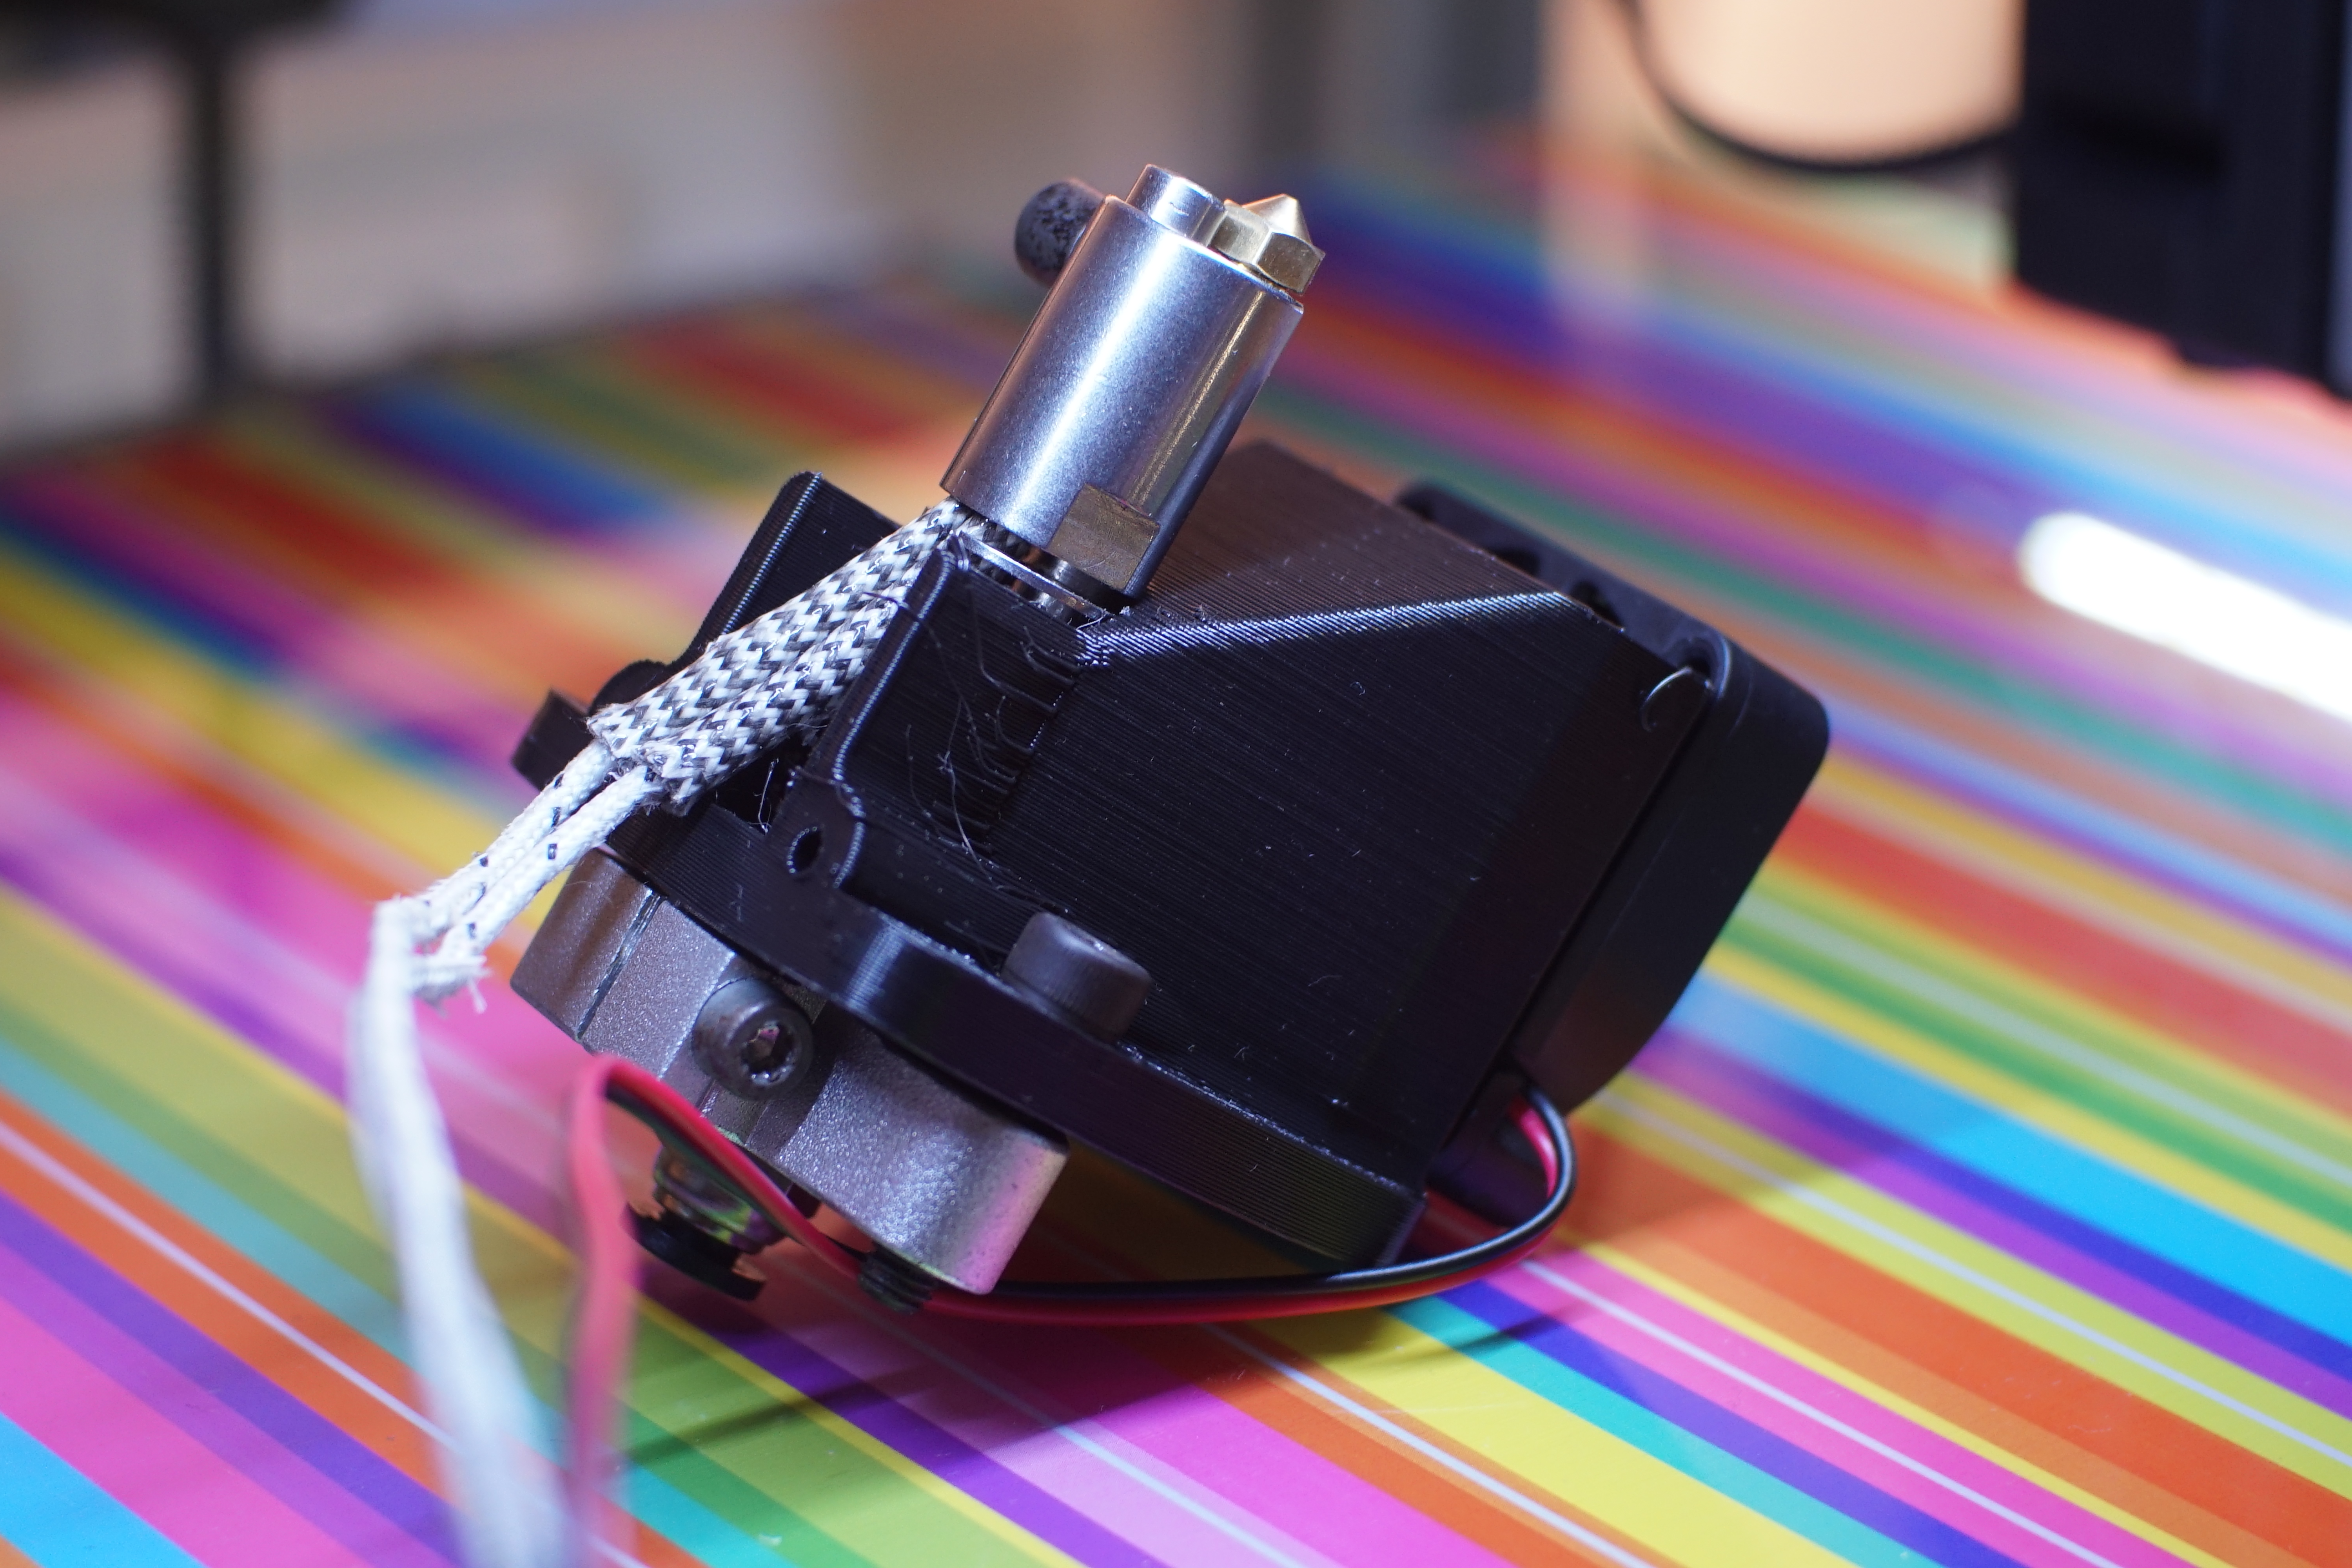
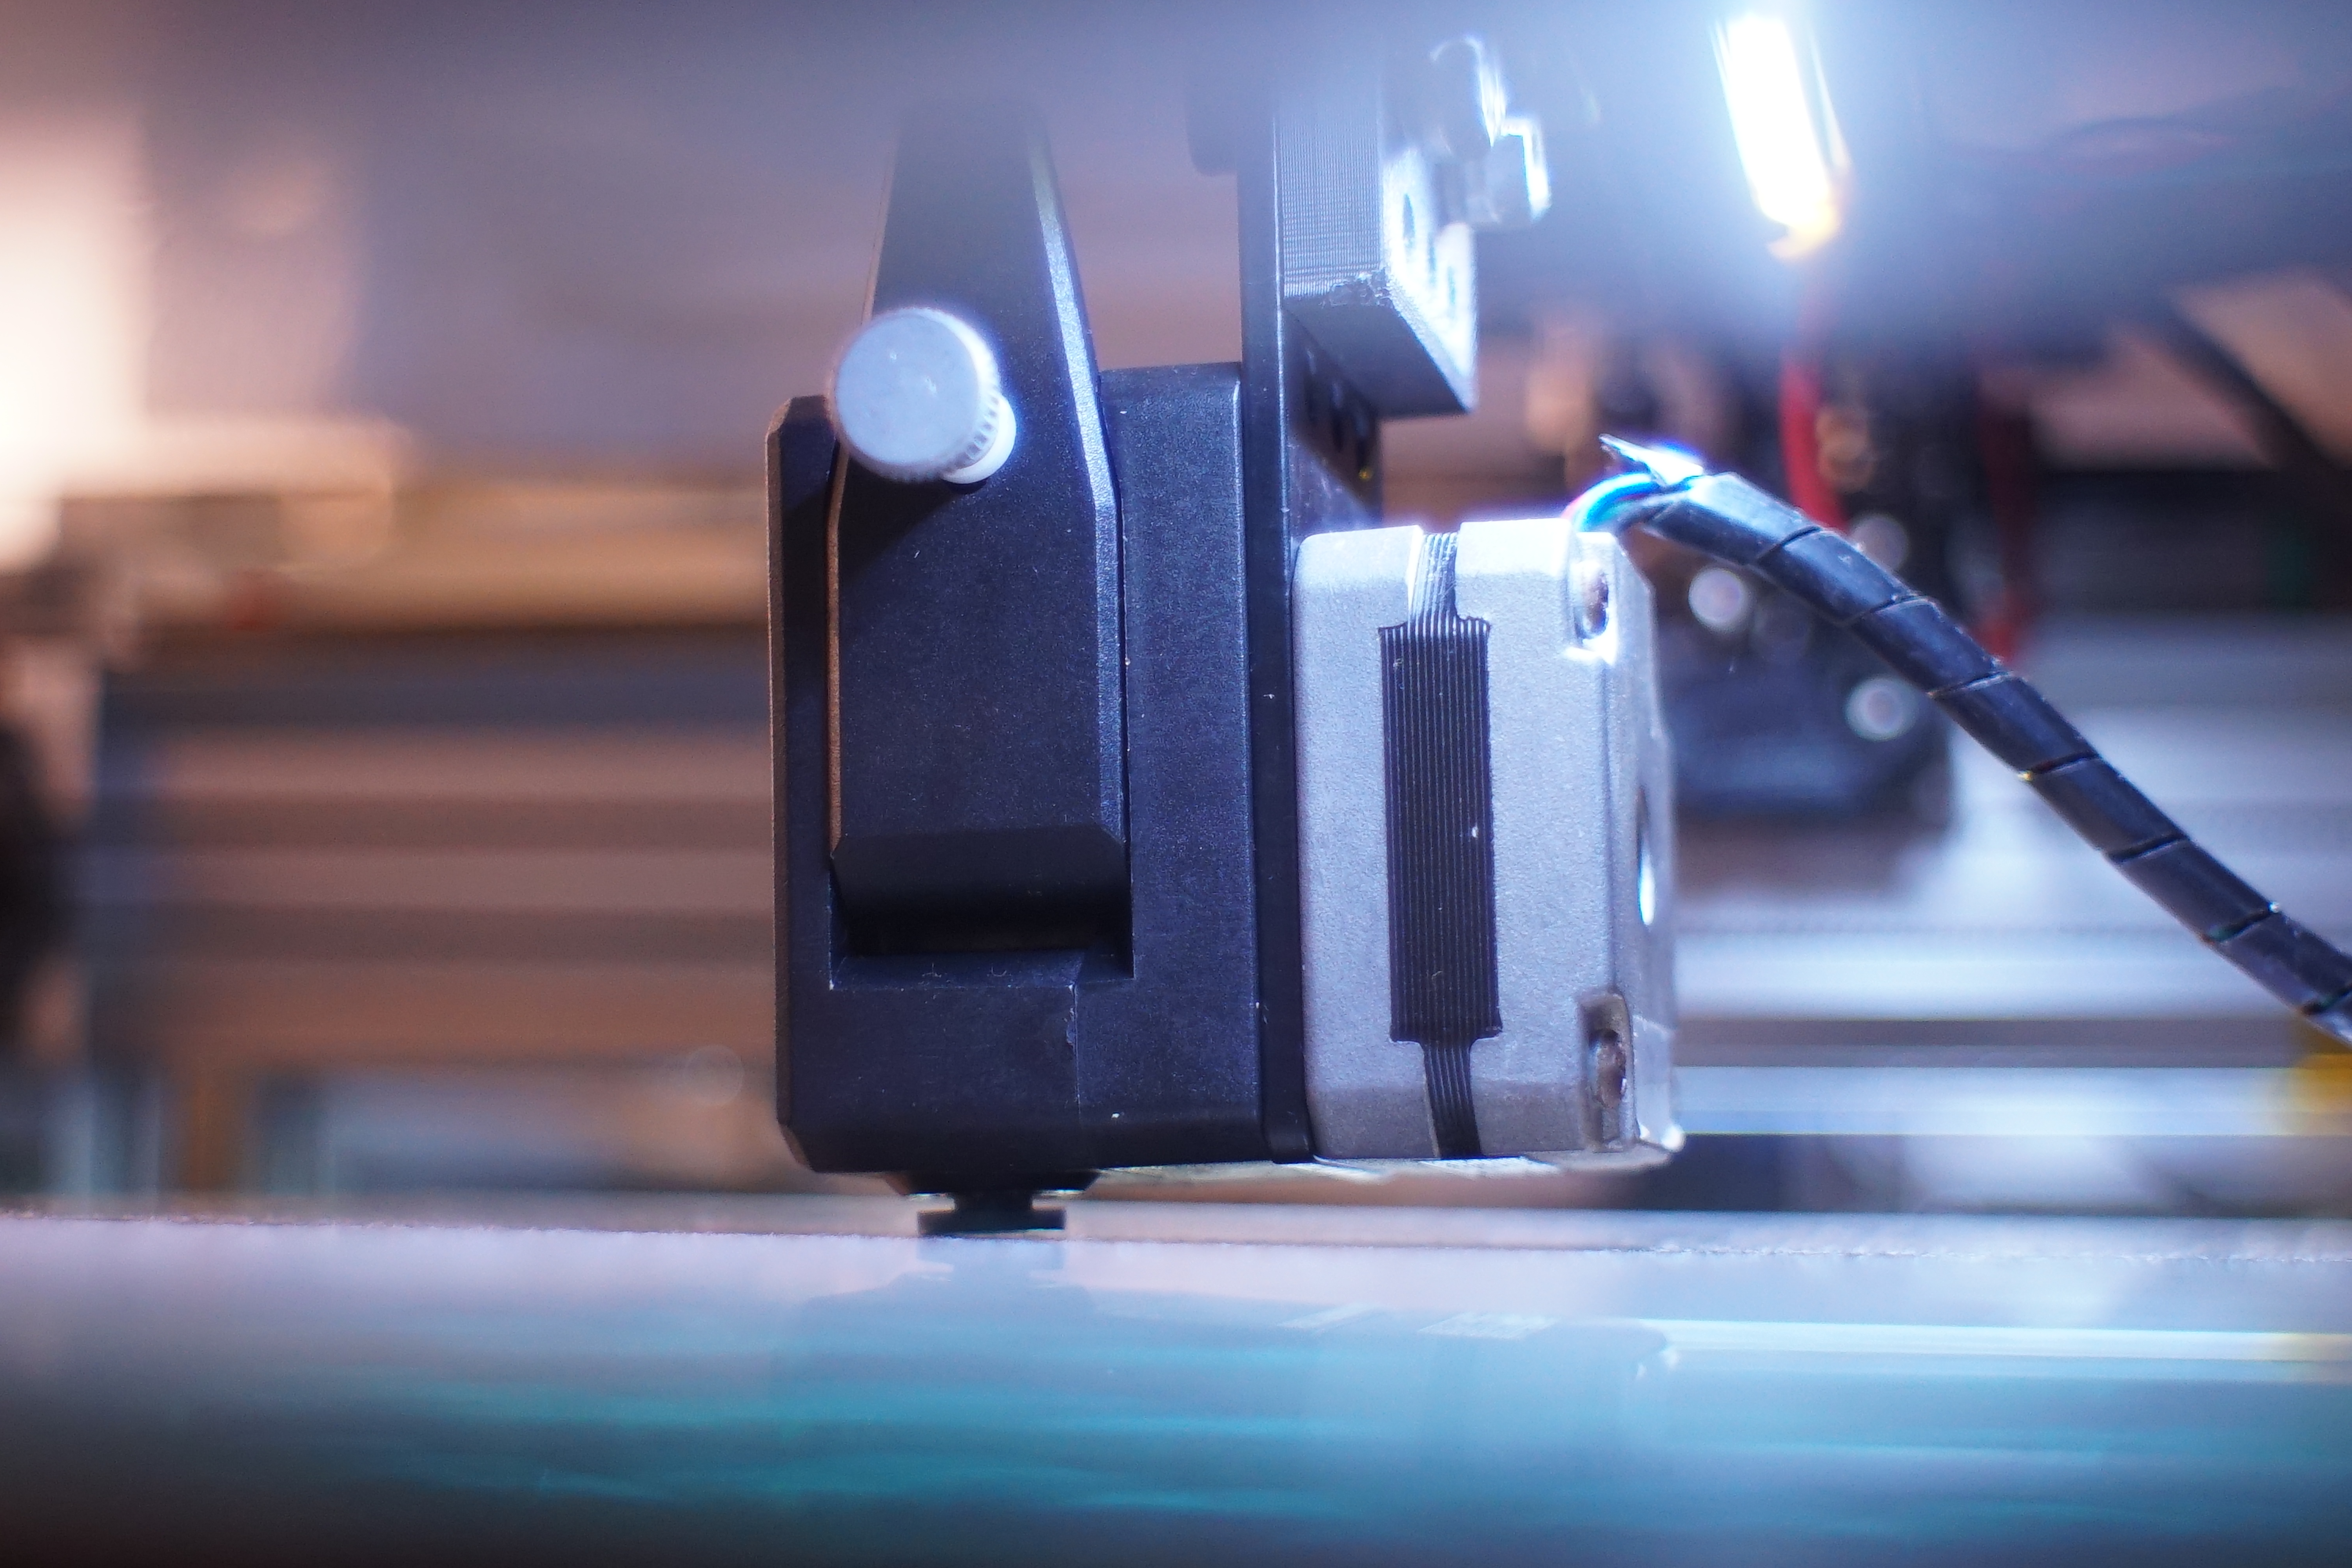
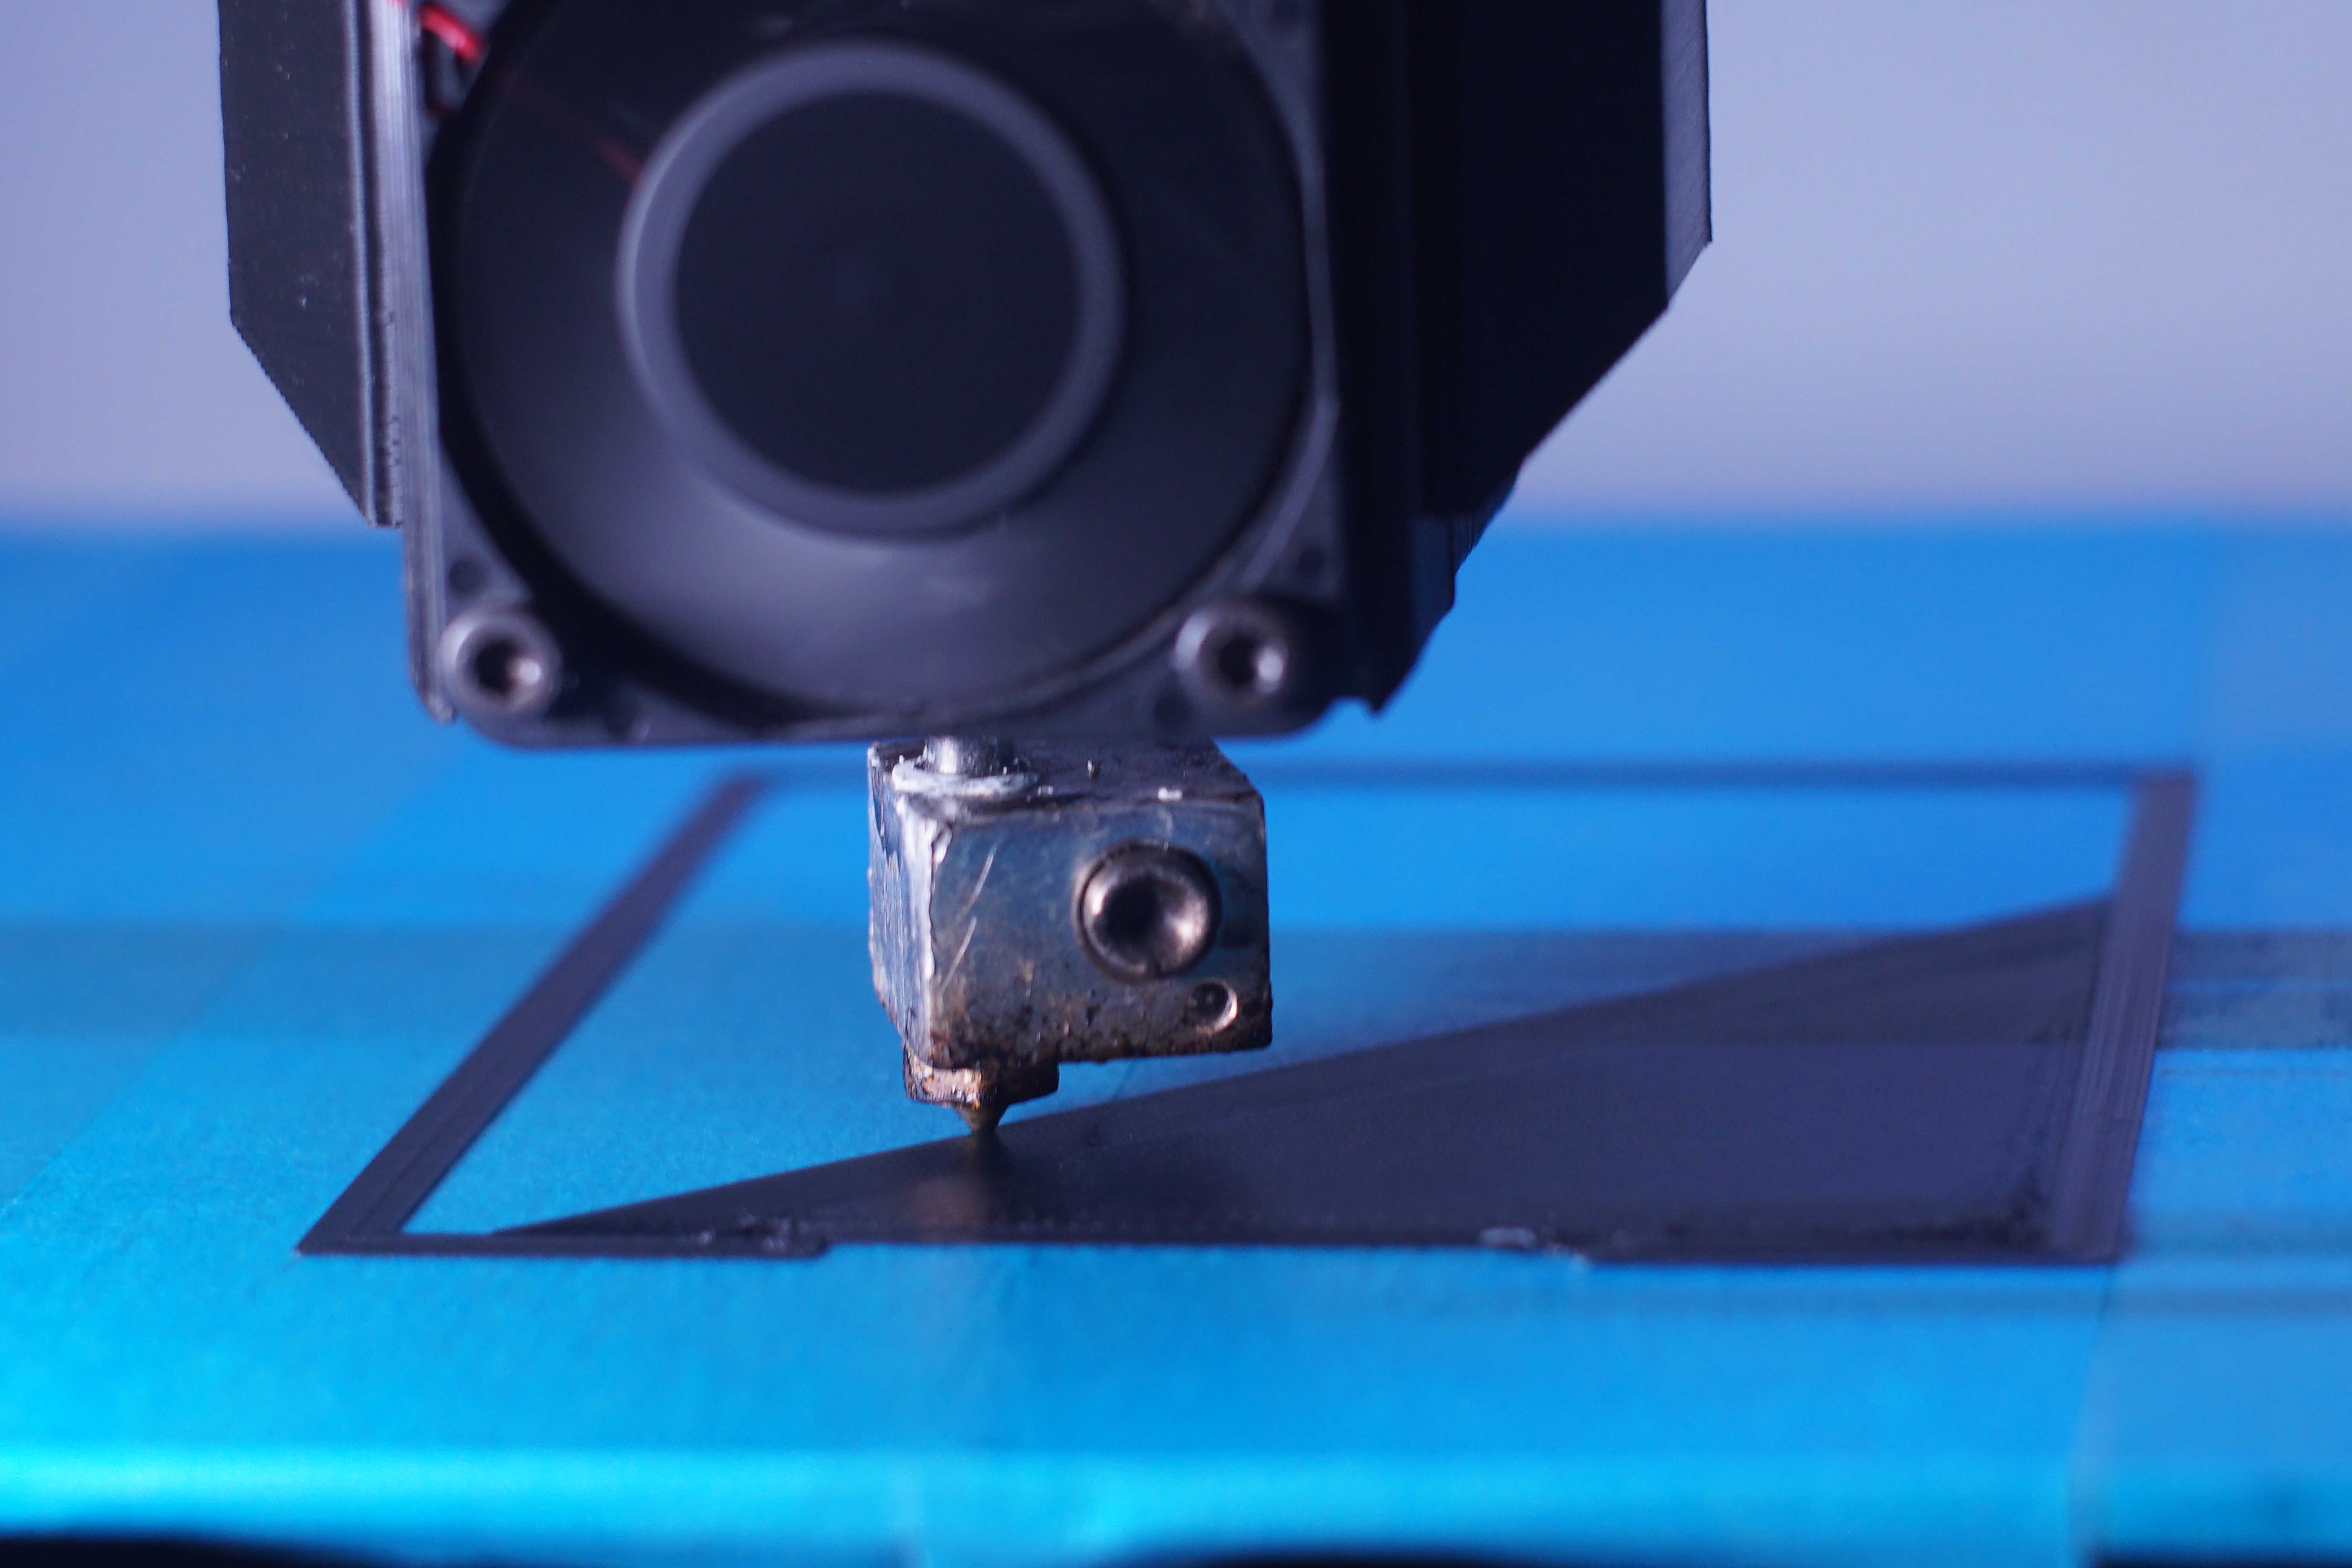
Decided to buy this sexy stainless hotend(£14) Some Italian trying it on on ebay wanting £46 for this, even though I could see alternate, newer, better options, even though it might bring no end of issues? Mounting a fan & duct not ideal, also the 24v heater I have doesnt fit due to the sleeving over the joins and alternate solution will be needed(got it in, forgot the paste? nothing suitable to hand, no retaining screw), and I suppose a good time to go high temp, M4 thermistor think I need this one....[www.ebay.co.uk]
but not sure I could get that working with the SKR Dip...may decide it's best in the cube printer due to the direct drive making it easier to grip/mount this hotend, but not sure plastic bmg types are ideal either(scratch that it doesnt fit) so might need another metal version.
Idler arrived to tidy the other machine up
Edited 4 time(s). Last edit at 03/22/2021 12:50AM by MechaBits.
|
Re: MechaBits KraftWerk'r March 22, 2021 07:24PM |
Registered: 8 years ago Posts: 1,671 |
 maybe 2 would be even sexier, one for each ear, beam me up Scotty. Maybe buy a few and flog em for £40
|
Re: MechaBits KraftWerk'r March 27, 2021 02:17AM |
Registered: 8 years ago Posts: 1,671 |
|
Re: MechaBits KraftWerk'r March 29, 2021 06:09PM |
Registered: 8 years ago Posts: 1,671 |

Looks like I didnt have to worry about the ship sinking, this little guy must have helped out, it was only after hitting the buy button I realized the DIP was 1.1, not sure what the issues with the board are, or if i'll run into them, let's hope the issues are avoidable, marlin 2 here i come, even had a microsd in the bag.
Suppose by the time I get some 2209's it might be more cost effective to get a better board?
Edited 1 time(s). Last edit at 03/29/2021 10:55PM by MechaBits.
|
Re: MechaBits KraftWerk'r April 11, 2021 02:58PM |
Registered: 8 years ago Posts: 1,671 |
Almost at the end of the roll....don't think I have enough left for the lid, considering I live by the sea & the roll has been out of wrapper for a year, I'd say it performed great to the last drop. Toying with the idea of a base for this case so it could hide some cables, otherwise I could have done more to manage the cables internally, maybe on the back of the lid, could have put a larger fan on the lid as I dont really know what these 24v 40mm's sound like. Wondering about a small silent 24v psu, a little cheaper & smaller than the slim meanwell 350, I dont have any 24v psu's but I suppose one good one is worth investing in, or something even beefier with other stepdown units? Scratch that the smaller the better...maybe a laptop psu, no heatbed at the moment.
|
Re: MechaBits KraftWerk'r April 22, 2021 09:40PM |
Registered: 8 years ago Posts: 1,671 |

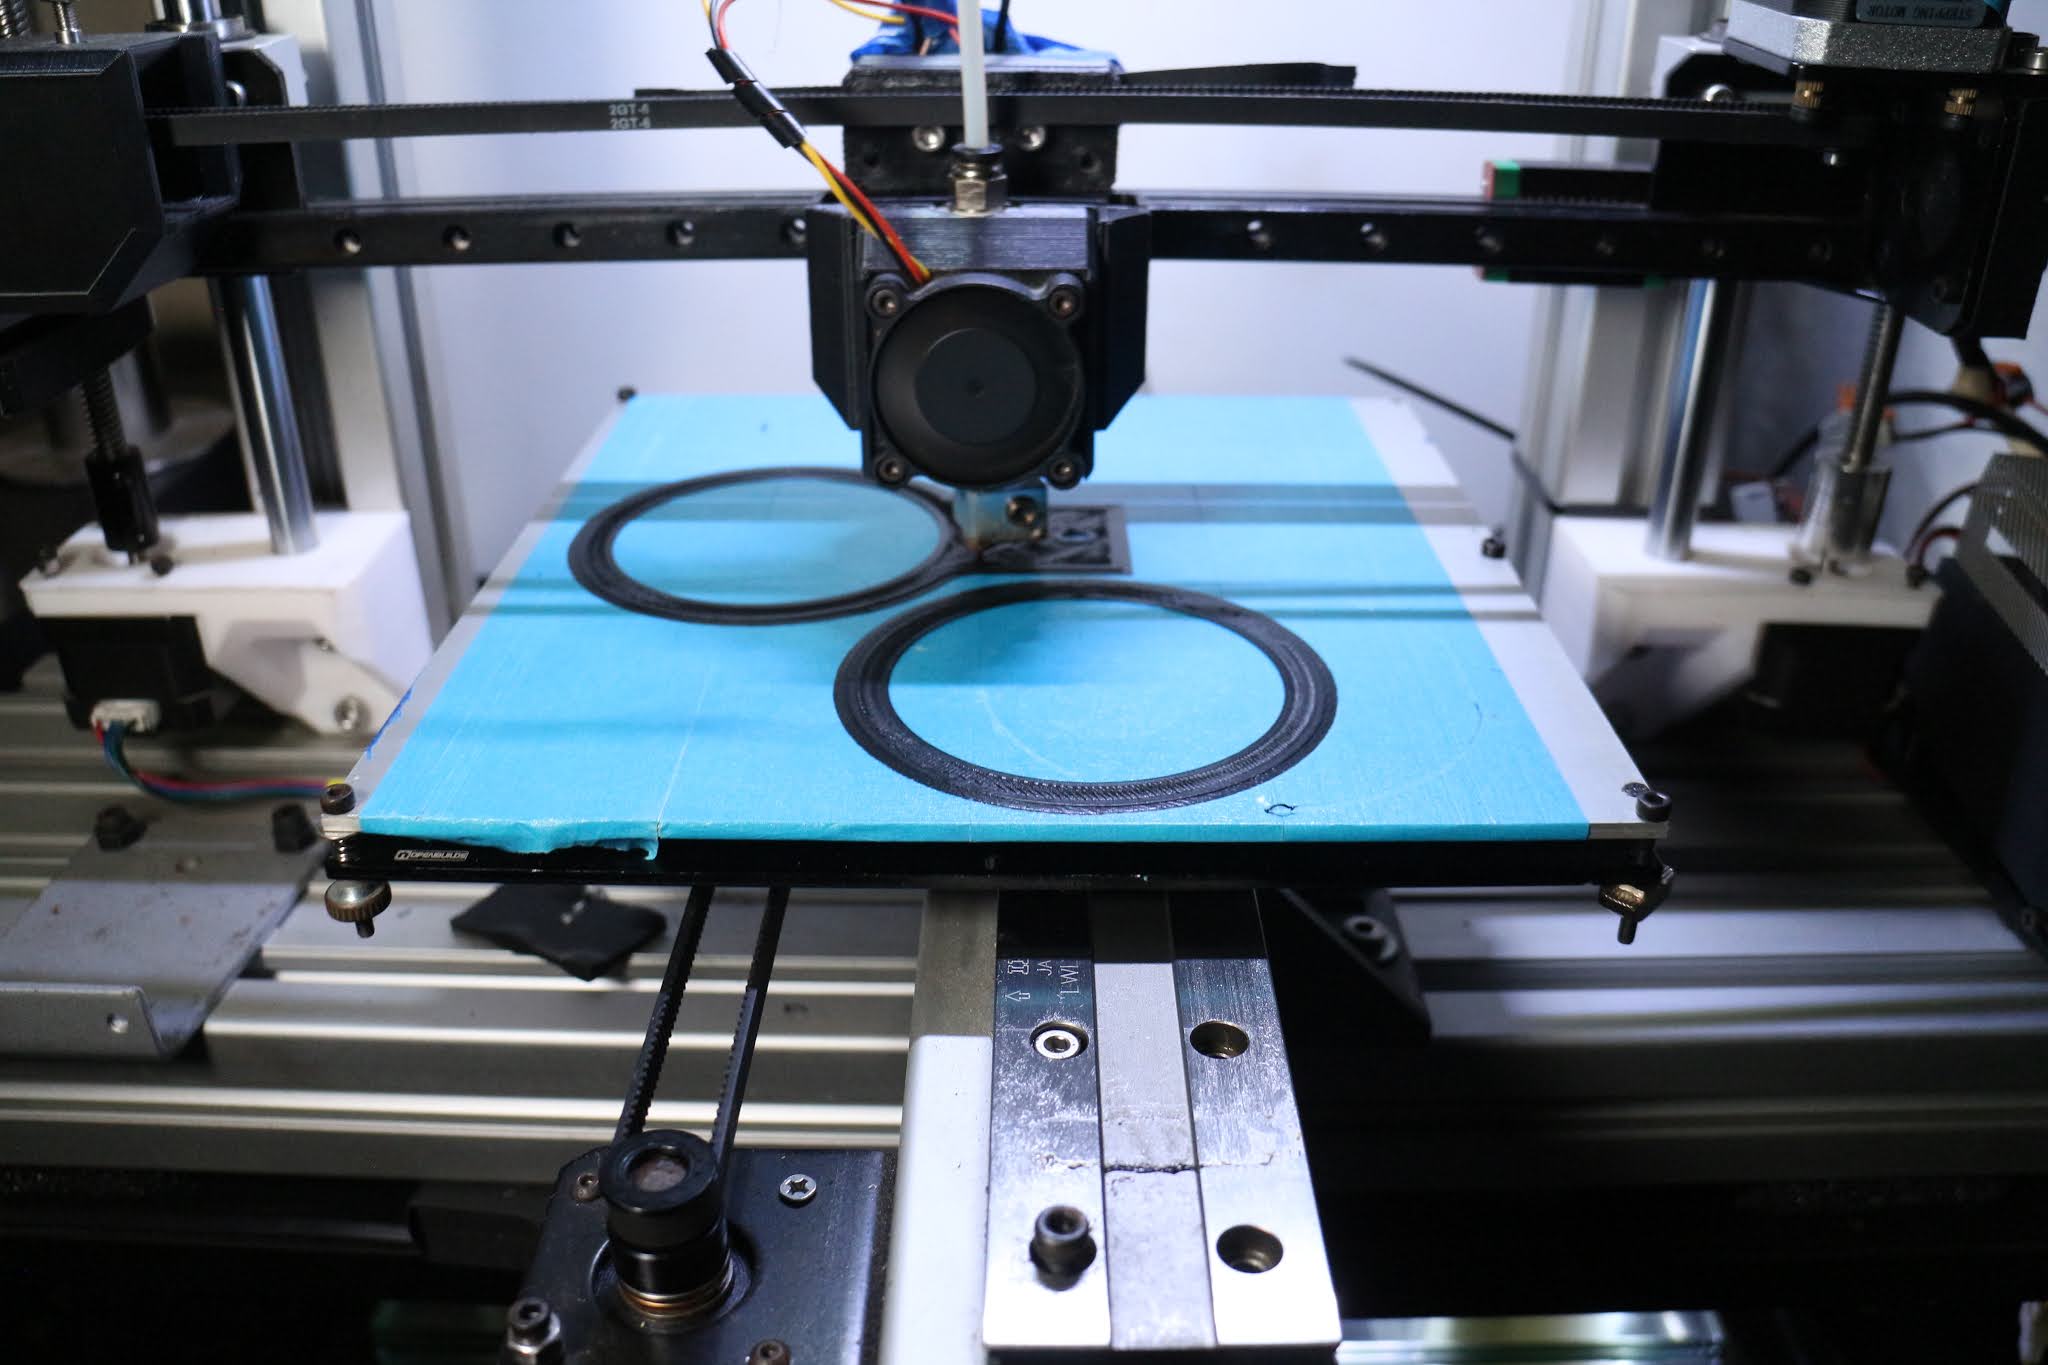
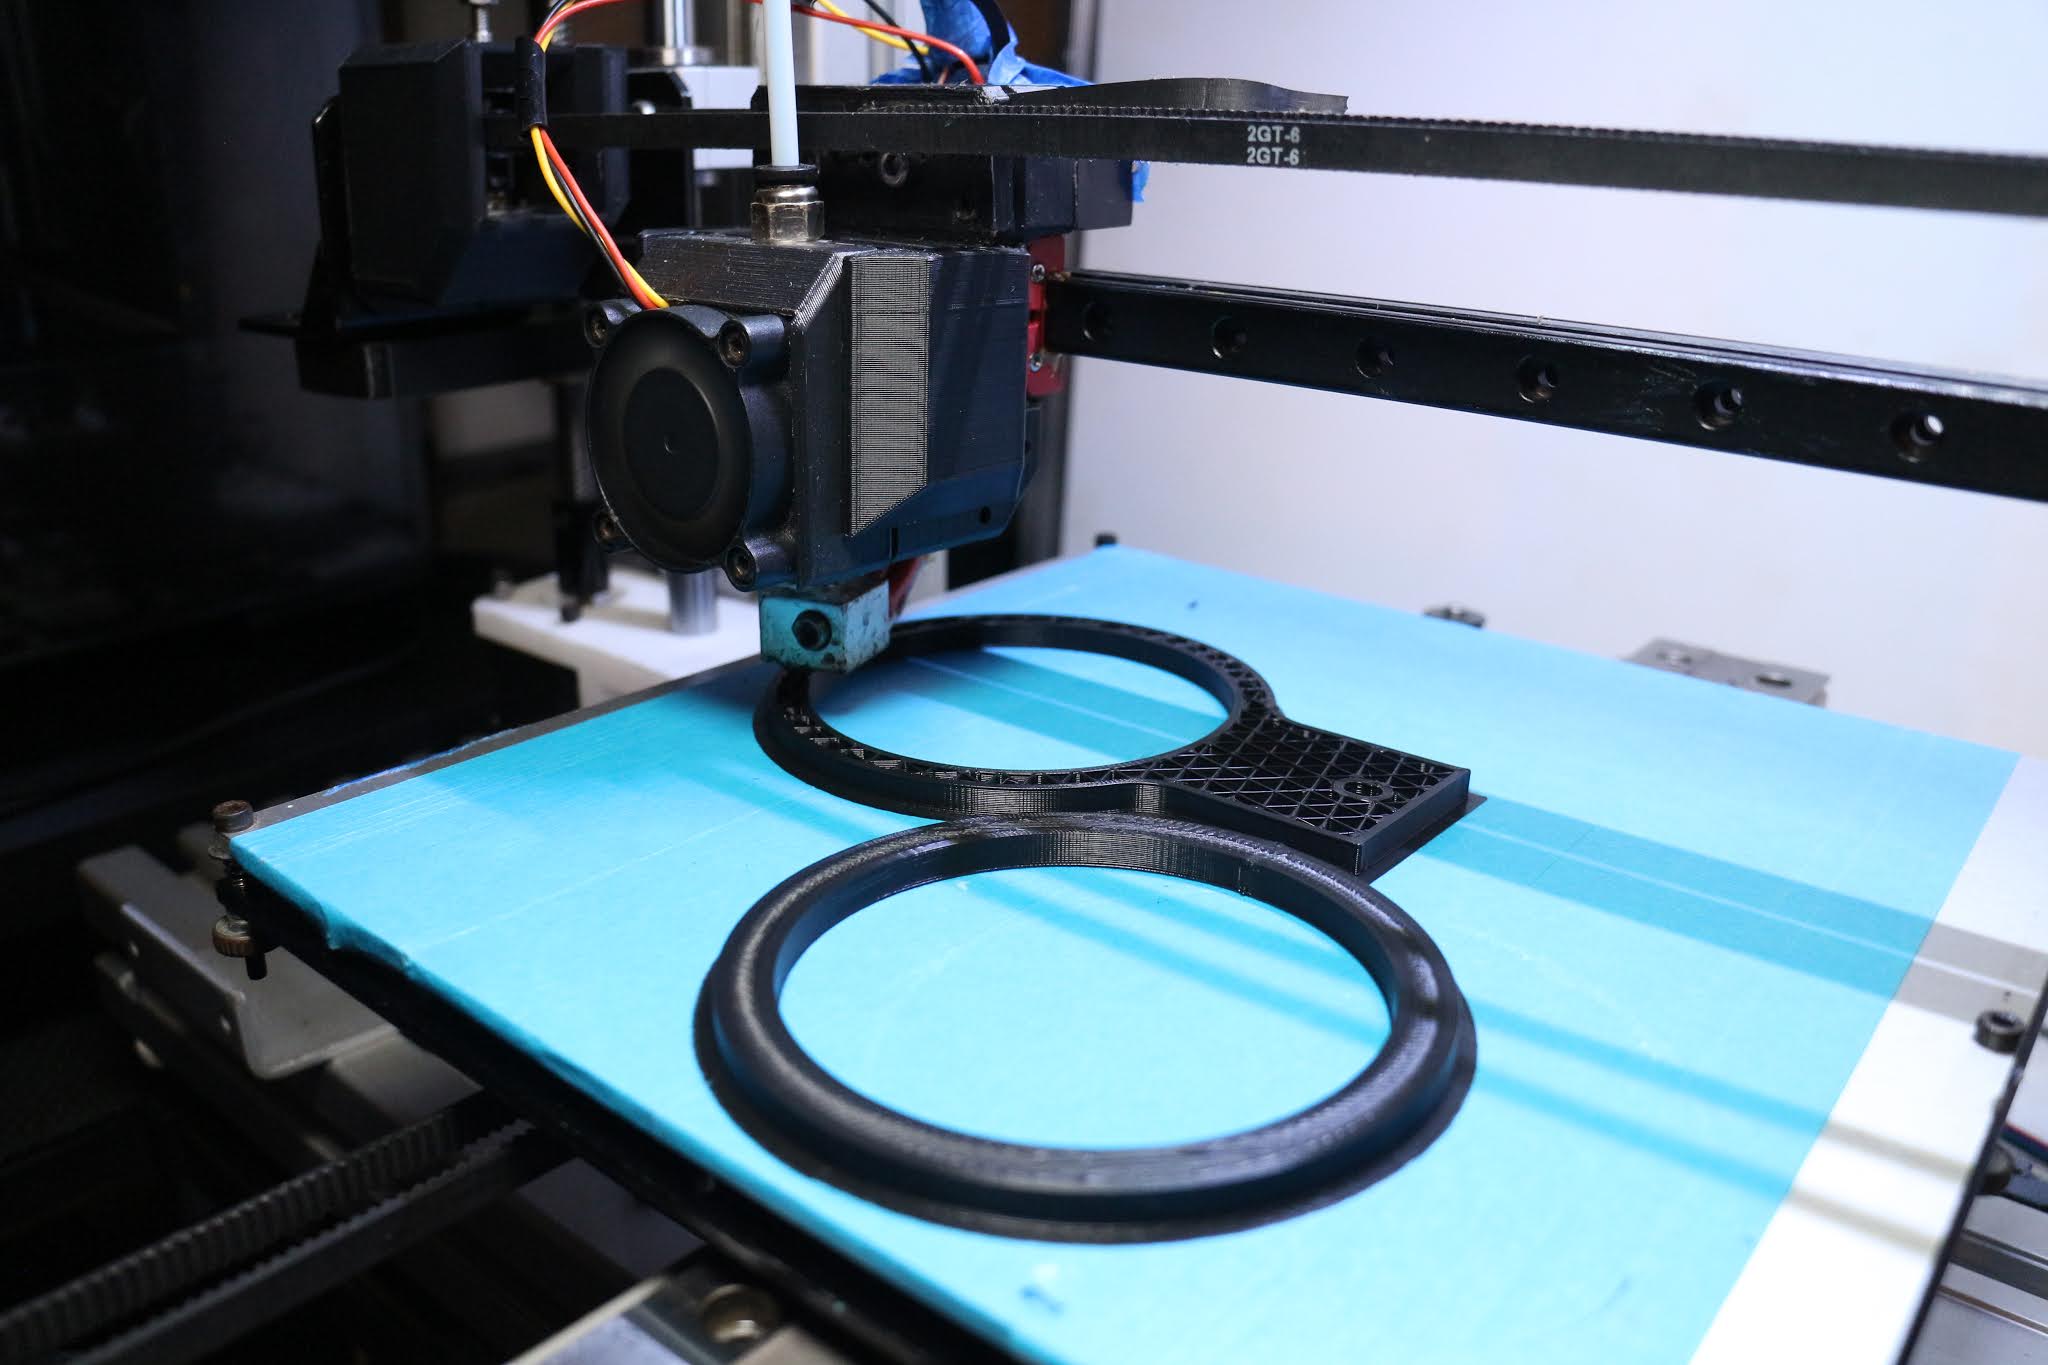
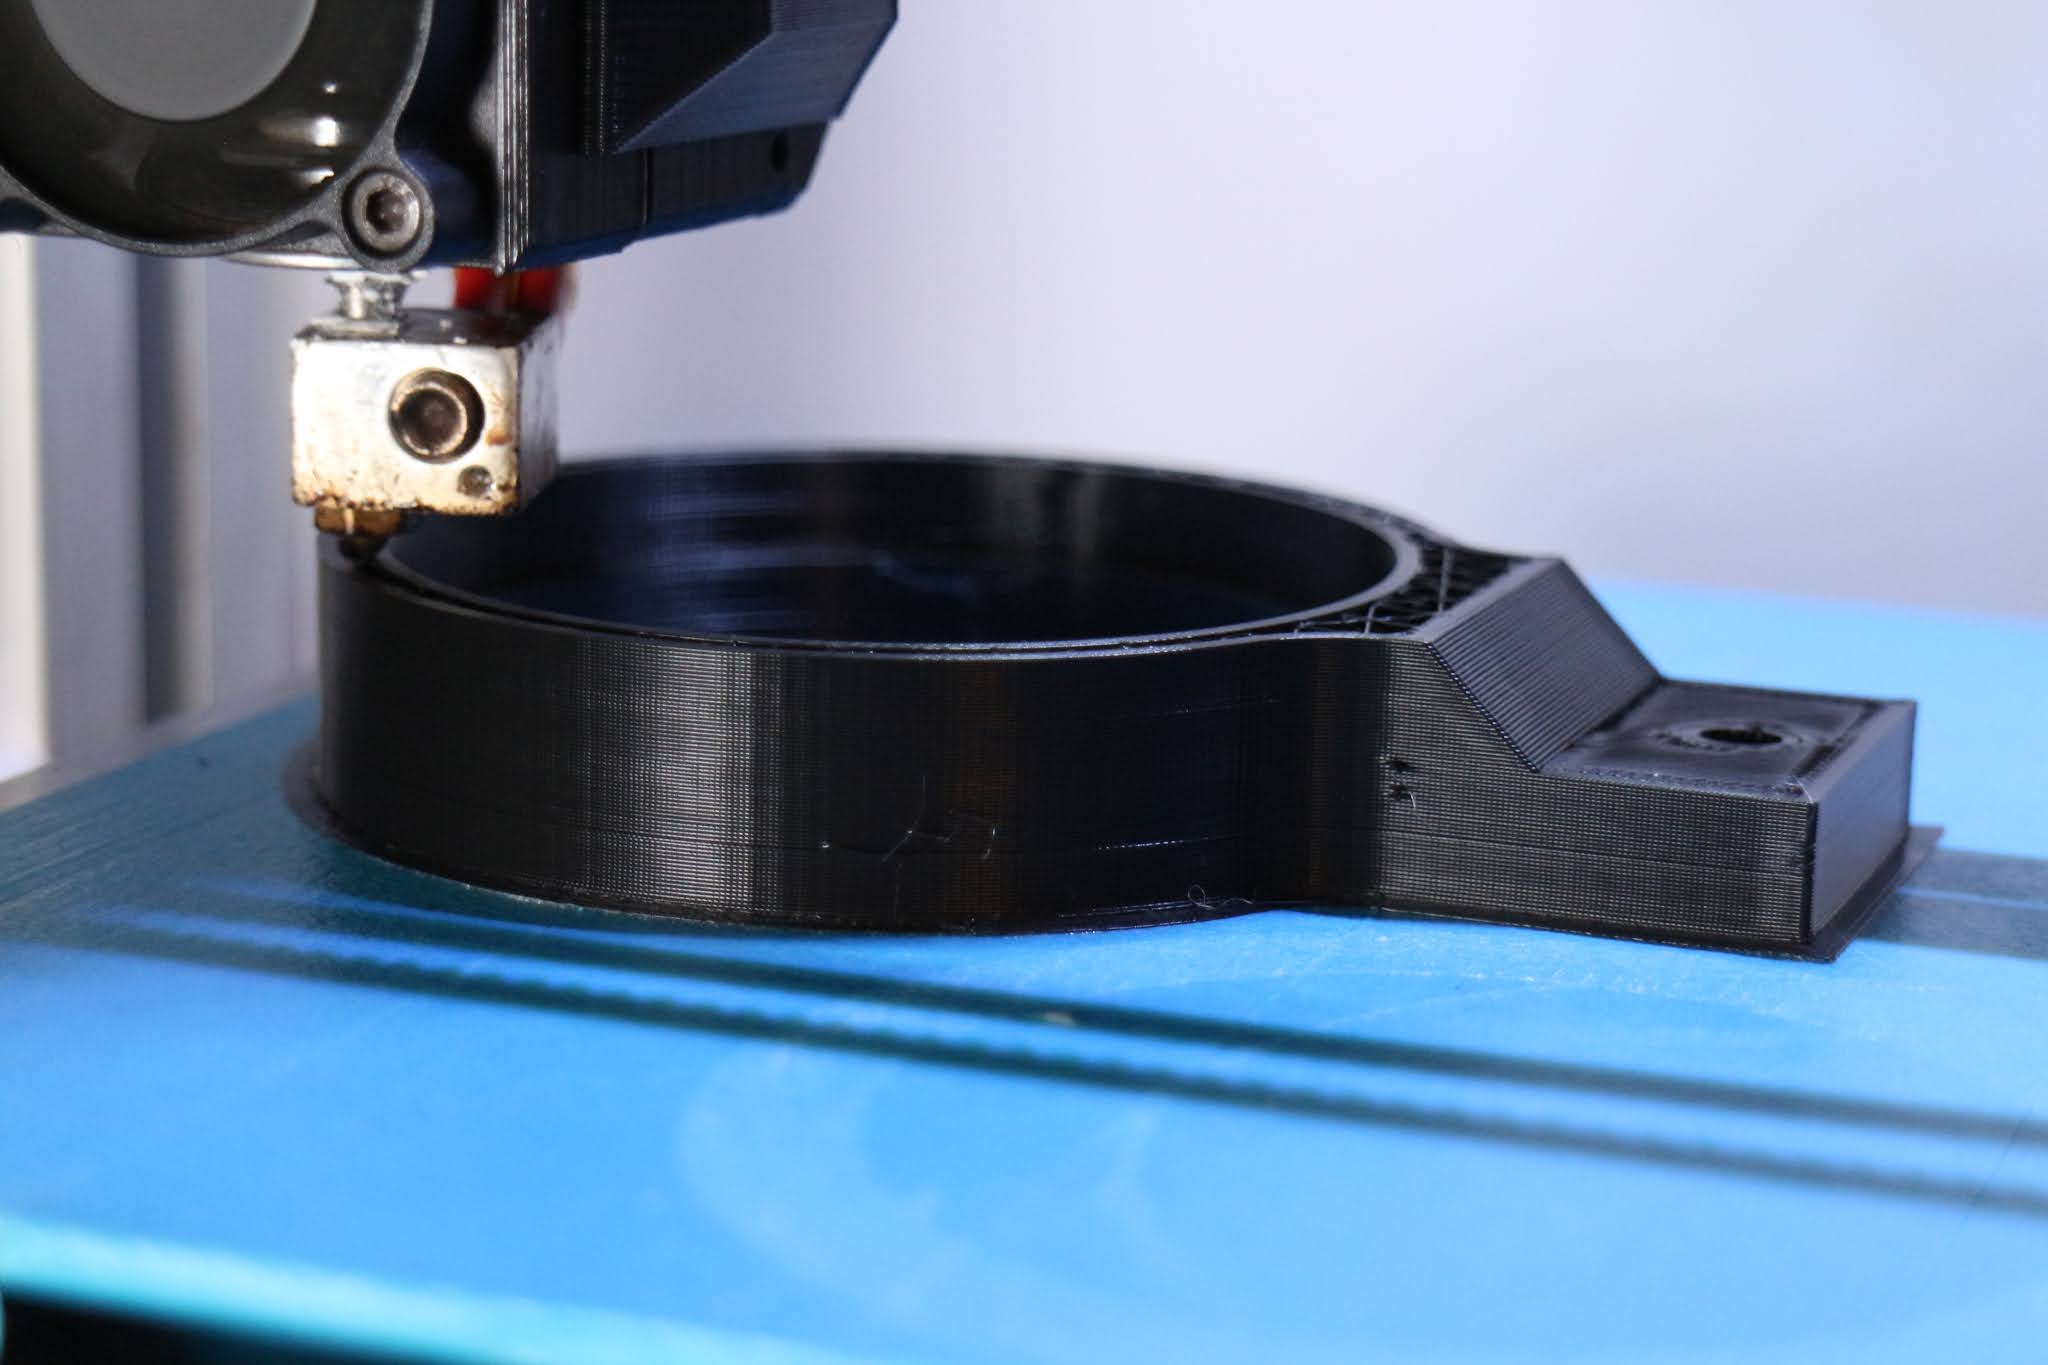
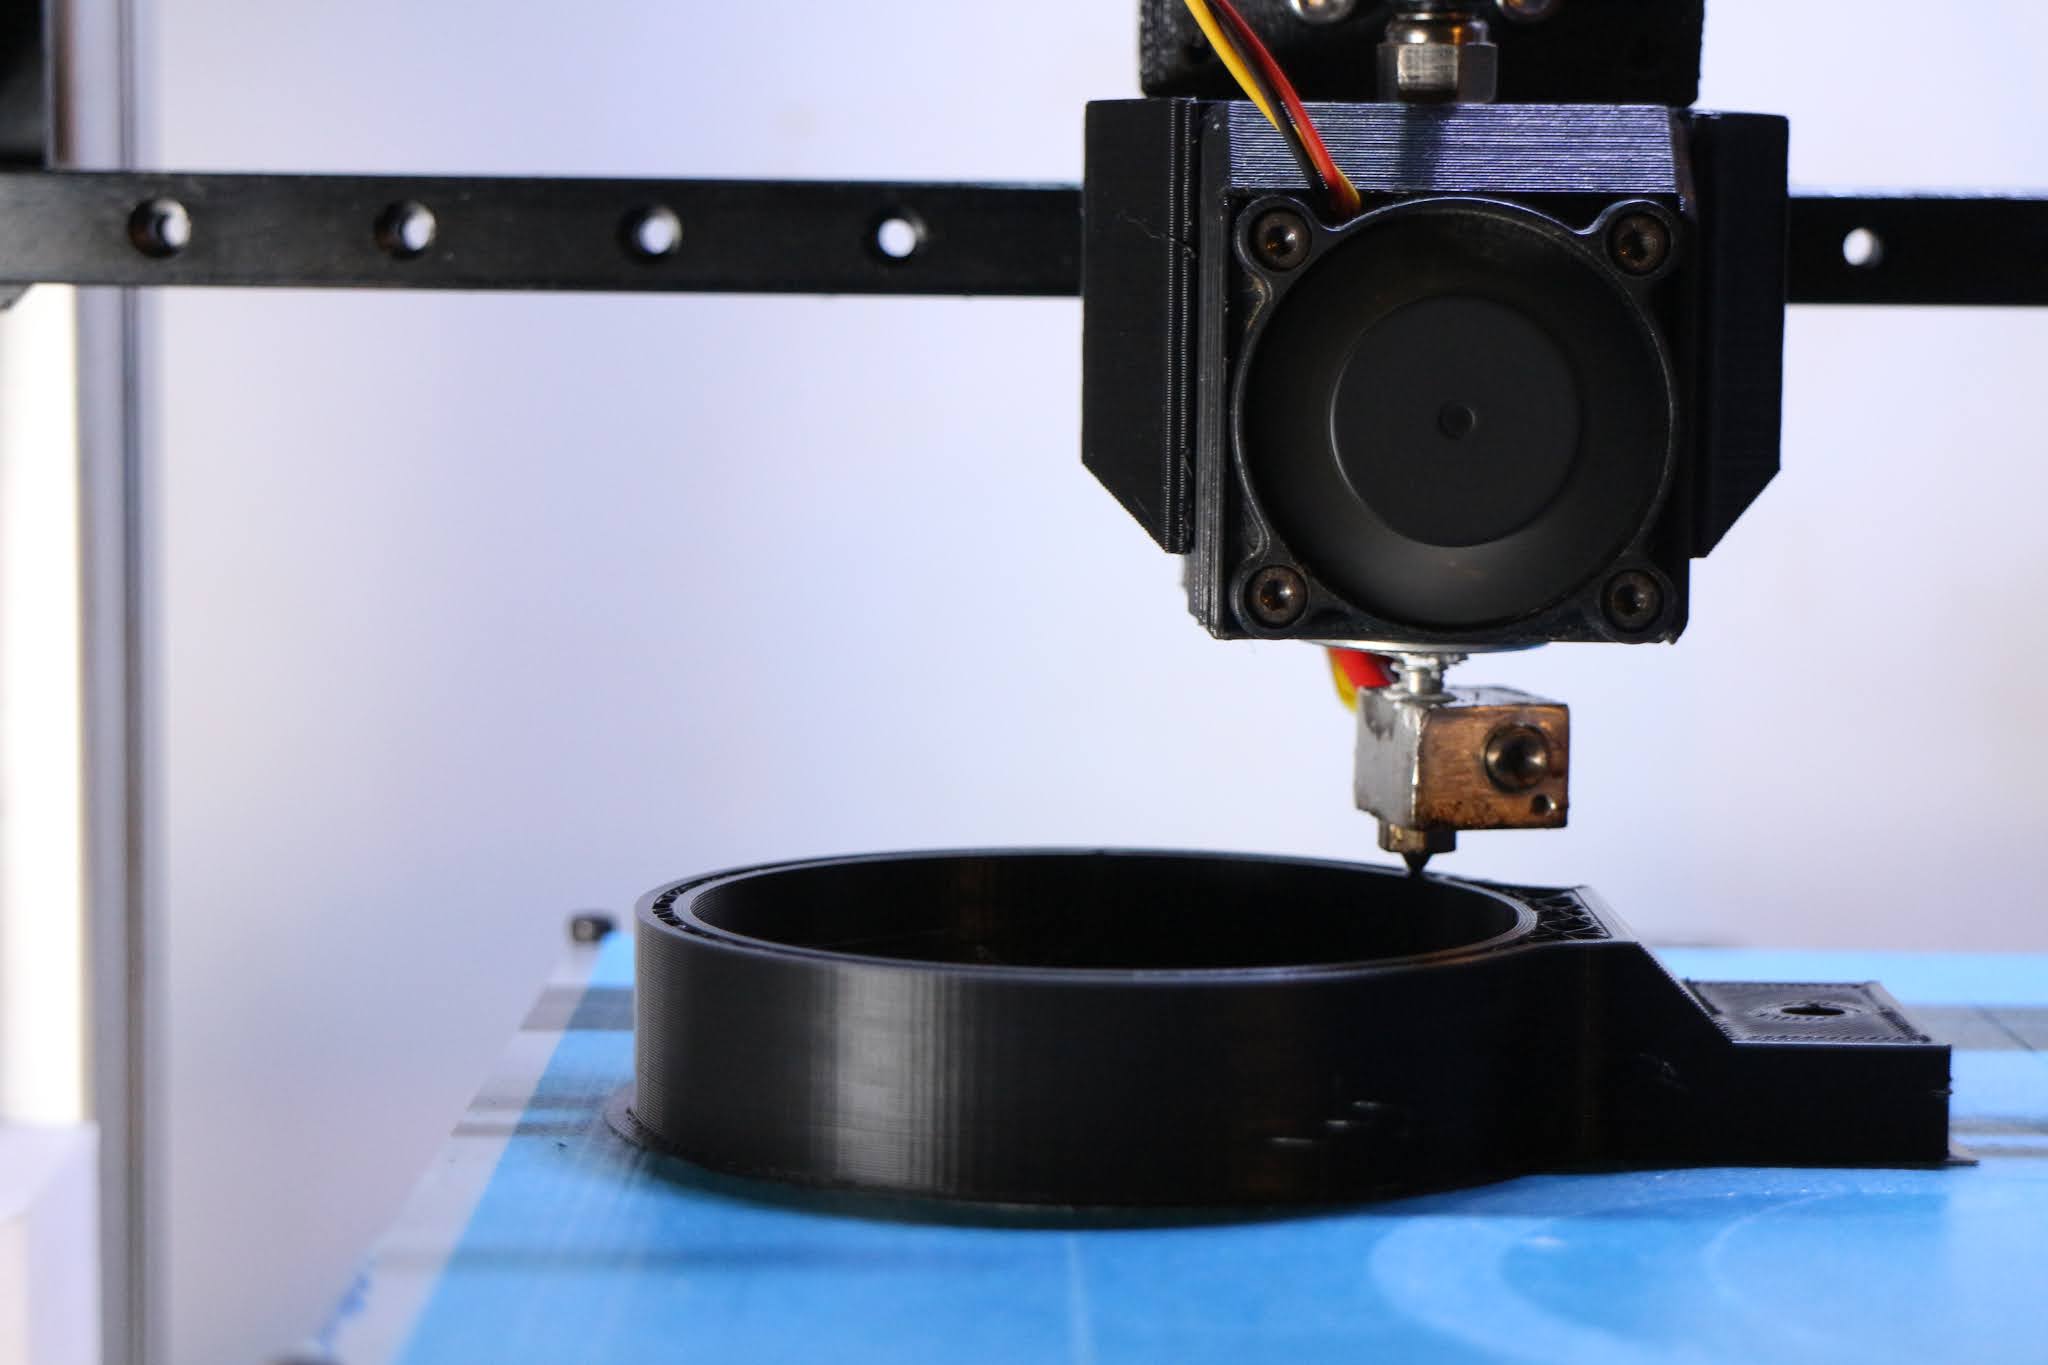
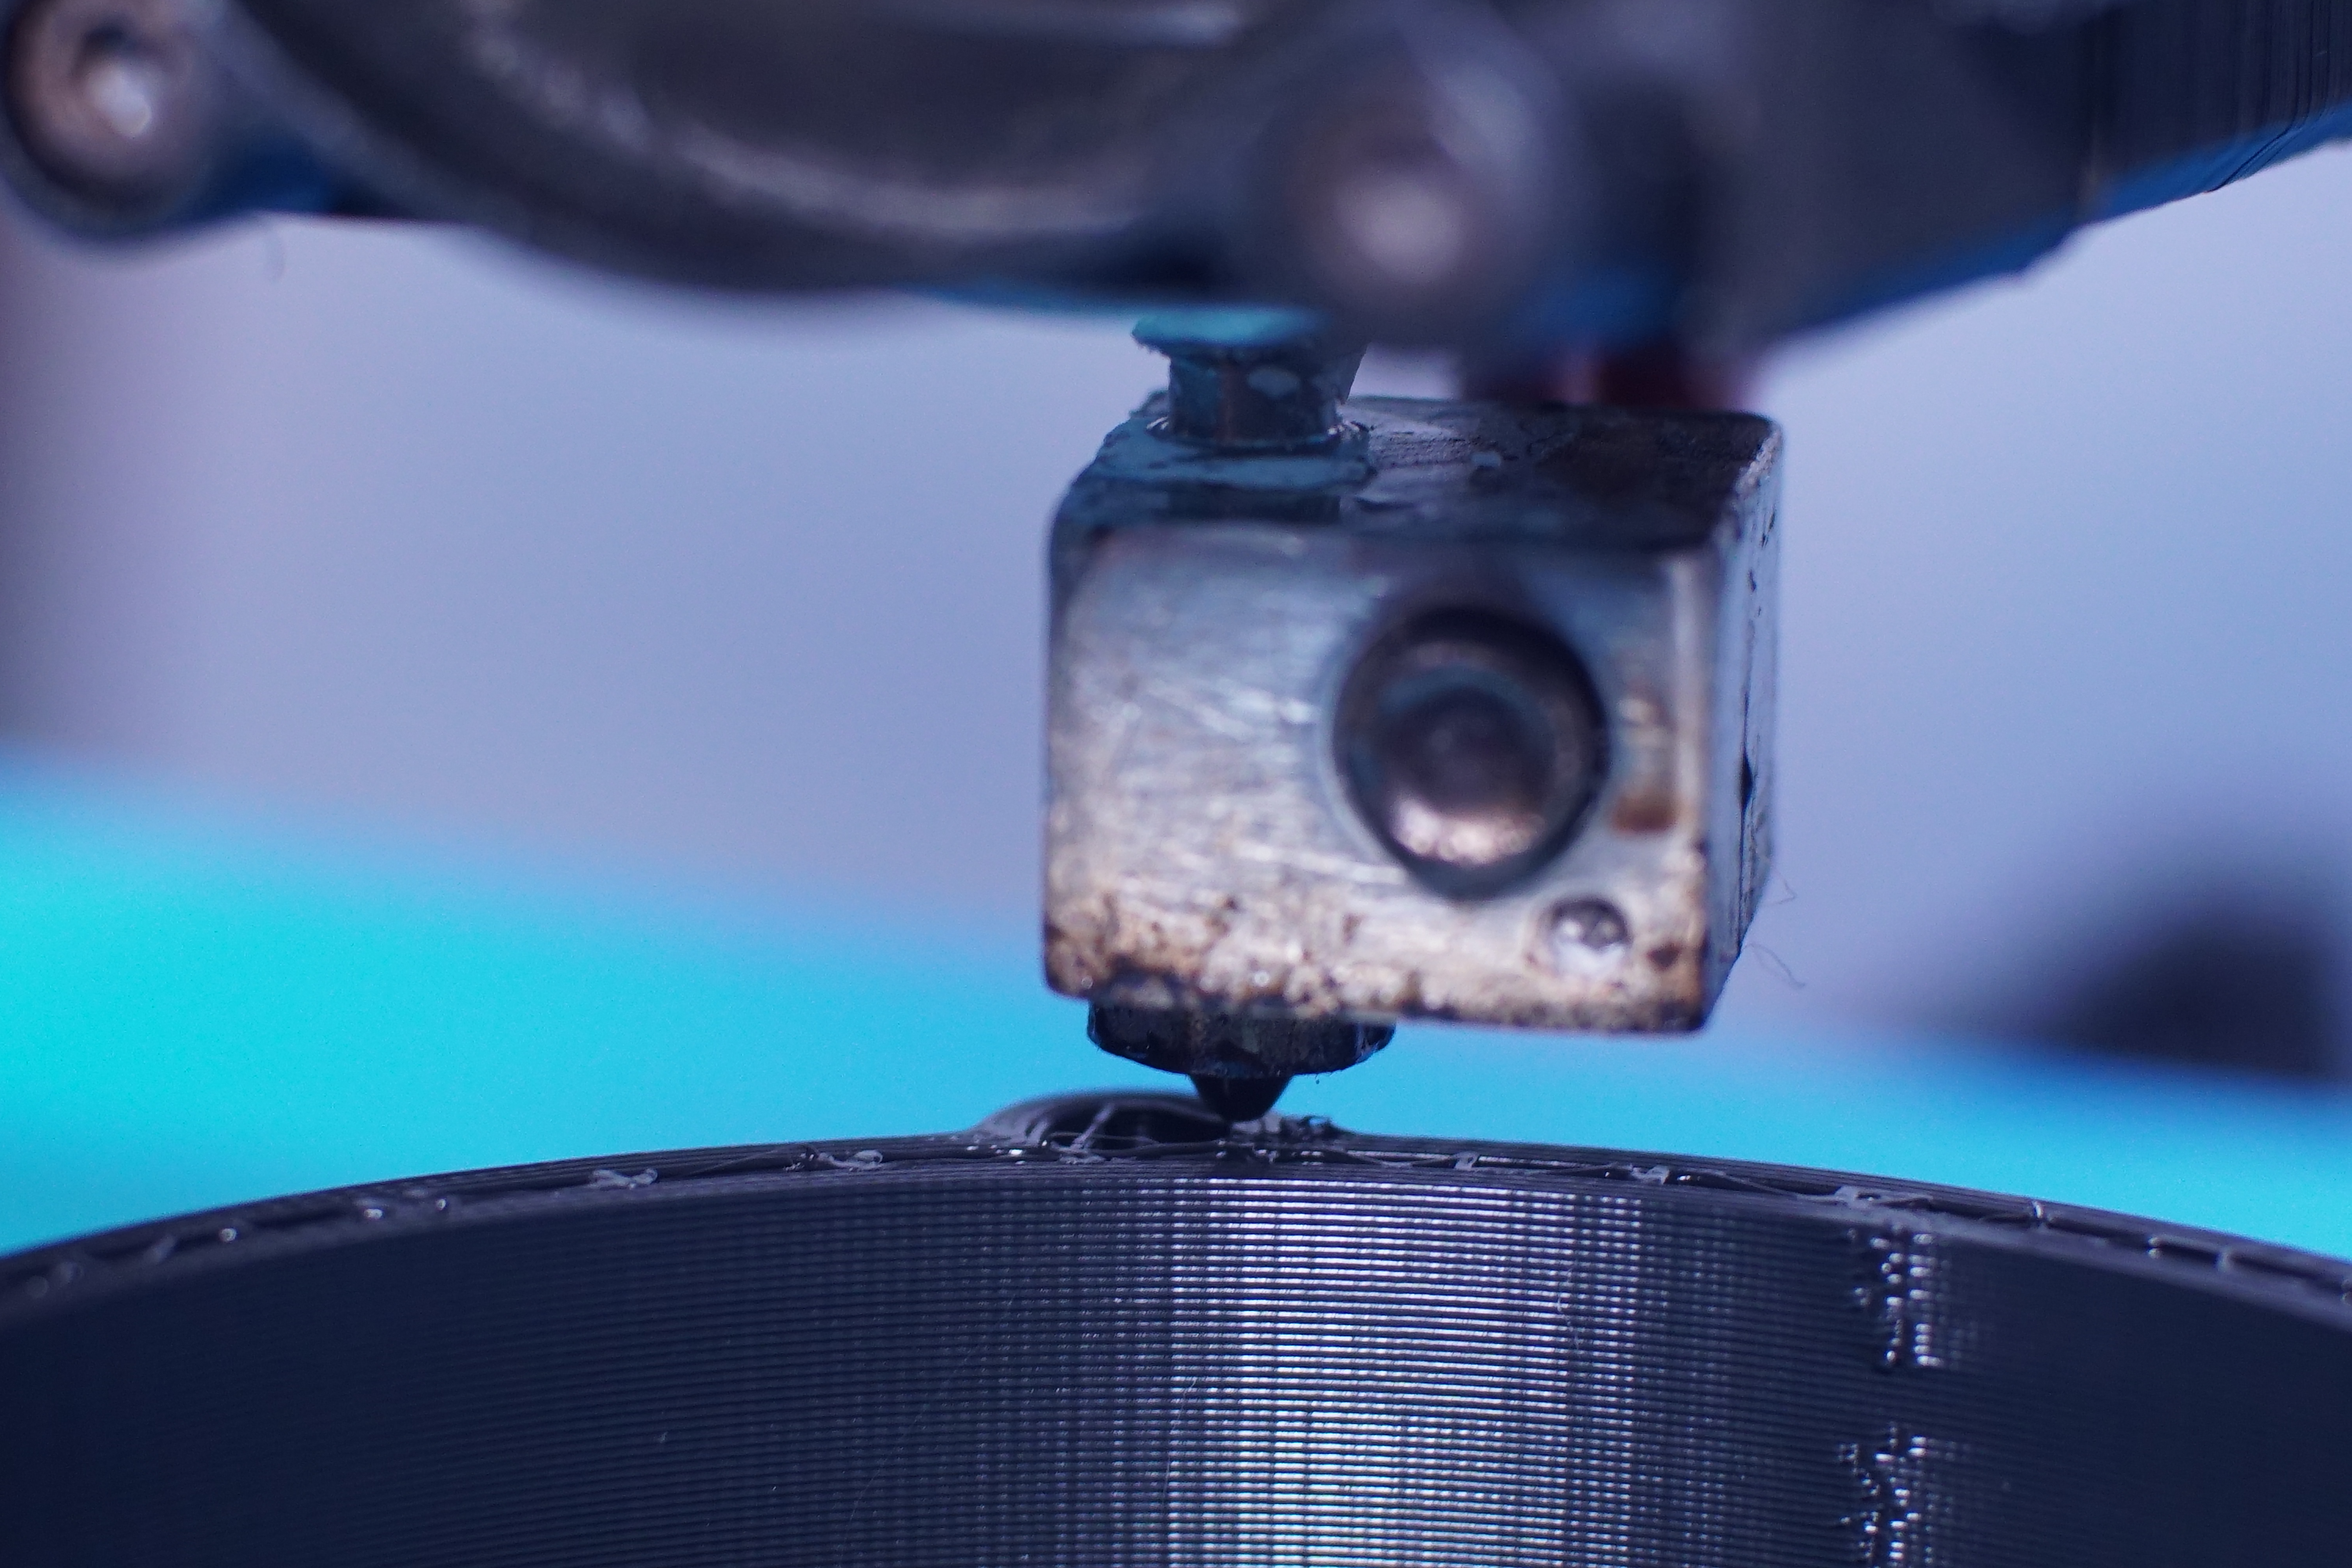
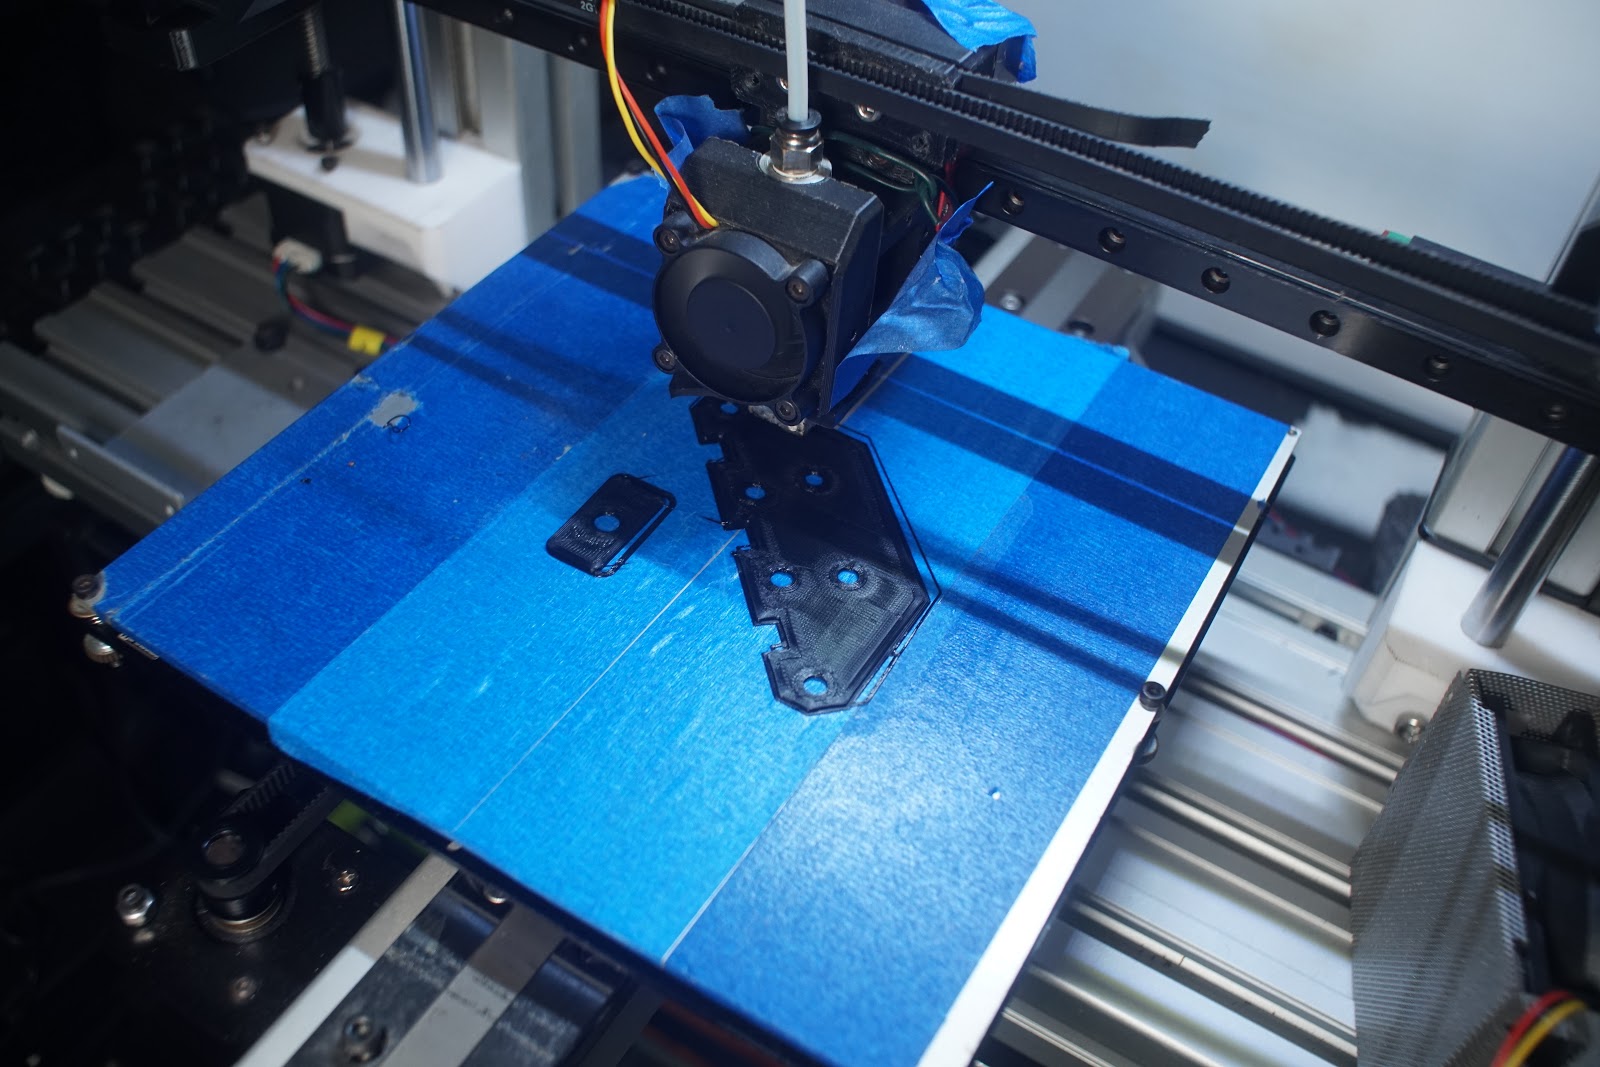
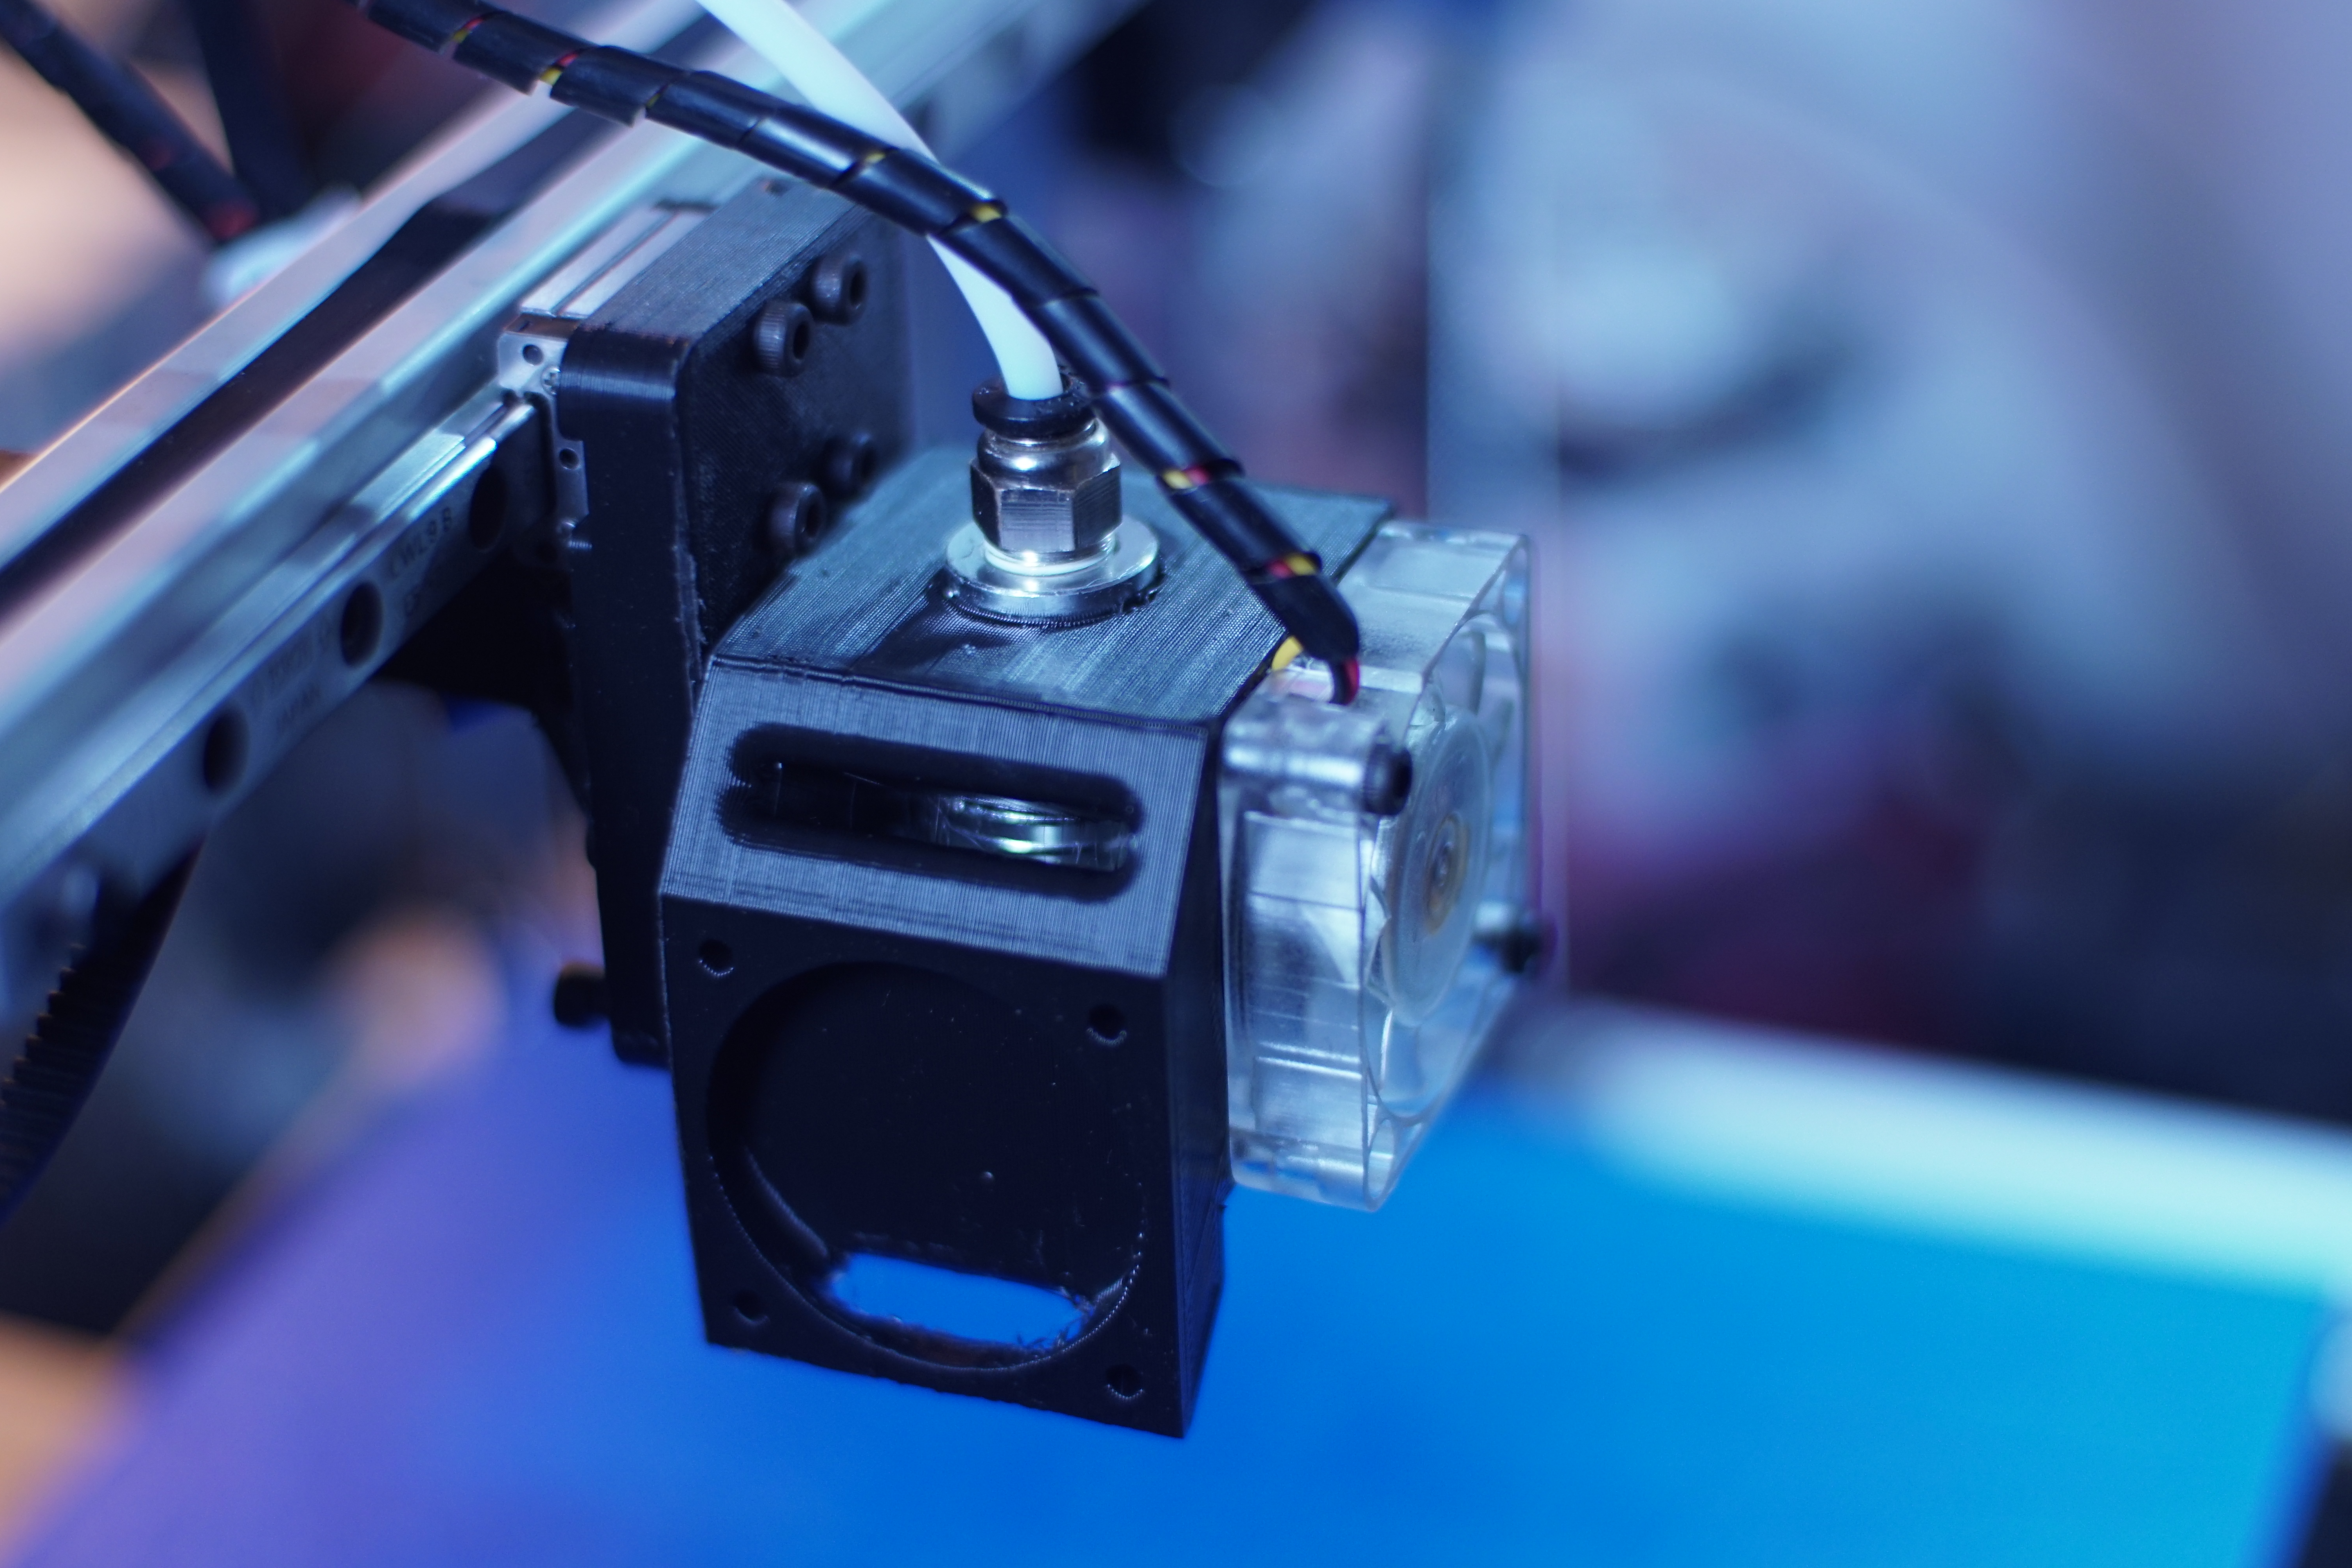
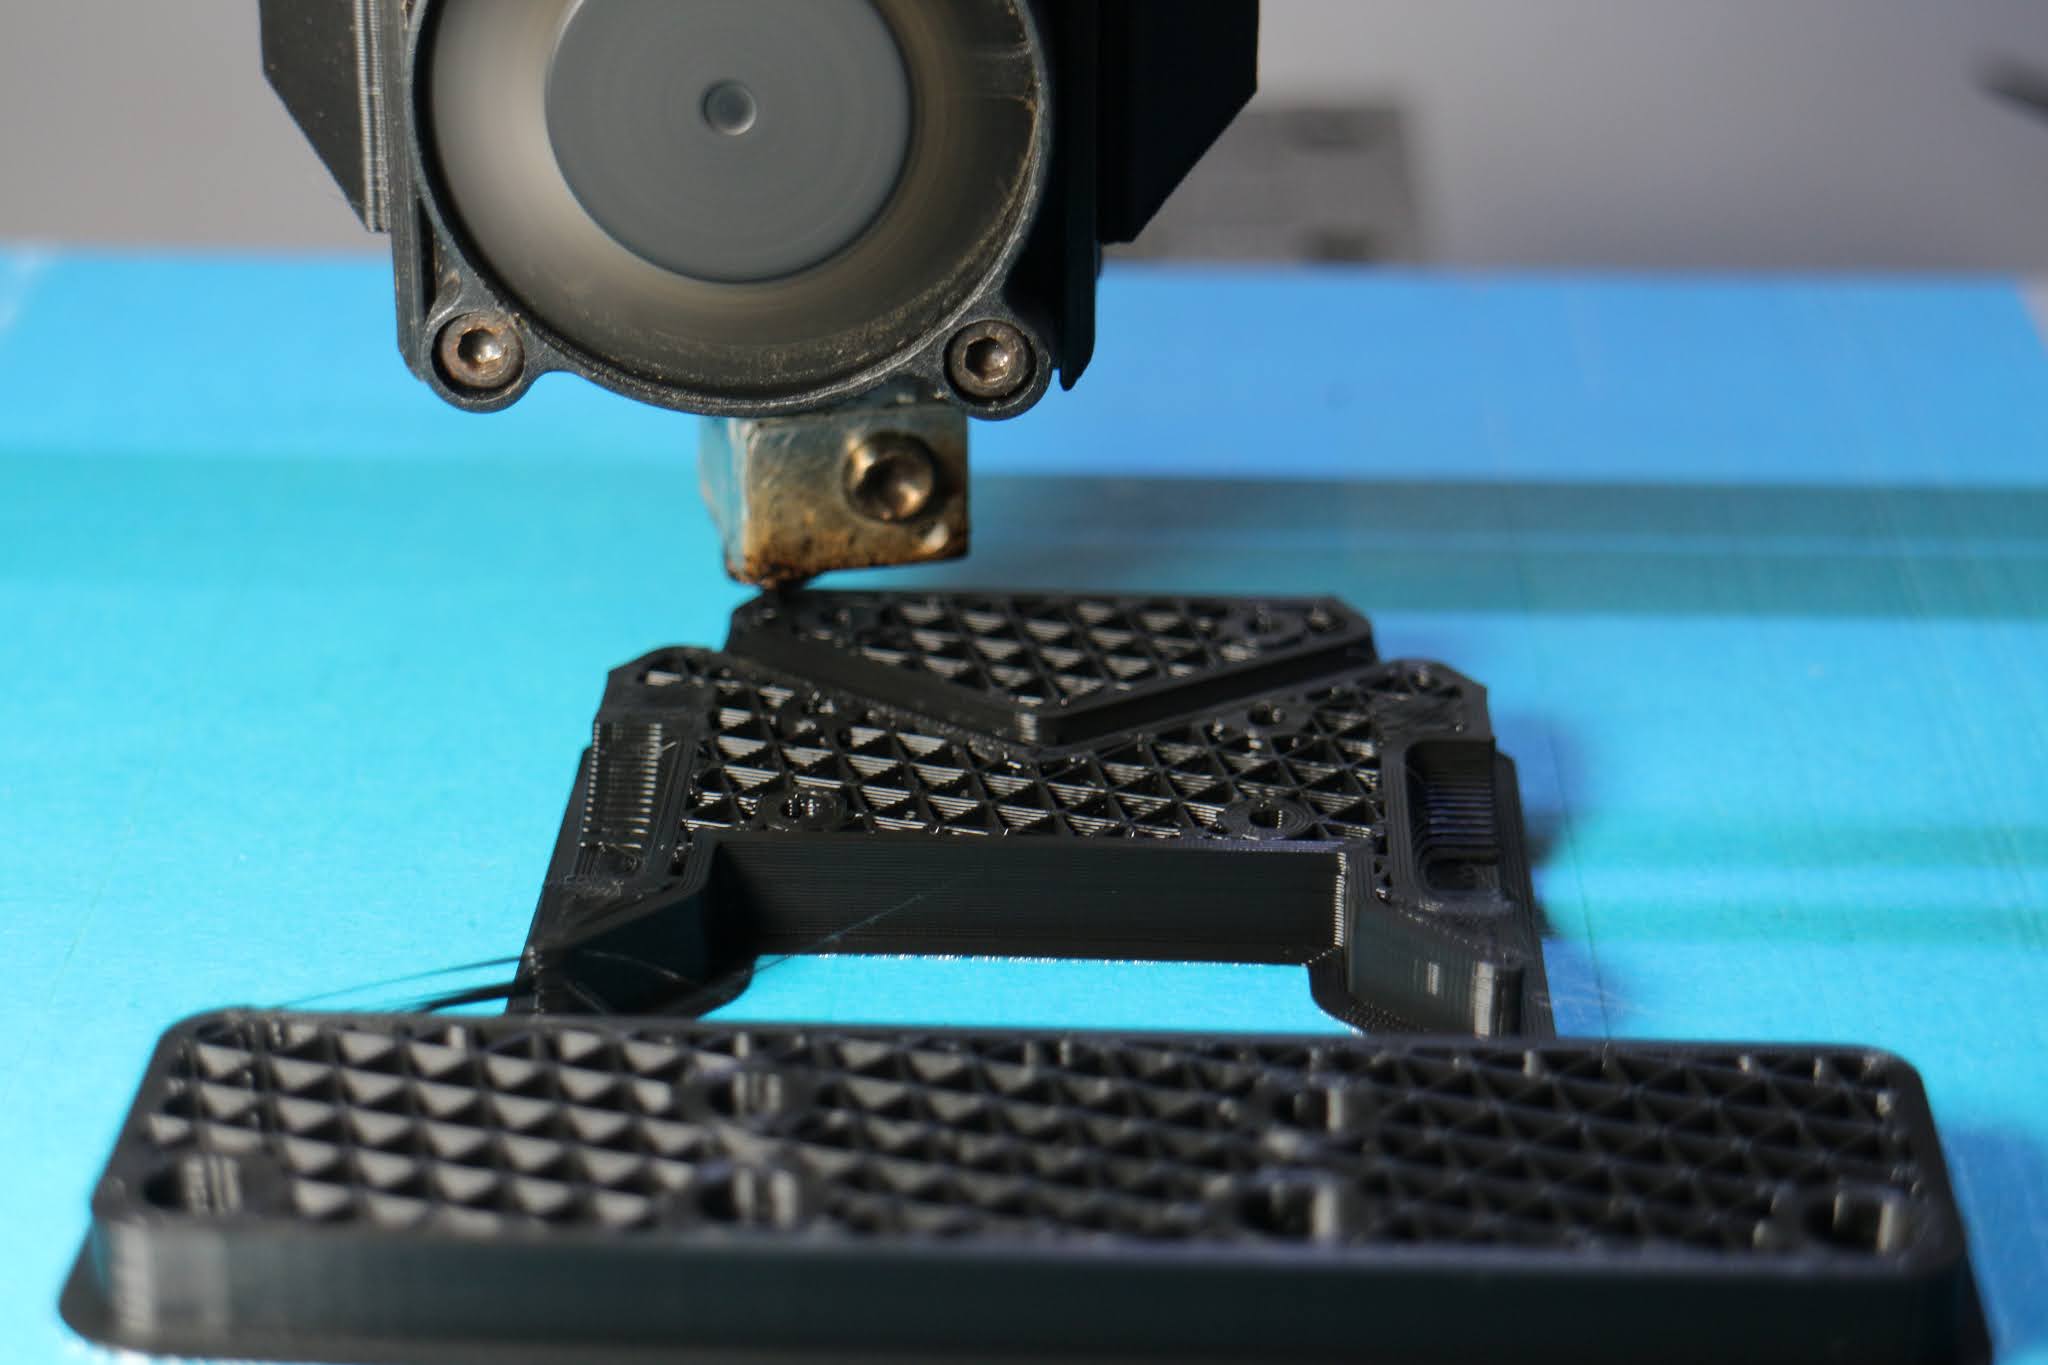
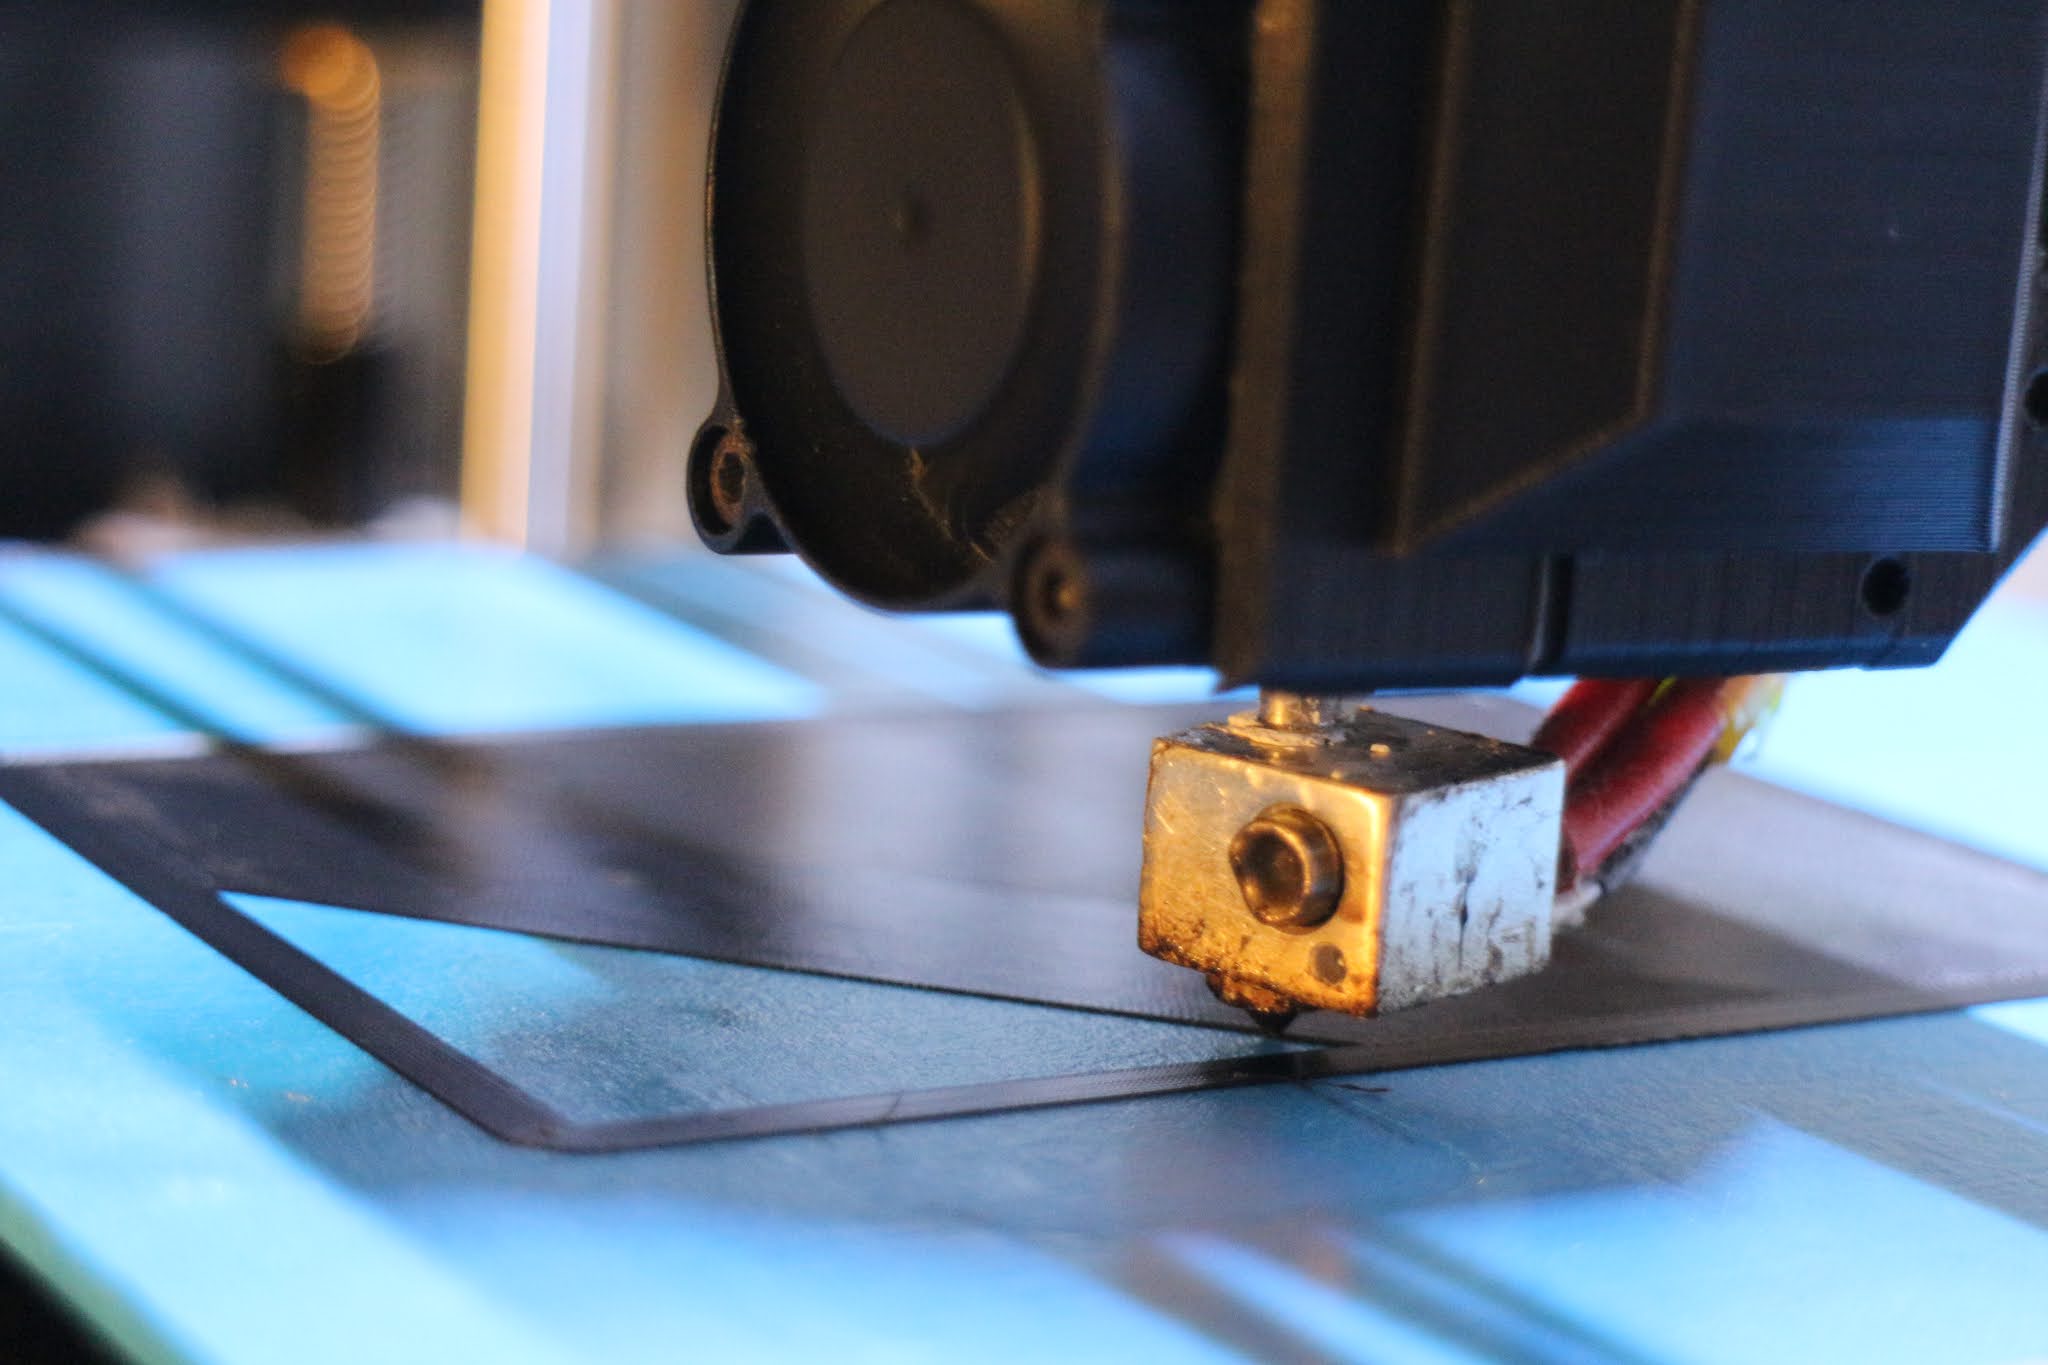
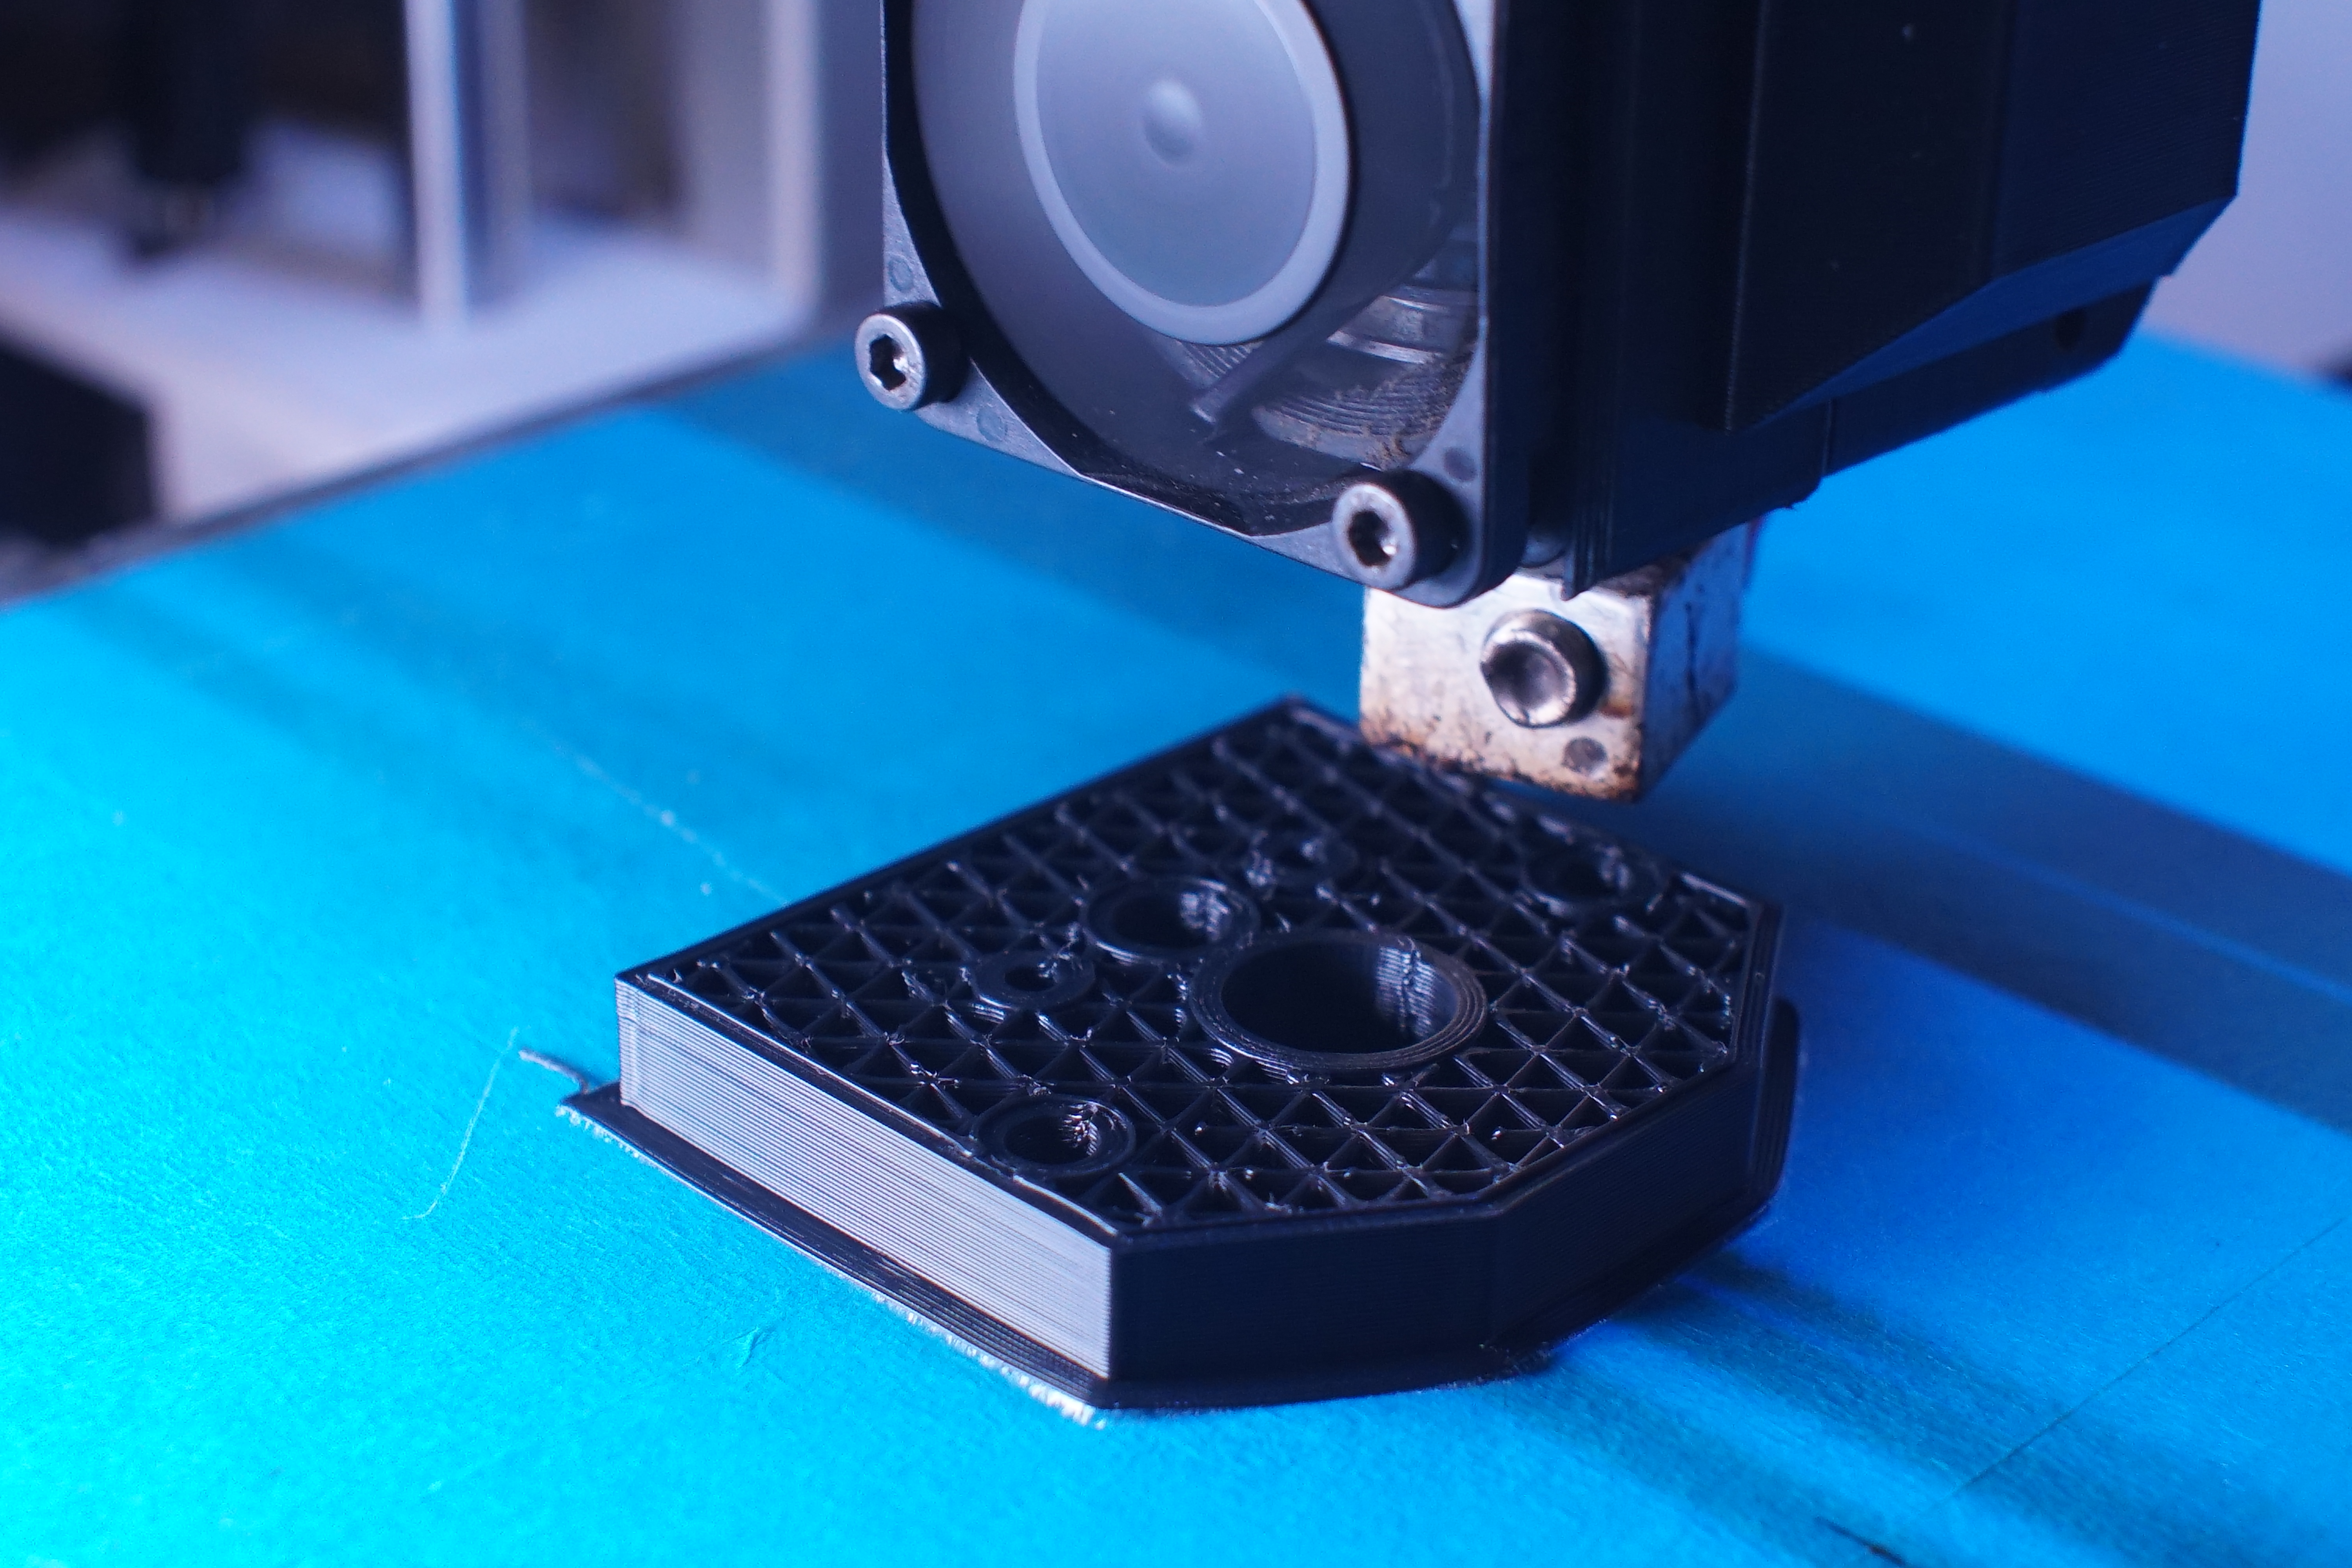
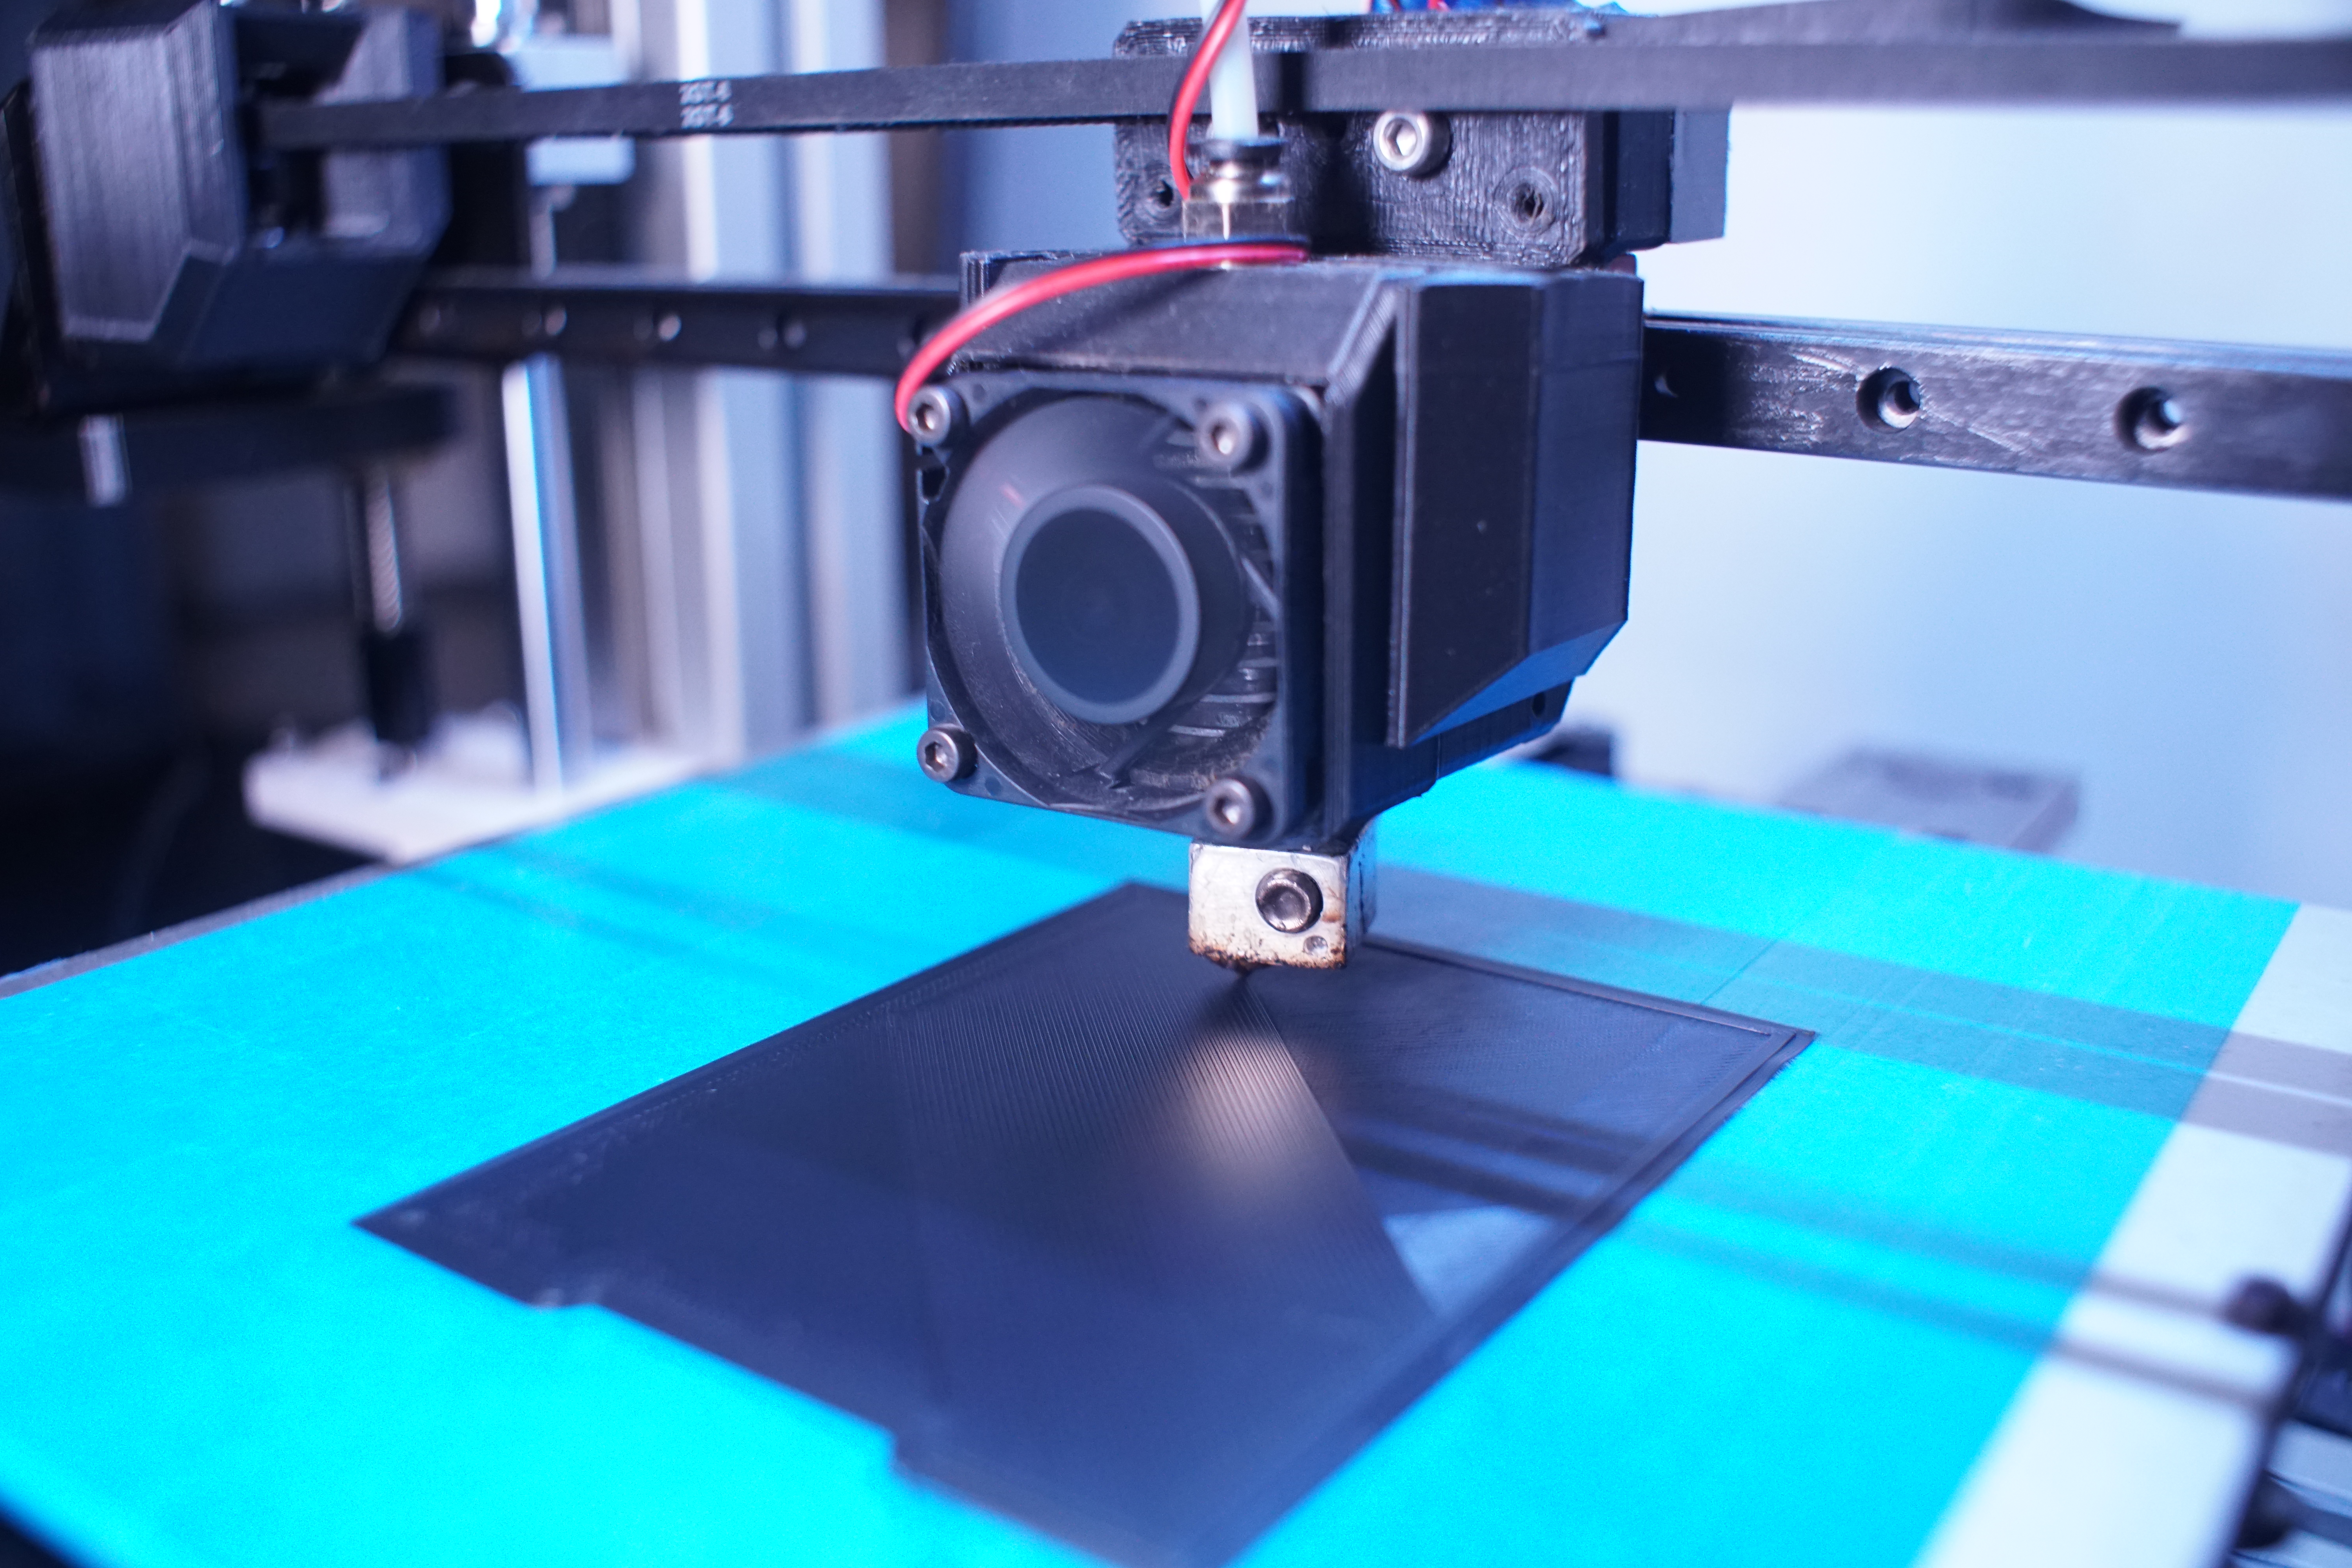
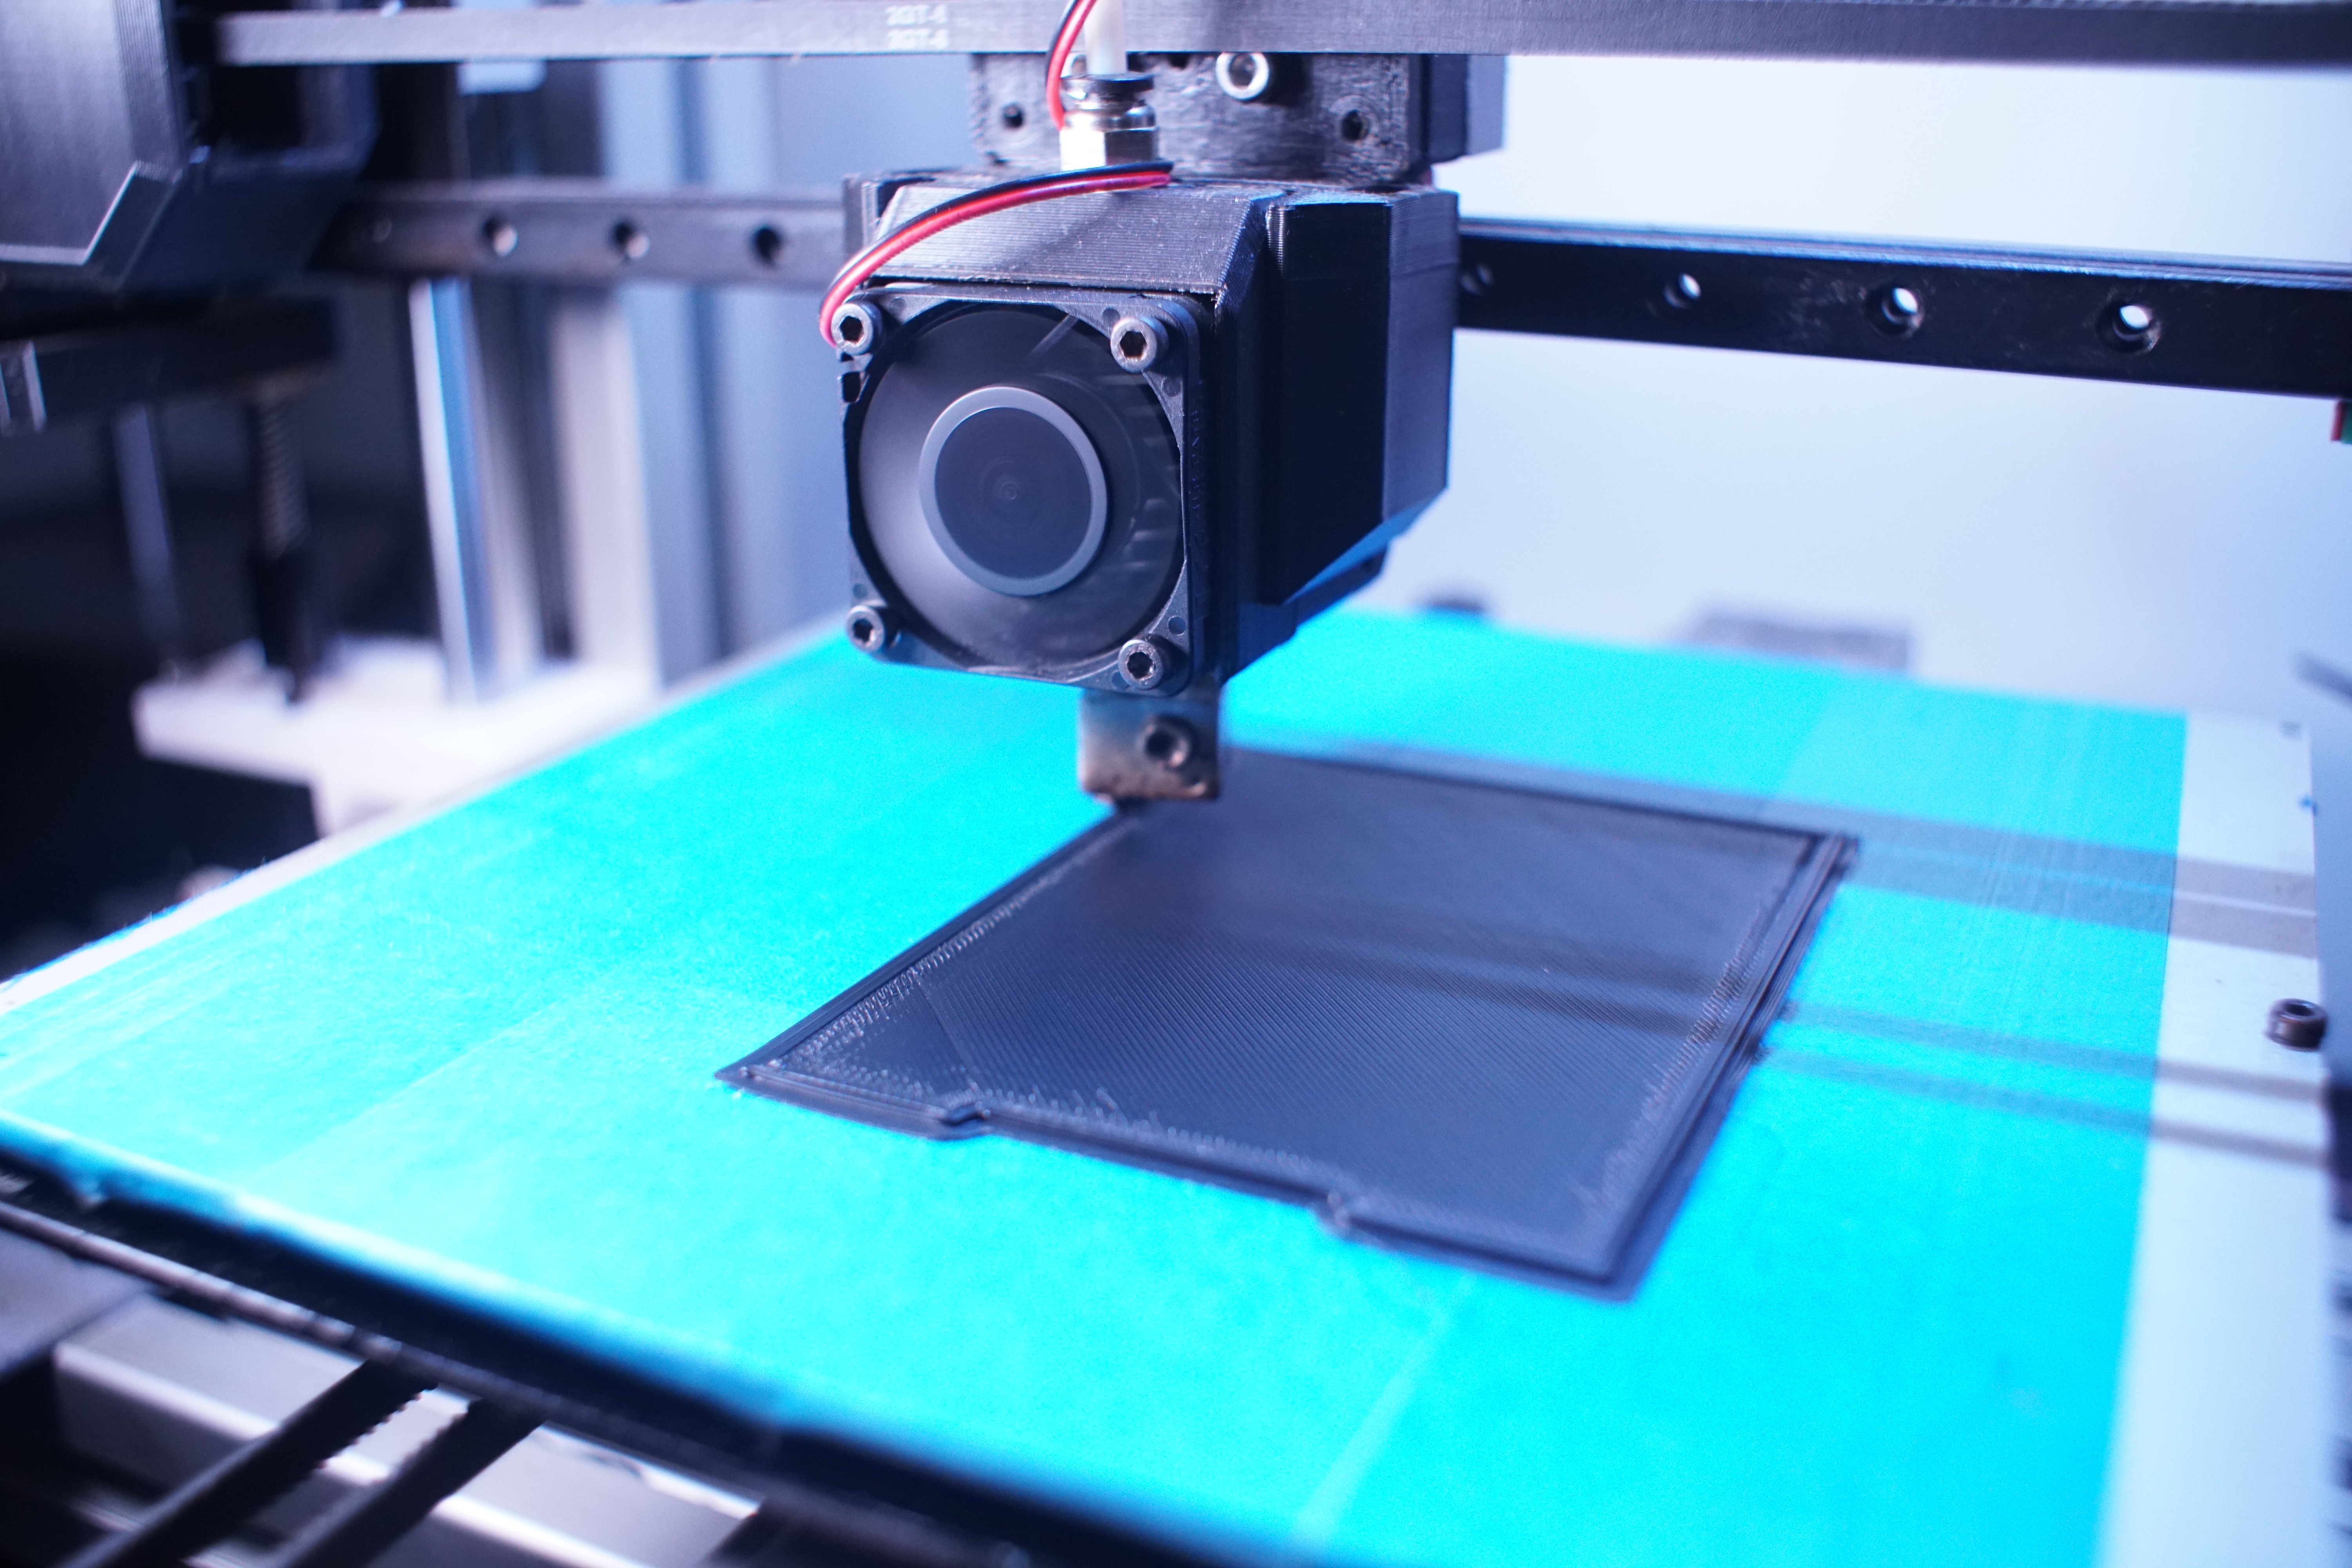
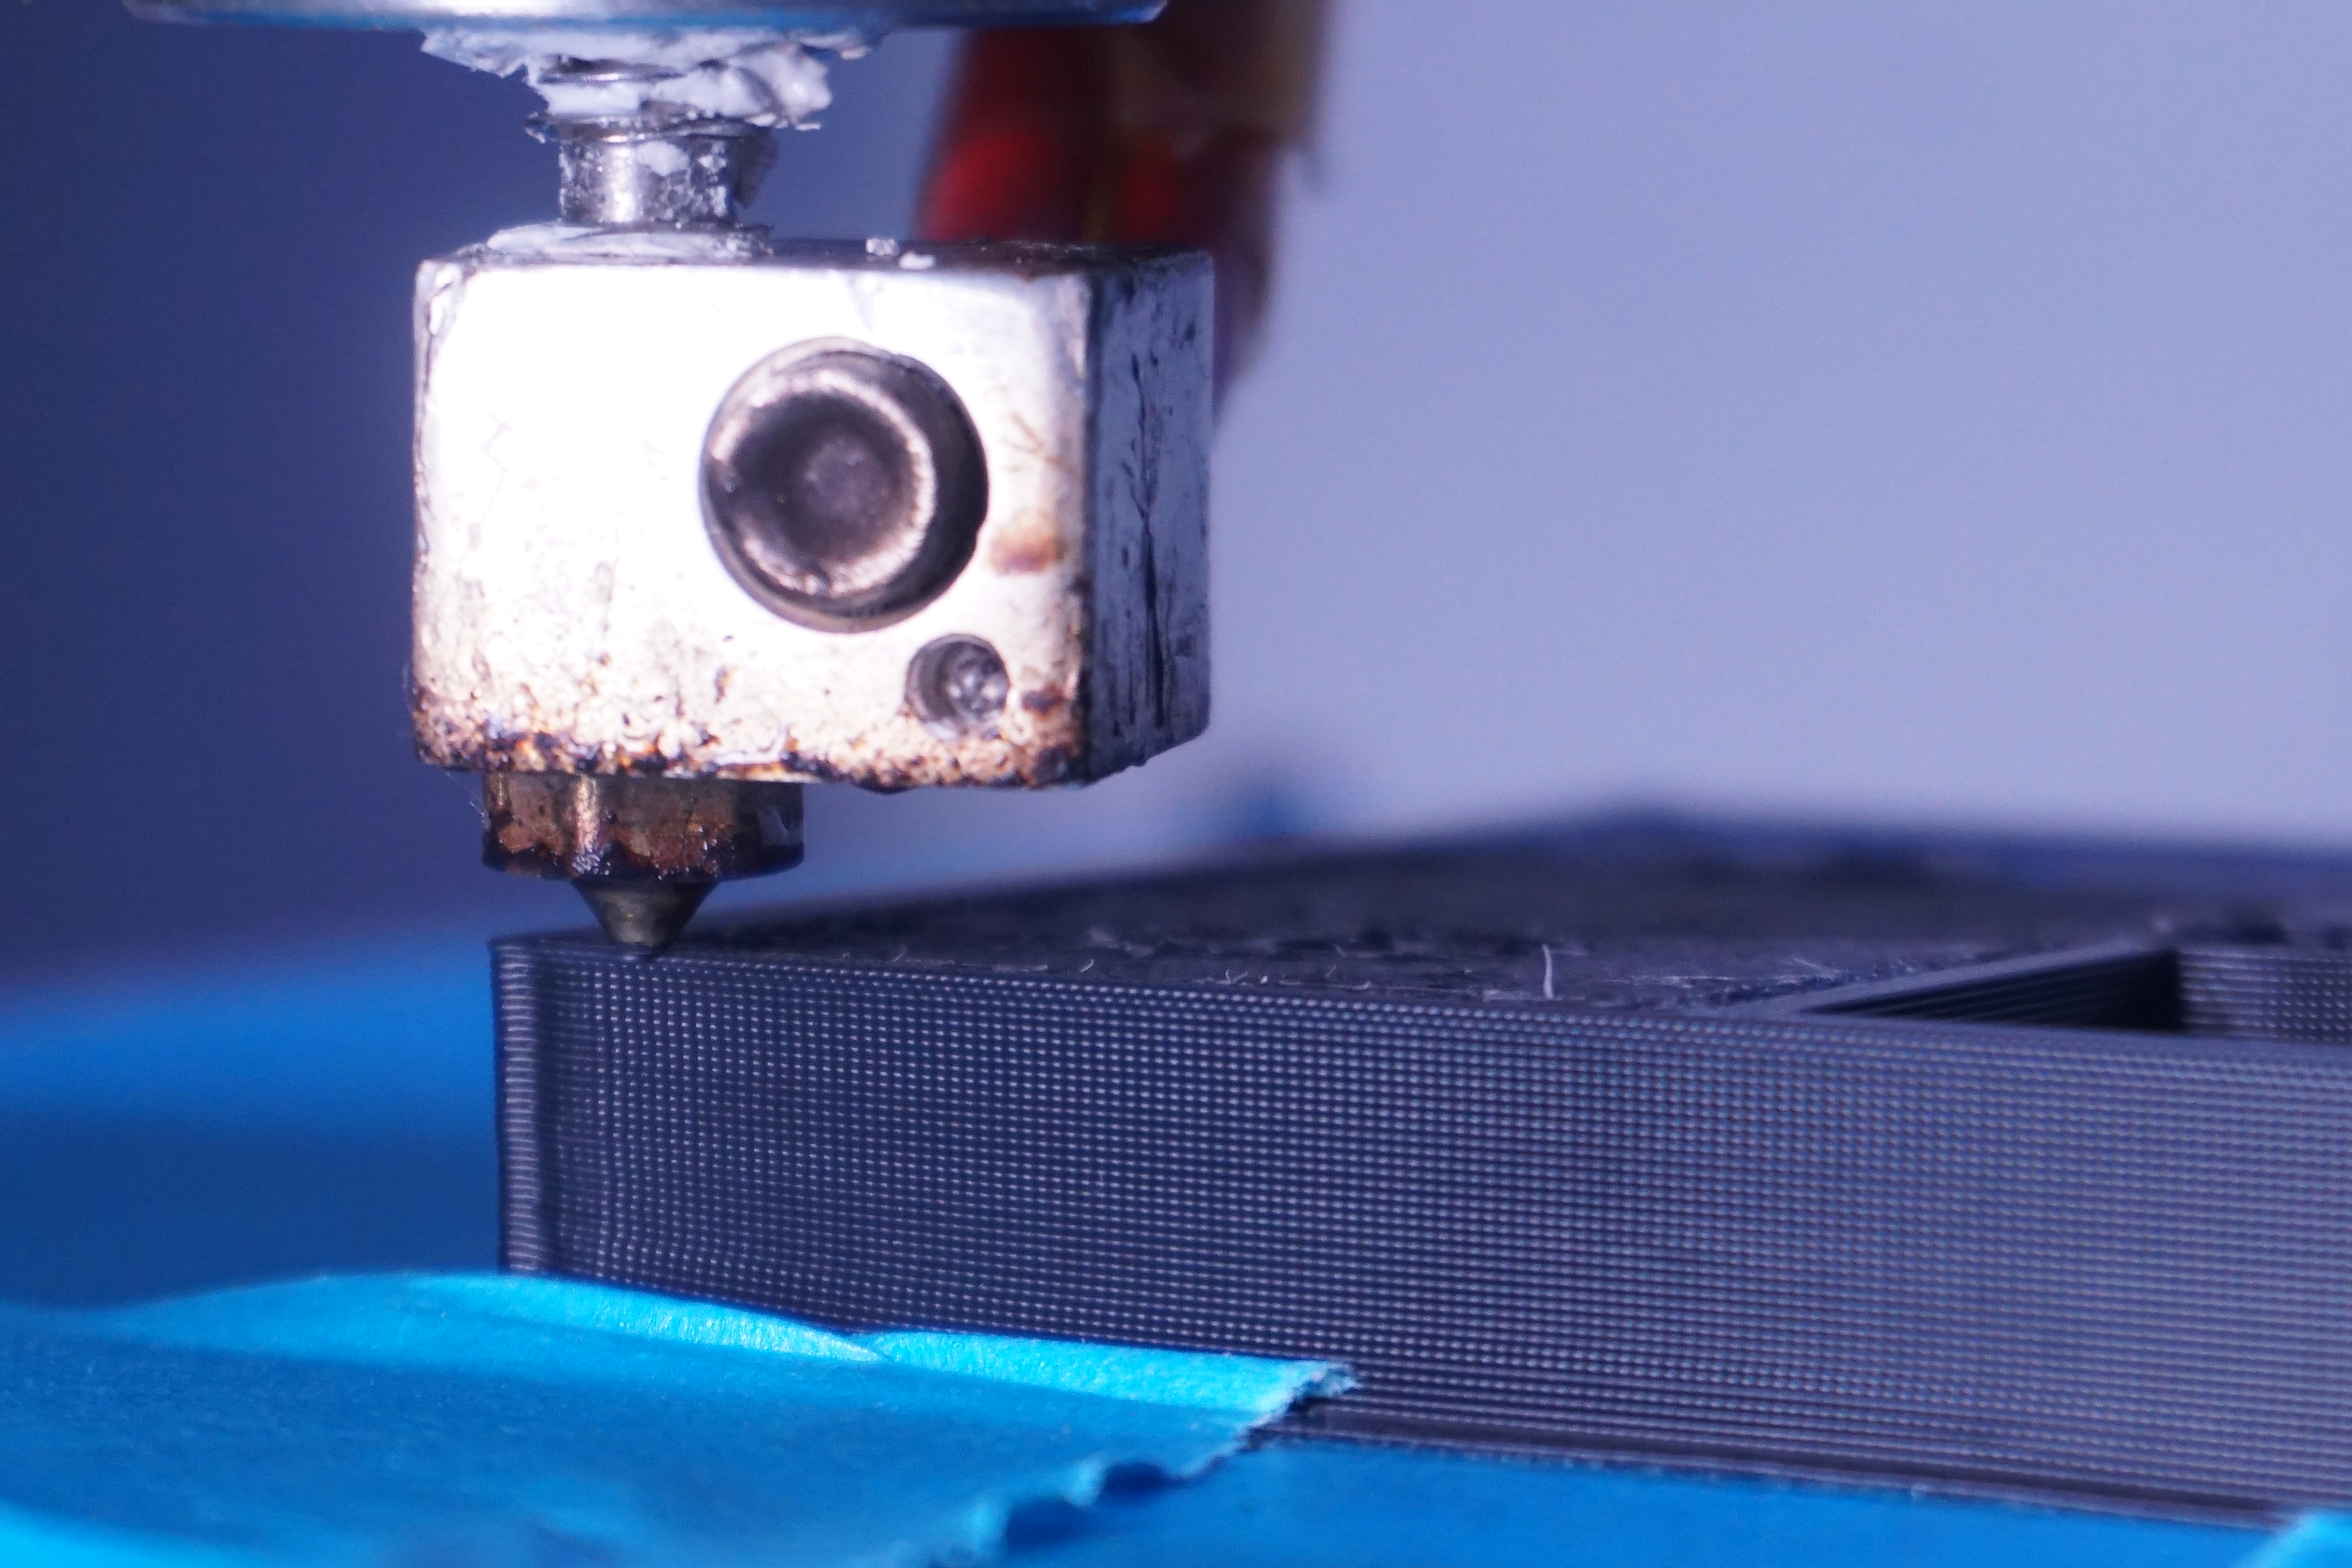
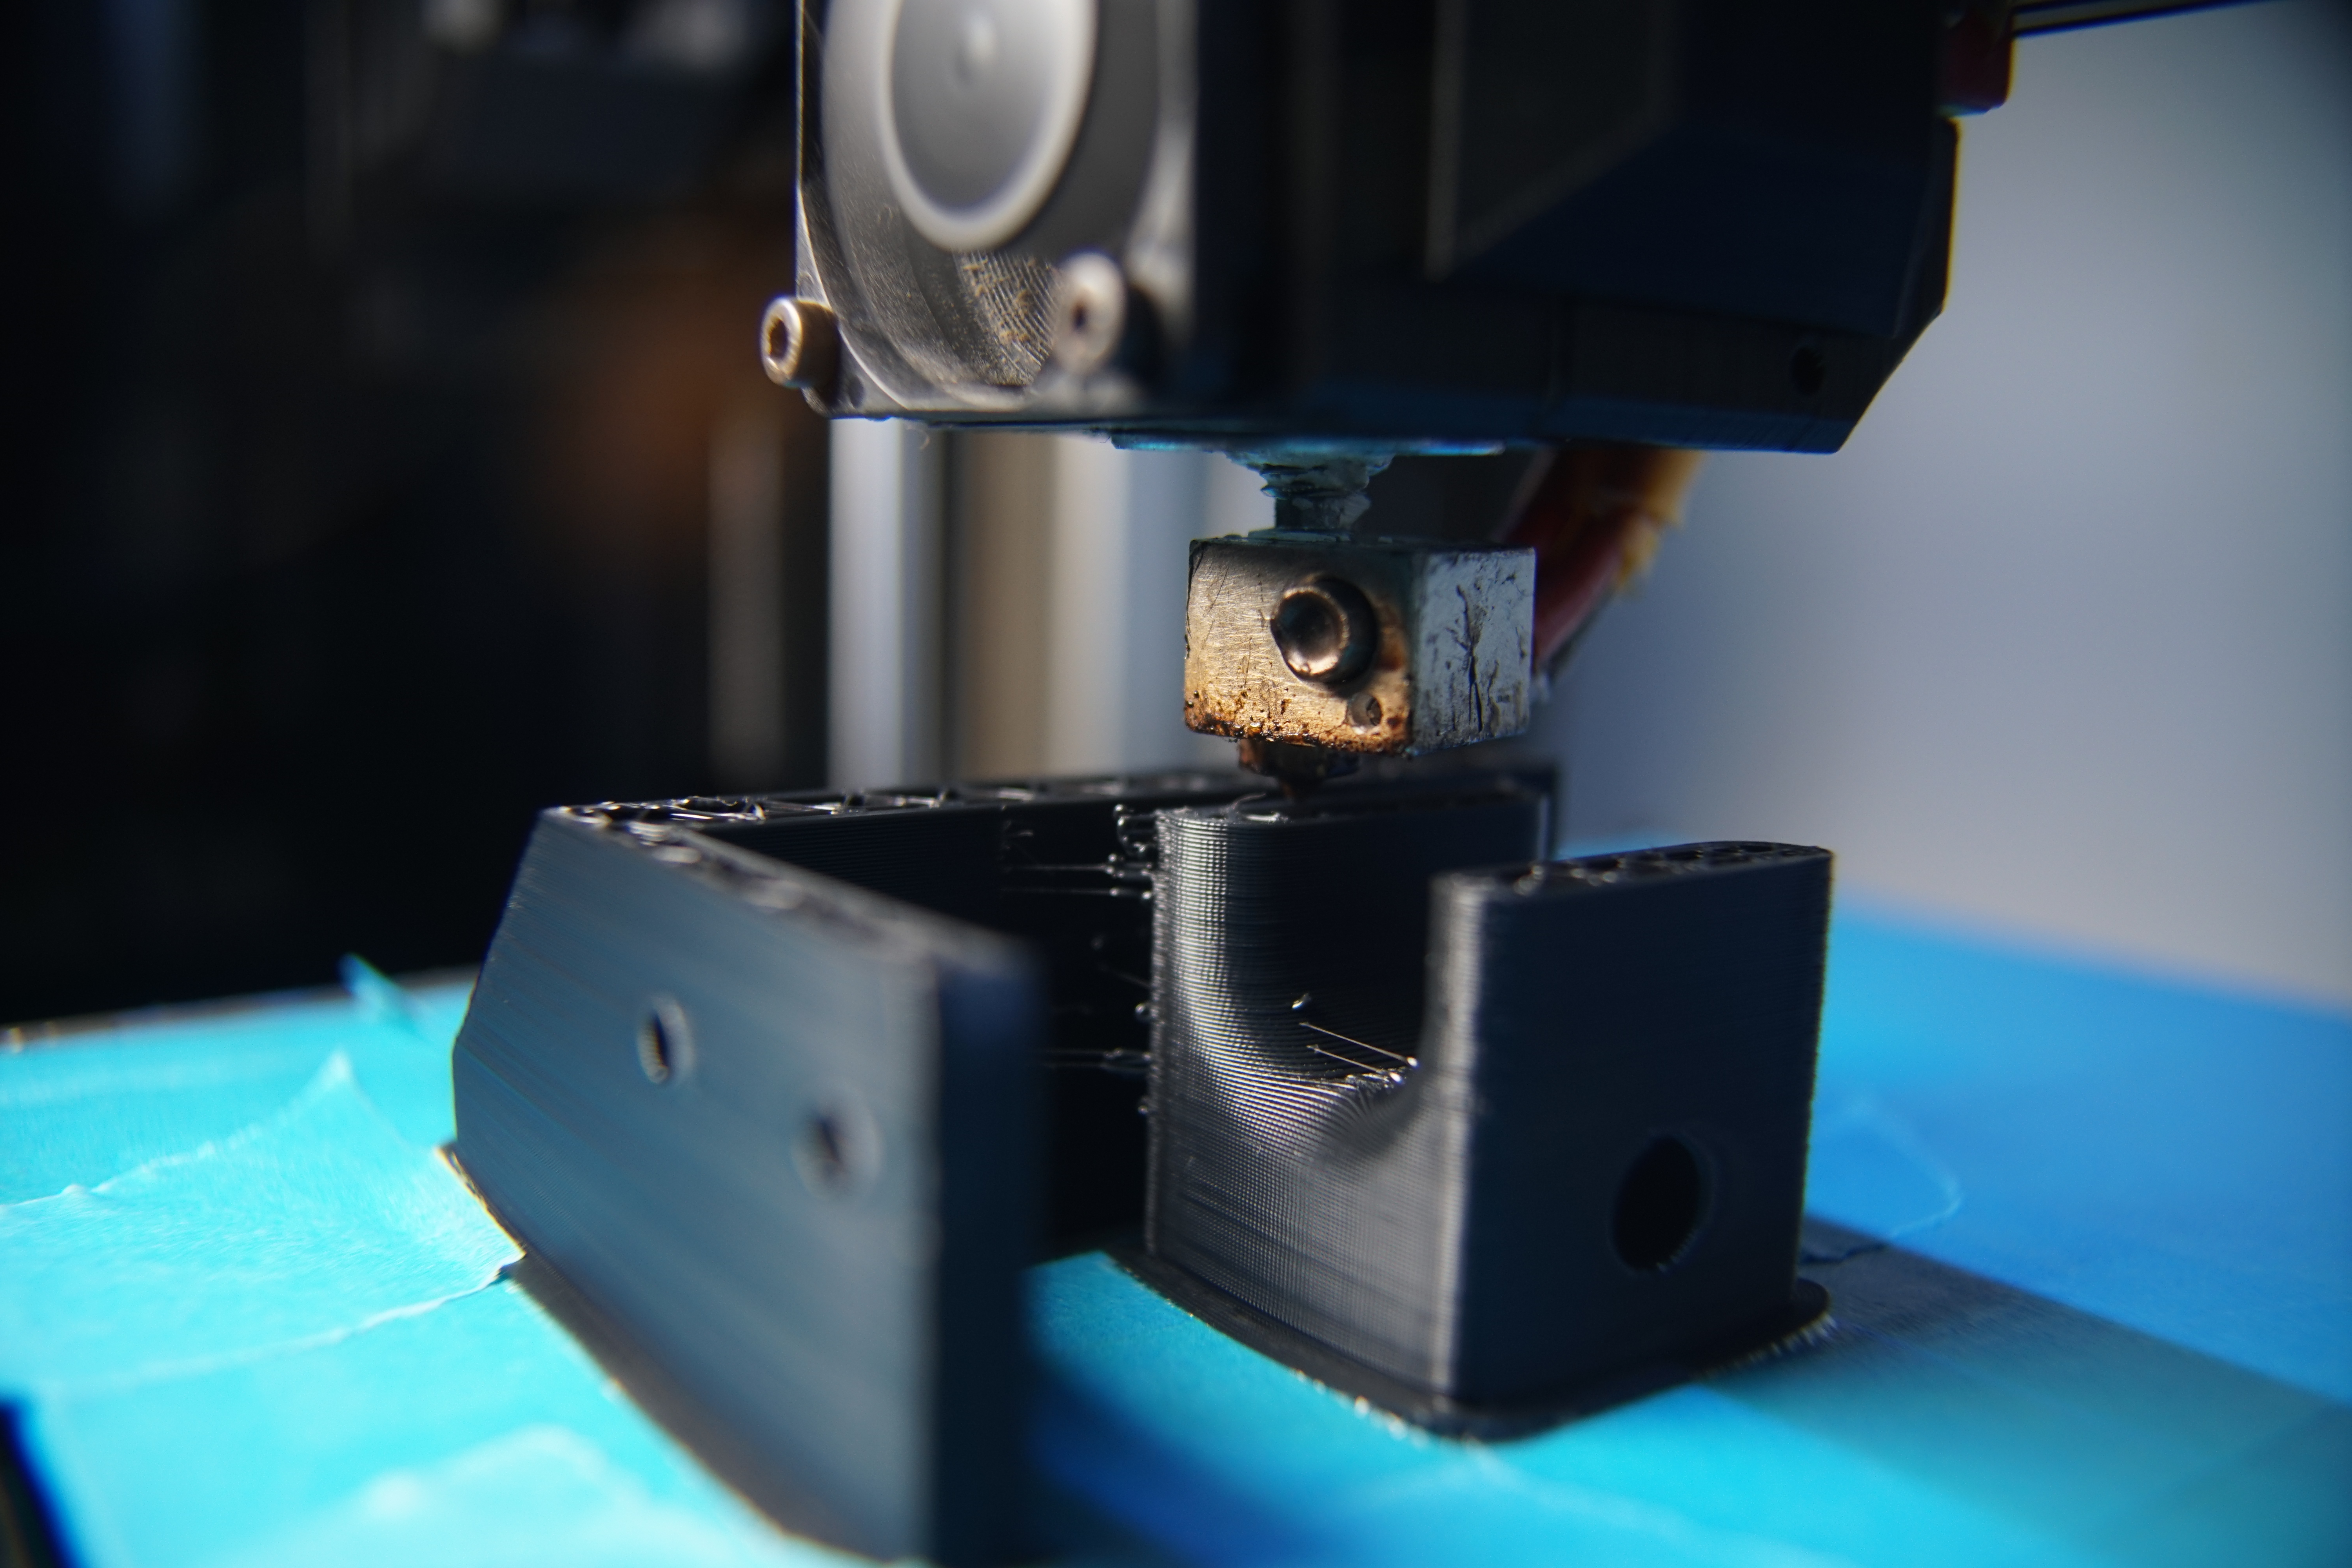
With one print left on the roll I decided on a fan shroud/mount...this thing isnt going to like getting very hot so at some point when the ideal hotend/extruder/mount combo reveals itself to me, this will have to do for now. First ever print using support settings...failed at the end, as it was releasing from the bed, and it hit a curl.
While I get to grips with Marlin 2(deep in'it), just modding an ender profile, removing any bells & whistles, running with A4988's for now as the choice of tmc's & revisions of tmc's and dud's, I have to be sure before splurging, and there's no real way of knowing yet if the boards even working...I assumed there would already be firmware on the board...doesnt seem to be as it cant be seen on the USB (Maple driver showing issue).
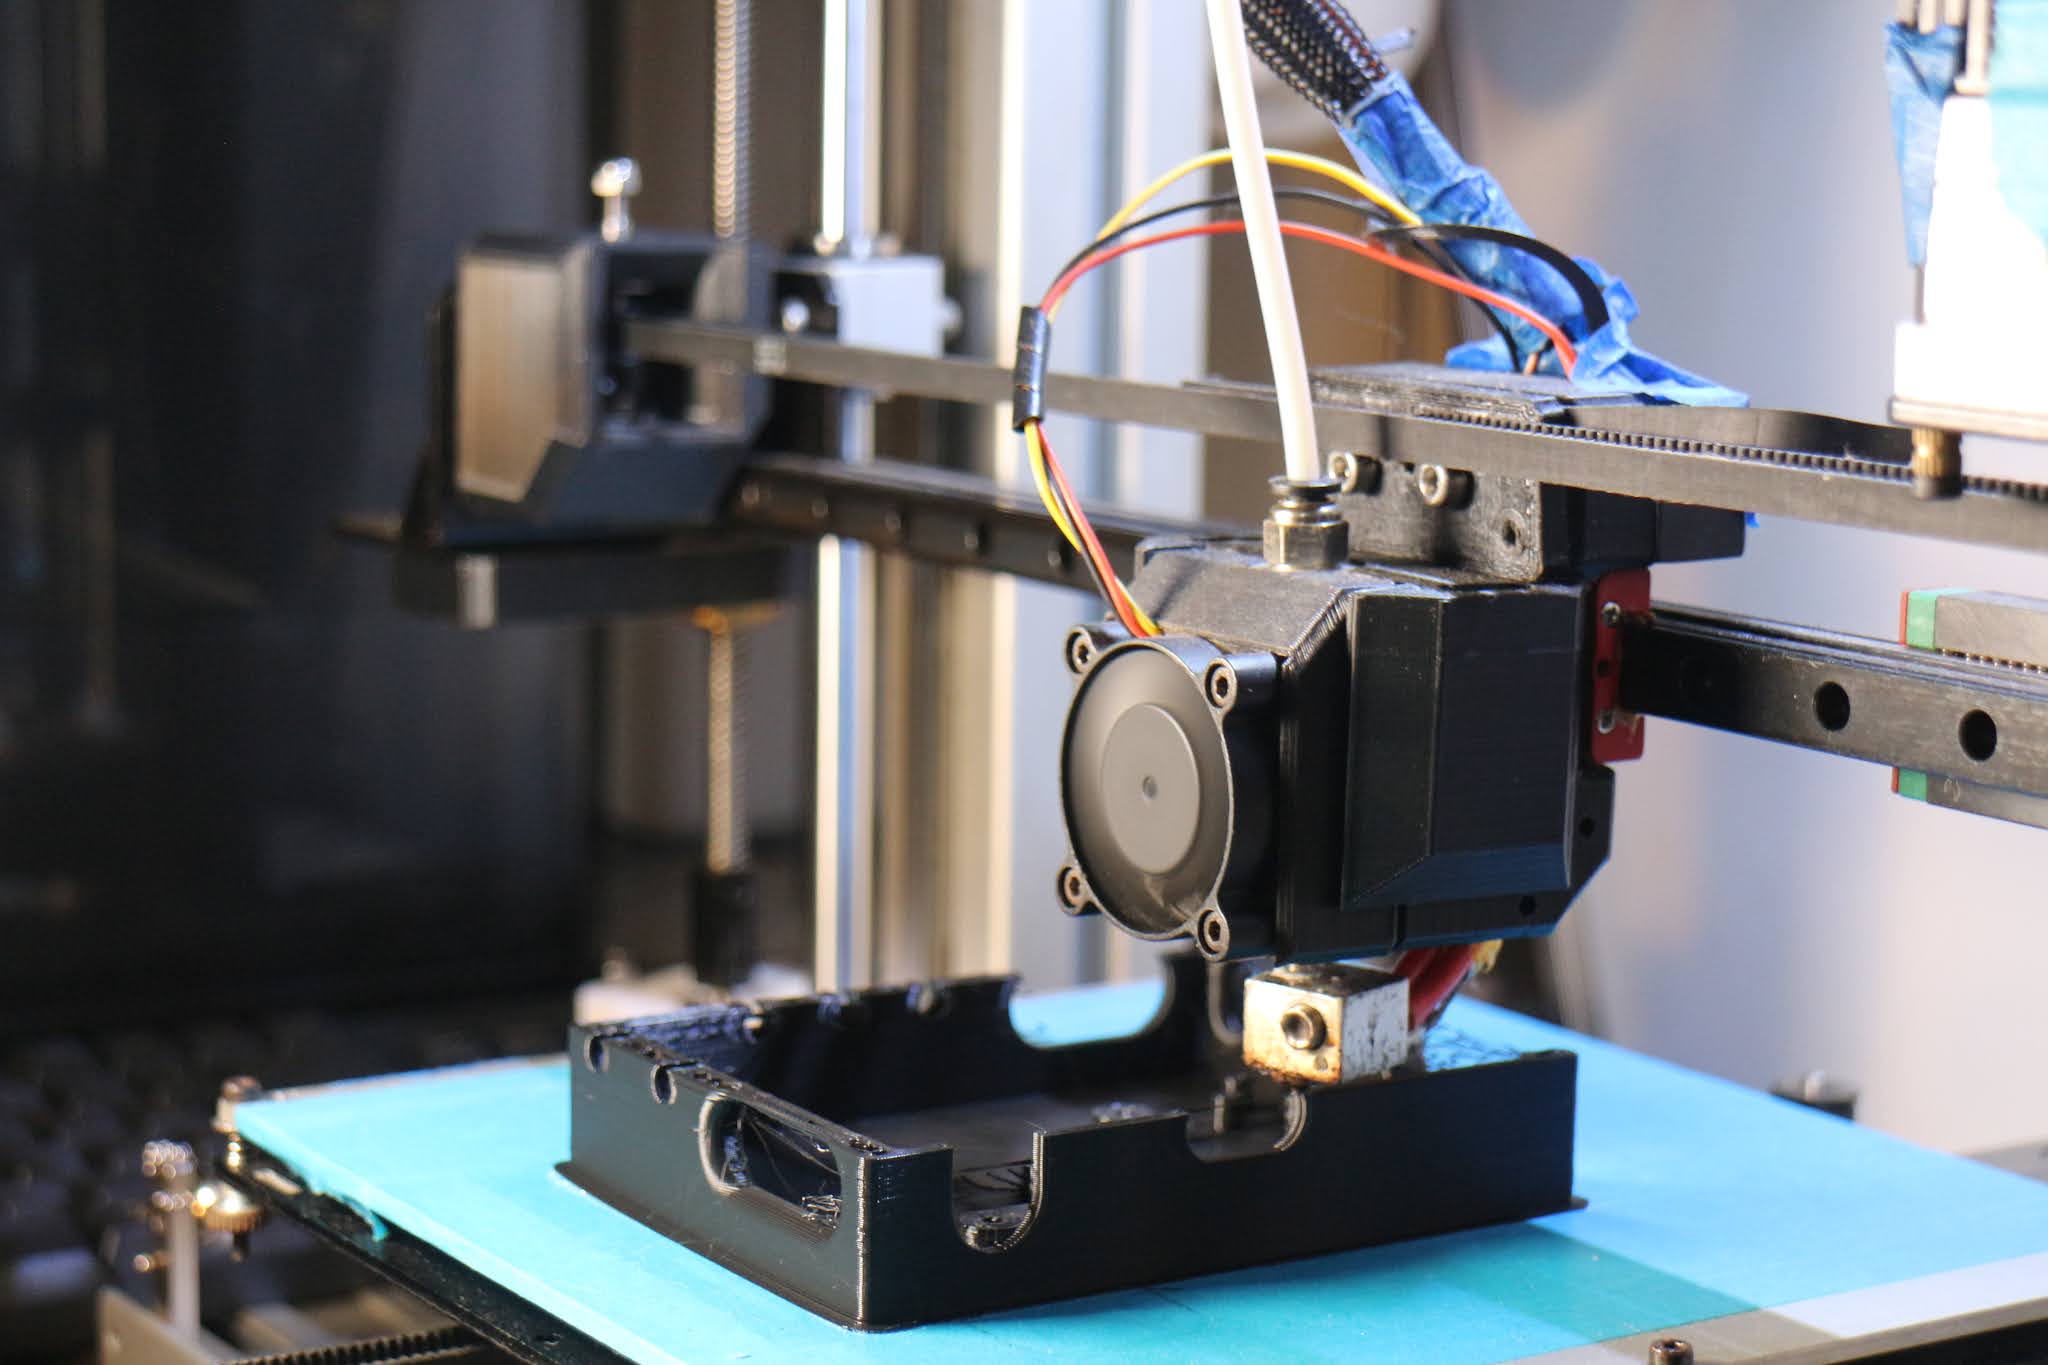
Anyway I finally decided which machine to put it on, the cube, which is already wired up with ramps on 12v, so once I copy the settings I forgot, I'll swap it out for the skr(if I get it going). Ended up getting the meanwell 350 in the end, after missing out on a cheap black dell psu that looked like the normal LED psu's but looked better made...So the cheap control board better be worth it, they just released a new board a few days back, not sure the price on that.
The bed on the cube needs finalizing, as does the carriage, previously had to dangle the hotend quite low but now I've built up the bed a little, I'm figuring out new dimensions for the dangle & filament drive, might be a good idea to be able to switch from direct to bowden easily.
I'm thinking of screwing 3 point system into this chopping board, some inserts into the wood on underside then some screw thing to attach to the U shaped spans, though I'm also on the look out for other hardware that could be used, maybe ball & socket for the fixed point, maybe rod ends, or anything else I can find or suggested.
|
Re: MechaBits KraftWerk'r April 25, 2021 12:22AM |
Registered: 8 years ago Posts: 1,671 |
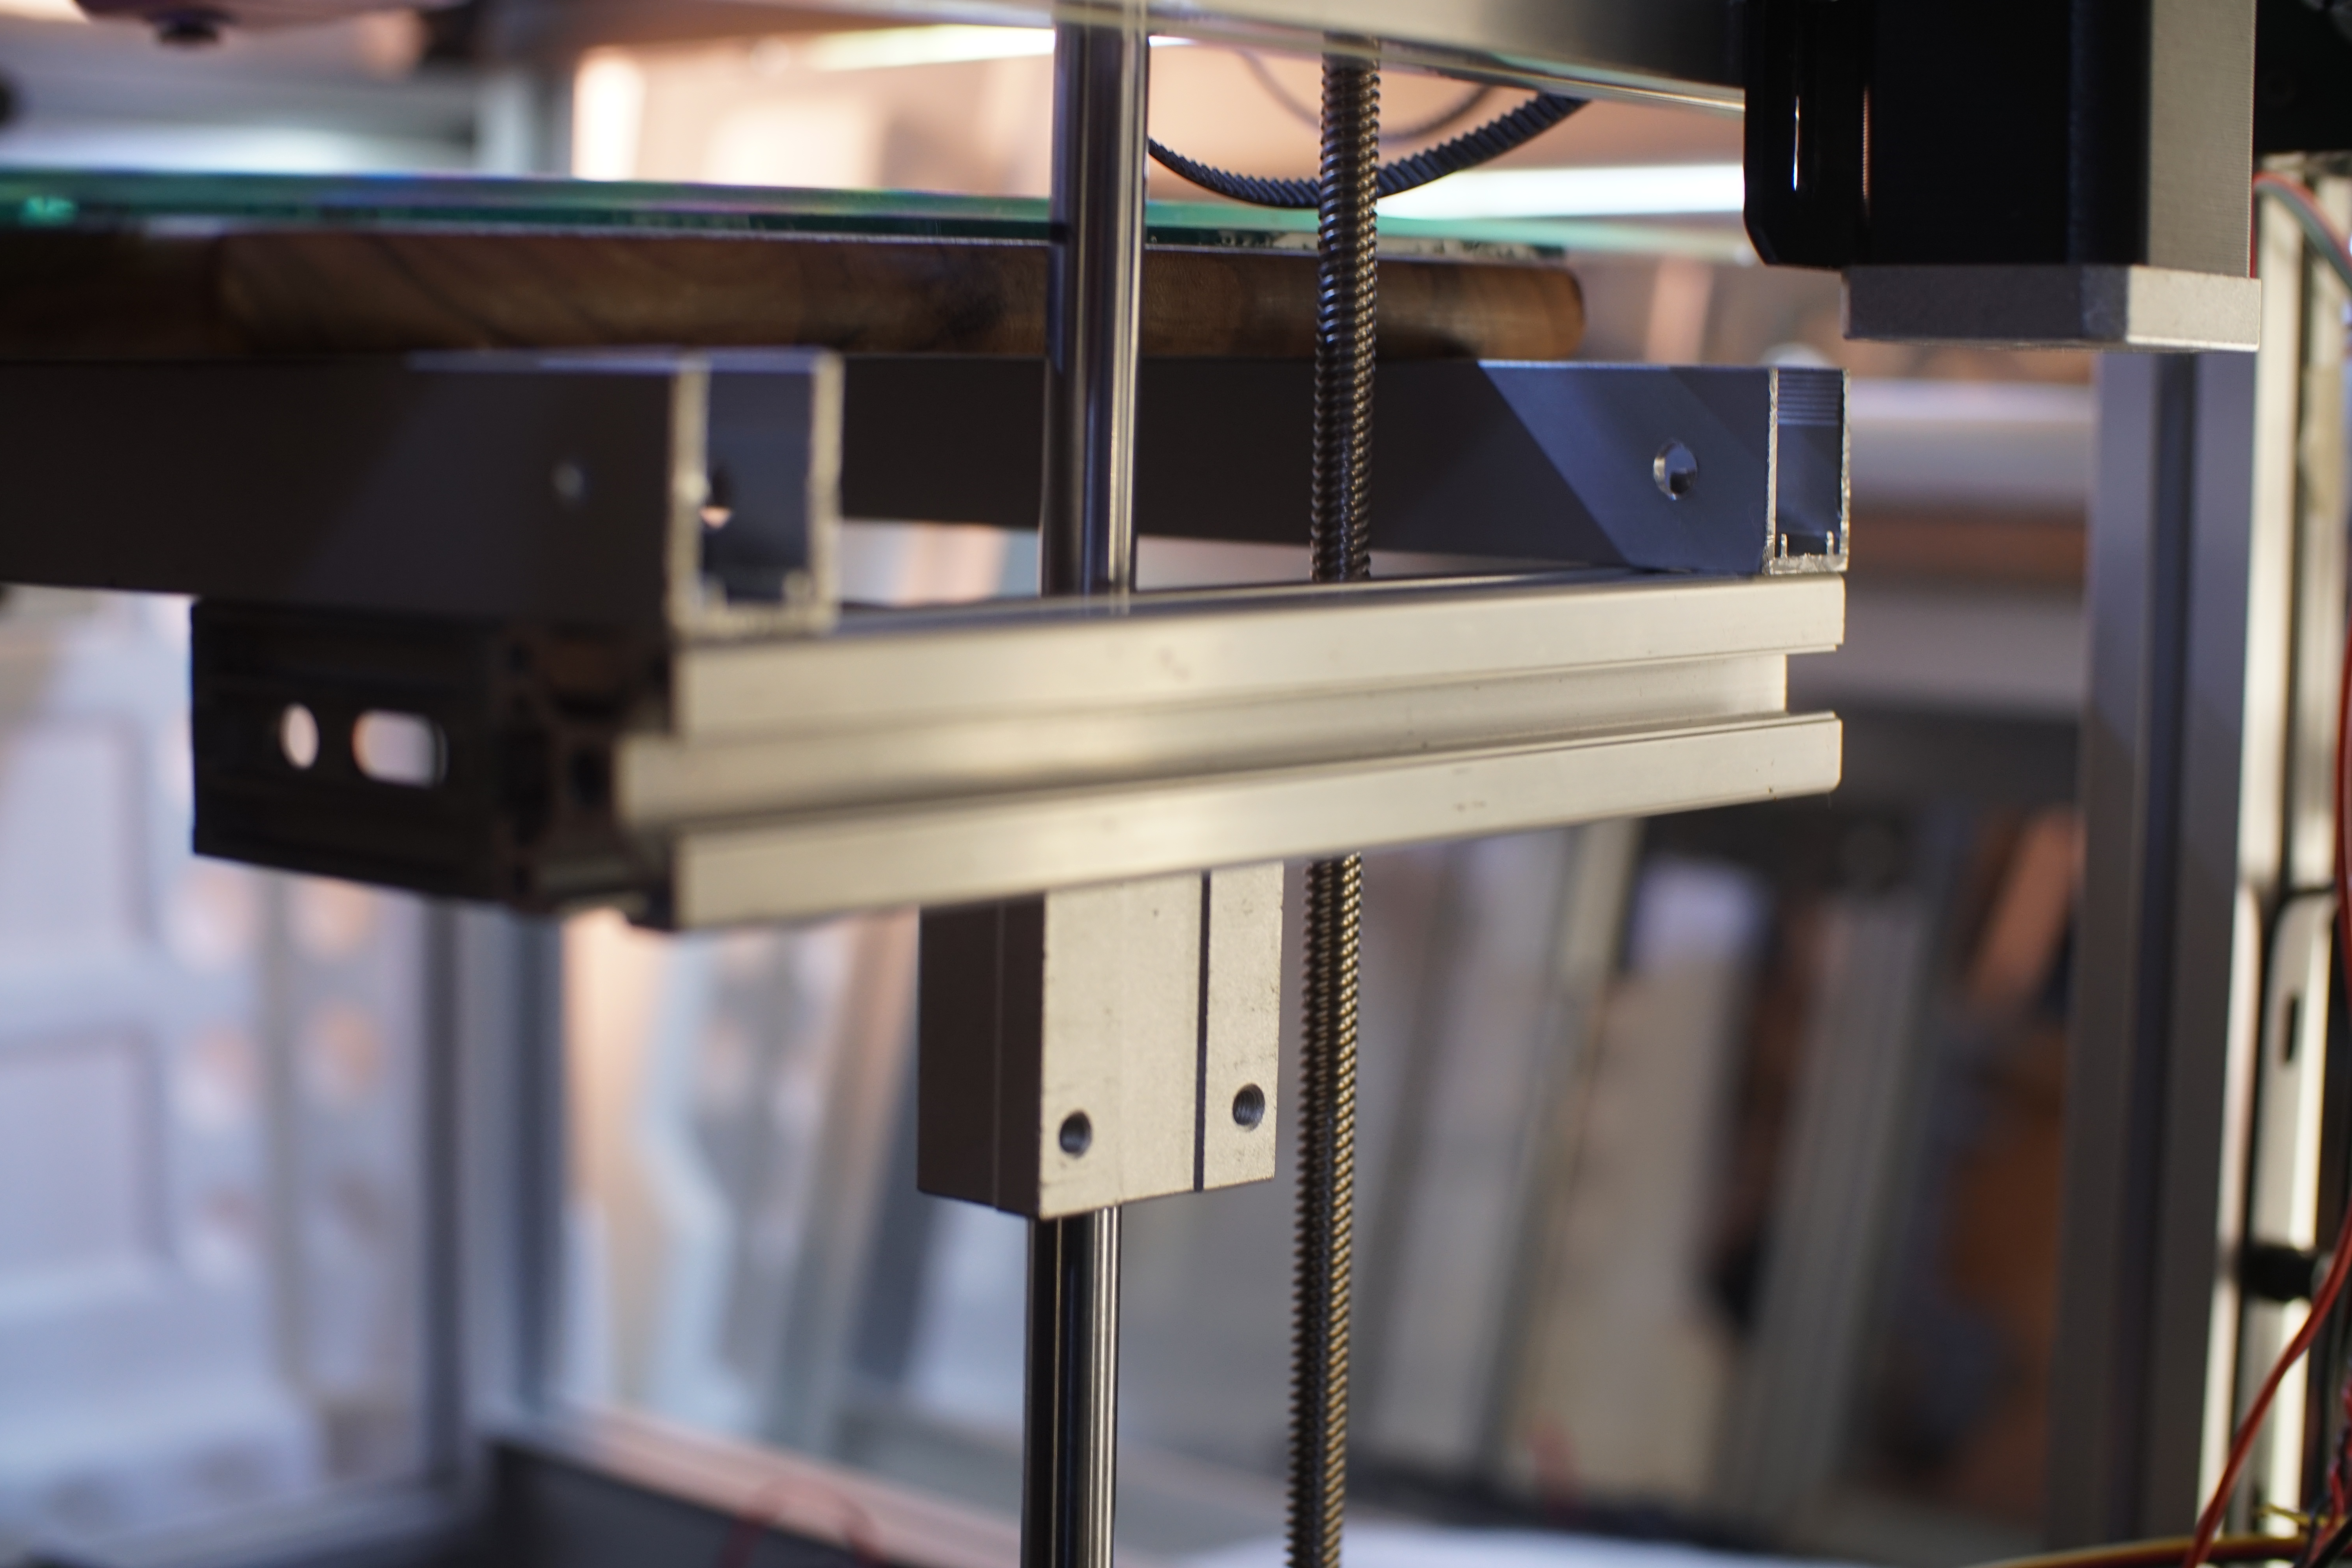
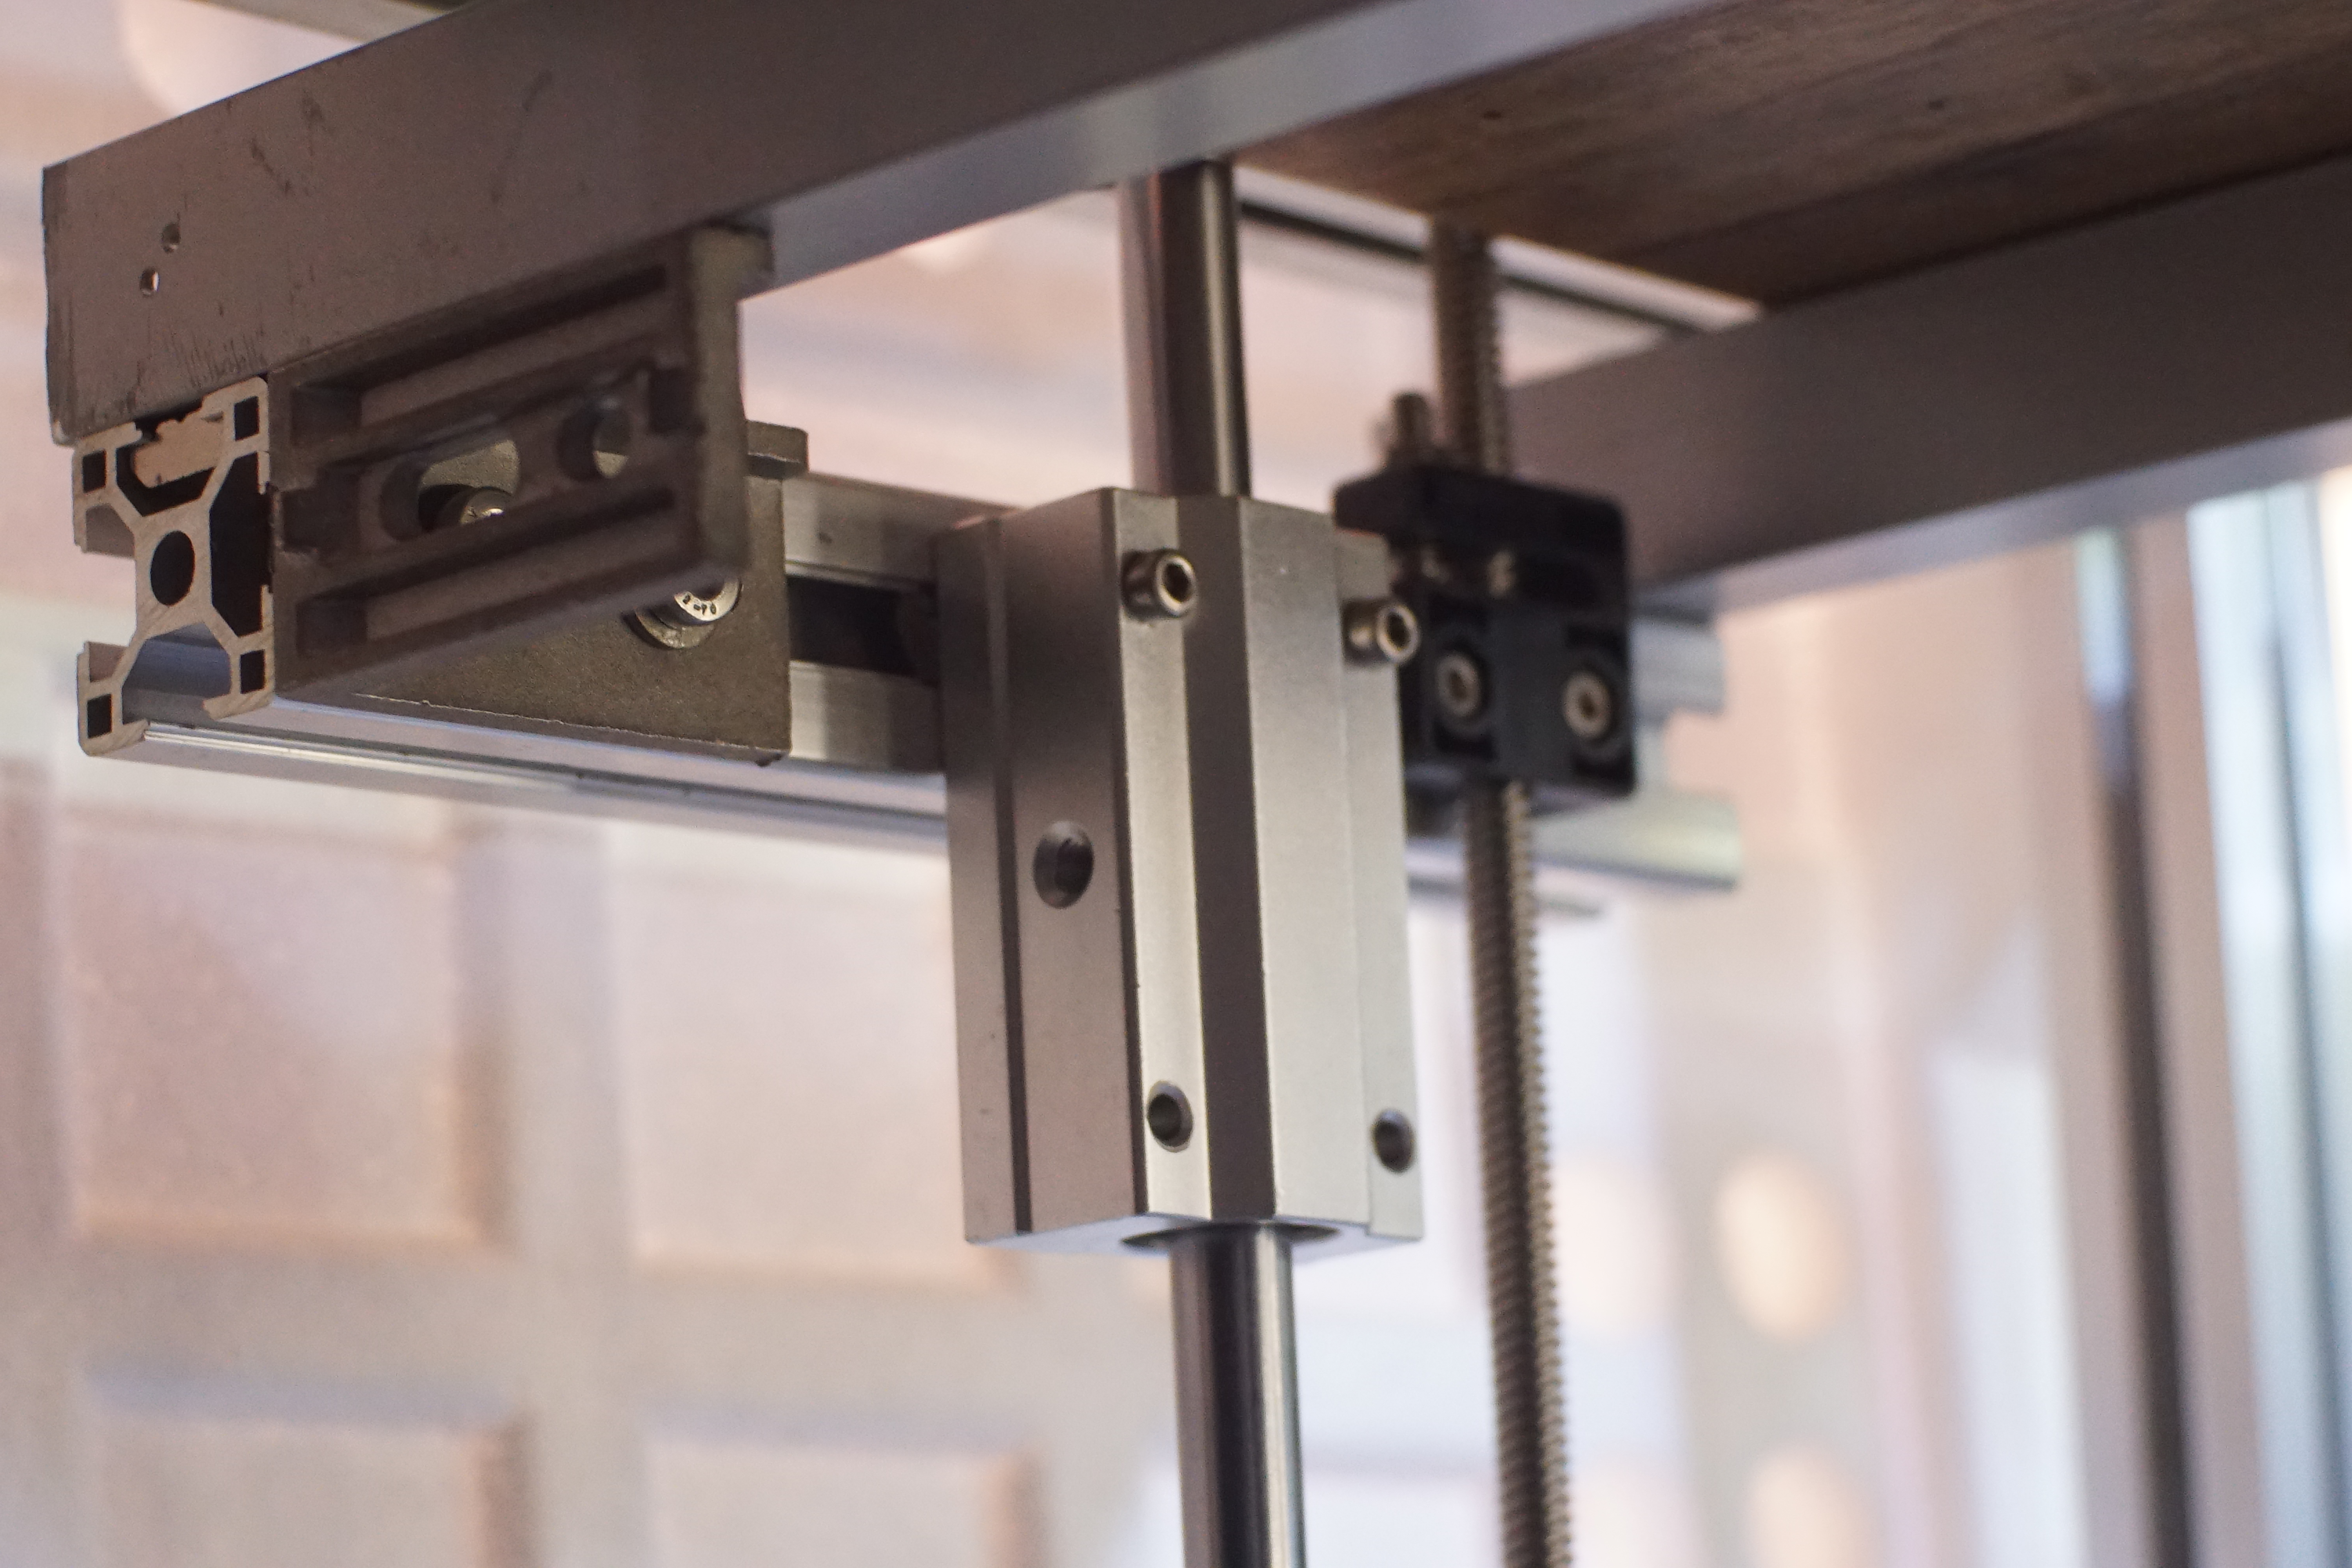
Tinker Tailor Solder Buy, Now I have the bed rising to a better level I need to make a new Xcart mount to rearrange things a little, I wanted to see just how close it goes and if its level in relation to the head, it seems almost perfect in the direction between the leadscrews, and if it isnt maybe I can adjust angle via the leadscrews. as for the other direction i had noticed a tilt towards the front side, but I think that is also to do with the position of the screws on one side of the block, or the 2 screws each side in the bearing block, so I plan to check & fiddle and see if it can be improved. When filament arrive I may print something for the bottom half of the bearing block that can provide additional support, stop the tilt or provide adjustment. I bought 2 rolls of PETG by mistake, thinking it was the same pla I ran out of, but after buying I noticed it was PETG, (£22 for 2) I previously wanted to try PETG but the one I really wanted to try was ASA, but a 35 per roll and only 2 choices on ebay, i'll wait a while. The wood I have for the base was rotated 90deg making it narrower & allowing even more travel.
|
Re: MechaBits KraftWerk'r April 27, 2021 02:06AM |
Registered: 8 years ago Posts: 1,671 |
So close but yet so far...thank god I didnt go the ATOM route, VS Code & Platform IO what a pain, at first I changed a few things hit compile and it didnt want to know, eventually I have it compiling got a few errors & solved them, but this last one persists
###### you made a hash of it you idiot #####
Now I'm trying to configure it without a screen and have a nagging suspicion that maybe it cant be used without?
Everyone else seems to use bugfix, I first tried stable release then tried another which was for skr dip, I've ended up with that many files open its hard to know wtf is going on...It says you need to select environment which seemed to be correct on the skr specific fw, then the program tells you to set LPC1768....which I hadnt seen anywhere....anyway Ive done that and it seems to have compiled with a success, lets hope the correct files are on the board and I can start playing with the motors to see if they are configured in the right direction
Though just because it compiled doesnt mean it will work, Cura recognized a creality....but cura doesnt have any motor movers....all other slicers could find it. So Sod it for now....other things to be getting on with as a new roll arrived, found another 12v passive cooled psu slimline 22mm high, looking forward to replacing old one for a more discrete & quiet unit.
Well I discovered one reason for it not working but it still gets me nowhere, as I was getting my head down, you realize I only hit build not upload....and the sd card was neither in computer or board....so I tackled it again, was not happy with this LPC1768 env so tried to use default again as this was supposed to be for the board in use. Once again doesnt compile, then I look for the bin files or what was written where, and find something compiled LRV drivers when obviously I told it A4988....anyway as predicted it wasnt going to be a walk in the park (the curse of BTT)
and this VS code sucks too, environment within environment just clutters the screen, downloaded the marlin add on & that sucks too as it only works for ramps, files & trees everywhere...
So I'll be either leaving it till next year...or torching it live on YT not decided yet, a4988 FW bin is on disk I'll see what that does....pity you cant just alter a bin file with a text editor....I thought these skr boards could also run smoothieware that would have been the preferred way of working.
Compounding the issue my roll of PLA which the seller called PLA-F which was perfectly would in the item pictures, turned out to be nothing like the pics, different spool to, so who knows what this translucent high temp stuff will turn out like???
Edited 3 time(s). Last edit at 04/27/2021 10:18PM by MechaBits.
|
Re: MechaBits KraftWerk'r April 29, 2021 12:56AM |
Registered: 8 years ago Posts: 1,671 |
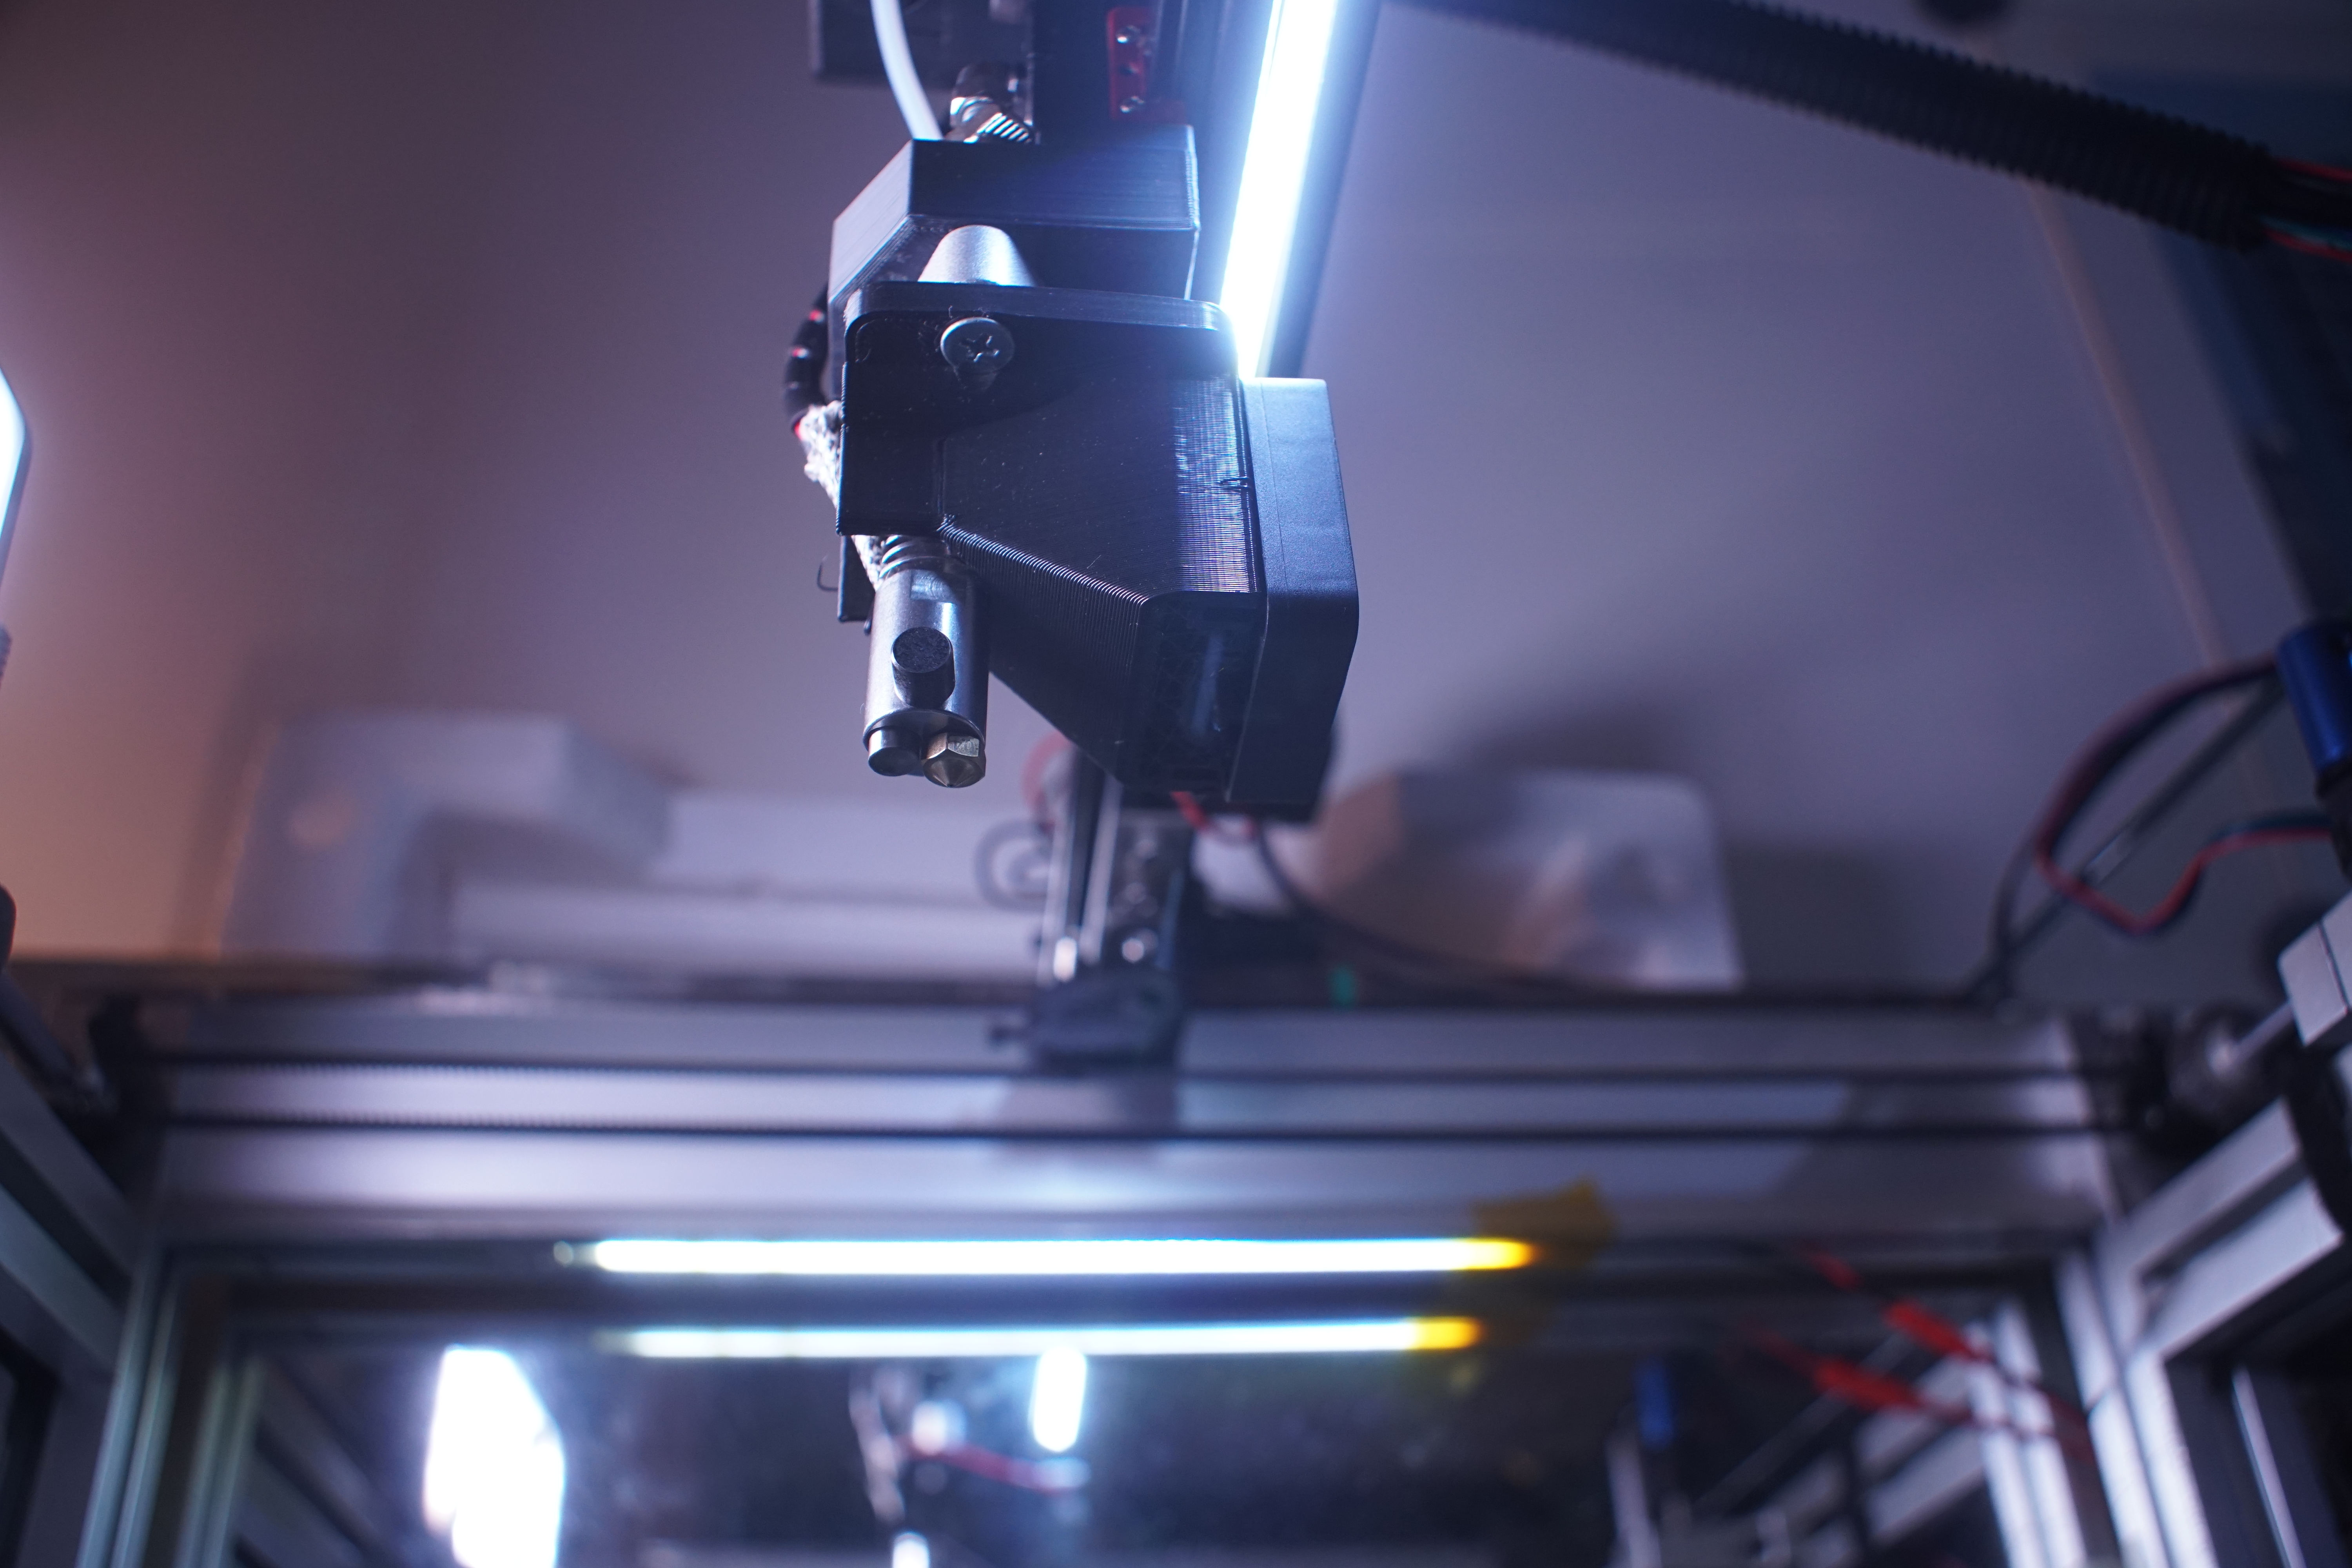
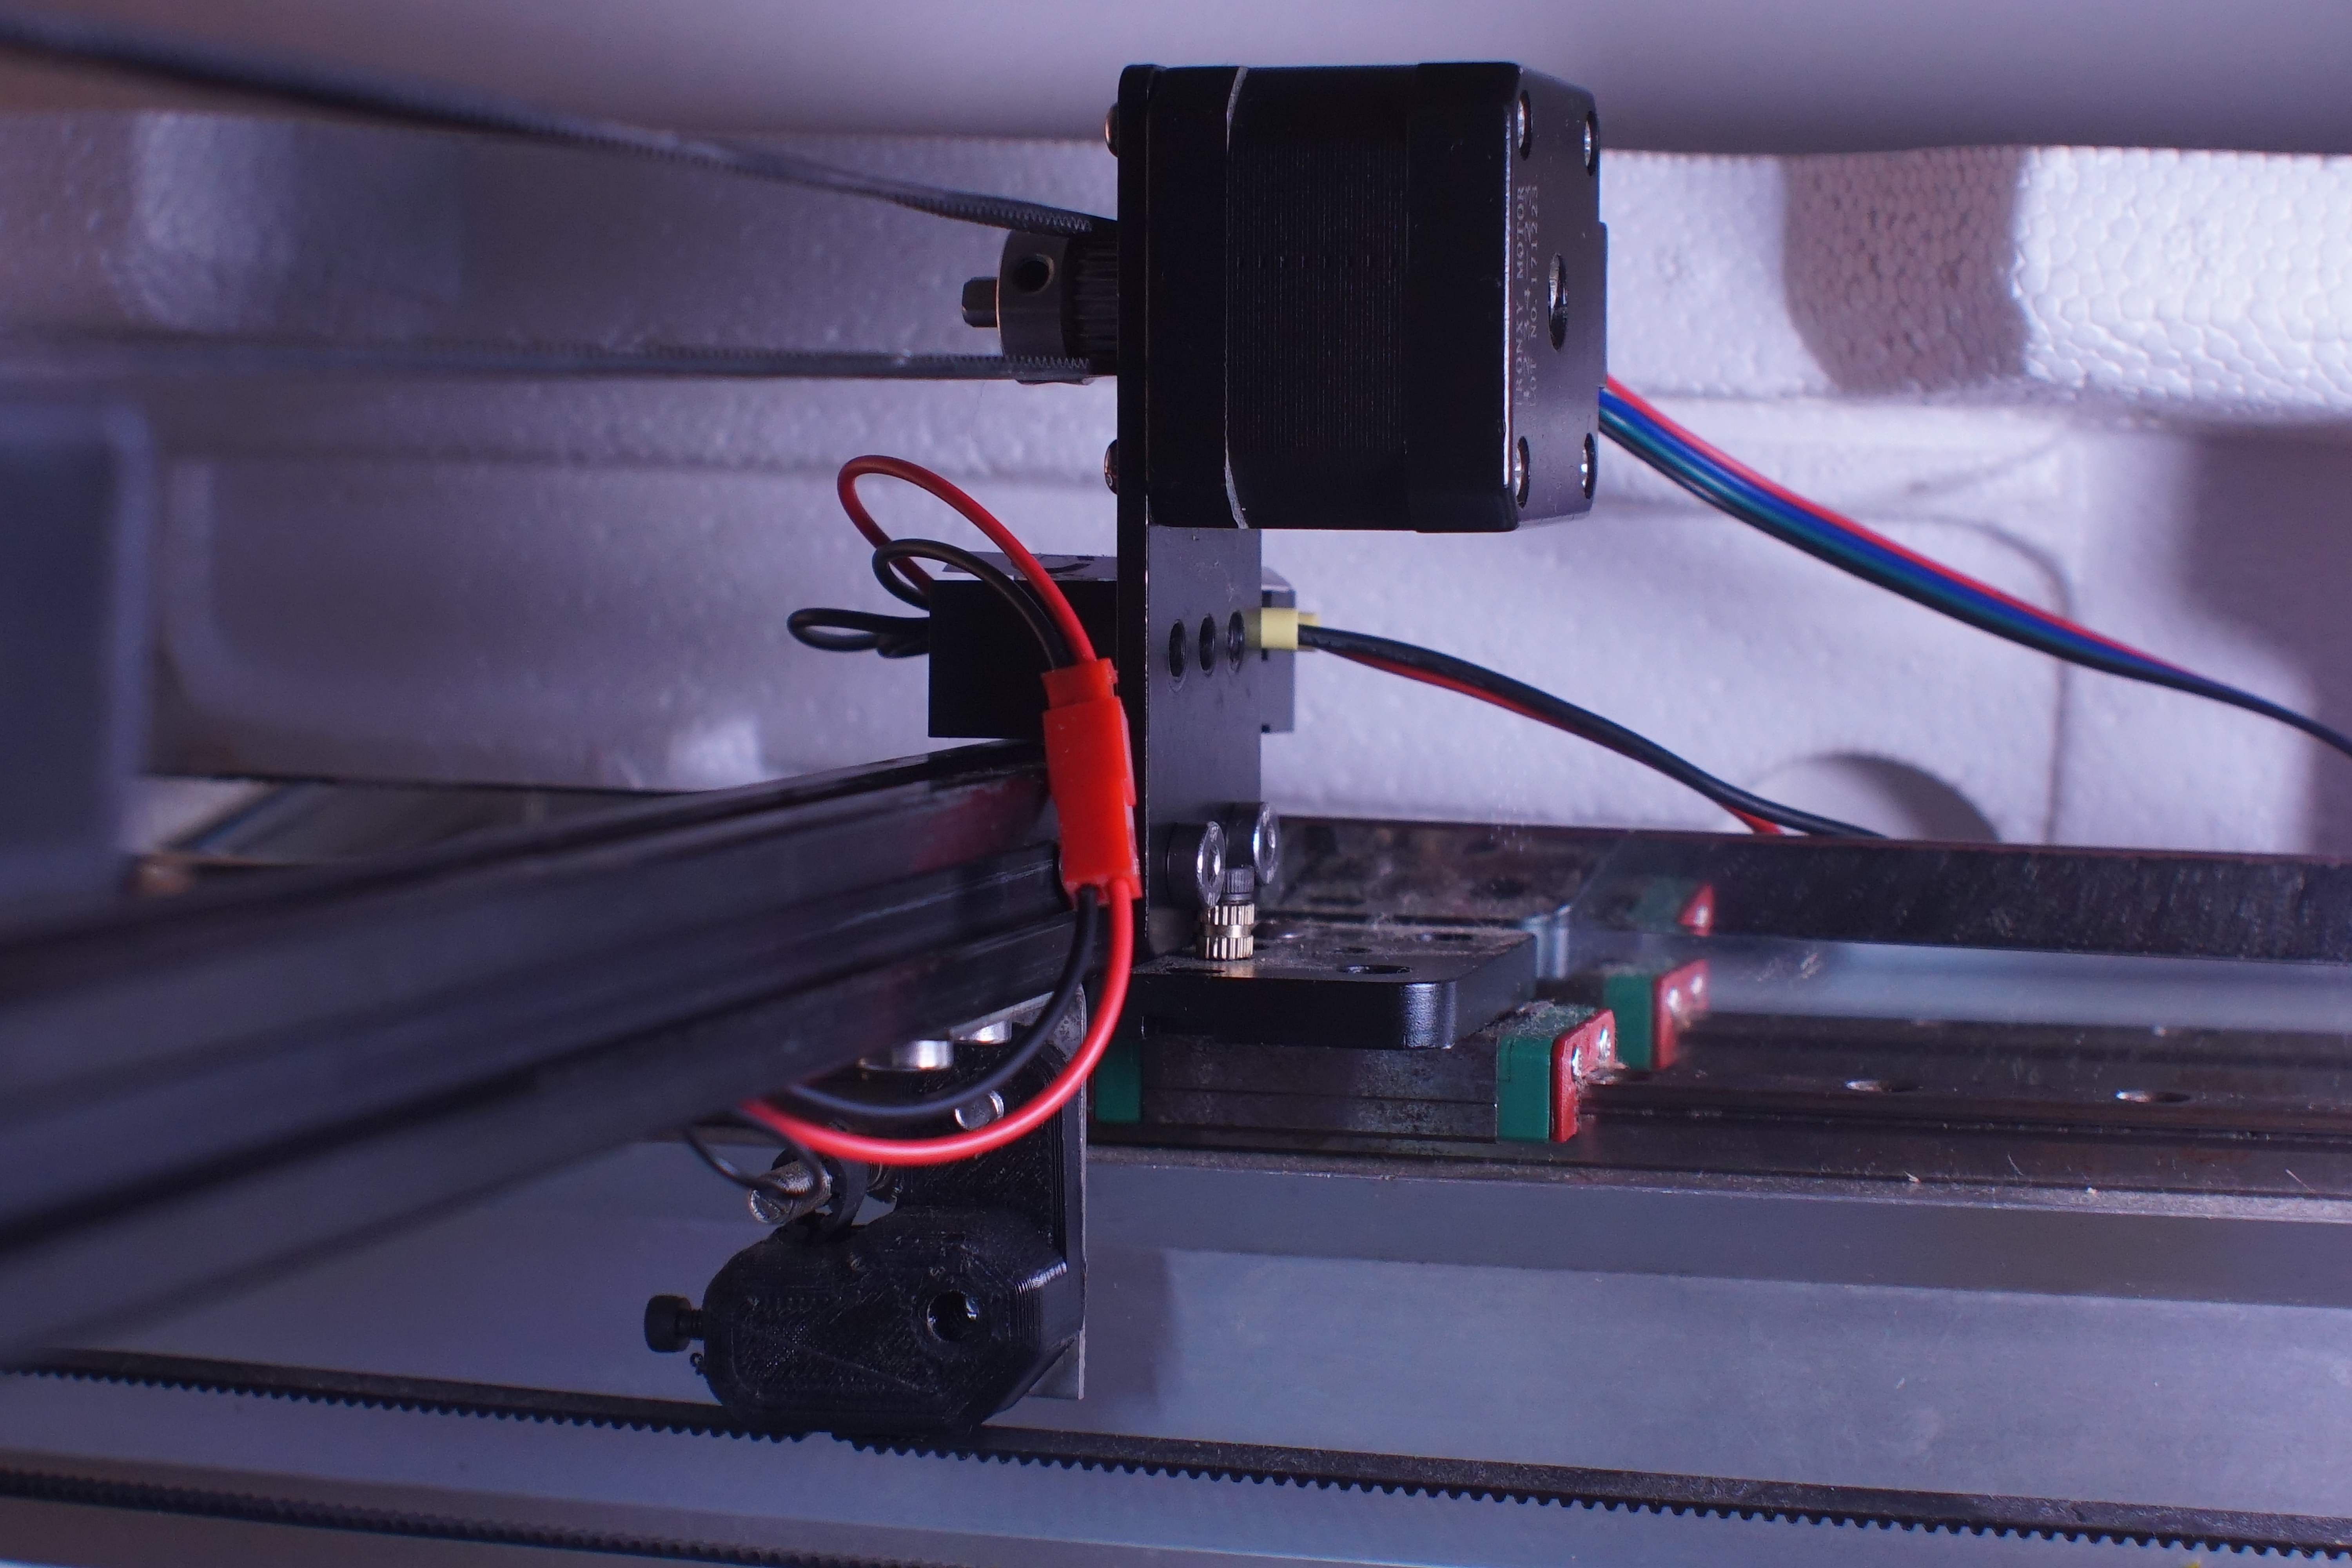

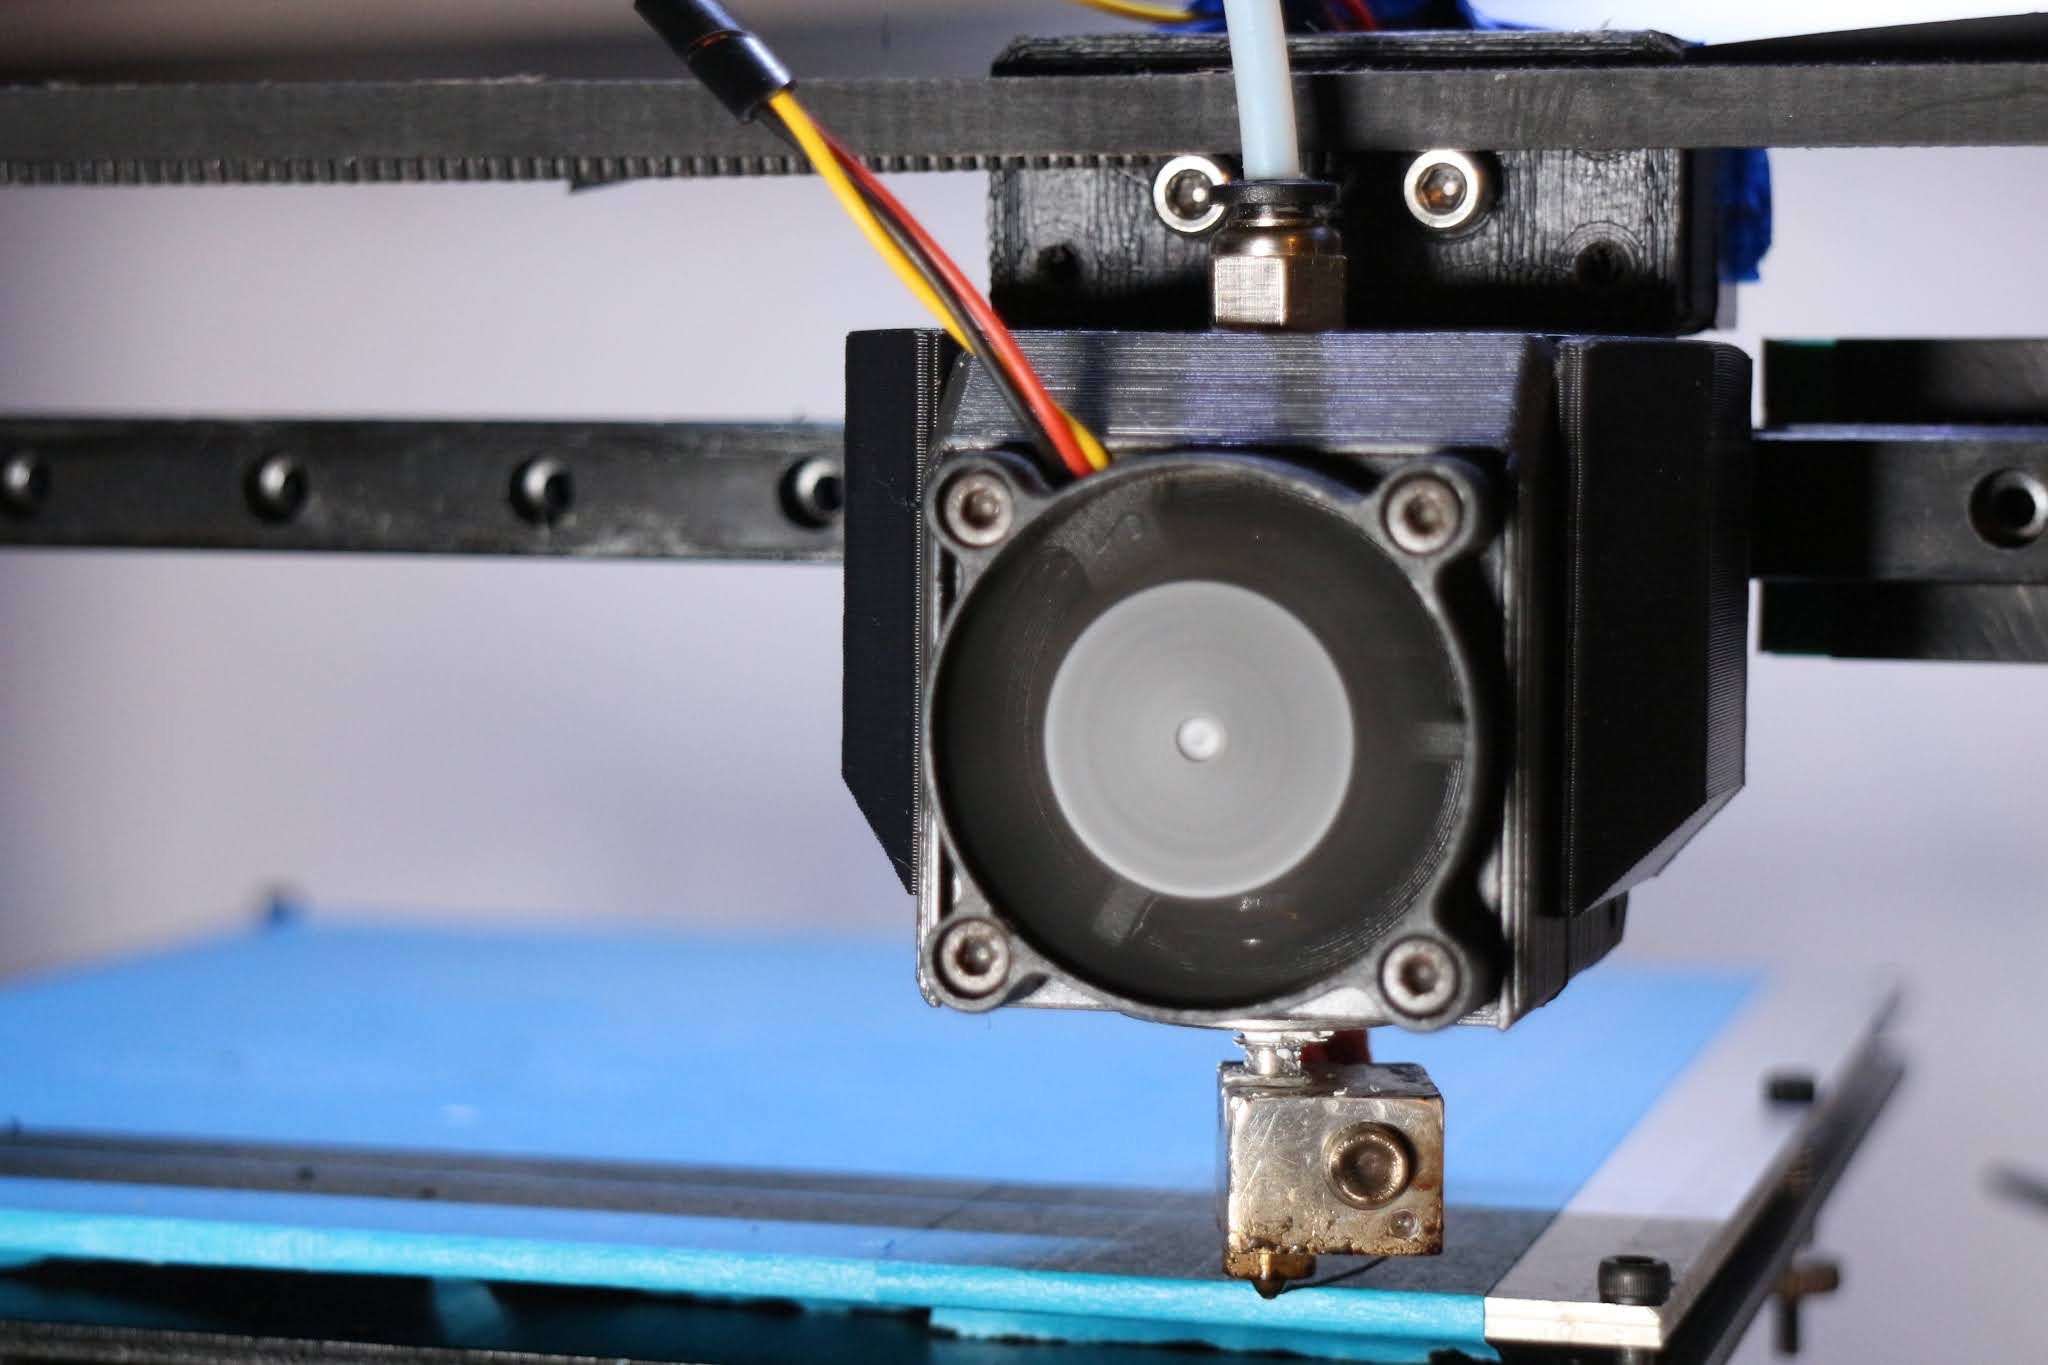
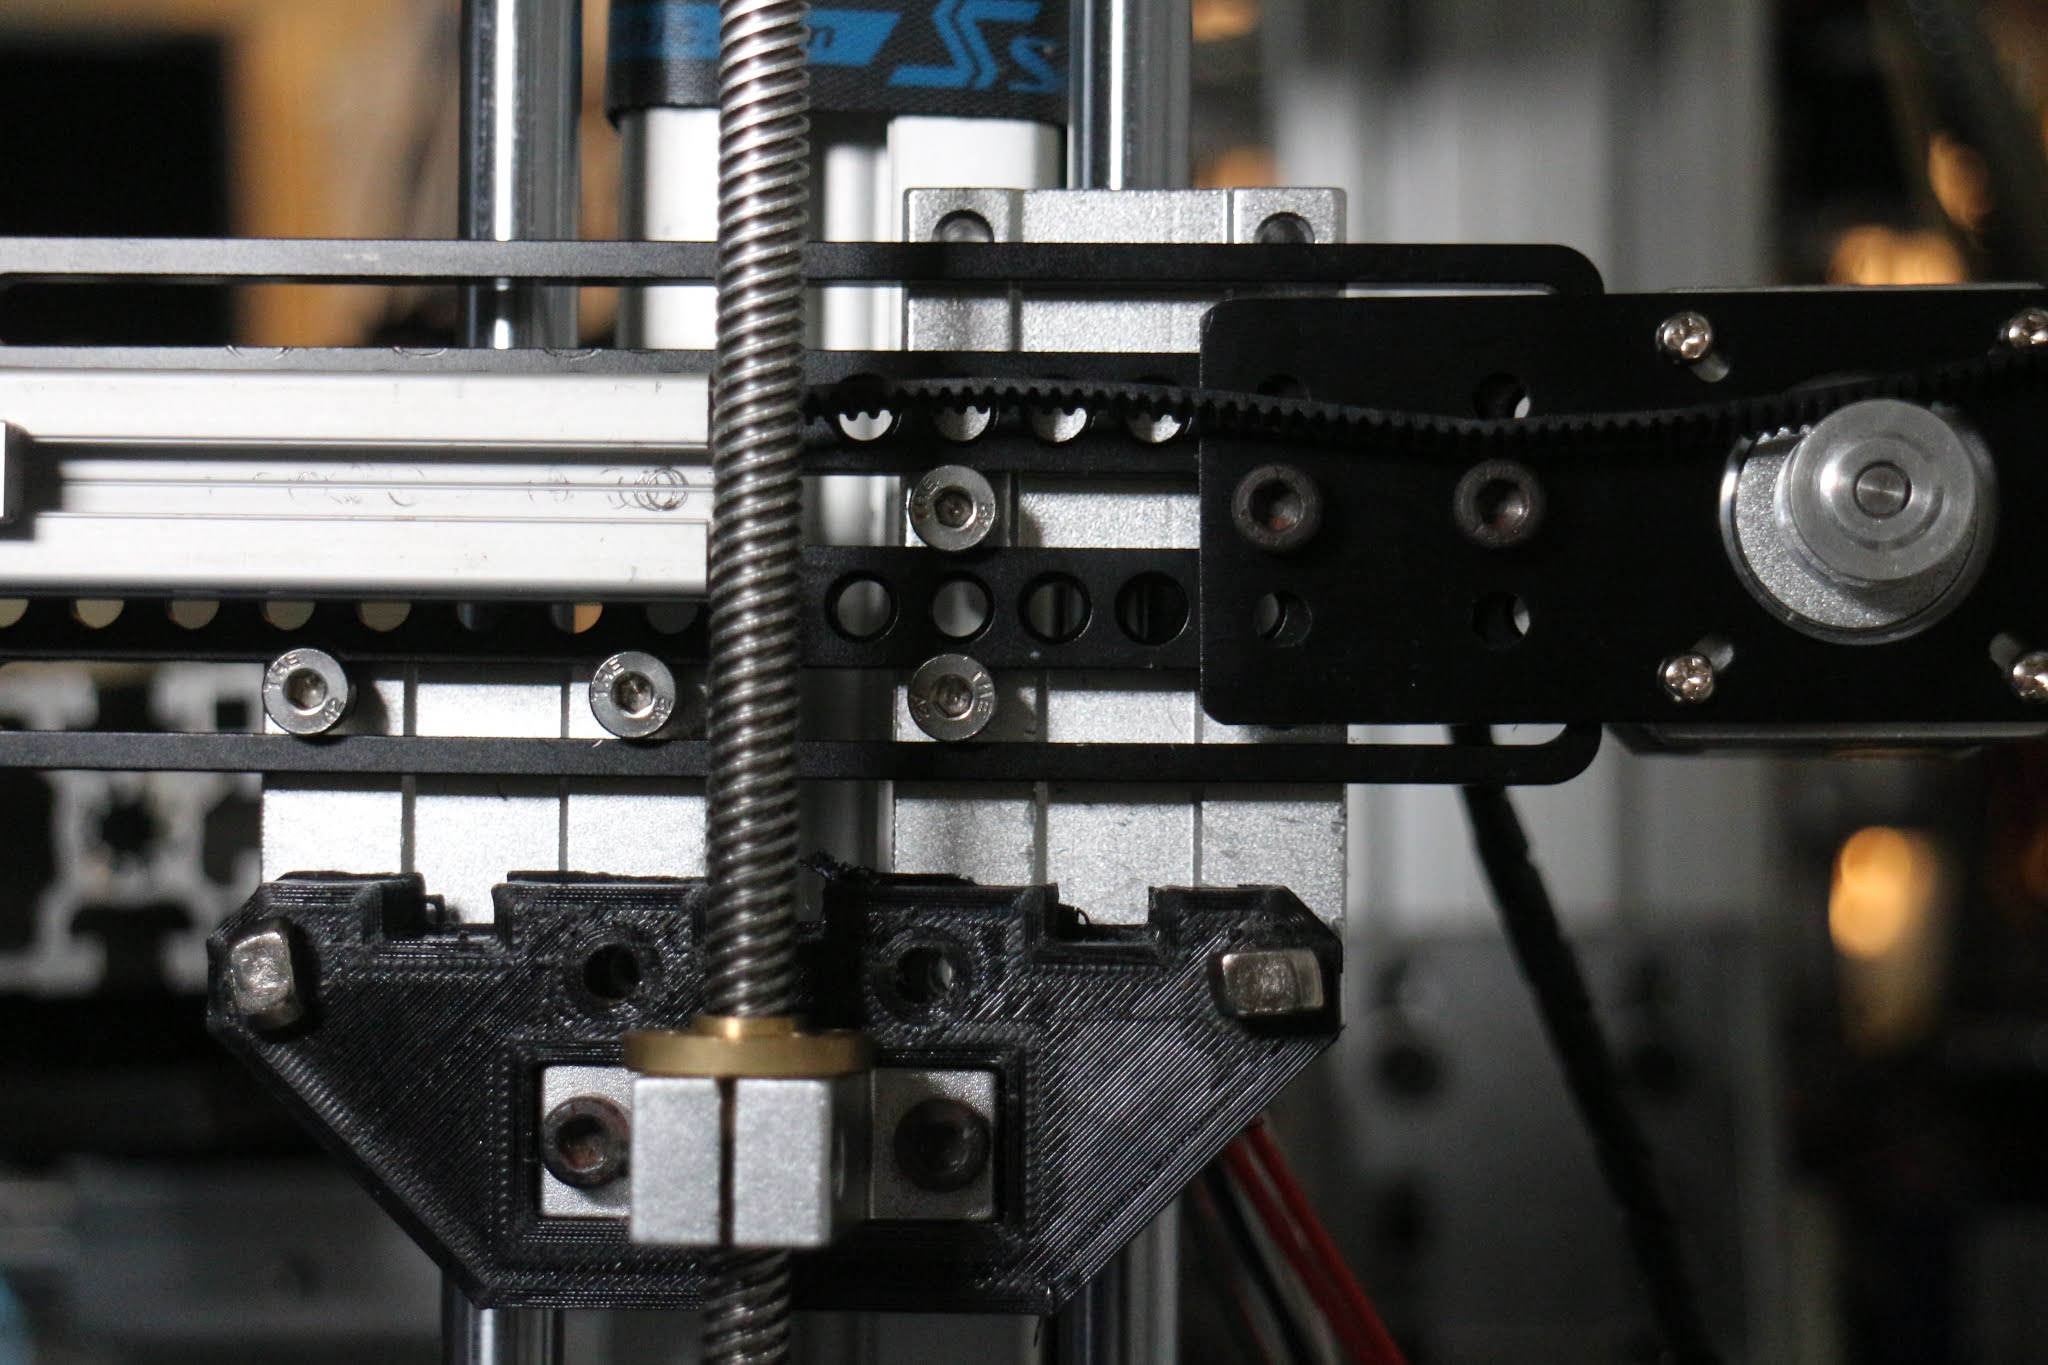
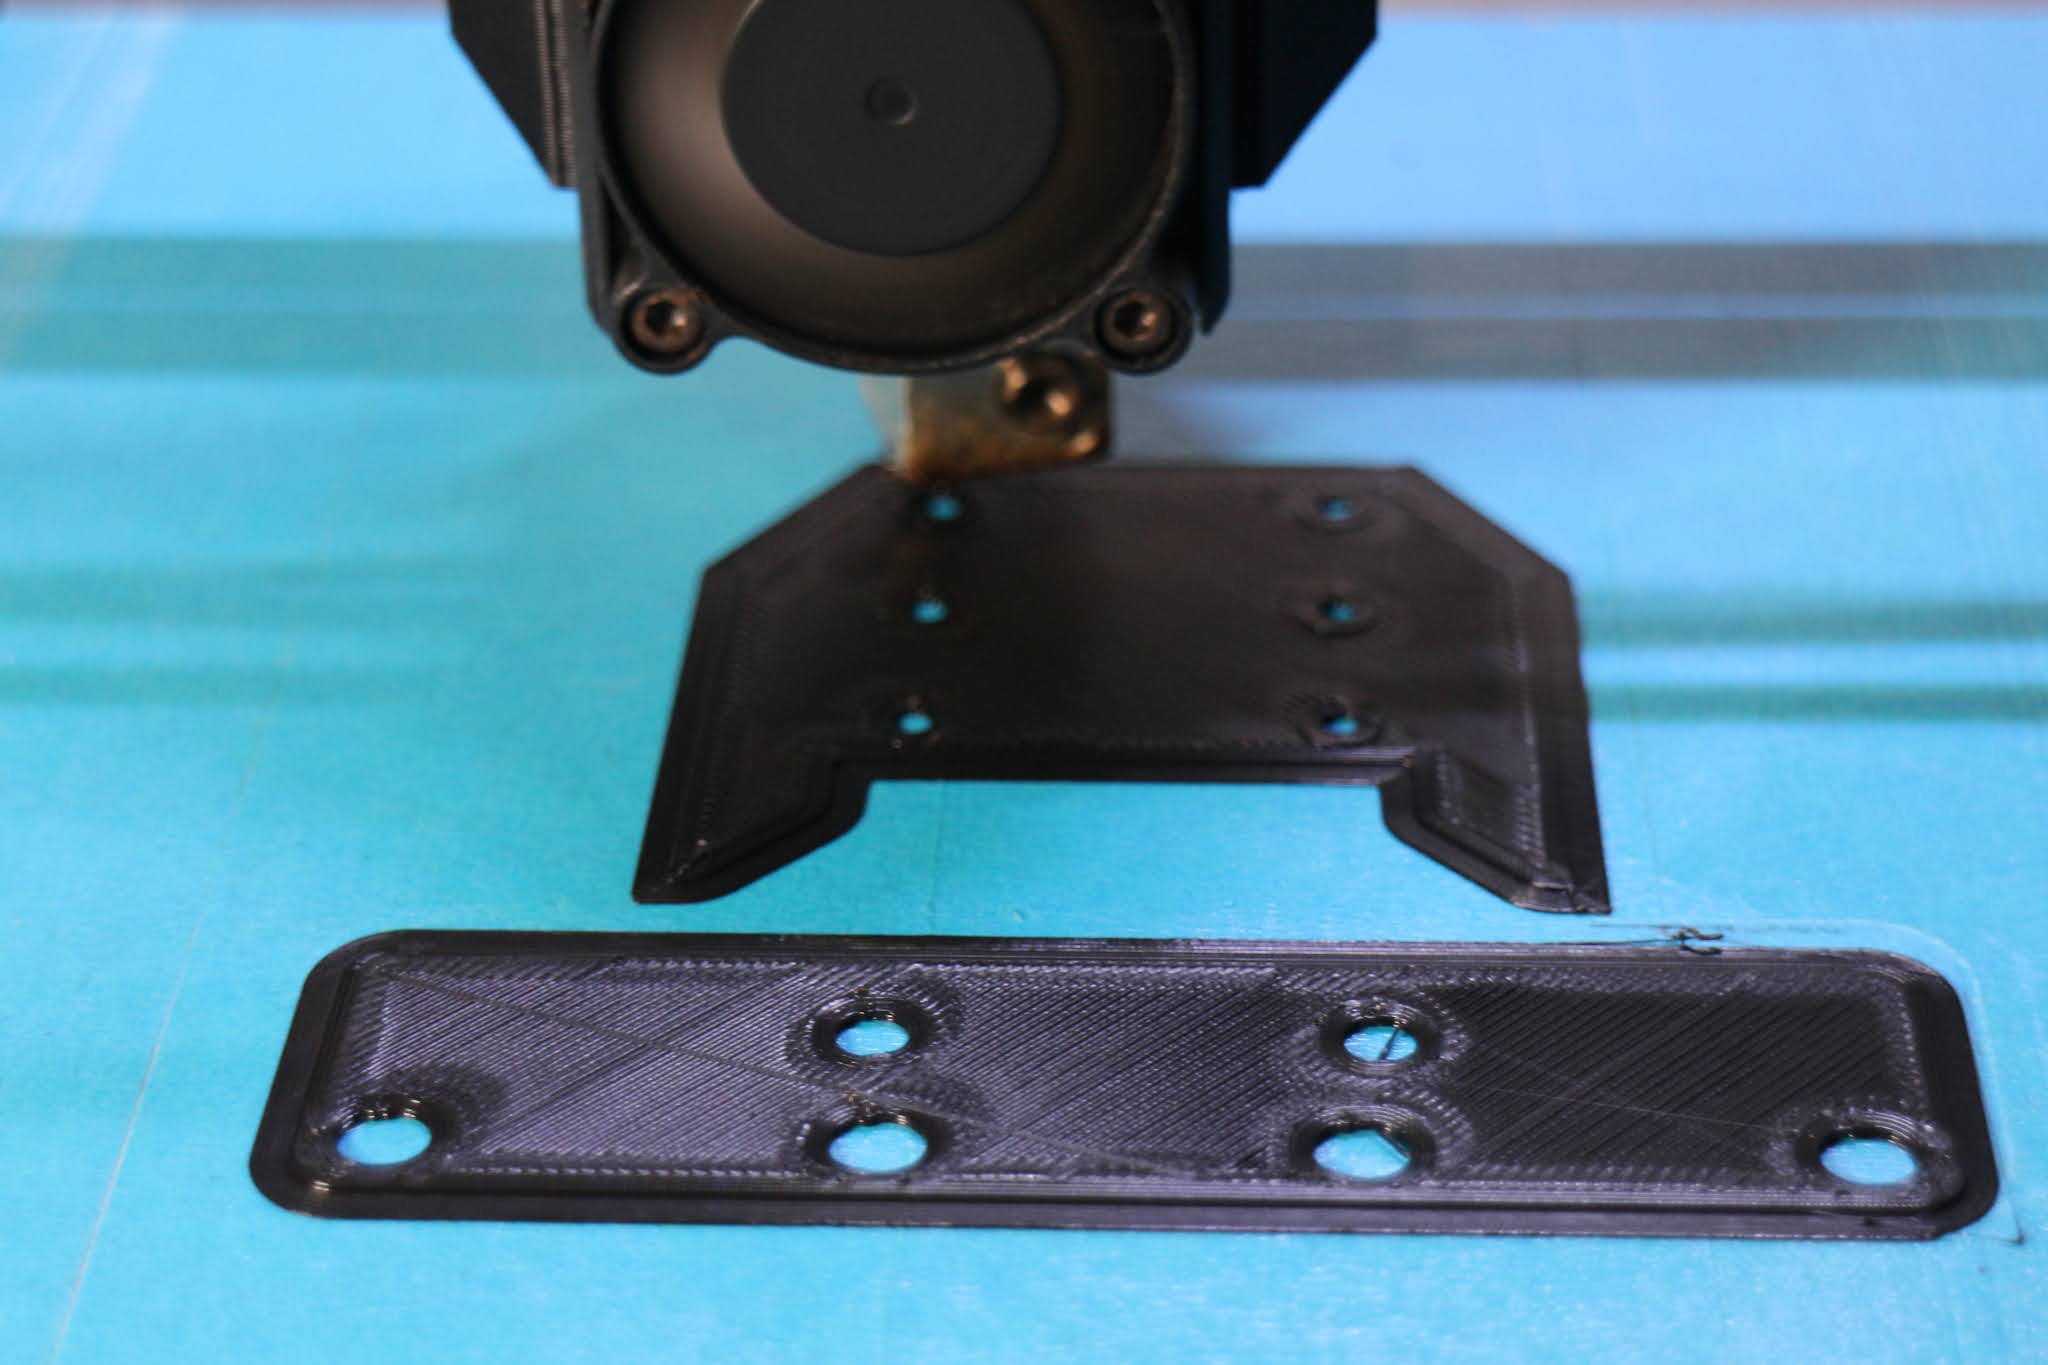
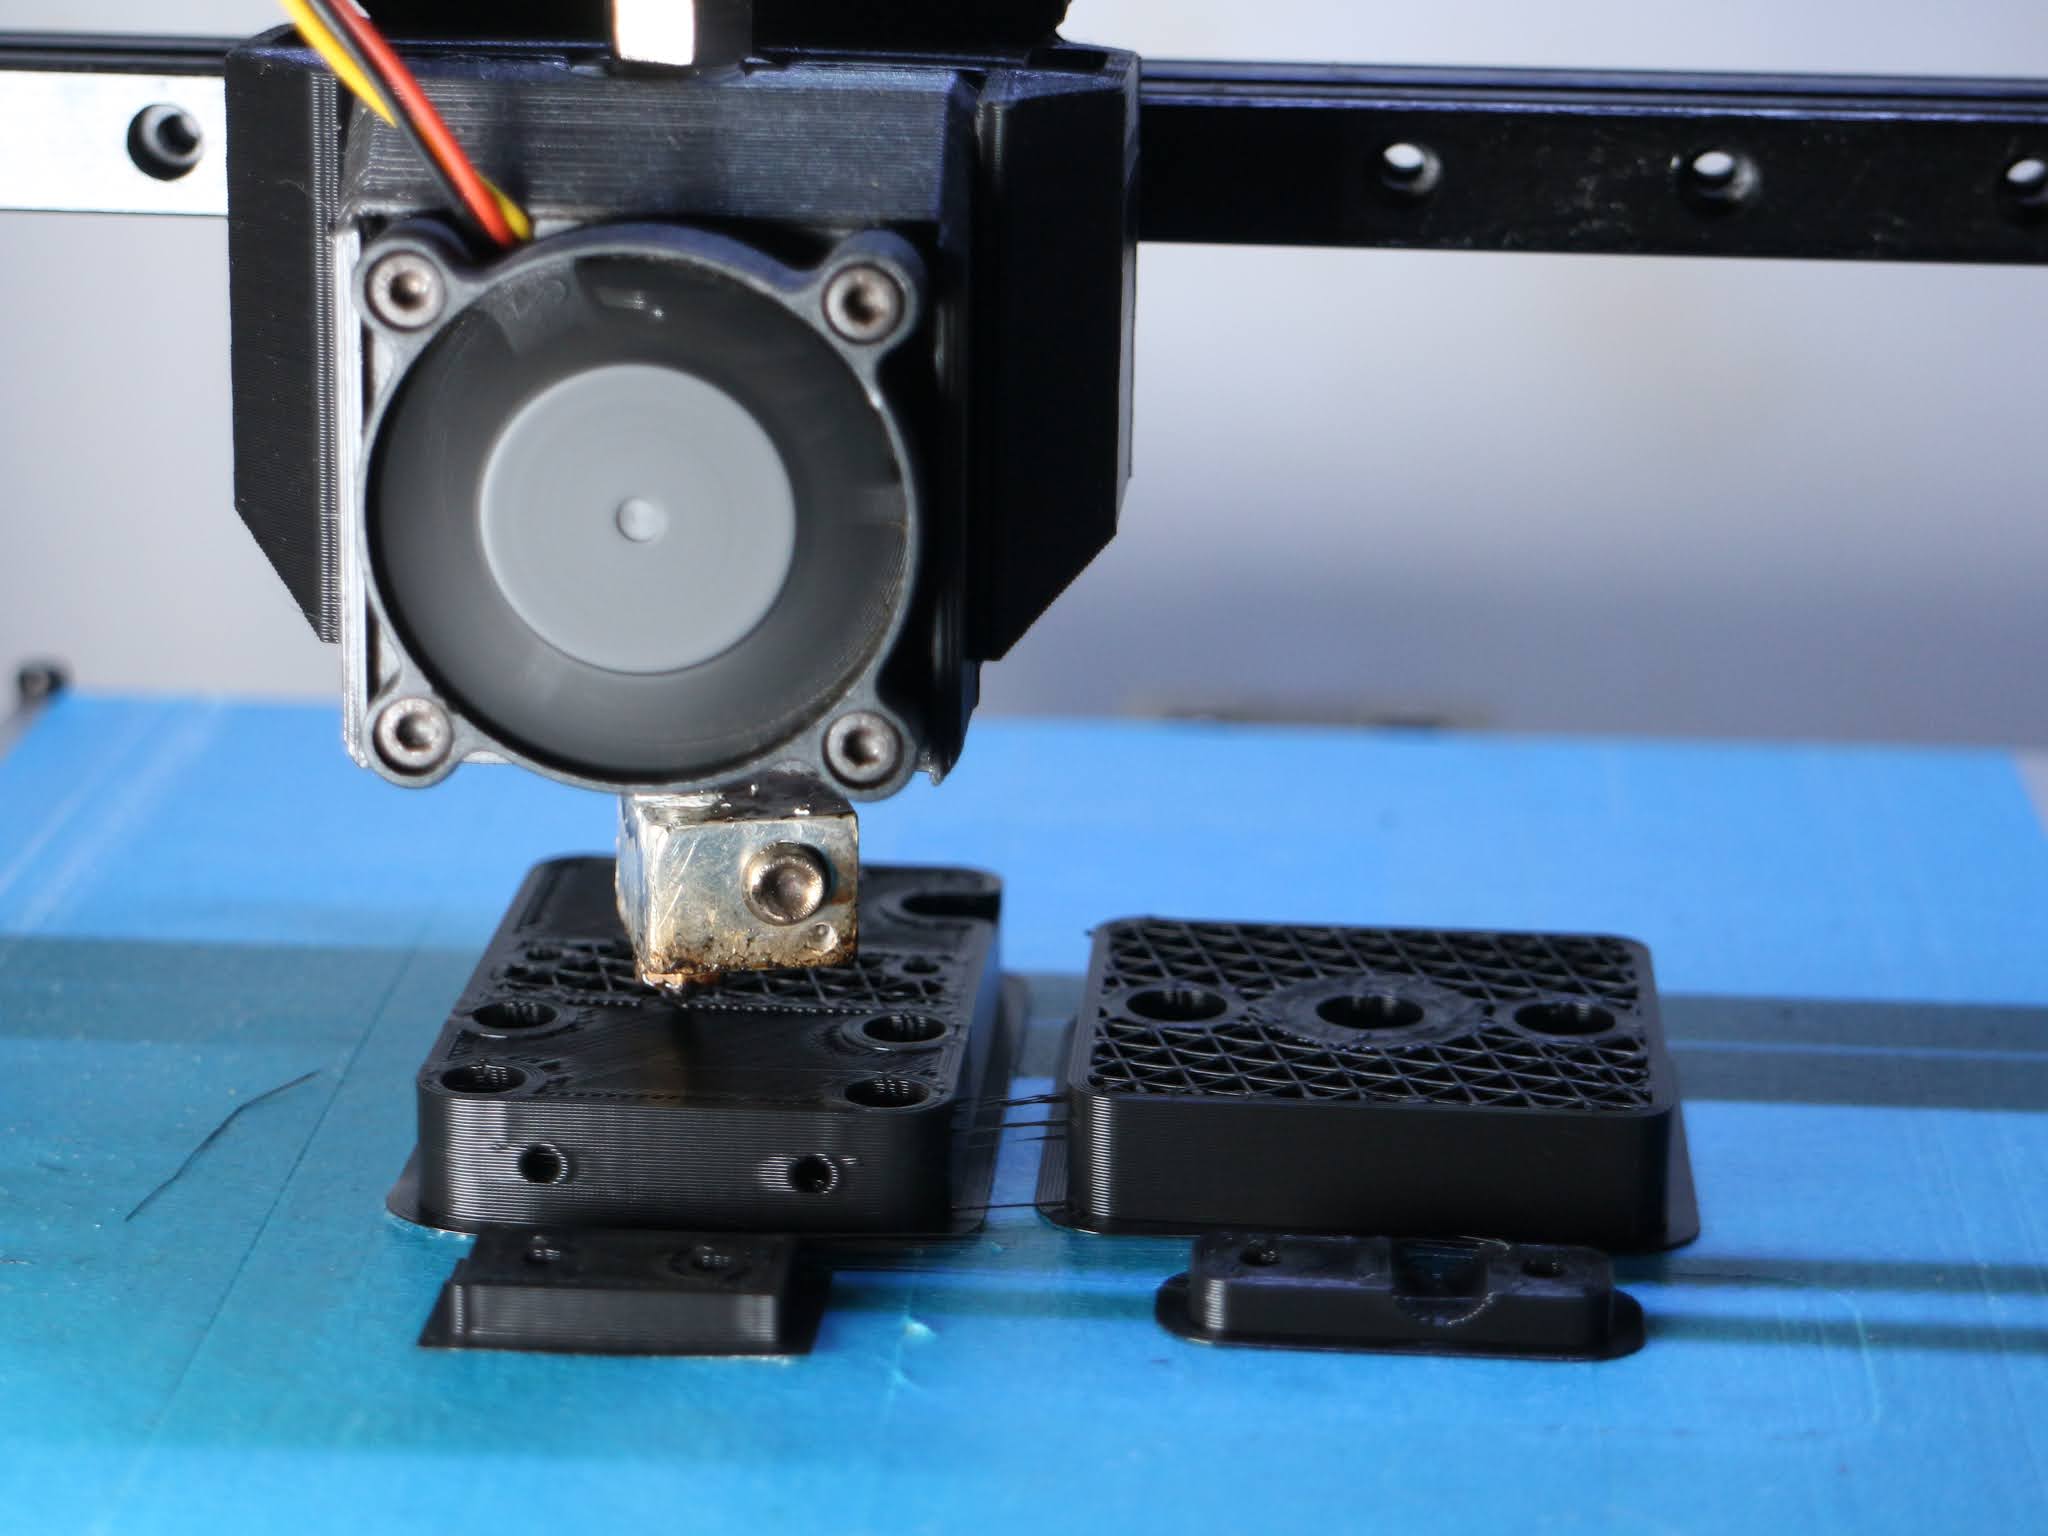
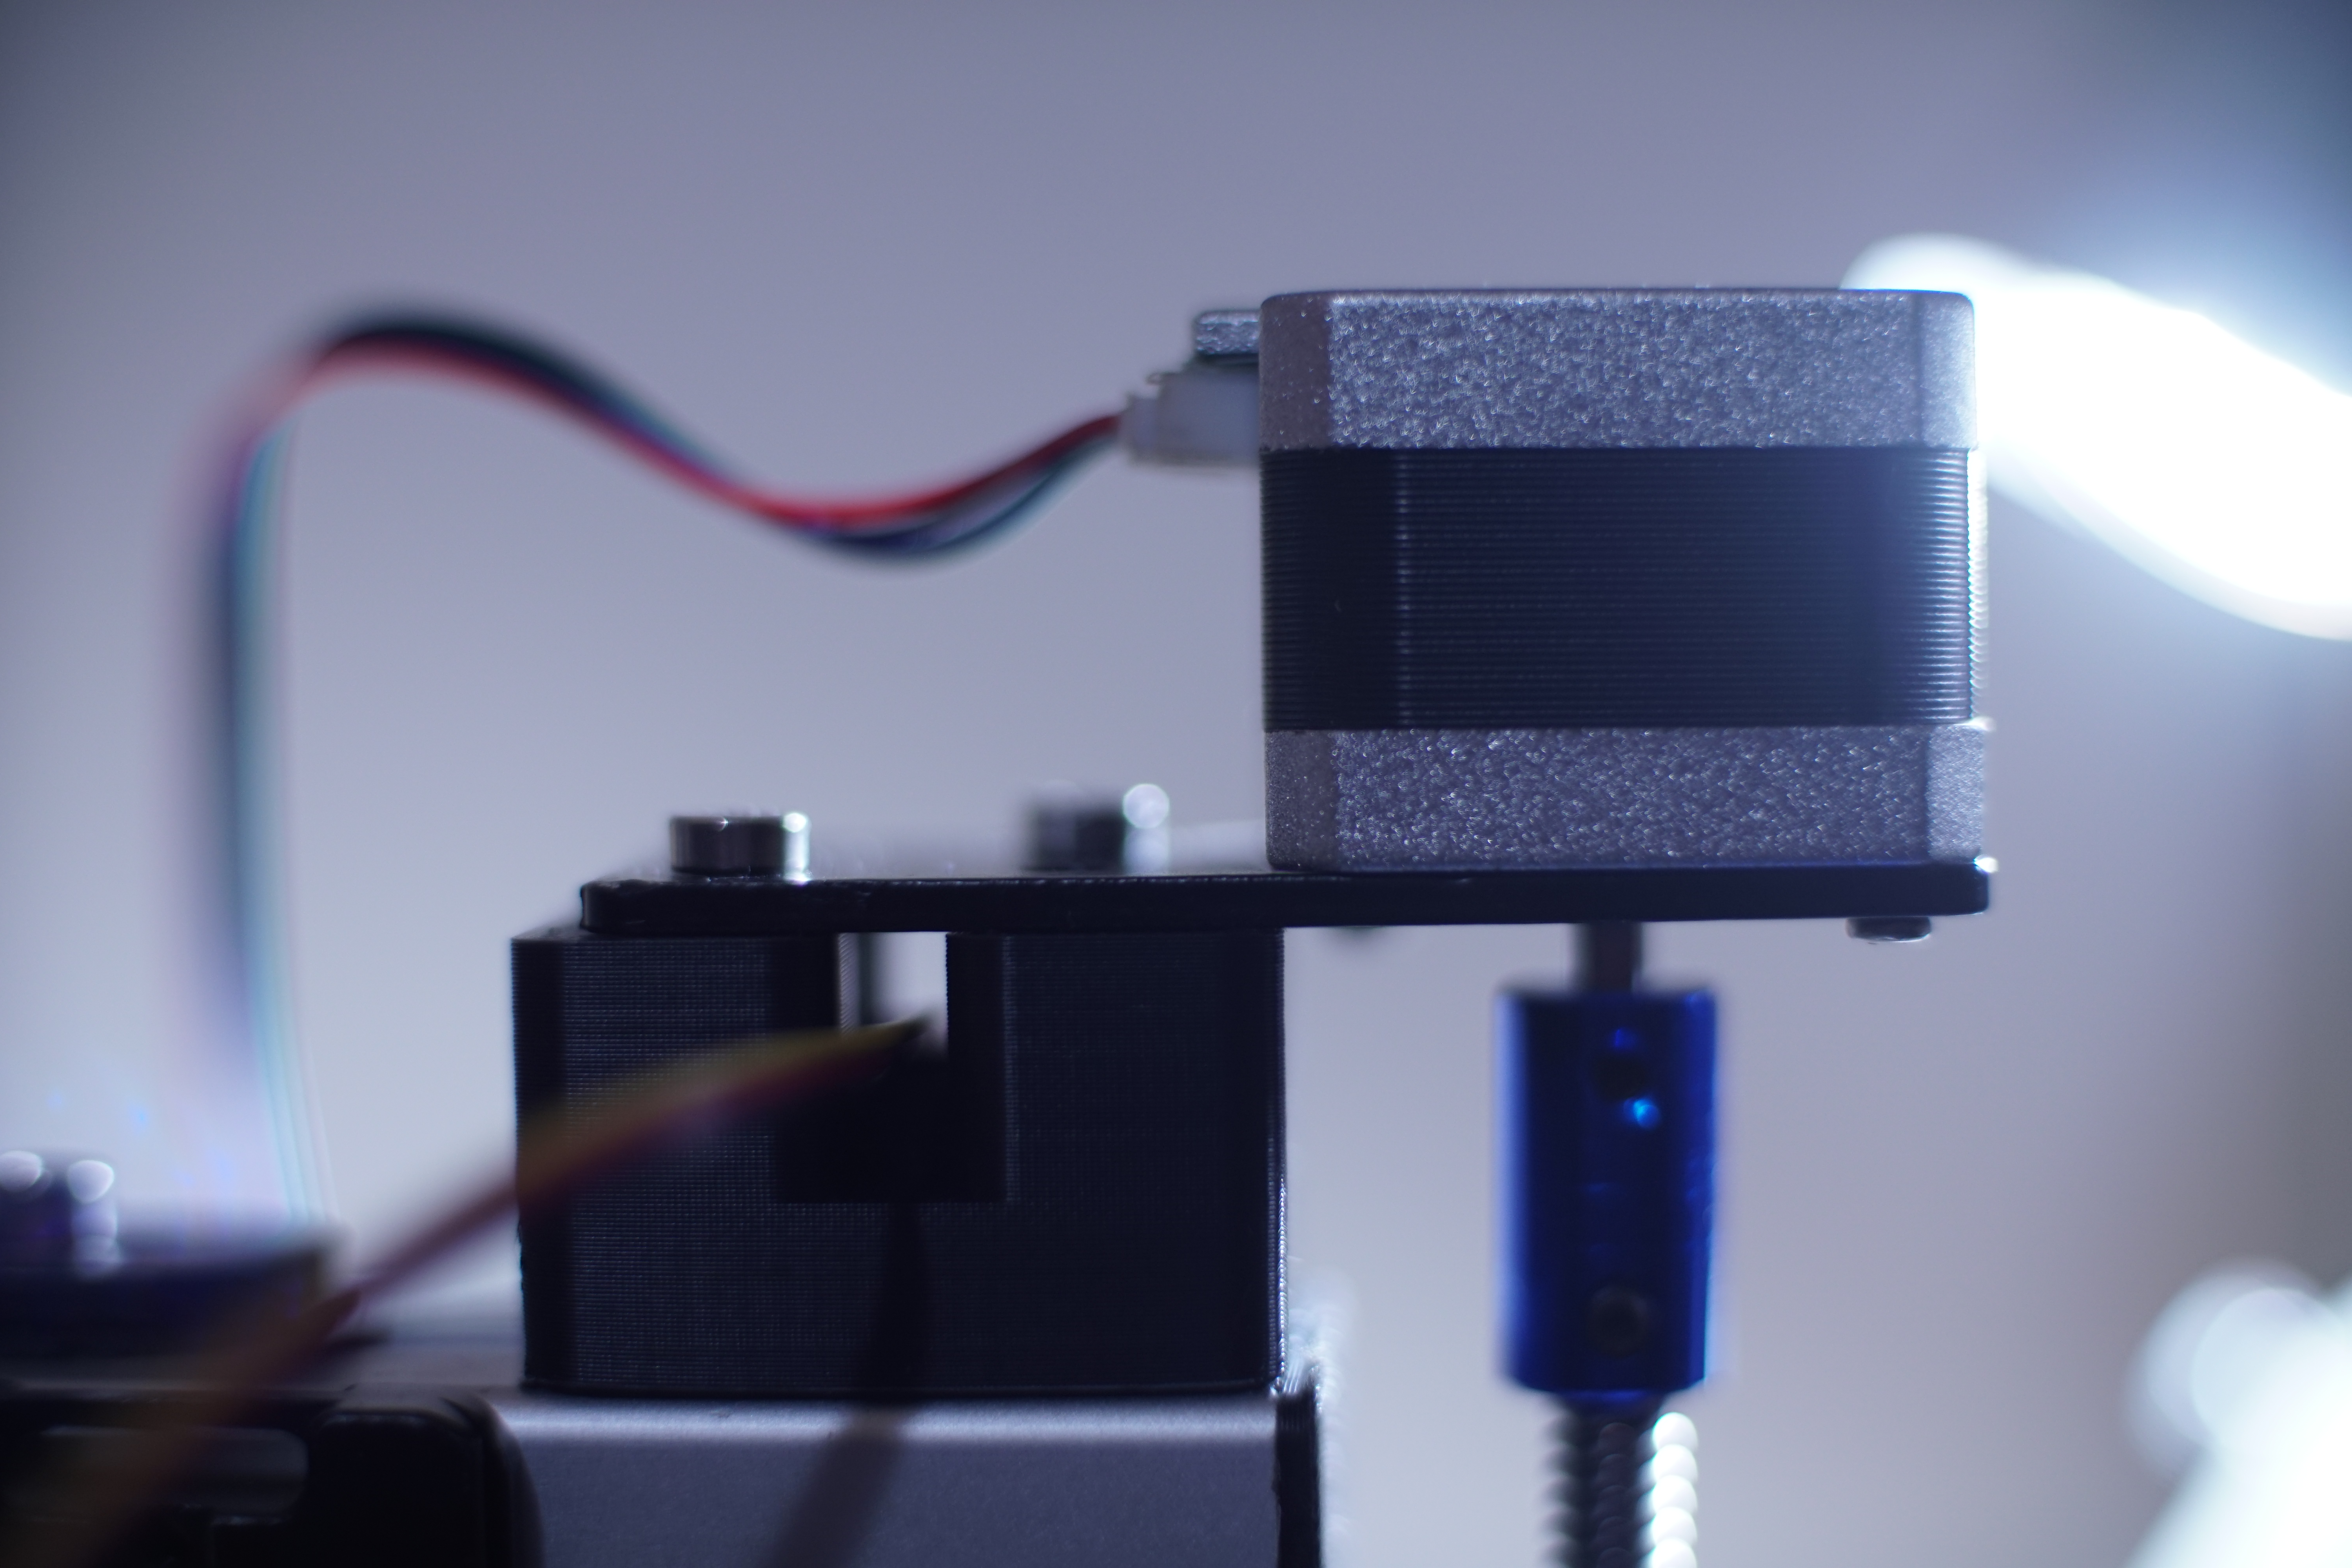
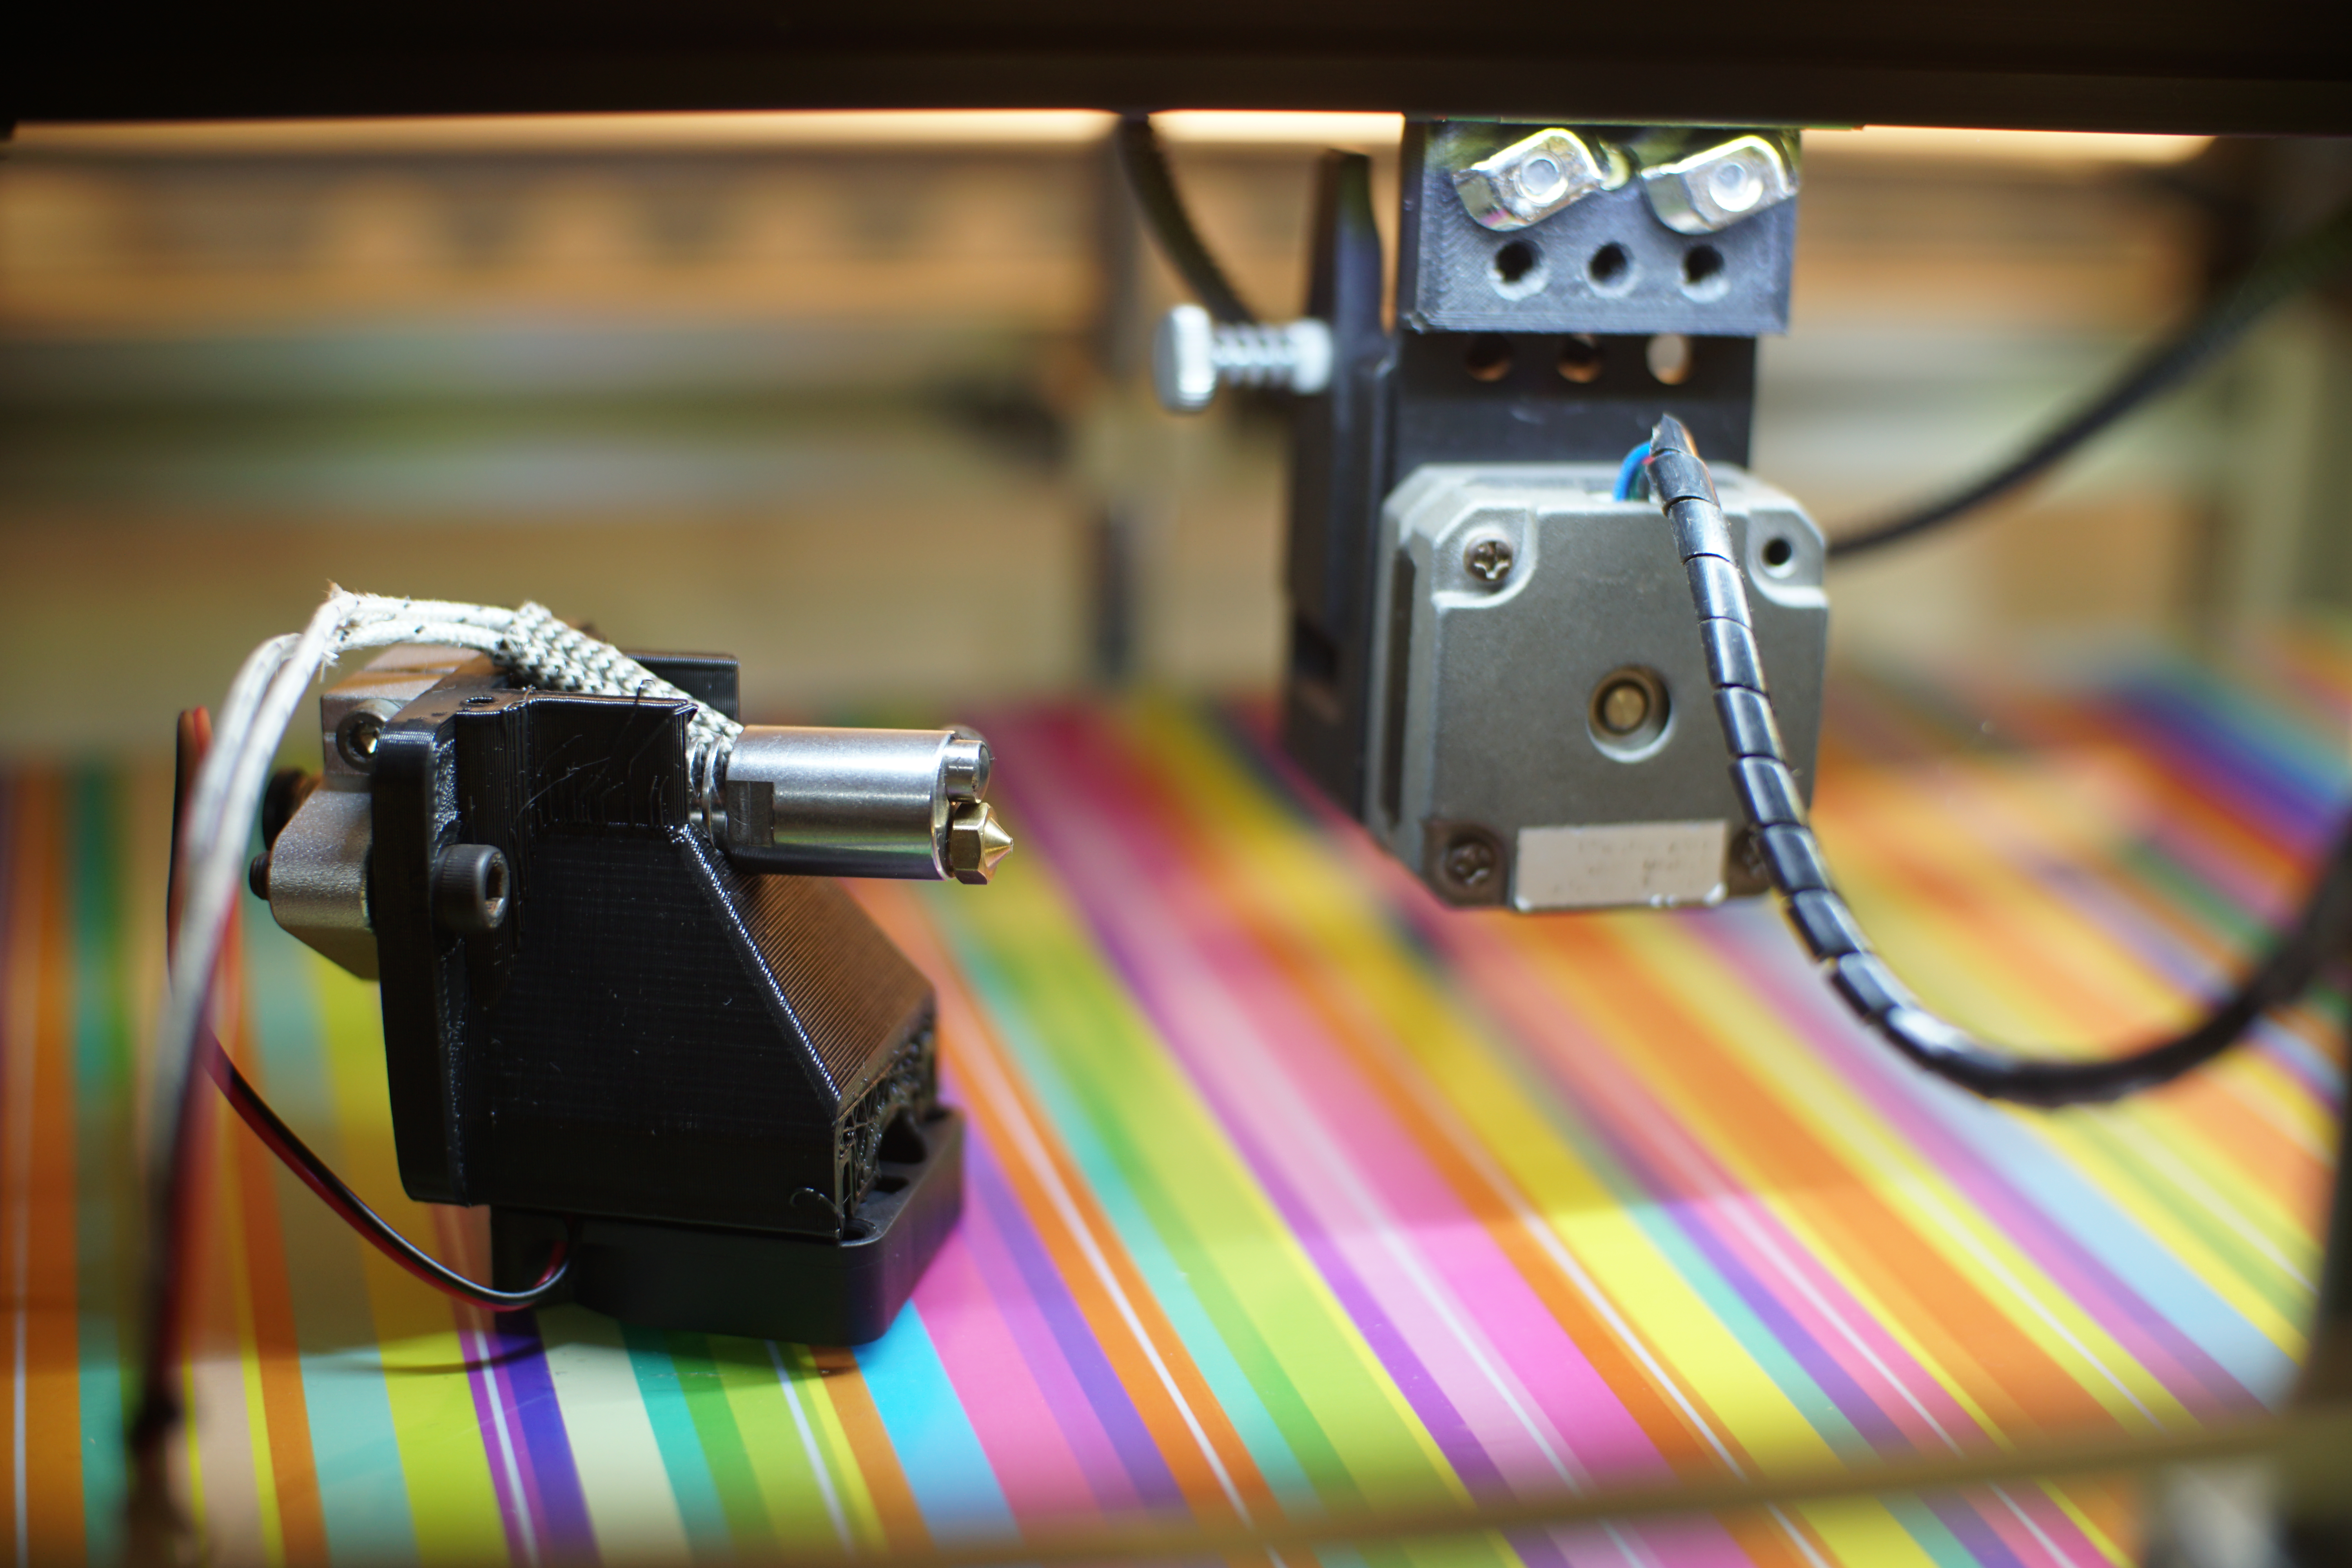
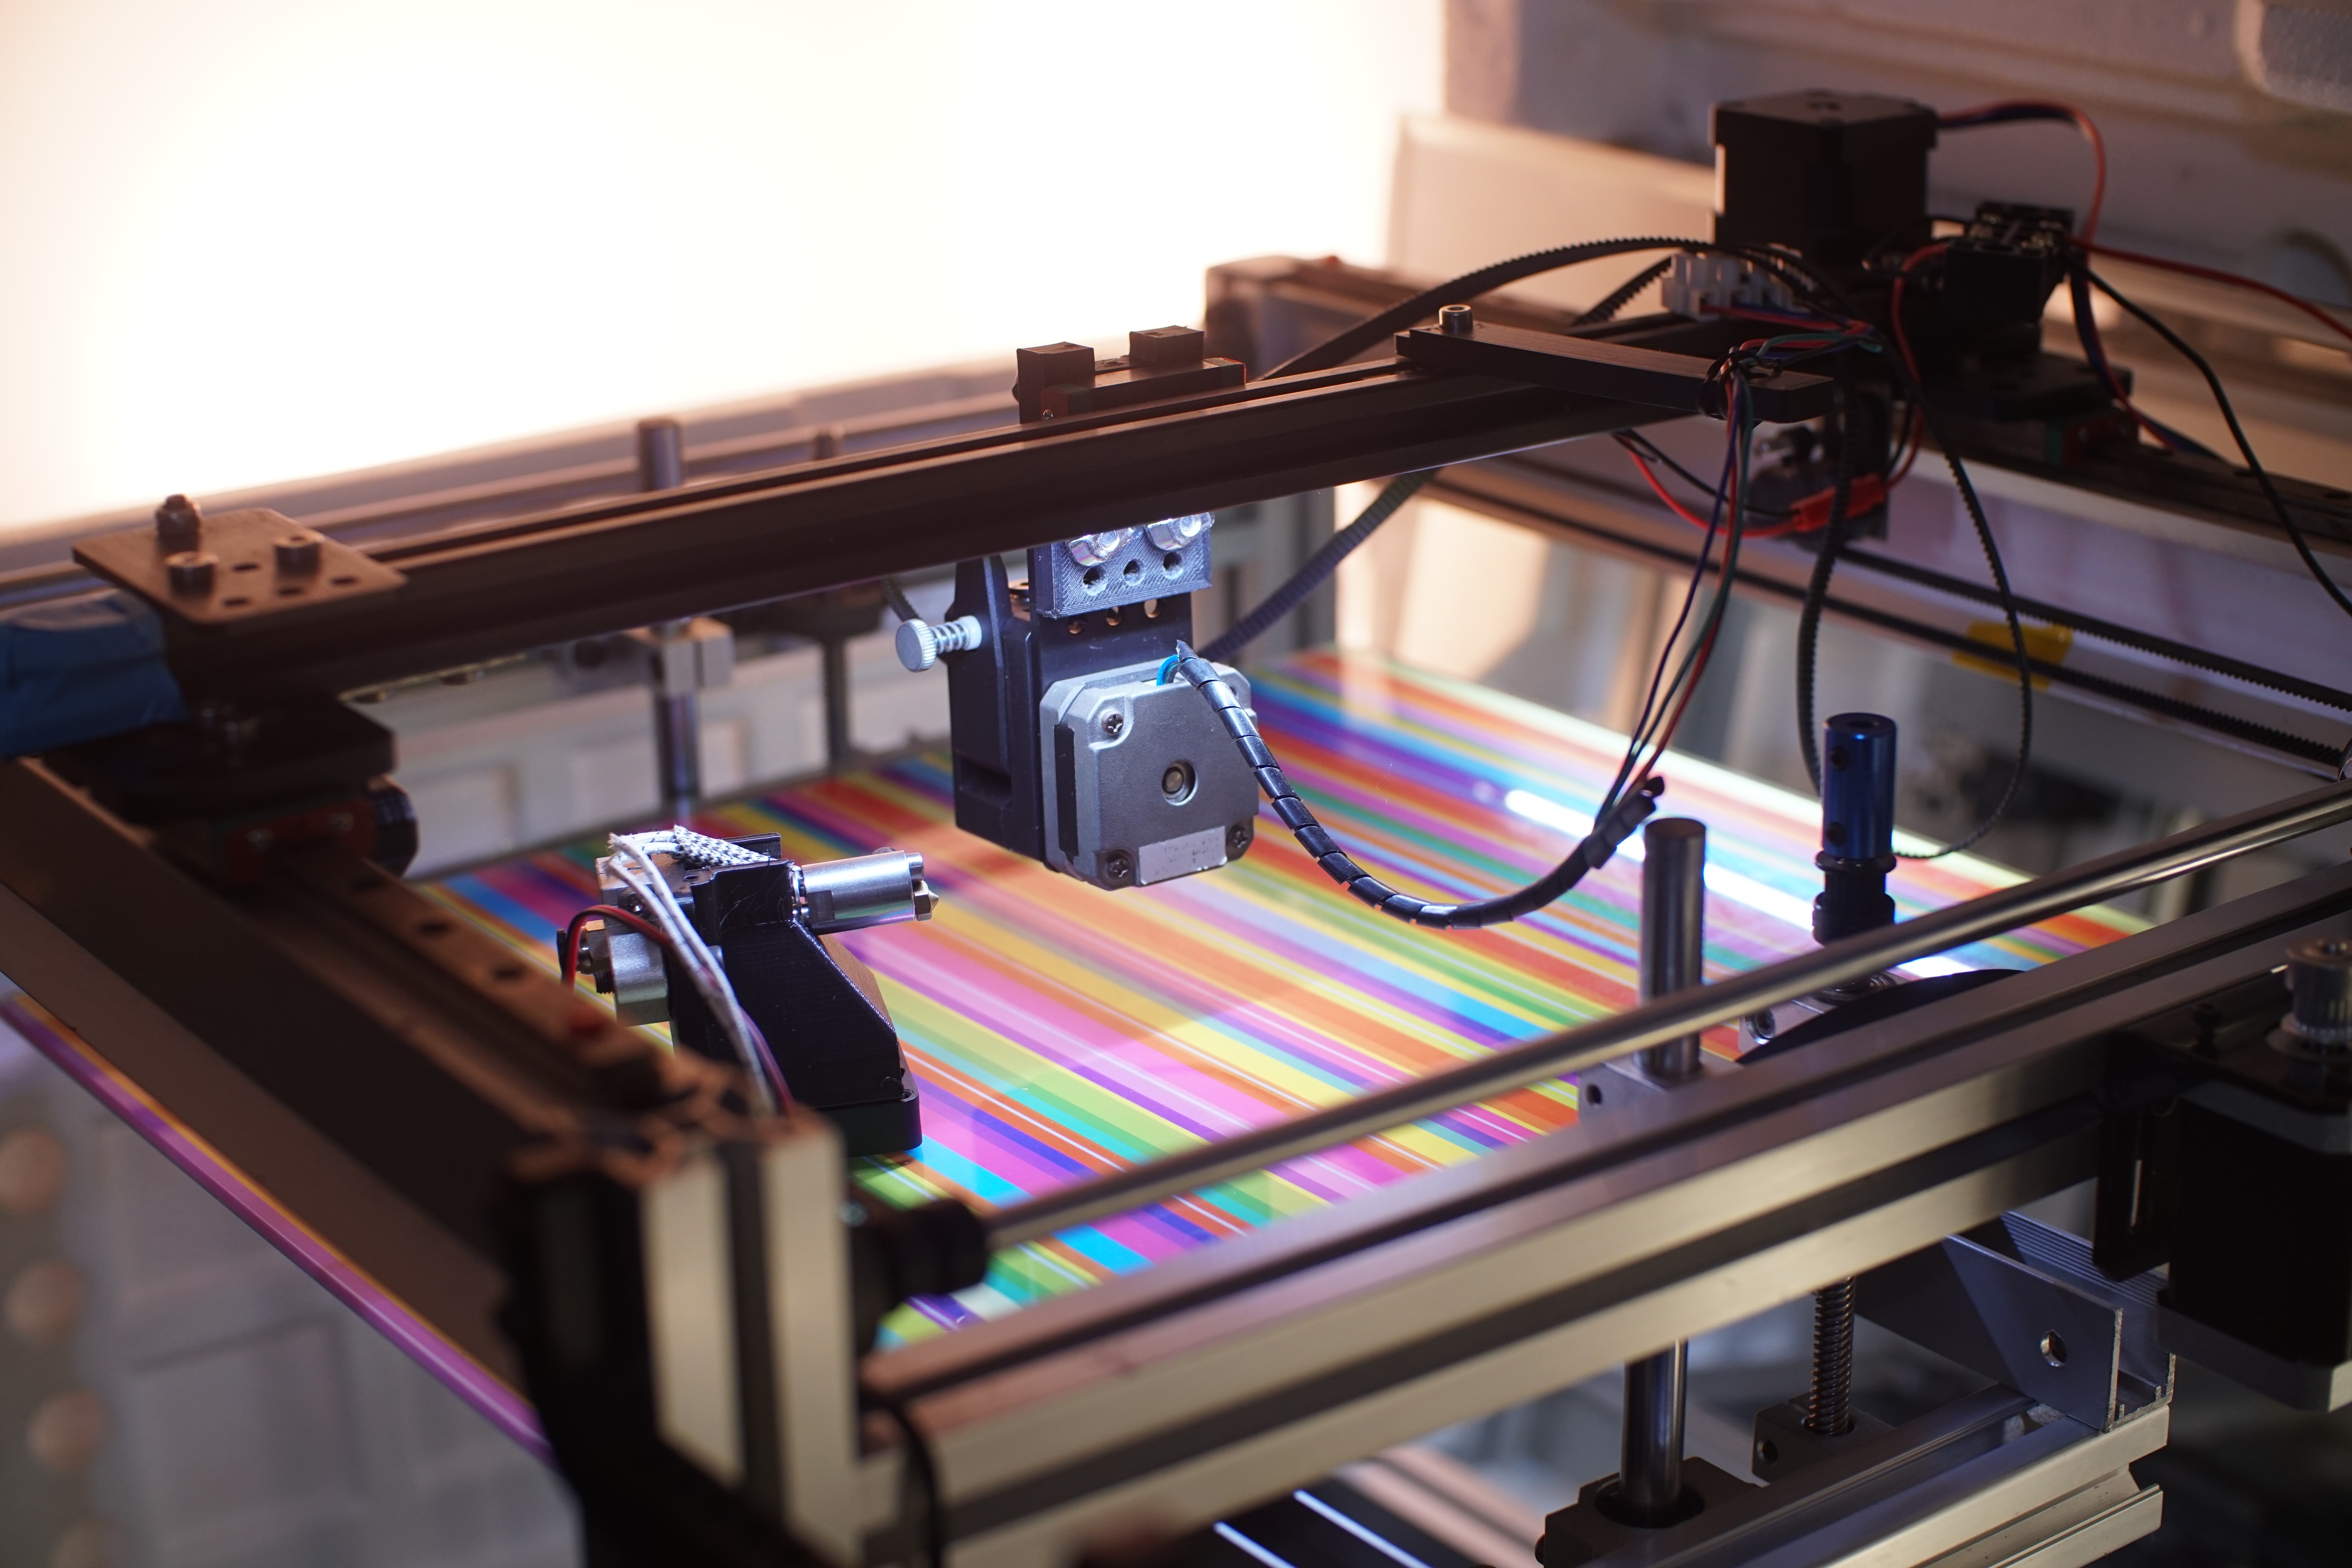
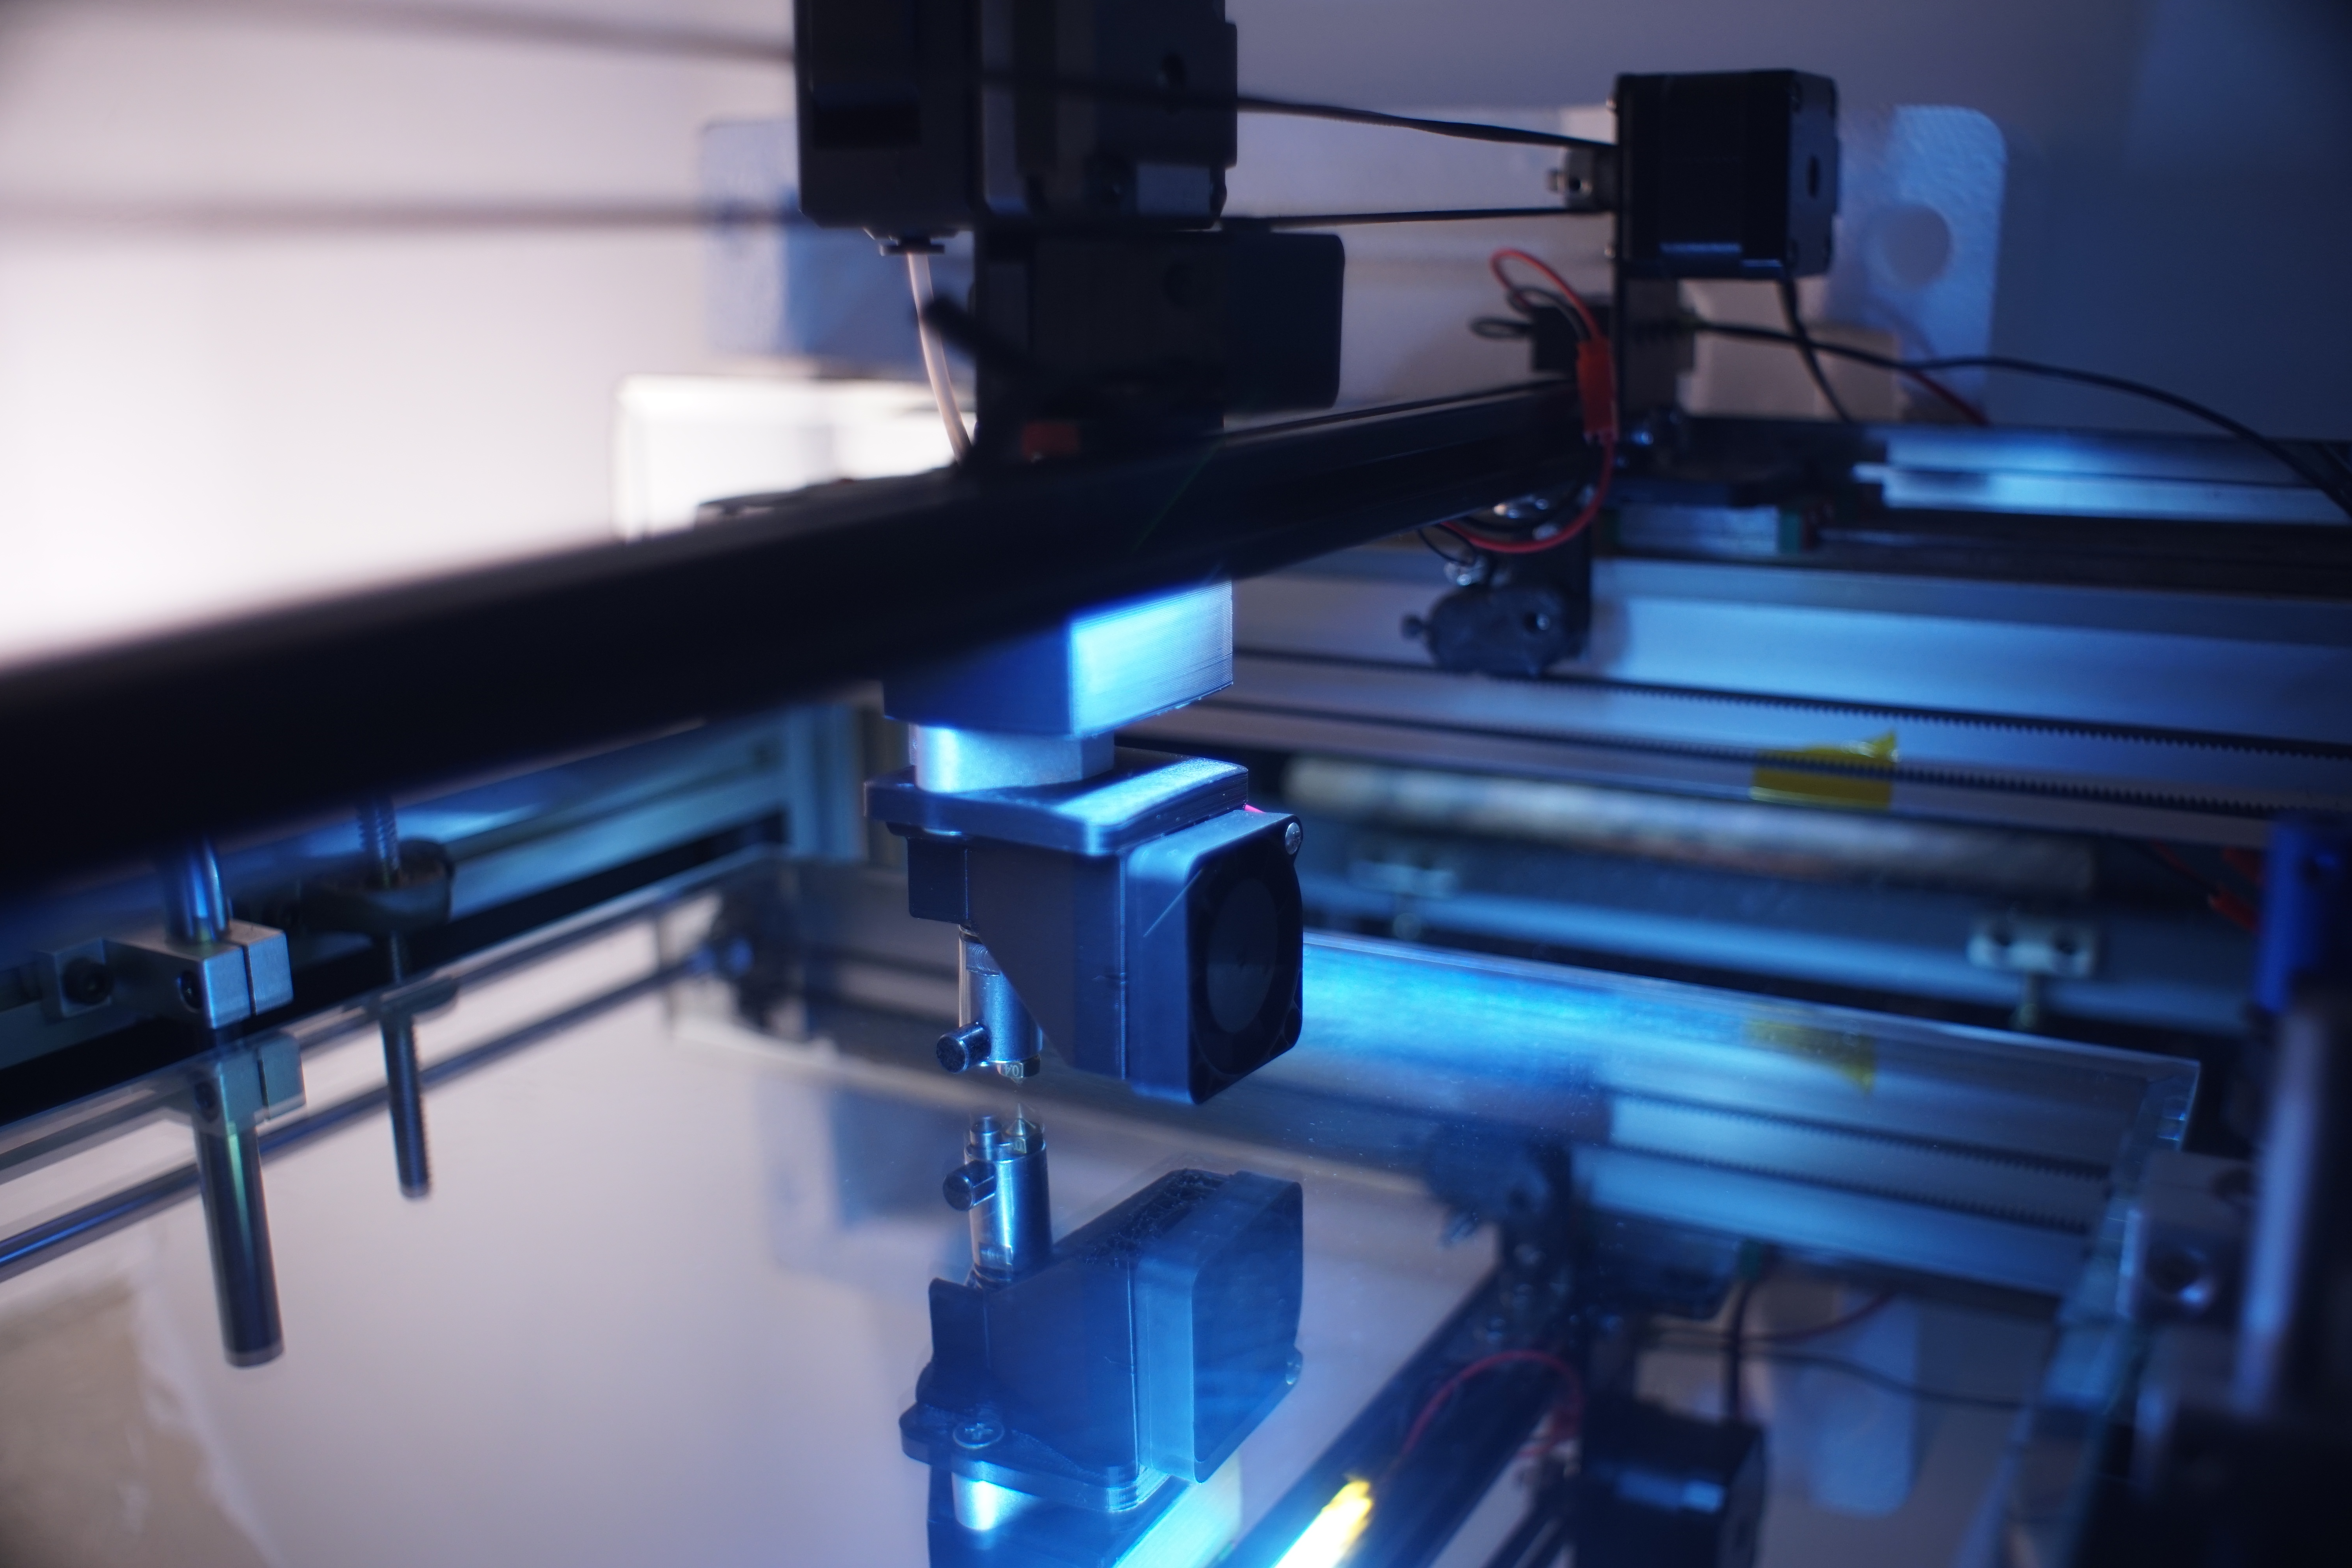
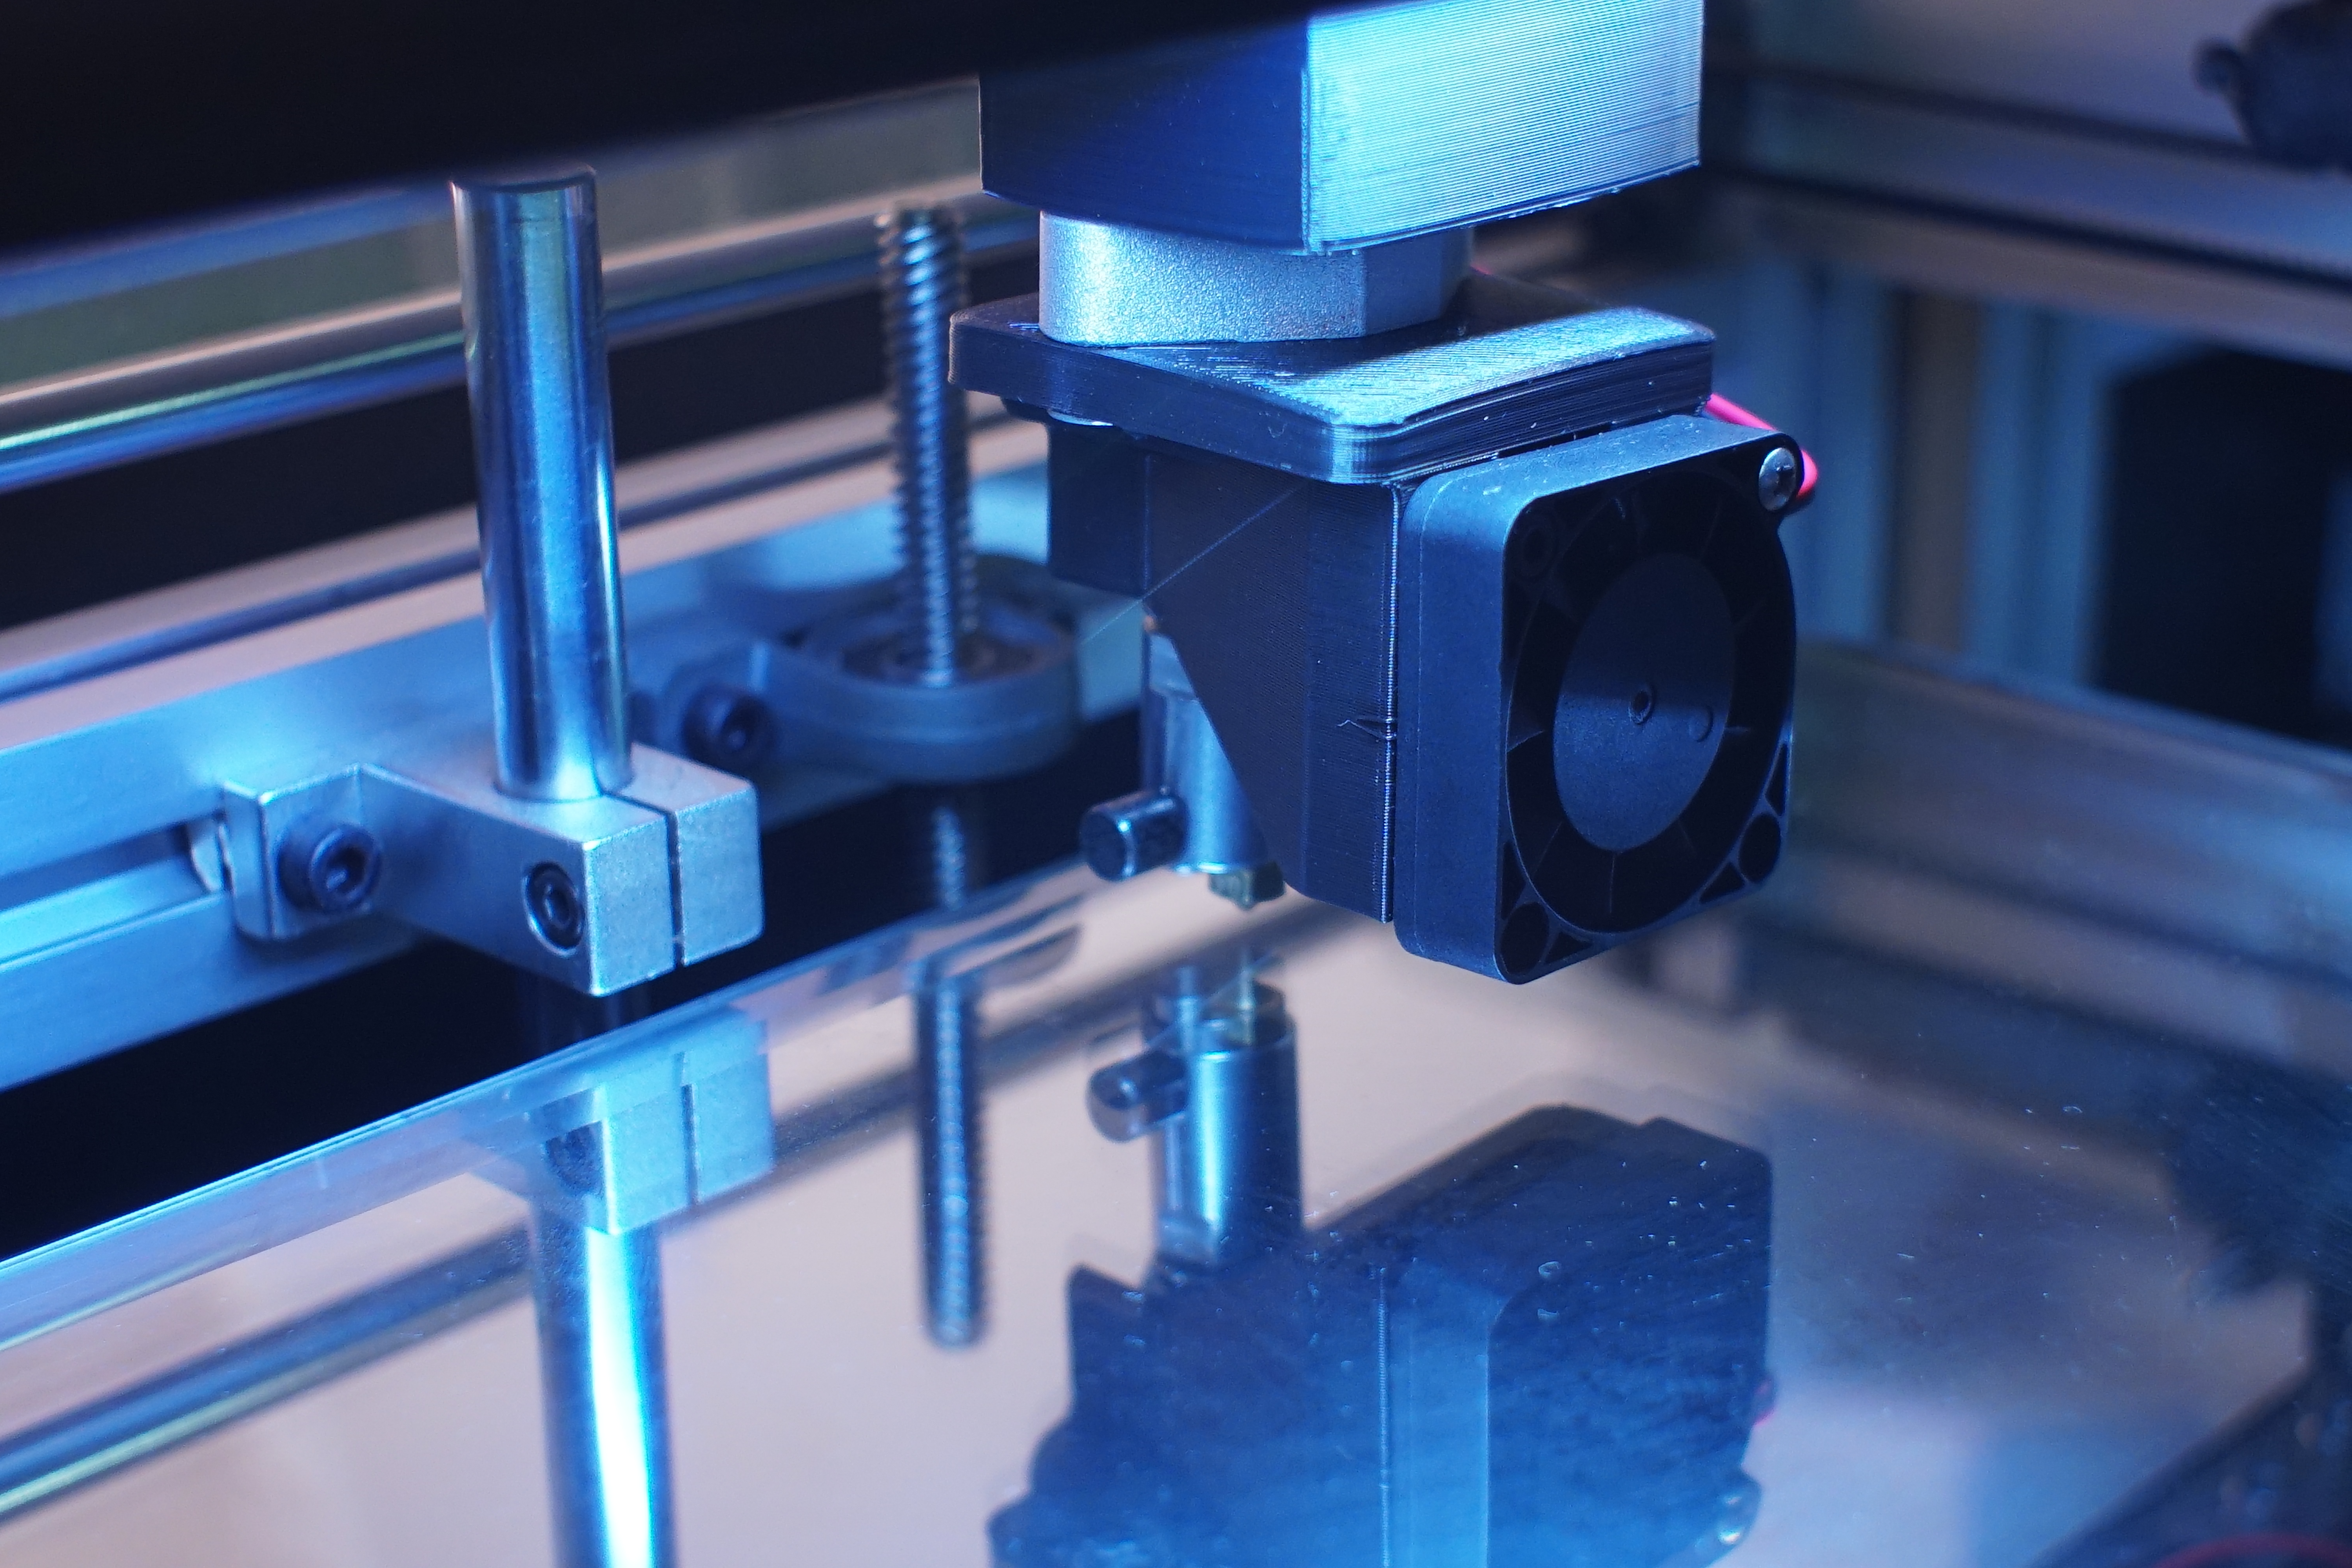
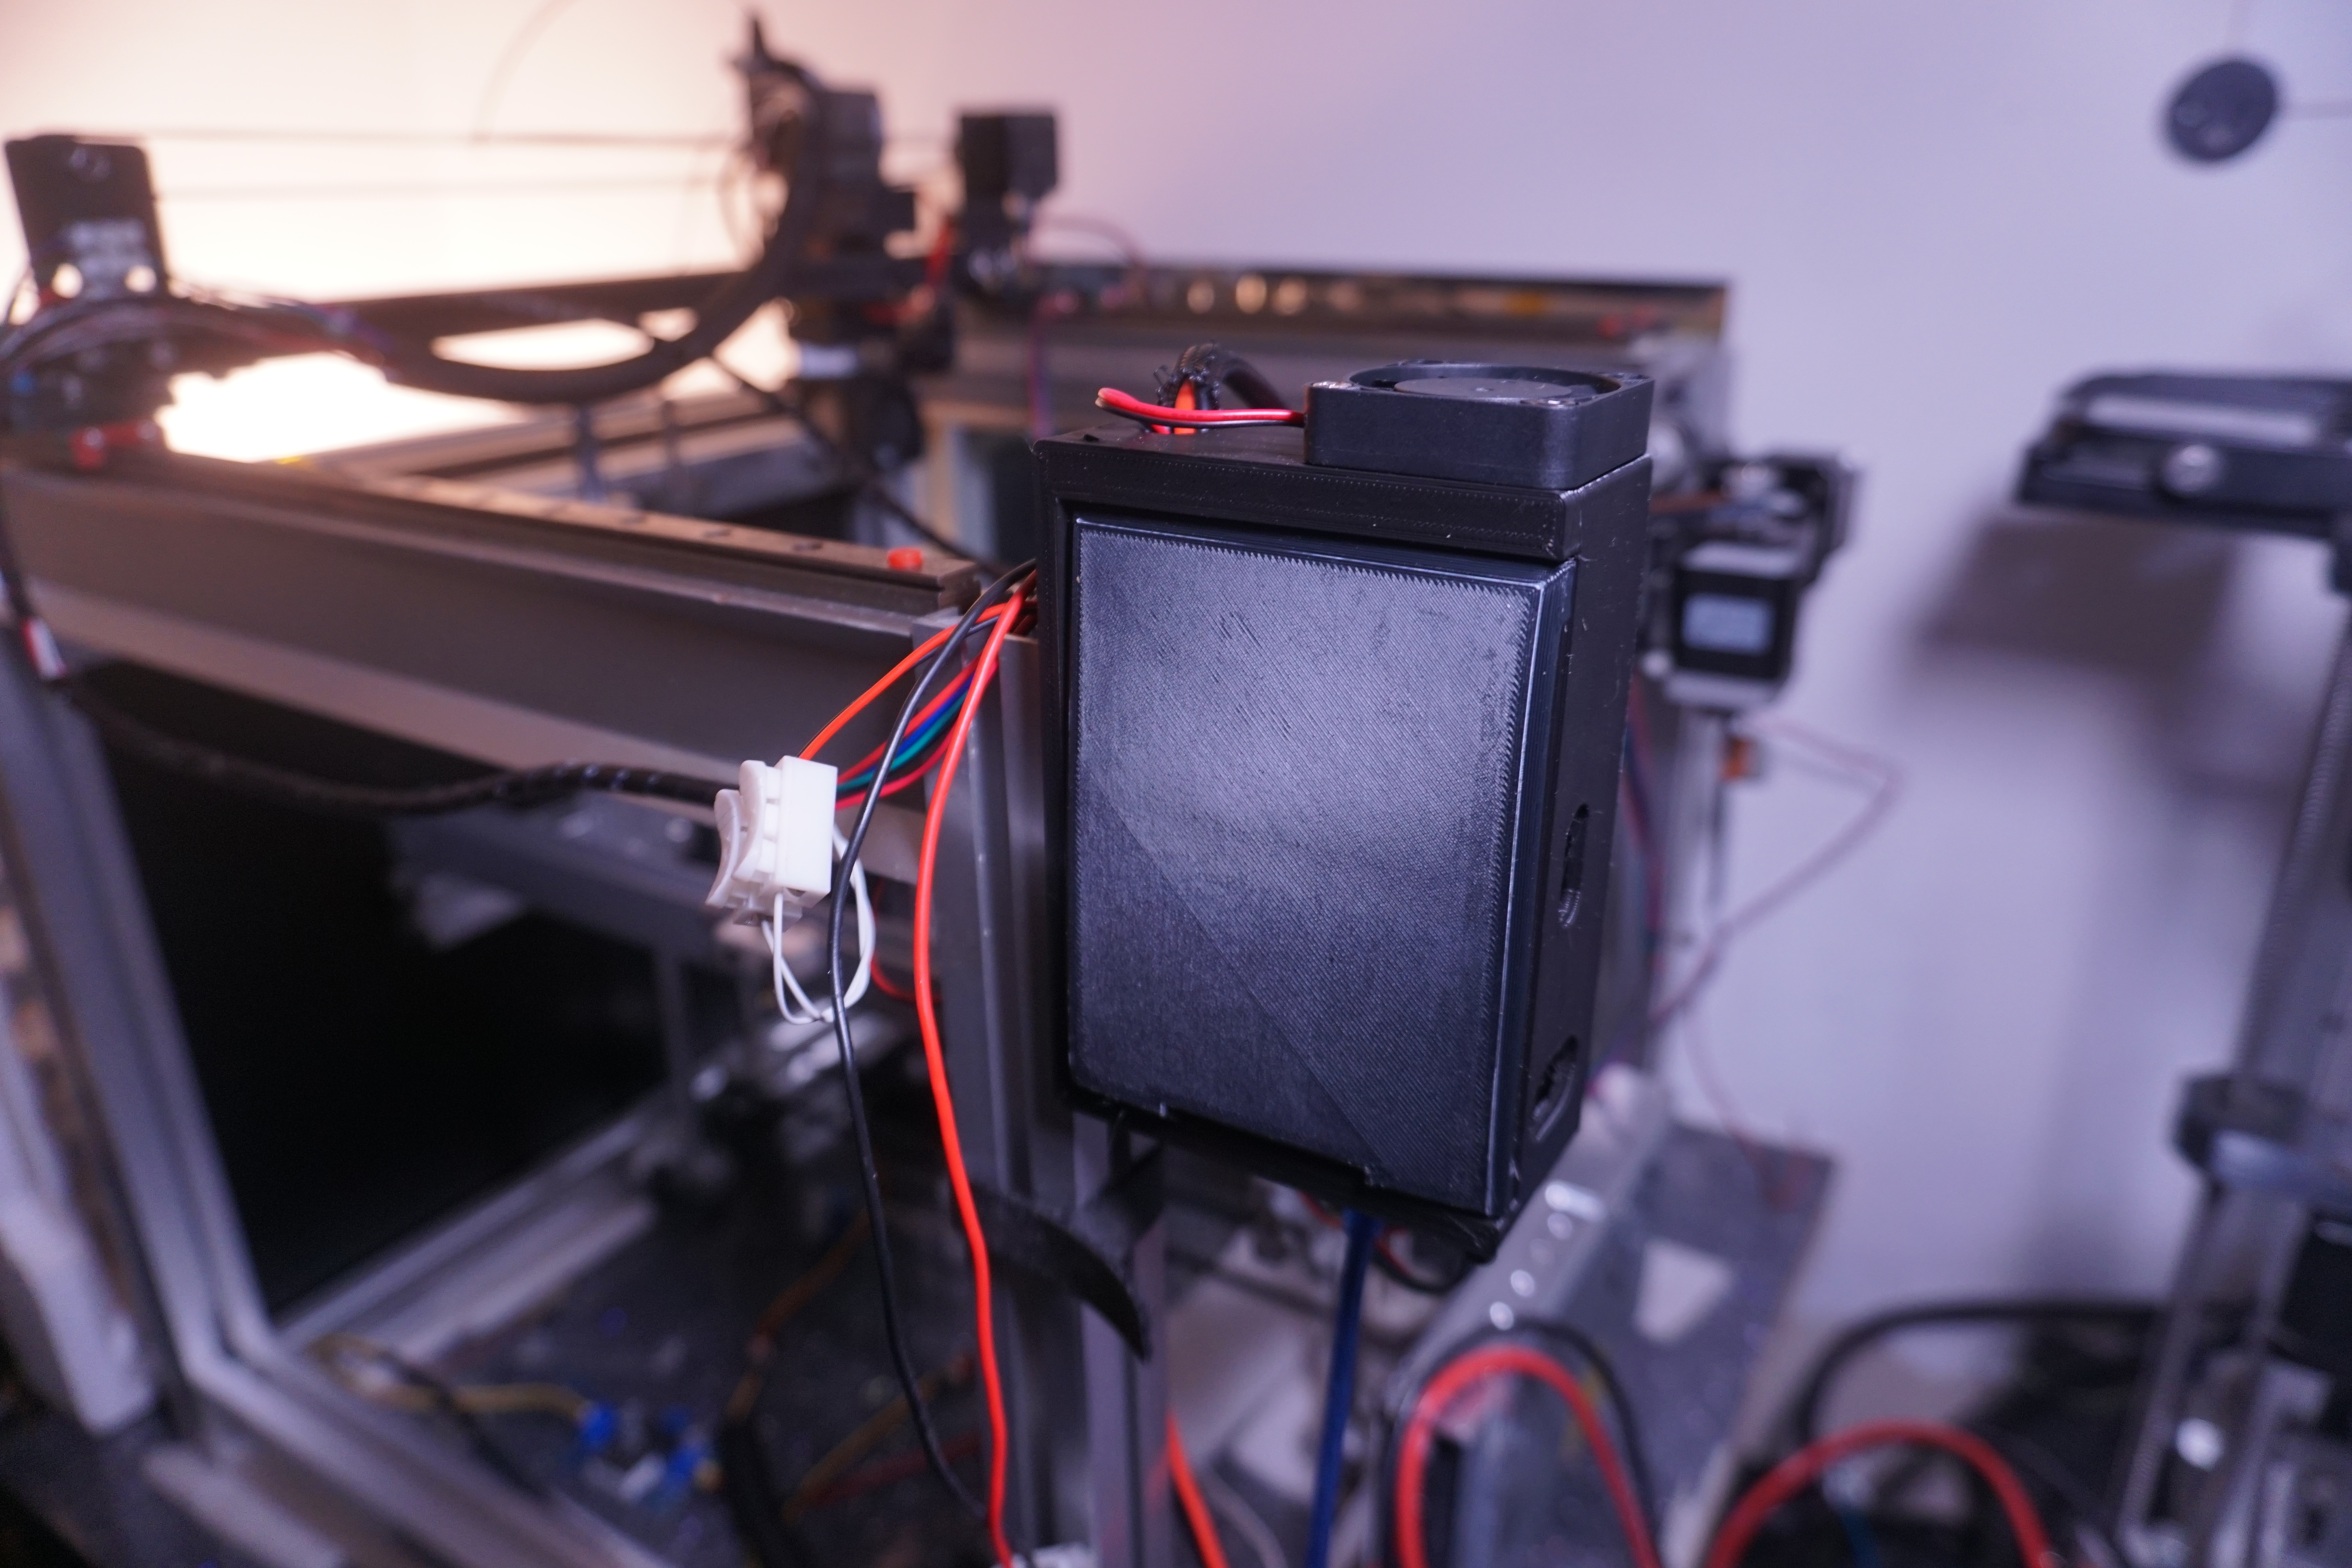
I dont have much faith in this extruder stepper, not sure it's upto the job but had it coz it was cheap 5 yrs back, and I feel sure that if I get a nicer possibly bigger black one, I aint got much wiggle room with the belt path, so that may need a rejig once again, if only I had the same idler/motor plates but with only one row of holes, I could have the belt path a little lower, or make custom parts for the ends of the 2020 for even lower belt path.
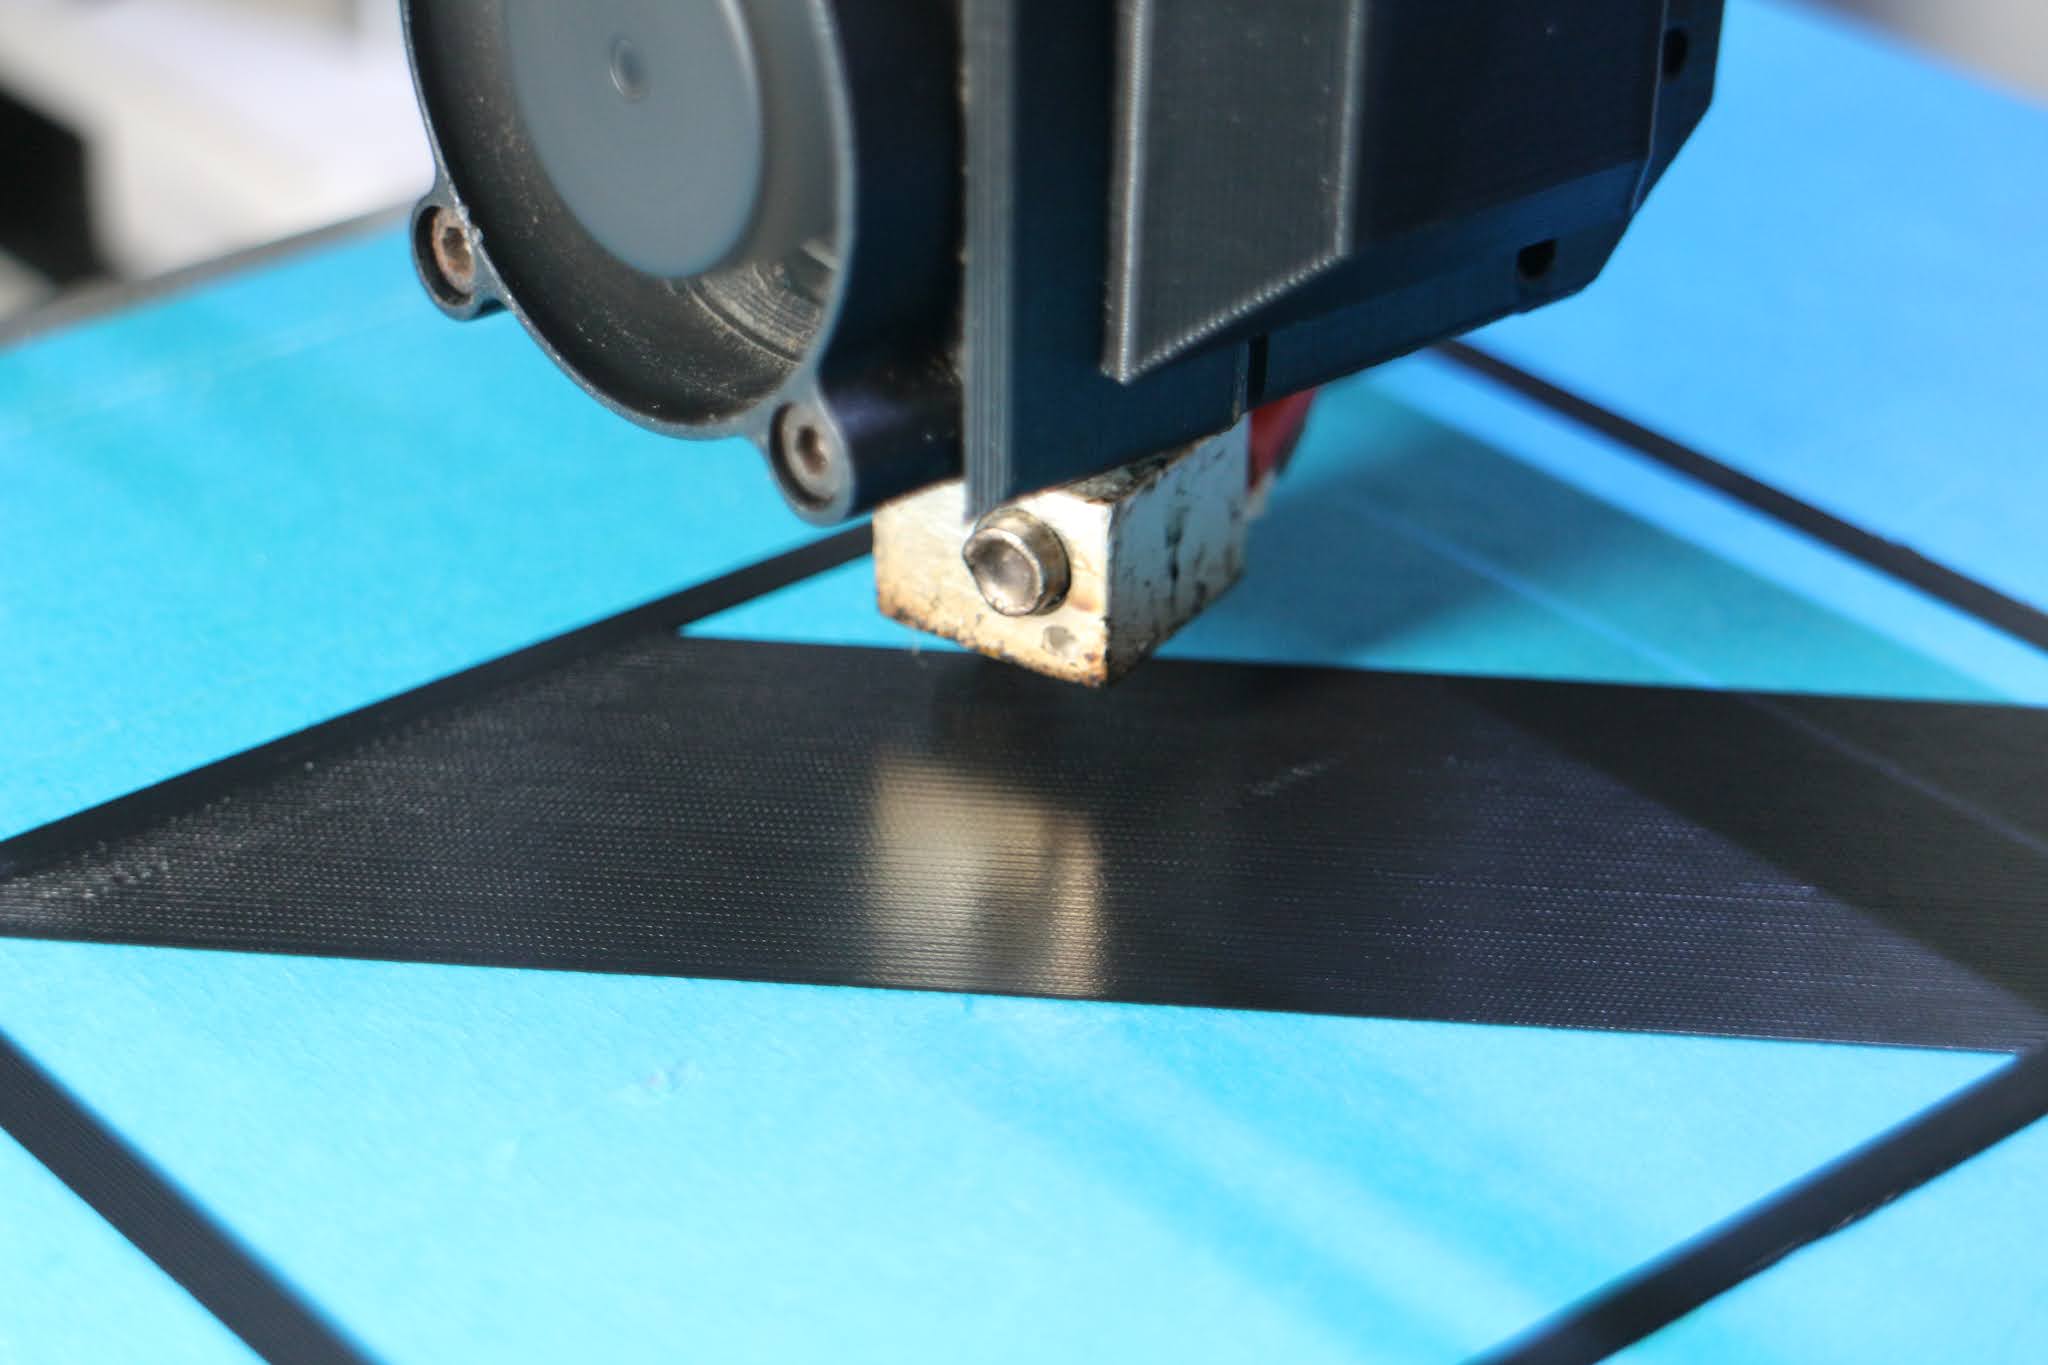
Testing the new roll of PLA-F ? thought the F was just some ebay listing tactic, anyway despite the 0.03 tolerance I thought i'd give it a whirl, as the spool looked all neatly wound...well when it arrived it wasnt, and even the spool was different, the temps say 210 - 240 my printer set at 206 (and I'm not sure I have things setup to go past 210, I might need to change the FW if I can with gcode that would be better than a recompile, anyway printing at 208 and everything seems ok. Now for the hotend I already had the cart plate made, so rather than print another design, I thought I'd see if I could just add to it, now the motors on X have been moved, I really didnt want it so high up top, previous belt path was tight, ie tricky to design for, because of the belt path. this way it keeps it simple. I was tempted to just put the V6 in as it would make things lighter and even simpler, but I only had one 24v cartridge which was a real pain to put in so it isnt coming out. I might get one of the Dragon type hotends with the bi-metal heatbreak so many to choose from on alixpress...like a candy store compared to ebay.
The print above was the last print of the roll, didnt know if there was enough left, just made it with about 2m left, these pics are of the new filament, no adjustments, everything started fine, but really 4perim & 4 top & bottom was asking for trouble, this stuff doesnt seem to like the hairspray so in future I need to make sure that side isnt the main visible surface, unless I did some extra work on it, so functional small parts only,...really wanted to cover the meanwell, as it doesnt have that one little thing the cheaper led ones have Contact Guards.


Edited 4 time(s). Last edit at 04/29/2021 10:12AM by MechaBits.
|
Re: MechaBits KraftWerk'r April 30, 2021 06:43AM |
Registered: 8 years ago Posts: 1,671 |

|
Re: MechaBits KraftWerk'r May 02, 2021 08:21AM |
Registered: 8 years ago Posts: 1,671 |


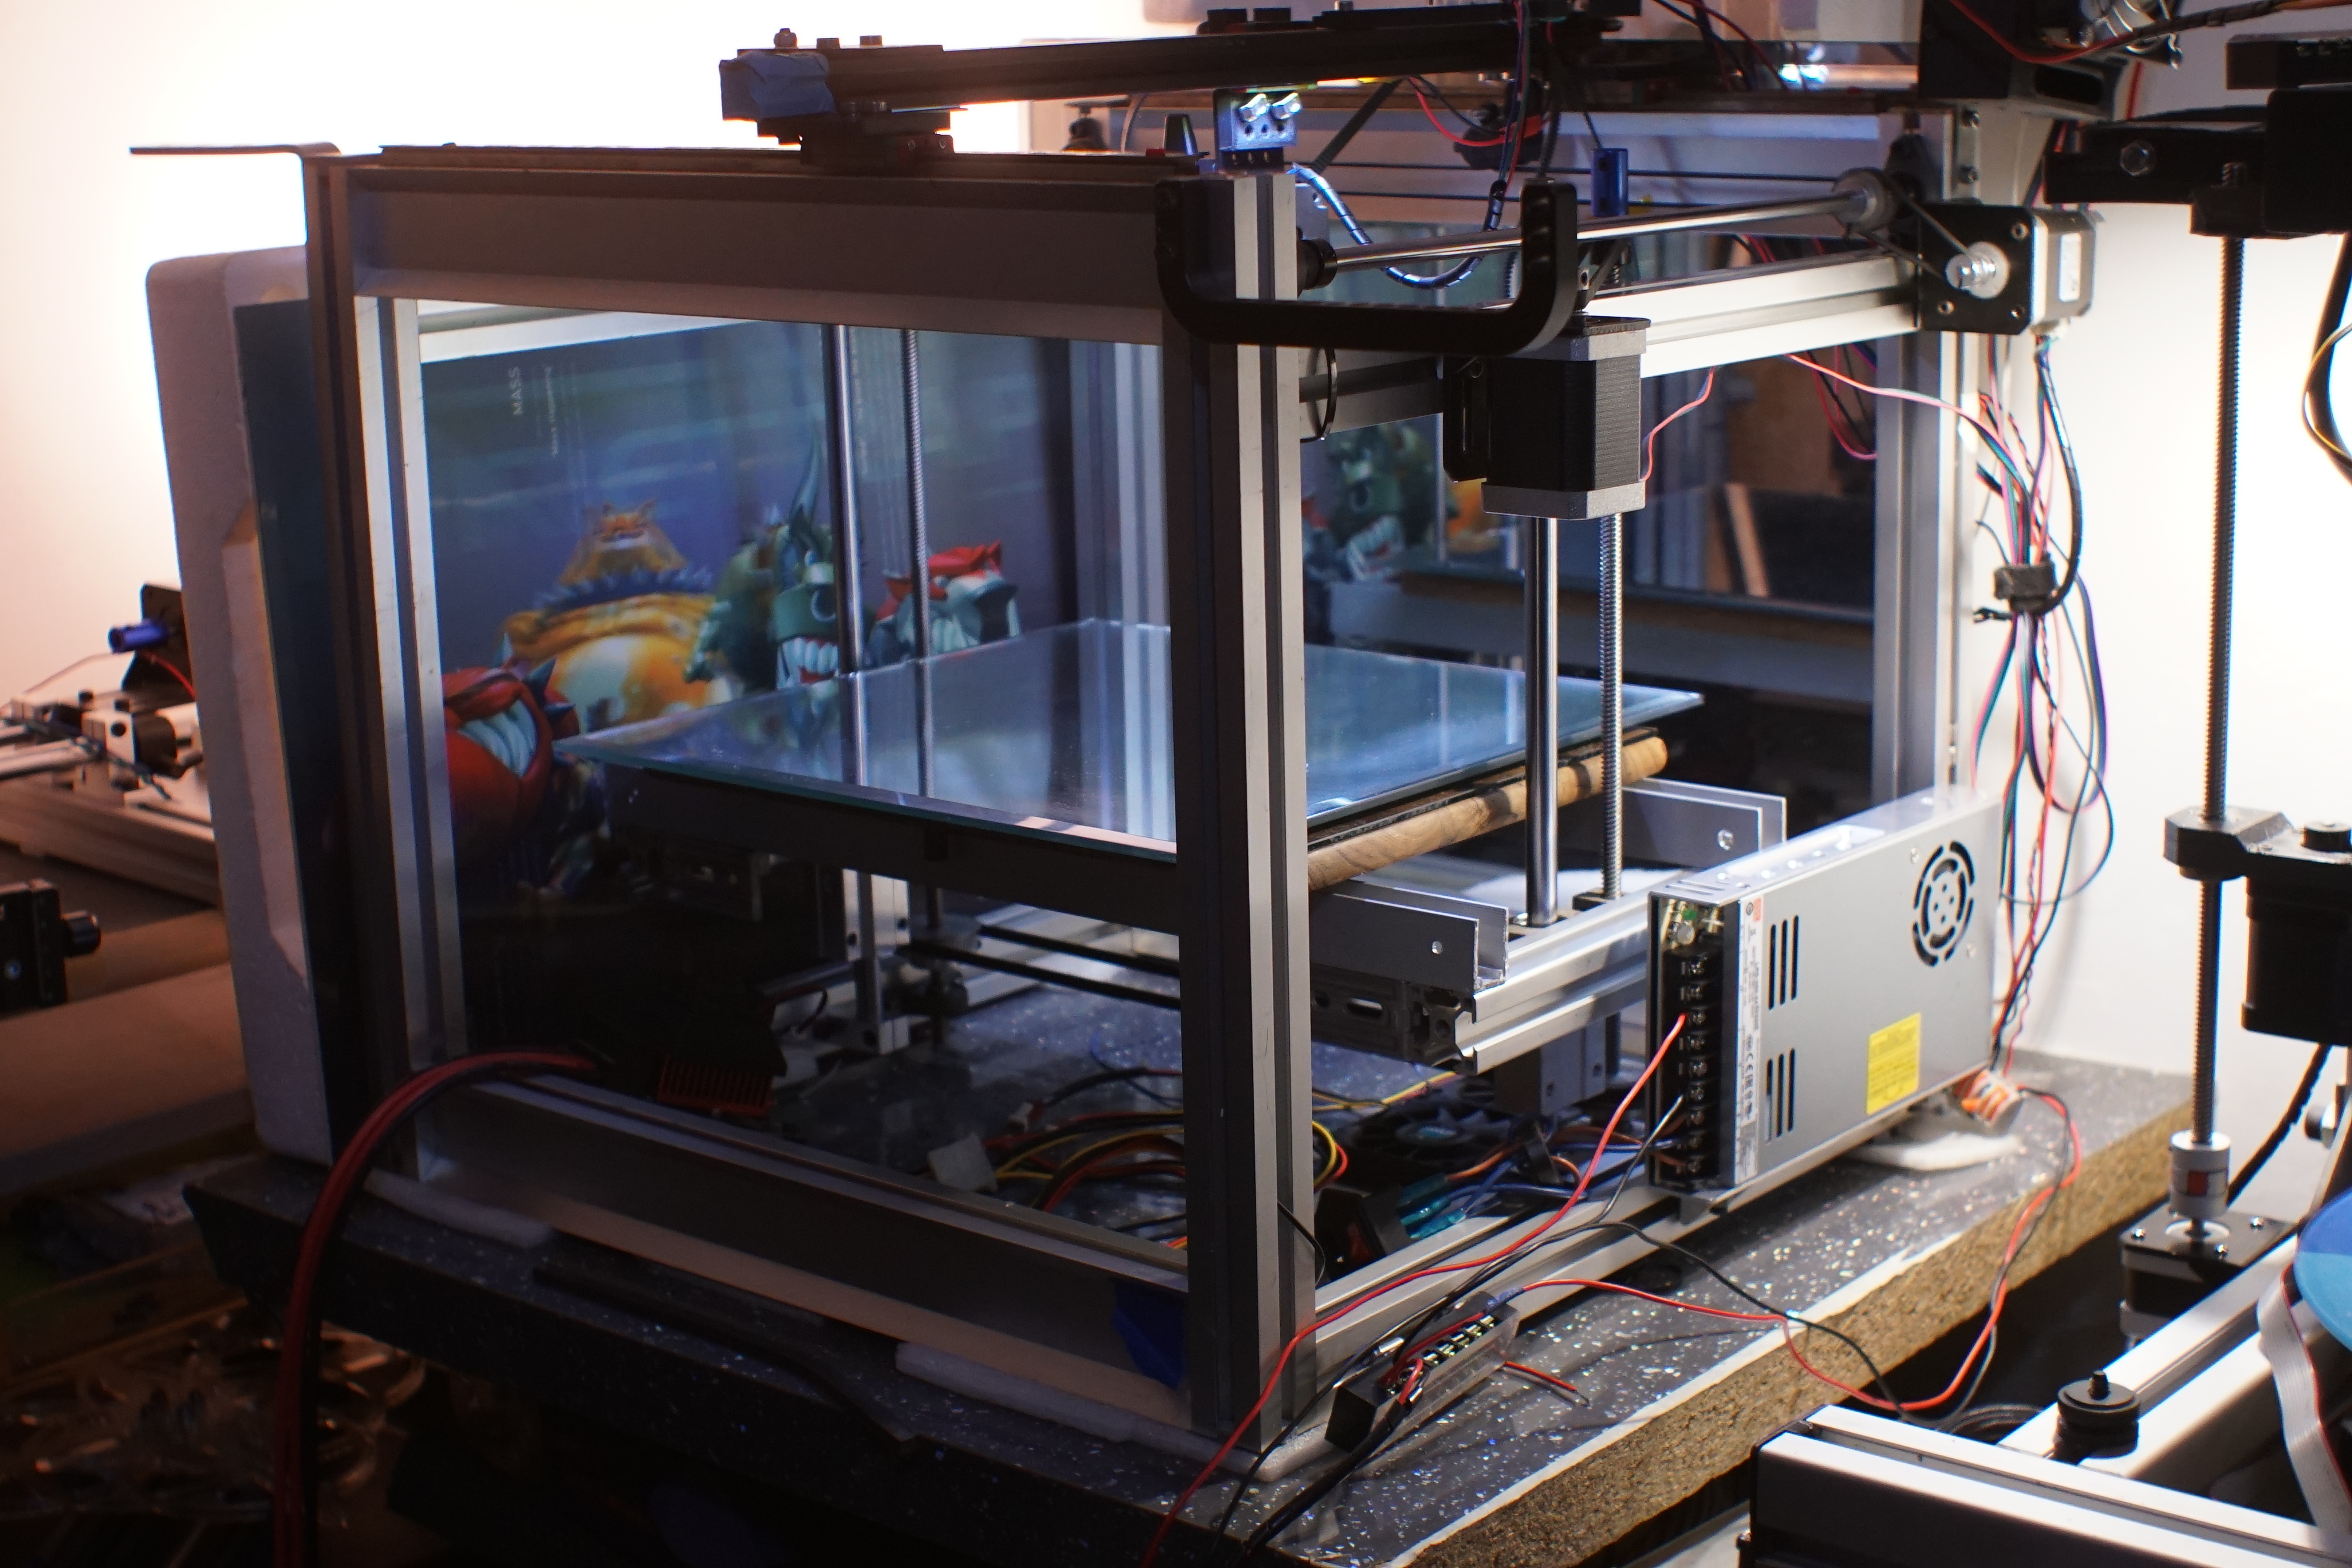
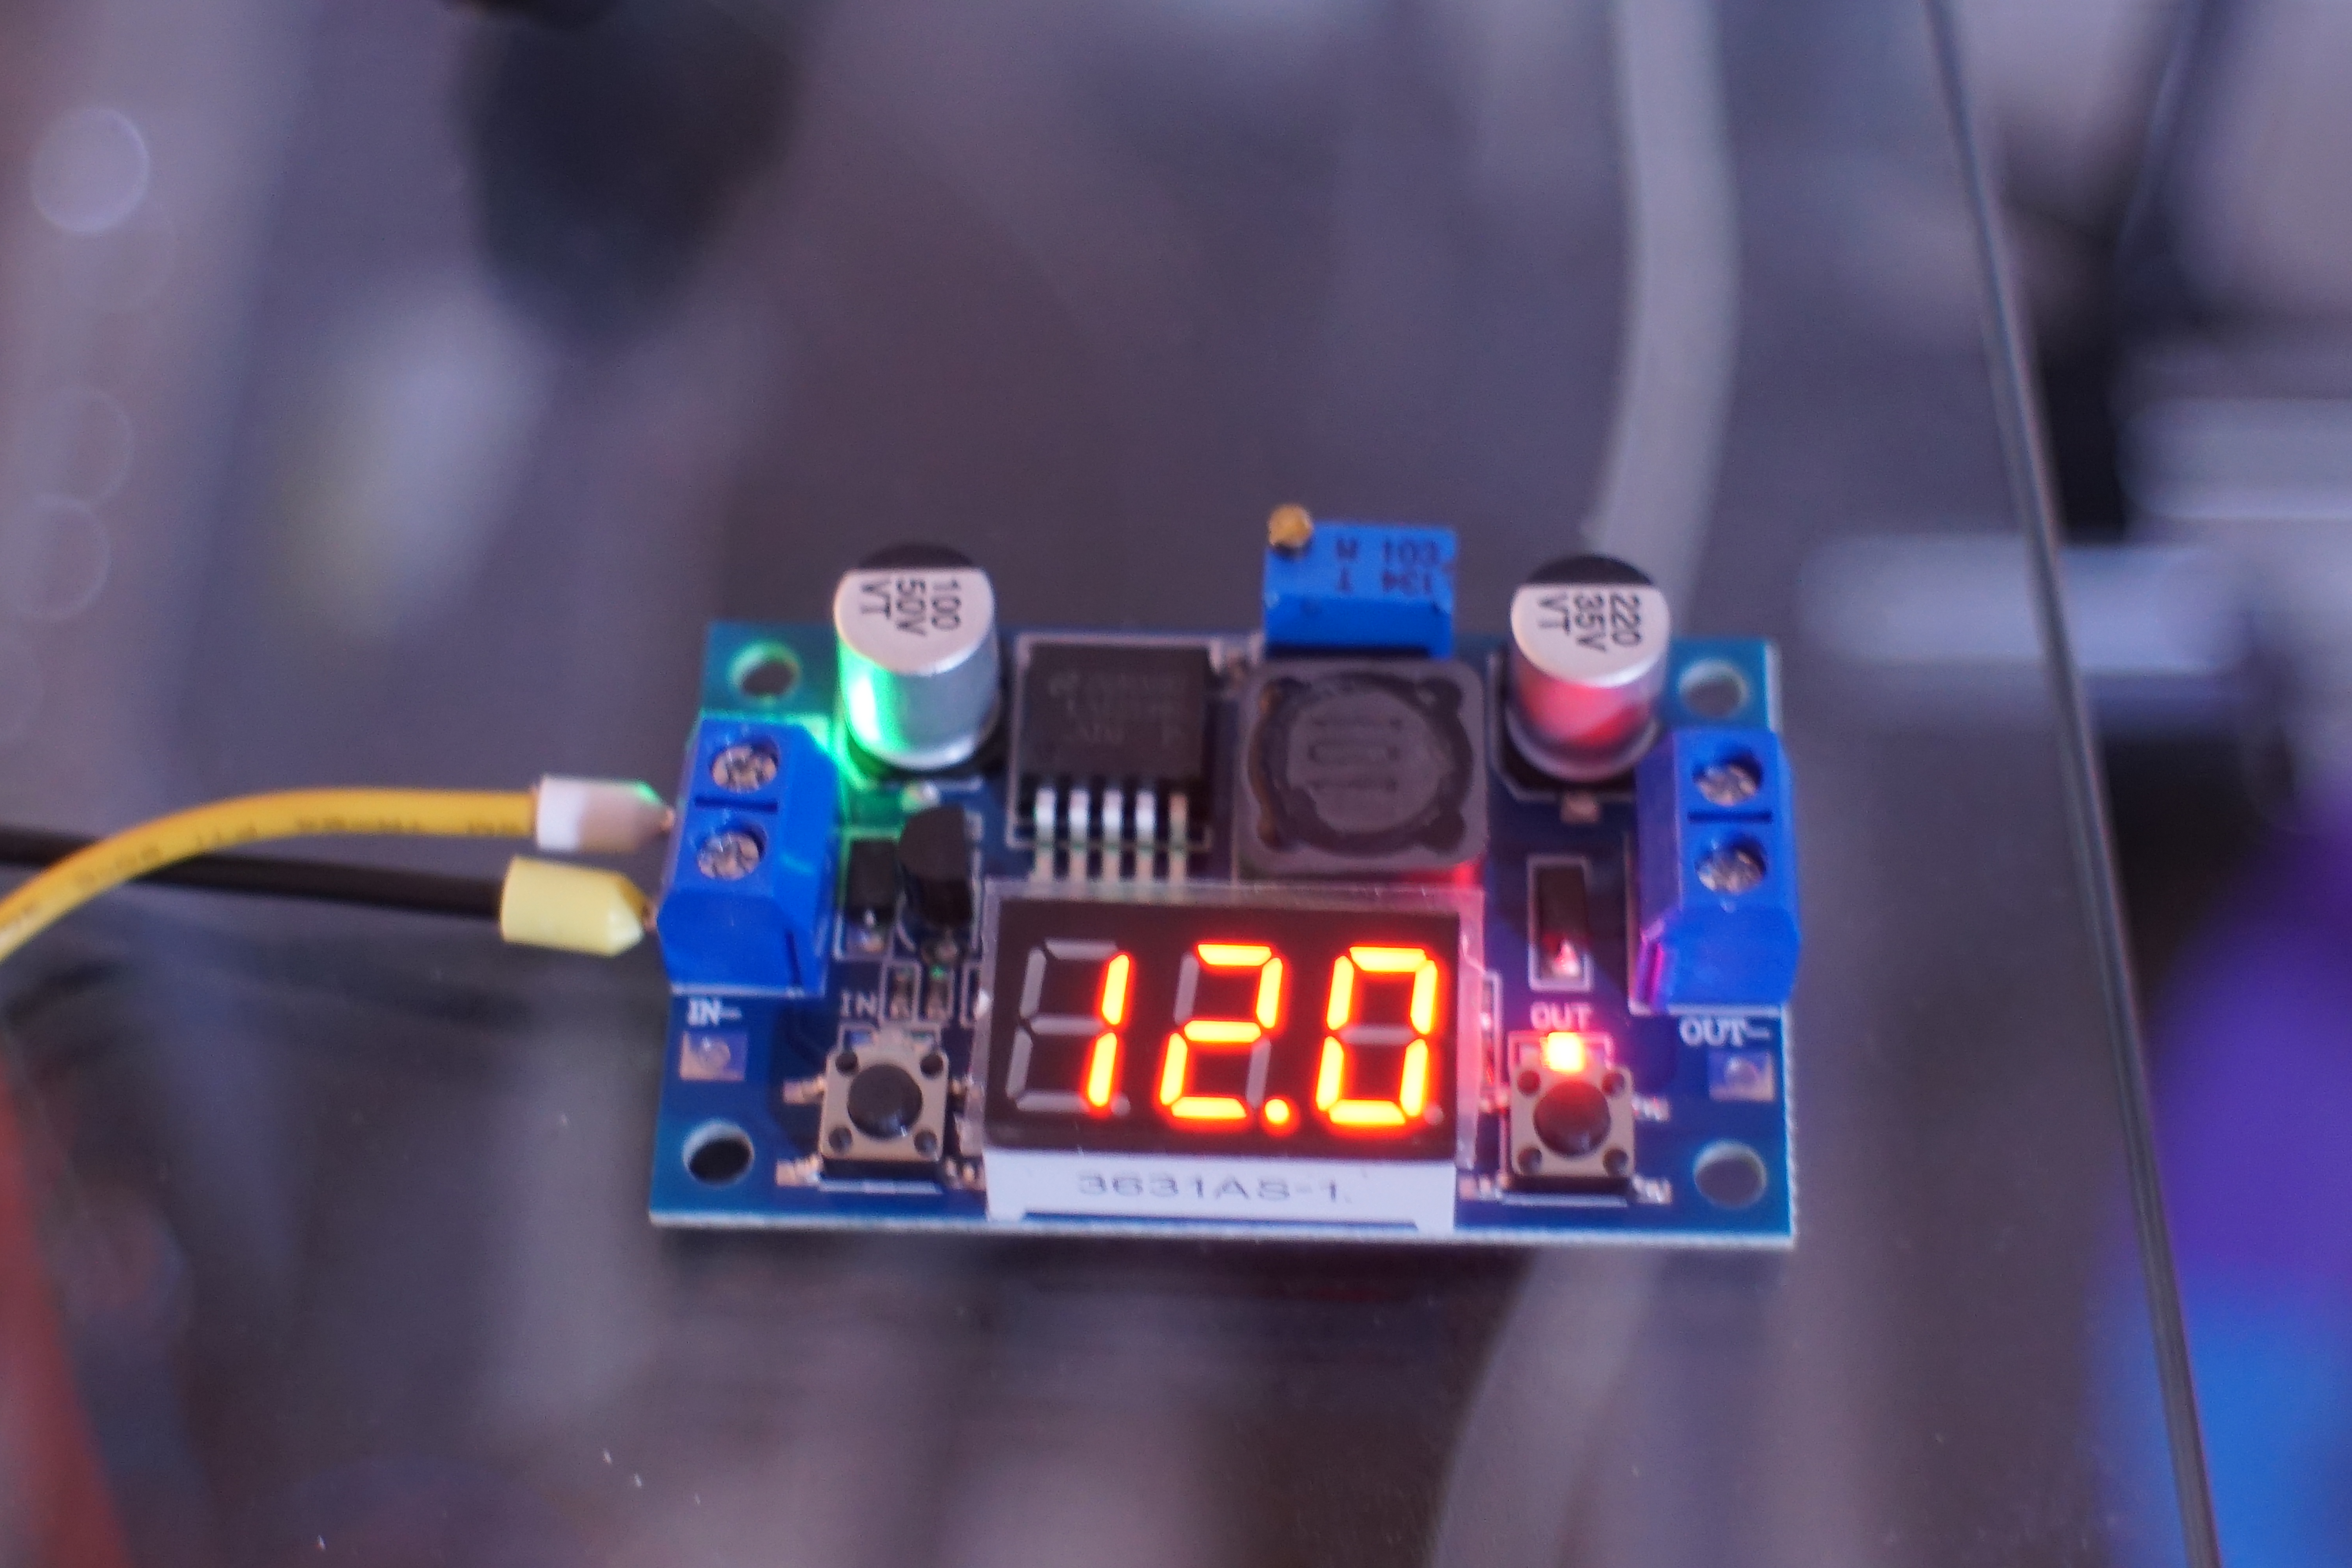
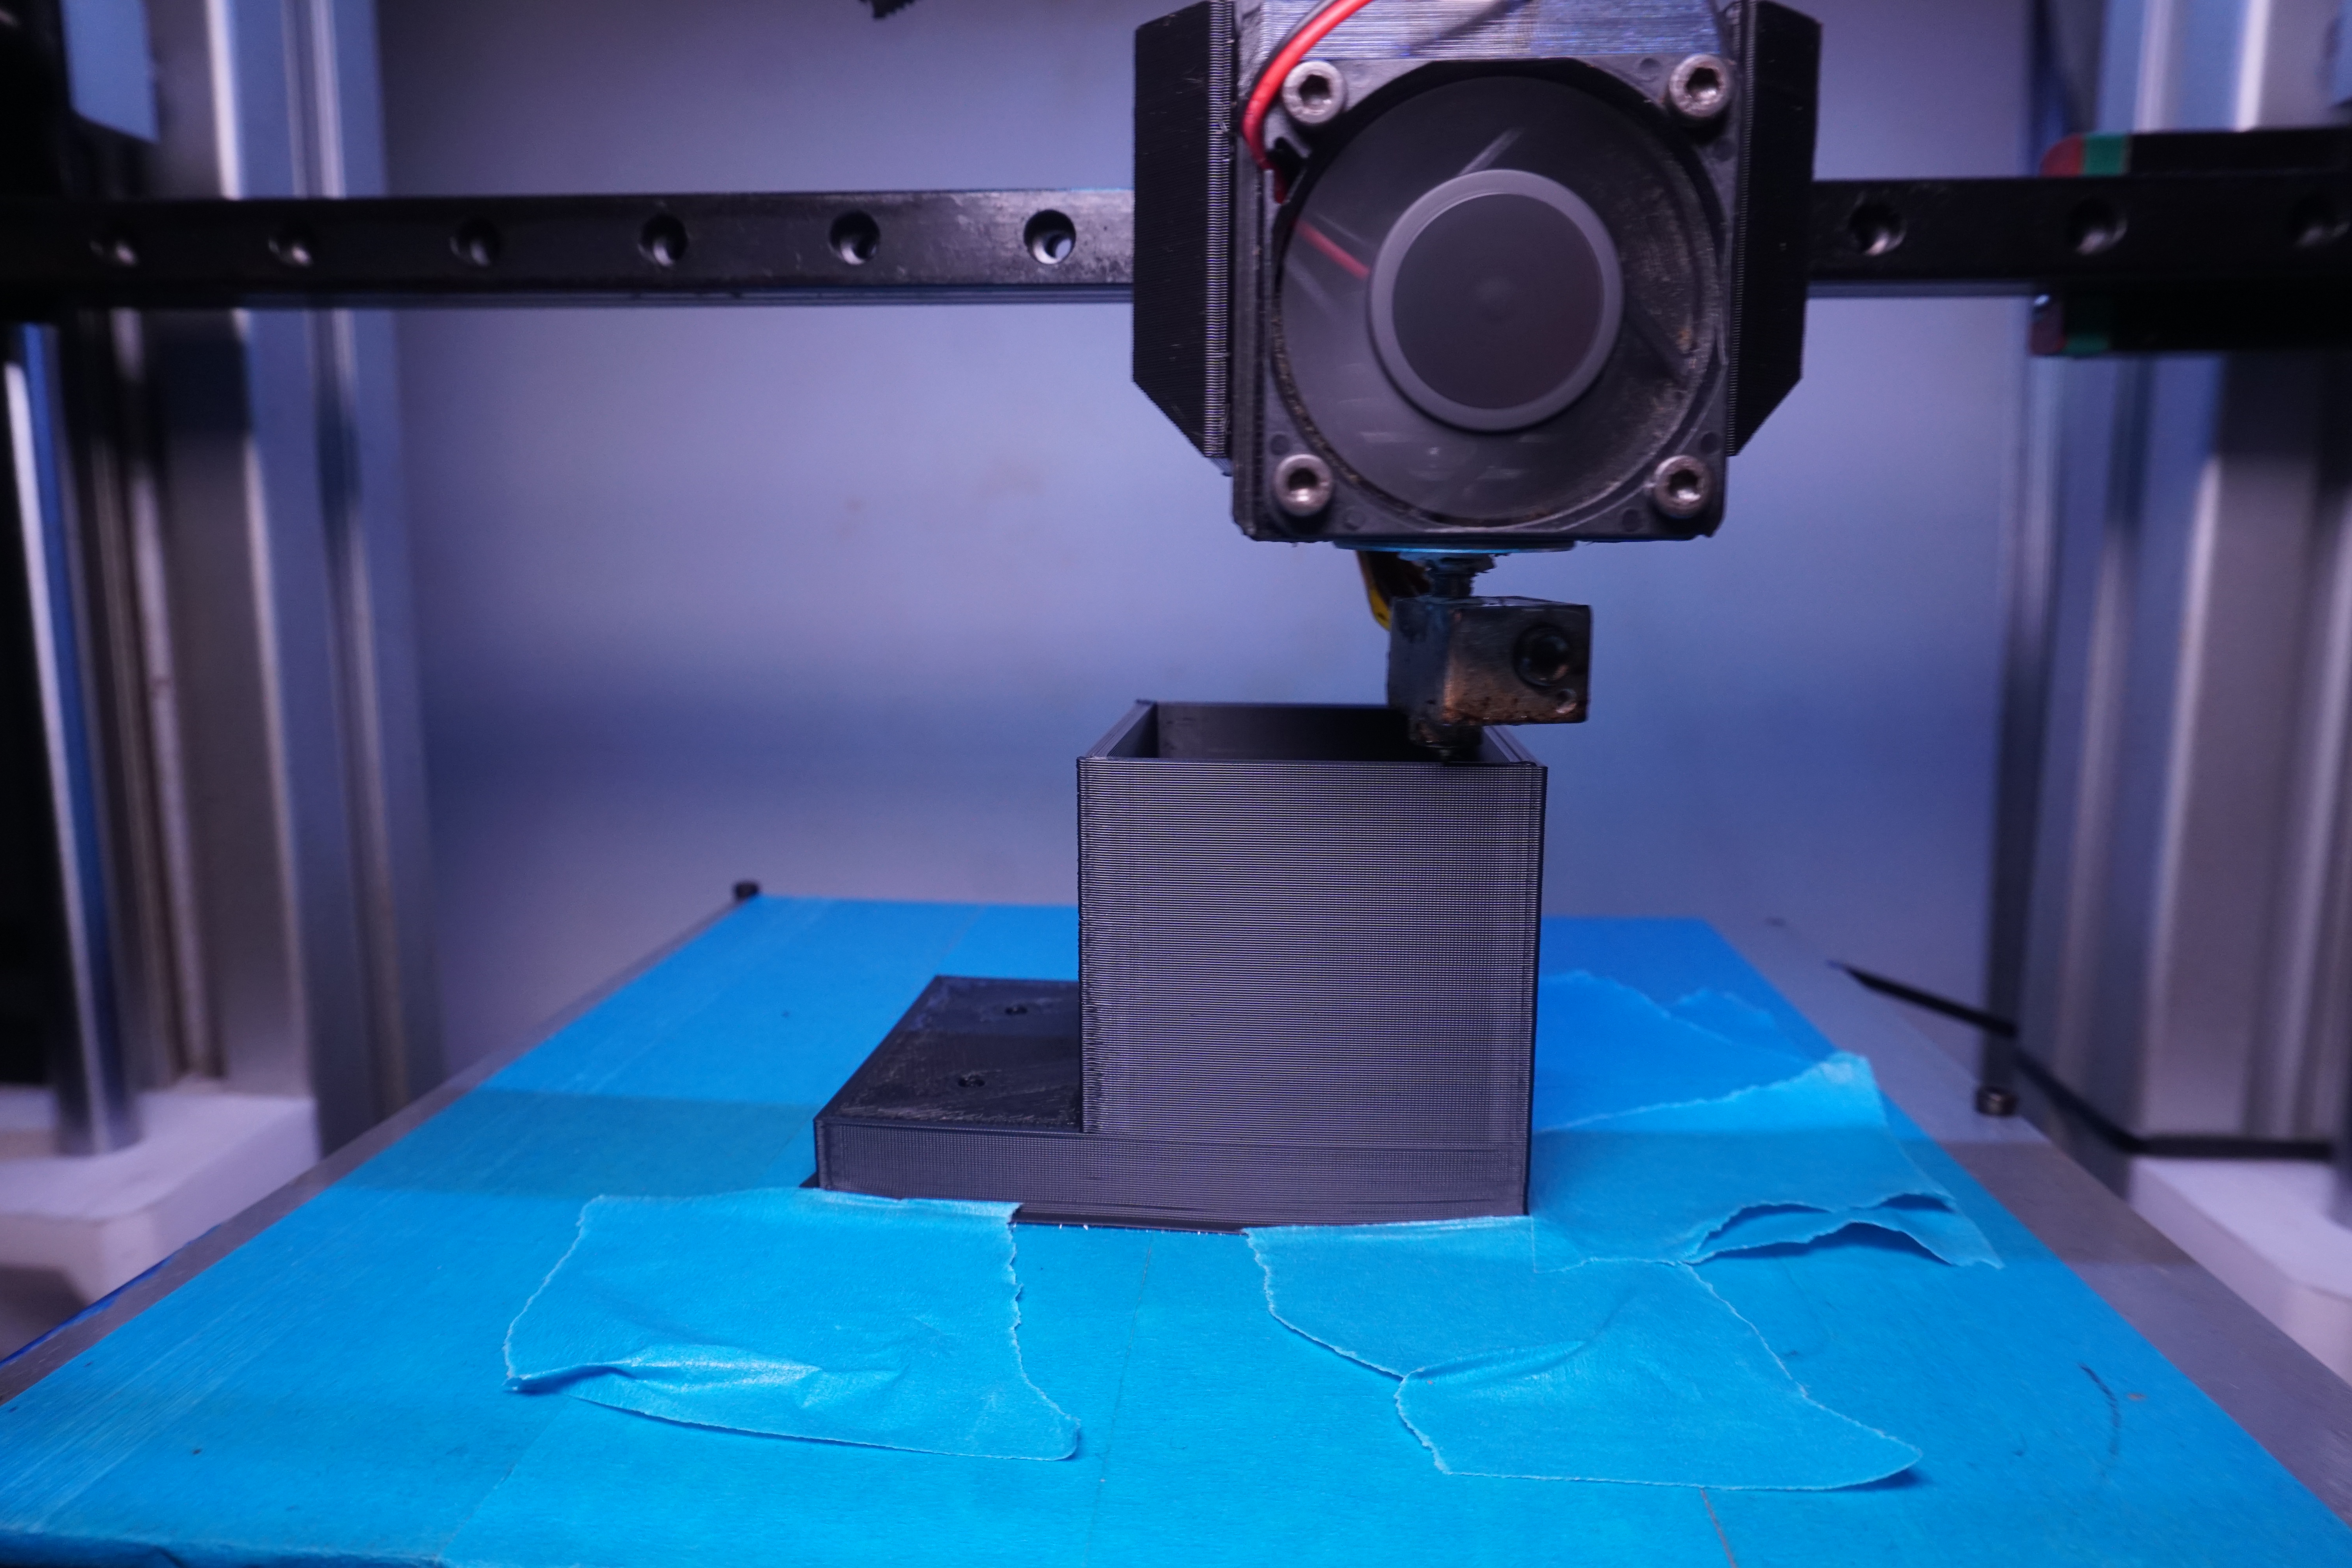
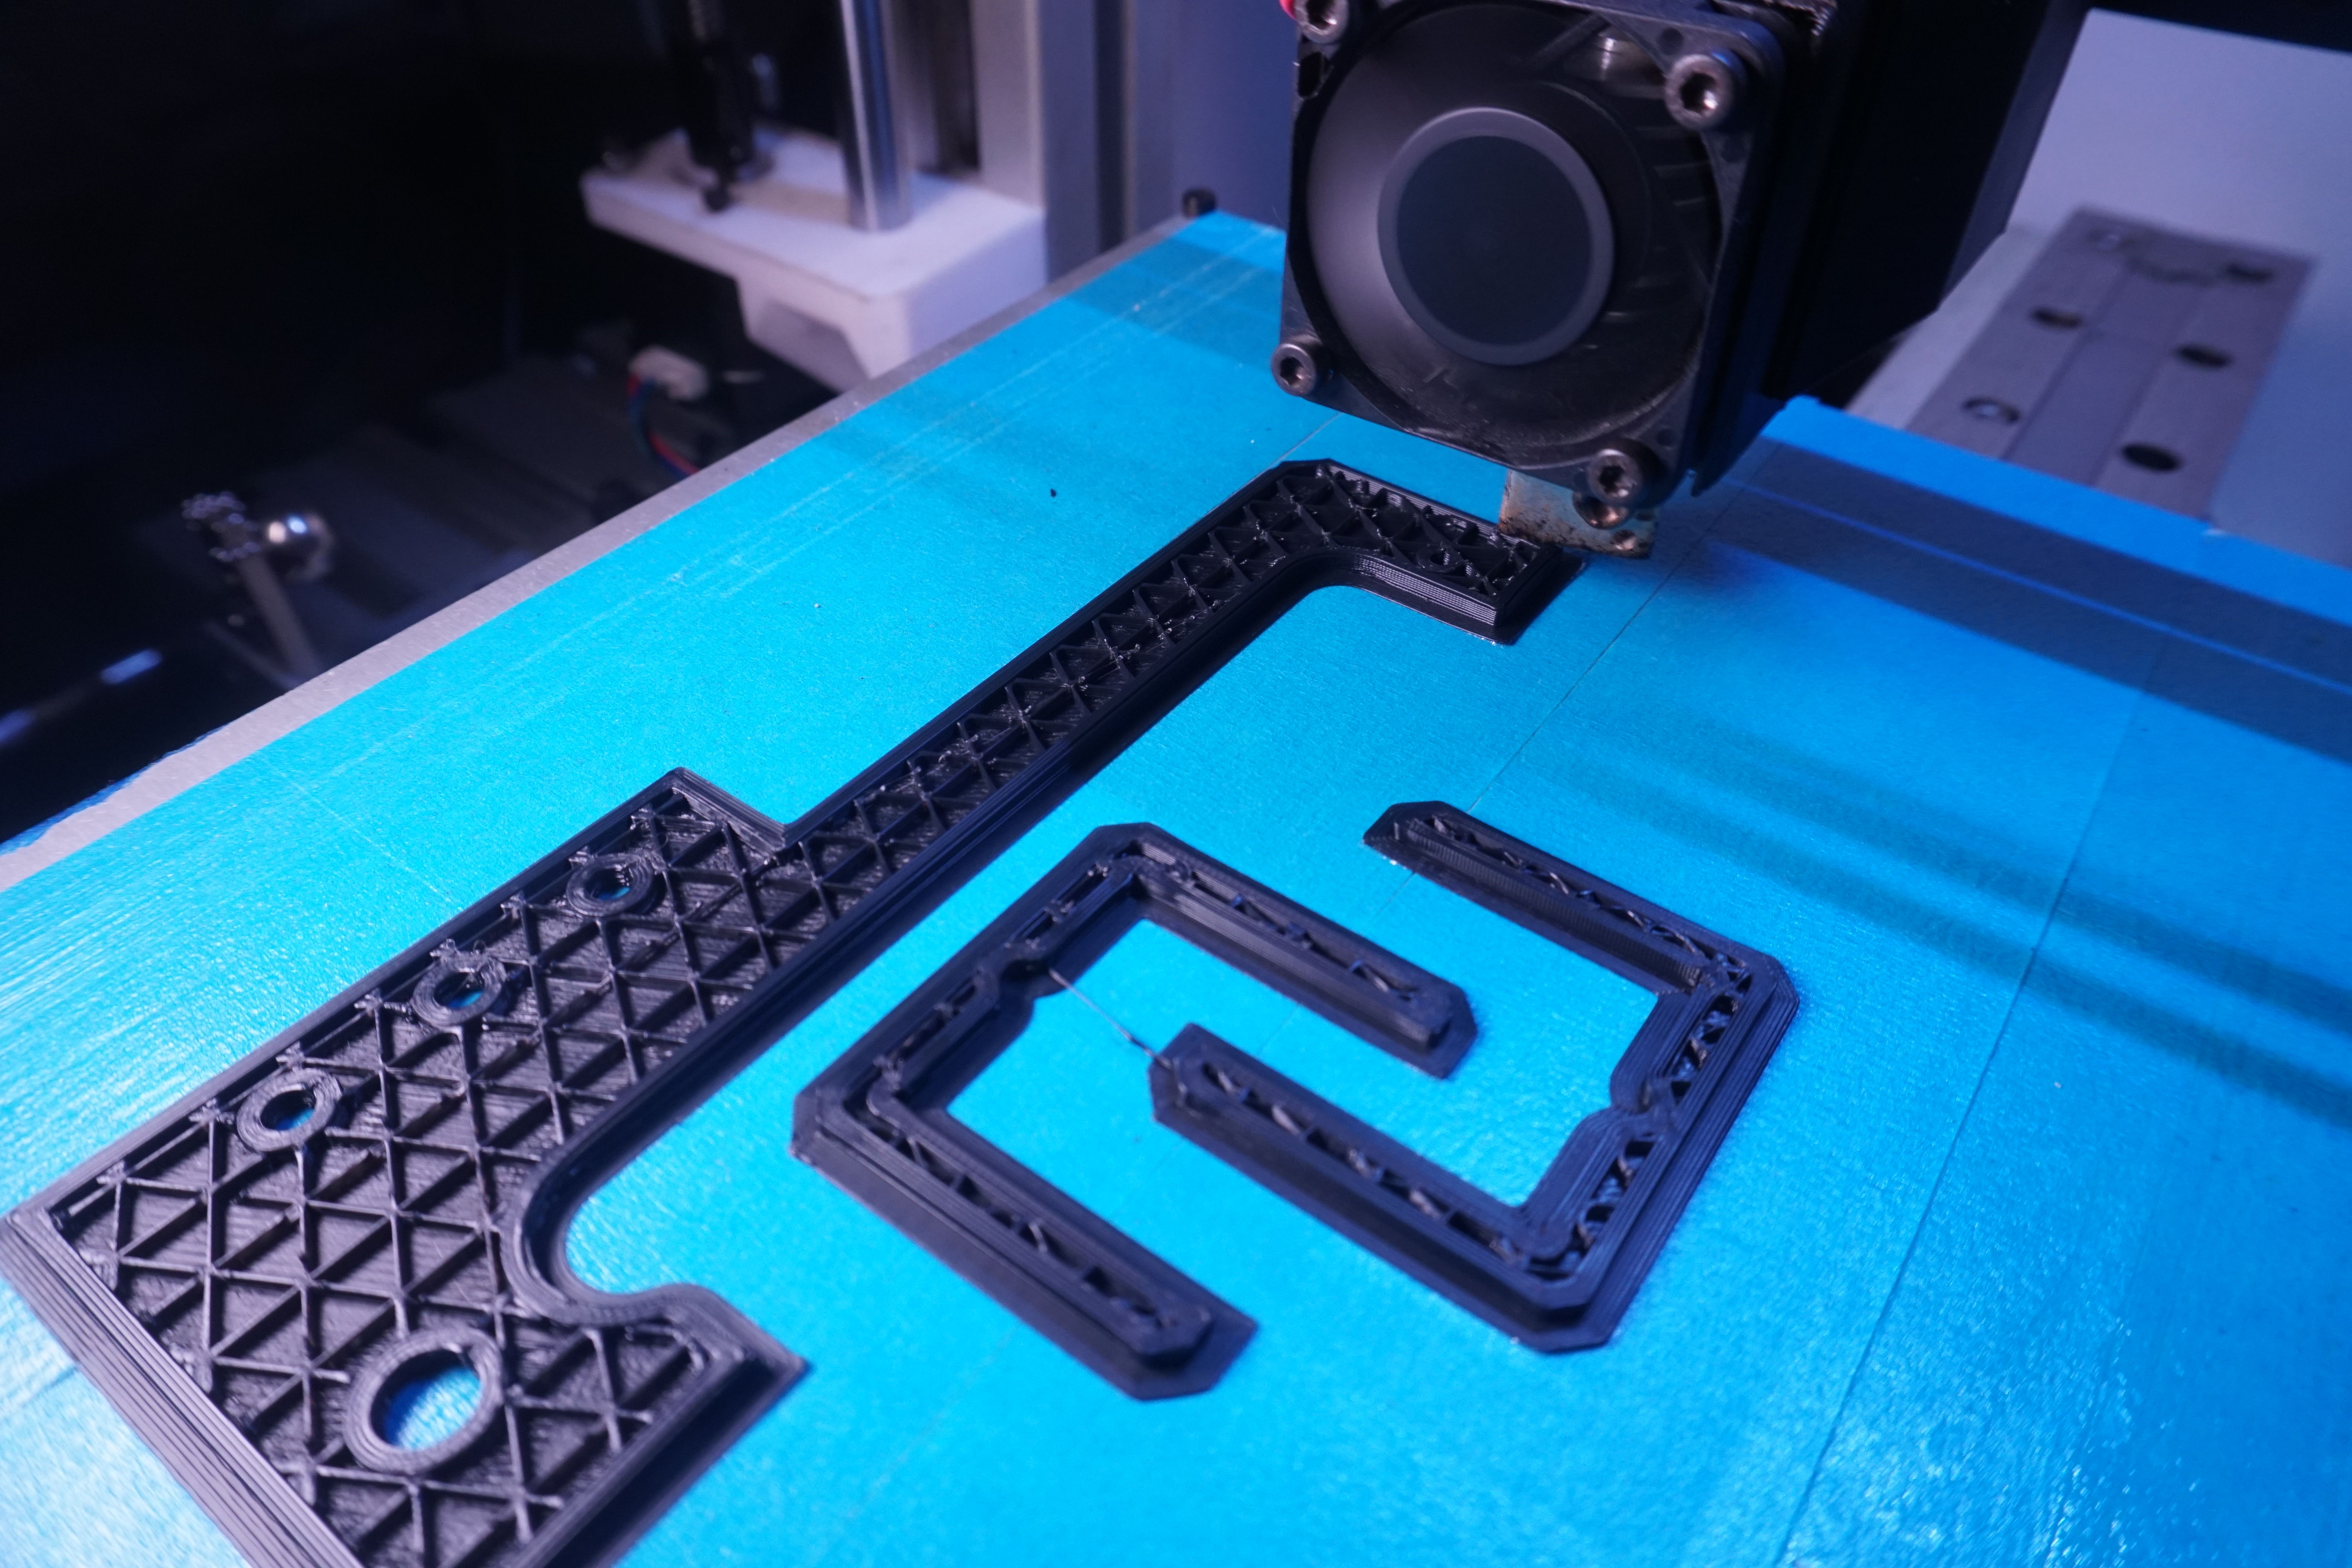
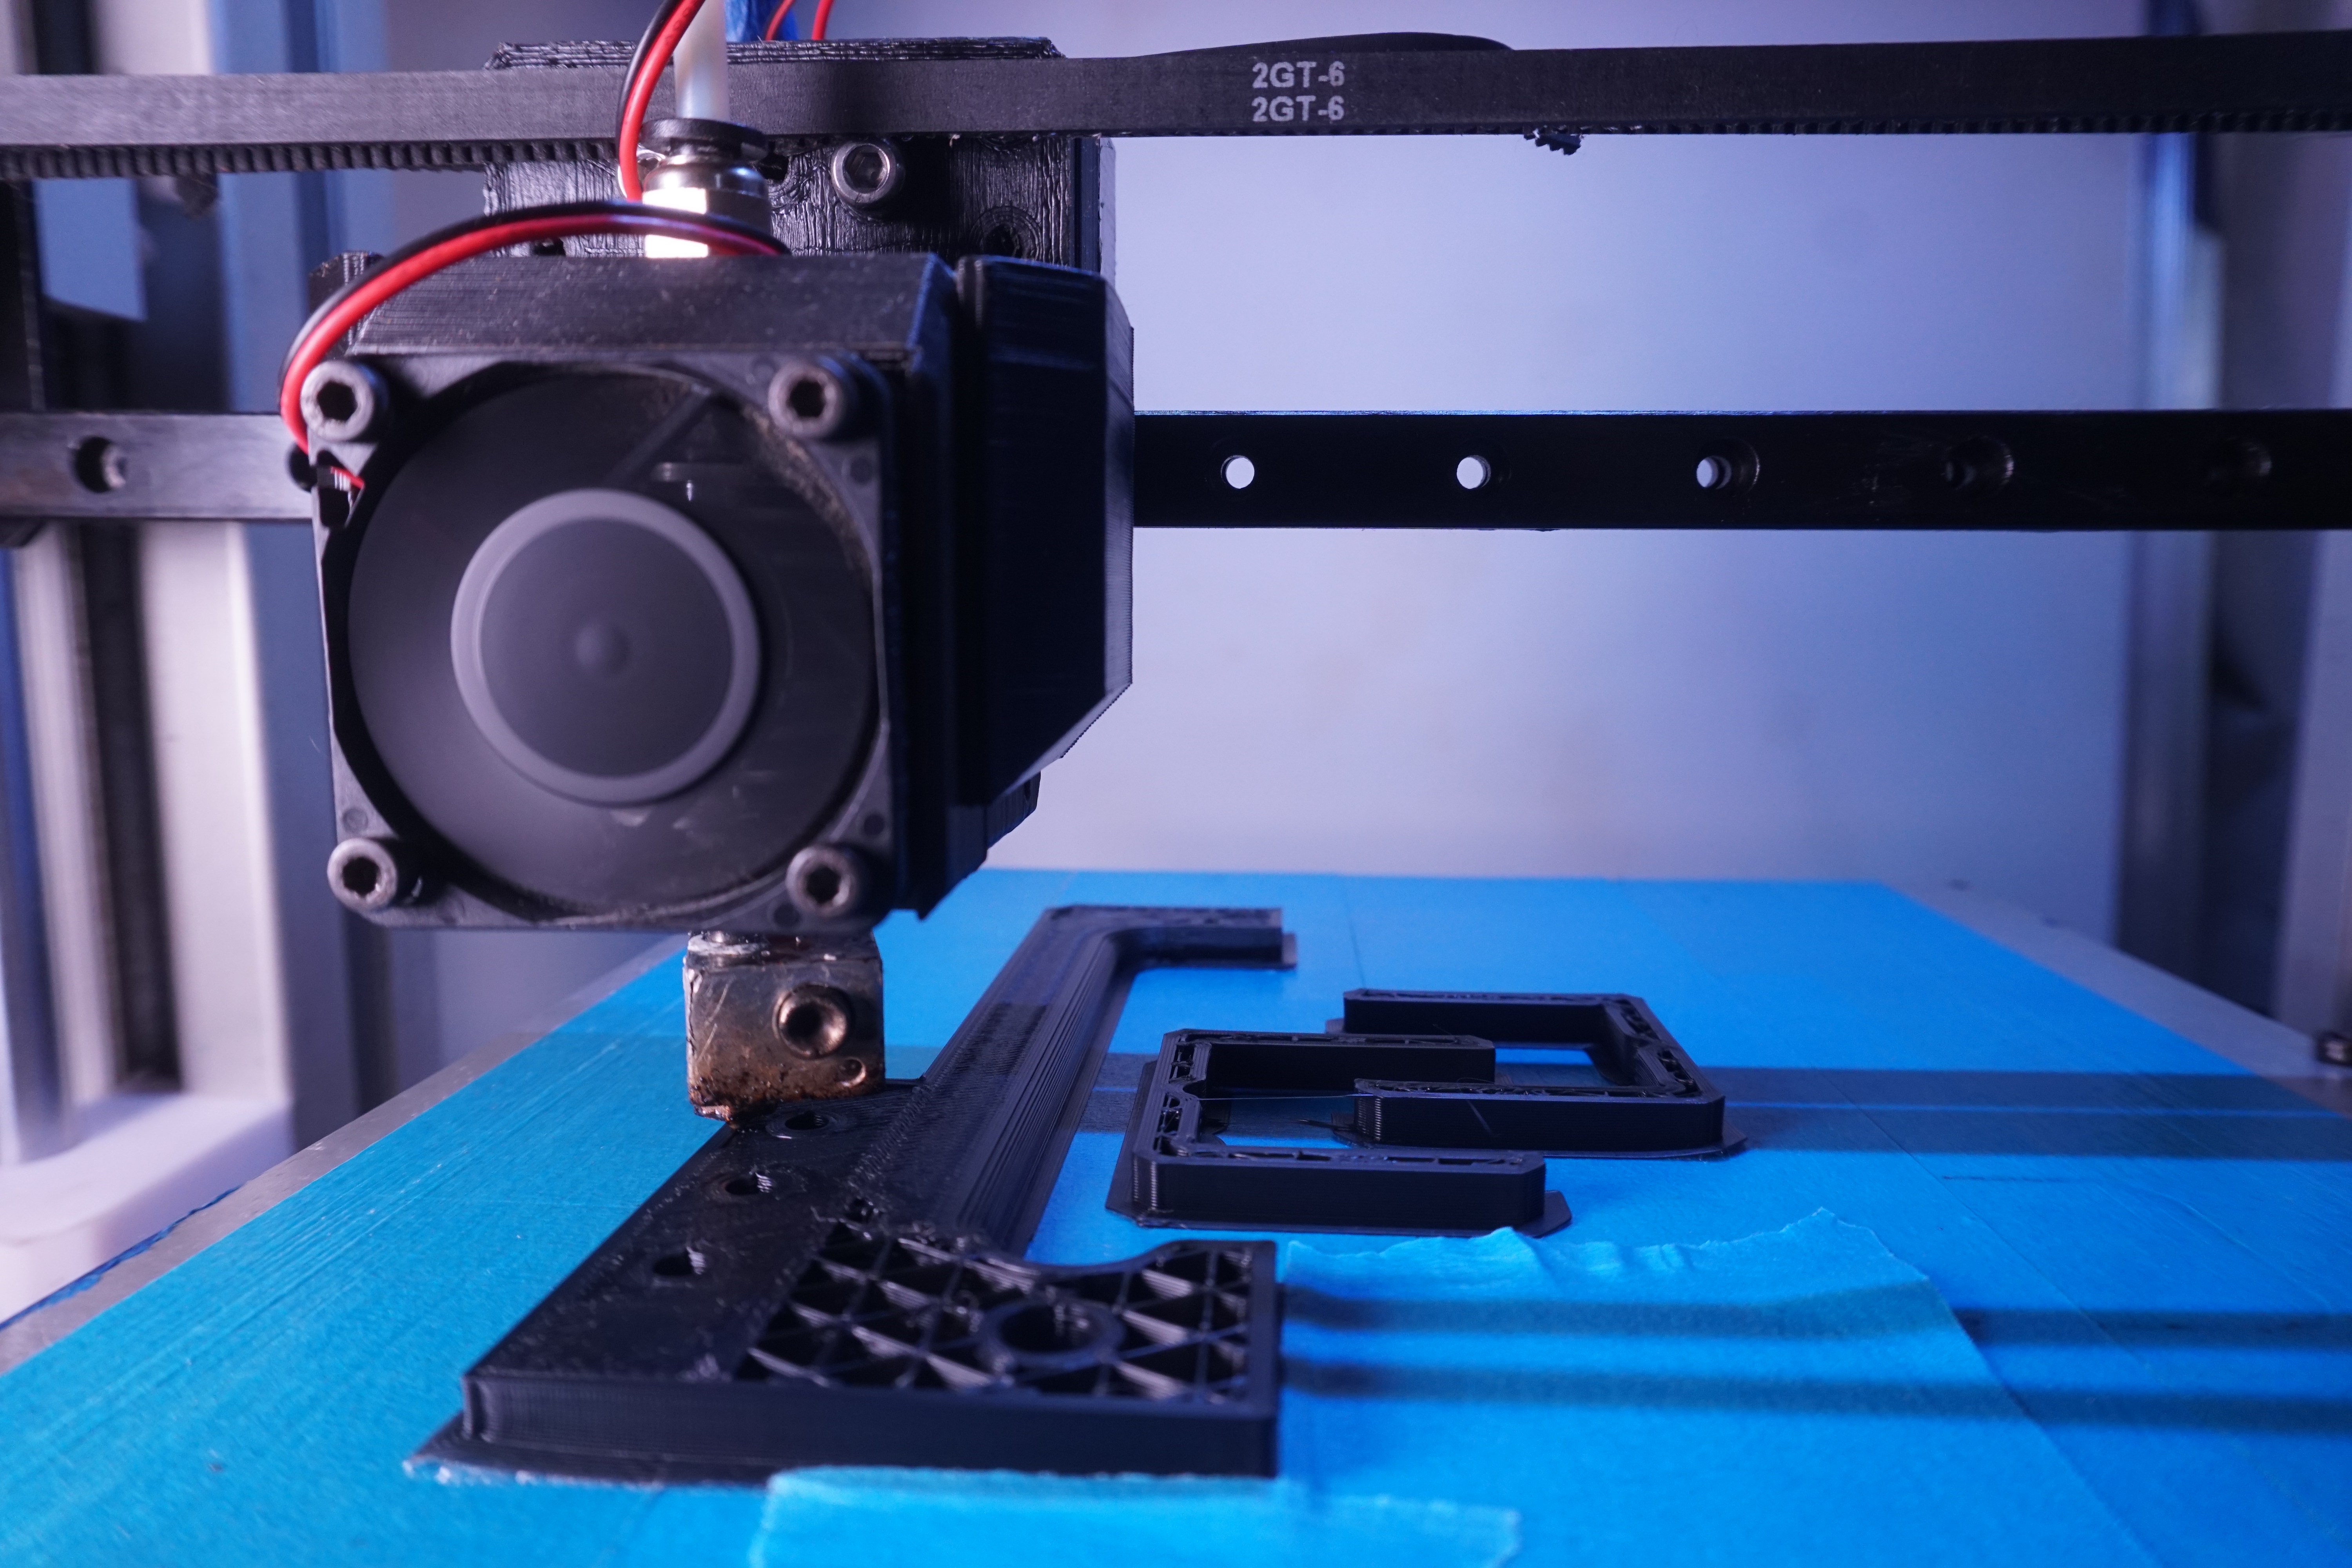
Thought I'd reprint the lid, lighter settings but I knew adding the chamfer would increase the chance of a warp but I managed to de-warp it, moved the bed bearing into the dead space so I can go a little lower, but not really a lot of Z in this maybe 250 max, moved the PSU to be more central inline with bed risers helped to neaten cables, holding back on a panel/PSU box, as a one piece solution would be really tall, or in plan, i'd need about 380mm, so it would be a few large parts, I'm not sure I can be bothered with the whole thing, just need the connector end covering & nice place to plug in...pity I dont have a few glowing switches to add to a panel, but I need a plate to mount the buck converter & maybe the SSR/Mosfet.
decided to wire up the extruder stepper & got lucky first time with wire order, and also found a use for the single stepper driver thing I bought, testing each of the steppers where all ok, Z seemed to struggle though in one direction, the driver is running off a 5v battery supply, but made me wonder about Y axis gearing, & maybe I've made the 100oz stepper less powerful or more?
also have a little round nema I could use seems heavier & better made than the one in use but very short shaft. At some point the carriage will be reprinted as one part rather than the 3 plus 2 metal parts to 1+1.
Tune in Next Year when the SKR finally gets configurized.
|
Re: MechaBits KraftWerk'r May 03, 2021 05:20AM |
Registered: 12 years ago Posts: 1,450 |

|
Re: MechaBits KraftWerk'r May 03, 2021 10:49AM |
Registered: 8 years ago Posts: 1,671 |
Perhaps, unless I do a Special Installment, ie How to BLOW UP an SKR! I think that might be more popular, maybe a NetFlix Screening?
I dropped a pre configured bin on the SD, it kinda seemed to like it...but computa say's dunno what your talkin about pal.... can't see anything down the long or the short USB cable.
I dropped a pre configured bin on the SD, it kinda seemed to like it...but computa say's dunno what your talkin about pal.... can't see anything down the long or the short USB cable.
|
Re: MechaBits KraftWerk'r May 04, 2021 01:41PM |
Registered: 8 years ago Posts: 1,671 |


|
Re: MechaBits KraftWerk'r May 05, 2021 08:12AM |
Registered: 8 years ago Posts: 1,671 |

While wondering about the size of cast plate, say 310x360 I realized my current 3 points where based on the 200mm side Z 3030 profiles and the 3 points would be inside heatmat area, not an issue with the piece of wood I had (if heatmat was going ontop)but something that needed a little alteration if I want to fit a heater under an alu plate. Lucky I had 2x300mm pieces not in use. So swapped them over, pretty quick & painless, this time i decided to make sure each side was same height by propping them up with the profile I removed. Not sure on heatmat 24v or mains, ideally the 24v to work with the mosfet I have & the PSU, but I also like the idea of a seperate mains bed that you could set temp from its own controller but some of those PID controllers cost a lot more than another pro 32 bit board...so does it make any sense.
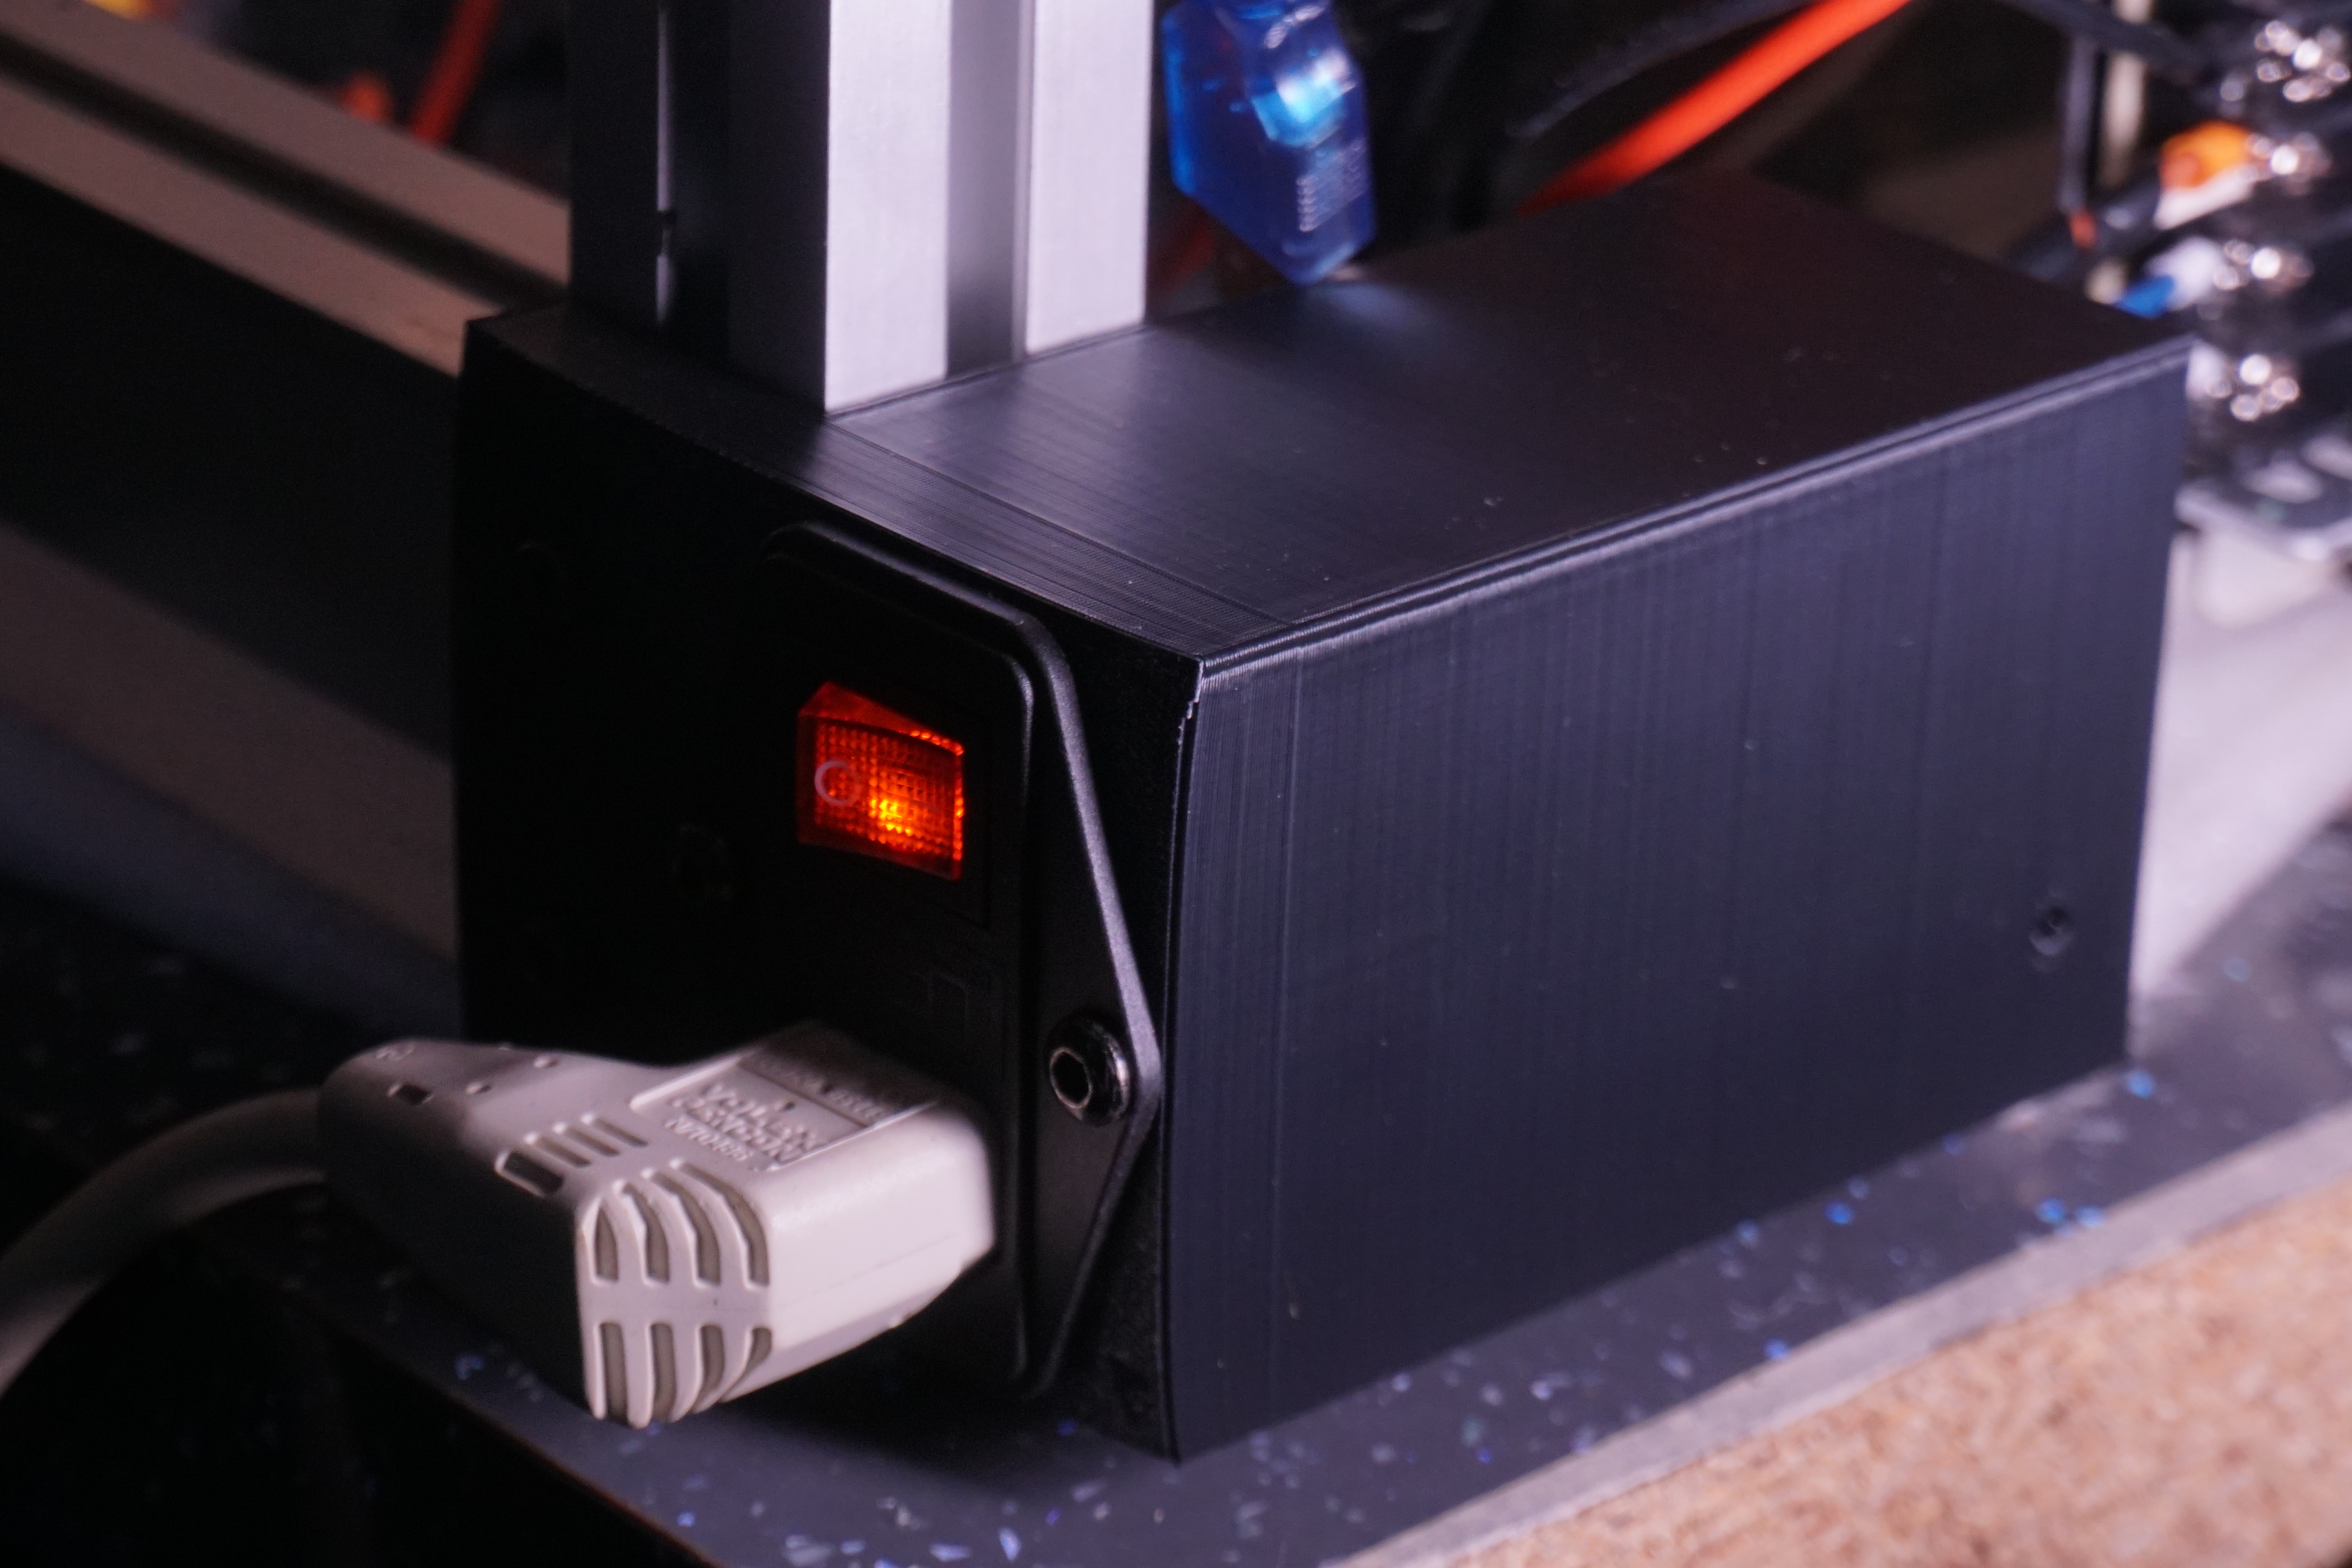
Relocated the control box with a little mount so its more flush, & improve wire routing, but I know at some stage i'd prefer the control side hidden with the mirrors & order some one way film for the front, but for that to happen the mirrors need cutting to size.
Edited 2 time(s). Last edit at 05/06/2021 03:26PM by MechaBits.
|
Re: MechaBits KraftWerk'r August 25, 2021 09:04PM |
Registered: 8 years ago Posts: 1,671 |
For the Child in Everyone
[www.mecabricks.com]
[www.youtube.com]
Edited 1 time(s). Last edit at 08/25/2021 09:43PM by MechaBits.

[www.mecabricks.com]
[www.youtube.com]
Edited 1 time(s). Last edit at 08/25/2021 09:43PM by MechaBits.
|
Re: MechaBits KraftWerk'r December 15, 2021 06:27AM |
Registered: 8 years ago Posts: 1,671 |


I thought the 3D Printer might see more use in lockdown, but there wasnt much I wanted to build & the world doesnt need much of what gets produced, & there was nothing I needed, so the printer sat there for at least a year with the roll exposed. Then something crops up you think you need...
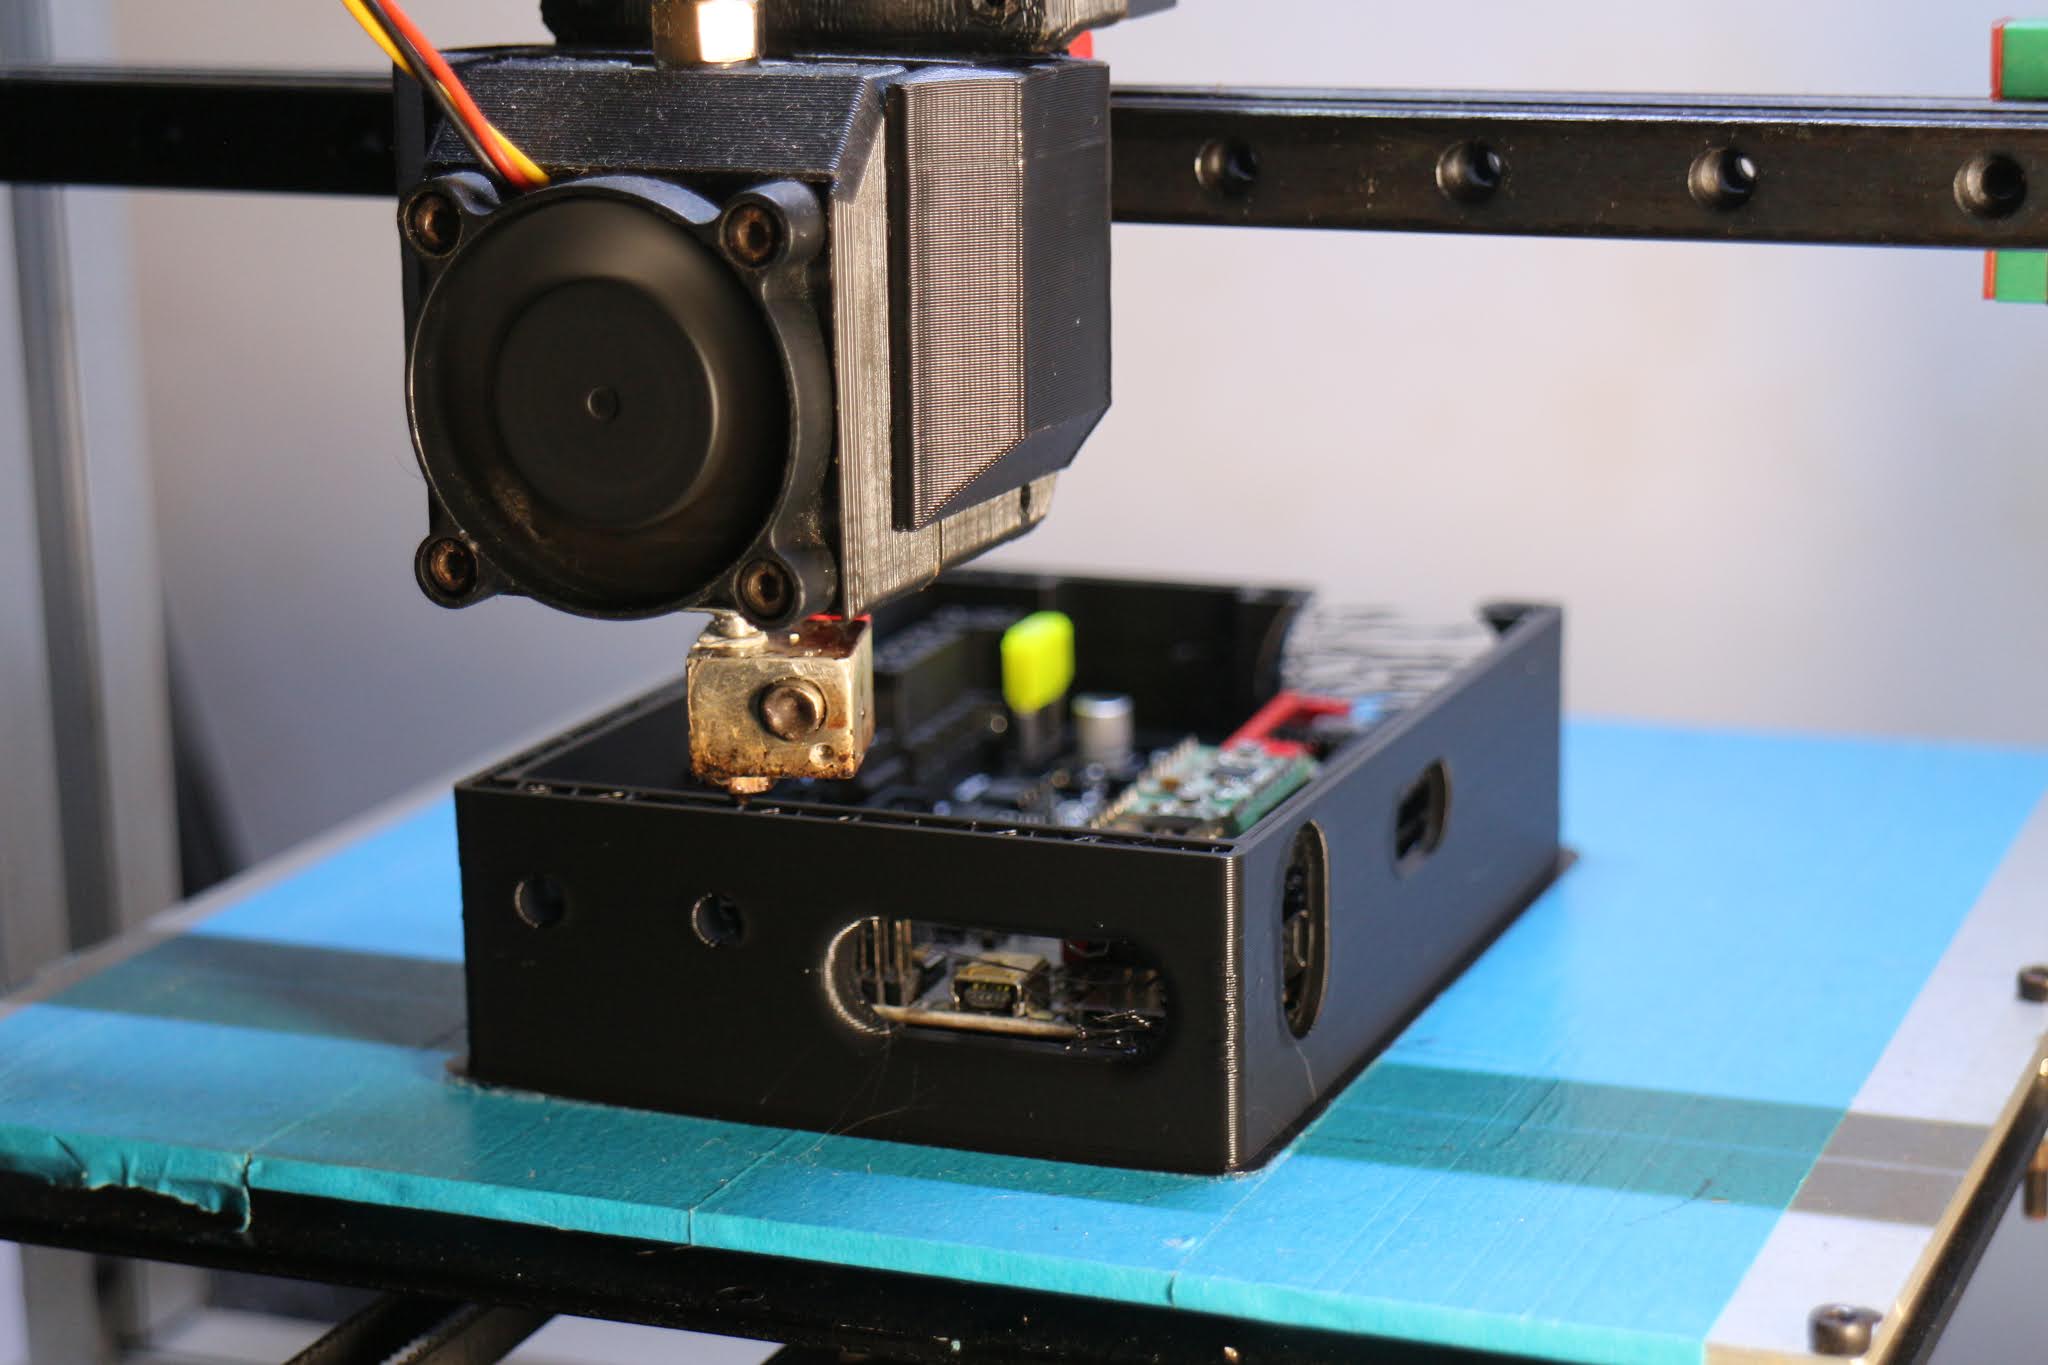
I wanted to use these old couch legs to raise the base of the printer(though I wasnt too sure i'd want to keep it this way), allowing me some extra space to put the gubbins, but the bolts running through where longer than needed. Now I thought for a while about a bracket for the psu & a new ramps enclosure, but figuring out a metal alternative, saves a load of time printing. If only I thought sooner about getting the hacksaw out for the leg bolts, it might have been another year before turning it on.
Pulled a few old monitor to bits and found a few interesting sheets of material & perspex...and what look like 3 pieces of sorbothane, seems to do the job would be even better on a paving slab, all the legs where slightly different so 4 legs was impossible & I only had 3 pieces of the stuff,


Re arranged the Ramps instead of printing another box...for now...while I mull over final placement either on back of right hand column or under the base, a box with enough room for the smoothers is quite a big box,
So thats enough excitement & waste plastic for this year
Anyone waiting for the 32bit update, might have to wait a little longer, havent touched that in a year either. I thought the printer would be the start of building bigger & better machines to do more elaborate stuff, larger routers etc...but space, money & actual ideas for things you want to build(more costs & no clients), so much potential, but I wonder how many others are re-evaluting how you want to live out the remaining time of life in the current climate, & with inflation all around I'm wondering the cost of a build these days, some crazy prices on the web...
Building the Dream will have to be virtual from now on. If only I could get my hands on a threadripper & rtx card, should be available at a decent price in another 10 yrs.
Edited 1 time(s). Last edit at 12/17/2021 01:50AM by MechaBits.
|
Re: MechaBits KraftWerk'r December 17, 2021 09:36AM |
Registered: 8 years ago Posts: 1,671 |
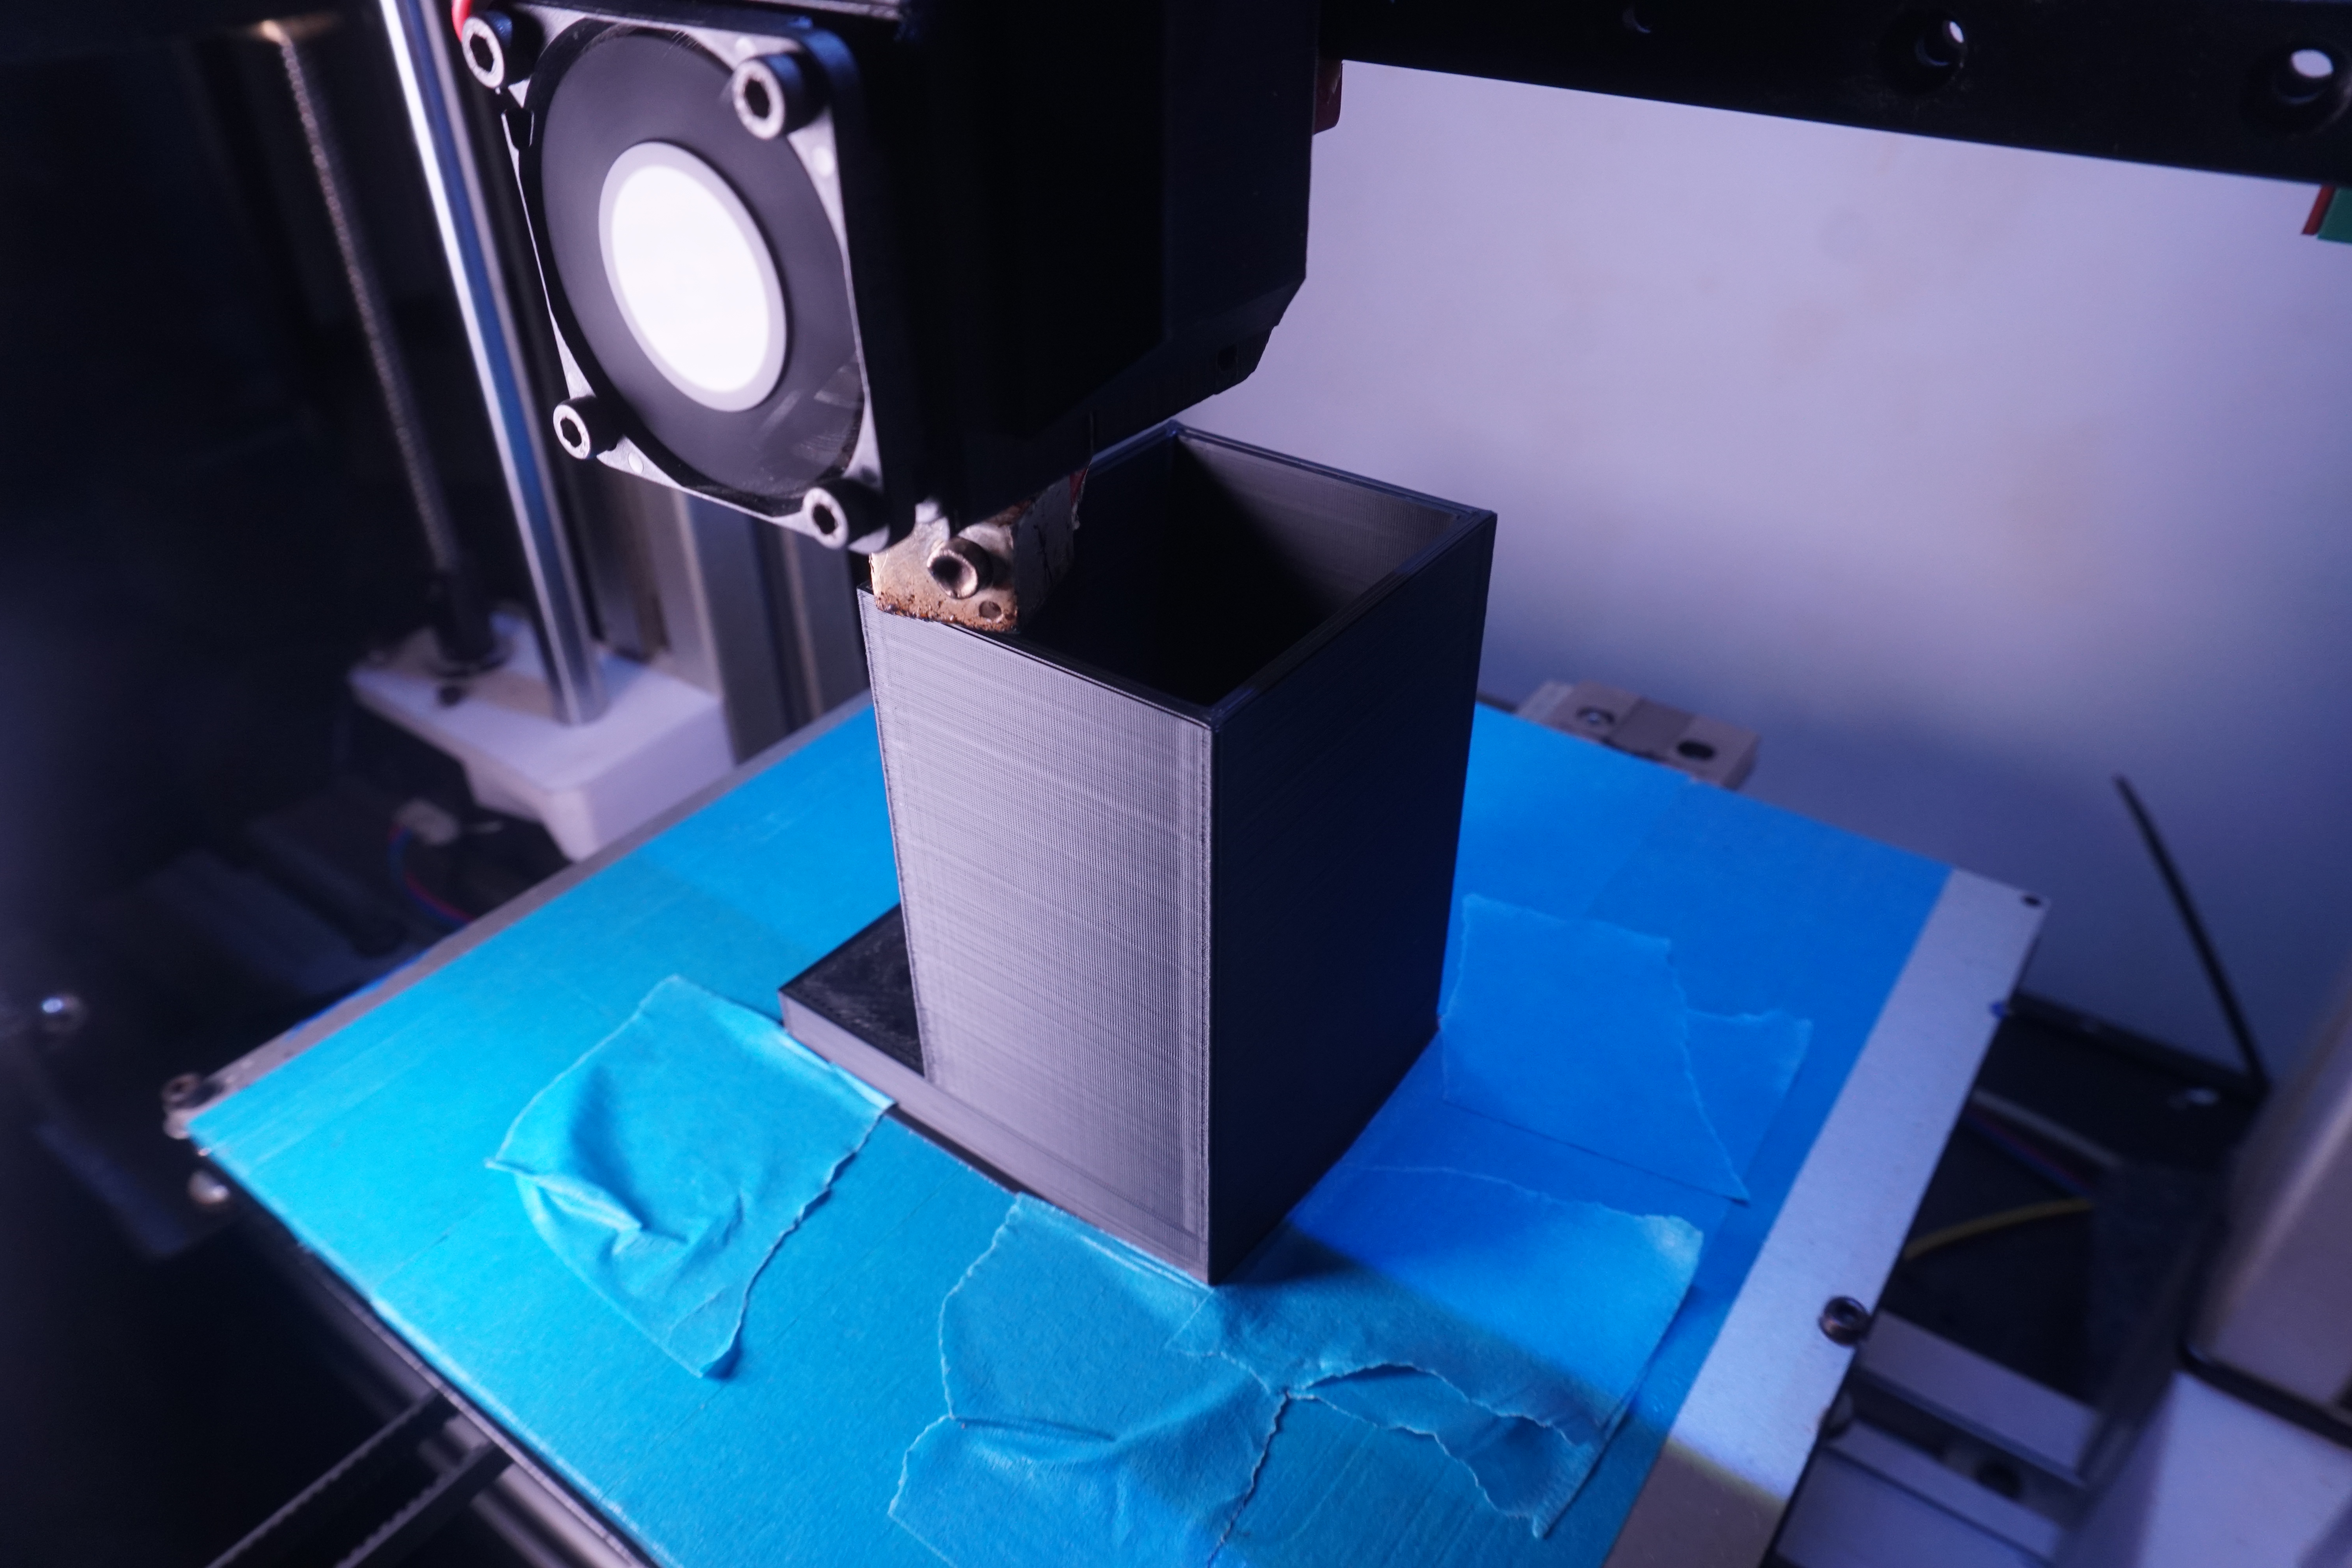
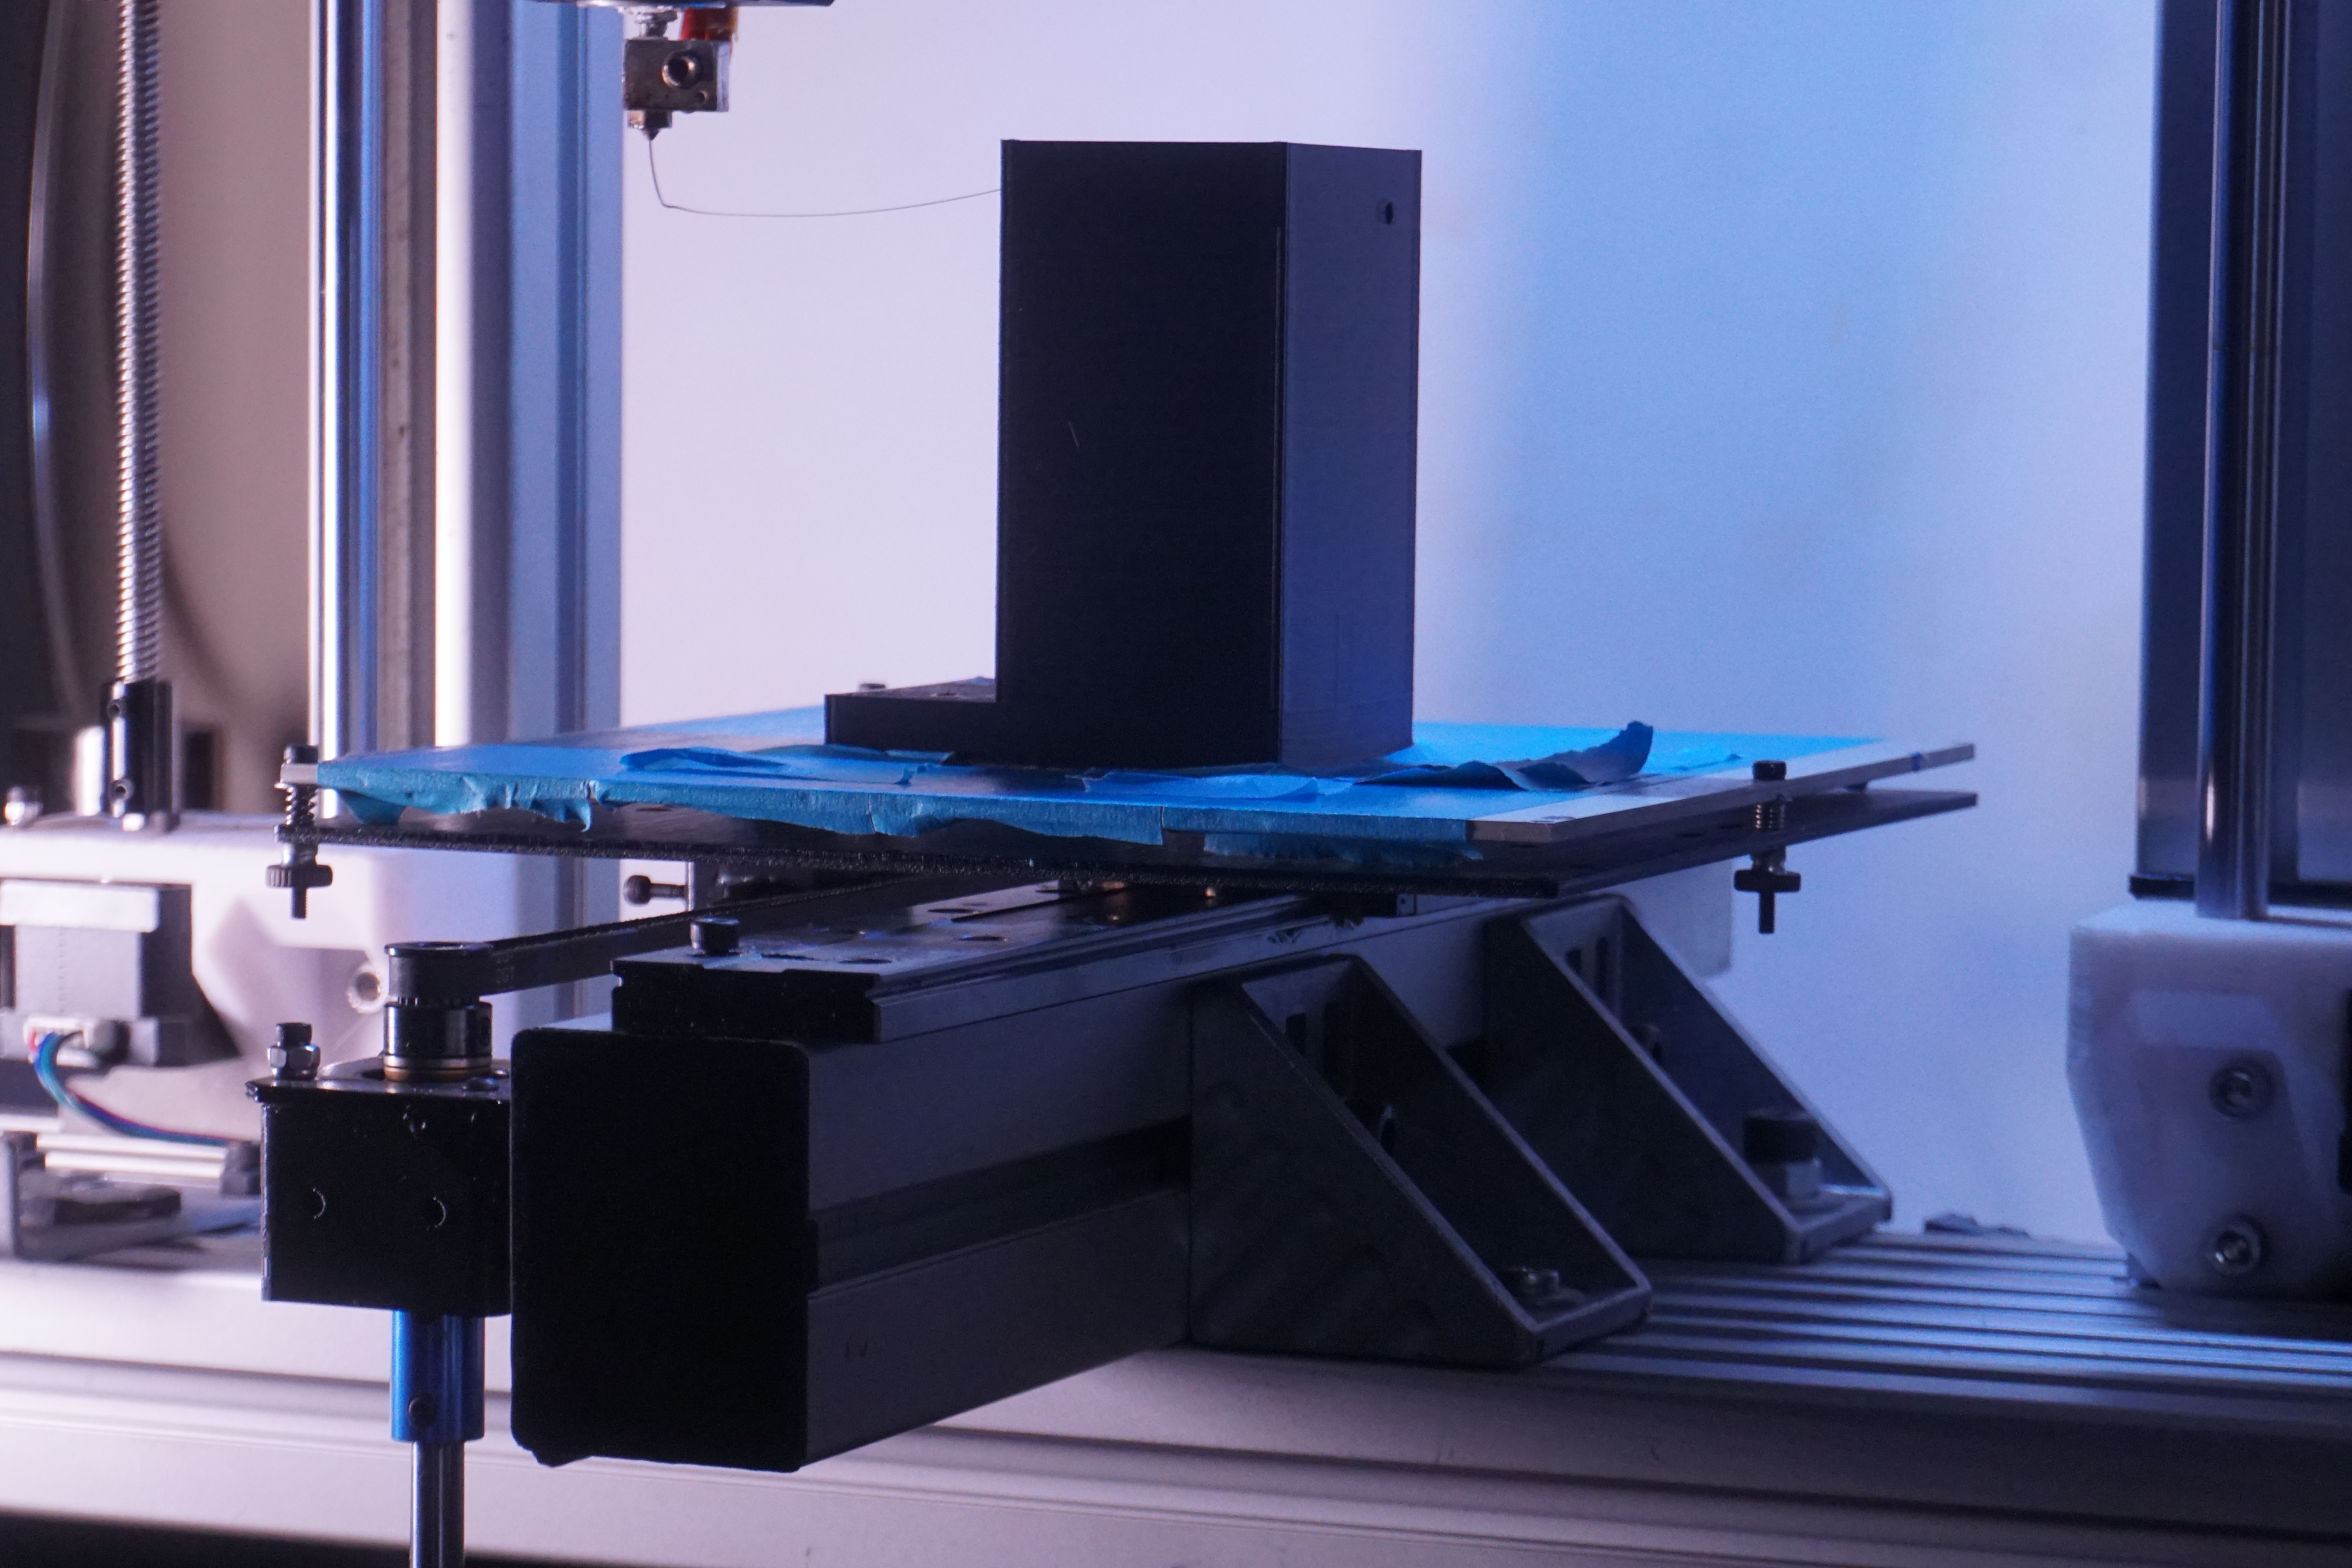
Hooray up she rises...


Wondering if the crack is going to be a problem....could be I never normally print 3 perim, usually 4, so this could be a much weaker wall, though it only has to sit there and look pretty, previous cases tested out different idea's for doors & lids, but I decided I wanted a one piece box 80x80 to match the fan for lid, sure a 40mm on the side would be plenty, but wanted a big black obelisk, hopefully enough space for the smoothers to save printing a second box.
To save printing material I was tempted to print something like a chinese lantern, with just a base & lid & some translucent material from the LCD screen rolled into a tube but i'm out of superglue so the obelisk won.
A few hours later I was wishing I went with the lantern idea, the print started to crawl...click click click, goes the extruder, had been doing it for quite a while before I had to abort, Z seemed stuck.
I checked build height in SW but it was fine so now i'm thinking maybe the firmware has a different height.
So had to print a lid after all.


Edited 2 time(s). Last edit at 12/18/2021 03:05PM by MechaBits.
Wondering if the crack is going to be a problem....could be I never normally print 3 perim, usually 4, so this could be a much weaker wall, though it only has to sit there and look pretty, previous cases tested out different idea's for doors & lids, but I decided I wanted a one piece box 80x80 to match the fan for lid, sure a 40mm on the side would be plenty, but wanted a big black obelisk, hopefully enough space for the smoothers to save printing a second box.
To save printing material I was tempted to print something like a chinese lantern, with just a base & lid & some translucent material from the LCD screen rolled into a tube but i'm out of superglue so the obelisk won.
A few hours later I was wishing I went with the lantern idea, the print started to crawl...click click click, goes the extruder, had been doing it for quite a while before I had to abort, Z seemed stuck.
I checked build height in SW but it was fine so now i'm thinking maybe the firmware has a different height.
So had to print a lid after all.
Edited 2 time(s). Last edit at 12/18/2021 03:05PM by MechaBits.
|
Re: MechaBits KraftWerk'r January 06, 2022 10:38PM |
Registered: 8 years ago Posts: 1,671 |


This has to be the most fun you can have with old 3D Printer Pics


Edited 1 time(s). Last edit at 01/06/2022 11:25PM by MechaBits.

Sorry, only registered users may post in this forum.