Struggles with Fine Tuning Bridging
Posted by Wisar
|
Struggles with Fine Tuning Bridging February 10, 2015 10:40AM |
Registered: 10 years ago Posts: 82 |
I am trying to improve bridging on my Prusa I3 and printing in PLA. My slicer is slic3r, firmware is Marlin, and Pronterface on a Mac is doing the streaming.
I have been following the general advice that if your strings droop, lower the flow rate, if they snap, increase flow rate, if they don't stick to the towers, reduce speed. After quite a few iterations I have landed at the following settings:
Temperature: 175
Cooling: Constant 100%
Bridges Speed: 10
Travel: 100
Accel (Bridges): 100
Bridge Flow Ratio: 85
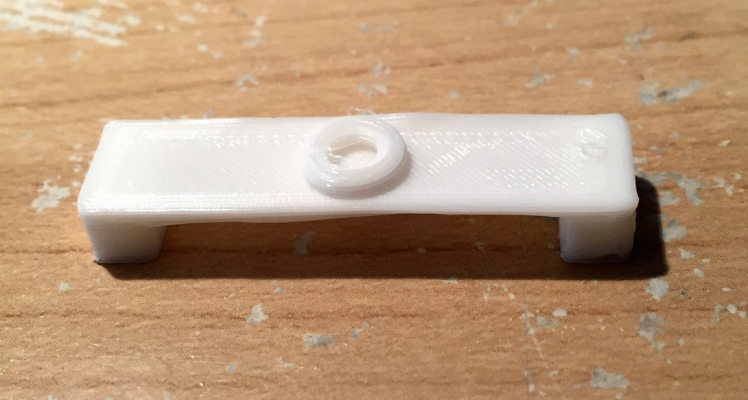
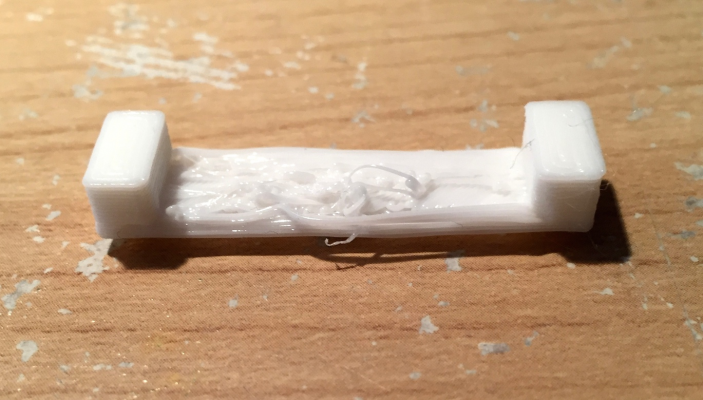
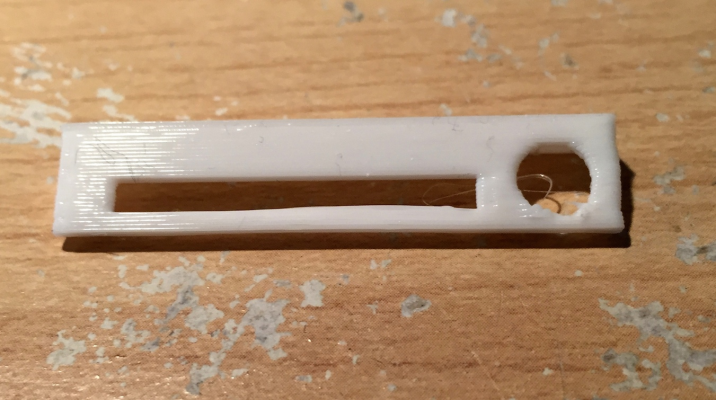
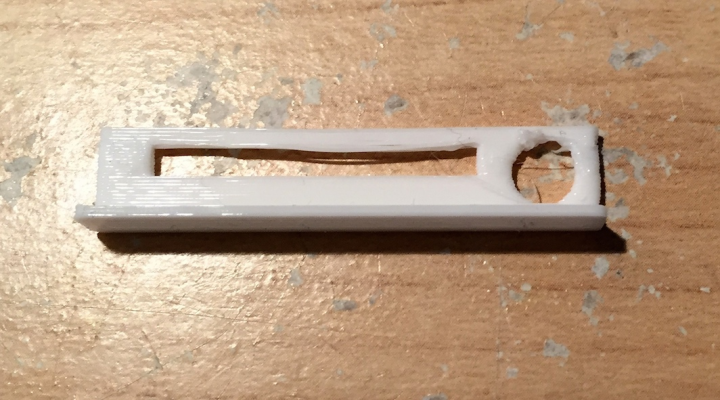
While better my bridges are still not great. The top of the torture test looks ok ( TortureTestTop) but the bottom is a steamy mess (TortureTestBottom ). I would be ok with this as I don't usuall do such torturous bridges but the typical example of what I do is still not great ( WallFront) and ( WallBack).
Any suggestions would be appreciated.
|
Re: Struggles with Fine Tuning Bridging February 13, 2015 02:19AM |
Registered: 10 years ago Posts: 56 |
|
Re: Struggles with Fine Tuning Bridging February 14, 2015 10:55AM |
Registered: 10 years ago Posts: 82 |
Further experiments with fast as opposed to slower speeds for my bridges yielded some inconsistant results ... though in a couple of cases the fast speed DID deliver a better bridge? But not in all and certainly not the quality that I have seen from other folks test prints. I changed filament colors and for some reason bridges in black are printing better than bridges in white? The other factor that I am wondering about is my hot end as plastic seems to be sticking to it causing the bridge to get really messy. I have tried cleaning it but to little avail. If I get ambitious I might mount another one......
Wisar
Wisar
|
Re: Struggles with Fine Tuning Bridging February 19, 2015 06:33AM |
Registered: 10 years ago Posts: 82 |
Have tried a second hot end (though of same J-Head type) and am getting the same result. Watching the print closely it seems that the outside threads are being laid perfectly. Attached nicely at both ends and tight across the void. Then the printer starts laying the interior threads and it all goes sideways as the end of one of the new threads will get picked up by the head and the whole thing then becomes a hot mess. The top of the part will end up looking reasonably decent but the bottom will be a disaster! I have tried a multitude of settings and am not sure what to do next.
Sorry, only registered users may post in this forum.


