Instructions improvement suggestions
Posted by droftarts
|
Re: Instructions improvement suggestions January 13, 2014 12:18PM |
Registered: 12 years ago Posts: 116 |
|
Re: Instructions improvement suggestions January 13, 2014 01:42PM |
Registered: 10 years ago Posts: 256 |
Quote
reprappro
The whole hot end section is due for a rewrite, with new pictures. It's quite easy to tell if you've gone far enough into the Bowden tube union; if you take the brass union back off, the thread on the PTFE should be 10mm long.
Ian
RepRapPro tech support
That is useful information, so hope you add it to the documentation. (Maybe suggest a piece of masking tape at 10 mm or whatever to tell when you have gone in (not tested until I get my new bits !)
Quote
reprappro
PS Great picture, kwikius! The trouble is, most people can't see inside the brass union!
Ian
RepRapPro tech support
Feel free to add the picture to the documentation, until you get something better. When I built mine I didnt have much idea what I was trying to achieve so a picture and ideally a link to the drawings of the part would also be good.
regards
Andy
Ormerod #318
www.zoomworks.org - Free and Open Source Stuff

|
Re: Instructions improvement suggestions January 13, 2014 01:50PM |
Registered: 10 years ago Posts: 314 |
So is the inside of the union a counter sink?
I had presumed the pencil sharpener used on the end of the tube was just to get the thread started, but now see that the hole is drilled and will have a countersink.
My tube was simply slightly shaved and went in very easily, I did put a slight mark on the tube to check it went about 10mm and there have been no printing issues.
I haven't looked at the latest build instructions and as I started the beginning of December I guess these are now more detailed...
Yes, great picture kwikius, thanks.
Ormerod #007 (shaken but not stirred!)
|
Re: Instructions improvement suggestions January 13, 2014 02:03PM |
Registered: 10 years ago Posts: 256 |
Quote
Treth
So is the inside of the union a counter sink?
I had presumed the pencil sharpener used on the end of the tube was just to get the thread started, but now see that the hole is drilled and will have a countersink.
My tube was simply slightly shaved and went in very easily, I did put a slight mark on the tube to check it went about 10mm and there have been no printing issues.
I haven't looked at the latest build instructions and as I started the beginning of December I guess these are now more detailed...
Yes, great picture kwikius, thanks.
Beware placing too much accuracy on my drawing. ( The thread lib slowed OpenSCAD to crawl, one mouse move took a couple of minutes, on my netbook so I didnt get it as good as I would like) so I would advise also refering people to the section drawing of the part. Source files attached for anyone with a quicker PC wants to have a go at improving it ( You could render the thread on the bowden-end module for example)
bowden_end.scad
You also need this (courtesy of Dan Kirshner ) threads.scad
regards
Andy
Edited 2 time(s). Last edit at 01/13/2014 02:05PM by kwikius.
Ormerod #318
www.zoomworks.org - Free and Open Source Stuff

|
Re: Instructions improvement suggestions January 13, 2014 03:01PM |
Registered: 10 years ago Posts: 578 |
Thumbs up on adding the picture- it helps to have an idea of what's going on *especially* since you can't see inside (I used the end of my calipers as a depth gauge, but still wasn't sure if I'd twisted it enough until it buckled)
Edited 1 time(s). Last edit at 01/13/2014 03:02PM by rayhicks.
Edited 1 time(s). Last edit at 01/13/2014 03:02PM by rayhicks.
|
Re: Instructions improvement suggestions January 13, 2014 03:29PM |
Registered: 12 years ago Posts: 1,611 |
It's not absolutely necessary for the ptfe to go to all the way into the union. It's better if it does - smoother path for filament, no steps for it to catch on - but the main reason to get it in far enough is so it doesn't pop back out. If you screw it hard up to the end, it will buckle; this isn't too much of a problem, as you should drill through the union to open up the ptfe, so the filament path is unhindered. The only other time that having a gap is a problem is if the hot end fan stops, and heat travels up the nozzle, and filament melts all the way back to the union. Then any gap will fill with molten filament, and when it cools, will form a plug. And then you have to take the whole hot end apart!
With the instructions, it's a tricky balance between giving instructions how to do something, and the why. Because a 3D printer is quite a complicated thing, you need to know quite a lot of the 'why', but it can make the instructions very, very long. We're working on getting the balance right...
Ian
RepRapPro tech support
|
Re: Instructions improvement suggestions January 13, 2014 05:31PM |
Registered: 10 years ago Posts: 578 |
|
Re: Instructions improvement suggestions January 13, 2014 06:44PM |
Registered: 12 years ago Posts: 1,611 |
|
Re: Instructions improvement suggestions January 14, 2014 03:40AM |
Registered: 10 years ago Posts: 157 |
Hi Ian!
The printing instructions probably need to be updated:
I am happy to report that this no longer seems to be true
RS-Online Ormerod #263, Kossel mini with Minitronics, Prusa i3 MK2
The printing instructions probably need to be updated:
Quote
Printing from the SD card
You may have noticed that, so far, all printing is done from the SD card. This is the preferred way of printing. It is possible to print directly from Pronterface (ie load gcode files into Pronterface and press print), but the serial communication is slow. The printer will pause a lot during printing, and the printed part will not be of good quality.
I am happy to report that this no longer seems to be true

RS-Online Ormerod #263, Kossel mini with Minitronics, Prusa i3 MK2
|
Re: Instructions improvement suggestions January 14, 2014 03:51AM |
Registered: 10 years ago Posts: 14,672 |
Quote
3D-ES
Hi Ian!
The printing instructions probably need to be updated:
Quote
Printing from the SD card
You may have noticed that, so far, all printing is done from the SD card. This is the preferred way of printing. It is possible to print directly from Pronterface (ie load gcode files into Pronterface and press print), but the serial communication is slow. The printer will pause a lot during printing, and the printed part will not be of good quality.
I am happy to report that this no longer seems to be true
- except that at present, for good USB printing you need to be running the non-precompiled version of Pronterface (which is quite tedious to install because of all the dependencies), and to patch it. Or be running Repetier instead..
Large delta printer [miscsolutions.wordpress.com], E3D tool changer, Robotdigg SCARA printer, Crane Quad and Ormerod
Disclosure: I design Duet electronics and work on RepRapFirmware, [duet3d.com].
|
Re: Instructions improvement suggestions January 14, 2014 04:12AM |
Registered: 10 years ago Posts: 157 |
Hi dc42,
You are correct, maybe this has to wait until the precompiled version is fixed?
I had some trouble while installing the non-precompiled version of Pronterface,
there were errors in the process when trying to install without admin privileges...
The software readme did not tell me that I needed to start installers with admin privileges, and Windows Vista did not ask.
Step 3 blew up in my face with a not so obvious error message: "the process has been stopped" (Or something like that)
Step 5 is hard for non-tech persons, I had to start a command prompt as administrator and manually enter an install command...
Oh, and for step 5 I needed to manually add python to the path, but that could be a silly mistake I made...
Edited 2 time(s). Last edit at 01/14/2014 04:15AM by 3D-ES.
RS-Online Ormerod #263, Kossel mini with Minitronics, Prusa i3 MK2
|
Re: Instructions improvement suggestions March 02, 2014 04:09PM |
Registered: 10 years ago Posts: 776 |
Having just built an ormerod, one thing I would like to have had was a printed copy of the build manual!
I looked for a PDF but couldn't find anything, trying to build something with the instructions on a PC screen on the other side of the room was very hard!
Another RS Ormerod Mk1 meets the world
Retired now but I used to make....
CNC Machined Mk1 aluminium bed support plates for the Ormerod
CNC machined X-plates and ribs for Mk1 & Mk2 Ormerods
CNC machined bed support arms for the Mk2 Ormerod.
Dual Hot-End heatsink blocks.
I looked for a PDF but couldn't find anything, trying to build something with the instructions on a PC screen on the other side of the room was very hard!
Another RS Ormerod Mk1 meets the world

Retired now but I used to make....
CNC Machined Mk1 aluminium bed support plates for the Ormerod
CNC machined X-plates and ribs for Mk1 & Mk2 Ormerods
CNC machined bed support arms for the Mk2 Ormerod.
Dual Hot-End heatsink blocks.
|
Re: Instructions improvement suggestions March 02, 2014 04:13PM |
Registered: 10 years ago Posts: 578 |
|
Re: Instructions improvement suggestions March 02, 2014 04:21PM |
Registered: 10 years ago Posts: 31 |
|
Re: Instructions improvement suggestions March 02, 2014 04:27PM |
Registered: 10 years ago Posts: 578 |
Quote
KP
I'm convinced I found separate PDFs for each section on GitHub in the last two days but now I can't find them.
Kev.
Interesting Kev - be useful to have I'll look as well (github's a bit of a labyrinth though, lots of familiar looking paths that end up as dead ends when you try to refind something, must remember to take some string next time
 )
)Ray
|
Re: Instructions improvement suggestions March 02, 2014 04:45PM |
Registered: 10 years ago Posts: 31 |
|
Re: Instructions improvement suggestions March 02, 2014 04:54PM |
Registered: 10 years ago Posts: 578 |
|
Re: Instructions improvement suggestions March 03, 2014 08:54AM |
Registered: 12 years ago Posts: 1,611 |
We've just updated the website so the instructions print/make pdf without the sidebar, which should help a lot. We will be getting on to updating the styles to improve readability, and formatting for tablets and small displays. Also, we'll make an official set of pdfs.
The pdfs on that github site are the instructions from the old version of the website, and are missing the page that has the firmware flashing instructions. The current site has these on the 'maintenance' page.
Ian
RepRapPro tech support
The pdfs on that github site are the instructions from the old version of the website, and are missing the page that has the firmware flashing instructions. The current site has these on the 'maintenance' page.
Ian
RepRapPro tech support
|
Re: Instructions improvement suggestions March 03, 2014 12:19PM |
Registered: 10 years ago Posts: 859 |
Hi Ian, I'm not totaly sure, but I think the mounting instructions for the I.R. Probe are missing.
I looked in the instructions to find out what size the screws were, but took one out in the end.
Kim..
Please send me a PM if you have suggestions, or problems with Big Blue 360.
I won't see comments in threads, as I move around to much.
Working Link to Big Blue 360 Complete
I looked in the instructions to find out what size the screws were, but took one out in the end.
Kim..
Please send me a PM if you have suggestions, or problems with Big Blue 360.
I won't see comments in threads, as I move around to much.
Working Link to Big Blue 360 Complete
|
Re: Instructions improvement suggestions March 04, 2014 06:39PM |
Registered: 10 years ago Posts: 48 |
I posted some improvements to the commisioning instructions a while back: Tips from a newby
|
Re: Instructions improvement suggestions March 05, 2014 06:23AM |
Registered: 12 years ago Posts: 1,611 |
@KimBrown: They're still on the wiring page, second step: "Proximity sensor: Attach the proximity sensor to the X carriage to the left of the hot end with 2 x M2.5x5mm cap head screws. Connect loom. NOTE: the sensor has a polarity; the order of the wires is very important. It should be as the picture; blue, black, red (or pink on some looms). Loom length: 960mm"
Flyskyhy: Thanks, I'll take a look.
Ian
RepRapPro tech support
Flyskyhy: Thanks, I'll take a look.
Ian
RepRapPro tech support
|
Re: Instructions improvement suggestions July 15, 2014 12:06PM |
Registered: 9 years ago Posts: 9 |
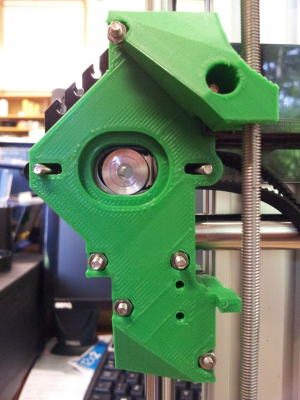
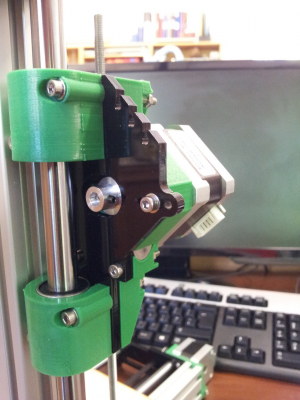
Easy X-axis belt installation procedure:
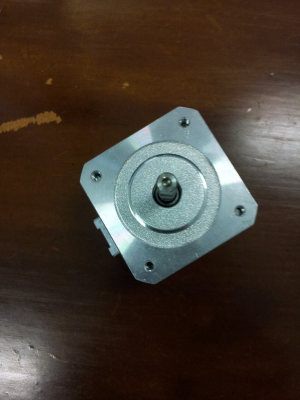
1) Remove X-axis motor (instructions could be changed to remove the fitting of this motor in an earlier step).
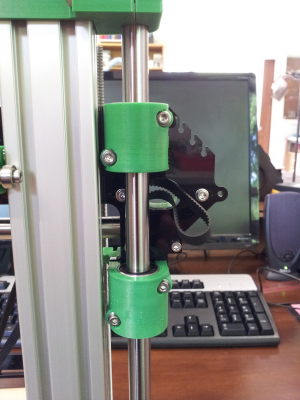
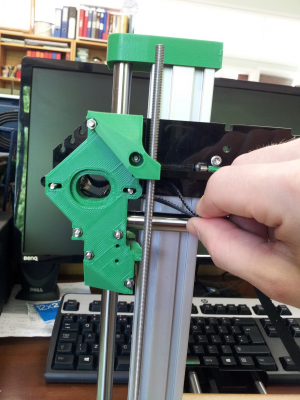
2) Fold the belt in half (-ish). Push it through the hole where the motor was.
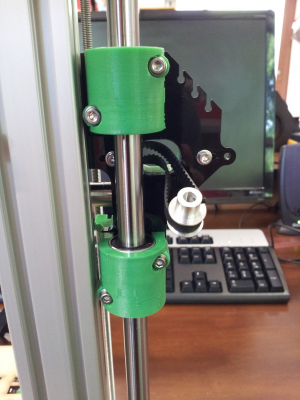
3) Put the toothed pulley into the loop of the belt.
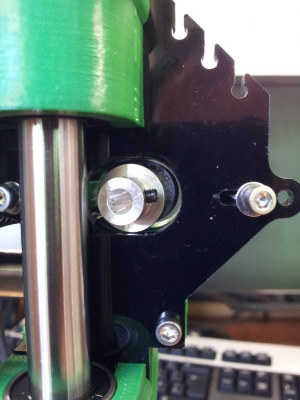
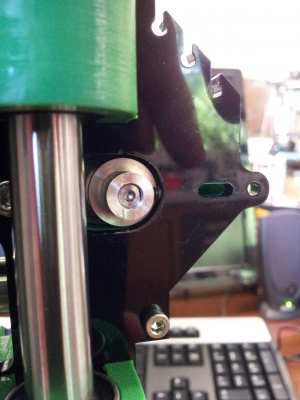
4) Pull the pulley into place, using the belt. Rotate the pulley so that the grub screw is facing away from the hot end direction.
5) Push the motor spindle into the pulley, note that you have a flat edge on the spindle to line up with the pulley's grub screw.
6) Loosely attach the motor to the adjustable motor mount.
7) Do up the grub screw.
8) Place the belt around the bearing and fit into the belt holder.
9) Pull the motor to get the correct belt tension and tighten the motor mounts screws.
Hope this helps many of you out there.
I just finished building my first printer yesterday and have tried to incorporate many of the tweaks into the initial construction as possible.
It has been nice being able to give something back to all of you helpful people :-)
Ormerod 1
|
Re: Instructions improvement suggestions July 15, 2014 01:42PM |
Registered: 10 years ago Posts: 256 |
Like that BodgeIt. Threading that belt was one of the trickier bits of the build! Looks like changing the sequence in that direction would help a lot!
regards
Andy
Ormerod #318
www.zoomworks.org - Free and Open Source Stuff
regards
Andy
Ormerod #318
www.zoomworks.org - Free and Open Source Stuff

Sorry, only registered users may post in this forum.

