"I think! I might have found the ultimate Sub-Bed for the HotBed (Bigger than a maybe)"
Posted by KimBrown
|
Re: "I think! I might have found the ultimate Sub-Bed for the HotBed (Bigger than a maybe)" March 01, 2014 09:37AM |
Registered: 10 years ago Posts: 859 |
Well this will be the 4th attept at printing this part.
If it doesn't work this time, I won't be touching the printer till after the weekend, and seriously thinking about selling it.
Please send me a PM if you have suggestions, or problems with Big Blue 360.
I won't see comments in threads, as I move around to much.
Working Link to Big Blue 360 Complete
If it doesn't work this time, I won't be touching the printer till after the weekend, and seriously thinking about selling it.
Please send me a PM if you have suggestions, or problems with Big Blue 360.
I won't see comments in threads, as I move around to much.
Working Link to Big Blue 360 Complete
|
Re: "I think! I might have found the ultimate Sub-Bed for the HotBed (Bigger than a maybe)" March 01, 2014 10:45AM |
Registered: 10 years ago Posts: 49 |
|
Re: "I think! I might have found the ultimate Sub-Bed for the HotBed (Bigger than a maybe)" March 01, 2014 01:48PM |
Registered: 10 years ago Posts: 1,230 |
Quote
Mickyblueeyes
Hi Ormerod168 I have done a similar job with the aluminium endplates with the acrylic inside I also lengthened them and made the distance between the bars greater to make the table more stable.
regards
Mike
Hi Mike
Yes I saw that and it must have been in my mind when I made that post, it really makes sense and it should IMHO have been designed so in the first place, the acrylic part are fine as to fix the distance between the rod but nothing more IMHO - and the ends of the rods are now put to good use helping the aluminium endplates aginst the pull of the belt, you can keep the belt real tight, the printed y-idler-bracket won't bend so the belt won't move sideways, no more black dust, nice!
Erik
|
Re: "I think! I might have found the ultimate Sub-Bed for the HotBed (Bigger than a maybe)" March 01, 2014 01:55PM |
Registered: 10 years ago Posts: 1,230 |
Quote
Radian
Hi Erik, glad to see Octo still has his job
Well he's doing his best but could use more arms (hint: look at the filament tube)

Erik
|
Re: "I think! I might have found the ultimate Sub-Bed for the HotBed (Bigger than a maybe)" March 01, 2014 02:27PM |
Registered: 10 years ago Posts: 859 |
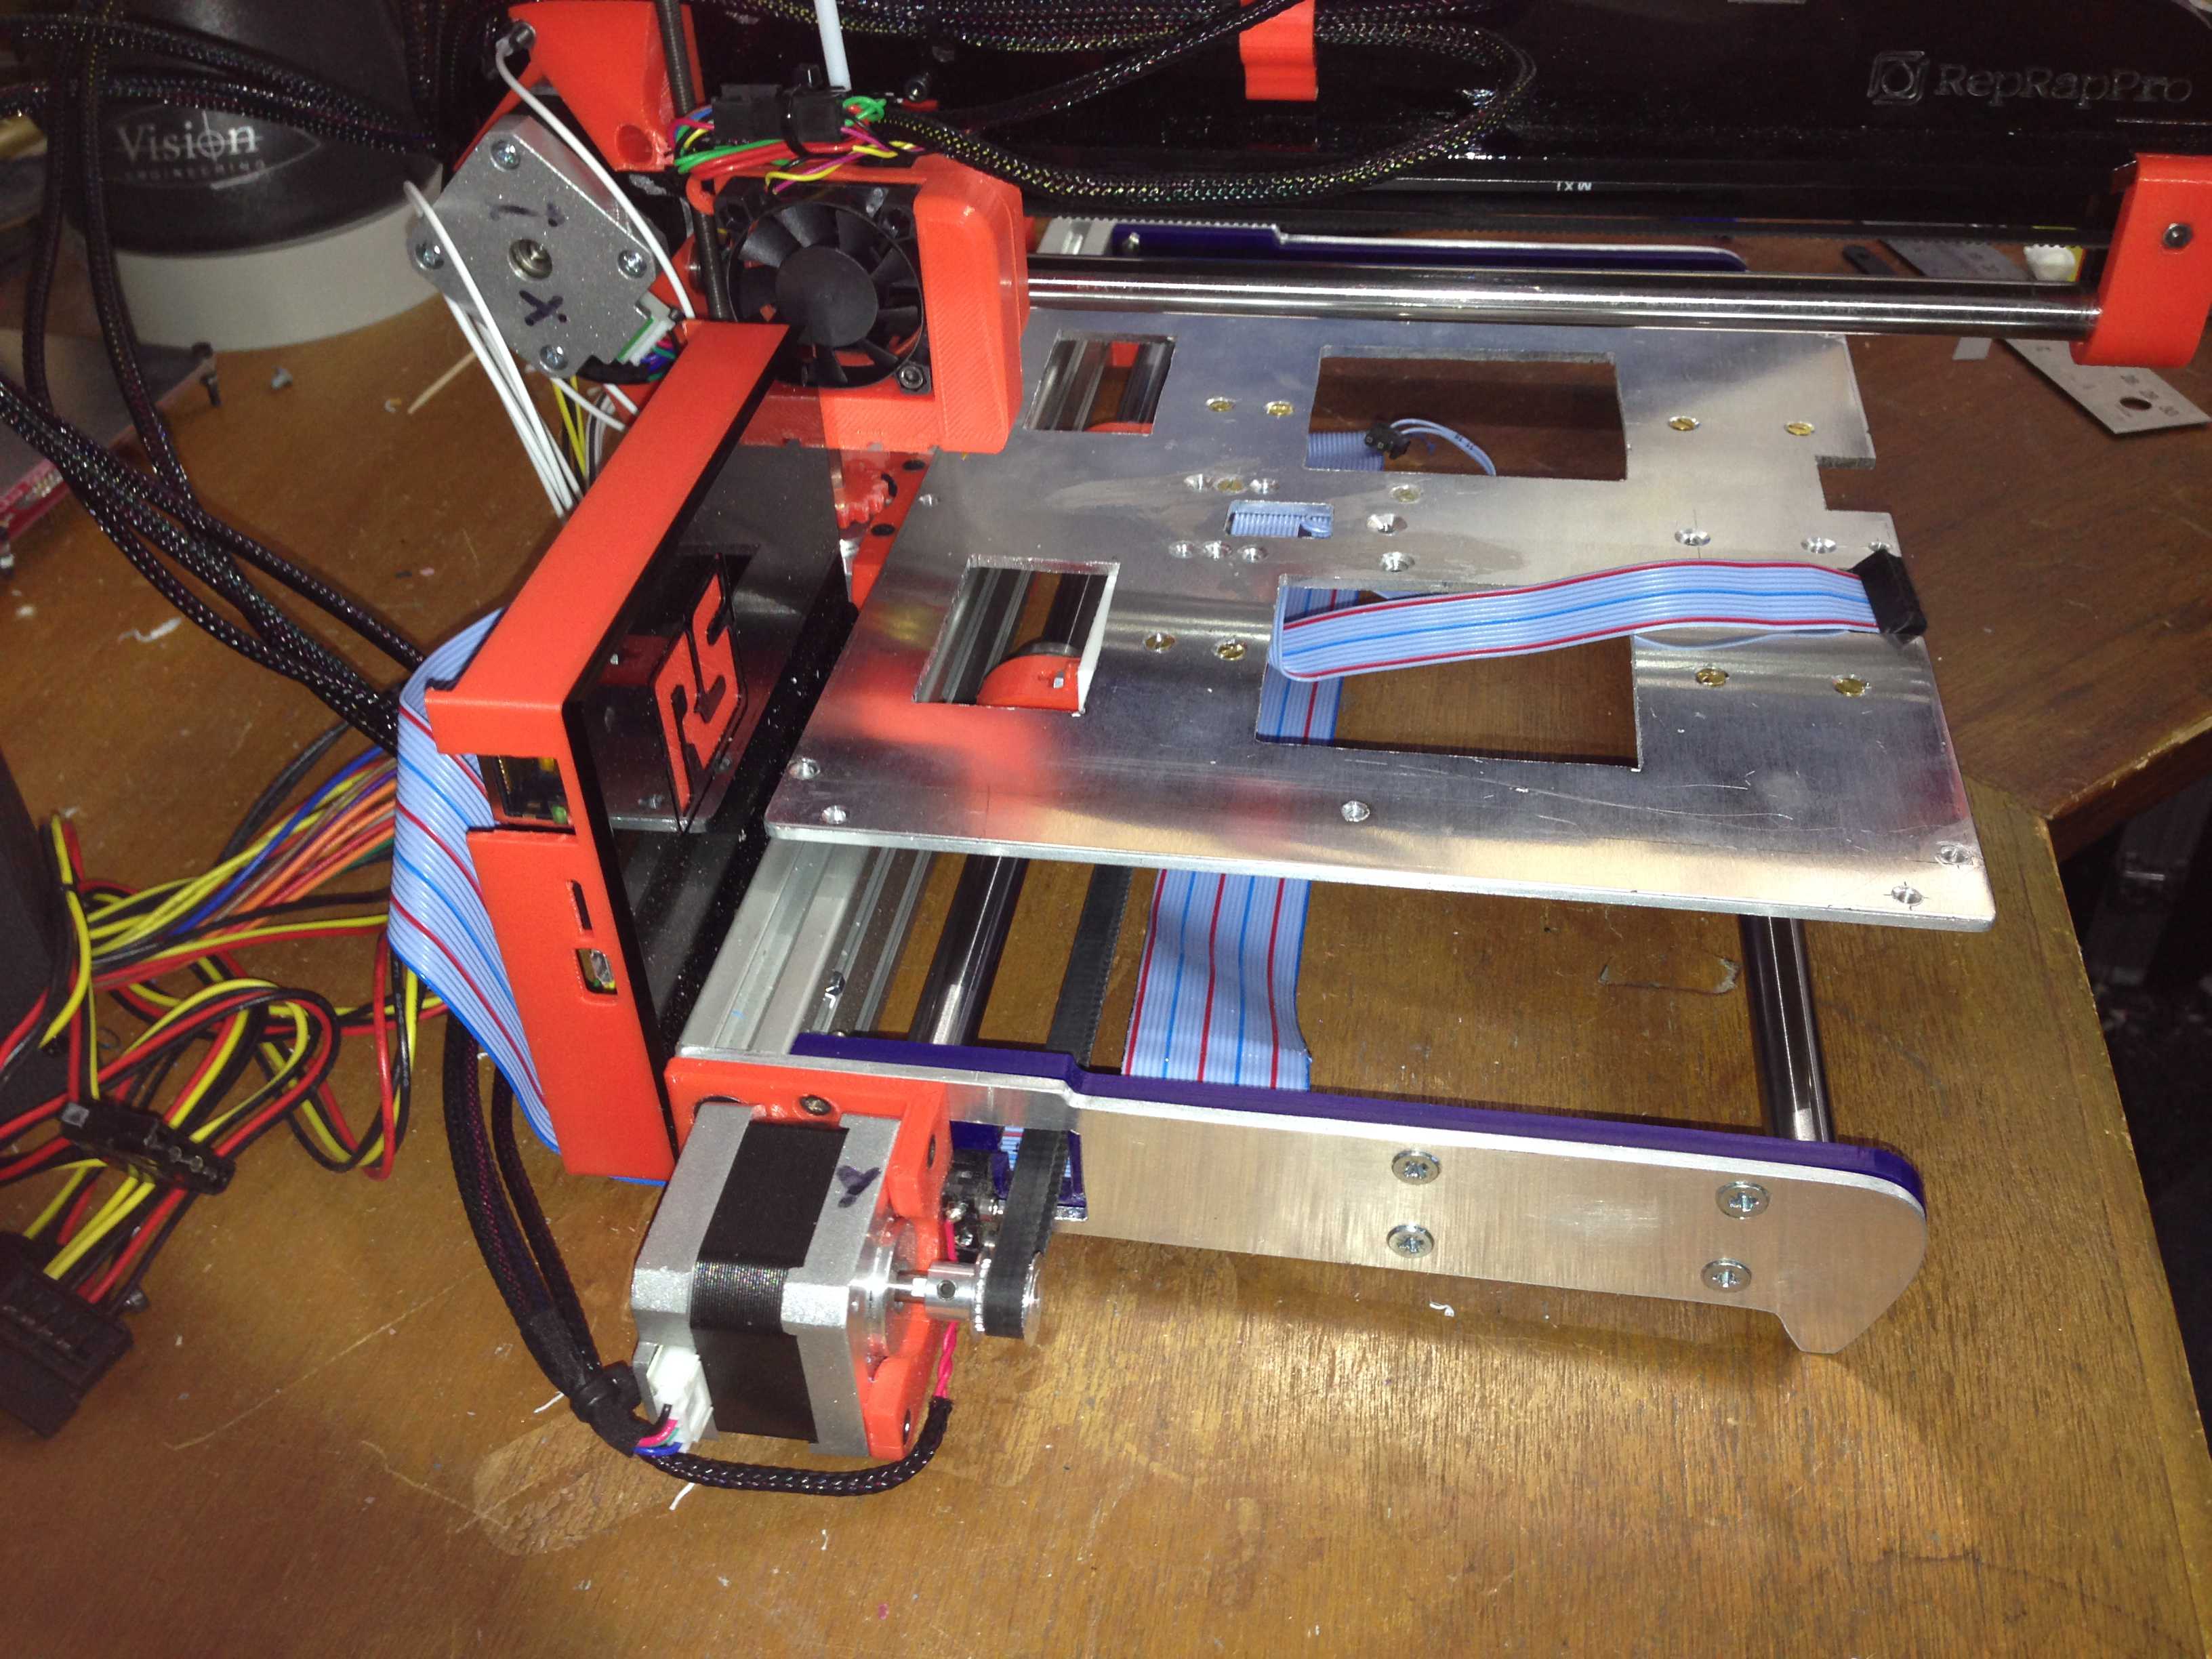
Success... at the 4th attempt it printed. It's made alot of difference.
I think that the acrilic end plates need redesigning to bolt directly on to the Ally profile thou, then the printed motor
mount and idler bracket need altering to fit. I might print two more of the feet out to place under each end of the profile
to reduce the loading on these parts for now. At least the new bedplate works.....
Please send me a PM if you have suggestions, or problems with Big Blue 360.
I won't see comments in threads, as I move around to much.
Working Link to Big Blue 360 Complete
|
Re: "I think! I might have found the ultimate Sub-Bed for the HotBed (Bigger than a maybe)" March 01, 2014 02:45PM |
Registered: 10 years ago Posts: 1,230 |
Quote
KimBrown
Success... at the 4th attempt it printed. It's made alot of difference.
Congrats! - was afraid we was about to loose you, we need every man on deck he he..
Quote
I think that the acrilic end plates need redesigning to bolt directly on to the Ally profile thou...
Yes, high pressure countersunk screws in PLA is asking for trouble, I spotted two cracking already
Erik
|
Re: "I think! I might have found the ultimate Sub-Bed for the HotBed (Bigger than a maybe)" March 14, 2014 07:04AM |
Registered: 10 years ago Posts: 52 |
I've just ordered a couple of sheets of dibond (composite board) to make a new bed.
Just looked along the edges of my MDF item and its got a visible droop down at the far corners.
I've ordered enough dibond to make one replica and also enough to make my own version.
I'm tempted to make a couple of out-rigger arms that extend to the corners, maybe run two bearings on the outer smooth rod instead of 1.
Will try a simple swap first, then have a play with alternative bed and under-bed supports.
Kim, thanks for the suggestion of dibond, will report back with progress when mine is fitted.
Edited 1 time(s). Last edit at 03/14/2014 07:04AM by balidey.
|
Re: "I think! I might have found the ultimate Sub-Bed for the HotBed (Bigger than a maybe)" March 14, 2014 12:32PM |
Registered: 10 years ago Posts: 859 |
Hi Balidey, I cheated with my composite board....
I first cut it to size using a Knife (it's so easy to cut), drilled the screw holes out using the MDF original as a template.
Marked out the three square holes for the wiring, then set about it with a wood chisel, and finaly dressed the edges up with a knife, and file.
I then mounted the original MDF board, and put the Composite board on top so as to retain the three alignment holes where it fits the frame.
It saved me having to worry about being real careful at cutting the alignment holes out and added a little more stiffness.
On the edges of the composite board where the wiring is, I covered the edges with Kapton Tape, to protect the wiring, just incase the ally
board cut through any of the wiring and shorted it out.
I've been really pleased with mine.
One thing I did find... I fitted it in a rush the first time, and when I measured from the composite board to the Y axis ally former I found I had 3mm
of slope. This was down to the bearing cap screws needing adjustment. By taking my time, I got the slope down to 0.1mm, so a big improvement.
Now I only have to level the bed if I've altered something on the machine... Like the X-axis mount I replaced yesterday...
But leveling now is easy using the 5 bolts... I just use a feeler gauge to get a 0.1mm gap between the nozzle and glass. Then move the nozzle
around the glass and adjust the leveling bolts to suit.
Please send me a PM if you have suggestions, or problems with Big Blue 360.
I won't see comments in threads, as I move around to much.
Working Link to Big Blue 360 Complete
|
Re: "I think! I might have found the ultimate Sub-Bed for the HotBed (Bigger than a maybe)" March 14, 2014 03:03PM |
Registered: 10 years ago Posts: 52 |
|
Re: "I think! I might have found the ultimate Sub-Bed for the HotBed (Bigger than a maybe)" March 14, 2014 04:18PM |
Registered: 10 years ago Posts: 859 |

How I did mine.....
I used double sided tape to keep the insulating cardboard on the back of the HotBed Element.
Keeping the MDF just made things easier.
The 3mm screws are 25mm long. (which reminds me I must design another project soon....hihihihi)
On one corner of the Glass I have a small bit of tape to grip the glass by when it's wet, and it also marks one corner so I put the
glass back the right way round each time, as well as reminds me which side I'm using as the Top....
I like to use Nyloc nuts because the printer is exposed to vibration when I take it to work.
I wash the glass in washing up liquid, hot water rinse, mount, heat, and then a final clean with Vinegar.
Allot of items I print using a 10mm Brim.
To remove the print I hold the hot print/glass under cold running tap water, and it floats off....
By raising the bed like this I can level to within 0.1mm in about 5 minutes and run without the dreaded compensation turned on.
I've just received my DC42 probe which I will fit on Sunday, but at the moment I use Dark Red Float Glass (4mm thick) and the standard probe.
I set up the probe about every 3 days, just to check, but normaly its ok. So have auto Z homing.
Using DC42s probe and my Red Glass should make it even better come the time.... (I hope)
It's easy.....

Edited 1 time(s). Last edit at 03/14/2014 04:27PM by KimBrown.
Please send me a PM if you have suggestions, or problems with Big Blue 360.
I won't see comments in threads, as I move around to much.
Working Link to Big Blue 360 Complete
|
Re: "I think! I might have found the ultimate Sub-Bed for the HotBed (Bigger than a maybe)" March 14, 2014 04:53PM |
Registered: 10 years ago Posts: 1,230 |
Quote
KimBrown
Hi Balidey, I cheated with my composite board....
.....I then mounted the original MDF board, and put the Composite board on top so as to retain the three alignment holes where it fits the frame.
It saved me having to worry about being real careful at cutting the alignment holes out and added a little more stiffness.
It's not cheating! - I did the same with the heatspreader in the Q & D and I never cheat! - never! ;-)
Erik
|
Re: "I think! I might have found the ultimate Sub-Bed for the HotBed (Bigger than a maybe)" March 15, 2014 08:20AM |
Registered: 10 years ago Posts: 859 |
Cheat!!! 
So am I....
Please send me a PM if you have suggestions, or problems with Big Blue 360.
I won't see comments in threads, as I move around to much.
Working Link to Big Blue 360 Complete
So am I....
Please send me a PM if you have suggestions, or problems with Big Blue 360.
I won't see comments in threads, as I move around to much.
Working Link to Big Blue 360 Complete
|
Re: "I think! I might have found the ultimate Sub-Bed for the HotBed (Bigger than a maybe)" March 17, 2014 08:20AM |
Registered: 10 years ago Posts: 52 |
OK guys, this is just a heads up so no one makes the same (Schoolboy) error as me.
Don't be tempted to buy A4 sheets. These are 210mm wide, the board needs to be 214mm wide.
They may be OK if you are planning a re-design, but for a like for like swap, you need to order (like I have just done) an A3 sheet, or ask supplier for a bespoke size.
But its not all bad. It now means I have some A4 pieces I can use for other projects. Perhaps new acrylic side plate replacements....
|
Re: "I think! I might have found the ultimate Sub-Bed for the HotBed (Bigger than a maybe)" March 17, 2014 09:02AM |
Registered: 10 years ago Posts: 1,230 |
|
Re: "I think! I might have found the ultimate Sub-Bed for the HotBed (Bigger than a maybe)" March 17, 2014 09:15AM |
Registered: 10 years ago Posts: 52 |
|
Re: "I think! I might have found the ultimate Sub-Bed for the HotBed (Bigger than a maybe)" March 17, 2014 03:56PM |
Registered: 10 years ago Posts: 578 |
Has anyone tried ABS temperatures with this stuff? I stuck some in an oven at 100 (it didn't get hotter than 105 as far as I could measure) and it softened drastically (it took up the ridges of the shelf quite quickly, and I could shape it into a lovely arch without getting my hands burnt) - I guess with a good insulating layer between the bed PCB and the aluminium composite it wouldn't reach bed temperature, but I've decided to look for alternatives (I was hoping to use it as a support for my DIY heat plate with minimal insulation between)
Ray
PS I did the same as you Balidey, but I ordered an A3 as well just in case so I've got load of it to re-purpose
Edited 1 time(s). Last edit at 03/17/2014 03:58PM by rayhicks.
Ray
PS I did the same as you Balidey, but I ordered an A3 as well just in case so I've got load of it to re-purpose
Edited 1 time(s). Last edit at 03/17/2014 03:58PM by rayhicks.
|
Re: "I think! I might have found the ultimate Sub-Bed for the HotBed (Bigger than a maybe)" March 18, 2014 04:25AM |
Registered: 10 years ago Posts: 314 |
When considering insulation air is actually very good provided convection currents are minimised.
I am considering using a piece of PCB laminate as the 'insulated container', i.e. air sandwiched between the PCB heater and a sheet of laminate, sealed around the edges with silicon sealer WITH vents to allow for expansion.
So back to my original "alternative bed proposal" [forums.reprap.org] , the plans being considered/mulled over/ improved for the future are currently:
PCB heater with air gap and laminate as a sandwich. This will be in contact with a glass bed (3mm thick) that has holes for mounting onto the new aluminium bed plate. The assembly is fixed by conductive heat paste and suspended from this glass bed, clips may also be used.
This glass bed is now the equivalent of the current aluminium heat spreader of the original design, so has socket head screws protruding and the three point mounting is from here.
The original piece of glass (which is the current supplied glass bed) then sits on top of my new glass bed.
Hope you followed that!
So the proposed assembly, top down is:
1. Removable glass printing surface (current piece of glass)
2. New fixed glass bed, similar in design to the supplied aluminium heat spreader.
3. PCB heater
4 air gap
5 Laminate bottom surface.
Looking at Kims suspended bed they are not that far apart as designs! Thoughts?
Ormerod #007 (shaken but not stirred!)
|
Re: "I think! I might have found the ultimate Sub-Bed for the HotBed (Bigger than a maybe)" March 18, 2014 06:04AM |
Registered: 10 years ago Posts: 578 |
Hi Treth,
I like the idea of glass (for my diy heater, which has a glass substrate, the heater upper surface will be the print surface), I'd hoped to use some of the aluminium laminate stuck on with silicone as a direct support for this with an insulator underneath, then another layer of glass for base so that I had something stiff and flat but elastic that would retain its shape (I'm using 2mm picture frame glass to keep the weight down).
Back to your plan - one concern with having a double thickness of 3mm glass between heat source and print is it might slow down heat transfer, though this could be remedied by increasing the temperature a little. It'd be preferable to use a neutral cure silicone filler (or a two-part silicone) rather than the standard vinegar-producing DIY stuff in contact with the PCB to prevent corrosion. PCB laminate can be quite curved and hard to find in large areas - it might be easier using some tufnol (available in the same composites as PCB backing, but manufactured for mechanical fabrication so more likely to be flat, and avaialble oin 4 by 8 sheets!), or even another layer of glass (though this might be pushing the weight too high)
Ray
I like the idea of glass (for my diy heater, which has a glass substrate, the heater upper surface will be the print surface), I'd hoped to use some of the aluminium laminate stuck on with silicone as a direct support for this with an insulator underneath, then another layer of glass for base so that I had something stiff and flat but elastic that would retain its shape (I'm using 2mm picture frame glass to keep the weight down).
Back to your plan
- one concern with having a double thickness of 3mm glass between heat source and print is it might slow down heat transfer, though this could be remedied by increasing the temperature a little. It'd be preferable to use a neutral cure silicone filler (or a two-part silicone) rather than the standard vinegar-producing DIY stuff in contact with the PCB to prevent corrosion. PCB laminate can be quite curved and hard to find in large areas - it might be easier using some tufnol (available in the same composites as PCB backing, but manufactured for mechanical fabrication so more likely to be flat, and avaialble oin 4 by 8 sheets!), or even another layer of glass (though this might be pushing the weight too high)Ray

Sorry, only registered users may post in this forum.