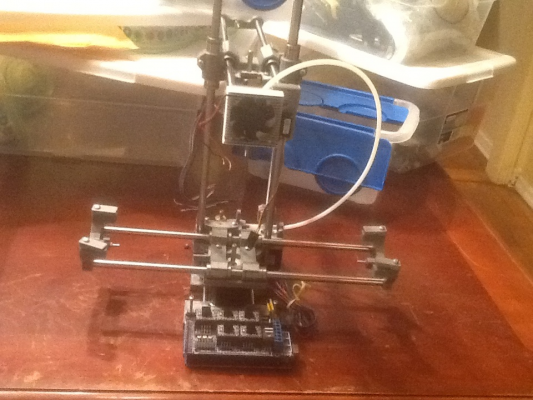
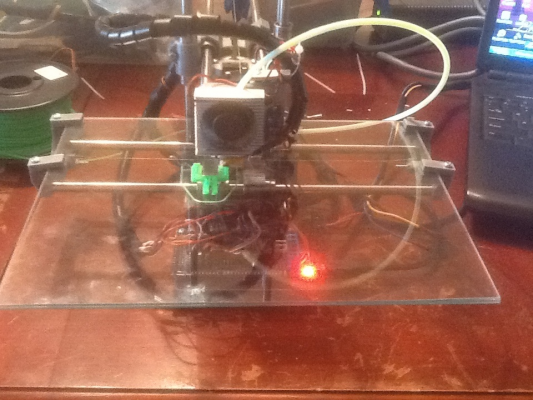
Madmike8's Smartrap Build
Posted by madmike8
|
Madmike8's Smartrap Build March 30, 2014 12:06AM |
Registered: 10 years ago Posts: 814 |
I'm new to 3D printing, and I'm going to use this thread to document my build / experience, and provide the information I've learned for others.
Smartrap BOM
As best as I can tell this is my complete List of parts
used in my Smartrap build.
• SmartRap Printed Parts
• 4x Nema17 Stepper Motors
• 1x Arduino Mega 2560 (Marlin Firmware from Smartrap Github)
• 1x RAMPS 1.4
• 4x 4988 Stepper Drivers
• 3.7g Servo (swap + and - wires in the connector)
• 1x 12v Power Supply >=5amp (I'm using a Xbox360 PS)
• 3x Micro Switches (Endstops wired NC and COM)
• 1x Mk7 Extruder Drive Gear
• 1x (Huxley or J Head) Hot End (I used Huxley so list may not be accurate for Jhead)
• Braided Fishing Line (I'm using 50lb Test Line)
• 2x Smooth 8mm rod L300mm Z
• 4x Smooth 8mm rod L240mm (I'm 300mm On Y and X too)
• 1x Rod threaded M5 220mm (I'm using 300mm)
• 12x LM8UU Bearings
• 1x 608zz skate bearing
• 3x M4 60mm
• 14x M3 10mm
• 8x M3 16mm
• 5x M3 20mm
• 3x M3 30mm
• 1x M5 Nut
• 3x M4 nuts
• 10x M3 nuts
• Wiring / Connectors
• Glass Bed (I'm using 2x 8.5" x 11" picture frames stacked. $2 each from Walmart)
|
Re: Madmike8's Smartrap Build March 31, 2014 12:59AM |
Registered: 10 years ago Posts: 814 |
Progress...
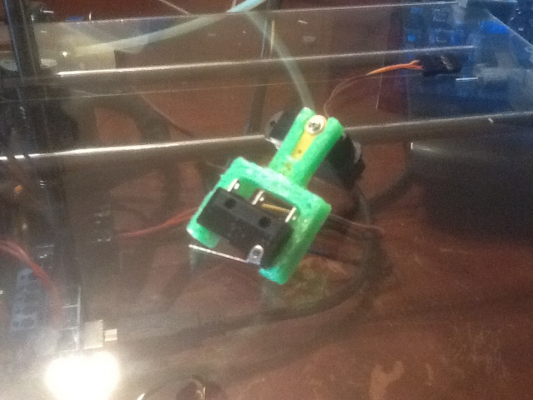
I had read somewhere that Serge had wired his endstops NO and COM, so that's how I wired mine. I used M119 to determine all the Endstops were "Triggered" when the button was not pressed. That was wrong. Today I rewired them to the proper NC and COM, and M119 shows them as "Open" until pressed. Now the machine Homes correctly. So, I need to set the angle for the servo arm for the probe. I performed M280 P0 Sx (where x is the angle for the arm.). For my servo M280 P0 S10 was right for retraction, and M280 P0 S88 was right for extension. I edited this line in the Marlin Configuration.h file.
//smartrap : version pololu servo (dark blue)
#define SERVO_ENDSTOP_ANGLES {0,0, 0,0, 88,10) // X,Y,Z Axis Extend and Retract angles
I then reloaded Marlin onto the Arduino. Now when I perform G29 the machine correctly performs the Z probe leveling.
Now I need to figure out extruder offset and set that.
I also noticed that when I went to feed the Filament into the extruder that the extruder stepper would just stutter. After consulting Google I learned I needed to adjust the 4988 stepper driver for more power. In small adjustments I turned the pot clockwise until it fed properly.
I know I'm getting close to printing, but family first... So I will probably have more on Tuesday night.
|
Re: Madmike8's Smartrap Build April 01, 2014 02:04PM |
Registered: 10 years ago Posts: 10 |
I'm following along, I just ordered the hardware from misumi due to the 150 dollar off deal they had going for the last month. I'm having a bit of trouble sourcing the Huxley end in the US, do you know if there is a difference in parts between using a J-head and Huxley hotend? Thanks for posting your BOM as well, it's a great way to double check for me!
|
Re: Madmike8's Smartrap Build April 01, 2014 03:25PM |
Registered: 10 years ago Posts: 814 |
I ordered the Huxley off Ebay from seller tech3d-org. They are located in the UK, but shipping time was reasonable.
When I get this one up and running, I plan to build another a J head. As far as I can tell it's just a couple M3 screws to hold the J head. I'm not sure of the required length though. I'll try to get an idea when I get home. You would also need whatever is required to set the J head up for Bowden Tube. So, the ptfe tube and some press fit connectors.
When I get this one up and running, I plan to build another a J head. As far as I can tell it's just a couple M3 screws to hold the J head. I'm not sure of the required length though. I'll try to get an idea when I get home. You would also need whatever is required to set the J head up for Bowden Tube. So, the ptfe tube and some press fit connectors.
|
Re: Madmike8's Smartrap Build April 01, 2014 03:30PM |
Registered: 10 years ago Posts: 814 |
This is what's on my plate tonight after work. R4C3R, posted up a nice little walk through on Thingiverse, so I'm quoteing him here.
I borrowed the camera from the wife, so maybe some updated pics too...
Quote
R4C3R
I used Pronterface to do the calibration, I can easily manually move the axis and send the G-Code commands.
What I did was: M555 Z0 (reset the offset to zero)
Do a homing
Mark the spot on the bed where the Z-probe touched
Move the nozzle manually to the previously marked spot on the bed (paper should still fit between the nozzle and the bed)
Write down Z from the display, Z came out at -15.5
M555 Z15.5 (without minus sign! set offset to 15.5)
M500 (store offset value)
I borrowed the camera from the wife, so maybe some updated pics too...
|
Re: Madmike8's Smartrap Build April 01, 2014 09:53PM |
Registered: 10 years ago Posts: 814 |
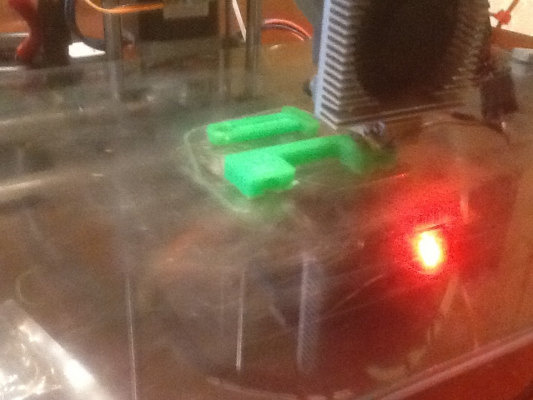
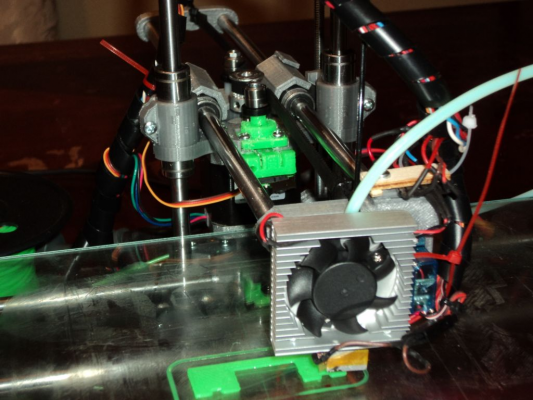
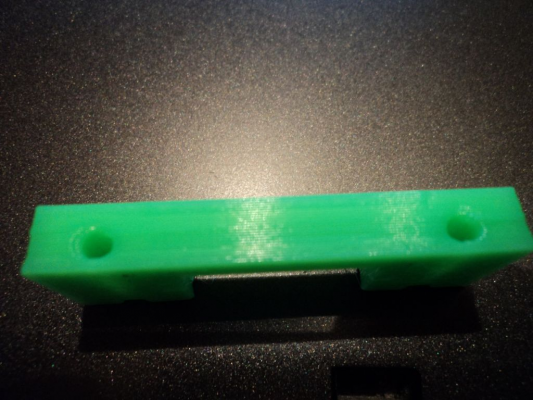
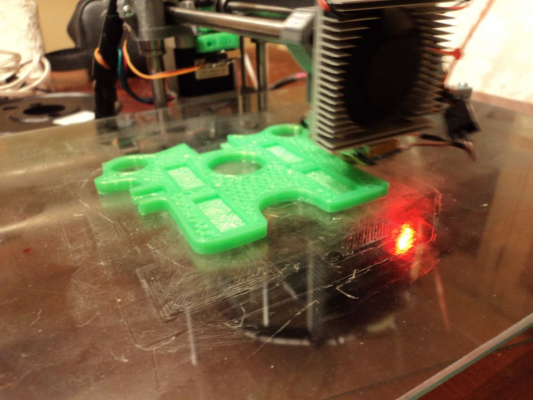
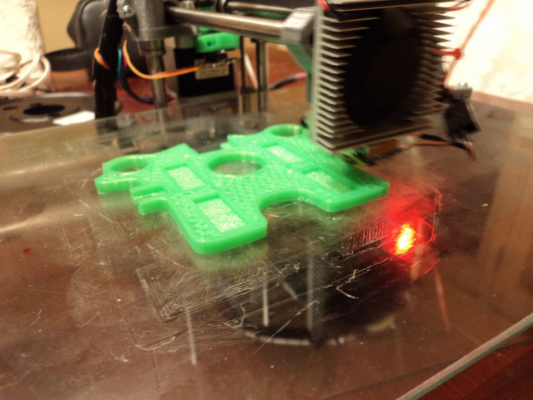
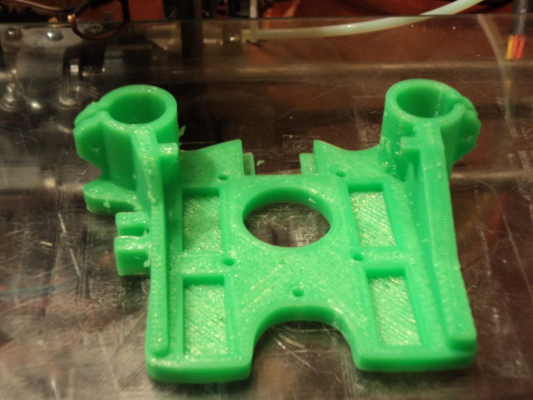
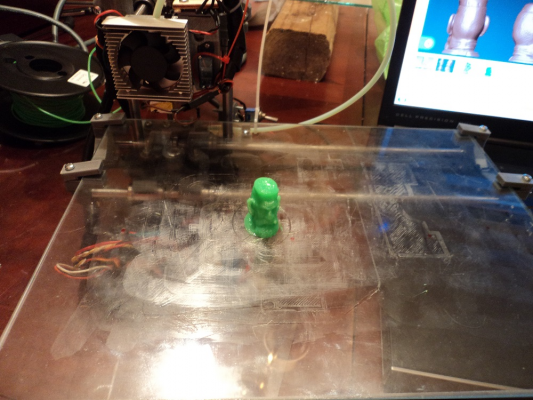
Well, I got my offset set. I got the filament loaded and started my first print.
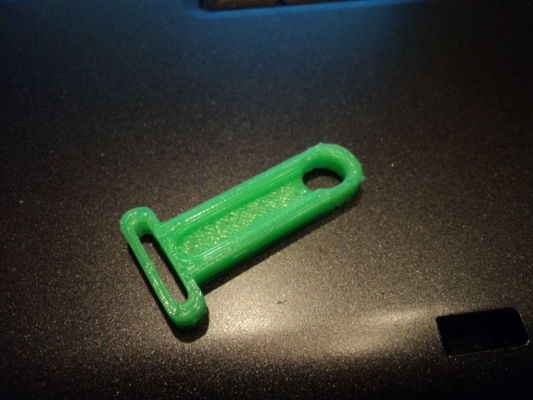
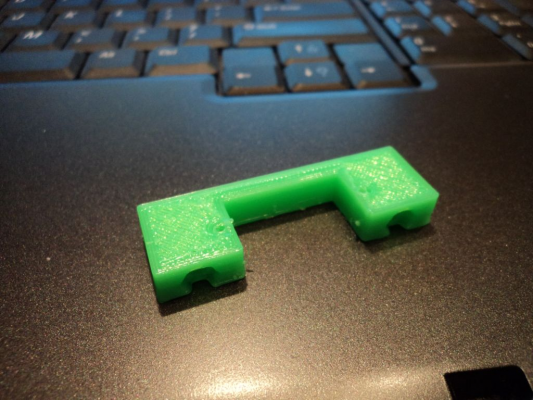
Failed a couple times, but I managed to get a good print.
After that I started having extruder problems where the stepper motor was knocking. It got worse if I turned the power up, and it wouldn't push the filament to the hotend. I'll have to figure out what's up with that now. I'm pretty happy though!
|
Re: Madmike8's Smartrap Build April 02, 2014 01:20AM |
Registered: 10 years ago Posts: 1 |
|
Re: Madmike8's Smartrap Build April 02, 2014 09:42AM |
Registered: 10 years ago Posts: 814 |
Yeah, The knock was created by me having turned the power too high for the stepper. I had adjusted it higher trying to figure out why the filament wouldn't feed. I turned the power back down till it quit knocking. I then loosened the screws for the bearing a hair and it still wasn't feeding. So, then I turned the machine around to where I was facing the extruder. That's when I noticed that the small mark I had made with a pen on the stepper shaft was spinning, but not the gear... Sigh... I had forgotten to go back and tighten the Mk7 gear after adjusting it's height for the Filament. I tightened it up and all seems to be working well now.
Question mrjoshida: You do have your hotend on and up to temp before trying to move your extruder? It won't feed if you don't. It has to be able to push the plastic out the tip.
I need to repair/replace one of my fishing lines now. I guess there's some trick that I'm not aware of for winding it around the stepper shaft. My X axis seems to bind and slip sometimes. The Y axis does ok for now...
Edited 1 time(s). Last edit at 04/02/2014 09:45AM by madmike8.
|
Re: Madmike8's Smartrap Build April 02, 2014 11:17AM |
Registered: 10 years ago Posts: 229 |
Hi madmike8,
It's good to see your having good results with your build. I'm in the process of putting one of these together and have come to a grinding halt trying to source 2 ea - M3 30mm and 3 ea - M4 60mm screws of all things. I can get them special order so long as i buy a box of them. Looks like that is what i will have to end up doing and just have 40 some screws laying around with no use. The other problem i have run into is I picked up an Ohio Plastics J-head light and it turns out to be 20 mm longer than the standard J-heads. This causes a loss of 20 mm build height and renders the auto leveling useless as the switch can not reach the bead before the extruder. As far as the rest goes, I am getting good movement on all 3 axis and extruder is moving the filament just fine, so there's that. I'll get some pictures up in my own thread once I get it going and make my first print, which will be a new x end for mounting the J-head 20 mm higher.
Anyway, good to see the pix and here your build is working.
Mark
|
Re: Madmike8's Smartrap Build April 02, 2014 11:28AM |
Registered: 10 years ago Posts: 814 |
I bought them from Zorotools on ebay. PM me your address, and I'll see if I can mail them to you.
BTW good to know about the Jhead-lite. I was planning to use one on my second build. I know I read where someone was using one on theirs on thingiverse... I'll have to search them out and find what they did. Then again, I think the earlier versions of Smartrap had a longer Servo/Probe arm. That may solve your problem.
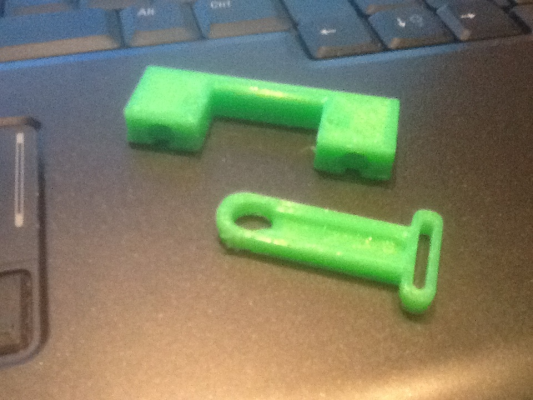
Try looking at this servo/probe arm.
Edited 1 time(s). Last edit at 04/02/2014 11:41AM by madmike8.
|
Re: Madmike8's Smartrap Build April 02, 2014 12:17PM |
Registered: 10 years ago Posts: 229 |
Quote
madmike8
I bought them from Zorotools on ebay. PM me your address, and I'll see if I can mail them to you.
BTW good to know about the Jhead-lite. I was planning to use one on my second build. I know I read where someone was using one on theirs on thingiverse... I'll have to search them out and find what they did. Then again, I think the earlier versions of Smartrap had a longer Servo/Probe arm. That may solve your problem.
Try looking at this servo/probe arm.
Thanks for the offer, PM sent. I did pick up a full graphics display with my RAMPS and have already made a custom welcome screen.
 That is one thing I am glad I decided to get for this project.
 You mentioned some slippage on your X axis. It's my Y axis that is a bit tight on mine, but both are wrapped 6 turns with the line and I have not had any slippage on either one. I'm using 70 lb test Spectra.
|
Re: Madmike8's Smartrap Build April 04, 2014 12:09AM |
Registered: 10 years ago Posts: 814 |
Noticed that mine was printing mirrored on the Y axis. Wow, that took a while to figure out. Inverting the axis was the easy part, but getting the endstop to function correctly was a pain. Well crash course into Marlin, LOL. I finally got it figured out though. If anyone runs into it I can share my Marlin files.
|
Re: Madmike8's Smartrap Build April 04, 2014 12:29AM |
Registered: 10 years ago Posts: 229 |
Quote
madmike8
Noticed that mine was printing mirrored on the Y axis. Wow, that took a while to figure out. Inverting the axis was the easy part, but getting the endstop to function correctly was a pain. Well crash course into Marlin, LOL. I finally got it figured out though. If anyone runs into it I can share my Marlin files.
I kind of have a feeling mine is doing the same thing, though I don't have my limit switches wired in yet, so I can't say for sure. What part of Marlin did you end up editing?
|
Re: Madmike8's Smartrap Build April 04, 2014 01:03AM |
Registered: 10 years ago Posts: 814 |
Hmmm... Well Configuration.h and Pins.h
I'll go through tomorrow and figure out exactly what changes. I made so many, try something, work/no work, switch it back changes that I'm not sure what's in the final version.
I'll compare to the default file and post my differences. Most of the threads that popped up in google said to move the endstop, but that isn't really an option on a Smartrap.
From what I remember... I learned the X=0 is Hotend Left and Y=0 is Hotend Front. That means X Min Endstop is correct, but Y Endstop is actually Max. If you invert the Y Direction, you also have to invert the Y Home Direction. When I did that the Y Home in Pronterface quit working. So, that when I went to trying things. From what I can remember I had to enable Y Max in pin.h and set the Pin to 14 instead of 15. Then I did some changes in configuration.h for YMax. I'll get those sorted out and posted tomorrow.
Edited 1 time(s). Last edit at 04/04/2014 01:21AM by madmike8.
|
Re: Madmike8's Smartrap Build April 07, 2014 01:24AM |
Registered: 10 years ago Posts: 13 |
|
Re: Madmike8's Smartrap Build April 07, 2014 08:37AM |
Registered: 10 years ago Posts: 814 |
|
Re: Madmike8's Smartrap Build April 07, 2014 10:53AM |
Registered: 10 years ago Posts: 229 |
Quote
solarprism
Hi, very nice build
May I ask which power supply you used for your smartrap, I think they said can be 19V 60W adapter, can I use 12V 5A ?
Thank you
12V at 5A is 60W, so it should work as long as your not planing on adding a heated bed. I'm using an old PC power supply and lucked out with it having 12V at 8A, so with 96W, I should have some to spare.
P=I*E or Power(watts) = I(current) * E(voltage)
Mark
|
Re: Madmike8's Smartrap Build April 08, 2014 11:44AM |
Registered: 10 years ago Posts: 814 |
I'm getting slipping with the fishing line, and at other times binding. It might be that I'm using 50lb Test Braided Spectra line (Which is what I can get locally) or that I suck at tieing the stuff...
I'm going to try the conversion over to GT2 Belts when the parts get here.
I'm going to try this one Smartrap Mini - Improvements in the X and Y axis
It looks simple enough that I think I can pull it off.
I have had some decent prints while trying to print parts for my Ordbot Hadron, but it's not very reliable at the moment.
|
Re: Madmike8's Smartrap Build April 08, 2014 12:24PM |
Registered: 10 years ago Posts: 553 |
You can try a dremel sanding tube, kinda like what the Printrbot Simple uses. Just design/print and adapter for the motor shaft and wind the fishing line around the sanding tube.
Also, you might want to look into guitar string tensioners if you are having trouble tensioning the fishing line.
greghoge.com
HUGE 3D PRINTER PARTS SALE!!!
Also, you might want to look into guitar string tensioners if you are having trouble tensioning the fishing line.
greghoge.com
HUGE 3D PRINTER PARTS SALE!!!
|
Re: Madmike8's Smartrap Build April 08, 2014 02:09PM |
Registered: 10 years ago Posts: 229 |
Video for tying line - [www.videojug.com]
But if your having a lot of trouble with string slipping, might have more to do with bad bearings, misalignment, etc.. Sure enough, the belts will be far less likely to slip, no two ways about that.
Mark
But if your having a lot of trouble with string slipping, might have more to do with bad bearings, misalignment, etc.. Sure enough, the belts will be far less likely to slip, no two ways about that.

Mark
|
Re: Madmike8's Smartrap Build April 08, 2014 06:41PM |
Registered: 10 years ago Posts: 814 |
|
Re: Madmike8's Smartrap Build April 10, 2014 10:43PM |
Registered: 10 years ago Posts: 814 |
|
Re: Madmike8's Smartrap Build April 10, 2014 11:24PM |
Registered: 10 years ago Posts: 814 |
|
Re: Madmike8's Smartrap Build April 10, 2014 11:44PM |
Registered: 10 years ago Posts: 229 |
|
Re: Madmike8's Smartrap Build April 11, 2014 12:04AM |
Registered: 10 years ago Posts: 814 |
|
Re: Madmike8's Smartrap Build April 11, 2014 02:20AM |
Registered: 10 years ago Posts: 814 |
|
Re: Madmike8's Smartrap Build April 12, 2014 02:21AM |
Registered: 10 years ago Posts: 814 |
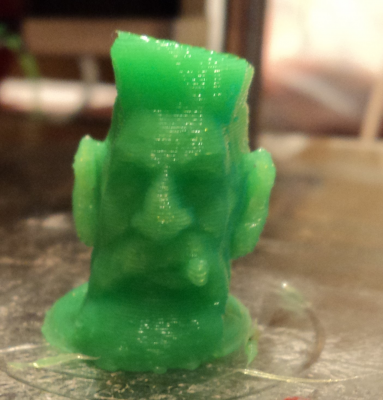
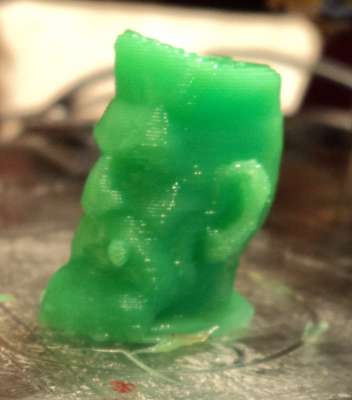
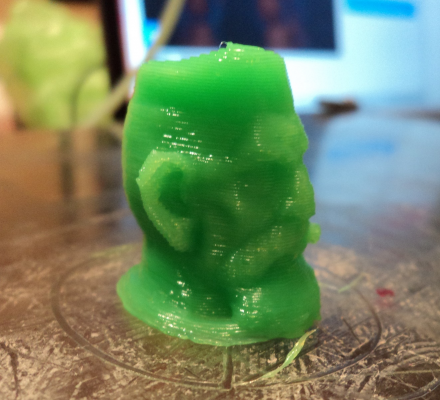
I'm finishing out my spool, So I printed the Zombie Hunter scaled down to 20%.
|
Re: Madmike8's Smartrap Build April 14, 2014 06:06AM |
Registered: 10 years ago Posts: 992 |
guys,, you do here a wonderful job !
I'm impresed I'n so sorry to don't come here more often, as i'm taken by producing the kits.
I will read more often if you have any questions regarding problems with the smartrap .. I guess i could answer ?
Thx , you make live this project very well.
the Smartrap project
[smartfriendz.com]
[www.thingiverse.com]
[reprap.org]
[github.com]
doc assemblage: [reprap.org]
NEW: Forum smartfriendz: [smartraptalk.smartfriendz.com]
I'm impresed
 I'n so sorry to don't come here more often, as i'm taken by producing the kits.
I will read more often if you have any questions regarding problems with the smartrap .. I guess i could answer ?
Thx , you make live this project very well.
the Smartrap project
[smartfriendz.com]
[www.thingiverse.com]
[reprap.org]
[github.com]
doc assemblage: [reprap.org]
NEW: Forum smartfriendz: [smartraptalk.smartfriendz.com]
|
Re: Madmike8's Smartrap Build April 14, 2014 02:33PM |
Registered: 10 years ago Posts: 814 |
Don't be sorry Serge, you've got a great little printer. It's easy to build, and with your preset Marlin and Slicer files it easy to get printing. Thanks!
I'm very happy with my first printer. I'm not sure if the belts are necessary, I'm not very good working with the fishing line. The belts are pretty easy to setup though.
Now, I'm going to work on building another Smartrap! This time with a Jhead.
I'm very happy with my first printer. I'm not sure if the belts are necessary, I'm not very good working with the fishing line. The belts are pretty easy to setup though.
Now, I'm going to work on building another Smartrap! This time with a Jhead.
|
Re: Madmike8's Smartrap Build April 14, 2014 04:39PM |
Registered: 10 years ago Posts: 148 |
Sorry, only registered users may post in this forum.
