Madmike8's Funbot build #2
Posted by madmike8
|
Re: Madmike8's Funbot build #2 July 21, 2015 05:46PM |
Registered: 8 years ago Posts: 95 |
Hello MadMike8,,,,, I love your Funbot and even though I have just started to build my first 3D printer,, The Folgers 2020 i3... and a total newbie .. I would like to do another printer project after I get the one I am building now finished and printing properly,, I think building one from scratch will be a great learning experience, I was going to do their Smartrap core but this looks to be a much more economic learning solution.. question How are the bronze bushings working out,, I have access to some 3/8 drill rod ... can you tell me the lengths that are needed and how many,, also do you have a link to all the .stl files for the printer? how many and what kind of steppers.. Is there a complete BOM anywhere..
|
Re: Madmike8's Funbot build #2 July 21, 2015 07:15PM |
Registered: 10 years ago Posts: 814 |
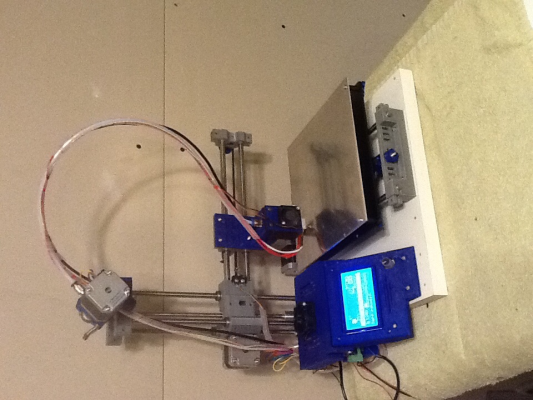
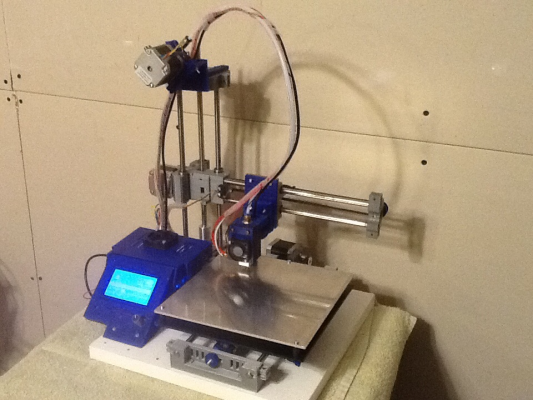
The first post in this thread has the Thingiverse links to all the STL's. On the first page is also a BOM. Cliff who designed the Funbot uses a Direct drive extruder. I prefer the Bowden setup, and my remix mainly is to that end along with Bronze bushing adapters. I definately recommend the bronze bushings. You can get them through Servocity.com, Fastenal.com, or EBay. I used 7x 12" length rods on both my builds. I built #2 a bit different to include the use of the MK3 heatbed, and so far I'm liking it.
So far, both printers have pretty much worked out of the gate. Cliff's pre-setup Marlin files helped with that. #1 has been running reliably for a couple months now. I'm on like the 4th or 5th roll of filament with no hardware failures or changes. I might go back and convert #1 to use a heatbed though, but it's been printing PLA just fine without it.
If you have any questions, just ask.
|
Re: Madmike8's Funbot build #2 July 21, 2015 07:19PM |
Registered: 10 years ago Posts: 814 |
|
Re: Madmike8's Funbot build #2 July 22, 2015 08:24AM |
Registered: 8 years ago Posts: 95 |
Thanks for the information Madmike8 .. on the bronze bushings.. I have an account with Grainger's and they are just minutes from my home.. they have 3/8" ID 3/4"L and 1/2 outside flanged.. will they fit your printed carrier.. and what is the size of the print area ,, and could I enlarge that area a couple inches by lengthening the Rods without changing the printed parts and still be stable.. Thanks Mike
|
Re: Madmike8's Funbot build #2 July 22, 2015 09:48AM |
Registered: 10 years ago Posts: 814 |
On build #1, My build area is set as 165X x 165Y x 130Z with v1 parts (it's actually a bit bigger, but that's what I have it set at.). On build #2 with v2 parts, I extended the Y by using the full rod length. I got 170X x 180Y x 140Z. Both builds use 12" rods. As long as you use a Bowden system, so there isn't a lot of weight hanging on the X axis. Use rods instead of the tubes I used. I think you'll be fine extending the build area.
Those bearings will work. I use one bushing per adapter, so 14 bushings...
Those bearings will work. I use one bushing per adapter, so 14 bushings...
|
Re: Madmike8's Funbot build #2 August 07, 2015 09:32PM |
Registered: 10 years ago Posts: 814 |
|
Re: Madmike8's Funbot build #2 August 14, 2015 10:43AM |
Registered: 10 years ago Posts: 814 |
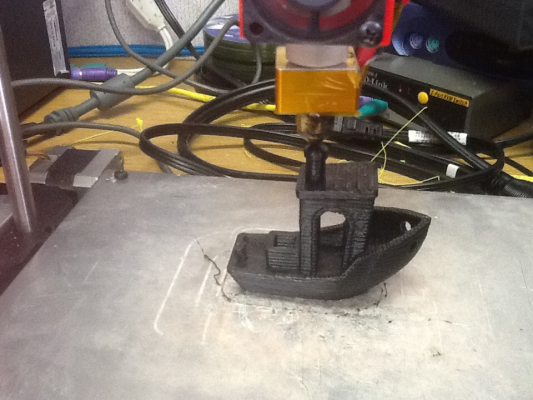
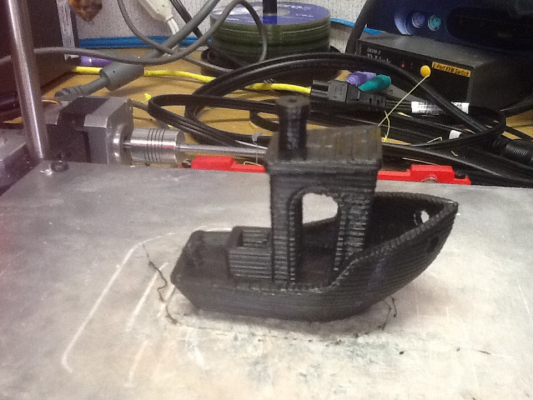
I think I have my Funbot's Bowden Slic3r settings pretty good now. Supports break away. No stringies. So, I'm going to attach my Slic3r config for others to try.
If you have a Bowden setup, you might give it a try. Remember to set bed size and temp of your filament for your printer.
If you have a Bowden setup, you might give it a try. Remember to set bed size and temp of your filament for your printer.
|
Re: Madmike8's Funbot build #2 August 14, 2015 01:26PM |
Registered: 10 years ago Posts: 814 |
|
Re: Madmike8's Funbot build #2 August 15, 2015 01:57AM |
Registered: 10 years ago Posts: 148 |
|
Re: Madmike8's Funbot build #2 August 15, 2015 09:36AM |
Registered: 10 years ago Posts: 814 |
Thanks Cliff.
The Xbox PS did great during the long print. I'm pretty happy with it.
I'm printing parts for a #3 Funbot with the #1 Funbot. LOL. I'm going to test some different ideas with it. You really have designed one great printer!
I probably won't start putting it together until I get the SmartCore done though.
|
Re: Madmike8's Funbot build #2 August 30, 2015 09:32PM |
Registered: 9 years ago Posts: 4 |
|
Re: Madmike8's Funbot build #2 August 30, 2015 09:42PM |
Registered: 10 years ago Posts: 814 |
|
Re: Madmike8's Funbot build #2 August 31, 2015 01:00PM |
Registered: 10 years ago Posts: 148 |
|
Re: Madmike8's Funbot build #2 October 26, 2015 12:35PM |
Registered: 10 years ago Posts: 814 |
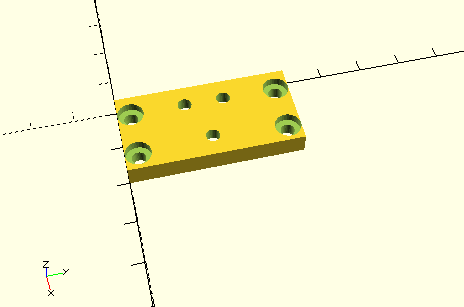
Here's a quick thrown together Chimera mount for the Funbot for Djinn.
|
Re: Madmike8's Funbot build #2 October 27, 2015 09:50AM |
Registered: 9 years ago Posts: 178 |
Nice job man, although I think I'm going to put a spin on it, going to turn 90deg. The extruders will be mounted similarly to your 45 angle on top of the z. So both Bowden's are the same length. The only thing that concerns me is when x is close to the top and home. So I might need to mount extruders differently.
|
Re: Madmike8's Funbot build #2 October 27, 2015 10:20AM |
Registered: 10 years ago Posts: 814 |
|
Re: Madmike8's Funbot build #2 October 27, 2015 11:32AM |
Registered: 10 years ago Posts: 814 |
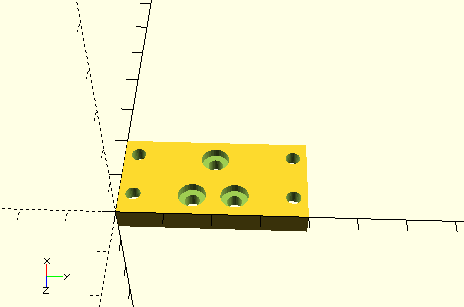
Something like this? I offset it 6mm to the right to center the nozzles.
Edited 1 time(s). Last edit at 10/27/2015 11:36AM by madmike8.
Edited 1 time(s). Last edit at 10/27/2015 11:36AM by madmike8.
|
Re: Madmike8's Funbot build #2 October 27, 2015 01:33PM |
Registered: 9 years ago Posts: 178 |
|
Re: Madmike8's Funbot build #2 October 27, 2015 02:15PM |
Registered: 10 years ago Posts: 814 |
|
Re: Madmike8's Funbot build #2 October 27, 2015 04:09PM |
Registered: 9 years ago Posts: 178 |
|
Re: Madmike8's Funbot build #2 November 05, 2015 05:50PM |
Registered: 8 years ago Posts: 33 |
I guess this place is as good as any to ask...
I'm building the Funbot, and I've run into some real beginner issues. Namely, I think I've stripped the heads of the screws I was attempting to use for the Zbase. So I'm thinking I'm screwed on that part, going to need to get another one. Any way to salvage? They're almost threaded through the base itself, almost enough to tack it in place on the base board. They're hex head machine screws, which is probably where I went wrong.
Also, the rods I'm using. They're mostly rather dull and makes bushings rather hard to slide. Except the z Base, again, they don't fit snugly at all. They're rather loose and will slide right out if I pick it up. I'm trying to follow the guides but I keep feeling like I have questions and I can't ask them. Mostly regarding screws, I think I need to break it down by part rather than screw type.
Any help would be amazing. I've been trying to get this off the ground for months now.
|
Re: Madmike8's Funbot build #2 November 05, 2015 06:01PM |
Registered: 10 years ago Posts: 814 |
I'm willing to help. Can you get pics to clarify what your talking about? The Z base uses long screws. Three screw down through the base and tightened with a nut. Then the others screw up through the base into the Z axis stepper (you remove the screws in the stepper). Which ones did you strip?
|
Re: Madmike8's Funbot build #2 November 05, 2015 06:06PM |
Registered: 8 years ago Posts: 33 |
The screws going down to hold the base to the board, I believe they're 25mm so that's probably part of my problem. 25mm just barely pokes through the board on the y axis mounts. I'm gonna end up reprinting it, I think, getting them out seems difficult at best and then there's the issue with the Z axis rods being super loose.
|
Re: Madmike8's Funbot build #2 November 05, 2015 06:20PM |
Registered: 10 years ago Posts: 814 |
The rods should be pretty tight. I normally have to tap them down into the base.
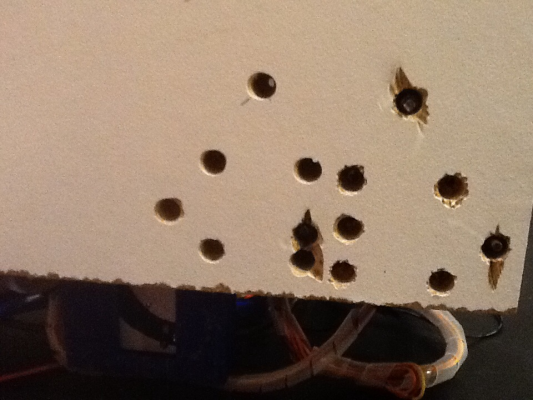
I drill the mounting template with a 3mm drill bit then I turn the base over and use a 6mm drill bit to drill about halfway through the board. This makes it possible to use a bit shorter screws. Sorry bad pic as I had drill this one for my other project, and redrilled it for the M8 rod version. But I hope it helps. What is yours printed in? If PLA you might could put a soldering iron on the screw till it softens the plastic and remove it.
I drill the mounting template with a 3mm drill bit then I turn the base over and use a 6mm drill bit to drill about halfway through the board. This makes it possible to use a bit shorter screws. Sorry bad pic as I had drill this one for my other project, and redrilled it for the M8 rod version. But I hope it helps. What is yours printed in? If PLA you might could put a soldering iron on the screw till it softens the plastic and remove it.
|
Re: Madmike8's Funbot build #2 November 05, 2015 06:29PM |
Registered: 10 years ago Posts: 814 |
M8 version of the Funbot nearly ready to print. This one has an inductive sensor for bed leveling.
Funbot Autolevel Video
Funbot Autolevel Video
|
Re: Madmike8's Funbot build #2 November 05, 2015 08:57PM |
Registered: 8 years ago Posts: 33 |
|
Re: Madmike8's Funbot build #2 November 07, 2015 02:16AM |
Registered: 10 years ago Posts: 814 |
|
Re: Madmike8's Funbot build #2 November 07, 2015 02:19AM |
Registered: 8 years ago Posts: 33 |
|
Re: Madmike8's Funbot build #2 November 07, 2015 02:59AM |
Registered: 10 years ago Posts: 814 |
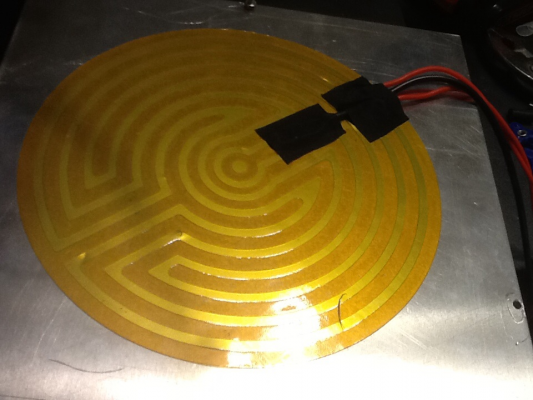
Working from memory... 3 Yellow Larger wires +12V, 3 Black Larger Wires Ground, Small Blue Wire +5V. Tie 5V to Gnd to turn on Powersupply. I use a switch for that. It Powers the Funbot, Hotend, and Kapton Bed Heater just fine. You can also use a USFF Dell Power Brick in the same way.
Kapton Heater
Kapton Heater
|
Re: Madmike8's Funbot build #2 December 15, 2015 10:59PM |
Registered: 10 years ago Posts: 814 |
Sorry, only registered users may post in this forum.
