Tronxy X5SA-500-PRO leveling issue
Posted by jg123
|
Tronxy X5SA-500-PRO leveling issue September 03, 2020 11:51AM |
Registered: 3 years ago Posts: 1 |
[youtu.be]
I recently purchased a Tronxy X5SA-500-Pro printer and have been having troubles. Even after resetting to factory settings and leveling out the z-axis motors, the auto-leveling still says there are large discrepancies in the bed. These discrepancies are so large that moving the screws has little impact--the method that tronxy suggests to level the plate (fixing one large number in leveling results in another large number elsewhere on the plate, screws being completely unscrewed, etc.).
I have a feeling this problem arises from the printing bed itself not being true. This is indeed the case, but I'm wondering if it would cause this large an issue: the plate is warped inward like a bowl, with the highest edge 2mm above the center.
Let me know if you have any ideas or fixes!
Thanks,
James
|
Re: Tronxy X5SA-500-PRO leveling issue September 07, 2020 09:12PM |
Registered: 3 years ago Posts: 11 |
Not seeing in answers so I will throw in something that may be worth considering. I would try some aluminium L shape angle around the edge on the bottom bolted through to see if that helps to level it up better. It may also be worth putting angle along the bendy outer bars that the Z screws go through as well.Then I would get a glass top which would have to be only 2mm thick if you are using the inductive? sensor that they come with standard. The glass should sit flatter across I think. I will be trying the glass on my Tronxy X5SA 330x330x400 sometime today I think and I will get back if there are any issues or not.
Another thought....if the bed is lower in the middle you may be able to run a bar under the hot bed insulation across front to back retained by under the middle adjustment bolts and then pack some more insulation in between to push the bed upward.
Edited 1 time(s). Last edit at 09/08/2020 05:43AM by RockyAussie.
|
Re: Tronxy X5SA-500-PRO leveling issue September 13, 2020 07:27PM |
Registered: 3 years ago Posts: 11 |
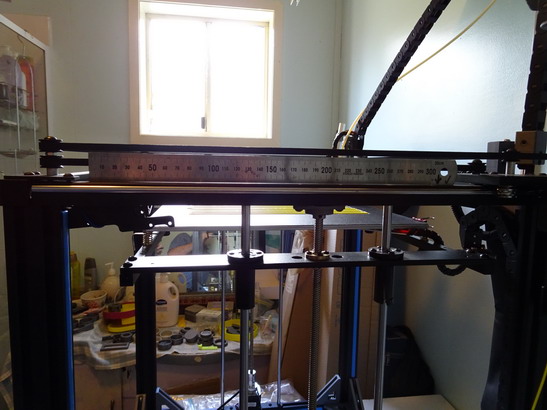
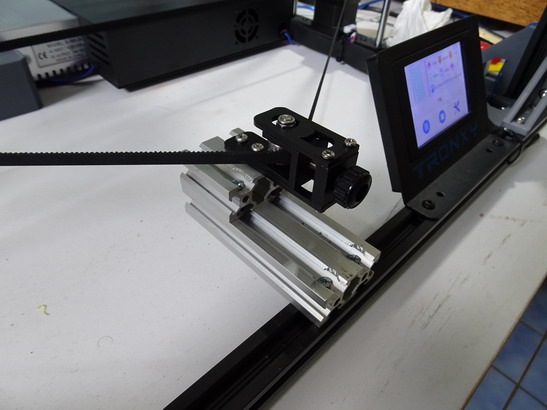
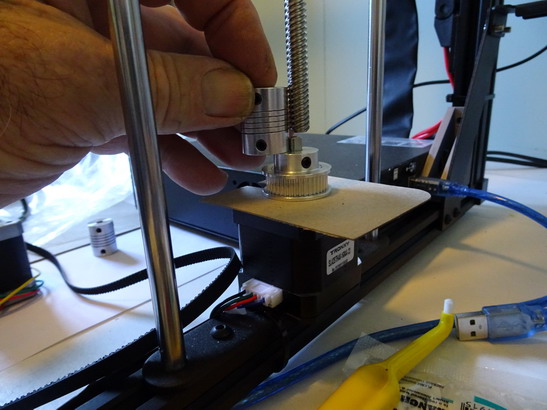
I am happy to say the 2mm glass worked very well and I now no longer have to fight to remove the print of my bed between prints. I have also tied my Z rods together which now means I no longer need to reset levels etc between prints. I have not seen any variation larger that .1mm when doing a auto bed level even after the machine has been off. I don't know how to make the pictures show up within the message so I will put in some attachments. Note: during the Z tying process I noticed that the top rails had been pulled downward in the assembly when doing up the Z guide shafts and this can be fixed by inserting some suitable size washers between these shafts and the top rail.
Brian
Brian
Sorry, only registered users may post in this forum.