CoreXYNZ build
Posted by RodF
|
CoreXYNZ build June 22, 2016 06:46AM |
Registered: 10 years ago Posts: 221 |
Hi everyone this will be my second build on this forum. The first one was a Mendle 90 style which has been great. [forums.reprap.org] .This has been running for a couple of years so now it is time to upgrade (hopefully). Core XYNZ is short for CoreXY New Zealand, my home. I have been inspired by the great contributors on this forum. So here goes.
Form follows function, here is my list of functionality, mostly inspired by the Rugged CoreXY thread but others also.
300x300x400mm print volume.
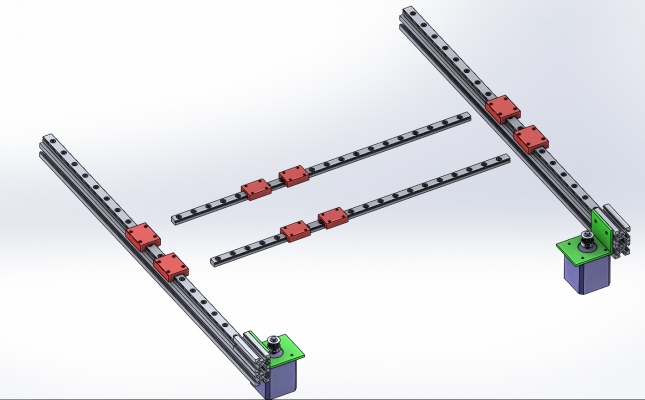
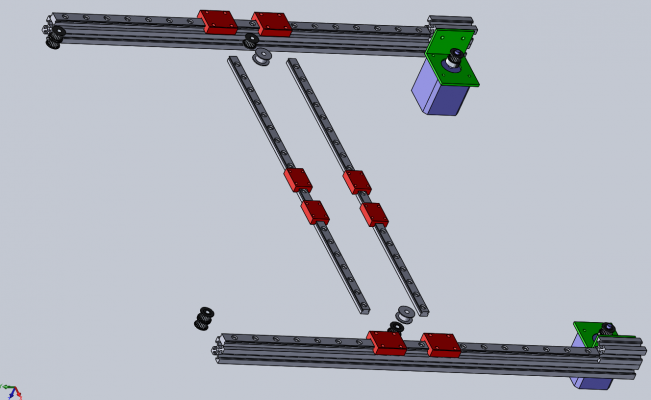
Dual linear rails on all axis with dual sliders on each XY rail and one long slider on each Z rail.
Dual level XY belts with smooth and cogged idlers.
Three ball screws on the z axis driven by one stepper.
Single E3DV6 with volcano hotend. Still undecided about extruder.
220V bed heater.
Smoothie board controller with Viki 2 LCD
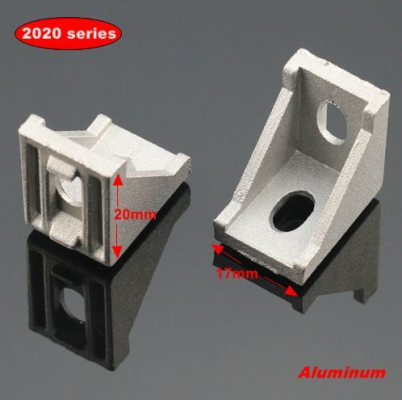
Frame 2020 with 3 and 4mm T nuts and cast 90 degree corner brackets.
Custom parts made on my lathe, mill and printer, I have a full engineering workshop.
Edited 2 time(s). Last edit at 06/22/2016 08:25AM by RodF.
|
Re: CoreXYNZ build June 22, 2016 07:09AM |
Registered: 10 years ago Posts: 780 |
|
Re: CoreXYNZ build June 22, 2016 08:07AM |
Registered: 10 years ago Posts: 221 |
|
Re: CoreXYNZ build June 22, 2016 08:24AM |
Registered: 9 years ago Posts: 346 |
Quote
RodF
Dual linear rails on all axis with dual sliders on each XY rail and one long slider on each Z rail.
.
On the X axis (the one that holds the hotend) this is not necessary. Have a look at Hobbymods thread here in the forum. It was the consensus of everybody that only one rail is needed and he even asked the supplier and they also said this. So you should just install one rail and optimize space use and reduce cost.
The loads we have on our printers are so small that it will be OK to do this.
|
Re: CoreXYNZ build June 22, 2016 09:24AM |
Registered: 10 years ago Posts: 221 |
Well I think I will buck the trend and go rugged. The 12mm rail is ordered and on the way.
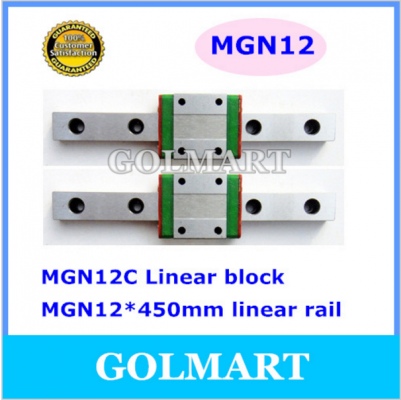
MGN12C carriage block x4.
[www.aliexpress.com]
MGN12 rails 450mm long with MGN12C blocks x4.
[www.aliexpress.com]
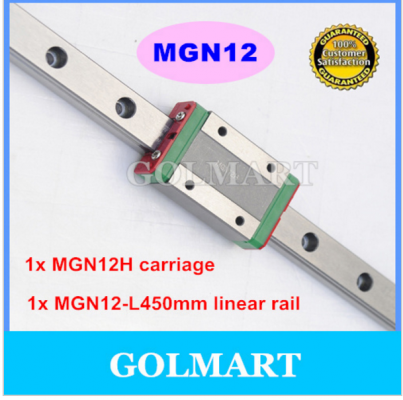
MGN12 rails 450mm long with MGN12H blocks x2 for Z axis
[www.aliexpress.com]
l
Edited 2 time(s). Last edit at 06/22/2016 09:36AM by RodF.
MGN12C carriage block x4.
[www.aliexpress.com]
MGN12 rails 450mm long with MGN12C blocks x4.
[www.aliexpress.com]
MGN12 rails 450mm long with MGN12H blocks x2 for Z axis
[www.aliexpress.com]
l
Edited 2 time(s). Last edit at 06/22/2016 09:36AM by RodF.
|
Re: CoreXYNZ build June 22, 2016 10:56AM |
Registered: 9 years ago Posts: 346 |
Two rails on the X axis but you only use 2020 profile and M3 and M4 T nuts... That doesn't sound like a rugged design, just sounds like classic over-dimensioning of certain parts.
3d printing is all about choosing the proper parts that fits together strength wise but also that are easy to assemble. With 2x X rails you have all the problems of aligning the rails (they have to be perfect parallel) and you get zero advantages because your printer frame will be so flexible.
If you ever mount a four-hotend with direct extruders then you might have enough weight to warrant the two rails - But then with a build volume of 300 x 300 x 400 you will have a frame of 450 x 450 x 600 and that made in 2020 with M3 and M4 nuts will flex and then you have to go and put in all sorts of supports to make it more stiff.
I think one of the absolute key lessons I learned about 3d printer design is; One component does not make the printer. There are no "drag-up" effect when choosing components. A very good rail wont stabilize and improve a poor frame or vice versa. An expensive hotend wont fix a wobbling heatbed. And so it goes.
Rather I had the opposite experience; when I upgraded my first printer with better bronze graphite bushings it started locking up because the belts were applying a turning moment. That was never a problem with the Chinese LM12 bearings because the balls just flexed. Not directly comparable to your choice of two X rails, but something worth thinking about.
Edited 1 time(s). Last edit at 06/22/2016 11:14AM by LarsK.
|
Re: CoreXYNZ build June 22, 2016 11:17AM |
Registered: 9 years ago Posts: 346 |
I should say to the Chinese LM12 story; The solution is and was (in progress) to re-design the printer to a system that works with the higher quality parts. If you see some particular purpose in two rails then you can stick with that and use a stronger frame. Maybe you want to do PCB or foam milling? Or install that 4xhotend with direct extruder and water cooling?
|
Re: CoreXYNZ build June 22, 2016 02:22PM |
Registered: 11 years ago Posts: 1,049 |
Please read and absorb all the data on core XY belts / pulleys / drives.
The long belt runs and pulleys may lead to problems
Pulley mounting, Toothed / flat idlers, flanged / non flanged, tensioning, alignment.
I am not sure of advantages / disadvantages of CoreXY?
Take a look at Folger Tech FT-5 not core XY but may be better easier use of belts
Rock solid linear guides on a rock solid frame
What is pitch on the Z-axis ballscrews? What size drive pulleys?
Have Phun

|
Re: CoreXYNZ build June 22, 2016 07:32PM |
Registered: 10 years ago Posts: 221 |
Thanks for the comments guys. I have done quite a bit of research on GT belts for another project. This document was really useful.
timing_belt_specs.pdf
I was concerned that a 6mm GT2 belt might flex too much, but at such low power levels I am feeling OK about it. However I will design it to be able to retrofit 9mm belts.
timing_belt_specs.pdf
I was concerned that a 6mm GT2 belt might flex too much, but at such low power levels I am feeling OK about it. However I will design it to be able to retrofit 9mm belts.
|
Re: CoreXYNZ build June 22, 2016 07:42PM |
Registered: 10 years ago Posts: 221 |
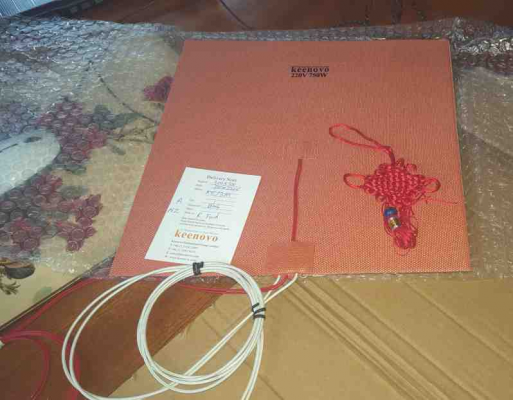
220V bed heater arrived today.
I really like the included tassel
300x300mm 220V heater
[www.aliexpress.com]
I really like the included tassel

300x300mm 220V heater
[www.aliexpress.com]
|
Re: CoreXYNZ build June 22, 2016 07:58PM |
Registered: 10 years ago Posts: 221 |
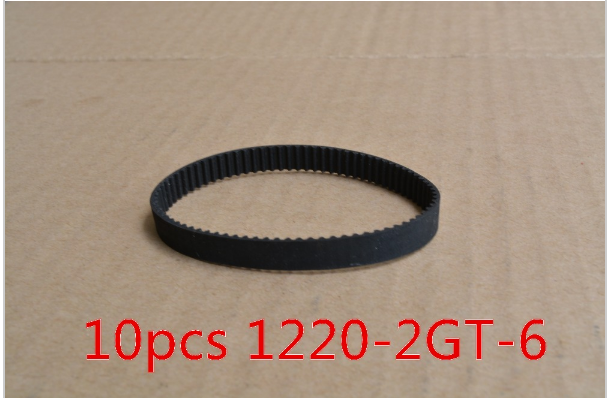
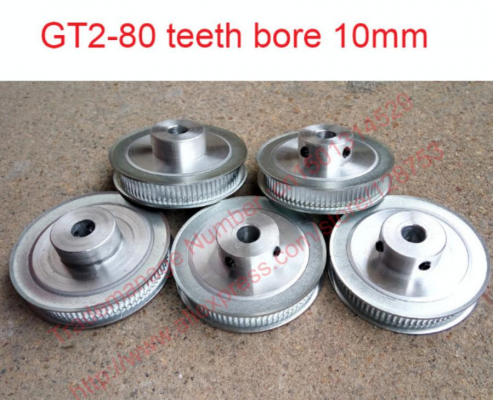
The Z axis will be one stepper motor driving three ball screws via a GT2 belt. 20 tooth motor pulley driving 80 tooth pulleys on the ball screws giving 4:1 ratio. With the 4mm pitch ball screws this gives some nice round numbers.
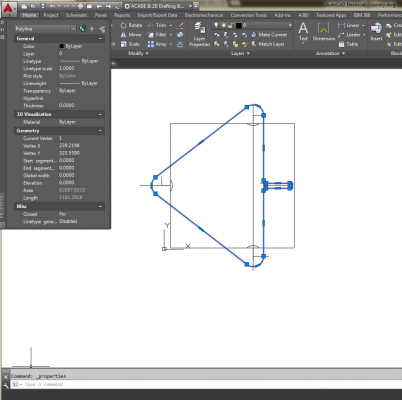
Here is my proposed belt arrangement
GT2 Timing belt 610 teeth 1220mm long 6mm wide closed.
[www.aliexpress.com]
]
Had to buy 10 of them but they are pretty cheap.
BTW they will be much longer than the above pic
Edited 2 time(s). Last edit at 06/22/2016 08:01PM by RodF.
Here is my proposed belt arrangement
GT2 Timing belt 610 teeth 1220mm long 6mm wide closed.
[www.aliexpress.com]
]
Had to buy 10 of them but they are pretty cheap.
BTW they will be much longer than the above pic

Edited 2 time(s). Last edit at 06/22/2016 08:01PM by RodF.
|
Re: CoreXYNZ build June 22, 2016 08:20PM |
Registered: 10 years ago Posts: 221 |
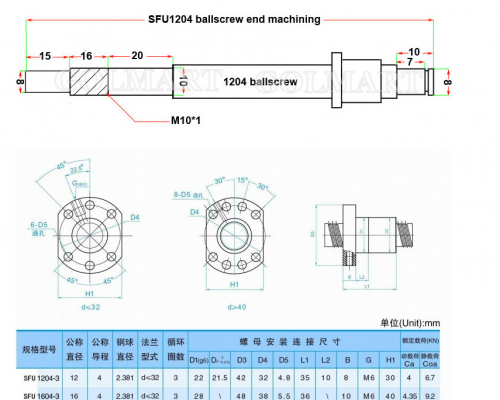
Ball screws
480x12mm ball screw and nut x3
[www.aliexpress.com]
80 tooth pulley I got them to change the bore to 8mm matching the ball screw.
GT2 Timing pulley 80 teeth 6mm wide bore altered to 8mm.
[www.aliexpress.com]
480x12mm ball screw and nut x3
[www.aliexpress.com]
80 tooth pulley I got them to change the bore to 8mm matching the ball screw.
GT2 Timing pulley 80 teeth 6mm wide bore altered to 8mm.
[www.aliexpress.com]
|
Re: CoreXYNZ build June 22, 2016 09:30PM |
Registered: 10 years ago Posts: 221 |
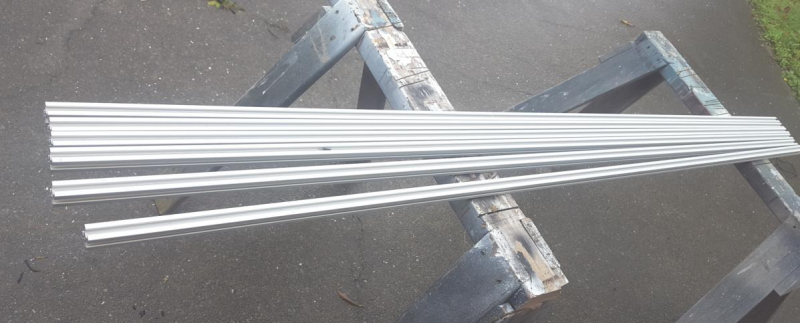
11.6 meters of 2020 (2x 5.8M lengths cut up for shipping) I have access to a nice chop saw once the design is finalised.
11.6 meters 2020 slotpro
[onequip.co.nz]
Corner blocks
[www.ebay.com]
M3 and M4 T nuts.
[www.ebay.com]
The 12mm rail is designed to use 3mm cap screws.
11.6 meters 2020 slotpro
[onequip.co.nz]
Corner blocks
[www.ebay.com]
M3 and M4 T nuts.
[www.ebay.com]
The 12mm rail is designed to use 3mm cap screws.
|
Re: CoreXYNZ build June 23, 2016 06:46AM |
Registered: 14 years ago Posts: 128 |
Three ball screws on the z axis driven by one stepper.
That is a good way to go, just make sure your stepper motor is big enough.
I started out with one lead screw being driven with one stepper motor, then added 2 more lead screws being driven with another stepper motor.
Nice to have a very firm print surface.
Having designed and built 3 Reprap's, One thing I found is that good planning to where PCB's and wiring go, something that often gets left out when designing the mechanics.
Also need to think about where you are going to mount filament rolls and whether you are going to have the printer enclosed.
Like your Mendle 90 style engineering work.
What area are you in New Zealand? I live in Rotorua.
Edited 1 time(s). Last edit at 06/23/2016 06:47AM by RepRot.
|
Re: CoreXYNZ build June 23, 2016 02:45PM |
Registered: 12 years ago Posts: 548 |
Don't forget to use a thermal fuse, you don't want extra excitement if it gets stuck on. :-)
|
Re: CoreXYNZ build June 23, 2016 03:39PM |
Registered: 11 years ago Posts: 1,049 |
Outstanding document
What title -- who did it?
Finally some talk of CoreXY type belt use
5.2 Long Length Timing Belt Stock
Get pass the tables
on page T-39 for more good stuff
Idlers in section 13 Page T-53

What title -- who did it?
Finally some talk of CoreXY type belt use
5.2 Long Length Timing Belt Stock
Get pass the tables
on page T-39 for more good stuff
Idlers in section 13 Page T-53

Quote
RodF
Thanks for the comments guys. I have done quite a bit of research on GT belts for another project. This document was really useful.
[attachment 80239 timing_belt_specs.pdf]
I was concerned that a 6mm GT2 belt might flex too much, but at such low power levels I am feeling OK about it. However I will design it to be able to retrofit 9mm belts.
|
Re: CoreXYNZ build June 23, 2016 07:07PM |
Registered: 10 years ago Posts: 221 |
Hi Reprot I am in Lower Hutt. I've got 3x 2.5A nema 17 steppers and a 3A nema 23. So I will try the 17's on 2A the max the Smoothie drive will do. However I might order a 2M542 driver for the 23. Also thinking about a light extruder so may get a nema 14 and 11 to play with.
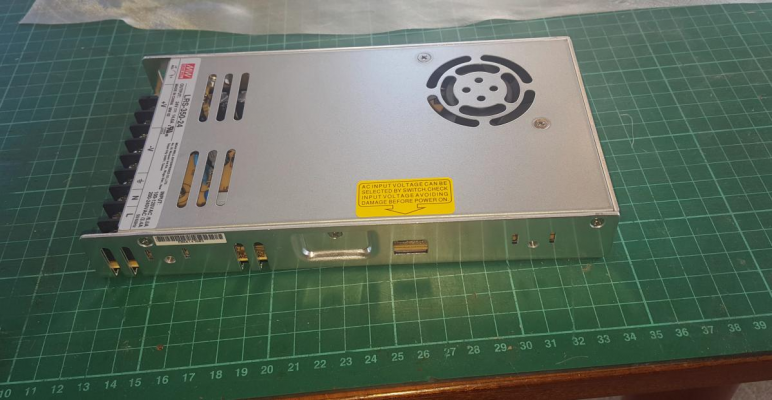
This low profile PS arrived today.
LRS-350-24v ultra thin power supply
[www.aliexpress.com]
This low profile PS arrived today.
LRS-350-24v ultra thin power supply
[www.aliexpress.com]
|
Re: CoreXYNZ build June 23, 2016 10:45PM |
Registered: 10 years ago Posts: 221 |
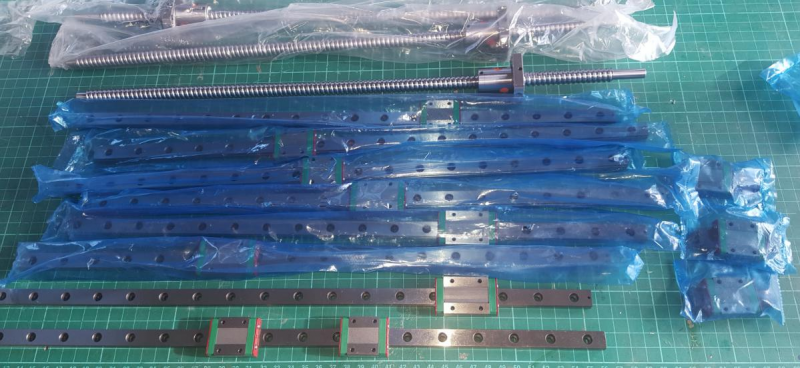
Ballscrews, rails and blocks arrived. They sent an extra couple of rails and blocks, nice bonus. The blocks feel very free and smooth on the rails.The rails feel very rigid, once mounted to some ali they will be plenty stiff enough. I am not necessarily going to use 2020 on the X axis, we shall see. These ball screws will allow for 400mm Z axis.
480x12mm ball screw and nut x3
[www.aliexpress.com]
MGN12C carriage block x4.
[www.aliexpress.com]
MGN12 rails 450mm long with MGN12C blocks x4.
[www.aliexpress.com]
MGN12 rails 450mm long with MGN12H blocks x2
[www.aliexpress.com]
480x12mm ball screw and nut x3
[www.aliexpress.com]
MGN12C carriage block x4.
[www.aliexpress.com]
MGN12 rails 450mm long with MGN12C blocks x4.
[www.aliexpress.com]
MGN12 rails 450mm long with MGN12H blocks x2
[www.aliexpress.com]
|
Re: CoreXYNZ build June 24, 2016 09:43PM |
Registered: 10 years ago Posts: 221 |
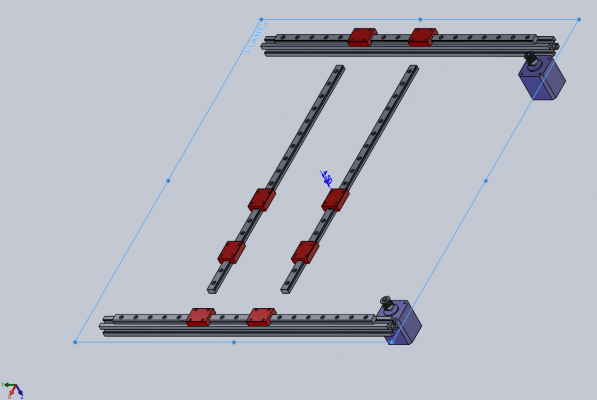
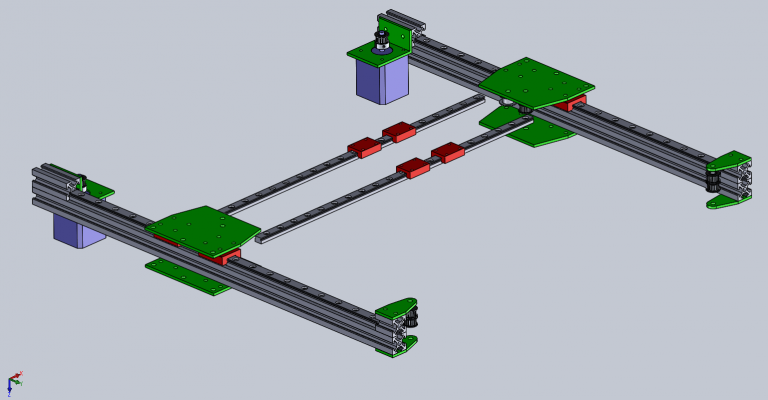
Working away at the design now. I have the spacings at max for 300x300 print size but will reduce these as I refine the design. The rails are all on the same plane and the belts will be above and below that.
|
Re: CoreXYNZ build June 27, 2016 01:47AM |
Registered: 10 years ago Posts: 221 |
Decided to go with MGN9 rails on the X axis. This will save 350gms over the MGN12. A single MGN15 and single MGN15H block would be 160gm heavier. Of course I have had to order the MGN9's so more expense.
|
Re: CoreXYNZ build June 27, 2016 08:38PM |
Registered: 10 years ago Posts: 221 |
|
Re: CoreXYNZ build June 28, 2016 12:24AM |
Registered: 10 years ago Posts: 221 |
Working on the idler mounts. I will change this but you get the idea. Will print the spacers.
|
Re: CoreXYNZ build June 28, 2016 07:47AM |
Registered: 11 years ago Posts: 5,780 |
How will you align the two X and Y axis rails so they are parallel?
Edited 1 time(s). Last edit at 06/28/2016 07:48AM by the_digital_dentist.
Ultra MegaMax Dominator 3D printer: [drmrehorst.blogspot.com]
Edited 1 time(s). Last edit at 06/28/2016 07:48AM by the_digital_dentist.
Ultra MegaMax Dominator 3D printer: [drmrehorst.blogspot.com]
|
Re: CoreXYNZ build June 28, 2016 09:58AM |
Registered: 10 years ago Posts: 221 |
Quote
the_digital_dentist
How will you align the two X and Y axis rails so they are parallel?
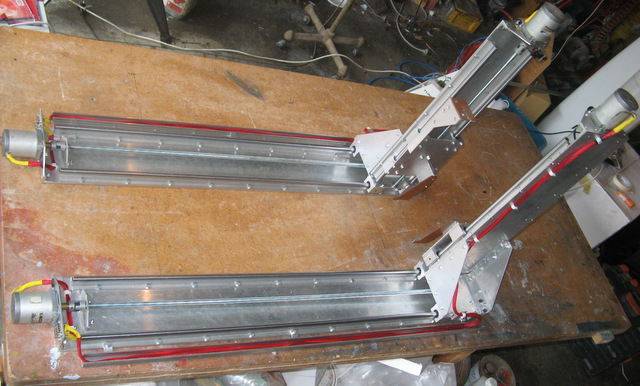
I will do the usual box structure,plenty of adjustment there. There is also some wriggle room connecting the rails to the 2020. In practice it seems to work out fine, my 4 axis foam cutter with 2 rails per axis was not a big deal to set up.
|
Re: CoreXYNZ build June 28, 2016 12:27PM |
Registered: 8 years ago Posts: 622 |
|
Re: CoreXYNZ build June 28, 2016 12:51PM |
Registered: 11 years ago Posts: 5,780 |
We're not talking about hanging pictures on a wall here. You need the ends of the rails aligned within 0.1 mm or better for the linear guides to move freely. How wide is the line that those levels produce, how accurate is the 90 degree relationship between the lines, and how repeatable is the leveling?
[www.amazon.com]
says self leveling accuracy is +/- 4 degrees. Ugh!
Edited 1 time(s). Last edit at 06/28/2016 12:53PM by the_digital_dentist.
Ultra MegaMax Dominator 3D printer: [drmrehorst.blogspot.com]
[www.amazon.com]
says self leveling accuracy is +/- 4 degrees. Ugh!
Edited 1 time(s). Last edit at 06/28/2016 12:53PM by the_digital_dentist.
Ultra MegaMax Dominator 3D printer: [drmrehorst.blogspot.com]
|
Re: CoreXYNZ build June 28, 2016 03:11PM |
Registered: 11 years ago Posts: 1,049 |
Could a bar of material at a fixed length
be used as a gauge to set rails parallel?
and
a good machinist square set X orthagonal to Y?
A technique like in:
[forums.reprap.org]
to align twist

be used as a gauge to set rails parallel?
and
a good machinist square set X orthagonal to Y?
A technique like in:
[forums.reprap.org]
to align twist

|
Re: CoreXYNZ build June 28, 2016 07:22PM |
Registered: 10 years ago Posts: 221 |
Looks like I can fit the XY platform on the mill bed so I can get it flat. However I might investigate getting a piece of granite. Once I get the XY running nicely I will sort out a way of attaching it to the Z axis frame with out distorting it.
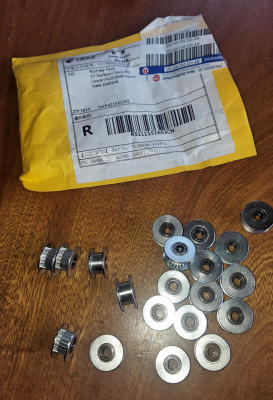
Smooth and toothed idlers arrived today. Now I can check the dimensions.
Smooth and toothed idlers arrived today. Now I can check the dimensions.
|
Re: CoreXYNZ build June 29, 2016 03:49AM |
Registered: 8 years ago Posts: 622 |
Quote
the_digital_dentist
We're not talking about hanging pictures on a wall here. You need the ends of the rails aligned within 0.1 mm or better for the linear guides to move freely. How wide is the line that those levels produce, how accurate is the 90 degree relationship between the lines, and how repeatable is the leveling?
[www.amazon.com]
says self leveling accuracy is +/- 4 degrees. Ugh!
I did say "calibrated" level and if you don't know how to check that then yes, you really shouldn't be using one. Even with a cheap level, you can still allow for or adjust any inaccuracy. I can assure you that done correctly, it is far more accurate than using a square which will be affected by any curvature of frame members. I'll post some pics of how to do it when I get around to it - my extrusion is still on a slow boat from Portugal. Meanwhile, please stop being so negative. As the old saying goes, "don't knock it until you've tried it".
|
Re: CoreXYNZ build June 29, 2016 03:07PM |
Registered: 11 years ago Posts: 5,780 |
I'm not being negative, just trying to understand how you can use such a device to align a printer with the required accuracy and precision. If it works I'll buy a laser leveler, but every laser I've ever seen produces a relatively wide beam with indistinct edges - suitable for hanging pictures or framing a deck, but precision alignment?. Between that and the basic +/- 4 degree spec I can't see how it would be possible to perform an accurate alignment. If you have a technique that works I'd love to hear some details about it.
Ultra MegaMax Dominator 3D printer: [drmrehorst.blogspot.com]
Ultra MegaMax Dominator 3D printer: [drmrehorst.blogspot.com]
Sorry, only registered users may post in this forum.
