CoreXYNZ build
Posted by RodF
|
Re: CoreXYNZ build August 06, 2016 12:50AM |
Registered: 10 years ago Posts: 221 |
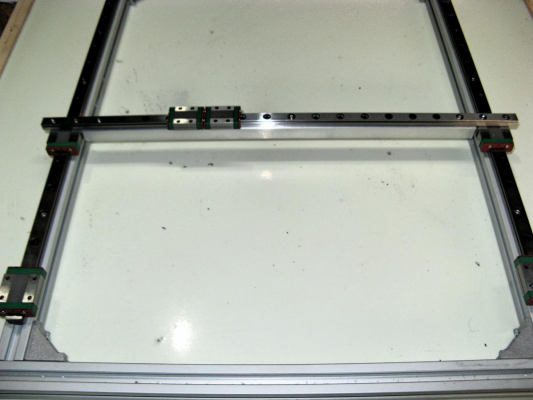
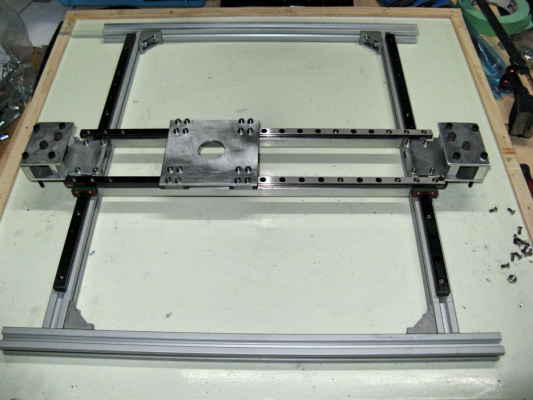
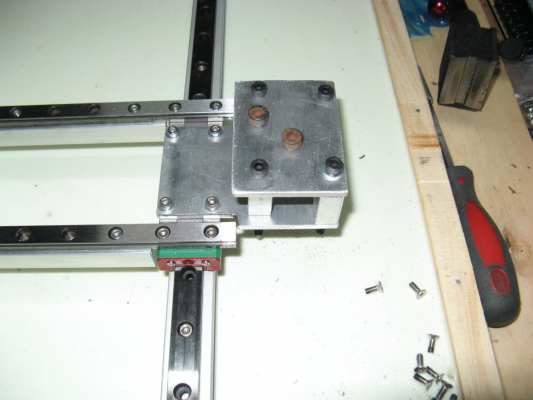
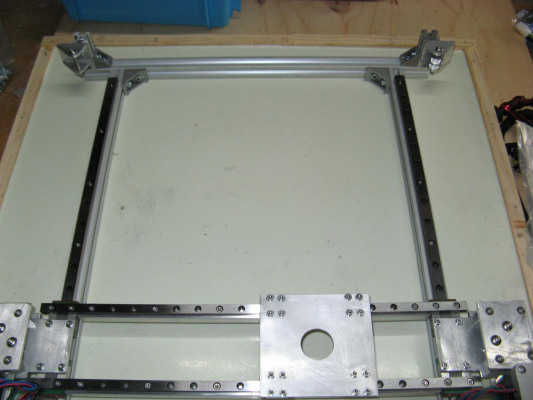
Started on the XY module. I assembled it on the table underneath and it was way out when I put it on my flat epoxy surface. Loosening and re-tightening the screws sorted it out. There is around 0.1mm sag in this X rail as it traverses. I will try a strong back on the rail and see what it does. I still have the option of a single 12mm rail mounted vertically.
Edited 2 time(s). Last edit at 08/06/2016 12:51AM by RodF.
Edited 2 time(s). Last edit at 08/06/2016 12:51AM by RodF.
|
Re: CoreXYNZ build August 07, 2016 08:13PM |
Registered: 10 years ago Posts: 221 |
Went and got a length of 12x12mm channel 2.5mm wall. This is also going to be used for the door frame. For a quick test I screwed it to the 9mm rail with only 3 screws. This reduced the bend to .05mm (I think it is bend not sag). Once I get some more screws in and shim it a little I should get down to .02mm or less.
Edited 1 time(s). Last edit at 08/07/2016 08:14PM by RodF.
Edited 1 time(s). Last edit at 08/07/2016 08:14PM by RodF.
|
Re: CoreXYNZ build August 08, 2016 08:41AM |
Registered: 10 years ago Posts: 221 |
|
Re: CoreXYNZ build August 09, 2016 01:34AM |
Registered: 10 years ago Posts: 221 |
|
Re: CoreXYNZ build August 09, 2016 02:04AM |
Registered: 10 years ago Posts: 221 |
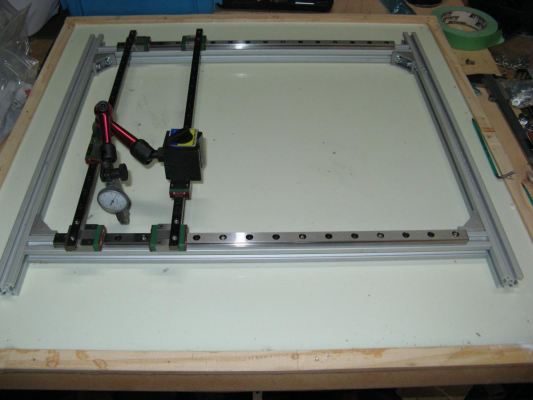
Telescoping guage helped get the X rails parallel. Verniers would do too but the guage was hands free.
|
Re: CoreXYNZ build August 10, 2016 05:17AM |
Registered: 10 years ago Posts: 221 |
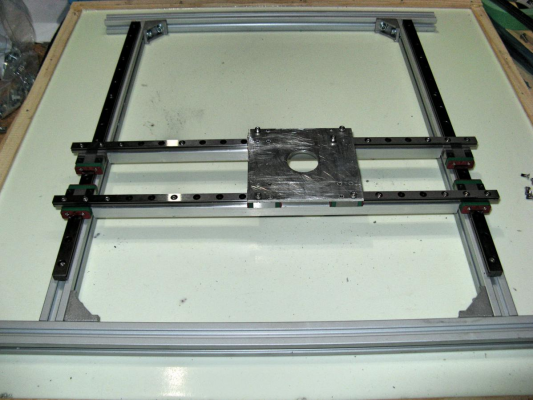
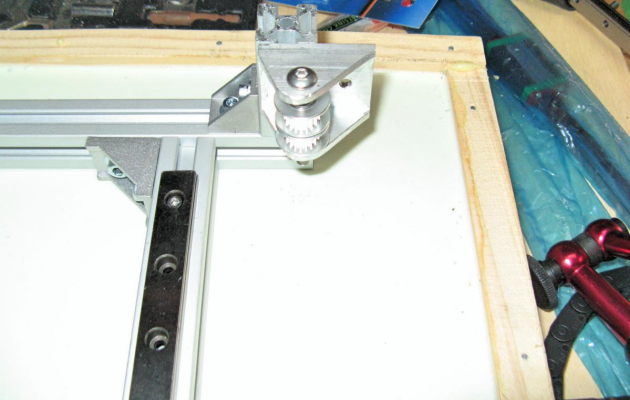
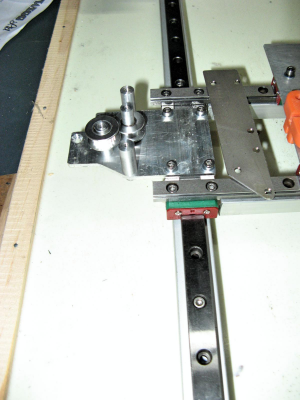
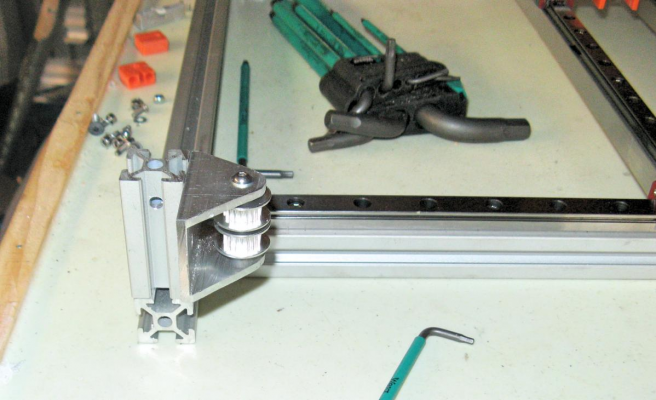
Working on the idler setup. Top reinforcing plate and some spacers.
Edited 4 time(s). Last edit at 08/10/2016 05:23AM by RodF.
Edited 4 time(s). Last edit at 08/10/2016 05:23AM by RodF.
|
Re: CoreXYNZ build August 10, 2016 05:35PM |
Registered: 7 years ago Posts: 168 |
|
Re: CoreXYNZ build August 11, 2016 01:20AM |
Registered: 10 years ago Posts: 221 |
Quote
hobbymods
I love the way you are giving so much attention to the alignment of the linear rails, I think it will pay off for you.
Hope you're going to use some nicer looking bolts in the end lol
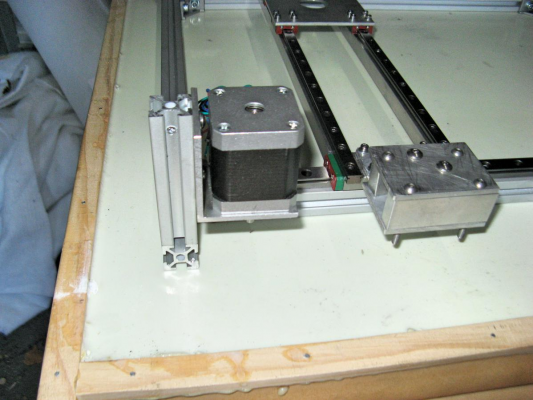
Digital Dentist got me thinking about how I would do the setup. Once I have the parts made I will do the setup. I've left a bit of wriggle room on the hole sizes for that. Got the motors on and went and got some more stainless fasteners

|
Re: CoreXYNZ build August 11, 2016 06:21PM |
Registered: 10 years ago Posts: 221 |
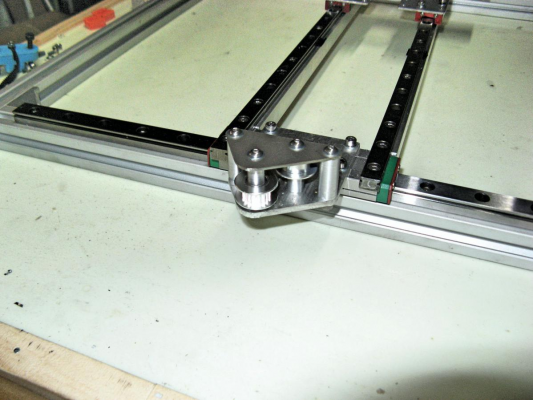
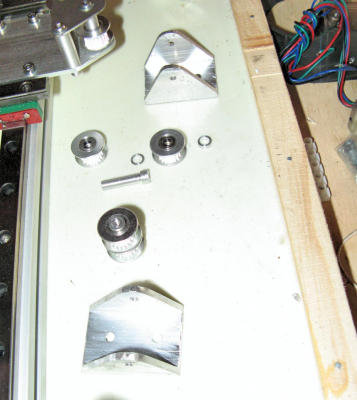
Made the end idler mounts. Hopefully everything is going to line up nicely. Now on to the belt retainers and tensioners on the extruder carriage.
|
Re: CoreXYNZ build August 11, 2016 06:45PM |
Registered: 7 years ago Posts: 40 |
It's looking good.
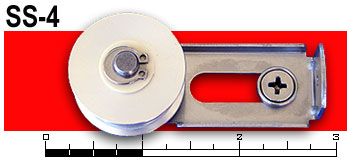
Well done. I am in the middle of drawing my iteration of the coreXY just now. as I draw i am searching for each component as I require them, I found these lovely commercial belt tensioners, I might just try them...
Automatic belt tensioners
Well done. I am in the middle of drawing my iteration of the coreXY just now. as I draw i am searching for each component as I require them, I found these lovely commercial belt tensioners, I might just try them...
Automatic belt tensioners
|
Re: CoreXYNZ build August 11, 2016 09:54PM |
Registered: 10 years ago Posts: 221 |
Quote
Calvinx66
It's looking good.
Well done. I am in the middle of drawing my iteration of the coreXY just now. as I draw i am searching for each component as I require them, I found these lovely commercial belt tensioners, I might just try them...
Automatic belt tensioners
Cheers, thanks for sharing. This is a good solution. You might want to use the static version. Have a look in this document at the idler section. I posted it at the beginning but it is worth another post. Edit I see the dynamic idlers are lockable

timing_belt_specs.pdf
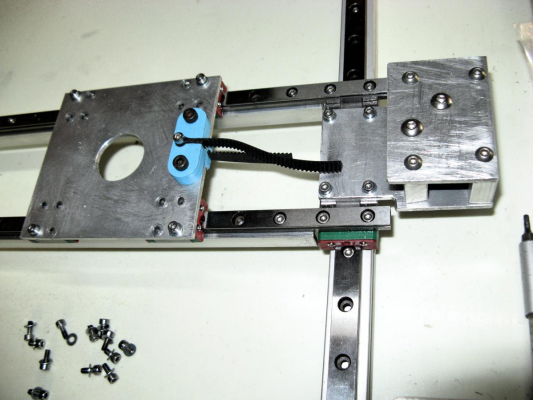
Here is my version of a belt clamp, I need to refine it a bit but it is very effective. I was just going to make an adjustable version for tensioning.
Edited 2 time(s). Last edit at 08/11/2016 10:02PM by RodF.
|
Re: CoreXYNZ build August 13, 2016 04:33PM |
Registered: 10 years ago Posts: 221 |
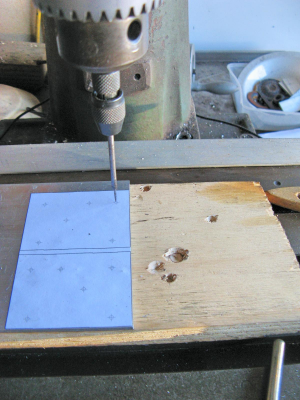
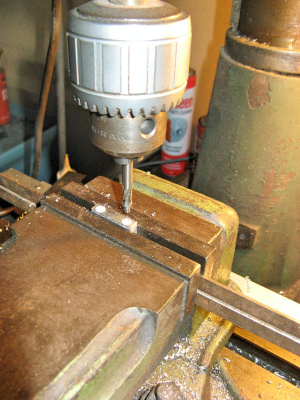
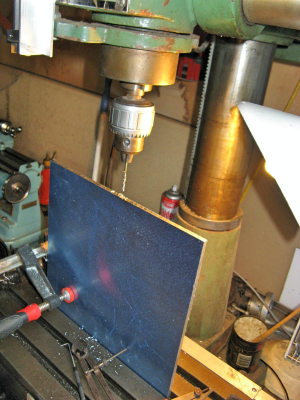
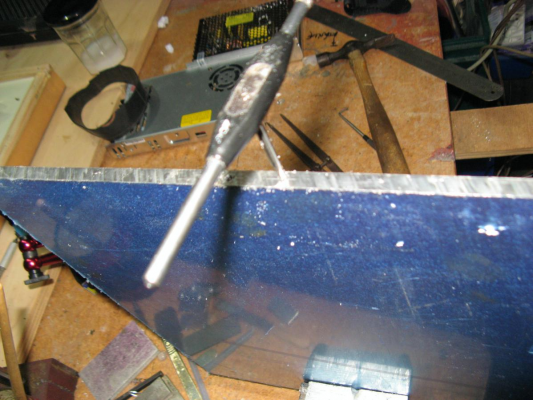
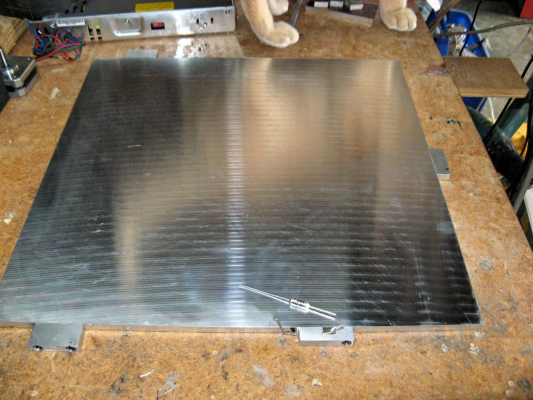
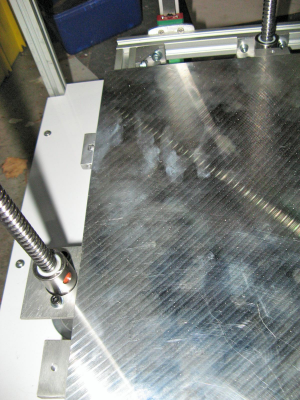
Setting up the print bed. This one is for the old printer. Used a counter boring tool for the cap screw heads. The cast plate is actually quite soft to machine.
|
Re: CoreXYNZ build August 13, 2016 04:41PM |
Registered: 10 years ago Posts: 221 |
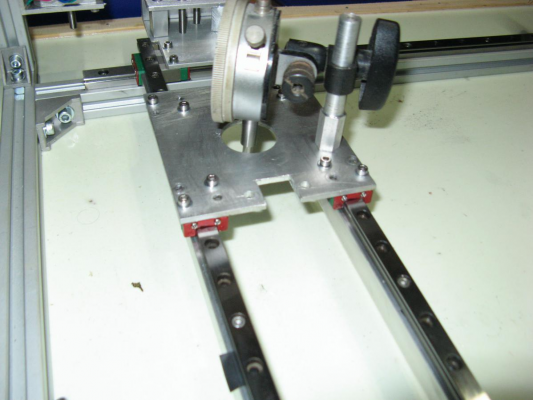
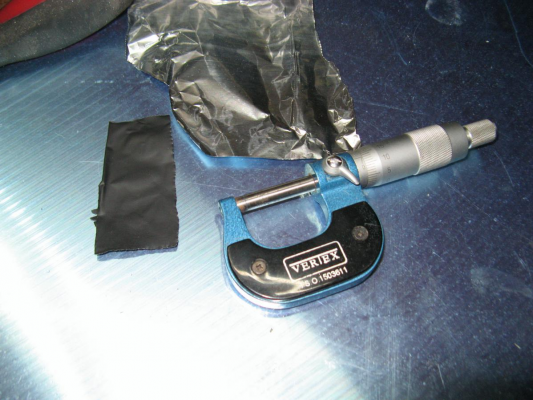
Made a custom mount for the dial guage and started playing around with shims. The black foil is 0.06mm, just right. The Y axis is really good ie within .01, the Z is now down to around 0.03mm with a slight sag in the middle.
|
Re: CoreXYNZ build August 13, 2016 09:25PM |
Registered: 10 years ago Posts: 221 |
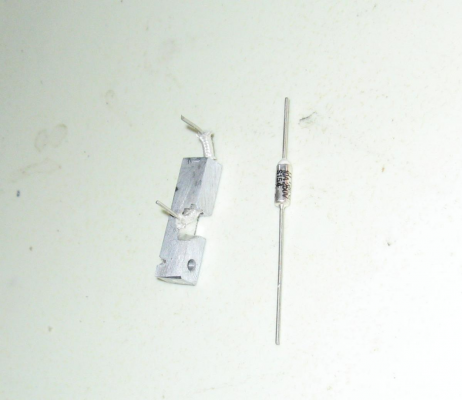
Made the thermal fuse holder. Just needs insulation and connectors. Rosie is giving it the once over too.
Edited 2 time(s). Last edit at 08/14/2016 05:29AM by RodF.
Edited 2 time(s). Last edit at 08/14/2016 05:29AM by RodF.
|
Re: CoreXYNZ build August 16, 2016 05:28PM |
Registered: 10 years ago Posts: 221 |
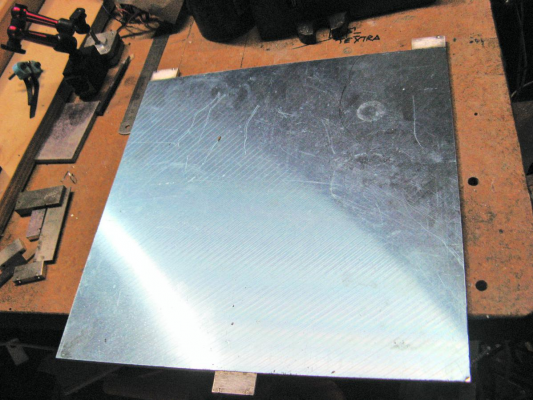
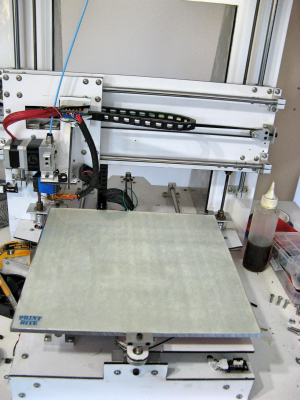
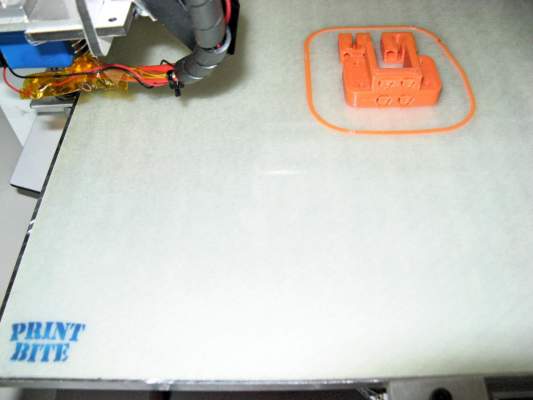
Not in a great hurry to finish the new printer as I am waiting on the new Duet WiFi to arrive. The new machine needs some ABS printed parts that can handle a heat chamber so I thought I would do the upgrade to my existing machine for a better result. I've got the new aluminium plate bed on with 750W mains heater and sheet of Print Bite on top. Man this thing heats up fast now! The temperature measures about 8 degrees C cooler than the thermister indicates, I'm OK with that. The old machine is currently controlled by a RUMBA board, my plan is to put a Smoothie Board in its place. Just trying to sort out the optimum setup.
|
Re: CoreXYNZ build August 18, 2016 12:47AM |
Registered: 10 years ago Posts: 221 |
Got my old printer sorted out to print ABS. It still needs an enclosure but is doing the job for now. Can carry on with the Core XYNZ now. I will use the Smoothie Board to get it up and running while I wait for the DuetWIFI. Anyone got any idea of the sweat spot setup for the smoothie board?
|
Re: CoreXYNZ build August 18, 2016 06:43AM |
Registered: 7 years ago Posts: 33 |
|
Re: CoreXYNZ build August 19, 2016 01:38AM |
Registered: 10 years ago Posts: 221 |
Cheers thanks for the kind words. The fuse is a Fuji Jet Tf158 Deg C 10A 250V S154 S3X1 C. What I was unaware of was that the body is live which I found when I did a insulation test on it. My plan was to mount it to the side of the bed in this aluminium block. So now my plan is to enlarge the hole for it and insulate it with some Kapton tape. So it is work in progress.Quote
Amoniak
Nice build!
Awesome that you keep the thread updated with pictures.
Questions related to the thermal fuse, what fuse are you using and how are you connecting it?
I'm thinking of adding something similar to my own build.
Thanks.
BR//Amoniak
Edited 1 time(s). Last edit at 08/19/2016 01:45AM by RodF.
|
Re: CoreXYNZ build August 19, 2016 07:48PM |
Registered: 10 years ago Posts: 221 |
I am about to mount the idlers. Have been having this conversation with FA-MAS I hope he doesn't mind if I carry it on here.
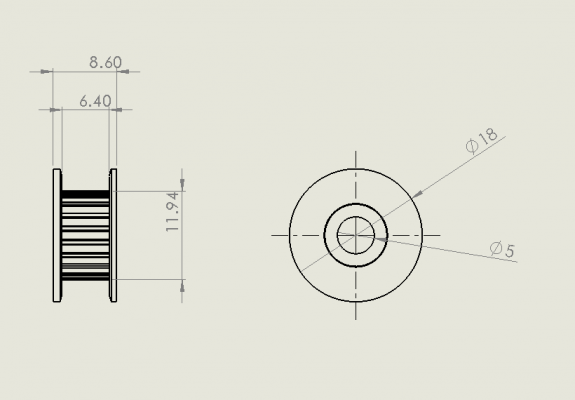
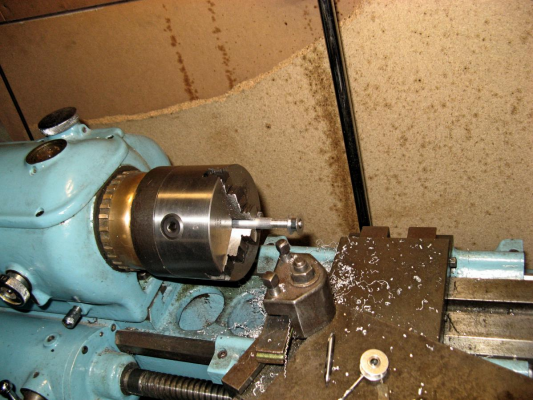
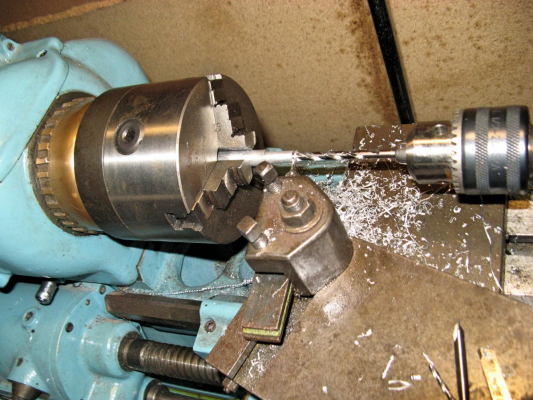
The idler has 2 bearings, I got 5mm but you can get 4mm too. If the head of your mounting bolt or spacer is bigger than 7mm it will bind on the outer bearing housing. If you use threaded bolts the fit will be too loose. Also you can't put any compression on the bearings or they will bind. Shoulder bolts with 7mm sleeves are a good option but you are stuck with stock sizes. Another option I have used is to get a long shank bolt and use a die nut to adjust the thread length for an exact fit. My solution is custom spacers turned on the lathe with a threaded hole in each end. More to come, the lawns need mowing right now
The idler has 2 bearings, I got 5mm but you can get 4mm too. If the head of your mounting bolt or spacer is bigger than 7mm it will bind on the outer bearing housing. If you use threaded bolts the fit will be too loose. Also you can't put any compression on the bearings or they will bind. Shoulder bolts with 7mm sleeves are a good option but you are stuck with stock sizes. Another option I have used is to get a long shank bolt and use a die nut to adjust the thread length for an exact fit. My solution is custom spacers turned on the lathe with a threaded hole in each end. More to come, the lawns need mowing right now

Quote
FA-MAS
Thanks. Curious about the bearing part too. Like the inside diameter of it, as well as the thickness of the internal track. Looks to be possibly a 5mm hole. Just wondering if a bolt head too big is going to bind it up.
Quote
RodF
Here you go. I can't seem to insert an image I will in my thread. Anyway inside diameter is 11.94mm, outside diameter is 18mm, inside flanges is 6.4mm, outside flange is 8.6mm.
Quote
FA-MAS
In reply to [forums.reprap.org]
Quote
RodF
Looks like I can fit the XY platform on the mill bed so I can get it flat. However I might investigate getting a piece of granite. Once I get the XY running nicely I will sort out a way of attaching it to the Z axis frame with out distorting it.
Smooth and toothed idlers arrived today. Now I can check the dimensions.
[attachment 80526 idlers.jpg]
Hi, was wondering if you might take a measurement of the bearings in your idlers for me. Specifically the inside diameter as well as the thickness of the innermost ring.
|
Re: CoreXYNZ build August 19, 2016 08:40PM |
Registered: 10 years ago Posts: 651 |
|
Re: CoreXYNZ build August 21, 2016 04:35PM |
Registered: 10 years ago Posts: 221 |
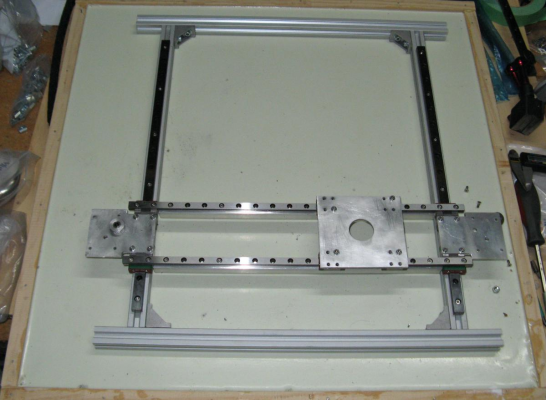
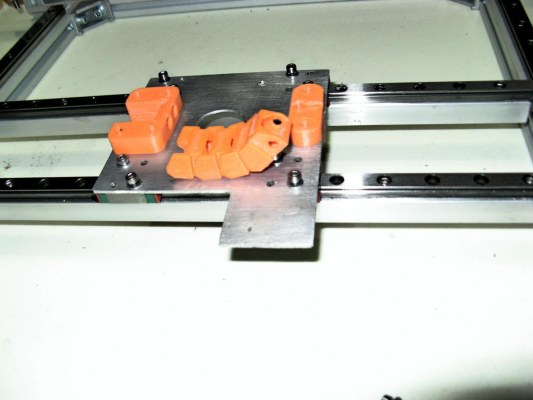
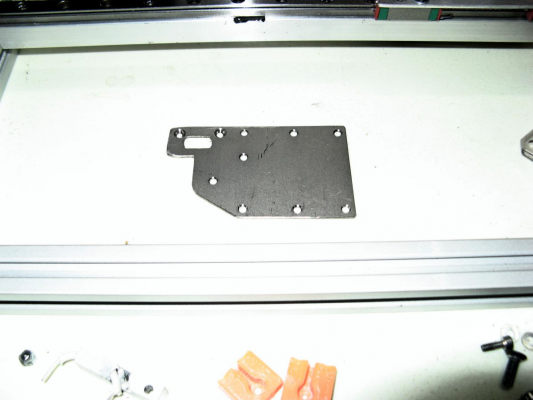
Made a new extruder mounting plate with lighter material (1.5mm ali instead of 3mm). Added a tab for the cable chain attachment. Found a cable chain design I liked and printed a few test pieces. I have now reverse engineered it into a parametric model so I can easily change size and angle limits.
|
Re: CoreXYNZ build August 22, 2016 11:45PM |
Registered: 10 years ago Posts: 221 |
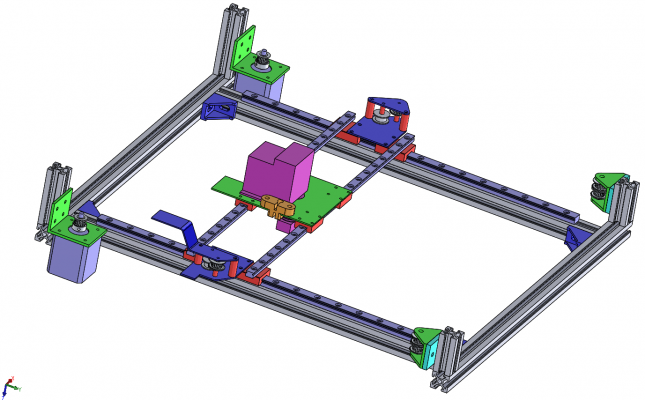
I've been reworking the XY system. Reversed the motors(BTW have ordered .9 degree motors). Incorporated cable chain mounts. Simplified it a bit. I have had some 1.3mm titanium sheet laying about so I thought I would use that for the idler mounts.
|
Re: CoreXYNZ build August 24, 2016 03:25AM |
Registered: 10 years ago Posts: 221 |
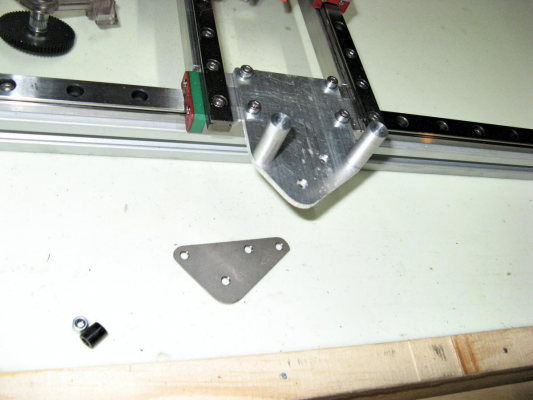
Made a titanium idler base but it was too flexible. The 3mm ali was much stiffer.
|
Re: CoreXYNZ build August 24, 2016 05:08AM |
Registered: 10 years ago Posts: 221 |
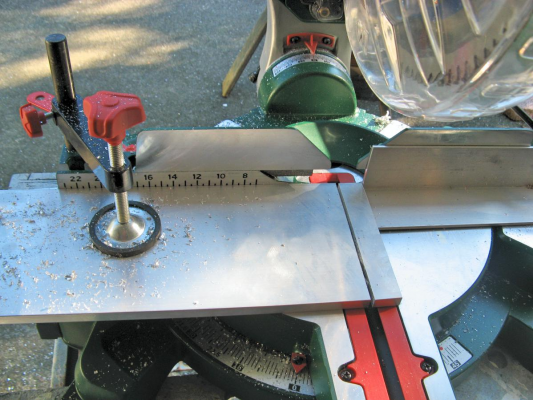
Made new 3mm ali idler base plates also top reinforcing plates from titanium. Got started on the ali spacers.
|
Re: CoreXYNZ build August 24, 2016 11:49AM |
Registered: 10 years ago Posts: 14,672 |
That's going to be a very nice machine when it is finished! How easy or hard is titanium sheet to machine, and how expensive is it? Does it have any advantages in this application, apart for being lighter than steel but stiffer than aluminium?
The Duet WiFi has started shipping - which pre-order batch are you in?
Large delta printer [miscsolutions.wordpress.com], E3D tool changer, Robotdigg SCARA printer, Crane Quad and Ormerod
Disclosure: I design Duet electronics and work on RepRapFirmware, [duet3d.com].
The Duet WiFi has started shipping - which pre-order batch are you in?
Large delta printer [miscsolutions.wordpress.com], E3D tool changer, Robotdigg SCARA printer, Crane Quad and Ormerod
Disclosure: I design Duet electronics and work on RepRapFirmware, [duet3d.com].
|
Re: CoreXYNZ build August 24, 2016 10:46PM |
Registered: 10 years ago Posts: 221 |
Quote
dc42
That's going to be a very nice machine when it is finished! How easy or hard is titanium sheet to machine, and how expensive is it? Does it have any advantages in this application, apart for being lighter than steel but stiffer than aluminium?
The Duet WiFi has started shipping - which pre-order batch are you in?
I really only wanted to use the titanium so the idler mount would be the same thickness as the extruder mounting plate so I didn't have to make new belt clamps with slightly different dimensions. It would also save 17gm, a useful amount. Anyway it didn't work out. Titanium is not too bad a price, I use it quite often in my main interest, large scale RC aerobatics. It works about the same as stainless steel so is a bit hard on tooling but not too difficult.
I am in batch 3 for the Duet WIFI so the timing is going to be pretty good.
|
Re: CoreXYNZ build August 25, 2016 01:27AM |
Registered: 10 years ago Posts: 221 |
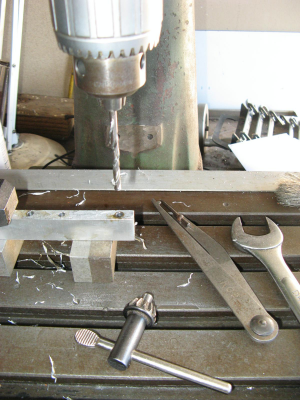
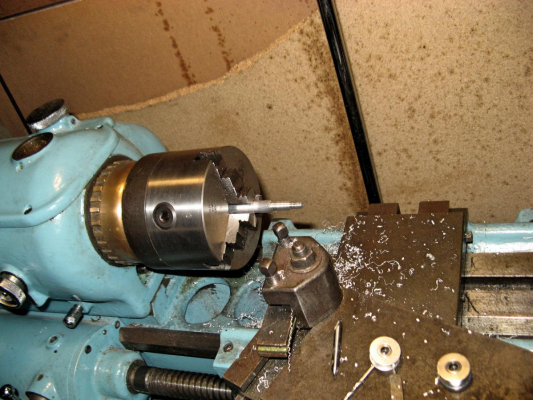
Made idler mounts and spacing washers. Parted the washers with drill inserted so the little washer doesn't fly off and never be seen again.
Edited 2 time(s). Last edit at 08/25/2016 01:33AM by RodF.
Edited 2 time(s). Last edit at 08/25/2016 01:33AM by RodF.
|
Re: CoreXYNZ build August 27, 2016 10:47PM |
Registered: 10 years ago Posts: 221 |
Made shafts and spacers for the end idlers. Also needed to make new mounts for them. This pretty much completes the metal part of the build on the XY axis.
|
Re: CoreXYNZ build August 28, 2016 10:34AM |
Registered: 10 years ago Posts: 221 |
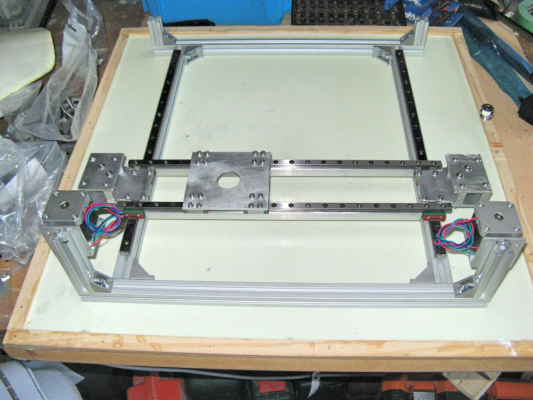
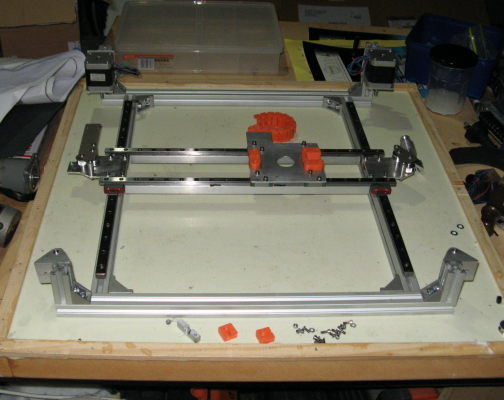
Here is the complete XY axis I need to reprint the plastic parts as they have changed slightly. Have to install the belts and check the geometry.
Edited 1 time(s). Last edit at 08/28/2016 10:34AM by RodF.
Edited 1 time(s). Last edit at 08/28/2016 10:34AM by RodF.
|
Re: CoreXYNZ build August 28, 2016 10:51AM |
Registered: 10 years ago Posts: 221 |
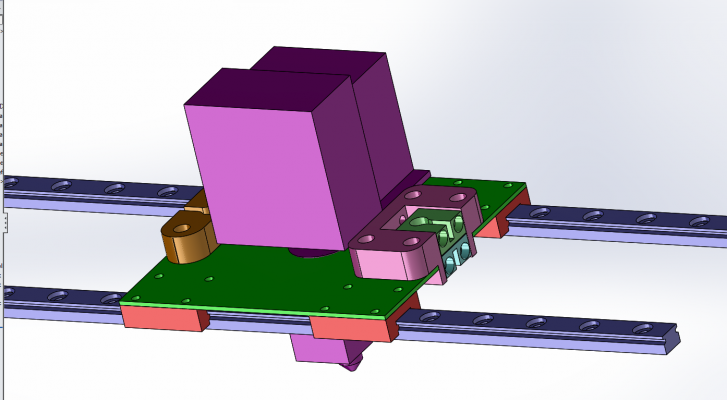
This is how the belt tension adjustment will work. I think the design is a bit clunky so I am keeping an open mind on that.
Sorry, only registered users may post in this forum.
