CoreXYNZ build
Posted by RodF
|
Re: CoreXYNZ build August 28, 2016 01:24PM |
Registered: 11 years ago Posts: 1,049 |
I don't understand?
All these great milled brackets
and
Motor mounts of a piece of 2020 with 1 corner bracket?
Idler pulley mounts -- a piece of 2020 with 1 corner bracket?
Maybe a triangular brace on side?
Weak points like these make super machined brackets ---- useless
and system wobbly?

All these great milled brackets
and
Motor mounts of a piece of 2020 with 1 corner bracket?
Idler pulley mounts -- a piece of 2020 with 1 corner bracket?
Maybe a triangular brace on side?
Weak points like these make super machined brackets ---- useless
and system wobbly?

|
Re: CoreXYNZ build August 28, 2016 01:42PM |
Registered: 9 years ago Posts: 125 |
From what I understand, the vertical extrusions behind the motors and idlers will be attached to the main vertical extrusions of the frame, so this will stiffen them up.Quote
cozmicray
I don't understand?
All these great milled brackets
and
Motor mounts of a piece of 2020 with 1 corner bracket?
Idler pulley mounts -- a piece of 2020 with 1 corner bracket?
Maybe a triangular brace on side?
Weak points like these make super machined brackets ---- useless
and system wobbly?
Edited 1 time(s). Last edit at 08/28/2016 01:43PM by Mikk36.
|
Re: CoreXYNZ build August 28, 2016 03:38PM |
Registered: 10 years ago Posts: 221 |
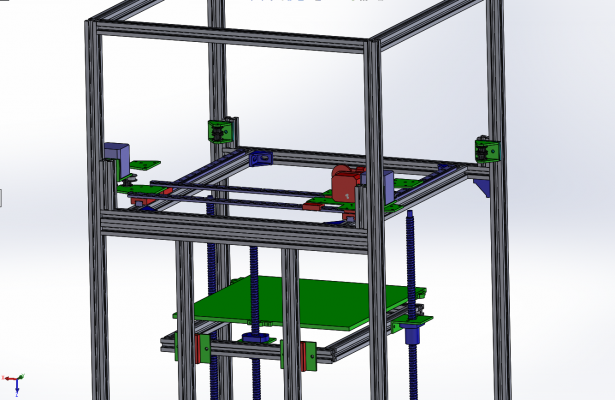
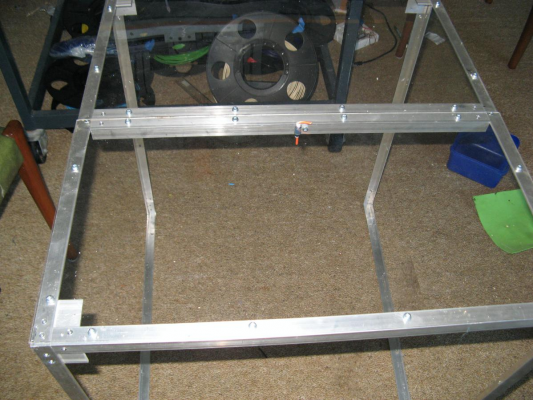
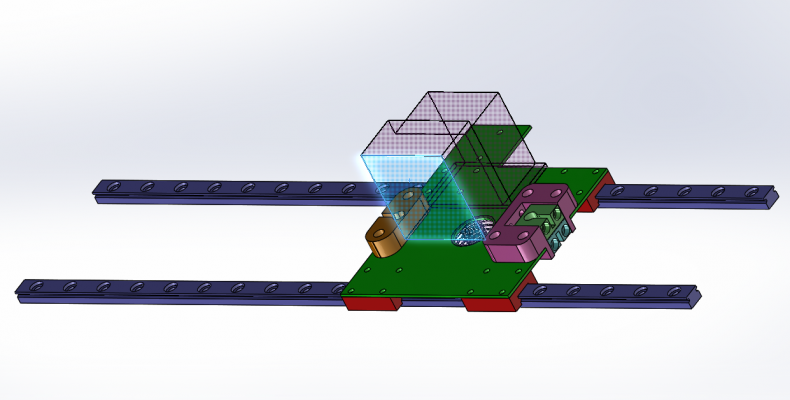
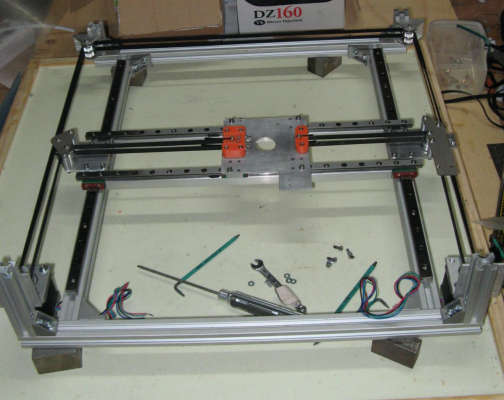
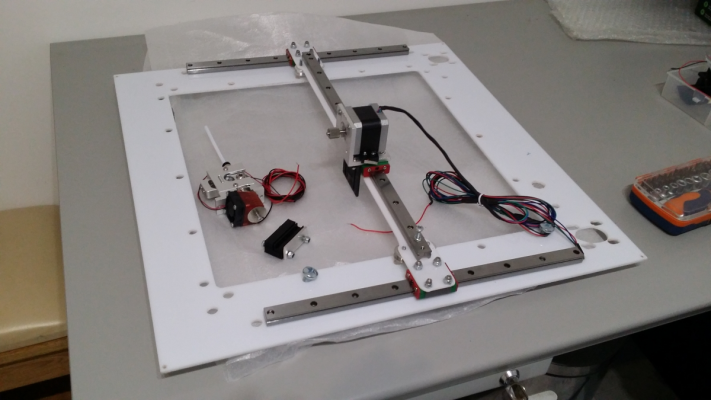
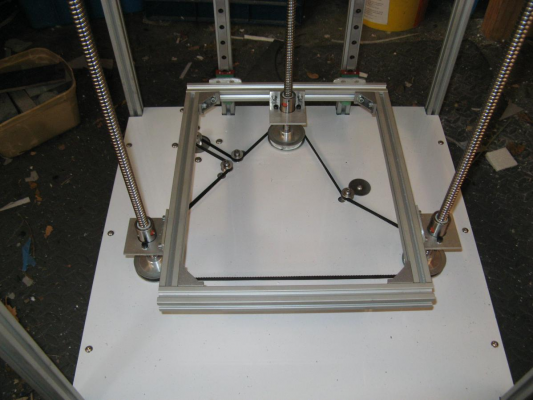
Don't worry cozmicray I haven't gone soft in the head quite yet. Here is the XY unit in the frame. I am also going to use Aluminium composite panel to further stiffen the frame.Quote
cozmicray
I don't understand?
All these great milled brackets
and
Motor mounts of a piece of 2020 with 1 corner bracket?
Idler pulley mounts -- a piece of 2020 with 1 corner bracket?
Maybe a triangular brace on side?
Weak points like these make super machined brackets ---- useless
and system wobbly?
|
Re: CoreXYNZ build August 29, 2016 01:20AM |
Registered: 10 years ago Posts: 221 |
I really need to print some parts now. The old printer is getting an enclosure for ABS printing.
|
Re: CoreXYNZ build August 29, 2016 12:09PM |
Registered: 11 years ago Posts: 1,049 |
|
Re: CoreXYNZ build August 29, 2016 04:09PM |
Registered: 10 years ago Posts: 221 |
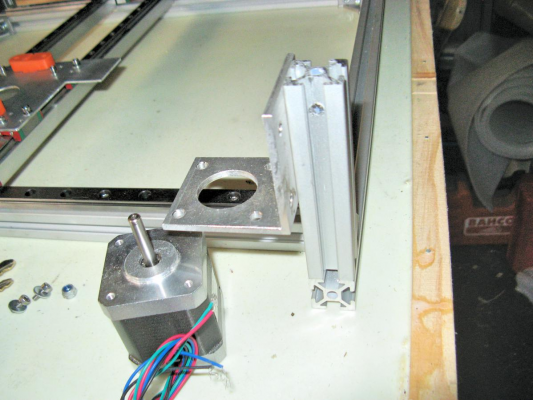
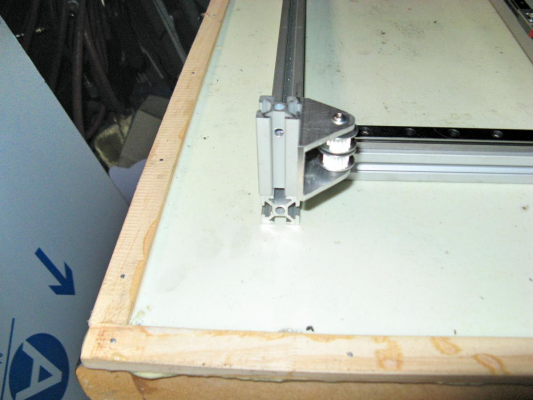
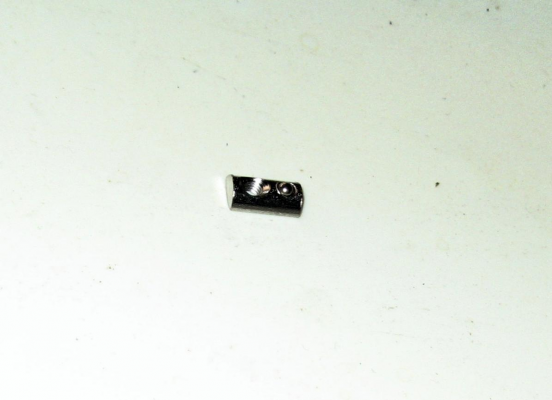
Hi cozmicray thanks for your concerns. 2020 attaches to each other via these holes. I have these position holding nuts for the screws. The motor and idler brackets also screw to the main frame. I am nearly at the point of mounting the XY assembly into the frame. I just need to print some belt clamps.Quote
cozmicray
How are short 2020 sections attached to long 2020 rails?
Why not a plate that attaches to 2020 via holes and t-nuts.
It would provide stiffener to joint and stable mount for motor / idler.
|
Re: CoreXYNZ build August 29, 2016 09:47PM |
Registered: 11 years ago Posts: 1,049 |
|
Re: CoreXYNZ build August 30, 2016 12:48AM |
Registered: 10 years ago Posts: 221 |
More work on the enclosure for the old printer. Short piece of teflon tube held by a cable clamp for the filament inlet. This how I will do it on the Core XYNZ if it works out. I suppose I am going to need a fan in there for circulation.
|
Re: CoreXYNZ build August 30, 2016 11:38AM |
Registered: 11 years ago Posts: 5,780 |
If you don't need a permanent enclosure for the old printer, you can simply duct tape together a few sheets of foam insulation board. You can have it enclosed and be printing ABS in a matter of minutes.
Your CoreXY printer already has a strong, rigid frame- you may as well just mount enclosure panels on it instead of building a separate frame for an enclosure.
Edited 1 time(s). Last edit at 08/30/2016 11:42AM by the_digital_dentist.
Ultra MegaMax Dominator 3D printer: [drmrehorst.blogspot.com]
Your CoreXY printer already has a strong, rigid frame- you may as well just mount enclosure panels on it instead of building a separate frame for an enclosure.
Edited 1 time(s). Last edit at 08/30/2016 11:42AM by the_digital_dentist.
Ultra MegaMax Dominator 3D printer: [drmrehorst.blogspot.com]
|
Re: CoreXYNZ build August 31, 2016 03:00PM |
Registered: 10 years ago Posts: 651 |
|
Re: CoreXYNZ build August 31, 2016 04:09PM |
Registered: 10 years ago Posts: 221 |
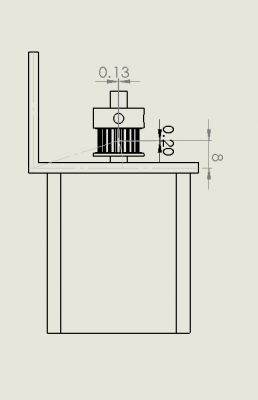
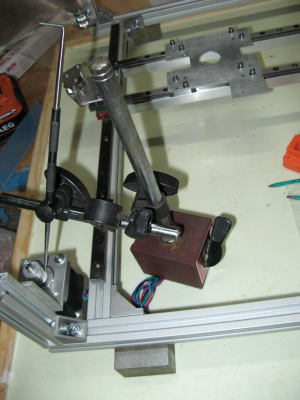
I see where you are coming from. The brackets are 3mm thick and 45mm wide 90mm for both made from L section. I was able to flex one slightly but at a much bigger moment arm. I did a diagram to help visualise it. A you can see the bending is in the Z direction and the amount of movement in the Y direction is a little over half that also the moment arm acting on it is low. How much force do you think will be acting on them? Actually I am unconcerned by this and another issue that has been raised as I think there is adequate stiffness in those places and they are easy to fix if necessary. My main concern at the moment is the spring in the 6mm belts (quite easy to cange to 9mm) and resonance in the whole system.Quote
FA-MAS
I'm wondering about your motor mounts. Are those made from square tube or L angle? How thick are they and do they flex at all?
Edited 1 time(s). Last edit at 08/31/2016 04:10PM by RodF.
|
Re: CoreXYNZ build August 31, 2016 05:42PM |
Registered: 10 years ago Posts: 651 |
|
Re: CoreXYNZ build August 31, 2016 06:32PM |
Registered: 10 years ago Posts: 221 |
Those look nice. It was worth having another look at mine, they feel pretty rigid and I am happy to use them for the time being. I am set up for aluminium brazing so I could put in gussets if necessary.Quote
FA-MAS
I only ask cause I was looking down similar mounting methods for the motors in my design and wondered if they were going to flex all over the place. I may end up either just buying these or over engineering something involving getting some welding help.
Edited 1 time(s). Last edit at 08/31/2016 06:33PM by RodF.
|
Re: CoreXYNZ build August 31, 2016 07:33PM |
Registered: 10 years ago Posts: 221 |
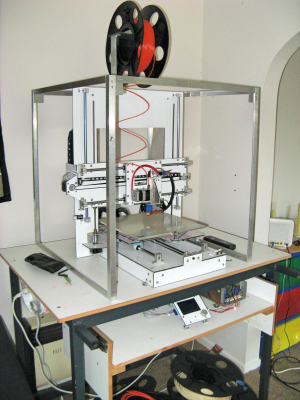
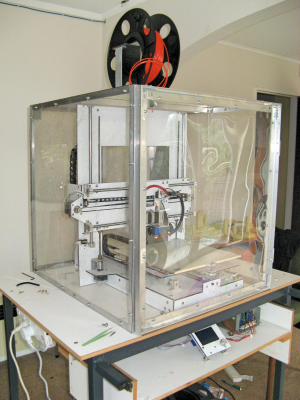
Finished off the old printer enclosure. It is quite utilitarian and made from stuff I had at hand. The Core XYNZ will use ACP and plastic.
Edited 1 time(s). Last edit at 09/02/2016 01:54AM by RodF.
Edited 1 time(s). Last edit at 09/02/2016 01:54AM by RodF.
|
Re: CoreXYNZ build September 01, 2016 07:43AM |
Registered: 11 years ago Posts: 5,780 |
I made rock solid motor mounts using rectangular tubing. I used the tool access holes for the motor screws to mount the motor mount, but there's no reason holes couldn't also be drilled into the side of the tube. Rectangular tubing is cheap and readily available in multiple sizes.
RodF: how are you planning to adjust belt tension?
Edited 1 time(s). Last edit at 09/01/2016 07:43AM by the_digital_dentist.
Ultra MegaMax Dominator 3D printer: [drmrehorst.blogspot.com]
RodF: how are you planning to adjust belt tension?
Edited 1 time(s). Last edit at 09/01/2016 07:43AM by the_digital_dentist.
Ultra MegaMax Dominator 3D printer: [drmrehorst.blogspot.com]
|
Re: CoreXYNZ build September 01, 2016 04:05PM |
Registered: 10 years ago Posts: 221 |
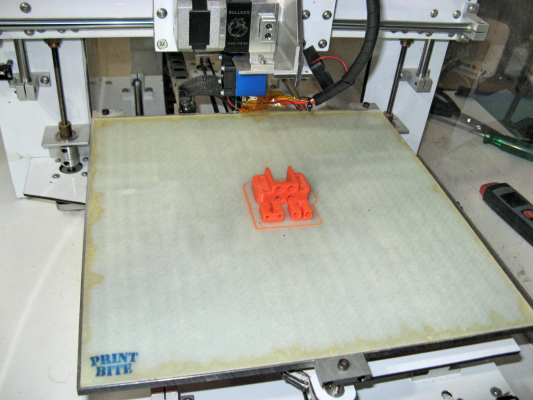
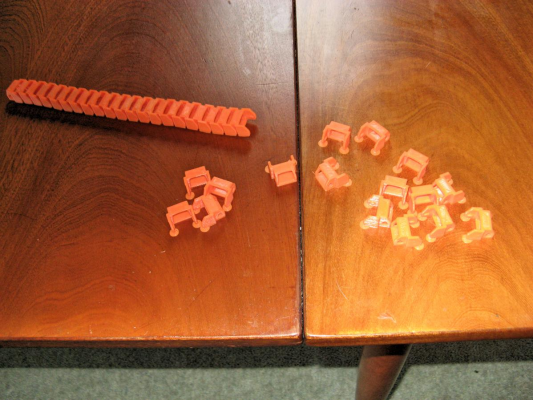
I have printed new tensioners and clamps to reflect slight design changes. Print Bite is working well so I've ordered another sheet for Core XYNZ.
Edited 1 time(s). Last edit at 09/01/2016 04:24PM by RodF.
Edited 1 time(s). Last edit at 09/01/2016 04:24PM by RodF.
|
Re: CoreXYNZ build September 01, 2016 10:03PM |
Registered: 10 years ago Posts: 221 |
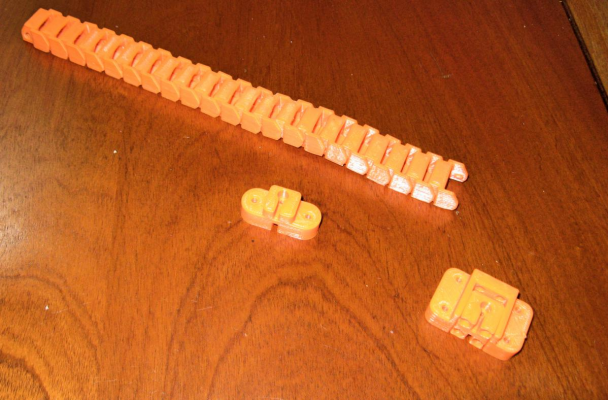
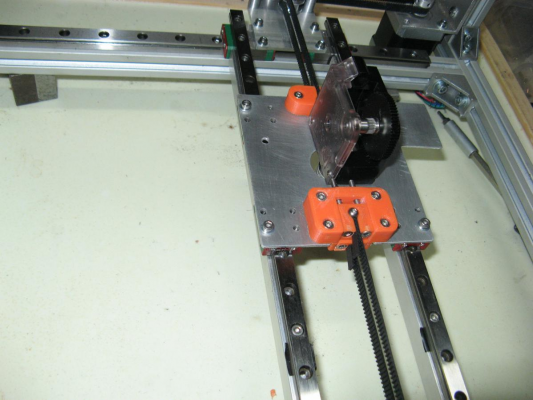
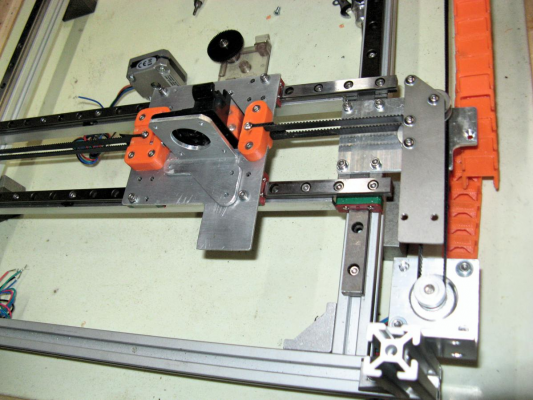
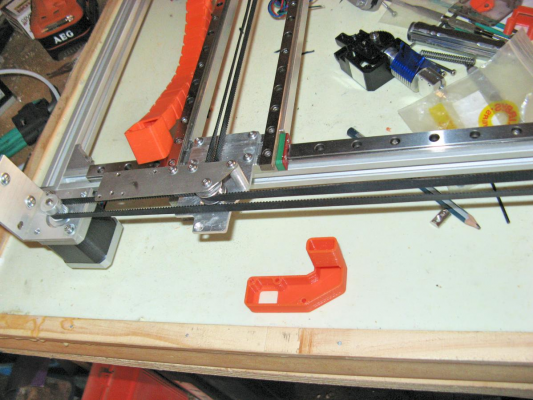
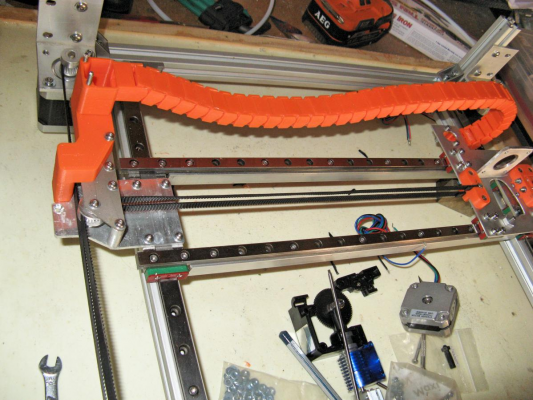
Working on the XY axis. Tensioner is working well, still need to check belt squareness. Improvised a height guage to set the idlers and motor pulleys. Continued to make cable chain. Switched the motors to upright so the cable chain mount clears them. Also changed motors to .9 degree 2.4 A.
Edited 1 time(s). Last edit at 09/01/2016 10:09PM by RodF.
Edited 1 time(s). Last edit at 09/01/2016 10:09PM by RodF.
|
Re: CoreXYNZ build September 02, 2016 01:49AM |
Registered: 10 years ago Posts: 221 |
Here is a better view of the tensioning device. It would be nice if it was more compact.
|
Re: CoreXYNZ build September 02, 2016 04:13AM |
Registered: 8 years ago Posts: 346 |
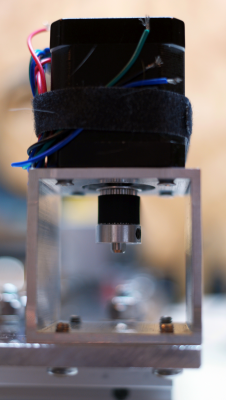
The corexy mechanism is only for 3d printing, right? Or this will work was a cnc too?
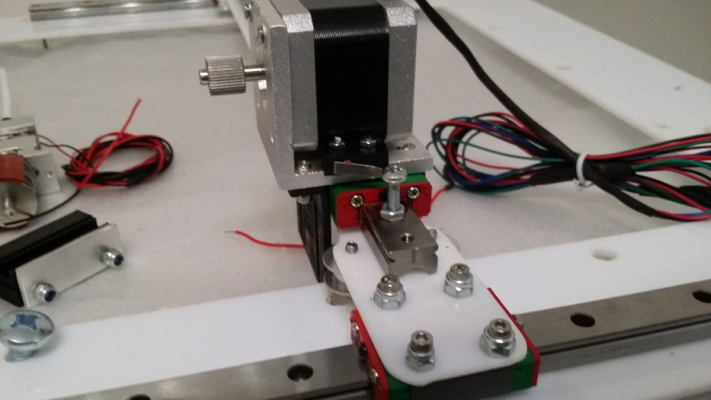
I´m fallowing your build from the start and you are dame rigorous building this machine, but i must say it... this is way over engineered, you have duplicate or more the number of linear rails and blocks necessary.
You have four linear blocks for the carriage, and i see only one E3D direct extruder. The extruder and motor will have less of 300gr, only one block will have done a better result.
You are adding unnecessary weight, adding friction and losing printing space because of the over engineered carriage.
If the linear rails are good brand, only one block you give the necessary rigidity to move in precision the extruder and hotend.
These four blocks on the carriage will not give you a better print result in relation to use only one. I think it will be the opposite, you will get worst print quality because of the added height and frision need to move the carriage arround.
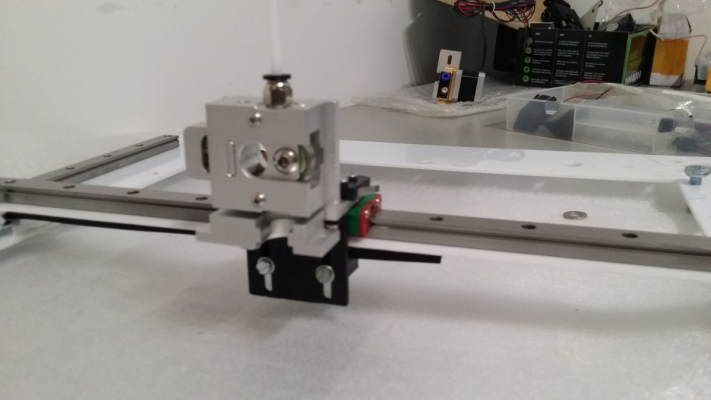
Some photos of what i building at the moment and the photos implements the point of vue i trying to explain.
The two white acrylic pieces it will be replace by 5mm laser cut aluminium, is already ordered and only waiting to receive at home.
it use 3 15mm linear rails (original HiWin brand), the X block is a long model the other are short model.
The extruder it a bulldog clone and using 2 pieces of aluminium to secure both the motor/extruder combo, the printed pieces that will secure the belt and min X endstop.
I will use only one belt instead of two and the corexy mechanism is only in one plane. The pulley will be secure with 5mm screws and will use only 2 pulley with teeths because the belt will be twisted in the front.
Edited 3 time(s). Last edit at 09/02/2016 05:38AM by filipeCampos.
|
Re: CoreXYNZ build September 02, 2016 06:34PM |
Registered: 10 years ago Posts: 221 |
Hi Filipe
Please check your facts.
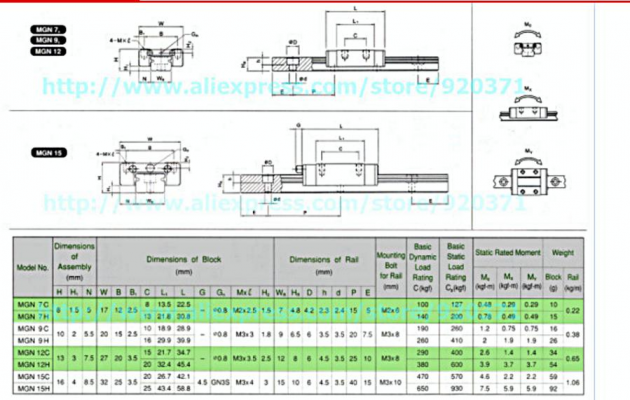
400mm of 9mm rail x2 =304g + 4 short 9mm blocks 64g =368g
400mm of 15mm rail = 424g + 1 long 15mm block 92g =516g
My "heavy" 2 rail system is 152g lighter than your setup. Maybe the HiWin's are lighter OTOH maybe heavier.
And BTW my carriages are running nice and smoothly.
Please check your facts.
400mm of 9mm rail x2 =304g + 4 short 9mm blocks 64g =368g
400mm of 15mm rail = 424g + 1 long 15mm block 92g =516g
My "heavy" 2 rail system is 152g lighter than your setup. Maybe the HiWin's are lighter OTOH maybe heavier.
And BTW my carriages are running nice and smoothly.
|
Re: CoreXYNZ build September 02, 2016 07:51PM |
Registered: 8 years ago Posts: 346 |
About the total height, you have added the height of the rails and blocks and you forget the rest? What about the screws for the 3 more blocks one the carriage and screws for the second rail, the bigger metal plate and the two more blocks on the Y axis. At the end maybe your setup was less height in relation to mine. My setup use 15mm and it was not the best choise, i think rail of 12mm will be better.
And what if i have used 12mm rail, the height vantage you have pressented is still valid? There is still the question about the added cost, frition, lost space, building complexity and future manutention of the more 5 block your are using.
Never say your setup will not work, i pretty sure you get good result. Do not take my posts the wrong way, main reason i make posts in this forum is to learn and not simply to pissoff someone. For me this forum will never be a pissing contest.
I questioning your carriage because personally i do not see any vantage of using this type of complex carriage in relation to a unique block. I sure 12mm block or even maybe a unique 9mm block will have done the same rigidity need to only one direct extruder.
There is a second person building a printer with a similar carriage and in the past i have questioned the reason. If i remember correctly the reason is because it was already the rails and blocks. Well... is a reason, but not a good one in my book. So wasking the same to you, why?
Edited 4 time(s). Last edit at 09/02/2016 08:10PM by filipeCampos.
|
Re: CoreXYNZ build September 02, 2016 11:49PM |
Registered: 10 years ago Posts: 221 |
No problem Filipe, your build is looking good. Single and dual rail are both valid and I was very impressed with Digital Dentists video demonstrating the accuracy of his single rail setup. I am liking my large (but light) extruder platform now I am getting to that part of the build.
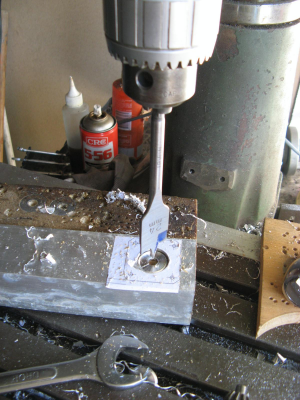
Making a Titan extruder mount. I use a woodworking bit, a bit crude and unconventional but it is quick and accurate enough.
Making a Titan extruder mount. I use a woodworking bit, a bit crude and unconventional but it is quick and accurate enough.
|
Re: CoreXYNZ build September 03, 2016 06:32PM |
Registered: 10 years ago Posts: 221 |
|
Re: CoreXYNZ build September 06, 2016 12:58AM |
Registered: 10 years ago Posts: 221 |
I've been working on the wiring conduit. This is work in progress. Got Molex connectors, I want all electronics on the extruder plate to plug in there. Got a sheet of 2mm polycarbonate for the enclosure.
|
Re: CoreXYNZ build September 06, 2016 07:44AM |
Registered: 10 years ago Posts: 221 |
|
Re: CoreXYNZ build September 06, 2016 08:51PM |
Registered: 10 years ago Posts: 221 |
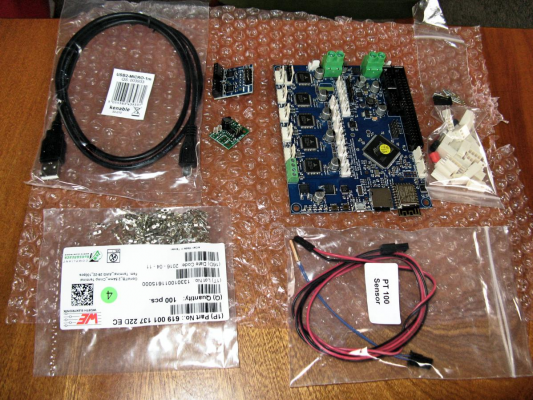
Duet Wifi arrived in New Zealand. (probably on a plane load of Brexit refugees) Also PT100 sensor and board and IR height sensor.
Awesome job getting this board out Duet team.
Edited 2 time(s). Last edit at 09/06/2016 09:04PM by RodF.
Awesome job getting this board out Duet team.
Edited 2 time(s). Last edit at 09/06/2016 09:04PM by RodF.
|
Re: CoreXYNZ build September 07, 2016 12:25AM |
Registered: 10 years ago Posts: 221 |
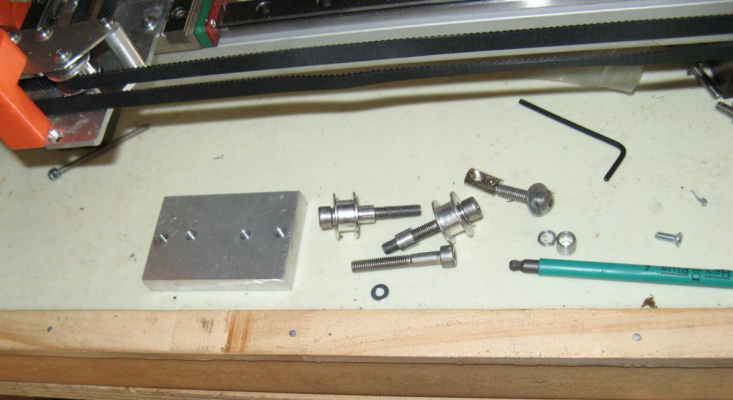
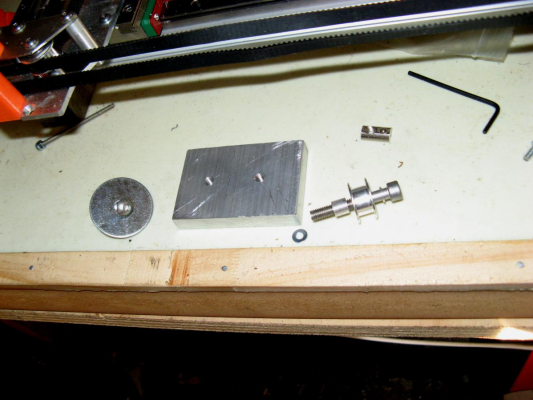
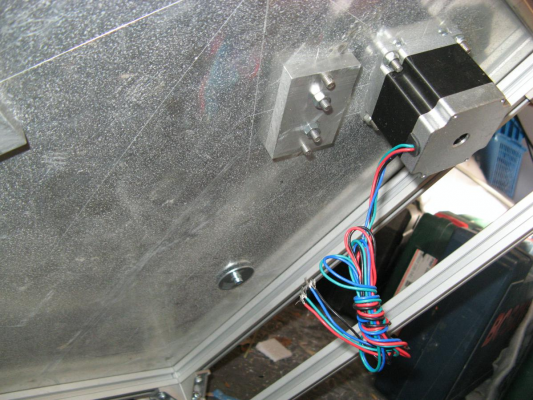
Got one of those jobs done that I had put off. The Z belt idlers and tensioner mountings. I used shanked screws with spacers into 12mm plate and lock nutted them.
|
Re: CoreXYNZ build September 09, 2016 01:19AM |
Registered: 10 years ago Posts: 221 |
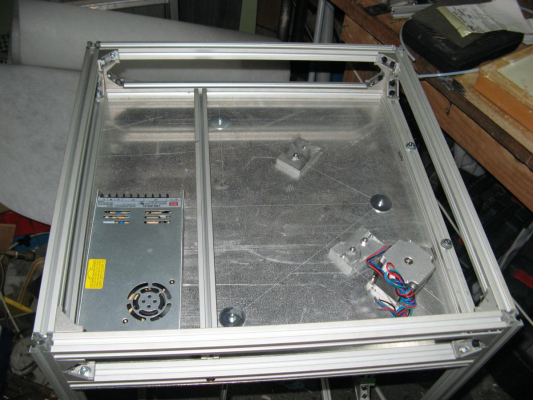
Added in a cross support in the base. This give additional support to the Z screws but is mainly for mounting electronics to. Have been working on the Duetwifi board and it is nearly ready to go into the printer.
|
Re: CoreXYNZ build September 11, 2016 04:58PM |
Registered: 10 years ago Posts: 221 |
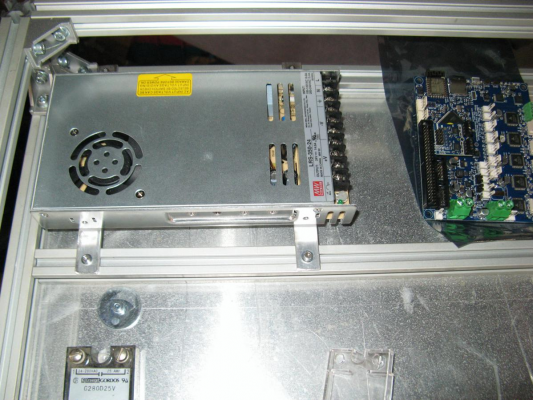
Not much visual progress while I adjust the XY and main frame. Mounted the power supply though.
|
Re: CoreXYNZ build September 12, 2016 10:22PM |
Registered: 10 years ago Posts: 221 |
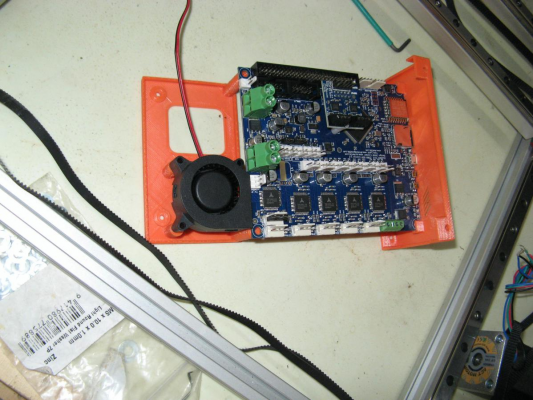
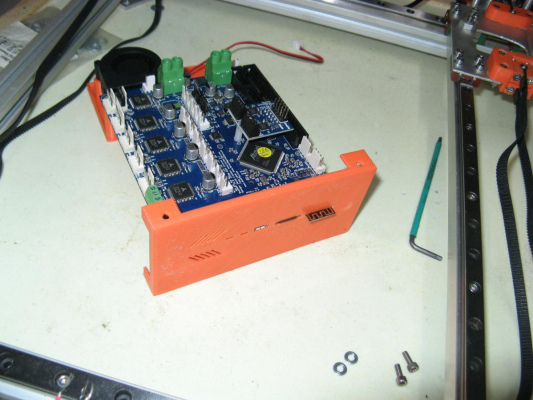
Here is the board mount. I have incorporated ducting to cool the drivers from underneath.
Sorry, only registered users may post in this forum.
