Home
>
Reprappers
>
Topic
New Build Plate
Posted by elwood127
|
New Build Plate October 15, 2016 06:31PM |
Registered: 9 years ago Posts: 705 |
Well, this is my latest attempt to create a flat build plate for my cheesy Plexiglass chassis I3. I started with a piece of 5/16" x 16" round aluminum tooling plate.I honed the best side until smooth.Then I had a laser and machine shop in Salt Lake mill .125" off the back side in a 10" x 10" area leaving it .187" thick and had the design lasered from that area.
I honed the back to remove most of the mill marks and attached a self adhesive backed 12v 400 watt silicone heatpad.[www.aliexpress.com]
I installed a .040" thick piece of PEI sheet using a piece of 3M 468MP double sided adhesive sheet.
[www.mcmaster.com]
[www.amazon.com]
I used a "Formica" Scribe tool to cut the PEI.
This tool made quick work of it.
My second goal was to create a 3 point leveling system (Thanks DD). After install I did still see a slight hump in the middle in the Y direction. I'm wondering if the addition of a fourth linear bearing to my Y carriage might be the problem? At the very least, eliminating the glass and the new silicone heatpad has drastically cut my heatup time. First test got to 70C in one minute and 110C in 3 minutes. Before it was 5 minutes and 30 minutes. The first test print didn't grab at 70C so I bumped it up to 90C and that seems to be sticking good. Print is a flat area about 5 x 5. No lifting as of yet.
I added some foam insulation between the plates.
I was going to use Printbite but it was in Europe and was twice as much. Everything involved cost about $350.00. I'll update performance later.
Edited 1 time(s). Last edit at 10/15/2016 07:54PM by elwood127.
I honed the back to remove most of the mill marks and attached a self adhesive backed 12v 400 watt silicone heatpad.[www.aliexpress.com]


I installed a .040" thick piece of PEI sheet using a piece of 3M 468MP double sided adhesive sheet.
[www.mcmaster.com]
[www.amazon.com]
I used a "Formica" Scribe tool to cut the PEI.
This tool made quick work of it.


My second goal was to create a 3 point leveling system (Thanks DD). After install I did still see a slight hump in the middle in the Y direction. I'm wondering if the addition of a fourth linear bearing to my Y carriage might be the problem? At the very least, eliminating the glass and the new silicone heatpad has drastically cut my heatup time. First test got to 70C in one minute and 110C in 3 minutes. Before it was 5 minutes and 30 minutes. The first test print didn't grab at 70C so I bumped it up to 90C and that seems to be sticking good. Print is a flat area about 5 x 5. No lifting as of yet.

I added some foam insulation between the plates.

I was going to use Printbite but it was in Europe and was twice as much. Everything involved cost about $350.00. I'll update performance later.
Edited 1 time(s). Last edit at 10/15/2016 07:54PM by elwood127.
|
Re: New Build Plate October 15, 2016 06:34PM |
Registered: 9 years ago Posts: 705 |
Just a note, I'm using a dedicated power supply from a Ham Radio set. It is putting out 35 amps @ 13.8v but loses 1v through the SSR.

|
Re: New Build Plate October 15, 2016 08:35PM |
Registered: 9 years ago Posts: 1,873 |
Interesting. How much did the machine shop work cost? I'm not quite sure I understand the benefit compared to a simple rectangle. Your wires look a little skinny for a 12V 400W heater, especially if you're actually pushing closer to 13. Still, if you're a ham I guess you know what you're doing.
|
Re: New Build Plate October 15, 2016 08:45PM |
Registered: 9 years ago Posts: 705 |
Hey James, the shop minimum was $200.00. With milling and laser cutting it came to $250.00. The design incorporates clearance for a standard "hard" heatbed with solder pads and notches for bull clips in case I had to go back to a glass setup. I wondered about the heatbed wire gauge also. I had previously enlarged the wires on my old hard heater because of current concerns. I just checked the wires while running and they are luke warm. I hope that the manufacturer knows what they are doing. We'll see. I'm actually not a Ham guy. Just knew one that gave me the power supply. Nice to remove that stress from the Melzi board though.
|
Re: New Build Plate October 15, 2016 09:00PM |
Registered: 9 years ago Posts: 1,873 |
Ah, right. That's forward thinking and gives you more options. It's a lot to pay for it though. I'd say that if you can feel the wires are warm then it's probably worth going up another gauge. The only concern with big wires is if they are stiff enough to cause drag on the Y axis, but you can usually find stuff that's flexible enough in larger gauges. Speaker wire is often a good choice as they usually go for lots of fine strands which helps with flexibility.
Edited 1 time(s). Last edit at 10/15/2016 09:01PM by JamesK.
Edited 1 time(s). Last edit at 10/15/2016 09:01PM by JamesK.
|
Re: New Build Plate October 15, 2016 09:31PM |
Registered: 9 years ago Posts: 705 |
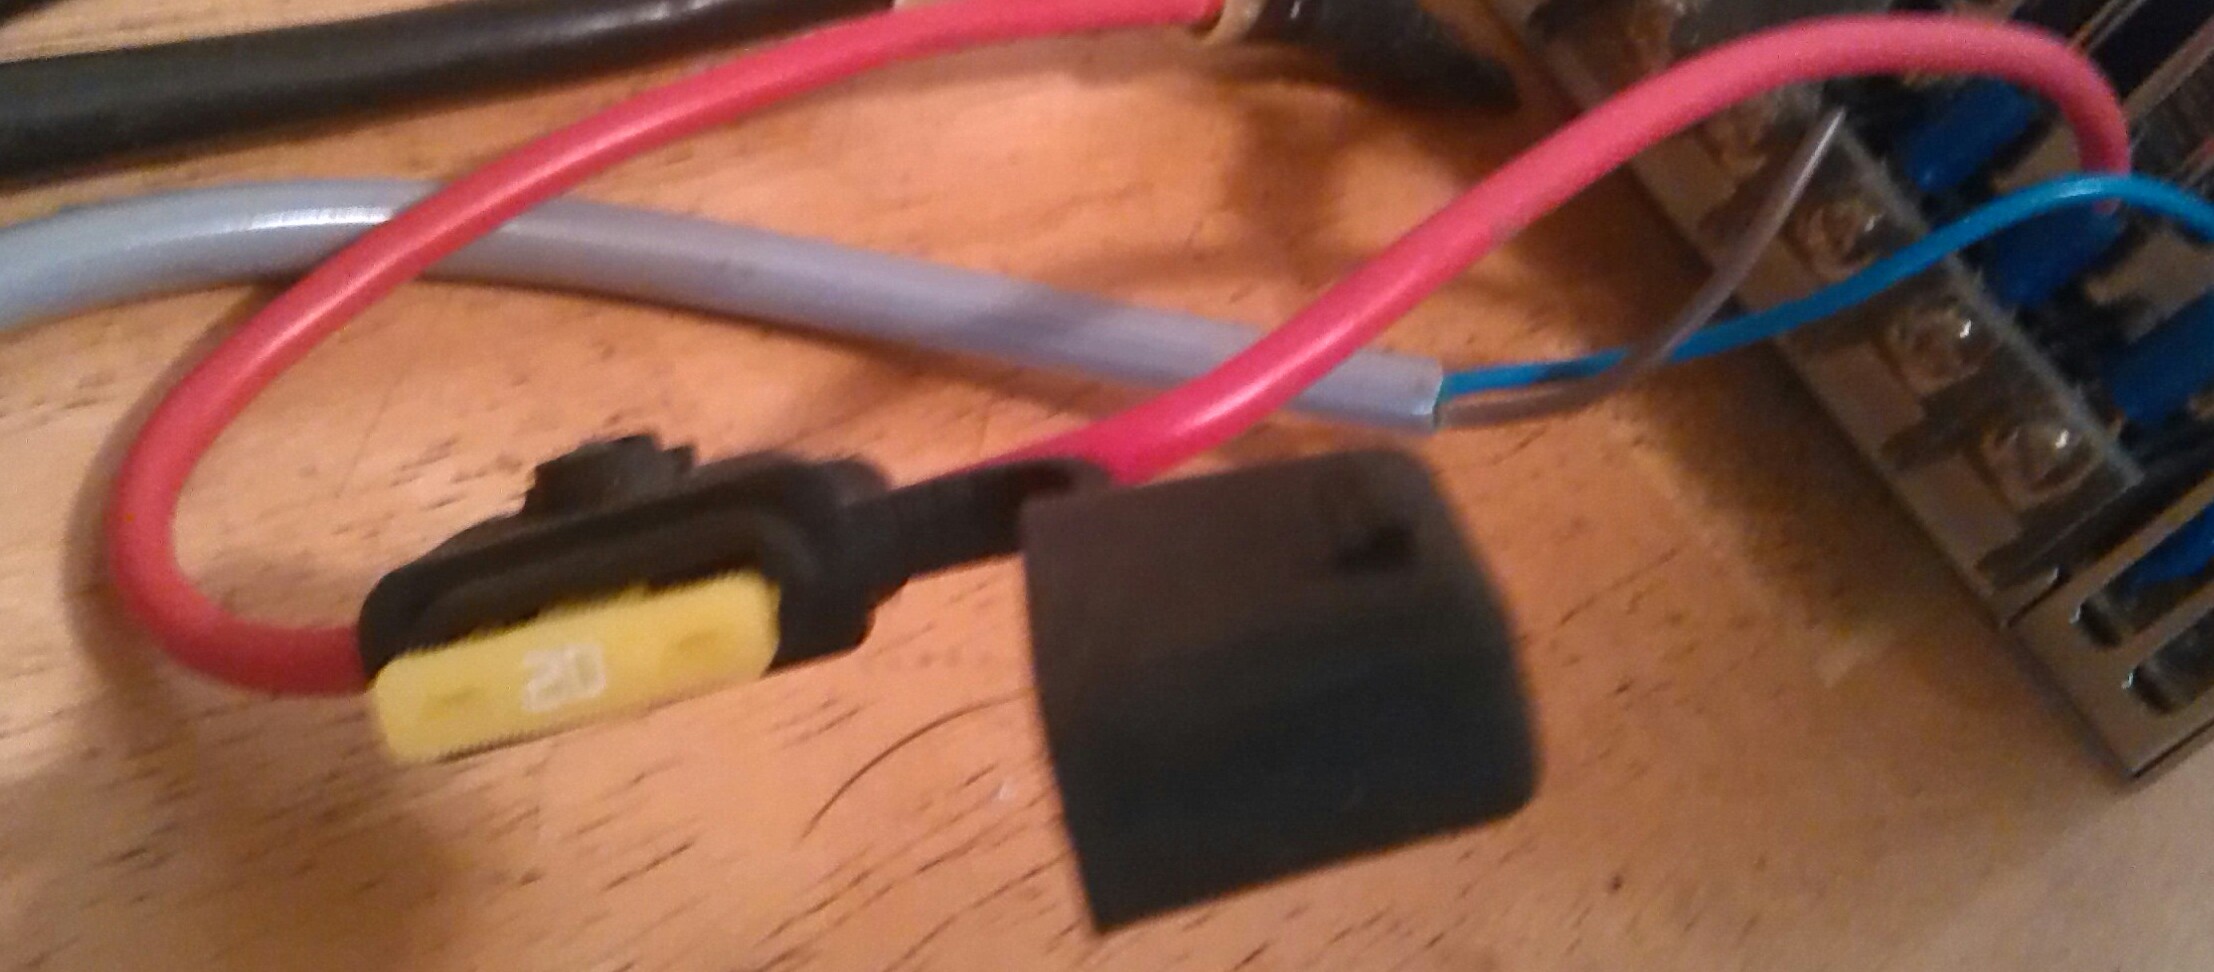
Only problem is that wires are not accessible on this silicone heater (see pic). They are what they are. An update: with no brim @ 90c I did get a bit of lift in the corners. Typical for this part but a bit more than seen with blue tape. Surface finish is like a mirror. Let part cool to 35c and it pop off by itself. I'm pretty pleased overall. No more Elmers or tape. Am looking forward to testing ABS. Apparently it can be problematic on PEI. Since I can get high bed temps again (finally) I should be able to get it to stick. We'll see.

|
Re: New Build Plate October 15, 2016 09:37PM |
Registered: 11 years ago Posts: 5,780 |
That's crazy expensive just for a bed plate! Why would you go to the expense of milling it down when it's already milled flat? And why wouldn't you just cut it with a band saw or even a jig saw instead of the expense of laser cutting? Why didn't you just have the guy who milled it cut it while he had it on the mill? Yowza!
Ultra MegaMax Dominator 3D printer: [drmrehorst.blogspot.com]
Ultra MegaMax Dominator 3D printer: [drmrehorst.blogspot.com]
|
Re: New Build Plate October 15, 2016 10:40PM |
Registered: 9 years ago Posts: 1,873 |
Quote
elwood127
Only problem is that wires are not accessible on this silicone heater (see pic). They are what they are.
The losses are per unit length, so if it looks like a problem it's fine to just cut the existing wires reasonably short and solder on bigger ones. Heat shrink over the joints to keep everything safe and tidy.
I'll be interested to see how you get on with ABS on the PEI. I'd like a robust print surface (and that finish!), but I'm worried on spending that much if it doesn't work for all the filaments I use, which is mostly abs, nylon, tpu and tpe, with some pla and petg (and hopefully eventually delrin if I ever get past the warping).
Edit: just looked up that power supply, they run about $300 USD. Your printer's getting to be quite the pricey bling machine

Edited 1 time(s). Last edit at 10/15/2016 10:47PM by JamesK.
|
Re: New Build Plate October 15, 2016 11:35PM |
Registered: 9 years ago Posts: 705 |
Thanks, I'll pick up some multi strand wire for it. And yes, the evolution of this machine has been quite the journey. Only real dollar cost has been in the buildplate. All other parts were drawn and printed. The before and after pictures are startling. Between these changes being needed (and addressed) and help from you all it's been quite a fun and learning experience. Thanks to you all.


|
Re: New Build Plate October 16, 2016 12:45AM |
Registered: 9 years ago Posts: 705 |
Quote
the_digital_dentist
That's crazy expensive just for a bed plate! Why would you go to the expense of milling it down when it's already milled flat? And why wouldn't you just cut it with a band saw or even a jig saw instead of the expense of laser cutting? Why didn't you just have the guy who milled it cut it while he had it on the mill? Yowza!
I'm completely anal and it seemed the only real way to prevent any distortion from clamping and 5/16 just seemed like to much mass for my little printer. Also, flat is a relative term when it comes to metal. When a couple thousands affects printers so much I prefer to error on the safe side. And you can't take it with you so what the hell.
|
Re: New Build Plate October 16, 2016 06:56AM |
Registered: 9 years ago Posts: 1,873 |
|
Re: New Build Plate October 16, 2016 10:03AM |
Registered: 9 years ago Posts: 705 |
|
Re: New Build Plate October 16, 2016 06:06PM |
Registered: 9 years ago Posts: 705 |
|
Re: New Build Plate October 16, 2016 06:43PM |
Registered: 9 years ago Posts: 1,873 |
|
Re: New Build Plate October 16, 2016 07:45PM |
Registered: 9 years ago Posts: 204 |
Sorry, only registered users may post in this forum.