Zonestar P802Q - steel Prusa i3, quick impressions
Posted by wombat
|
Zonestar P802Q - steel Prusa i3, quick impressions February 27, 2016 04:33PM |
Registered: 8 years ago Posts: 9 |
I have received the printer recently, bought directly from the 'manufacturer' on Aliexpress, as mentioned previously in this thread:
[forums.reprap.org]
Good things:
- It actually works, print quality in terms of precision is better than expected - and this is without any calibration.
- Steel frame is nice, I believe it is 3mm, laser cut (or whatever they use) is clean and precise. The frame design could use a bit more support at the base, but there is nothing really wrong with it in terms of stability (it does not wobble or anything when printing) and it is definitively going to last.
- Build instructions are decent, this is not really a hardcore DIY process (no soldering, etc). All tricky parts (extruder, hotend, hotbed) are pre-assembled already. If you can build Ikea furniture, you can build this thing too.
- Motors, Melzi board (I don't think it has a fake FTDI chip, it works just fine with the latest WHQL driver), even hot end all seem to be of decent quality and work as expected. For the money I don't think you can ask for more.
Not that great:
- Temperature sensor for my hot end was faulty (no reading at all), conveniently the package included a spare one (which surprisingly was not mentioned on the parts list), so I suspect this might be a common problem.
- Power supply ("20A") is a lie. When heating bed + hot end at the same time max power draw I could see this thing puling from the wall was 200W (for most of the time around 180W). Assuming quite generous 80% efficiency, this means that max amp for this PSU@12V is ~13-14A. It is also a bit noisy (something like coil whine + some other sound). Definitively the weakest part of the kit. That being said, extruder and bed are heating up pretty quickly, so I assume those weaker PSUs sold as '15A' might be in fact 10A or less...
- The bed heats up to 120C (software limit) pretty quickly (a few minutes), HOWEVER it is a bit of a lie - temperature sensor is placed on the heatbed surface, bellow the aluminium plate. I measured the temperature of top aluminium plate using IR meter while printer was indicating 120C and it was only ~75C. The problem is that there is a small air gap (less than 1mm) between the aluminium bed and heating plate, so heat conductivity is very poor. The fix would be to apply some thermal compound between hot and aluminium plate and secure the connection as tightly as possible (it seems to be using regular screws).
- The most noisy element of the printer is hot end fan, otherwise the printer would be really quiet.
- I am experiencing some oozing issues, tweaking retraction helped a lot, but still thinking about replacing hot end with E3D v6. Other than that I haven't really got any issues with hot end / extruder so far (clogging and so on).
- Bed levelling is a pain (well, probably this is the case with any printer?), but no worries - the printer comes with auto leveling! Well.. the problem is that it does not work for me. The probe functions OK (red LED lights when approaching the bed), but to calibrate it, control Z offset and make printer to measure the bed you need to flash different firmware (with 'A' suffix). Unfortunately this special firmware crashes (with garbage on the LCD screen, only reset fixes it) for pretty much any 'serious' operation, even when calibrating Z probe. Not sure if this is a problem with my board or the firmware is totally busted (there are two versions, tried both) - I emailed their support about it. Printer works fine when flashed back to non-A firmware (but no support for Z probe, of course )
)
Thinking about the following upgrades/tweaks:
- replacing hot end (+ noisy fan) with E3D v6
- installing better PSU (ATX one or at least 30A version of Chinese unit) - not sure however if this is going to make a major difference and I am not going to be limited by the board in terms of current limit.
- fixing air gap between hotbed and top aluminium plate
- hopefully getting Z probe working
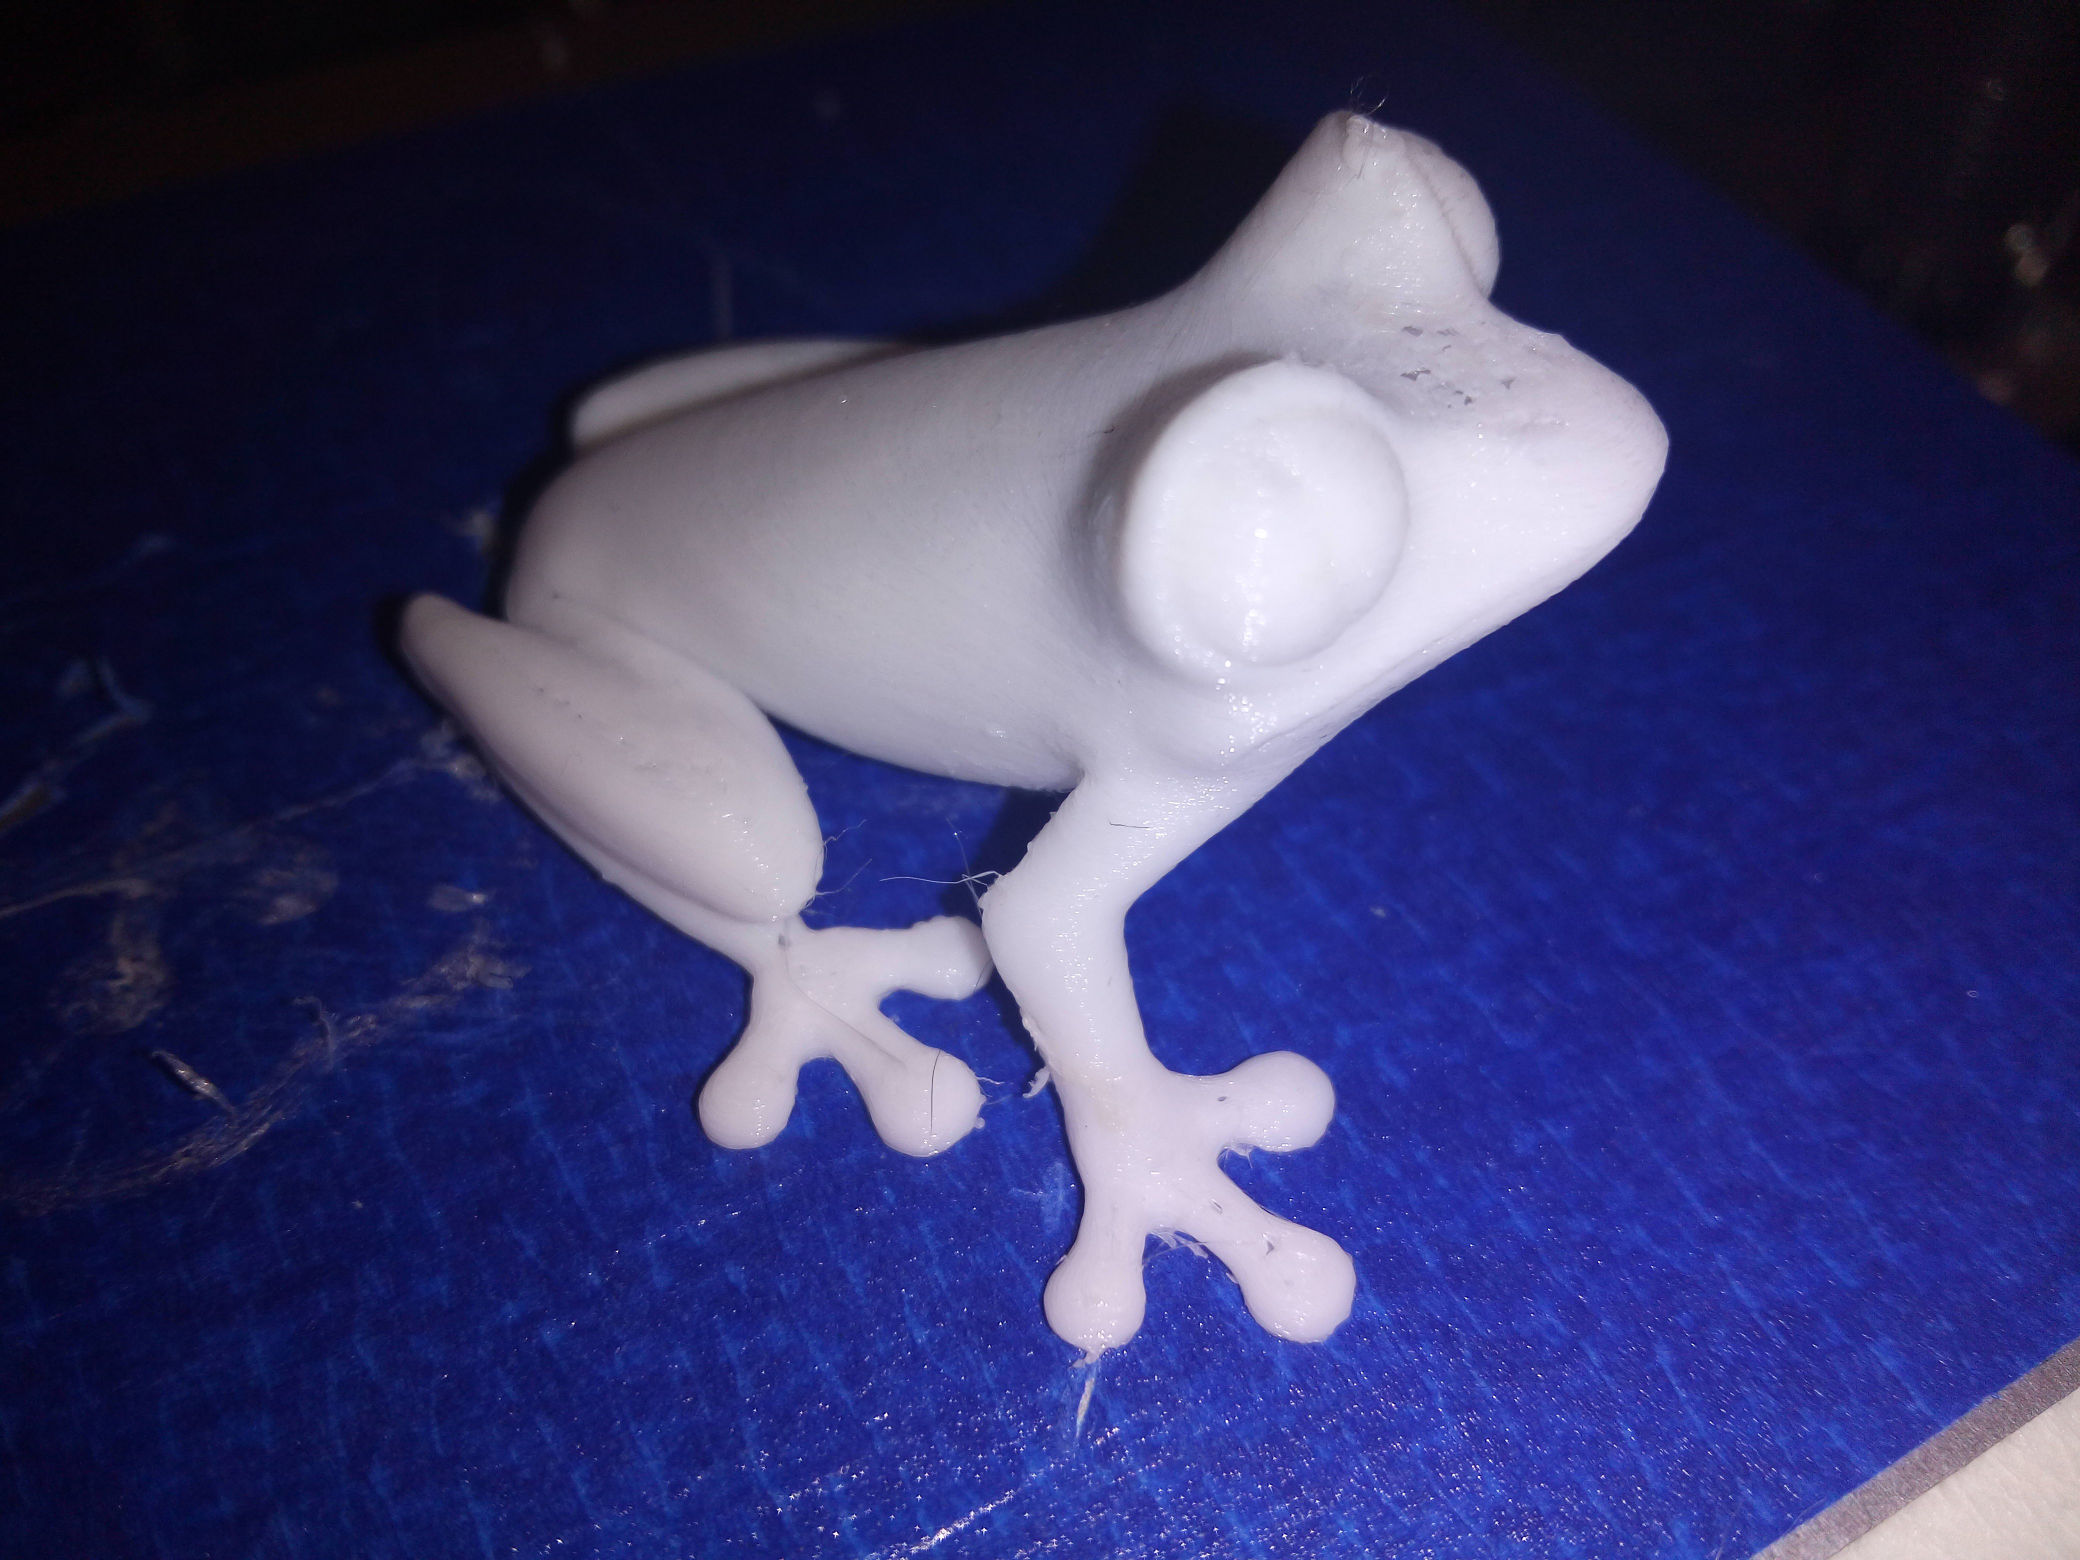
Other than that, I can't really see anything else to improve here. In overall, I think it is a great printer for silly money, with a lot of potential and decent build quality (steel frame). I am attaching photo of quick and dirty print from the device (no tweaks or calibration) - holes are thanks to 2% infill and you can also see some oozing/stringing (should be fixable).
If you have got any questions - just let me know.
Edited 1 time(s). Last edit at 02/28/2016 07:56AM by wombat.
[forums.reprap.org]
Good things:
- It actually works, print quality in terms of precision is better than expected - and this is without any calibration.
- Steel frame is nice, I believe it is 3mm, laser cut (or whatever they use) is clean and precise. The frame design could use a bit more support at the base, but there is nothing really wrong with it in terms of stability (it does not wobble or anything when printing) and it is definitively going to last.
- Build instructions are decent, this is not really a hardcore DIY process (no soldering, etc). All tricky parts (extruder, hotend, hotbed) are pre-assembled already. If you can build Ikea furniture, you can build this thing too.
- Motors, Melzi board (I don't think it has a fake FTDI chip, it works just fine with the latest WHQL driver), even hot end all seem to be of decent quality and work as expected. For the money I don't think you can ask for more.
Not that great:
- Temperature sensor for my hot end was faulty (no reading at all), conveniently the package included a spare one (which surprisingly was not mentioned on the parts list), so I suspect this might be a common problem.
- Power supply ("20A") is a lie. When heating bed + hot end at the same time max power draw I could see this thing puling from the wall was 200W (for most of the time around 180W). Assuming quite generous 80% efficiency, this means that max amp for this PSU@12V is ~13-14A. It is also a bit noisy (something like coil whine + some other sound). Definitively the weakest part of the kit. That being said, extruder and bed are heating up pretty quickly, so I assume those weaker PSUs sold as '15A' might be in fact 10A or less...
- The bed heats up to 120C (software limit) pretty quickly (a few minutes), HOWEVER it is a bit of a lie - temperature sensor is placed on the heatbed surface, bellow the aluminium plate. I measured the temperature of top aluminium plate using IR meter while printer was indicating 120C and it was only ~75C. The problem is that there is a small air gap (less than 1mm) between the aluminium bed and heating plate, so heat conductivity is very poor. The fix would be to apply some thermal compound between hot and aluminium plate and secure the connection as tightly as possible (it seems to be using regular screws).
- The most noisy element of the printer is hot end fan, otherwise the printer would be really quiet.
- I am experiencing some oozing issues, tweaking retraction helped a lot, but still thinking about replacing hot end with E3D v6. Other than that I haven't really got any issues with hot end / extruder so far (clogging and so on).
- Bed levelling is a pain (well, probably this is the case with any printer?), but no worries - the printer comes with auto leveling! Well.. the problem is that it does not work for me. The probe functions OK (red LED lights when approaching the bed), but to calibrate it, control Z offset and make printer to measure the bed you need to flash different firmware (with 'A' suffix). Unfortunately this special firmware crashes (with garbage on the LCD screen, only reset fixes it) for pretty much any 'serious' operation, even when calibrating Z probe. Not sure if this is a problem with my board or the firmware is totally busted (there are two versions, tried both) - I emailed their support about it. Printer works fine when flashed back to non-A firmware (but no support for Z probe, of course
)Thinking about the following upgrades/tweaks:
- replacing hot end (+ noisy fan) with E3D v6
- installing better PSU (ATX one or at least 30A version of Chinese unit) - not sure however if this is going to make a major difference and I am not going to be limited by the board in terms of current limit.
- fixing air gap between hotbed and top aluminium plate
- hopefully getting Z probe working
Other than that, I can't really see anything else to improve here. In overall, I think it is a great printer for silly money, with a lot of potential and decent build quality (steel frame). I am attaching photo of quick and dirty print from the device (no tweaks or calibration) - holes are thanks to 2% infill and you can also see some oozing/stringing (should be fixable).
If you have got any questions - just let me know.


Edited 1 time(s). Last edit at 02/28/2016 07:56AM by wombat.
|
Re: Zonestar P802Q - steel Prusa i3, quick impressions February 27, 2016 06:53PM |
Registered: 8 years ago Posts: 430 |
If you don't like the noise of the PSU I would get an ATX one and mod it. When I was looking for a quiet one those LED strip type all looked the same so I suspect they are all loud and the ones with no fan don't supply enough power.
For the hotend I would print the mount then wait until the one you have fails to upgrade. If the fan is the biggest issue that 30mm one that comes with the E3D will be louder.
Newbie with Folgertech 2020 i3.
For the hotend I would print the mount then wait until the one you have fails to upgrade. If the fan is the biggest issue that 30mm one that comes with the E3D will be louder.
Newbie with Folgertech 2020 i3.
|
Re: Zonestar P802Q - steel Prusa i3, quick impressions February 27, 2016 07:06PM |
Registered: 8 years ago Posts: 430 |
|
Re: Zonestar P802Q - steel Prusa i3, quick impressions February 27, 2016 11:05PM |
Registered: 8 years ago Posts: 68 |
Only thing which IR thermometers are good, is metering human temperature. Aluminium reflects IR so much that meters are way off easily. Tape your multimeter temperature probe to plate and see how much the heatbed and plate measurements differ. Even that isn't best way to measure but much better than IR.Quote
wombat
HOWEVER it is a bit of a lie - temperature sensor is placed on the heatbed surface, bellow the aluminium plate. I measured the temperature of top aluminium plate using IR meter while printer was indicating 120C and it was only ~75C.
|
Re: Zonestar P802Q - steel Prusa i3, quick impressions February 28, 2016 07:54AM |
Registered: 8 years ago Posts: 9 |
Quote
Vuokko
Only thing which IR thermometers are good, is metering human temperature. Aluminium reflects IR so much that meters are way off easily. Tape your multimeter temperature probe to plate and see how much the heatbed and plate measurements differ. Even that isn't best way to measure but much better than IR.Quote
wombat
HOWEVER it is a bit of a lie - temperature sensor is placed on the heatbed surface, bellow the aluminium plate. I measured the temperature of top aluminium plate using IR meter while printer was indicating 120C and it was only ~75C.
I am aware of it, I was not pointing IR meter directly at shiny, aluminium plate, but at matt tape that covers it - this is a good enough workaround for problem with IR meters and reflective surfaces. Due to tiny air gap between hotbed and aluminium plate that act as an insulator, it is impossible to heat the aluminium plate to more than ~75C or so, even when thermistor reports 120C for the hotbed itself.
I actually totally removed aluminium plate as I am printing PLA on a masking tape anyway and can't see really any benefits of having bulky piece of aluminium that impacts heat transfer. With this 'tweak' I can confirm the bed can reach 120C (confirmed by both thermistor and IR meter) quite quickly (a few minutes) - and this is without any insulation.
Updated OP with the photo of the machine.
|
Re: Zonestar P802Q - steel Prusa i3, quick impressions February 28, 2016 02:32PM |
Registered: 8 years ago Posts: 430 |
The benefit of the aluminum plate is so you have a flat surface. I found the heat bed pcb to be warped and even putting a piece of glass on there didn't help because the glass would conform to the pcb. But you look like you are getting pretty good results so just keep doing what you are doing :-)
Newbie with Folgertech 2020 i3.
Newbie with Folgertech 2020 i3.
|
Re: Zonestar P802Q - steel Prusa i3, quick impressions February 28, 2016 09:34PM |
Registered: 8 years ago Posts: 9 |
Ask them to send you the source code firmware and use Arduino 1.0.5r2 to update it. If you can't wait, how did you try to update? under windows 8/10 open an administrative command prompt and go to this folder "\P802 Release File\document\9.others\Firmware & tools\Updatetools\AVRUpdataTool. Copy the hex file (P802QAV10.hex) to this folder. You will find the hex file in the "Firmwre HEX" folder. run the batch file called "UpdateFw_melzi" from within the same administrative command prompt window. it will ask for com port number and then the hex file name without .hex and case sensitive if I recall correctly. It should update ok then (had the same type of issue) - the autobed levelling works very well IMO once you have it configured correctly.
Edited 1 time(s). Last edit at 02/28/2016 09:35PM by cobretti.
Edited 1 time(s). Last edit at 02/28/2016 09:35PM by cobretti.
|
Re: Zonestar P802Q - steel Prusa i3, quick impressions February 29, 2016 06:54PM |
Registered: 8 years ago Posts: 9 |
Quote
cobretti
Ask them to send you the source code firmware and use Arduino 1.0.5r2 to update it. If you can't wait, how did you try to update? under windows 8/10 open an administrative command prompt and go to this folder "\P802 Release File\document\9.others\Firmware & tools\Updatetools\AVRUpdataTool. Copy the hex file (P802QAV10.hex) to this folder. You will find the hex file in the "Firmwre HEX" folder. run the batch file called "UpdateFw_melzi" from within the same administrative command prompt window. it will ask for com port number and then the hex file name without .hex and case sensitive if I recall correctly. It should update ok then (had the same type of issue) - the autobed levelling works very well IMO once you have it configured correctly.
Thanks! The procedure you described is the same I used to upgrade the firmware, no luck I am afraid - the firmware is just very unstable
I actually got the source from the support (asked for it over the weekend) and uploaded it to the printer using Arduino 1.0.5r2 as you suggested (Sanguino 16MHz target). Initially it worked quite well actually, I was able to complete autoleveling process and start printing, but then I realized that with just bare heatbed alone the measurement consistency is pretty poor - so I re-installed aluminium bed (with improved insulation) and the problem started happening again, the printer is now unusable with this firmware, it keeps crashing with LCD corruption and even moving Z-axis from the menu a little bit makes it to restart itself... All seems to be OK on non-autolevel firmware (although I get occasional LCD corruption there too, but no crashes/reboots) . It is all quite puzzling, I suspect that my control board might have some problem which Marlin (autolevel) firmware is exposing, as non-autolevel firmware is actually Repetier - which maybe can tolerate this problem, whatever it is (just a speculation really)
Are you experiencing any LCD corruption at all with your printer (autolevel firmware or not)?
I would be grateful for any further ideas.
Edited 2 time(s). Last edit at 02/29/2016 06:58PM by wombat.
|
Re: Zonestar P802Q - steel Prusa i3, quick impressions February 29, 2016 09:34PM |
Registered: 8 years ago Posts: 9 |
no it is working consistently well - check this [forums.reprap.org] - also read a few more posts after that - I think this may be what you are experiencing. Also suggest you up your power supply voltage to 13.5 - search some of my posts to see a few of my results. attached is my configuration.h with all my adjustments - note i bought the clone e3dv6 hence some of the changes and i did the autotune for my pid values for extruder and hotbed. compare the file to yours...hope that helps
|
Re: Zonestar P802Q - steel Prusa i3, quick impressions March 01, 2016 04:41PM |
Registered: 8 years ago Posts: 9 |
Quote
cobretti
no it is working consistently well - check this [forums.reprap.org] - also read a few more posts after that - I think this may be what you are experiencing. Also suggest you up your power supply voltage to 13.5 - search some of my posts to see a few of my results. attached is my configuration.h with all my adjustments - note i bought the clone e3dv6 hence some of the changes and i did the autotune for my pid values for extruder and hotbed. compare the file to yours...hope that helps
This is very helpful, thanks. I bumped up PSU voltage to > 13V, tested the board directly using USB power only (jumper on the board), played with configuration.h and even compiled the firmware using the latest Arduino 1.6.7, but it did not help in any way - the symptoms are still identical.
What is worse, when doing all this testing the printer crashed/hanged and kept moving Z aixs down, disregarding reading from the probe and pushing nozzle all the way down into the aluminum plate, before I managed to stop it
The result is that Z endstop is now badly damaged and does not function as it should any more. This should be cheap to replace though, I just hope rods and the rest of structure the did not get bend because of it... At least the good thing is that the printer is metal - I am sure acrylic one would get shattered into tiny pieces.Edited 2 time(s). Last edit at 03/01/2016 04:46PM by wombat.
|
Re: Zonestar P802Q - steel Prusa i3, quick impressions March 07, 2016 10:54AM |
Registered: 8 years ago Posts: 2 |
Bought the same printer with auto leveling. Installed the P802NAV20 firmware. Didn't know which one of the five to use. The printer started to auto level (on 3 positions out of 6) next to the bed. Printed a new support plate for the auto level sensor like in the instruction video. Now it is on the left side of the front cooling fan and this is working perfect. Also I have thermal paste between the aluminium plate and the heating plate. There was quite a gap in between. If screwed the printer to a 32mm wooden plate to make it more stable. The frame between the Z-axe motors in to week. All is working fine except there is some rattling noise starting to appear from or some bearing or the Y-axe motor. The cables are in cable chain but I am not yet satisfied with the result.
|
Re: Zonestar P802Q - steel Prusa i3, quick impressions March 07, 2016 11:03AM |
Registered: 8 years ago Posts: 2 |
|
Re: Zonestar P802Q - steel Prusa i3, quick impressions March 08, 2016 09:26PM |
Registered: 8 years ago Posts: 5 |
Hi guys
I bought this printer a few months ago. The seller gives this repository, where uploads all the info inside the sd card
[www.jianguoyun.com]#
Inside the firmware folder, found this txt file, explaining the HEX for the printer.
P802NVxx.hex: Frimware for P802N without auto leveling(default firmware for P802N)
P802NAVxx.hex: Frimware for P802N with auto leveling
P802QVxx.hex: Frimware for P802Q without auto leveling(default firmware for P802Q)
P802QAVxx.hex: Frimware for P802Q with auto leveling
Also, corrupt LCD screen can be caused by EMI to the LCD cable. I had this issue before. Put the cable away from the power supply and motor cables.
Also check this playlist:
[www.youtube.com]
and this channel
[www.youtube.com]
It's in Spanish. Maybe it could help if you are planning to buy one.
Regards
Francisco
|
Re: Zonestar P802Q - steel Prusa i3, quick impressions March 21, 2016 10:32AM |
Registered: 8 years ago Posts: 1 |
Quote
Linden
Bought the same printer with auto leveling. Installed the P802NAV20 firmware. Didn't know which one of the five to use. The printer started to auto level (on 3 positions out of 6) next to the bed. Printed a new support plate for the auto level sensor like in the instruction video. Now it is on the left side of the front cooling fan and this is working perfect...
You installed the wrong firmware! You have the metal-version P802Q, not the plastic version P802N. So you should install the firmware P802QAVxx.hex
I have also the metal version P802Q with the autolevel sensor. I installed the sensor at the right side of the extruder and it works good with the firmware P802QAV10.hex. Only the display showed sometimes stuff like this:
[dl.dropboxusercontent.com]
Last week the support of zonestar send me a new version of the firmware with the name P802QAV11.hex.
Quote
Linden
All is working fine except there is some rattling noise starting to appear from or some bearing or the Y-axe motor.
I also heard this noise from the y-axis. As I moved the bed by hand (with disabled steppers) I could feel a resistance at certain positions. After I replaced the left y-bearing (SC8UU or LM8UU are very cheap) everything was good again. Probably I will replace the lower H-shaped metal plate of the bed by a more stable plate with 4 bearings, if I find some time.
Edited 2 time(s). Last edit at 03/22/2016 06:32AM by widddo.
|
Re: Zonestar P802Q - steel Prusa i3, quick impressions April 11, 2016 08:44PM |
Registered: 8 years ago Posts: 1 |
I've owned one for around a month now, For the Price and what you get, I think its winner for a entry level printer, The only thing I didn't like was the bearings, but after I oiled them and used them a bit, they started working a lot better. The heatbed gap I just used two bulldog clips, one on each side. I also turn the heated bed 90' so that the wires were exiting out the side, less movement of the wires that way. Had some binding, but then I messed around with the smooth rods and all is good now. I'm happy with it 
[www.facebook.com] <-- My Zonestar FB Page
[www.facebook.com] <-- My Zonestar FB Page
|
Re: Zonestar P802Q - steel Prusa i3, quick impressions April 17, 2016 07:23PM |
Registered: 8 years ago Posts: 5 |
|
Re: Zonestar P802Q - steel Prusa i3, quick impressions June 06, 2016 03:02PM |
Registered: 7 years ago Posts: 3 |
|
Re: Zonestar P802Q - steel Prusa i3, quick impressions June 21, 2016 09:50PM |
Registered: 7 years ago Posts: 1 |
Hello everyone,
My P802QA model is using a ZRIB v2 board.
After updating to the latest hex file sent by manufacturer: P802QAV45.hex , I seem to be getting a heater decoupled issue.
Have checked my hardware and don't think it's a hardware problem, is anyone else on ZRIB v2 board? Does anyone have the original .hex file that came with the unit?
|
Re: Zonestar P802Q - steel Prusa i3, quick impressions June 27, 2016 10:31PM |
Registered: 8 years ago Posts: 5 |
Hi guys
Zonestar recently opened a facebook group for discussion
[www.facebook.com]
we can post there, images ask questions to the seller and show our upgrades
Zonestar recently opened a facebook group for discussion
[www.facebook.com]
we can post there, images ask questions to the seller and show our upgrades
|
Re: Zonestar P802Q - steel Prusa i3, quick impressions July 06, 2016 04:43PM |
Registered: 8 years ago Posts: 8 |
Having those weird problems happen after re-installing the aluminum plate may be a clue.
I have the p802MA version (acrylic).
The circuit board heater that they use has some exposed pads on its surface where they solder on the temp sensor.
It arrived installed with the exposed silver pads facing away from the aluminum bed.
Most likely, this was to prevent a short to the aluminum.
Unfortunately, it also made the system very inefficient as the copper traces on the heater board were facing away from the work.
It has since been replaced.
Perhaps you are having a short from the heater board to the aluminum bed?
If you have exposed silver traces towards the center of the board used for soldering in the thermistor, you might cover those pads with kapton tape.
Also, check very carefully around the heater board connections for potential shorts.
It is also possible to develop problems with the wires near the board from the y axis motion stressing the solder joints.
On another note, whenever I had weird characters on the LCD, pressing a button to go to another menu usually corrected it.
I don't get those problems anymore since replacing the heater pcb (facing the traces up at the work and installing a larger power supply)
BTW, I have a 40A power supply (LED type) with internal fan.
It is the same size as the original and not too expensive ($32.40, free ship from California off of eBay).
The big price jump comes when you go to 50A...
|
Re: Zonestar P802Q - steel Prusa i3, quick impressions November 01, 2016 12:45AM |
Registered: 7 years ago Posts: 1 |
|
Re: Zonestar P802Q - steel Prusa i3, quick impressions February 23, 2017 05:39AM |
Registered: 7 years ago Posts: 4 |
Some impressions added from Austria:
I got my P802QR2 with a delay of 3 weeks and a lot of broken promises from the seller (aliexpress, Zonestar themself) but a roll of wood filament as a small compensation was added. Not statisfying at all, but better than nothing. I wont promote the seller because of false informations.
Assembling:
First of all, I am a beginner. I have commercial education but my hobby is to pimp up my motorbikes in wintertime.
If you get 2 videos which contain sometimes controverisal guidelines, you struggle. Anyhow watching instructions on ANET A8 helped. To assemble mechanical parts & motors took only about 2-3 hours.
Wiring:
Very simple, most of the time was consumed to tidy the wiring up.
First impression:
not too bad, I expected worse. PSU fan is running constantly and making too much of noise.
Then I tried to print out the calibration cube. What a mess! I had knacking noise coming from my left Z-Axis which gave the print a shift of 5 mm. Second print failed completely.
So I redid both Z-Axis and the right one run smoother, the left one still had bad noises and shifted prints above a height of 10 mm.
I disassembled the left axis only now and removed the bearing which holds the threaded rod to the top plate. Re-installed the coupler and then it was a lot better.
Anyhow, to cut the story short, I could print some improvements from thingiverse in medium quality.
I had a robotic engineer coming by and studying the printer, he was somehow quite impressed about price/quality of the Zonestar. But he found out, that my quality problems came from a bad quality part delivered by the supplier. The left X-Axis motor holder (on the left Z-Axis) is of bad quality. The bearing fit and the fit for the threaded rod (brass) nut is NOT printed parallel as well as the holes for the y-axis rod are not parallel.
To reprint the X-Motor holder I chose Polyamid and let a friend print it on a 5k€ printer.
Upgrades:
• I removed all LM8UU bearings and changed them to Igus Drylin to cut tolerance and noise level.
• Stronger springs for the heatbed, insulation. [www.lokbuild.com] I could not resist.
• I am still working on stabilizing the Z-Axis. Whenever I am inserting a SD card into the crappy Meltzi board controller the whole top of the printer is moving. Planning to use 2 pc of 420 mm [de.aliexpress.com]
but from European supplier to get the Z Axis top ridgid.
• I need to support the Y-axis motor as well. With the tension of the belt the motor is moving. Just found something decent on thingiverse.
• Enclosure by IKEA LACK, insulating the doors with a heat reflecting film, which I bought for my car doors (to reduce vibrations due to car Hifi). I am not printing the LACK extensions, I am using timber needle 44x44 mm from local hardware shop. Cheap enough and a lot more solid.
Software:
I did not face any problems with the electronics yet. I used the printer for around a week heavily to print out a number of improvements, then after the visit of the engineer I disassembled the Zony and I will set it up new with improvements.
What I can say, I hate to use the Melzi board so I bought a Raspberry pi and Repetier Server on it. Hope this all will together make better prints.
Second impression:
Compared to the Anet A8 from Gearbest I have a much better printer for double the money. And there is still lots of room for improvements.
Would I purchase it again? Would I suggest this printer to a friend?
With the experience I am having now, I would not buy it again, I would better build my own. But it is good to start with, frame is at least not briddle, 1,5 mm stainless steel is also not ridgid enough in my opinion.
For a beginner like me a month ago its a good buy. Lets see once I get my first dual color print out of this magic chinese printer...
Sorry, only registered users may post in this forum.