热端组装
       介绍|搭建框架|组装Y轴|组装X轴|组装Z轴|组装热床|挤出机组装|热端组装|电源|布线|调试|打印
                                多颜色/多材料|维护|故障排除|改进
Contents
目标
在这个阶段结束时你将完成所有机械方面的组建!
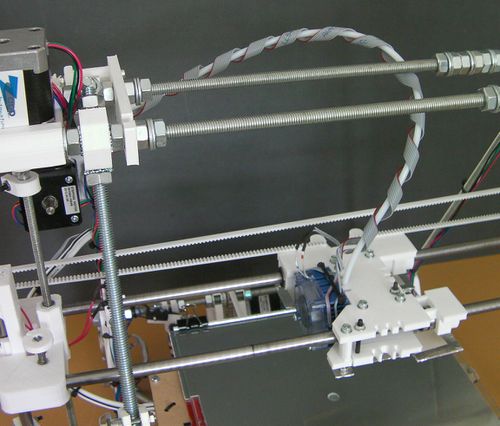
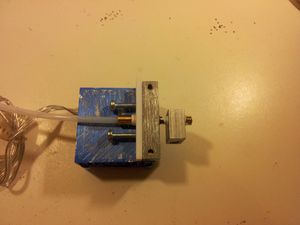
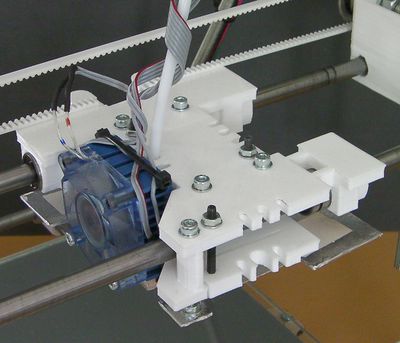
你的热端将会被安装在你的Reprap上,如图所示:
工具
你将使用以下工具
- 内六角扳手
- 小螺丝刀
- 钳子,老虎钳
- 可调节扳手
- 热源(小喷灯,吹风机或者烙铁)
- 台虎钳
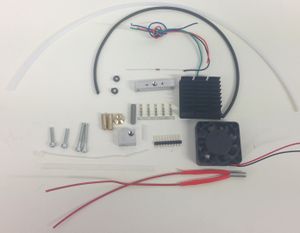
零部件
Huxley的加热电阻是6R8,Mendel的加热电阻是2R7。
为了把线和电阻以及加热电阻连接起来,还有其他办法,如下:
这里有许多步骤,你需要剪出多片PTFE,把所有的切屑清楚,避免让他们进入挤出机。如果进入,PTFE切屑会通过喷嘴,然后堵住它,对设备造成污染。
第一步:热端加热部分
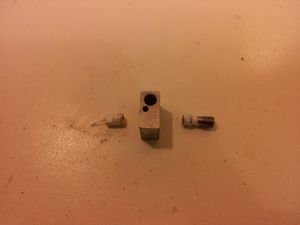
检查加热电阻是否装在加热块的大洞中。电阻的直径可能有一些小小的变化。热敏电阻应该可以被安装在这个洞中,他们是被严格制造的。
如果电阻太大的话,在虎台钳上夹紧加热块,然后旋入5毫米钻孔。小心的使用它。上下转动钻孔将会修剪洞的边缘,重复这个过程,直到电阻可以放进去。最好的情况是恰好的,不要太紧。你只需要很轻的力就能把它推进洞。如果你很用力的推,那将破坏绝缘体。 搁置电阻,我们将在1分钟以后用到它。
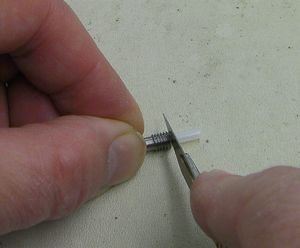
从挤出机取下PTFE管,如果你的是3毫米直径的,用刀片切掉一小段长度(大约15毫米),小心切割,使得结果是方方正正的。把切下来的一小段放在边上,将在后面使用。
如果你的套件中是4mm的,那么你会有一小段3毫米的在你的套件中。在4毫米直径管的情况下,使用铅笔刀制作一下大约2毫米的小锥子。小心不要削得太多,PTFE很软。
旋入黄铜短棒在PTFE管的末端,就是你刚刚切割的。从黄铜的另一端往下看,你可以看到,当PTFE穿到底部时(放大镜是有用的)。
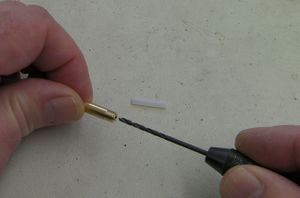
旋入管子将会轻微的减小它的内部直径,用手轻轻的旋转2毫米钻孔在黄铜的另一末端,将会使管子变细。
如果你有一个小手卡盘,将会更加简单一些:
从另一端推1.75毫米的丝状物到管子中,用来清除PTFE切屑(查看上面的警告)。确保丝状物可以自由的移动,毫无障碍的从远端出来。
在不锈钢桶和喷嘴外的螺纹处包裹水管工的PTFE胶带:
小心,不要让胶带覆盖住洞,让黄铜的光滑部分自由(或者在包裹之后再用刀片去除)。在黄铜的两端有很大的温差(在200摄氏度左右),所以重要的是你要让中间的表面可以自由的放热。
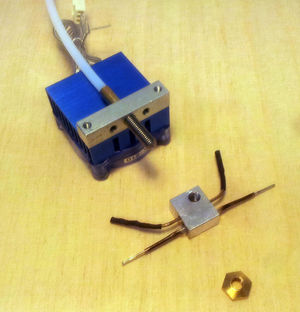
旋紧管和喷嘴到加热块上,它们在中间相遇。喷嘴通过一个2毫米的洞在铝块内部(将在后面容纳温度测量的热敏电阻)。
使用在喷嘴胖的PTFE绝缘锥子。喷嘴应伸出块,比锥子的深度更长的距离。这个锥子将会被旋入喷嘴之后,喷嘴需要投射出底部。
把组装的放在台虎钳的一角,夹住一小部分,只要固定就好。调节可调节扳手使得喷嘴平坦,并手持长尖嘴钳。
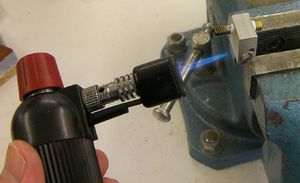
使用热源加热块:
你需要加热块,直到它扩展到打印时它的大小。黄铜喷嘴和管不会像加热铝块一样扩展。所以,加热时,使用钳子握住黄铜螺纹一端,并用扳手旋紧喷嘴。通常这只需要轻微的转动(1到2度),但是已经足够保证喷嘴不会在打印时倾斜。
把块放在台虎钳上冷却。
第二步:冷却系统
使用刚才放在一边的PTFE短管,把它放在不锈钢管的洞中,用刀片修剪平整:
使用5毫米钻孔,轻轻钻入PTFE末端,和我们刚刚一样使用。确保把所有的切屑清楚。
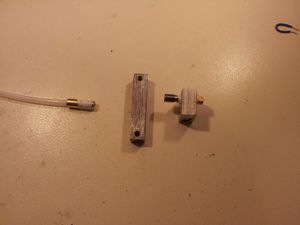
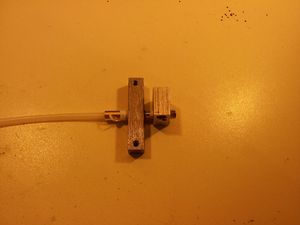
现在旋紧黄铜bowden,使其进去铝热收缩块(又长又窄的,上面有5个洞)。当拧好以后,把管的另一端旋入铝热收缩块的M5洞,直到它碰到黄铜。现在把螺丝反向旋1/4圈,把管旋入,直到碰到它,最后用钳子把黄铜夹紧。这将使管和bowden末端被锁在一起,在热收缩块中。
加热管和热收缩管(和加热电阻)平行。
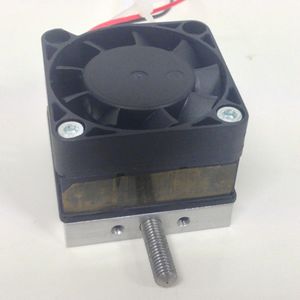
剥离风扇和散热片。这可能很紧,你可能需要钳子来剥离它们。小心,不要在塑料风扇上施加太大的压力。最简单的方法是,你用尖嘴钳握住一角,然后把它转向热收缩管的背部,像剥离灌装沙丁鱼的盖子一样。
如果你喜欢的话,可以滴一些热收缩油脂在冷却铝块上。使用两个长螺丝将它安装在风扇上。使用两个短螺丝穿过PTFE间隔,旋几圈让它们进去块中。
你会看到在热收缩依附在电扇的地方会有凹槽,那些会吹响加热块。使用一些胶带覆盖这些凹槽。
Step 3: Hotend final assembly
The final step is to assemble the hot part of the hotend with the cooling system.
Cut a small piece of Kapton tape and stick it to the bottom of the fan heatsink.
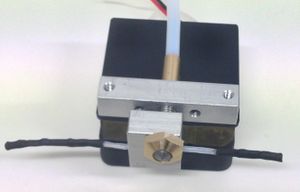
Now screw the heater block onto the one-piece nozzle, and follow it with the brass tapered nut. Tighten the brass tapered nut and heater block together tightly with spanners (more than finger tight!); this will ensure the threads make good contact with the nozzle, and heat transfers well. If you have problems with extrusion despite the temperature being reported correctly, it's worth checking that the brass tapered nut hasn't worked lose.
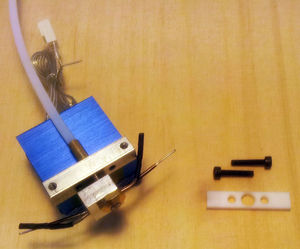
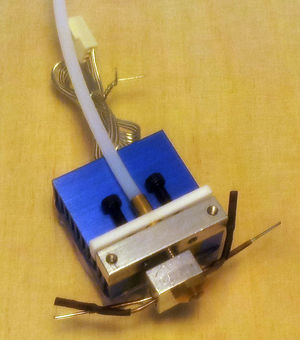
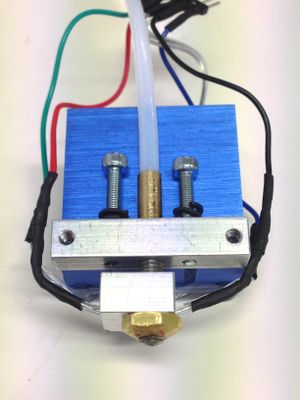
The last component to fit is the PTFE heat spacer. Attach it as shown below using two M3x16mm cap head screws.
If your kit comes with with double coil spring washers, these are a direct replacement for the PTFE heat spacer and are used with two M3x20mm cap head screws.
You can put an M3 washer above and below each double coil spring washer, if you wish. Using double coil spring washers allows the height of the nozzle to be adjusted individually, so that multiple nozzles can be leveled.
Step 4: Hotend wires
The hotend is designed to be easily removed for maintenance, so a wire connector should be used to connect the hotend to the ribbon cable.
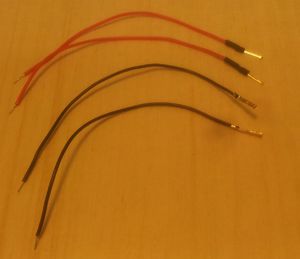
Using four spare lengths of motor wire, each approximately 4 inches long,
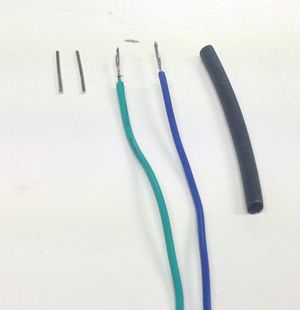
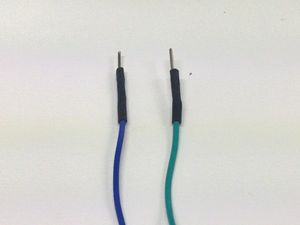
Crimp a terminal onto the ends of the heater resistor wires, then sheath it using black Polyolefin heatshrink. For the thermistor wires, solder a single header pin to each, and sheath using the black Polyolefin heatshrink.
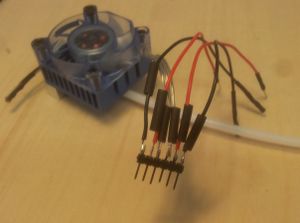
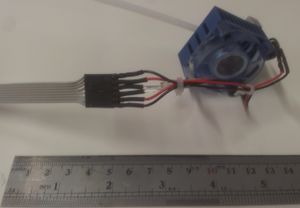
Solder the four wires to six pins of the male header, in the following order:
- Heater resistor Wire 1
- Thermistor
- Fan + volts
- Fan Ground
- Thermistor
- Heater resistor Wire 2
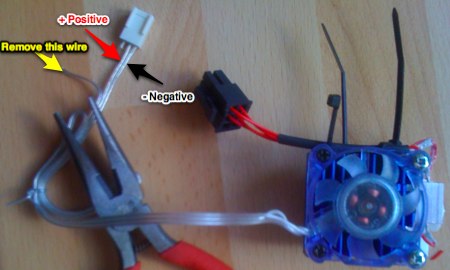
One of the wires from the fan is not used.
Use two adjacent wires from the ribbon cable for each end of the heater resistor - four in all. This is to increase the current capacity.
The wires across the ribbon cable in order go like this:
- Heater resistor Wire 1
- Heater resistor Wire 1
- Thermistor
- Fan + volts
- Fan Ground
- Thermistor
- Heater resistor Wire 2
- Heater resistor Wire 2
Resistor wires 1 and 2 are arbitrary - the resistor has no polarity.
This order is designed to minimise the risk of cross wiring the different circuits to the hotend. Since the fan polarity is important, this wire arrangement makes it easy to flip the +ve and ground wires to the fan.
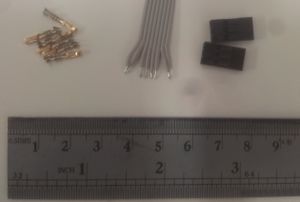
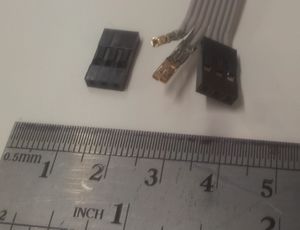
Crimp terminals onto the heater resistor wire pairs, and onto the thermistor and fan wires.
This step is easiest with the correct tool, such as this one http://www.rapidonline.com/Tools-Equipment/Ratchet-Action-Crimp-Tool-Ht225d-85-0262 If you do not have such a tool, this advice is worth following http://www.youtube.com/watch?v=KEm2PuHBt4Y
Push the terminals into the female housings and fit these to the male header strip.
Connecting up
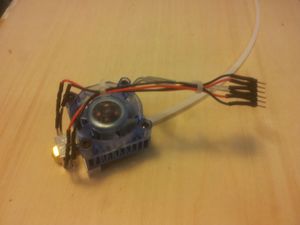
Bend the wires up the side of the heat sink. Do not pull them tight - they need a little slack to accommodate movement and expansion. Attach them at the top of the heatsink with two cable ties chained together, one of them running through the top slot in the heatsink.
Trim the excess off the cable ties.
Use a meter to check that the resistance between the wires and the aluminium block is infinite and that nothing is shorting.
Also check the resistance of the heater resistor and the thermistor by measuring from the far ends of the wires. The Mendel heater should be just under 3 ohms or the Huxley just under 7 ohms. The thermistor should be about 100K.
Step 5: Installation
Use the two free screws in the aluminium cooling block to attach the extruder hot end to the X carriage of your Mendel. The PTFE tube clips into the printed vertical channel in the X carriage.
Put the free end of the PTFE tube back in the extruder drive and re-secure it with the tongue that you undid at the end of the previous page.
The tube runs outside the machine. It does not run between the threaded rods.
Twist the ribbon cable loosely round the PTFE tube to the top, as shown in the picture at the top of this page. Wrap it 10 turns. Do not pull it tight.
Attach the glass plate to the bed with the four foldback clips.
Screw the Z adjust screw (with the thumbwheel at the top and the spring) so that about 4mm of it projects below the X motor mount.
Slacken the h bracket that holds the Z endstop switch. Position the Z endstop switch so that when the adjust screw hits it the extruder nozzle is about 1mm above the glass. Tighten the h bracket.
Multi-colour/Multi-material Mendel
If you are building the multi-colour/multi-material version of RepRapPro Mendel then you will need three hot ends in all. Build another two as described above and fit them to the remaining two slots on the X carriage. Twist their wires up the PTFE tube as you did for the first extruder, but wind them at the top and secure them with a little tape for use later.
Adjust the nuts on the X carriage that raise each hot end by deforming the sprung printed lever on which it is mounted so that the first live extruder is lowest and the other two are about 1mm higher. Don't raise any extruders too much or the levers will distort permanently, just one or two millimetres is quite enough.
