BoomBOx
|
English • العربية • български • català • čeština • Deutsch • Ελληνικά • español • فارسی • français • hrvatski • magyar • italiano • română • 日本語 • 한국어 • lietuvių • Nederlands • norsk • polski • português • русский • Türkçe • українська • 中文(中国大陆) • 中文(台灣) • עברית • azərbaycanca • |
Contents
BoomBOx
Release status: dry

| Description | beastly child of Prusa Air and Mendel Max
|
| License | |
| Author | |
| Contributors | |
| Based-on | |
| Categories | |
| CAD Models | |
| External Link |
Introduction
BoomBOx (aka BoomBOt) was started September 2012, as an undergraduate engineering research project at the University of Michigan Flint(UMF). BoomBOx stands 2 feet tall, with a standard 8x8 inch printbed. The name "BoomBOx" was coined in the reprap IRC after various instances of the LCD screen screaming on google hangout.
- BoomBox is in the final stages of the build and has yet to get 'wet'
BUILD
Below is a list of materials.
LoM
Bearings
Qt.10 - LM8UU (Asia) or LME8UU (US, Europe) linear bearings OR 8mmx25mm brass bushings -$12.52+shipping
Qt.5 - 608 "roller skate" bearings "6082RS" for sealed, "608ZZ" for shielded.-$25.50+shipping (est $12.70)
M8 threaded Rods
(can all be cut from 6 1m lengths of M8 threaded rod, Amazon - $37.14)
Qt.6 - 370mm M8 threaded rod Three per side
Qt.4 - 294mm M8 threaded rod Front/rear. Can use 300mm too
Qt.3 - 440mm M8 threaded rod Top/Bottom. Can use 450m too
Qt.2 - 210mm M8 threaded rod z-axis lead screws. Can use 300mm too
Qt.6 - 405mm M8 smooth rod
Bed
Qt.2 slabs of metal
Qt.4 springs
Qt.4 extra pieces of threaded rod
Qt.4 brass bushings
Belts, eBay
Qt.1 - 840mm GT2 toothed belt, matching pulleys Gates Corp.
Qt.1 - 900mm+ GT3 toothed belt, matching pulleys Gates Corp.
Qt.2 - 16-tooth matching GT2 pulleys bore dia. 5mm Gates Corp.
Qt.2 - - 16-tooth matching GT3 pulleys bore dia. 5mm Gates Corp.
(GT2 belt advised if long enough, 16 or 12 tooth pulley- 16 advised)
Filament
1 3mm ABS/PLA roll - $42 per roll + $12.60 shipping = $57.12 (Protoparadigm LLC)
Wire - Amazon
Qt.1 12AWG THHN stranded wire 8ft $18.51+ shipping (est. $12.70)
Motors
5 NEMA 17 Stepper Motor 40N/m $68 + $33 shipping = $105.08
Plates
Qt.1 Heatbed MK1 PCB $31.79 + shipping (est. $20) ebay
Qt.1 8x8 in glass plate estimated $3
Extruder
- BoomBOt extruder custom made by in a machine shop
Qt.1 Hot end $63.59 + shipping (est.$20)
Qt.1 High Heat Braided wire McMaster Part No. 8209K11 (or equivalent)- $1.31 +shipping (est. $13)
Qt.1 Teflon (PTFE) sleeve (2 feet) for thermistor lead insulation and filament tube McMaster Part No. 5335k11 (or equivalent)
Qt.1 Kapton tape roll for thermistor mounting
Plastic Parts
Mendel Max Parts kit
Frame
Qt.4 8-foot, 1.5 inch aluminum extrusions
Qt.50 M8 screws (½-20), 20mm length
Qt.1 4ftx4ft sheet of plexi/lexan for the encasing
Qt.2 Sheet metal for the backing and the bottom of the machine (we use sheet on back, steel on bottom)
Electronics
Qt.1 ATMEGA2560 with RAMPS 1.4 (original) or ATMEGA328P Board + USB $18 + free shipping
Qt.1 H-bridge for Z Stepper Motors $5.17 + free shipping (not included in original build)
Area
Qt.1 Machine Shop with a mill, lathe, bandsaw, and 1 large cart
Total Estimated Cost: $850
DIY
Do it yourself BoomBOx extruder build
WARNING: EXPERIMENTAL
LoM
Qt.1 Chunk of copper Qt.1 Section of copper rod
Instructions
- Keep in mind to build the extruder before you build the x-carriage

1) Take anout a 3.5 inch length of copper rod, drill a 1mm hole in it.
NO PICTURE AVAILABLE
2) Take a drill bit a little bigger than your PTFE tubing and drill over the hole. Drill down until there is about 1.5-2cm left for the head on the bottom.

3) Use a lathe to shave the nozzle down towards the hole, but not toching the hole- therefore, creating a 'nozzle'. This nozzle will not be like a cone. More...think of a little piece of the straw sticking out of your softdrink. Try to lathe about 1mm away from the hole and move down about 2mm, to create a 1mm long tip. Move VERY SLOWLY with copper. VERY VERY SLOWLY
4) Flip the rod piece in the lathe with only 1.5-2cm inside of the lathe, nozzle facing inward. Now shave the length of the rod down.


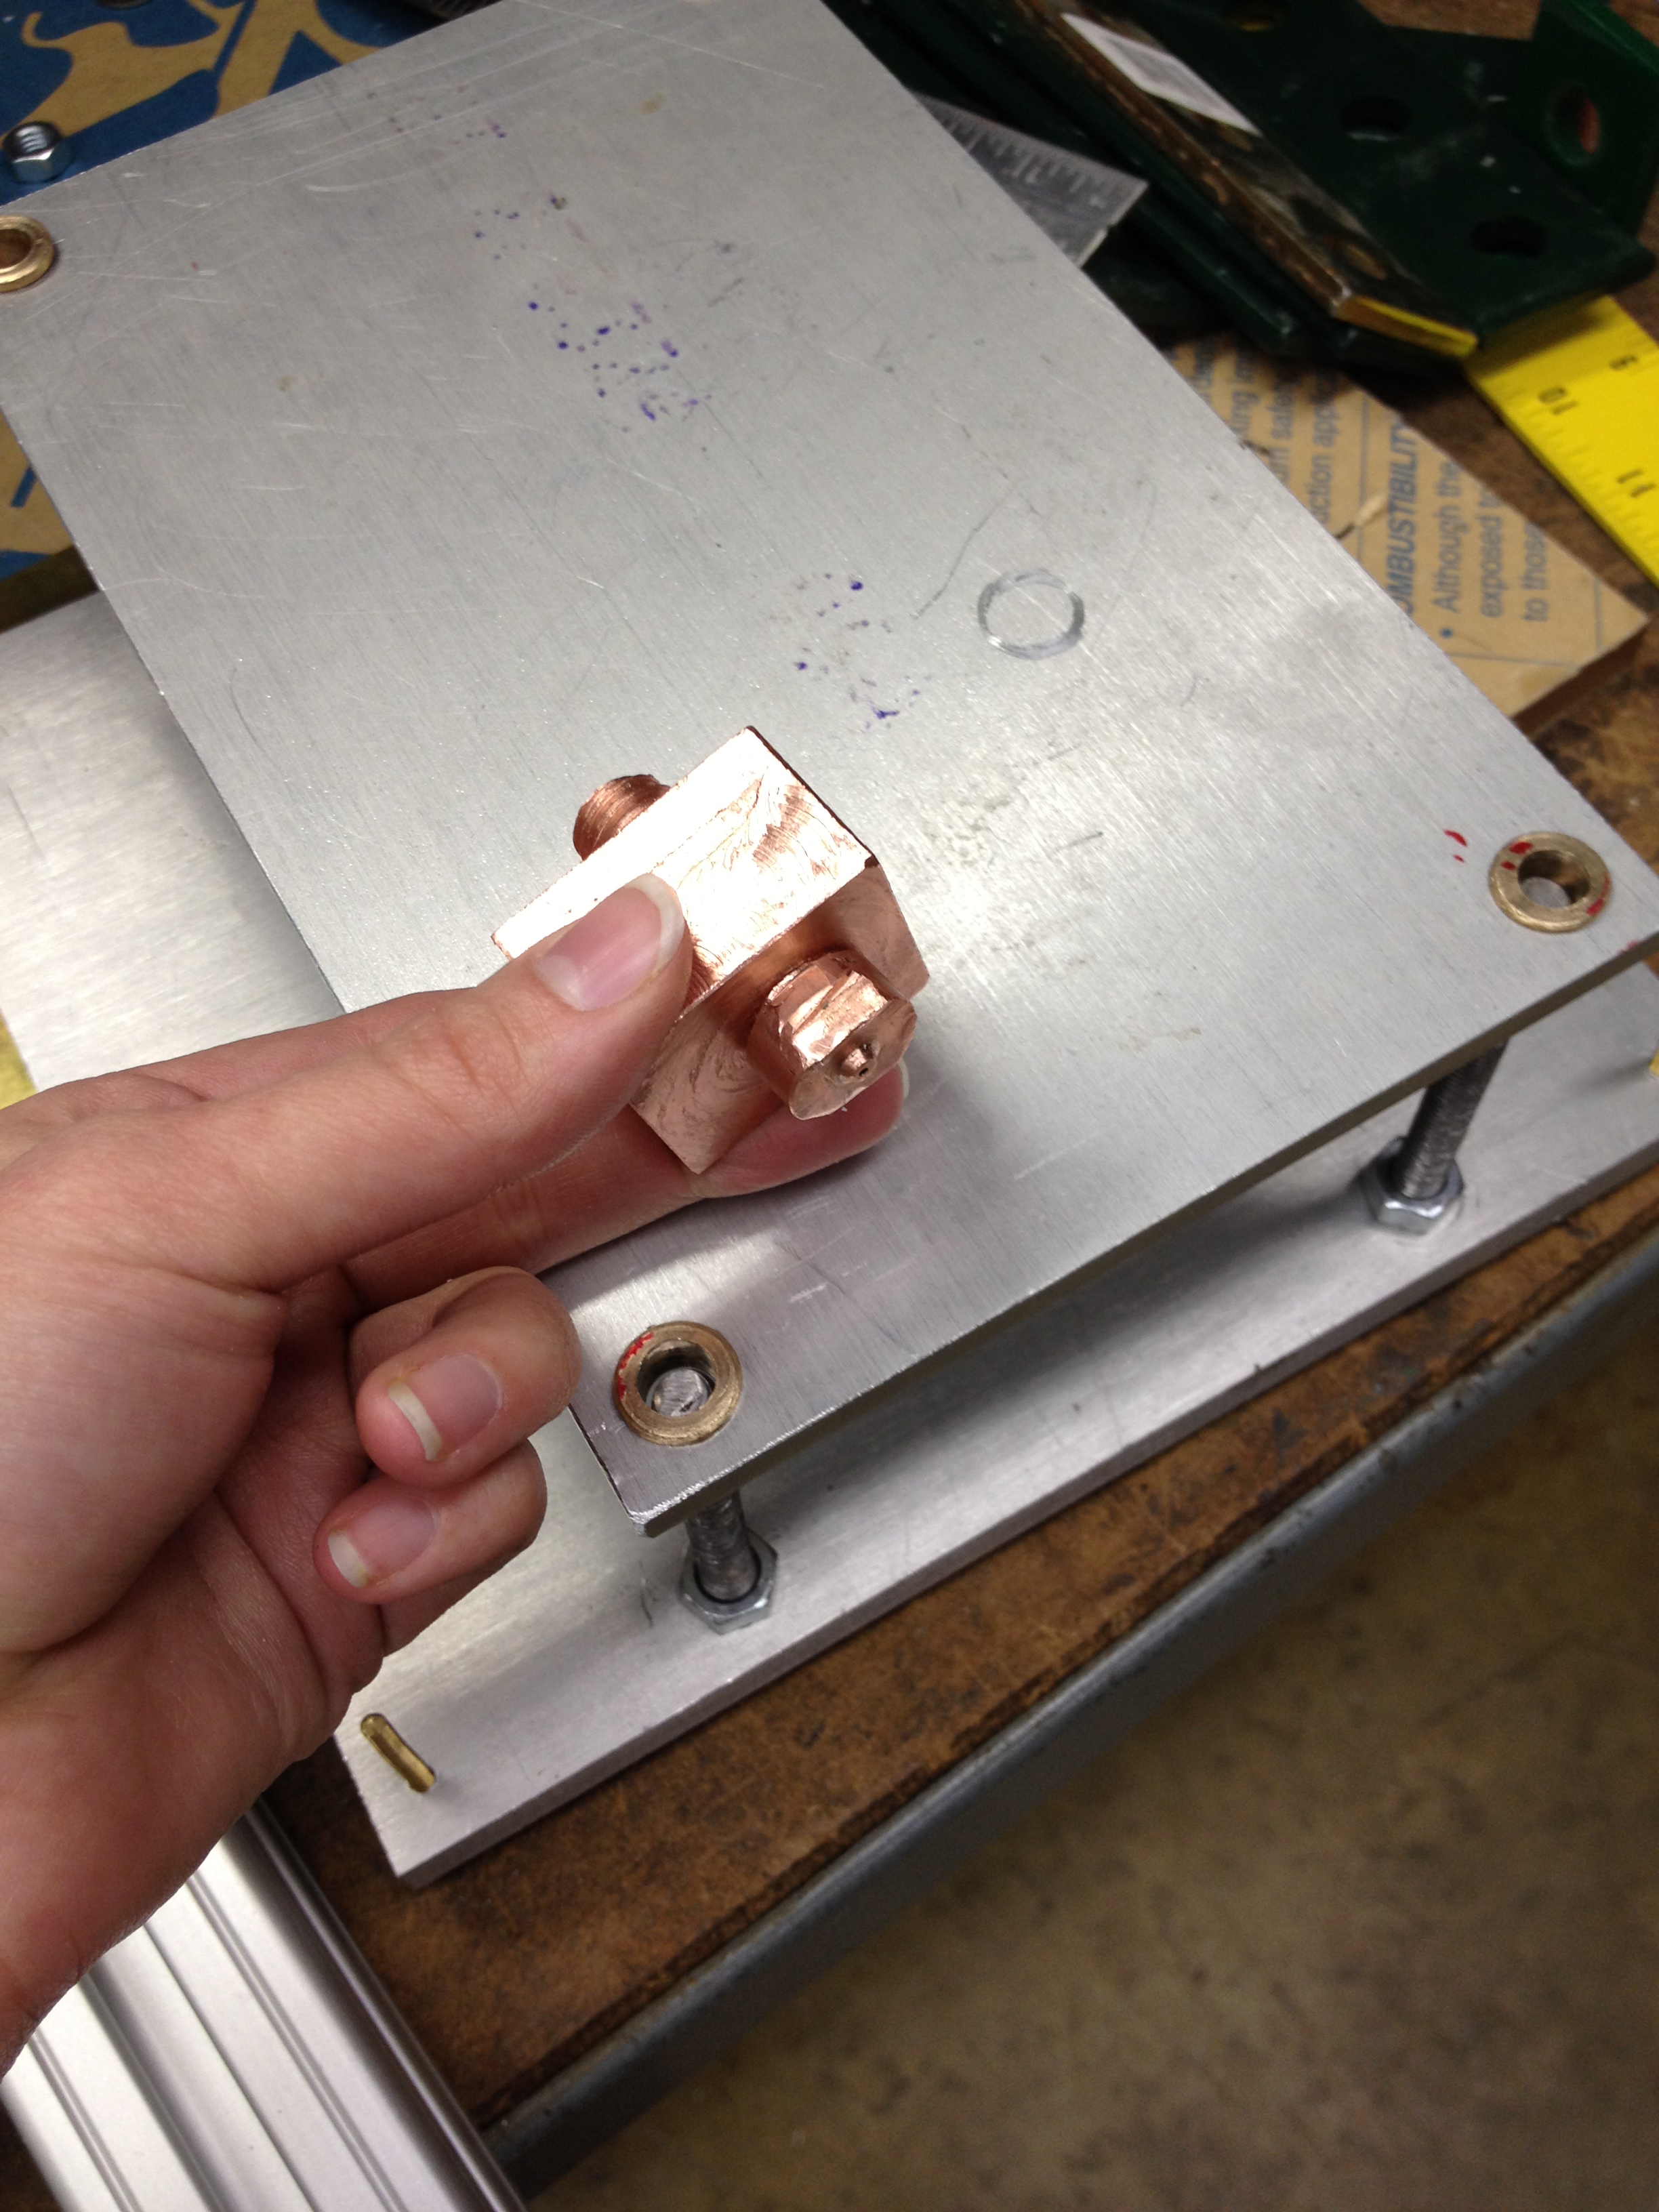
5) Take the extruder piece out and place it in a copper clamp.
6) If you have decided on threads for your peak block, thread the extruder accordingly. I think we used 2/3 threads- in any case, they should be large.
NO PICTURE AVAILABLE
7) Cut/prepare your peek block accordingly with a drilled hole and threads for the extruder.
8) The fun part- if you can't thread straight, you may have to stick the head back into the lathe and turn the lathe to get the peek block on. Warning: this may take three people to do
9) Drill a hole smaller than your resistor into the block.

10) Drill a hole the size of your resistor a little more than halfway into your block. This lets the resistor rest there without having a way to coming out from the other side. You're done!