Cartesian Bot Hints
Please do not add to this page. (It is slightly overcrowded as it is.)
This Page Contains multiple RepRap development projects and should be split up. Each individual project/design/improvement should have its own development page within an encompassing category.
Release status: Unknown
| Description | Various mods to improve the darwin cartesian bot.
|
| License | |
| Author | unknown
|
| Contributors | |
| Based-on | |
| Categories | |
| CAD Models | |
| External Link |
Contents
Helping The Bracing
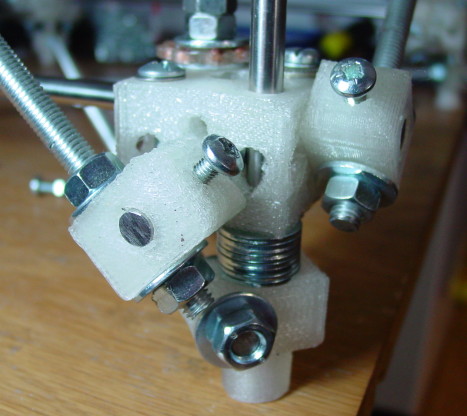
When jostled a lot, the corner blocks can work down the frame and alter the alignment. More annoyingly, this can cause the locknuts on the bottom of the Z driver rods to collide with the diagonal braces on the bottom face of the frame and make the Z axis jam.To prevent this, fill the space between the diagonal brackets with hand-squidged CAPA (Polymorph) or a stack of washers. If you transport your machine a lot, consider putting CAPA filler or reprapped pieces of tube between the bottom of the lower diagonal brackets and the ground. This will stop the frame slowly slipping down the vertical supports.
Note also that two bolts have been placed through the corner bracket to strengthen it for transport, following lessons given by the TSA.
Caution! Brittle Plastic
If using parts fabricated from a commercial RP machine, take special caution to
- Remove ALL support material. scraps of support material cause uneven stresses in the parts and can cause failure.
- Make sure to print some sort of test piece (an extra diagonal tie bracket, for example) to find out how brittle your plastic is. it can save you lots of headaches.
Z-Axis troubleshooting Mk.2
My Darwin bed was not very accurate and as a result was pulling the threaded z rods at an angle, binding up the Z-axis and causing me to almost break down in tears. I took the bed off and enlarged the corner holes to 8.5mm (you can use anything in that area). The idea is to have the posts rest at their natural angle and then place the bed gently on them without moving them, and lining up the holes by lifting the bed, moving it and gently replacing it.
then when you tighten the bolts put a bit of welly into it! and they will hold the bed, support the correct position of the Z-rods and still let them rotate freely.
now I'm crying tears of joy!
-Leav
Improved fixture on printingbed
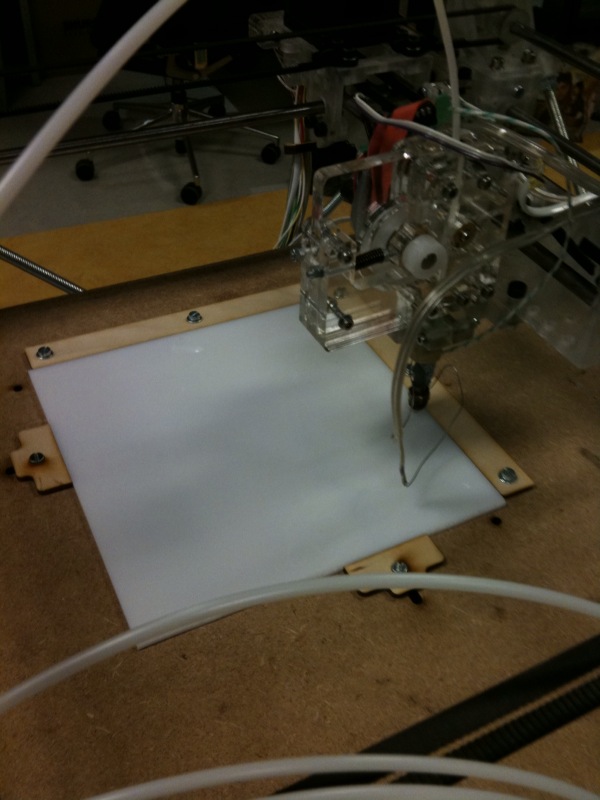
I've seen many people with improvised ways of fixing their print surface to the bed using clay till tape. I got tired of using tape and thought of a simple hack to fix the print surface on the bed.
I made two slits in the pintbed and fixed a L shaped angle on the bed. Now I can clasp the print surface in an easy way by sliding two blocks till it clasps the printing plate. Below the bed, I can tighten the screws to make sure the printing surface stays in the same position.
Cheers - Martijn Elserman


