Cartesio
Release status: working
| Description | Printed CNC machine
|
| License | Attribution - ShareAlike
|
| Author | |
| Contributors | |
| Based-on | [[]]
|
| Categories | |
| CAD Models | see files
|
| External Link |
This page is under development
Description
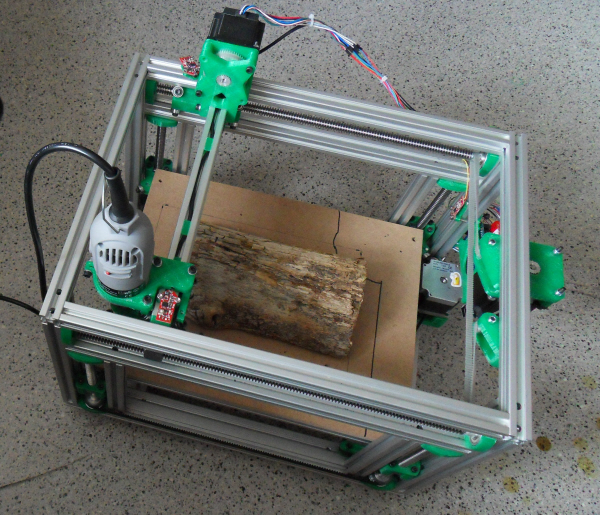
Cartesio is a printed multi-purpose desktop CNC machine, with a working space of 300x200x100mm(X,Y,Z).
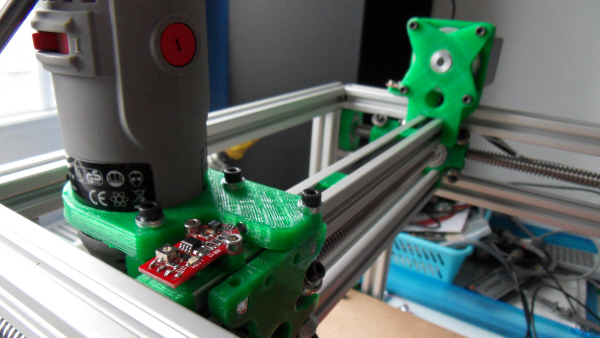
The machine is designed to hold multiple tools at its toolhead.
This way one could connect a mill and/or a 3Dprint extruder and/or....
The axis are powered by 3 NEMA23 steppers.
The max feedrates, are 2400mm/min for X and Y, and 660mm/min for Z.
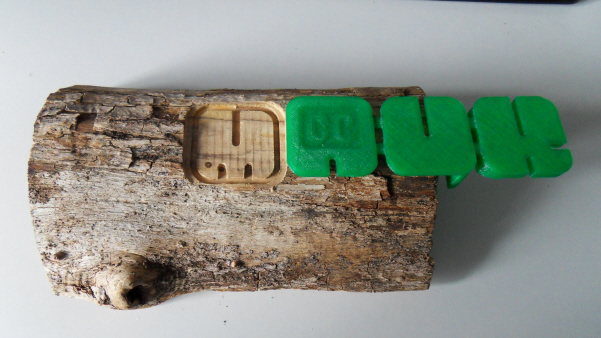
When milling the block of wood (below on this page) I set the feedrate to 100, and the depth of the layer to 0.6mm.
Travel speeds were 2400 and 660.
This gave nice results.
For up to date information, follow my blog
For purchasing or more information, please contact MaukCC, or one of the licensed resellers.
All parts are licensed under Attribution - ShareAlike.
Rather then having one long (endless) page here, I divided the assembly instructions in to separate pages in the wiki.
Please follow the links
Cartesio images
It is not exactly "Hello world" but it`s still the first milling experience for Cartesio.
The G-code was made with Skeinforge41. I`m still tweaking.
Cartesio uses 3 Hall-Θ endstop sensors
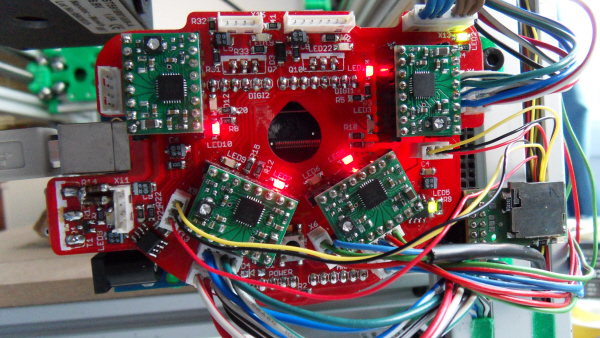
Cartesio uses a CNC arduino shield that can connect to a uno or a Mega.
It is still in prototype state, but information can be found at MaukCC
Files
Files will be added at the appropriate pages of the assembly instructions.
Parts List
Parts will be added at the appropriate pages of the assembly instructions.
Assembly Instructions
Assembling the Cartesio is a relative easy process.
There are however a couple of things that have to be done in a certain sequence, otherwise you will be (dis)assembling again and again.
If you have not bought the machined parts you will have to go through the Cartesio prebuild instructions.
Now we will begin our journey at the Cartesio Base.
After that we will go to the Cartesio Z-axis.
Then straight to the Cartesio X-axis.
And finish at the Cartesio Y-axis
Setup
So now that you have setup the individual base and axis, now it is time to connect them all together.
