Etched heatbed construction
|
English • العربية • български • català • čeština • Deutsch • Ελληνικά • español • فارسی • français • hrvatski • magyar • italiano • română • 日本語 • 한국어 • lietuvių • Nederlands • norsk • polski • português • русский • Türkçe • українська • 中文(中国大陆) • 中文(台灣) • עברית • azərbaycanca • |
Release status: working

| Description | About how to create a heatbed using the toner transfer method
|
| License | GPL 2.0
|
| Author | |
| Contributors | |
| Based-on | [[]]
|
| Categories | |
| CAD Models | |
| External Link |
Here is my version of how to produce your own heatbed with the toner transfer method:
- DIY PCB ecthing with the toner-transfer-method
Layout Part I (Inkscape)

Layout Part II (Inkscape)
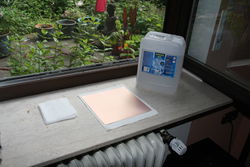
Clean the board
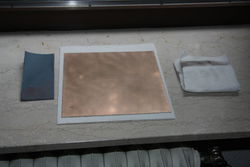
Sand the copper
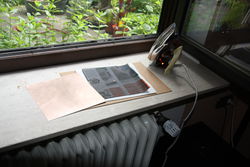
Iron the layout

Use paper towels for good details
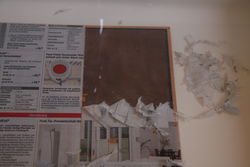
Remove the paper

This one would have needed more ironing
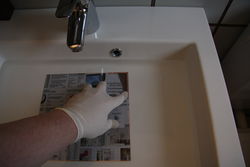
Remove paper with latex gloves
This one looks good
Paper removed
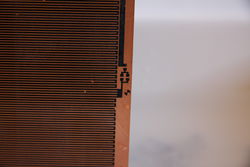
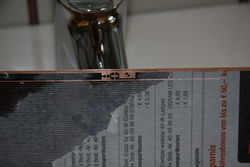
Very fine details
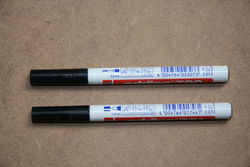
Pens for repairing breaches
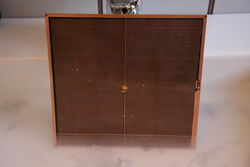
This one's ready for etching
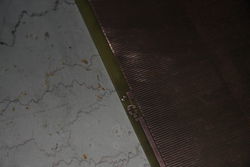
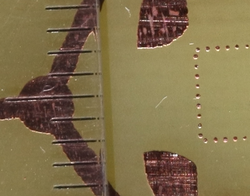
Etched and cleaned from the toner
100µm details with toner transfer


Tips:
- I use 1200 or 1000 ppmm sandpaper to roughen the copper. This allows fine details.
- The laser printer is a cheap Samsung ML-2525W (69€).
- Watering of the ironed layout lasts just a few seconds, before the paper can be rubbed off with latex gloves on. The more toner is on the print, the longer you should water it before rubbing the layout off.
- The iron should be as hot as possible. The longer you iron the board, the less breaches in the layout will occur when removing the paper.
- Don't iron directly on the paper. Details will get smeared and lines will not be sharp. Use one or two layer of paper towel as a buffer between the iron and the layout.
- Use pressure but try to avoid to move the paper with the molten toner. It's a question of training to become perfect.
- Laminating instead of ironing seems more comfortable, but doesn't give the best quality possible.
Update 08/22/2013:
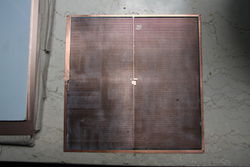
Here comes a new heated bed design. It's more homogeneous and the traces have the exact same width over there complete path.
It's not a technical relevant issue, but it looks way more professional, than my first attempt:

You can use this inventor-drawing to print the PCB:File:Pcb heated bed copper.idw
This is, how it looks like after etching:

The next version will support the complete print-area of the RepRap Morgan.