Keypad
Release status: working
| Description | Upgrade your printer with a keypad
|
| License | GPL
|
| Author | |
| Contributors | |
| Based-on | |
| Categories | |
| CAD Models | |
| External Link |
Description
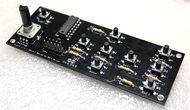
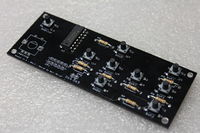
The keypad is designed by Bart Meijer of Reprapworld.com. It's an advanced keypad that you can hook up to your printer. You do want to have a LCD to go along with this keypad, you can see instruction for that here: http://reprap.org/wiki/RAMPS_LCD
Features:
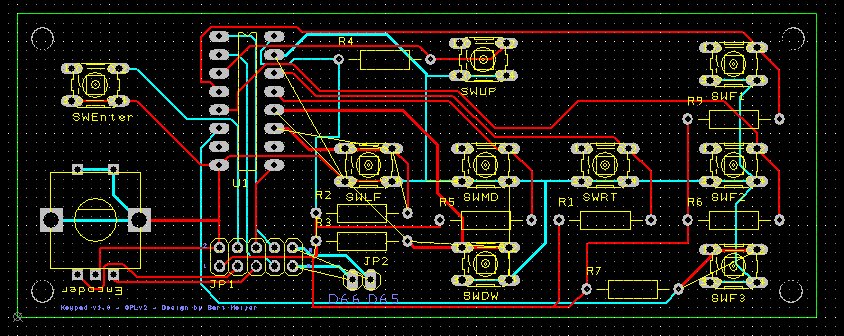
- 9-buttons to control your printer: Left, right, up, down, mid, 3 function keys ( F1,F2,F3 ), enter
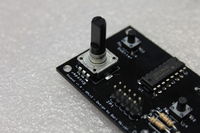
- a rotary encoder
- D66 and D65 are broken out
- Hooks up easily to your RAMPS AUX-2 port
- 41 x 109mm board
- Cool black design
- screw holes to mount the board
Where to get it
How to build it
Requirements:
- 1x Keypad PCB
- 9x Tactile switch
- 8x 10K resistor
- 1x 2x5 Header
- Shift register CD74HCT
- 1x Rotary Encoder
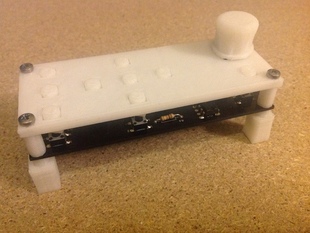
Daniel Åkesson did make a casing for the keypad [here].
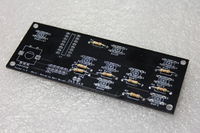
1. Solder the 10K resistors, direction doesn't matter.
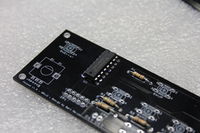
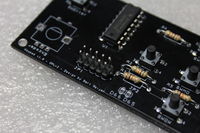
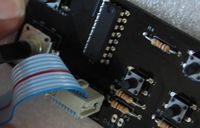
2. Solder the Shift register, make sure the orientation is as on the picture.
2. Solder the tactile switches, direction doesn't matter.
4. Solder the 2x5 Header on JP1, direction doesn't matter.
6. Solder the rotary encoder, will fit in only one direction.
How to use it
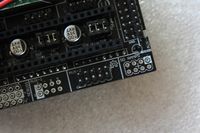
Hook it up to your RAMPS AUX-2 port. Configure your firmware to use the keypad. After some hours of work they keypad are now fully supported in the marlin firmware.
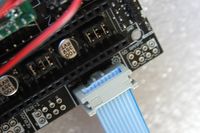
1. If your RAMPS board was produced without, you will need to solder a 2x5 header on the AUX-2 port of the RAMPS.
2. Create a cable and put it on the keypad
3. Put the other end to the RAMPS board. Make sure to put it on correctly, pin 1 on the AUX-2 is the same as pin 1 on the JP1 of the keypad. So if you align the RAMPS and keypad, you should have a straight cable.
4. Get the keys working in Marlin
- Adjust Configuration.h
Uncomment line 343:
#define REPRAPWORLD_KEYPAD
- Set the keypad moving speed
Uncomment line 344:
#define REPRAPWORLD_KEYPAD_MOVE_STEP 10.0
Here 10mm are moved when one click is made on the keypad cursors
5. Usage:
- enter: opens the menu
- encoder: navigate in the menu
- f1: opens the menu
- f2: not definied yet
- f3: not definied yet
- up: move the bed forward
- down: move the bed backwards
- left: move the extruder left
- right: move the extruder right
- middle: move to home
Resources
DesignSpark PCB File:Keypad.pcb
DesignSpark Schematic File:Keypad.sch
Schematic (PDF) File:Schematic.pdf
DesignSpark files for v1.1: File:Keypadv11.zip
