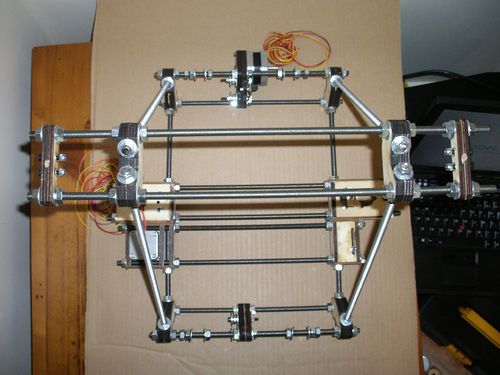
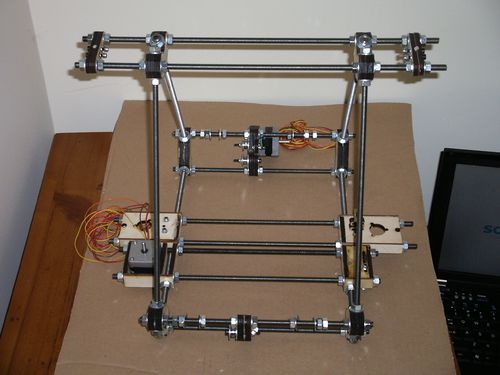
LaserCut Mendel Assembly
These assembly instructions are incomplete and have been posted by a customer rather than anyone associated with the sale of LaserCut Mendels. You may also wish to refer to the LaserCut Mendel Assembly Blog which shows some assembly pictures from another customer (in that case, only the laser cut parts are from techzone).
Contents
Extruder
X Axis
X Carriage
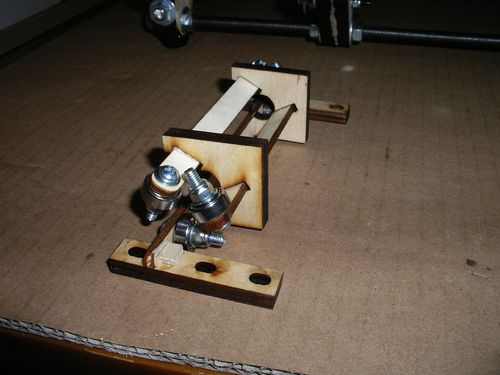
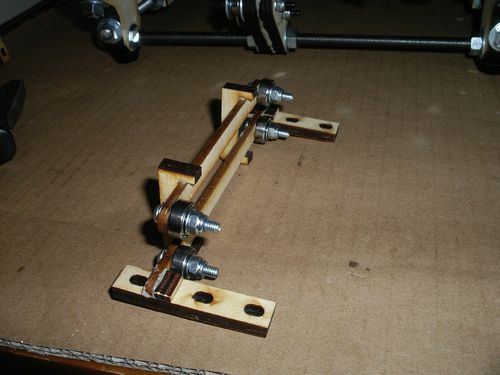
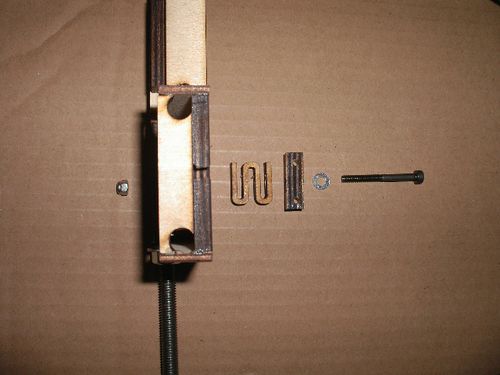
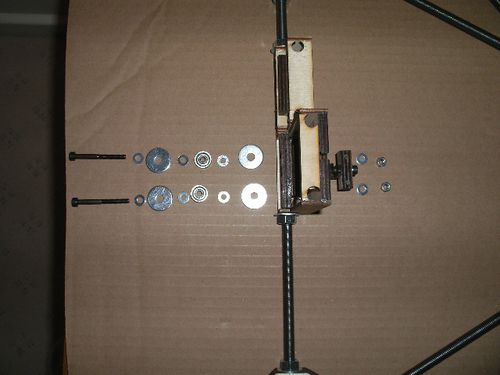
Tip: You will want to tighten two of the screws on the belt clamps (the ones shown at the bottom in the picture below) sufficiently to allow you to clamp the belt by only tightening screws at the top. This is because access to the cap head of the bottom screws is blocked by the bearing mounts once they are installed.
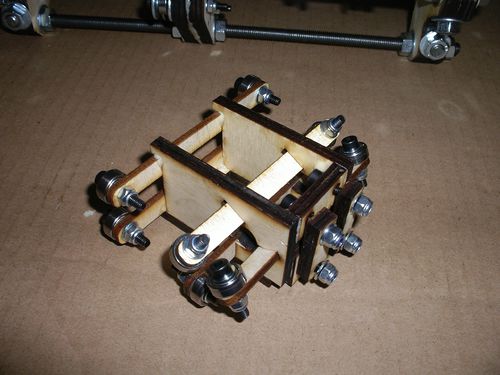
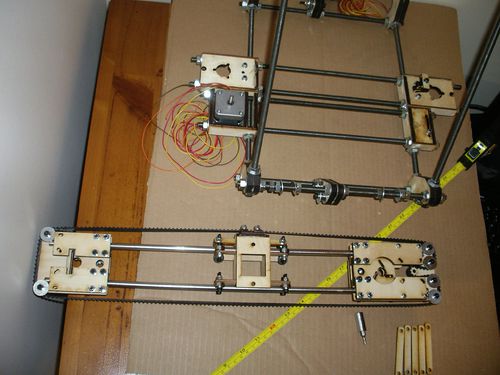
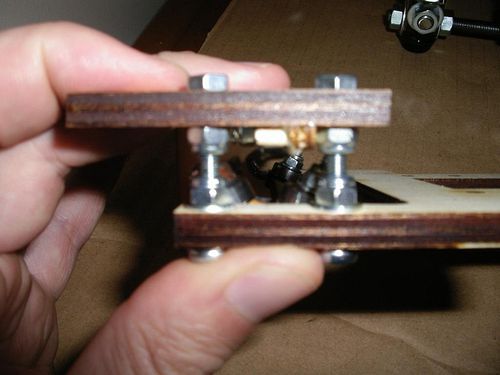
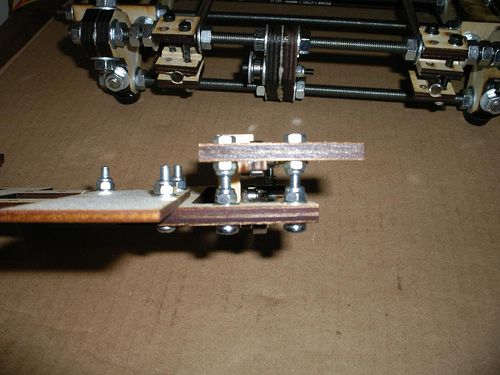
The X belt supplied by TechZone was barely long enough to go around the assembly. I installed the axis ends so that the smooth rods were almost touching the bearings (less than 1mm clearance). I still had to cut the belt and just clamp the ends on the x carriage to make it long enough to go round the assembly. Caution: This picture shows the X Carriage installed on the X Axis upside down (it shows the top of the X Carriage and the bottom of the X motor and 180 bearing mounts).
Y Axis
Y Idler
Be warned that you probably need an additional washer against each bearing to allow the belt enough space for smooth running between the mudguard washers.
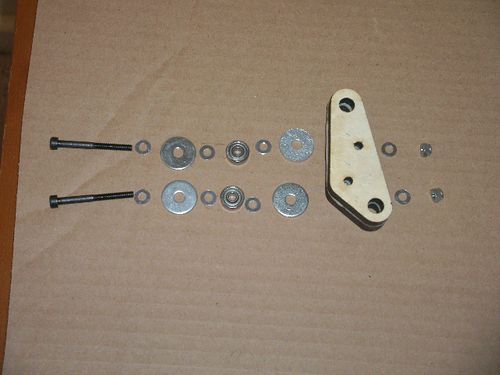
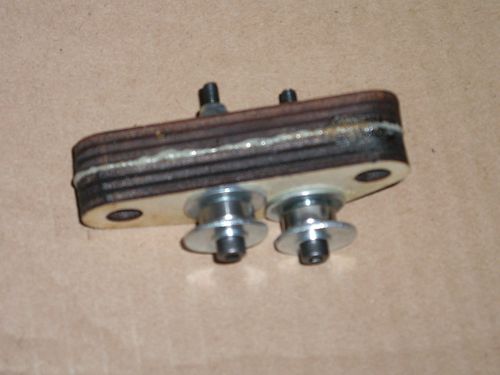
Y Motor
Be warned that you probably need an additional washer against each bearing to allow the belt enough space for smooth running between the mudguard washers.
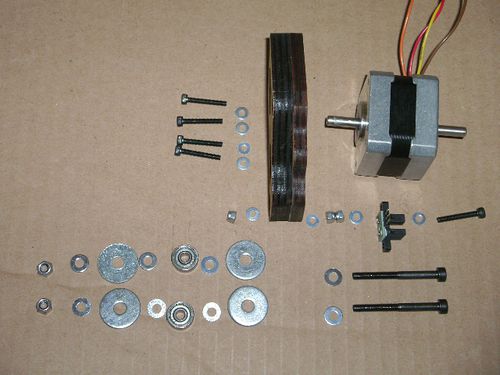
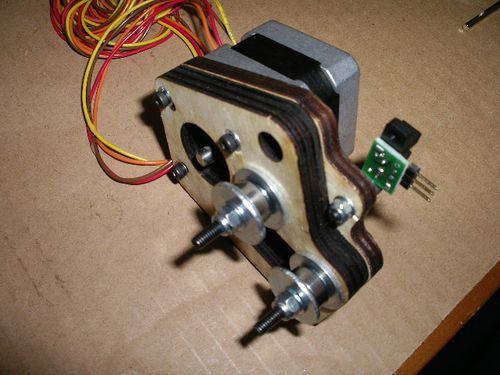
Y 360 Bearing
Y 180 Bearing
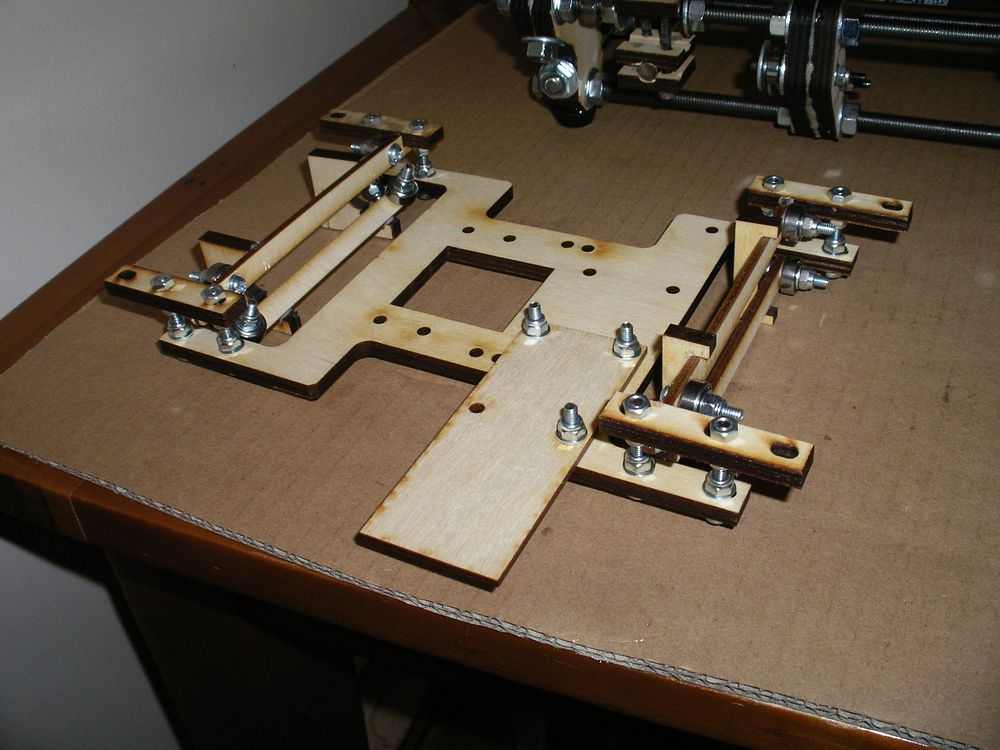
Y Chassis
I have found this to be the trickiest bit to work out without instructions, so I have left it till last. Consequently, I have used all of the shorter M4 screws that come with the kit and don't seem to have the right screws left to do this job (All I have left are lots of the M4x40 screws that only have thread on the last half). I think you are supposed to use the M4x30 Phillips Pan head screws to mount the Y 360 Bearing and the Y 180 Bearing to the frog plate?
Z Axis
Z Leadscrew Base (one with opto)
You will need 2 of these assemblies, only one of them has the opto mount.
| Name | Qty /w opto | Qty /wo opto | Type |
| Z Leadscrew Base | 1 | 1 | Laser Cut Part |
| Opto Spring | 1 | 0 | Laser Cut Part |
| Opto Holder | 1 | 0 | Laser Cut Part |
| Bearing | 2 | 2 | Hardware |
| M4x40 | 3 | 2 | Fastener |
| M4 Washer | 9 | 8 | Fastener |
| M4 Mudguard Washer | 4 | 4 | Fastener |
| M4 Nut | 3 | 2 | Fastener |
Be warned that you probably need an additional washer against each bearing to allow the belt enough space for smooth running between the mudguard washers.
Z Motor
Z Tensioner
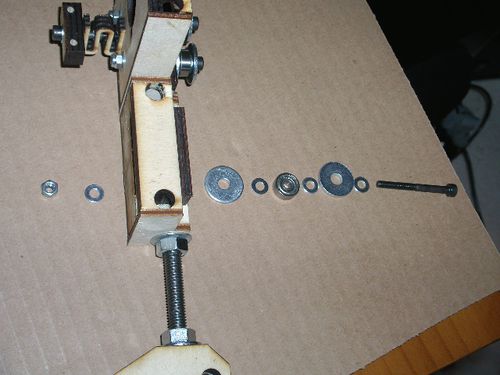
Be warned that you probably need an additional washer against each bearing to allow the belt enough space for smooth running between the mudguard washers.
Frame
Frame Sides
Left Side
BOM
| Name | Qty/assembly | Type |
| M8 Nut | 14 | Fastener |
| M8 Washer | 14 | Fastener |
| 370mm M8 Threaded Rod | 3 | Hardware |
| corner vertex | 3 | Laser Cut Part |
| Z Leadscrew base | 1 | Laser Cut Part |
| Z Motor Bracket | 1 | Laser Cut Part |
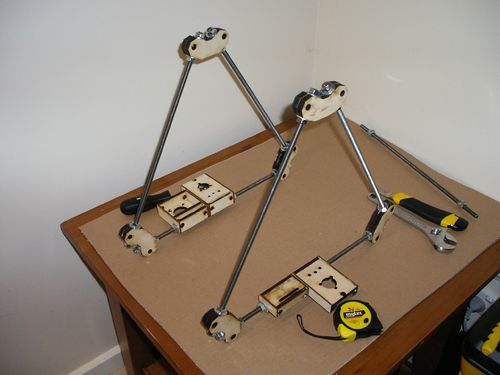
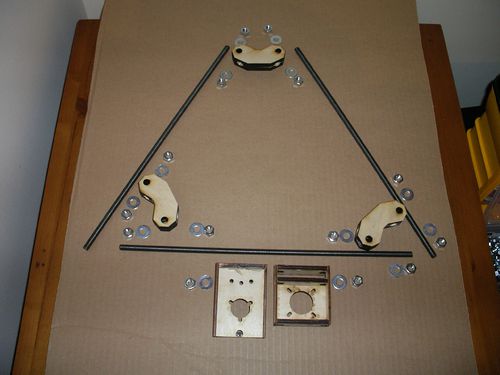
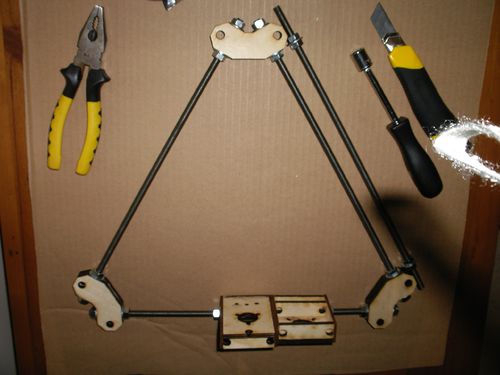
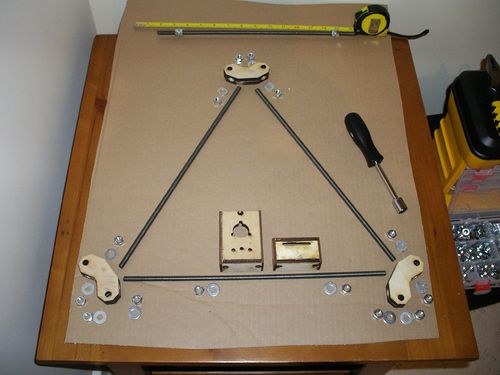
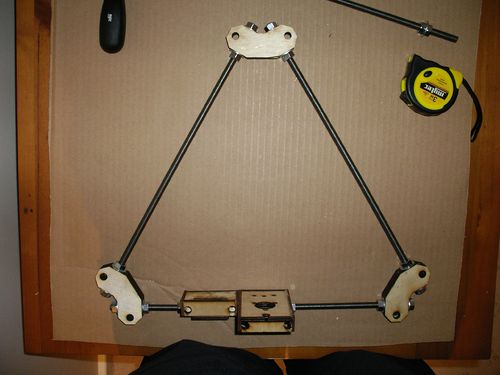
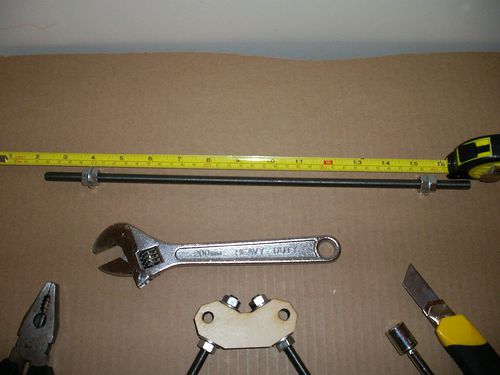
You will also need a measurement jig to get the distance between the corner vertices the same. I created a jig using one of the other bits if M8 rod, 4 nuts and 2 washers. I assembled the jig so that the outside of the two washers was 290mm apart. Then used it when tightening the nuts on the vertex pieces to ensure the spacing was right.
Right Side
BOM
| Name | Qty/assembly | Type |
| M8 Nut | 14 | Fastener |
| M8 Washer | 14 | Fastener |
| 370mm M8 Threaded Rod | 3 | Hardware |
| corner vertex | 3 | Laser Cut Part |
| Z Leadscrew base | 1 | Laser Cut Part |
| Z Tensioner Bracket | 1 | Laser Cut Part |
