Mini-Mendel X-axis
Release status: unknown
| Description | Mini-Mendel_X-axis
|
| License | |
| Author | |
| Contributors | |
| Based-on | |
| Categories | |
| CAD Models | |
| External Link |
Contents
Carriage
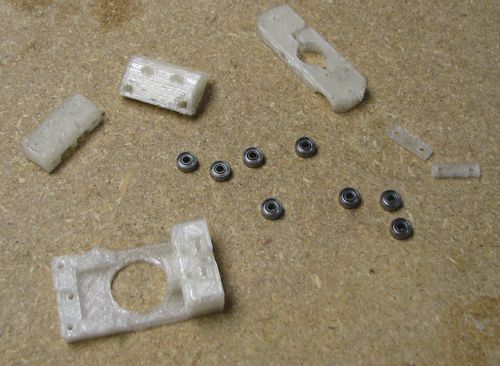
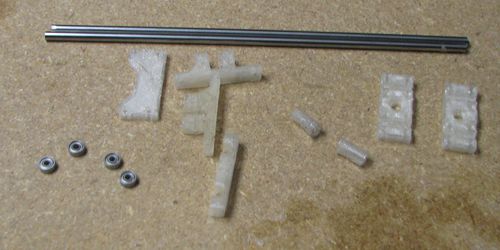
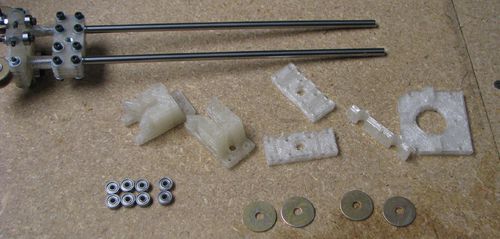
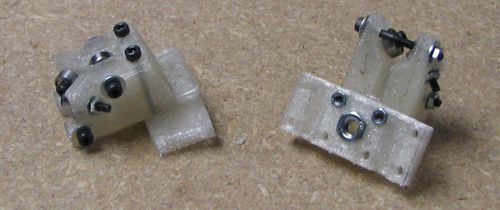
This image shows the parts that are used to build the carriage. Note: Only 8 bearings are shown, but 10 are required.
Install the bearings.
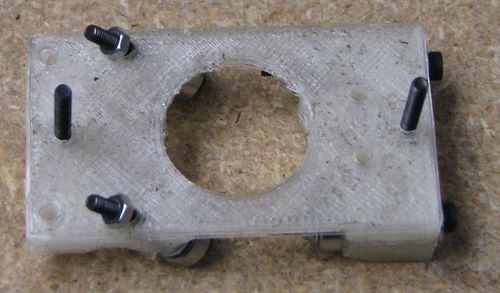
Install the two bolts that will hold the extruder-bracket. The head of these bolts will become trapped later and a pair of nuts will hold the bracket down.
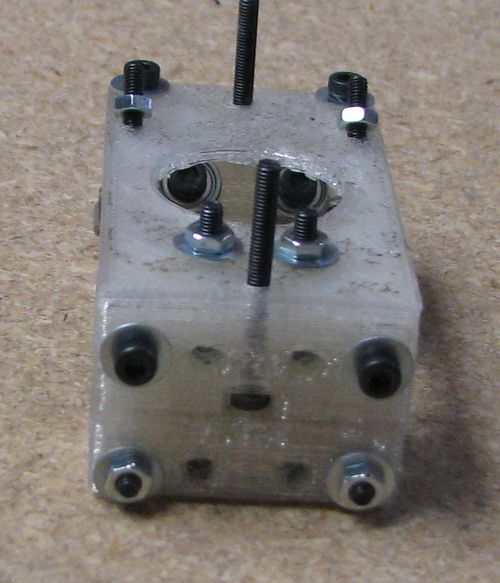
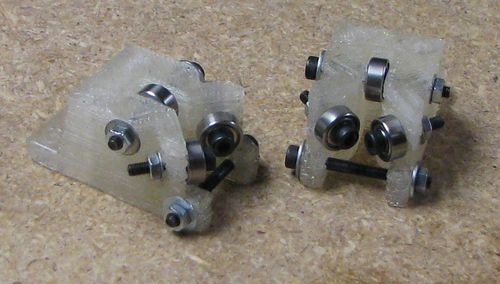
Install the 4 nuts to hold the belt clamps. This image shows the carriage partially assembled, but the nuts have to be inserted before it reaches this step.
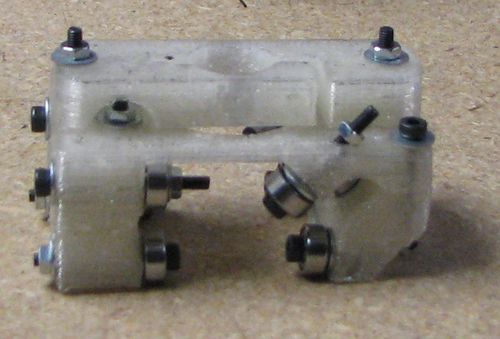
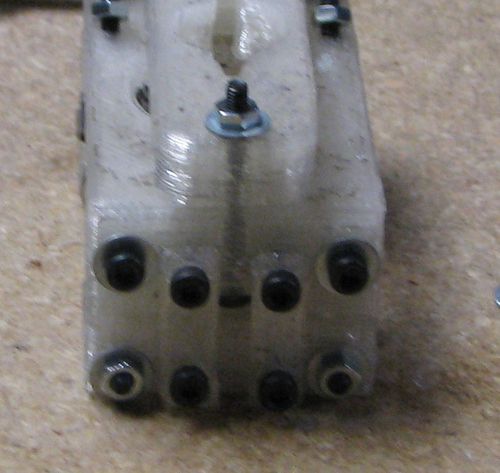
Connect the three parts that have bearings on them. Leave the bolts that hold these in place a half turn from fully tight. Try running a smooth rod through the 6 bearing side. It should slide smoothly and turn all 6 bearings at the same time. Do the same on the 4 bearing side, but it will be harder to keep the rod centered as it should be able to slide side-to-side.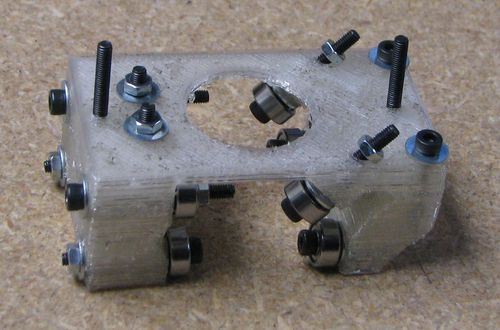
Install the extruder bracket.
Install the belt clamps.
Idler
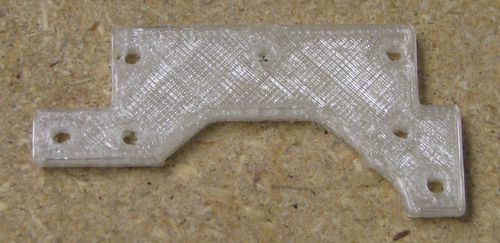
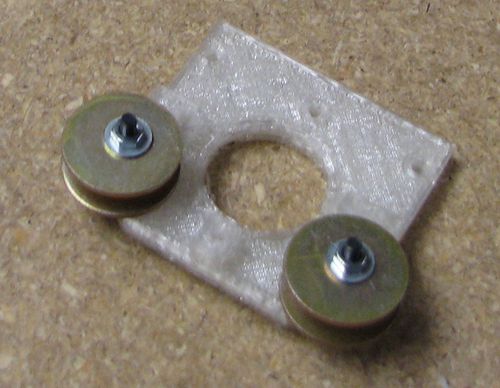
This image shows the parts required to build the idler. The 4 mudguard washers are not in this image.
There is an alternative to the blunt plate pictured above. This, when combined with the alternative motor plate will help to prevent the belt from rubbing. The alternative parts can be found on thingiverse
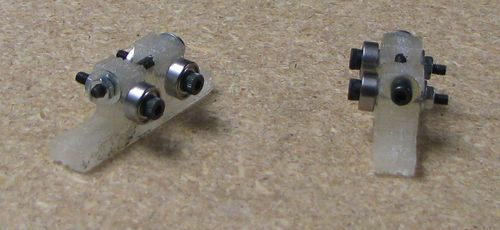
Install the bearings.
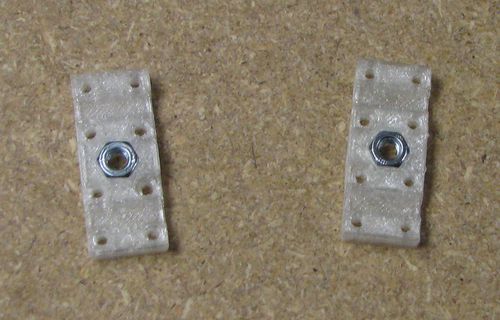
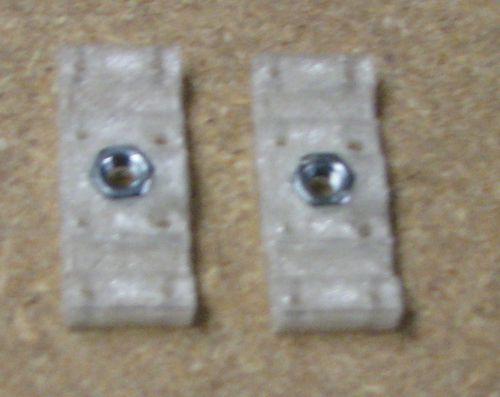
Insert an M6 nut into each of the clamps. My prints weren't perfect so it took some effort to get them in. I ended up using an M6 bolt to pull the nut in.
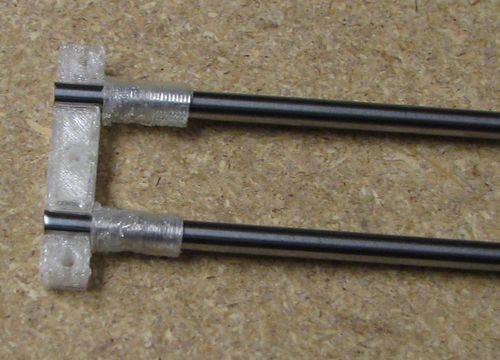
Put the spacers on the x-axis bars. Use the sandwich clamp to judge how much space to leave after the spacers. The bar end should be flush with one side of the sandwich clamp and the spacers should be touching the sandwich clamp.
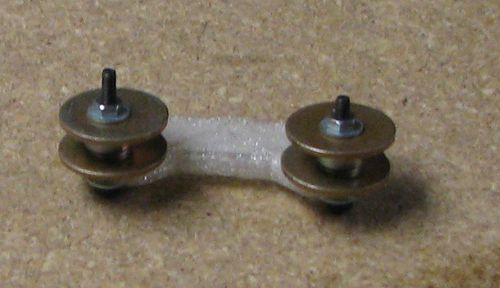
Install the idler bearings and mudguard washers on the blunt plate. I did not have any washers that were the correct size, so I had to use these over-sized ones and some extra washers to deal with their large inner hole.
I think the BOM does not contain enough bearings to use them as idlers. If you don't have enough bearings, you can stack a bunch of washers in there place and use a nylok nut to hold everything together. Maker sure the nylok nut is not tight and the stack of washer can turn freely on the bolt.
Build a sandwich. The bearing-clamps are on top and bottom. The sandwich clamp and blunt plate are in the middle. Also, insert the x-axis bars so they become clamped firmly to the assembly.
Clamp the two clamps onto the bar using 8 bolts.
Motor Bracket
This image shows the parts required to build the motor-bracket. You will need to have the idler assembly from the previous section as well as the carriage (not shown).
There is an alternative to the motor plate pictured above. This, when combined with the alternative blunt plate will help to prevent the belt from rubbing. The alternative parts can be found on thingiverse
Install the bearings and the tension bolt.
Insert the 6 mm nuts into the clamps as was done for the idler assembly.
Install the idler bearings and mudguard washers on the motor clamp. I did not have any washers that were the correct size, so I had to use these over-sized ones and some extra washers to deal with their large inner hole.
Slide the carriage on the x-axis rods with the idler assembly.
Clamp the motor clamp and bar clamp around the end of the x-axis rods.
Connect the clamps to the bearing clamps. Through the two long holes. They should be held by nuts that fit in holes in the clamp. The bolts should hold tightly to the nuts, but not extend beyond them. In my case, I had to skip the washers at the head of the bolt to get the right length.
Connect the two bearing clamps together, with the clamps between them and the x-axis rods between those. It is best to start with the bolts on the outside of the clamps and tightly clamp the rods. I was not able to get the middle holes lined up correctly, so I had to run a drill through all 4 parts to get a straight hole.
Complete Axis
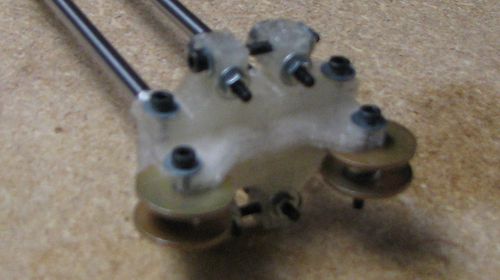
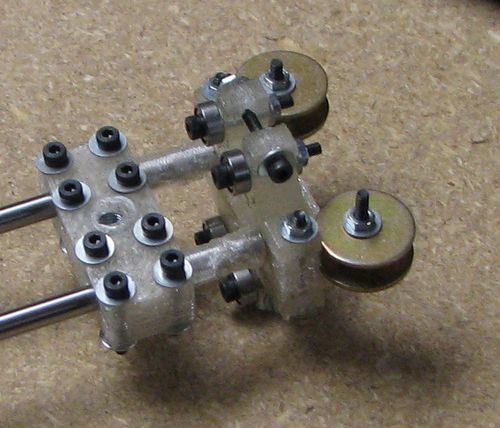
Adjust the bolts that connect the lower carriage parts to the upper carriage. These should be loose enough that when you turn the axis on its end, the carriage slides down due to gravity, but tight enough that you can't feel it jiggle or rotate when you play with it.
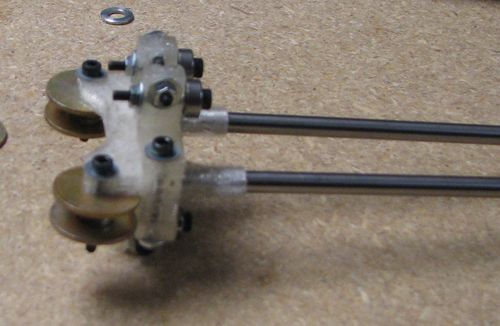
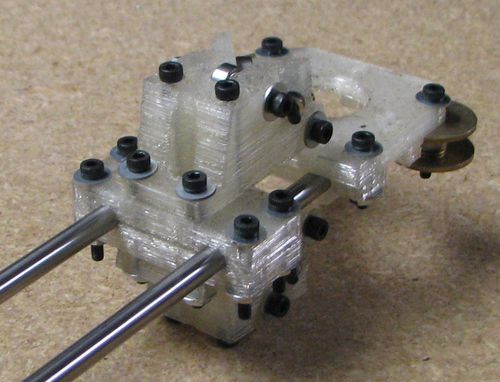
This last photo shows the X-axis with the extended belt parts (note, the idler blunt plate is mounted backwards in this photo..

