Mini-Mendel Y-axis
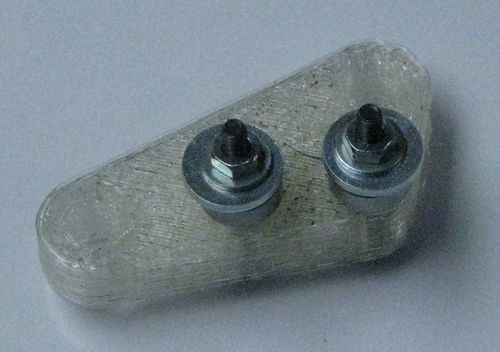
Y Idler
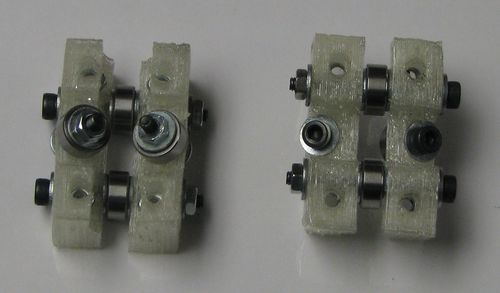
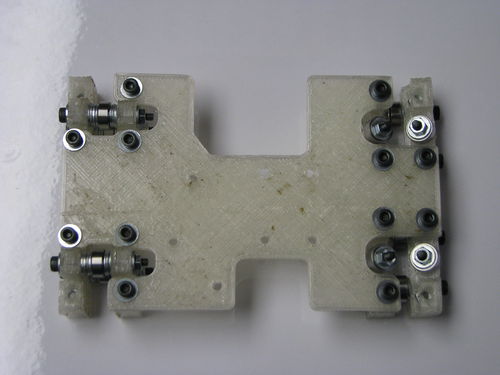
Attach bearings to the y idler bracket. I was not able to fit the large washers in this spot, so I used M6 washers with large M3 washers on both sides of it.
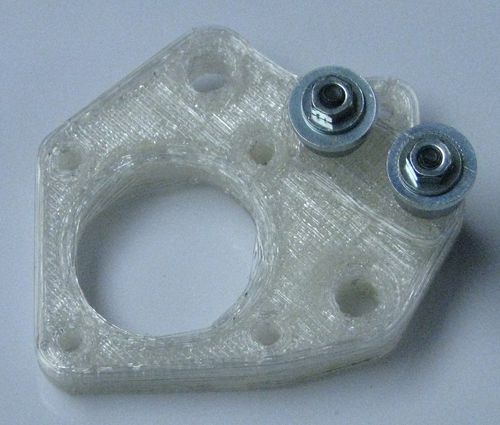
Y Motor
Attach bearings to the y motor bracket. I was not able to fit the large washers in this spot, so I used M6 washers with large M3 washers on both sides of it. The two bearings go on the raised portion of the part.
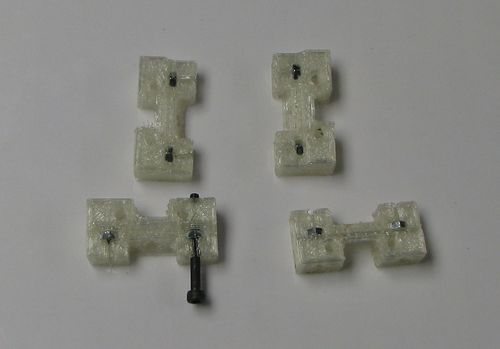
Y Bearing 360
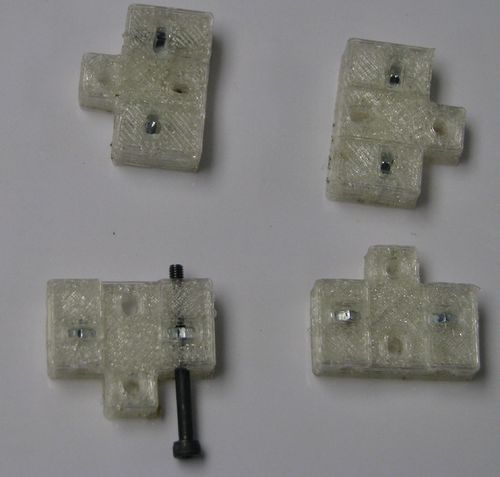
Insert two trapped nuts into each y-bearing-360. It is a good idea to run a bolt through the trapped nuts to make sure they are in position now. They will be inaccessible when they are used later.
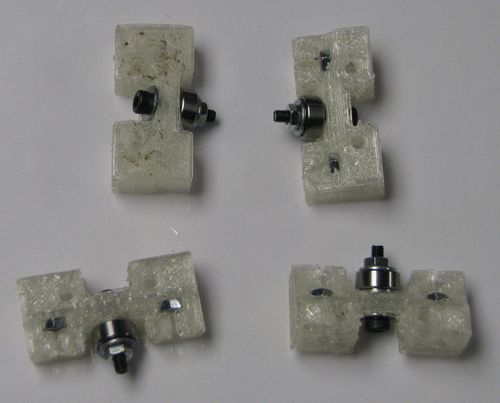
Add a bearing on each y-bearing-360.
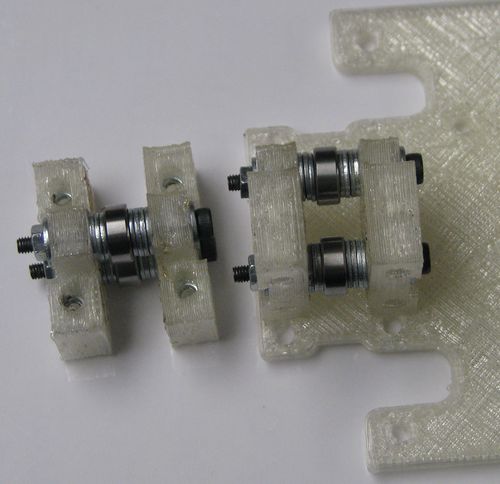
Add two bearings between two y-bearing-360s to make a single unit. You will need two of these pairs.
Y Bearing 180
Insert two trapped nuts into each y-bearing-180.
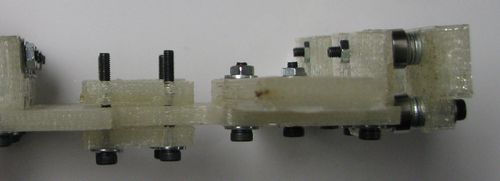
Add two bearings between two y-bearing-180s to make a single unit. You will need two of these pairs. You need to add enough washers between the parts so that the holes line up with the holes on the chasis (as pictured). I found that 4 washers on one side and 3 on the other worked for me (I'm not using metric washers).
Chasis
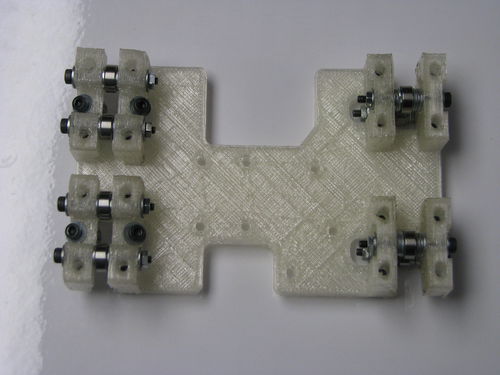
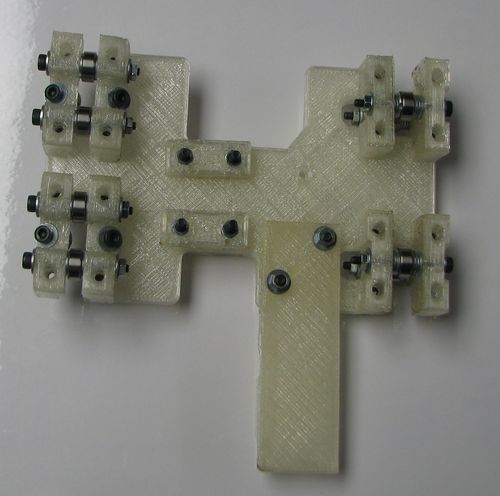
Attach 4 bearing assemblies to the chasis.
Install the purge plate and the belt clamps. The belt clamps consist of two parts connected with two bolts. At this time, use the bolts to pull the nuts into position so they are well seated, but don't worry about tightening the belt clamps.
