North90's hot-end V2
Release status: Working
| Description | Easy to build Hot End V2 by North90ty
|
| License | |
| Author | |
| Contributors | |
| Based-on | |
| Categories | |
| CAD Models | |
| External Link |
Contents
This is an upgrade of: North90's hot-end This Hot End is designed to be build with simple tools and without the need for great engineering skills.
Main differences with hot-end v1:
- no thread tapping needed
- nozzle is hold in place by crimping with a tube-cutter
- nozzle to insulator attachment is more leak proof
Thermal design
see: http://www.reprap.org/wiki/North90%27s_hot-end#Thermal_design
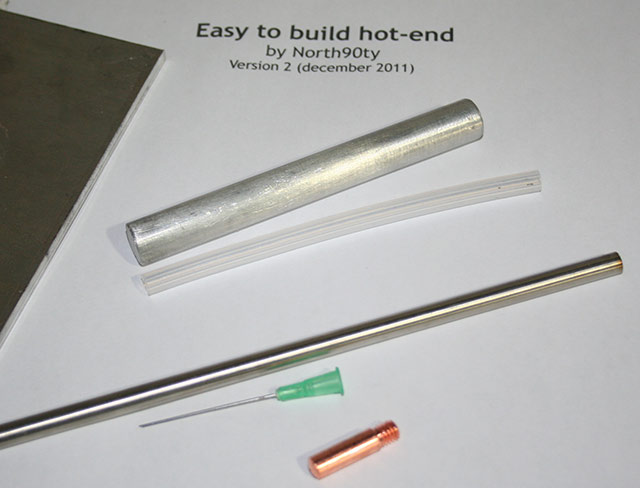
Tools and supplies
- Drill + drill bits
- Vice
- Tube-cutter (see notes below)
- File(s)
- Cutting oil (olive oil works great)
- Metal hack saw (fine saw for metal)
- Stainless steel tube with an outside diameter of 1/4" (6.35mm), thin wall diameter (6mm od will work as well)
- PTFE tube 1/8"(3.18mm)(3.5mm is fine too) inner diameter and 5.5-6.5mm (~1/4") outer diameter
- welding nozzle 0.6mm (0.023")
- injection needle 21-22GA (to make the nozzle smaller than 0.6mm) try to find a needle with a 0.6-0.7mm od.
- Piece of aluminium sheet 5-6mm thick
Stainless steel tube
You need a piece of stainless steel tube with a small thickness. Here i used tube that is 6.35mm(1/4")od and 5.84mm(0.23")id. Basically any tube can be used, but the thicker the wall, the longer you need to make the insulator. If you have to reduce the wall thickness, use the procedure shown here: http://www.reprap.org/wiki/North90%27s_hot-end#How_to_build_the_stainless_steel_insulator drill tube tube out to 5.5mm
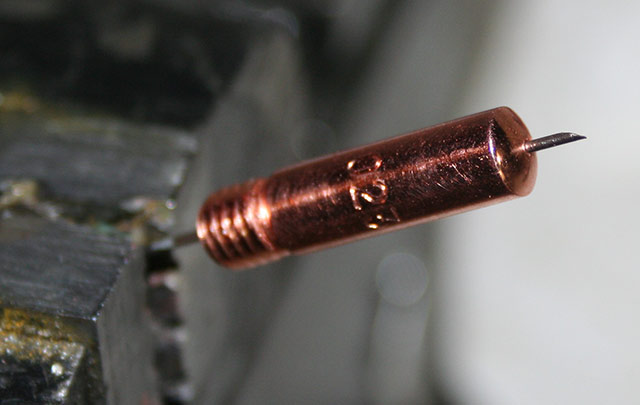
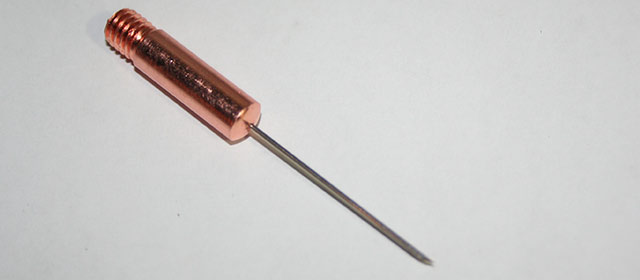
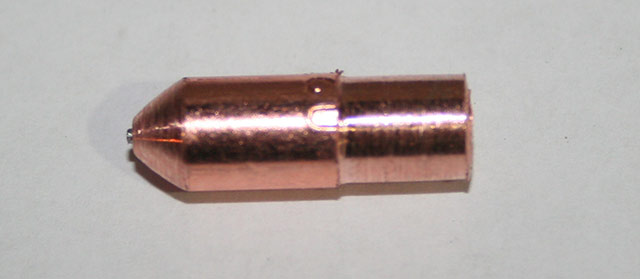
Nozzle out of welding tip and injection needle
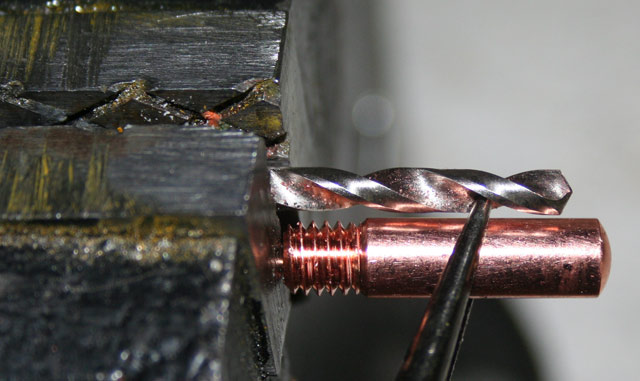
Drill the tip out to 3.5mm, up to 2-3mm from the end.
Manually drill a injection needle through the tip (21.5GA or 22GA works).
Cut the base of the needle with a dremel with cut-off disk, pull the needle all the way down. (check if you made a clean cut and the needle is still hollow)
Cut the sharp end of the needle (dremel cut-off disk), and put the welding tip in the drill. Use a file to sharpen the welding tip.
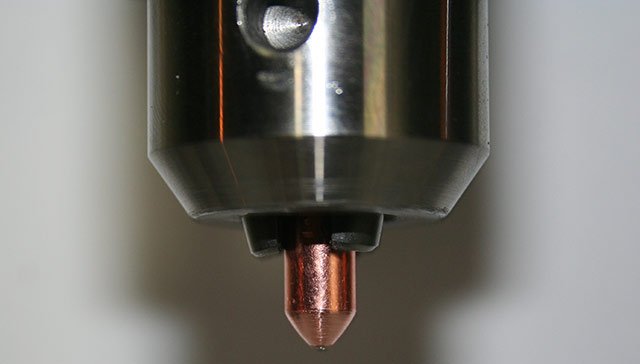
Put the welding tip up side down in the drill and reduce the diameter until it fits snug into your stainless steel insulator. File small bits off at a time! It doesn't matter if it is a little loose.
Cut the threaded piece of the welding tip off, you only need about 5mm of the welding tip in the insulator.
Insulator
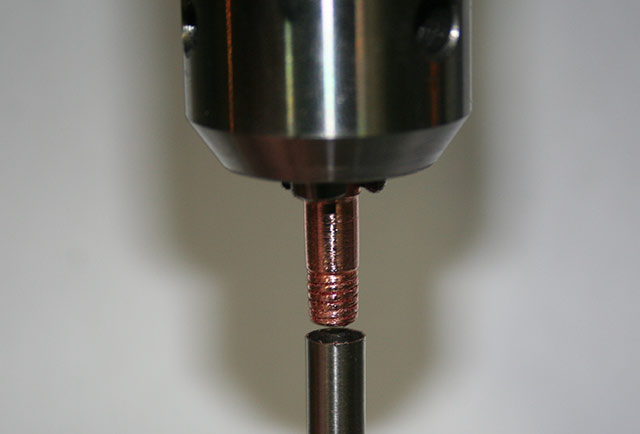
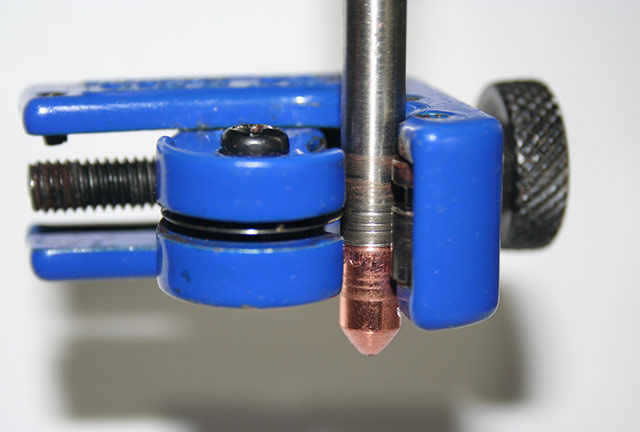
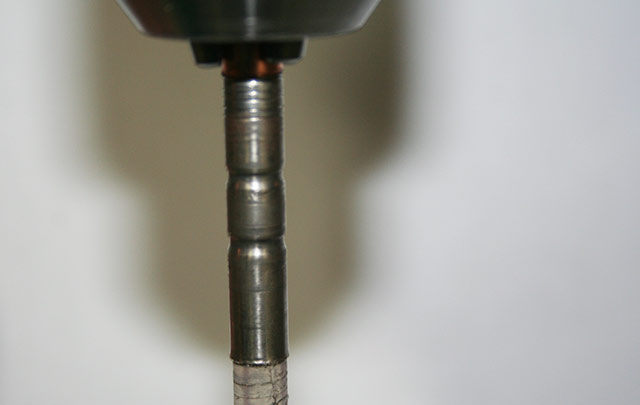
Put the stainless steel tube in the drill. Put the nozzle in the tube. ONLY TURN THE DRILL BY HAND! Use a tube cutter to "crimp" the insulator to the tube (only light pressure is needed, more turns at a light pressure is best). If you tighten the cutter too much you will cut the tube in half! I dulled an old tube-cutter, but i tested a brand new sharp one and it works as well.
Crimp the insulator at 3 or 4 spots to securely fasten it to the nozzle.
(this procedure might seem difficult, give it a try and you'll be an expert in no time!)
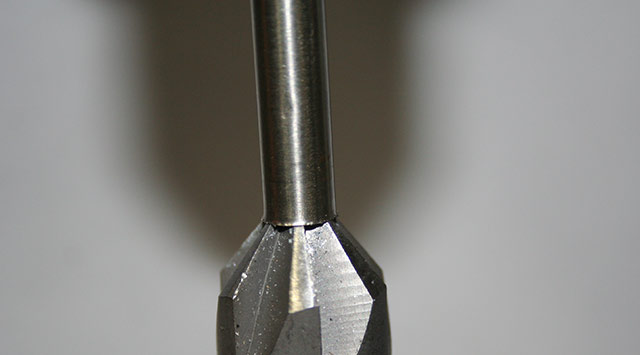
Now cut off the stainless steel tube at the length you want it (guideline: choose >40mm for 5mm inside diameter, and >20mm for 5.84 inside diameter). Flare the end of the tube with a large drill-bit. (flaring makes the insulator easier to mount to the heatsink/baseplate, because it can't fall through).
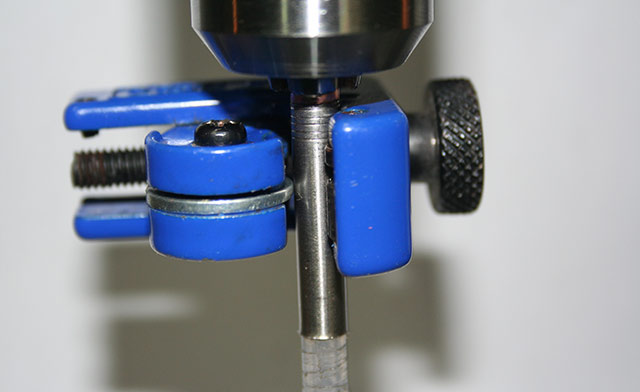
Now take the cutting wheel out of the tube-cutter, replace it with a normal steel washer. Insert the PTFE tube. Make certain the the end of the ptfe tube that is touching the nozzle is cut of straight. If it isn't straight, plastic will flow in between making switching colors of filament take longer. When the PTFE is in place, crimp the tube at 1-3 spots with the modified washer-tube-cutter.
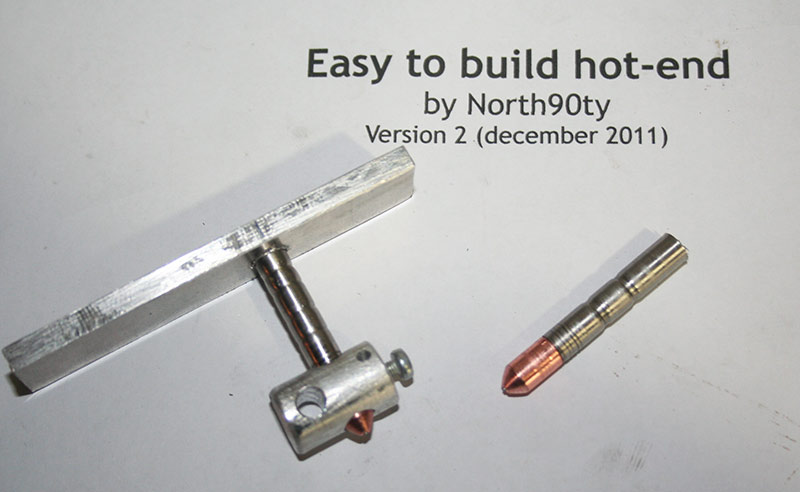
The finished insulator+nozzle. The crimps in the insulator keep the PTFE liner firmly in place. Drill the insulator out to 3.5mm (it has to be larger than the filament because the filament swells when it heats up).
Mounting the insulator to the heatsink/baseplate
See http://www.reprap.org/wiki/North90%27s_hot-end for a heatsink and mounting design.
When you flared the insulator tube, you can simply drill a 6.35mm(1/4") hole and glue the insulator in with heat resistant glue.
How to get the Hot End to print
- Clean out all parts. You do not want pieces of metal to jam in the nozzle.
- Add the heater and temperature sensor of your liking.
- Mount to your extruder.
- Print.
