P3Steel Steel Frame Parts Painting
Painting the P3Steel steel frame parts is practically unavoidable, whether you have a stainless steel or carbon steel frame. This step precedes the actual assembly of the frame and takes longer than putting together the basic P3Steel frame.
Painting proceeds in four steps:
1. File away all barbs leftover from the laser-cutting process.
2. Sand all the parts with 150 grit sandpaper.
3. Wash all the parts with warm water and detergent, rubbing with a sponge to remove all oil and metal dust residues. Dry with a rag and leave to finish drying for at least two hours.
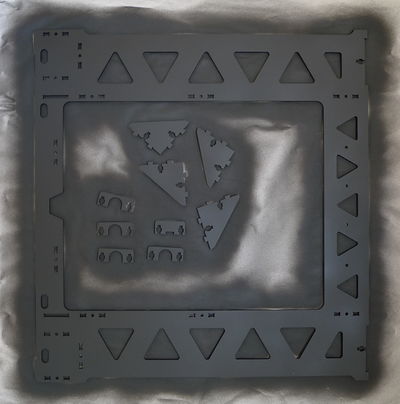
4. Apply one or two (or three, or four...) as thin as possible coats of paint with a 24 hour interval between coats. Note that using excessive paint will change the tolerances in the frame and can make assembly much more difficult. Use as little paint as possible while still getting good coverage.
Contents
Filing away all the barbs
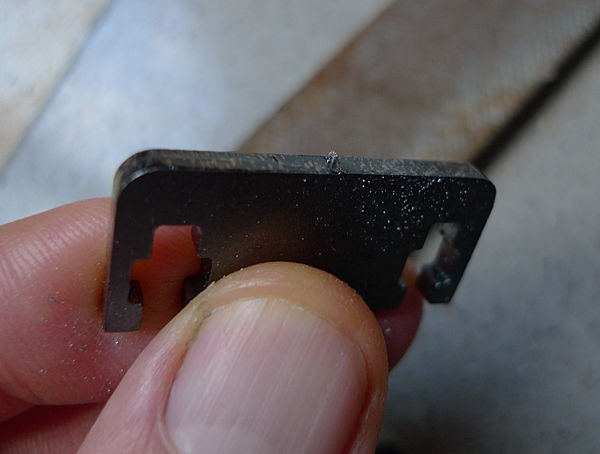
The laser-cutting process leaves an average of two small but sharp and dangerous barbs per part. Use a metal file to remove these.
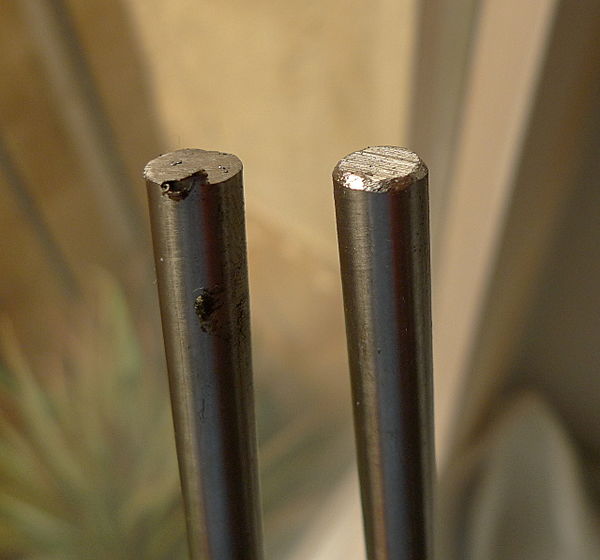
Since we have a metal file at hand, we might as well check our 8mm smooth rods and 5mm threaded rods at this stage too:
The mechanical process for cutting stainless steel rods also leaves dangerous barbs, beside that we need their ends to be slightly beveled, as shown on the 8mm smooth rod end on the right here.
Sand all the parts with 150 grit sandpaper
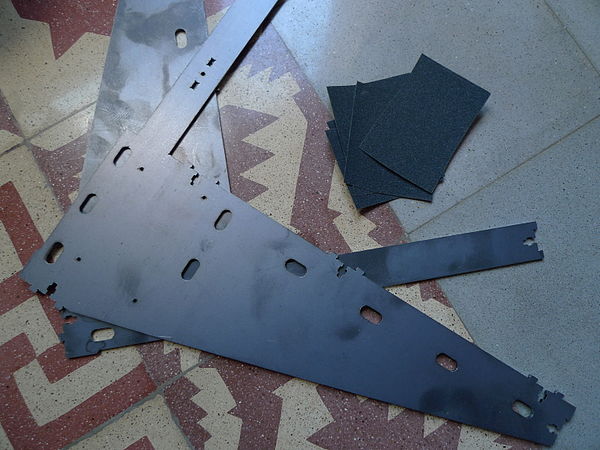
Sand each steel frame part with 150 grit (medium fine) sandpaper. This will insure good adherence for the paint and that any crusty dirt is removed from the metal surfaces. DO NOT sand the smooth rods! Clean them with a rag and oil them, and set them apart for later use.
Wash and carefully dry all the sanded parts
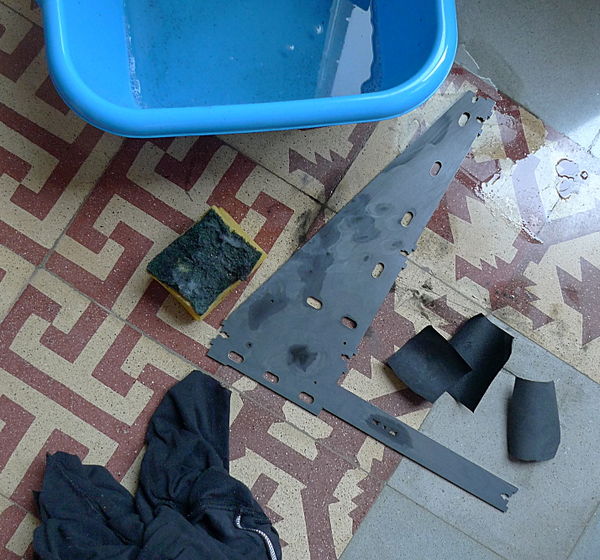
Wash each steel part with warm water and detergent, rubbing with a sponge to remove any leftover oil (the oil is a residue from the steel sheet rolling process) and metal dust, rinse carefully and dry with a rag. Leave to finish drying for at least an hour or two. At this stage all the steel parts should be clean and ready to be painted.
Paint!
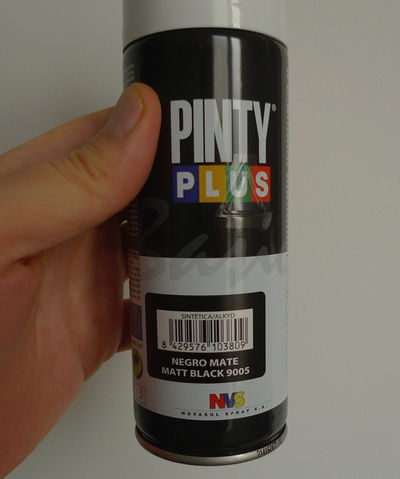
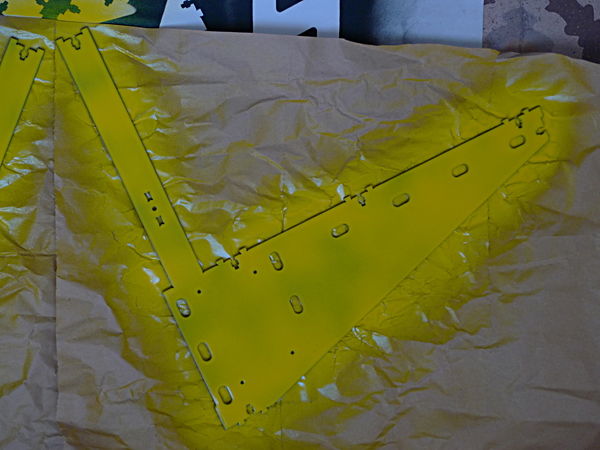
Matt (flat) black acrylic paint seems to produce the best results as it adheres very well to either stainless steel or carbon steel, and it dries faster compared to other colors. Matt black also requires just a single coat (or two coats for a really good job), whereas – at least in my case – other colors required two or three paint coats. For example, a single coat of yellow does not provide uniform coverage, as shown below:
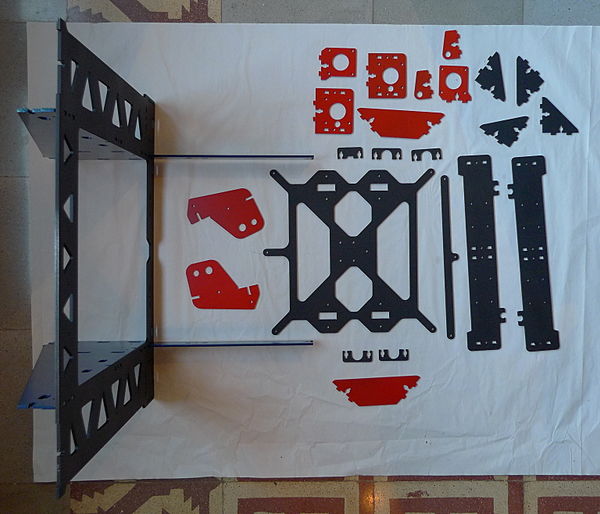
After many days, all the P3Steel frame parts are painted (I ended up switching from yellow to dark blue, as the yellow paint I was using was not adhering well to metal; YMMV). Now the frame is finally ready to be assembled!
