Pick and Place ToolHead
Release status: Experimental

| Description | A new toolhead to allow RepRaps to manipulate surface mount components.
|
| License | unknown
|
| Author | |
| Contributors | |
| Based-on | [[]]
|
| Categories | |
| CAD Models | |
| External Link |
This new toolhead allow RepRap to manipulate surface mount components. This is one small step towards enabling a RepRap to produce its own required PCBs. See Automated Circuitry Making for other steps towards that goal (milling head, solder paste dispenser, etc.)
How it works
a small vacuum pump creates suction in the blunt tip needle to pick up SMT components and the gear motor rotates the component into the proper position.
Materials
- 6 20 mm M3 cap screws
- 3 35 mm M3 cap screws
- 1 10 mm M2 screw, or whatever screw will couple with the shaft on the GM3 gear motor
- 1 18 gauge blunt tip dispenser needle
- 1 magnetic rotary encoder and magnet retrofitted GM3 gear motor
- 1 meter of 4 mm diameter aquarium tubing $0.43
- a low vacuum pump, possibly a reversed aquarium air pump
Instructions
- connect the part named pnpdisk2 to the motor drive shaft
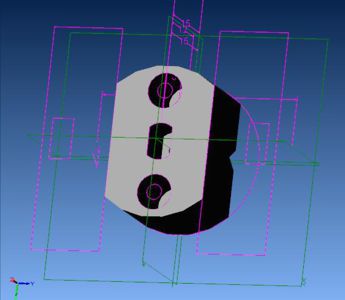
- stick the 4 mm aquarium tubing into the blunt tip dispenser needle and put this into the part called pnpdisk1
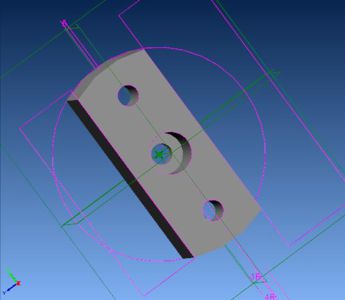
- attach pnpdisk1 to pnpdisk2 with the 20 mm M3 cap screws
- attach the magnetic rotary encoder to the part called pnpclamp with 20 mm M3 cap screws
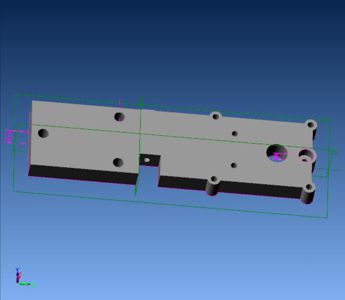
- attach gear motor to clamp with 35 mm M3 cap screws
- attach clamp to x carriage


