PonokoElectronicsLocations
Ponoko RepRap - Installing Opto Endstops
| [PonokoRepRap Main Ponoko Page] | ||
| Prev Step | Next Step | |
| BOM for this page |
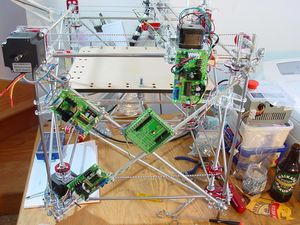
The stepper motor controllers and so forth can either be mounted on a board by the side of the RepRap, or fixed to the frame itself. Where you put them is a matter of personal choice and practicality: If you often move your RepRap around, it's handy to have the boards strapped to the framework. If you work on the circuitry a lot, it might well be handier to have them mounted on a board. Vik happens to be of the "mount it on the framework" persuasion, and the instructions below reflect this.
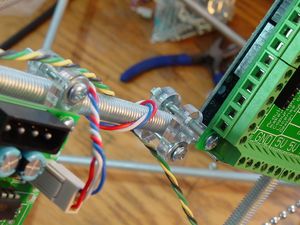
Circuit boards may be secured using pairs of Clamps from the 5mm or 3mm acrylic sheets. Note that an 8mm M3 acrylic spacer is very handy for mounting boards at the crossover point of the bracing.
Obviously, make sure none of the circuit board components or metalwork touch the frame!
Use M3 spacers from the 3mm sheet to stop the solder spoiling the fit of the X Motor controller board on the back of the X Motor Bracket.
Mount the PWM board and the DC Motor board on the slots on the X Carriage. Feel free to put insulating material between the boards to avoid embarrassing shorts, but don't use anything that is likely to catch fire easily.
I mounted the thermistor board (or thermocouple board) with a cable tie through a 3mm hole drilled into the X Carriage. I'll update the cutting files to include this in the future.
| [PonokoRepRap Main Ponoko Page] | ||
| Prev Step | Next Step | |
| BOM for this page |
-- Main.VikOlliver - 03 Jan 2009


