Power Expander
Contents
The Power Expander
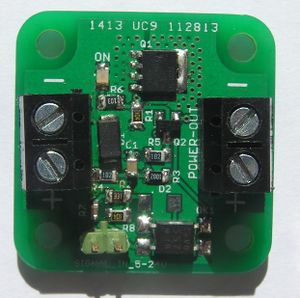
...is a versatile electronics adapter for 3D printer heatbeds, hotends, fans and other high current demanding equipment.
The Power Expander is based on MOSFET technology, hence no relay contact switching or associated EMC noise, leading to increased long term durability.
Use cases
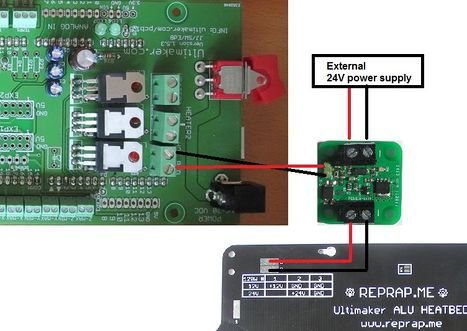
Add a heated build platform to an Ultimaker 3D printer
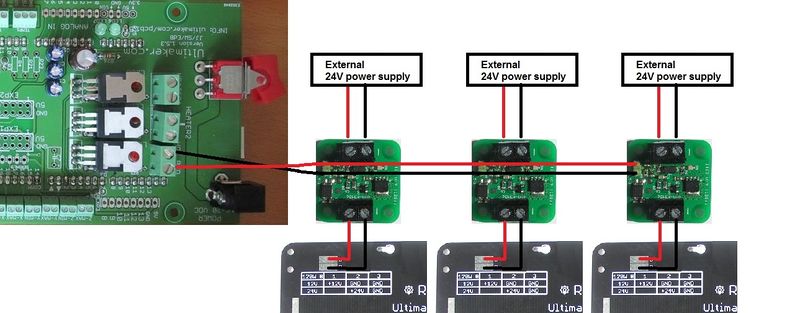
If you are building a larger 3D printer you might want to attach multiple heated printbeds (connections shown here with Ultimaker electronics)
Driving a heating element together with a W1209 thermostat
Ideas for possible uses:
- fans
- lighting
- automatic conveyor belt
- motors
- incubators
- heated magnetic stirrers
- ...
In general anything that draws DC current from a voltage in between 12 and 24 Volt DC can be driven by the Power Expander
The Motivation
Lots of 3D printer electronics does have the ability to drive only a few power consuming devices at one time, for instance a hotend, a heatbed and usually a small fan. Still there's normally a lot of general I/O pins left for extra functionality. These pins however usually can only handle small currents up to 20 milliampere. Most equipment require driving currents well beyond this limit, hence the need for an adapter capable of administering these larger currents.
Technical specifications
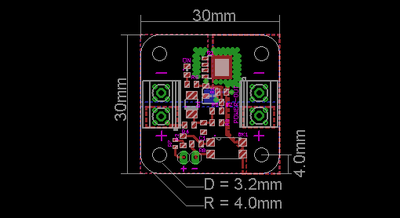
Power handling designed for: 12 to 24V DC (absolute maximum 32V DC) Signal input: 5 to 24V DC (absolute maximum 32V DC) Signal/power terminals are galvanically isolated. Max current: up to 60A peak (unfused) Please note: the Power Expander is unfused. Board size: 30X30mm Mounting holes: 22X22mm, Ø 3.2mm
Datasheet for the driving MOSFET: PSMN7R0-30YLC.
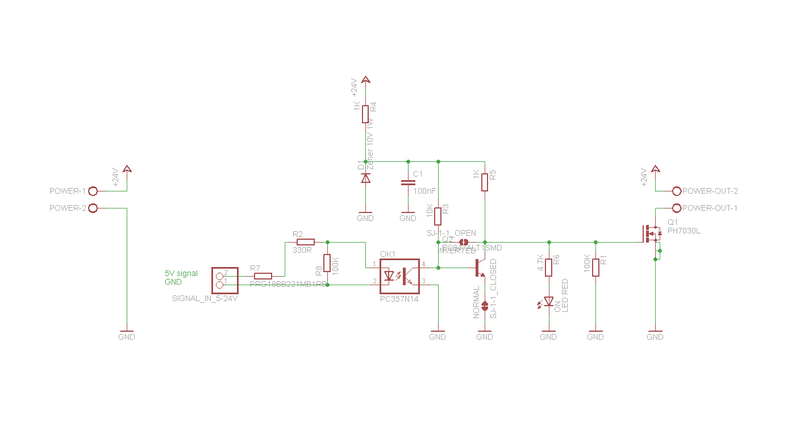
Schematic
Custom configuration
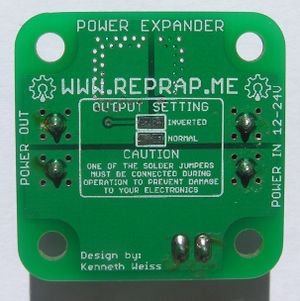
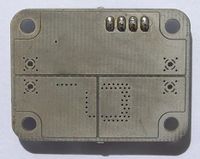
Solder pads are located on the rear side, these are intended for optional invertion of the operation mode. By factory default the Pad designated NORMAL is shorted by a small trace between the solder pads. In this mode the output is turned off until voltage is applied to the Signal input terminal. For inverse operation, first cut the small trace between the solder pads designated NORMAL (it can later be shorted by applying some solder). Then apply solder to the INVERTED pads. In this mode the output is switched on until voltage is applied to the Signal input terminal.
PCB Outline
The PCB outline is based on the Sick of Beige PCB from Dangerous Prototypes but the size that I wanted wasn't in the library so I made my own version of the library with a 10mm increments all the way from 20X20mm to 150X150mm with both unplated and plated mounting holes.
Download the Eagle library here: File:Dp pcb-All sizes.lbr
Rev. 1
Prototype
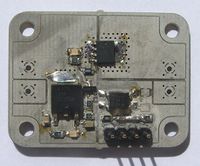
The PCB for the prototype was made on the LPKF Protomat_C60 PCB milling machine in Labitat.

