RUG/Basic Print Tutorial
Basic RepRap Mendel Printing Tutorial
Here is a basic tutorial of how to save files as an STL in SolidWorks, using programs such as ReplicatorG, Slic3r, and Printer Interface as well as an example of how to print using a RepRap Mendel 3D printer.
Saving file as STL in SolidWorks
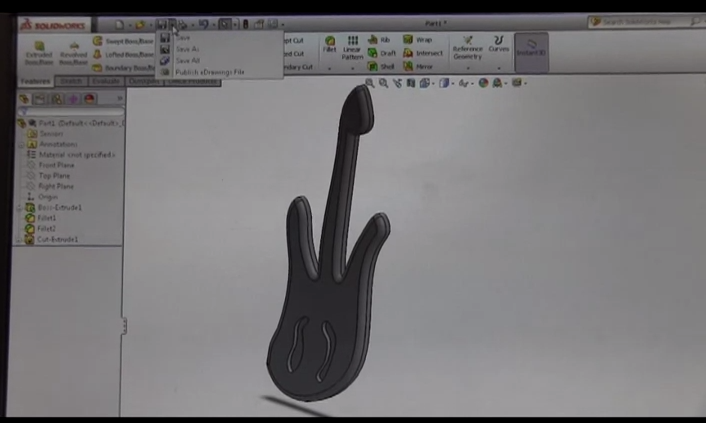
1) SolidWorks files need to be saved as an STL file
2) Click ‘Save As’ from menu at the top
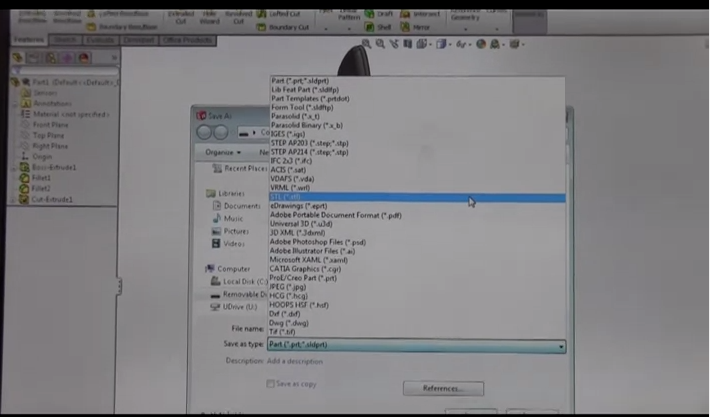
3) When Save As menu appears in ‘Save as type‘ dropdown menu, locate and click on STL (*.stl)
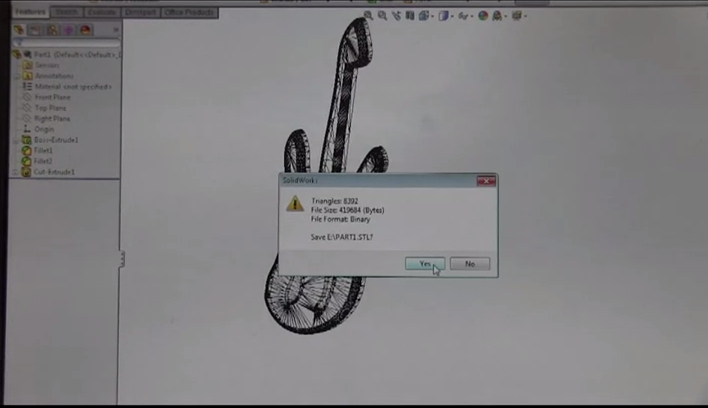
4) Click Save then click ‘Yes’ on the warning message that appears
Using ReplicatorG
1) Open STL file in File --> Open
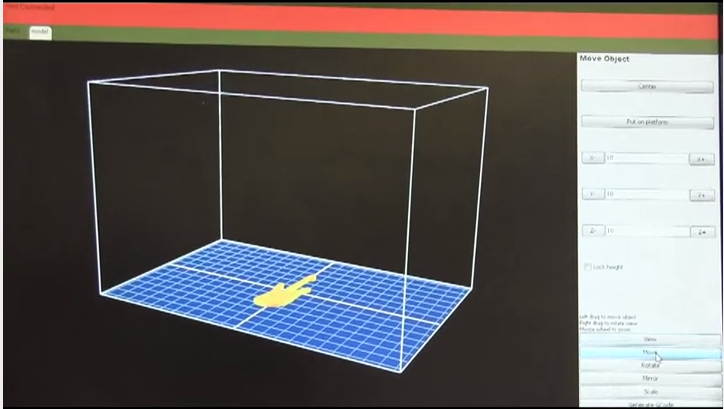
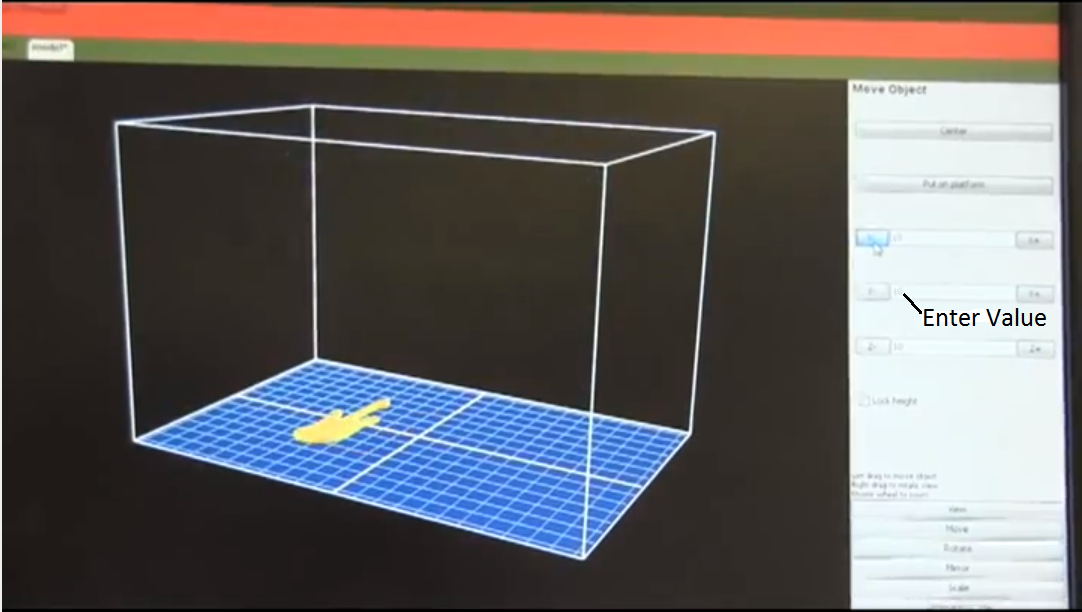
2) Part can be moved in X, Y, and Z directions using the ‘Move’ tab
3) +/- X, Y, Z buttons can be used to move part around print bed, or value can be entered
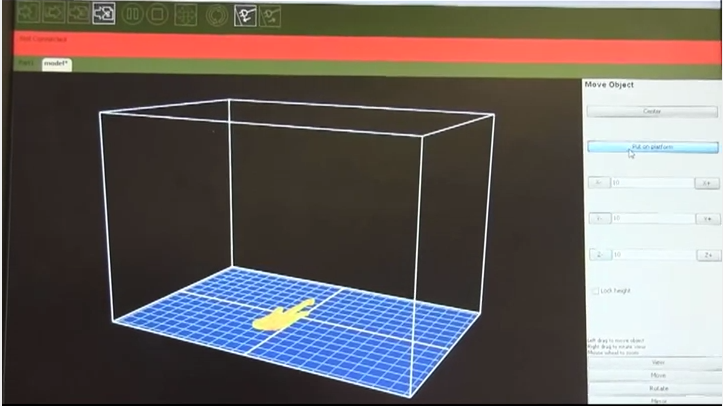
4) Part will lay flat on platform by clicking ‘Put on platform’ button
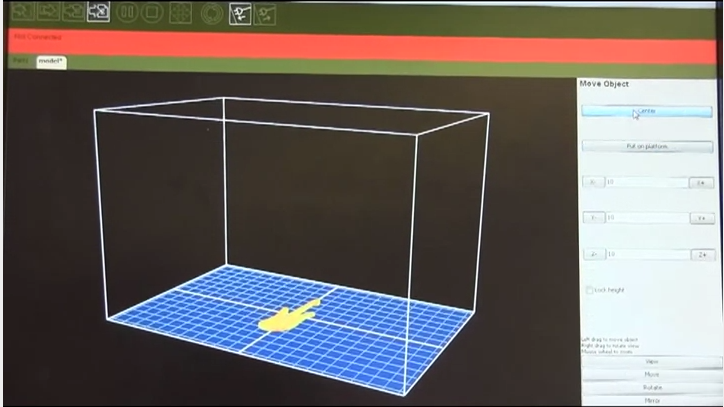
5) Part will be centered on platform by clicking ‘Center’ button
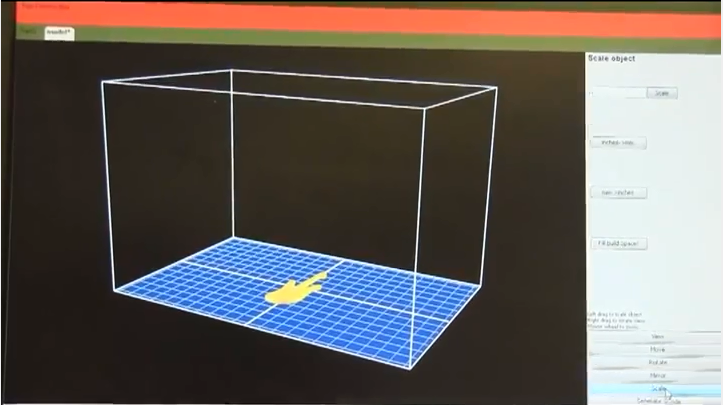
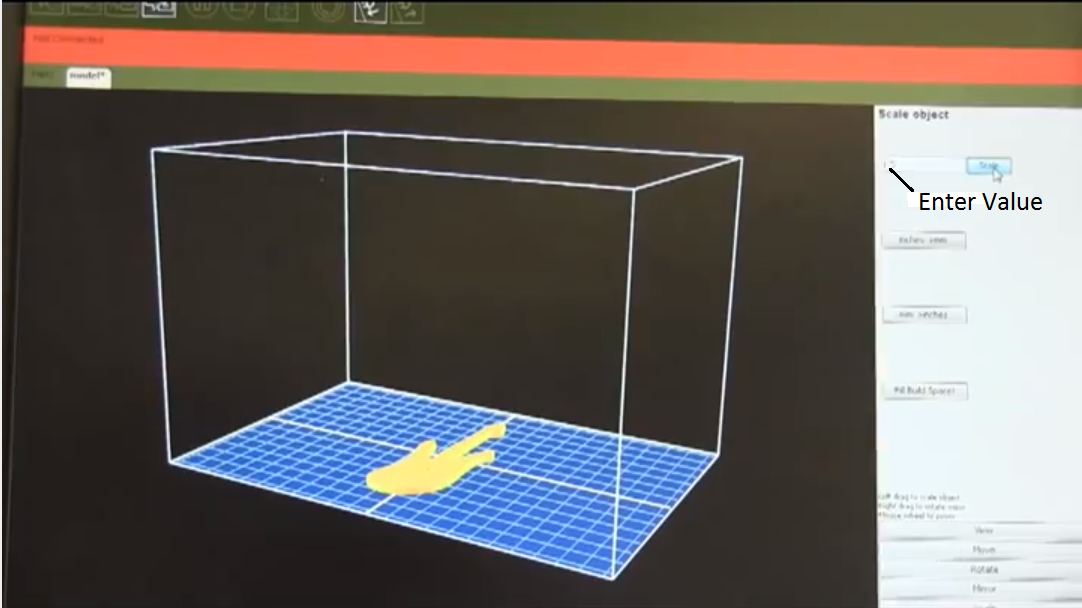
6) The ‘Scale’ tab allows you to increase or decrease the size of the part
7) Make your part bigger by entering a scaling factor greater than 1, make your part smaller by using a scaling factor less than 1 then click ‘Scale’ to apply size change
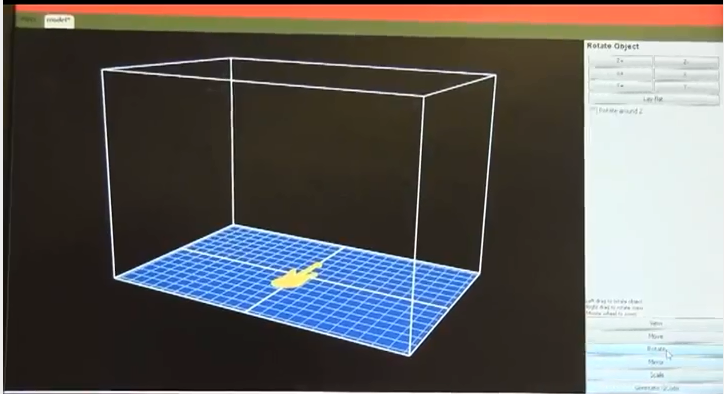
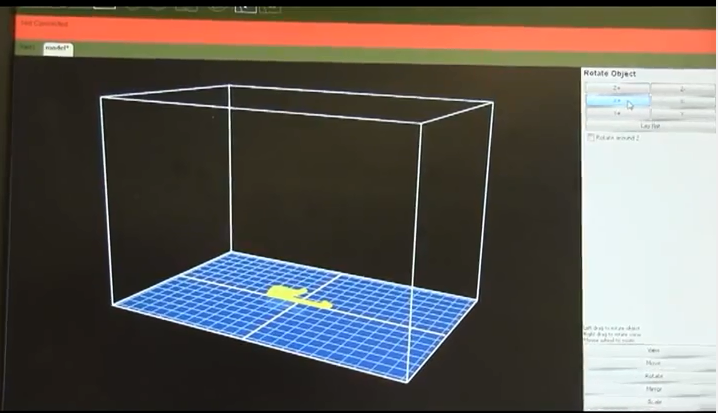
8) Use ‘Rotate’ tab to rotate part about the X, Y, and Z axes
9) Rotate part by clicking on the +/- X, Y, Z buttons, and part will lay flat on platform with the ‘Lay Flat’ button
