RUG/Pennsylvania/State College/3D scanner instruction
Contents
3D scanner instruction
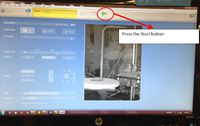
This is the 3D scanner in lab for Edesign class
this is the website for the instruction how to use the 3D scanner
Scan Studio
[1] is the NextEngine 3D scanner captures objective in full color with muti-lasor precision. Breakthrough technology has made it the World's most popular 3D Scanner, with thousands of users in over 80 countries. In one box is everything you need to digitize 3D models, including ScanStudio HD software. Exports to STL, OBJ, VRML, XYZ and other formats. Output 3D scan models to popular design software like SolidWorks, 3ds Max, ZBrush, Rhino, Mathematica and more. Use with ScanStudio CAD Tools to quickly make surface files or RapidWorks to build solid files. Print models on Dimension, 3D Systems, zCorp, Objet, and other 3D printers.
Netfabb
[2] netfabb Studio is a software for analyzing, editing, modifying and repairing STL files being scanner from Scan Studio.
Solidworks
[3] is also a way to repair the STL file being scannd.
processing:
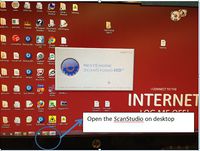
Step 1: open the ScanSudio on the desktop.
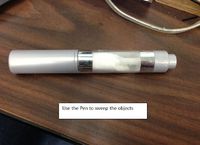
Step 2: Use the Pen to sweep the objects.
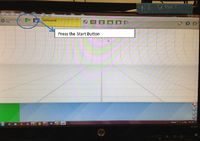
Step 3:
Step 4:
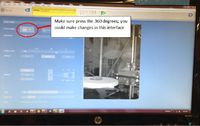
Choose the 360 Degree to make sure the scanner scan the whole objects.
Step 5: After being scanned, use the trim button on the top to cut the verbose part. Also, use fuge button to choose three points to combine different episodes into whole objects.
Step 6:Save the file as STL.
Step 7:use Solidworks, netfabb to repair the code.
Difficulty
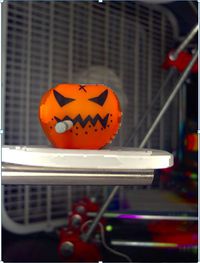
I successfully 3D scanned the pumpkin as the STL file, I could not slice/skinfeage them as G-code. The 3D scanner objects have too much small holes. Even the Netfabb and Solidworks could not repair them. If anyone figure that out, please edit the instruction part and tell the fellowing students.

