RepRapPro Tricolour y axis assembly
Introduction | Frame assembly | Y axis assembly | X axis assembly | Z axis assembly | Heated bed assembly | Extruder drive assembly | Hot end assembly | Wiring | Power supply | Commissioning | Printing | Multi‑colour/multi‑materials | Colour Printing - Slic3r | Colour Printing - RepRapPro Slicer | Maintenance | Troubleshooting | Improvements
| A notice about these instructions! |
|
These instructions are open to editing by everyone and anyone. |
Contents
Goal
By the end of this stage, your machine should look like this:
Tools
You will need the following tools
- M8 (13mm) spanner
- Adjustable spanner
- M3 Allen key
- M3 spanner/nut runner
- Long-nosed pliers
- Side cutters
Step 1: Y Motor and Mount
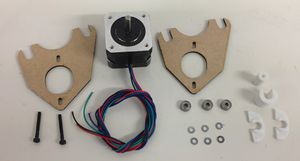
| |
| Item | Quantity |
| Lasercut Y Motor Mounts | 2 |
| Printed Closed Spacer | 1 |
| Printed Open Spacer | 1 |
| Nema 17 Stepper Motor | 1 |
| Printed Belt Guide | 2 |
| M3 washers | 10 |
| M3x25mm cap screws | 2 |
| M3 nuts | 3 |
| 623 Bearings | 2 |
Motor Bracket Assembly
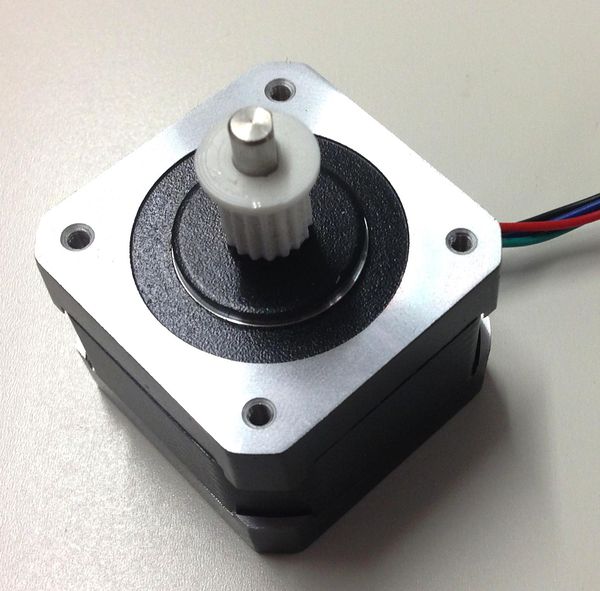
Begin by taking one of the MXL pulleys. These look similar to the extruder small gear, ensure you have the correct one. The MXL pulley is the taller of the twoThese simply push-fit onto the motor shaft.
Note how both the motor and the pulley has a small flat in the shaft and the hole respectively. These need to be aligned and the flange of the pulley should be facing the end of the motor shaft as shown in the picture below.
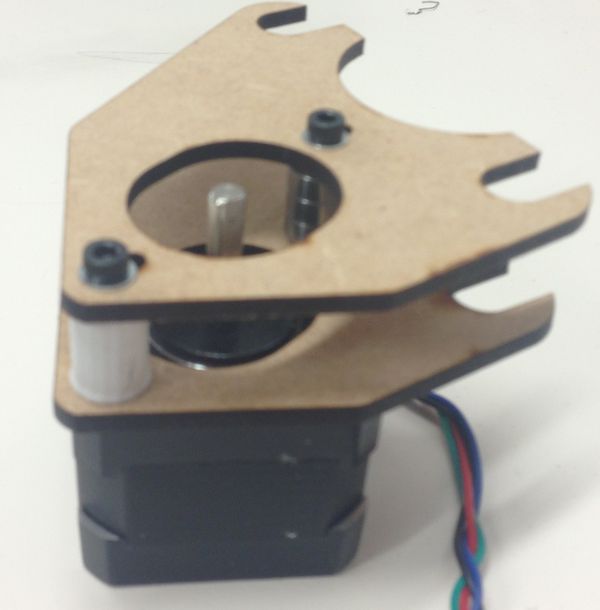
Now begin assembling the Y motor bracket. Insert one of the M3 cap screws and a washer through the slots in the motor mount furthest away from the semi-circular cut out. Insert this through the closed spacer and then finally through one of the slots of the other motor mount. The order is M3 Cap screw, washer, laser cut y motor mount, closed spacer, laser cut mount washer.
Repeat this for the remaining slot. However the closed spacer is replaced but two 623 bearings surrounded by 4 washers on either side. Now the order is M3 Cap Screw, washer, laser cut y motor mount, 4X M3 washer, 2X 623 bearing, 4X M3 washer, Finally attach this assembly the Nema 17 motors using the cap screws. The wire orientation should be facing the circular cut out of Y motor mount as shown.
Next take this assembly and attach it to the frame at the rear of the machine. The motor mount assembly should be placed around the bearing at the back of the machine with a belt guide placed between the bearing and the motor mount. The order for the top bar is, M8 Nut,Washer, Laser cut motor mount,
Step 2: X Motor assembly
| |
| Item | Quantity |
| Nema 17 Stepper Motor | 1 |
| MXL Printed Pulley | 1 |
| M3 Washer | 2 |
| M3x16 Cap Screw | 1 |
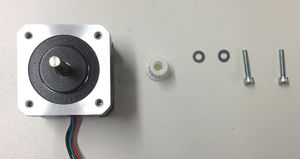
Start by inserting the the pulley nut works well), you can tap the end of the tube to place the pulley. Support the motor shaft, not the motor body, from the other end as you tap. You can secure the pulley with a drop of superglue if you like (make sure the shaft is completely free of grease). Take care that no glue gets near the shaft's entry to the motor. Note how both the motor and the pulley has a small flat in the shaft and the hole respectively. These need to be aligned and the flange of the pulley should be facing the end of the motor shaft as shown in the picture below.
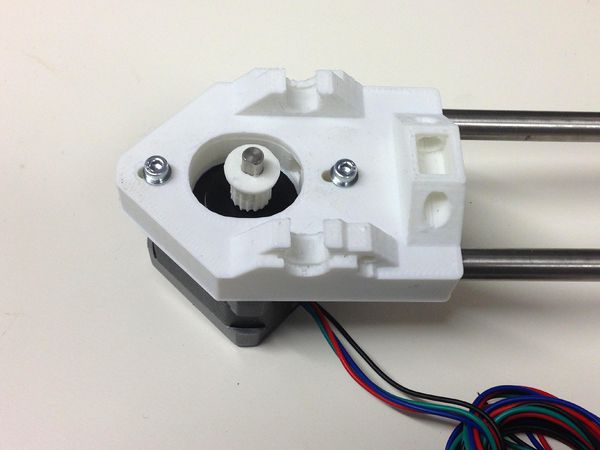
Attach this motor to the Y bracket assembly, using the cap screws already in place.. Note the orientation of the motor wire relative to the bracket.
Step 3: X carriage assembly
| |
| Item | Quantity |
| Printed X Carriage | 1 |
| MXL Timing Belt | Approx 1M |
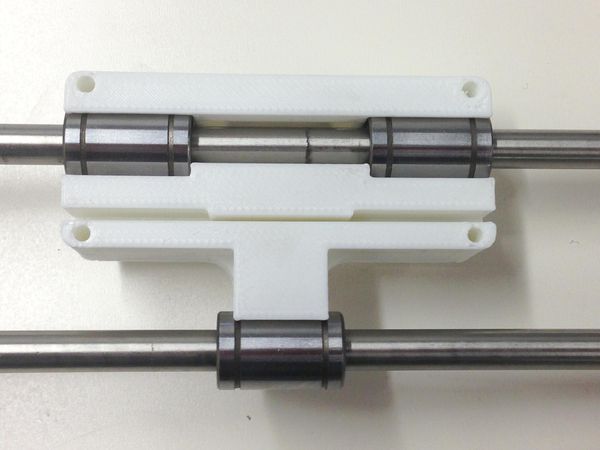
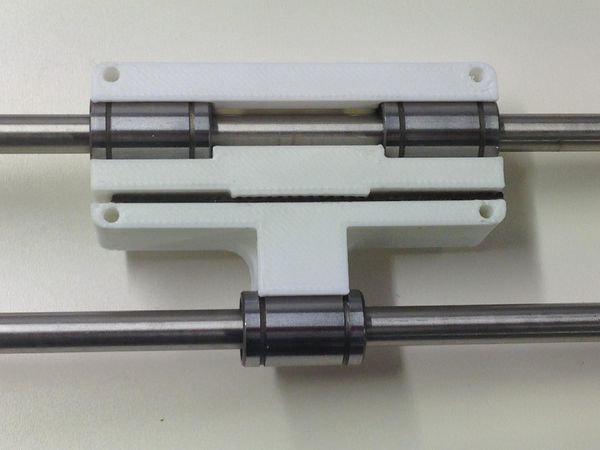
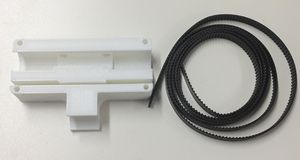
Firstly push the linear bearings on the X axis into their slots on the X carriage. THE BEARINGS SHOULD ONLY BE PUSHED IN FROM THE SIDES, PUSHING THEM IN FROM THE FRONT WILL RESULT IN THE X CARRIAGE SNAPPING.
Cut off a small length of belt approximately 80mm long (the width of the X carriage), and press this into the slot of the carriage with the teeth facing upwards. This fit is deliberately tight and you may need to use a small flat head screw driver to push the belt into the slot. The belt should be pushed to the very back of the slot.
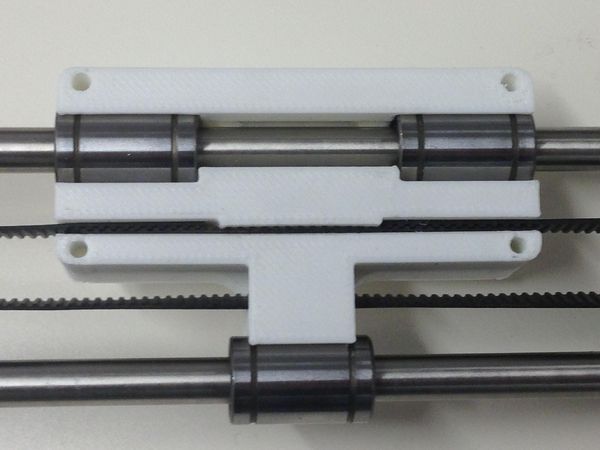
Next take the remaining belt, and insert the free end into the slot in the right end of the X carriage so that it locks with the teeth of the small length of belt. It should ideally be placed as far into the slot as possible so that the end touches the edge of the narrow gap in the centre of the carriage. Then feed the belt through the X end Idler, around the small bearing, back through the carriage, around the motor pulley and back into the slot on the X carriage as shown below
Your X axis mechanics should now be complete and look as follows:
Step 4: Endstop
| |
| Item | Quantity |
| Microswitch | 1 |
| M2.5X12mm Cap screw | 1 |
| M2.5 Washer | 1 |
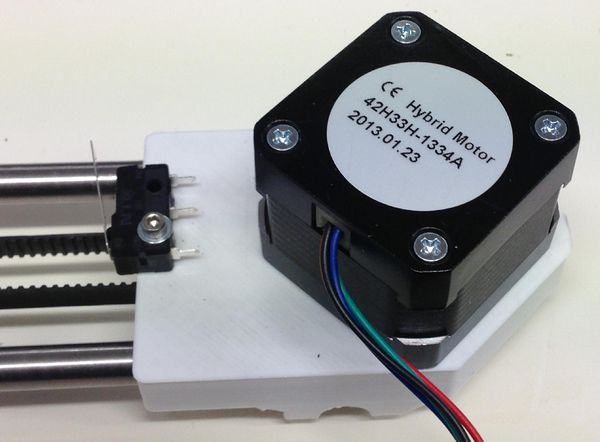
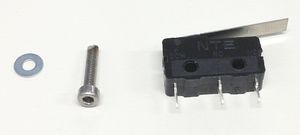
Insert the M3 capscrew and washer into the hole nearest the button of the microswitch with the lever facing upwards. This then screws directly into the small back of the X motor bracket next to the motor as shown below:
Your X axis is now complete and you can move on to the next stage.
