RepRapPro Tricolour y axis assembly
Introduction | Frame assembly | Y axis assembly | X axis assembly | Z axis assembly | Heated bed assembly | Extruder drive assembly | Hot end assembly | Wiring | Power supply | Commissioning | Printing | Multi‑colour/multi‑materials | Colour Printing - Slic3r | Colour Printing - RepRapPro Slicer | Maintenance | Troubleshooting | Improvements
| A notice about these instructions! |
|
These instructions are open to editing by everyone and anyone. |
Contents
Goal
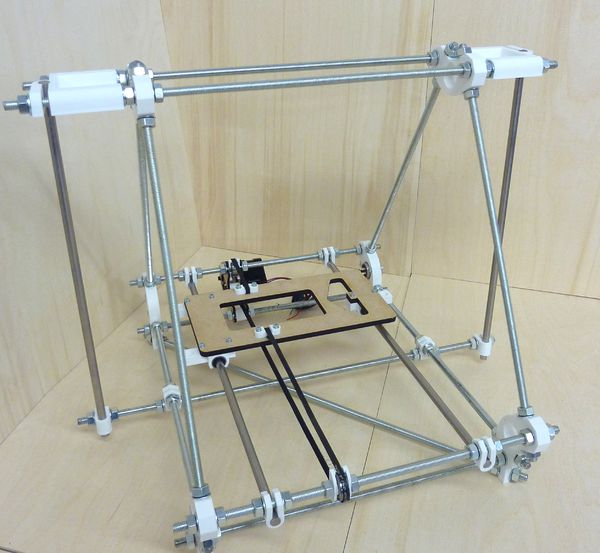
By the end of this stage, your machine should look like this:
Note, the diagonal frame brace is the wrong way around in the above picture. Please see the frame assembly page for the correct orientation.
Tools
You will need the following tools
- M8 (13mm) spanner
- Adjustable spanner
- M3 Allen key
- M3 spanner/nut runner
- Long-nosed pliers
- Side cutters
Step 1: Y Motor and Mount
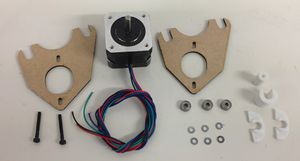
| |
| Item | Quantity |
| Lasercut Y Motor Mounts | 2 |
| Printed Closed Spacer | 1 |
| MXL Pulley | 1 |
| Printed Open Spacer | 1 |
| Nema 17 Stepper Motor | 1 |
| Printed Belt Guide | 2 |
| M3 washers | 6 |
| M3x25mm cap screws | 2 |
| 623 Bearings | 3 |
Motor Bracket Assembly
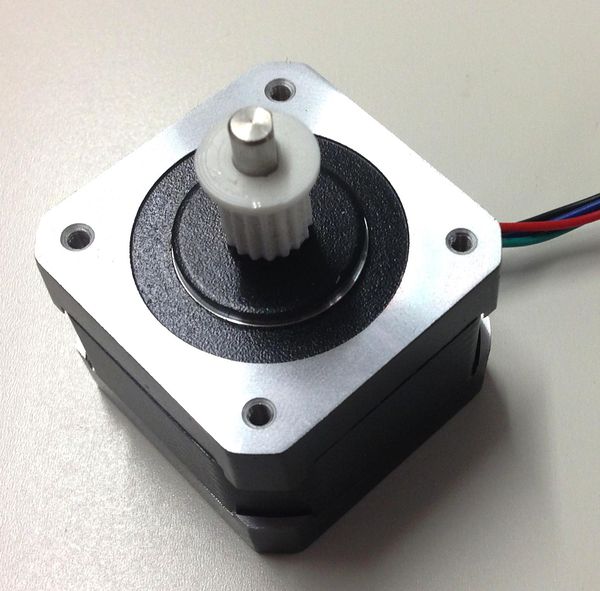
Begin by taking one of the MXL pulleys. These look similar to the extruder small gear, ensure you have the correct one. The MXL pulley is the taller of the twoThese simply push-fit onto the motor shaft.
Note how both the motor and the pulley has a small flat in the shaft and the hole respectively. These need to be aligned and the flange of the pulley should be facing the end of the motor shaft as shown in the picture below.
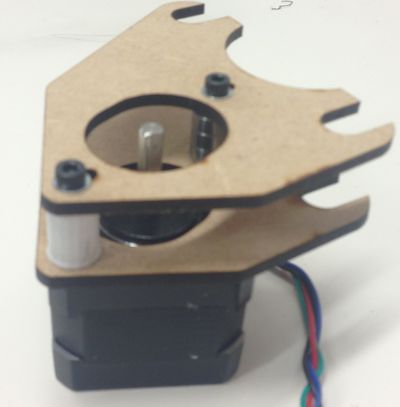
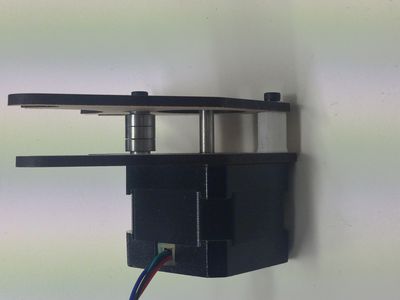
Now begin assembling the Y motor bracket. Insert one of the M3 cap screws and a washer through the slots in the motor mount closest to the semi-circular cut out. Insert this through two washers, then three 623 bearings and another two washers, and finally through the corresponding slot of the second motor mount. The order is M3 cap screw, washer, laser cut mount, 2 x washer, 3 x 623 bearing, 2 x washer, laser cut mount.
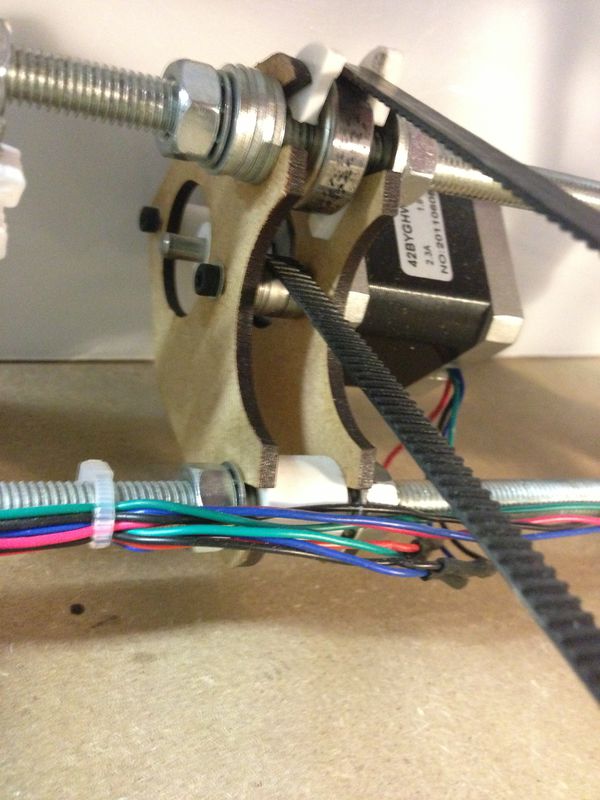
Repeat this for the remaining slot. However the middle bearing assembly and washers are replaced by the closed spacer. Now the order is M3 cap screw, washer, laser cut y motor mount, closed spacer, laser cut y motor mount. Finally attach this assembly to the Nema 17 motors using the cap screws. The wire orientation should be facing the circular cut out of Y motor mount as shown.
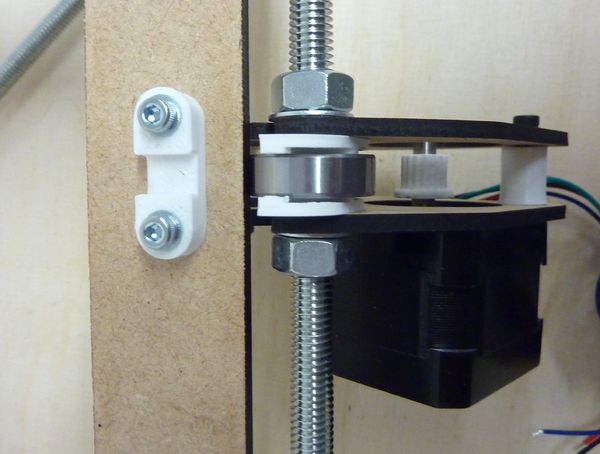
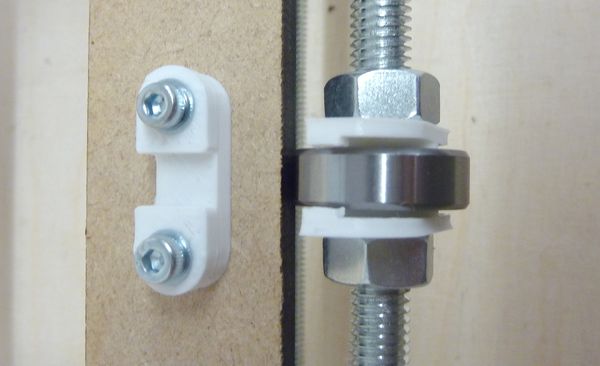
Next take this assembly and attach it to the frame at the rear of the machine. The motor mount assembly should be placed around the bearing at the back of the machine with a belt guide placed between the bearing and the motor mount. The order for the top bar is, M8 Nut, lock washer, Laser cut motor mount, belt guide (features facing towards the belt), bearing, belt guide (features facing towards the belt). laser cut motor mount, lock washer, nut. The open spacer should be clamped between the Y motor mount on the bottom
Step 2: Y Frog Assembly
| |
| Item | Quantity |
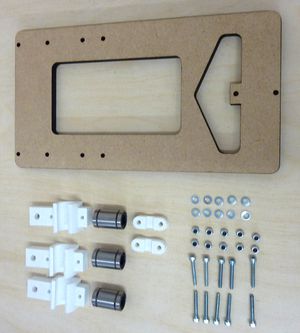
| Lasercut Frog | 1 |
| LM8UU Linear Bearings | 3 |
| Printed Belt Guide | 2 |
| Printed Bearing Holders | 3 |
| Printed belt clamps | 2 |
| M3x25 Cap screws | 10 |
| M3 Nylock nut | 10 |
| M3 Washer | 20 |
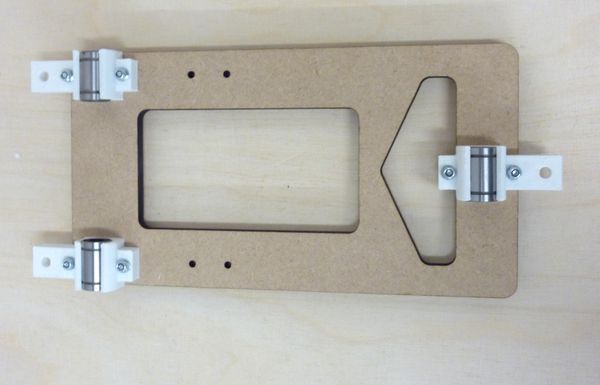
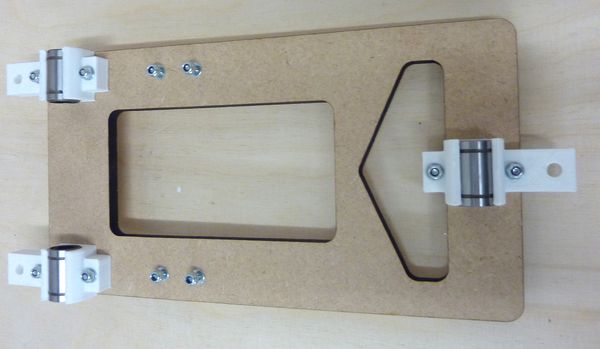
Attach the bearing holders to the lasercut part with 25mm cap screws, nylock nuts and washers (2 washers per screw, one on each side). You may find that there is a small bridge of printed material that needs to be drilled out to connect the hexagonal hole with the circle hole on the opposite side of the bearing holder. If this is the case use a 5mm drill bit and clean the part before attaching it to the Y frog. Don't tighten the nuts. Push the bearings into the bearing holders from the side as shown on the right. Do not try to clip them in from on top. The bearings should be a snug fit. But if they are a bit lose, simply wrap a little Kapton tape two or three times round the lose bearing. Get it flat without wrinkles or bubbles.
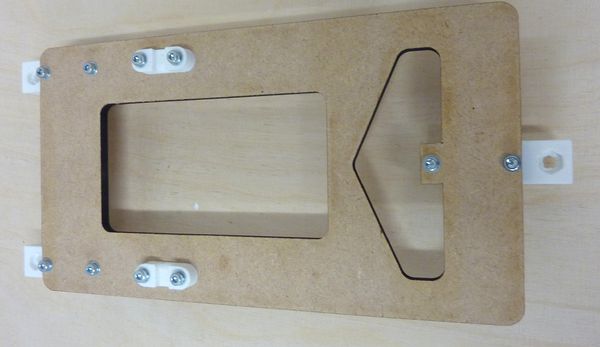
Next attach the two belt clamps to the frog on the opposite side compared to the bearing mounts. Use the remaining capscrews, with two washers and a nylock nut on each. At this stage these should remain loose:
Step 3: Mounting the Y Frog
Now loosen all of the Y bar clamps so that you are able to slide the bars out, then slide the Y Frog assembly onto the bars with the bearings facing downwards, and the side with two bearings towards the left of your machine with the motor at the back. Leave the bar clamps loose for the moment.
Using your measurement jig, tighten and adjust the U clamps on the left-hand Y rod so that their nuts are 22mm from the nuts on the left frame triangle, and then adjust the right-hand Y rod U clamps so there is 175mm between the rods. It is very important that these measurements are precise.
Next you need to ensure that the motor and idler bearings are aligned with the Y frog. Begin my moving the Y frog so that it is nearest the motor, loosen the M8 Nuts that secure the motor bracket, and ensure that the large bearing is directly opposite the belt clamps on the frog and re-tighten the M8 nuts:
Repeat this process for the Y idler bearing, at this point place the two belt guides either side of the bearing to be clamped by the nuts:
Now run the axis back and forth a few times, and go around and tighten the nuts that secure the bearing mounts.
Step 4: Fitting the Y belt
Next fit the belt. Don't cut it until you have fitted it, you need the rest for the X axis, and you don't want to cut it too short! Make sure the Y motor cap screws are loose, and the motor is as close to the frame as possible - you tension the belt by pulling the motor away from the frame once the belt is fitted.
Loosen the belt clamp on the motor side slightly and insert the belt under the clamp, with the teeth facing upwards, from the centre of the frog towards the motor. You don't need much spare, just to the edge of the frog is fine. Loop the belt up over the top of the clamp, over the bearing nearest the motor, around the pulley, over the top of the small idler bearings integrated into the clamp (so that more of the pulley is gripping the belt), and around the Y idler bearing. Put the belt over the second bearing clamp, and tuck it back underneath belt. So the belt should loop over the top of each clamp and back underneath. Pull the belt through so there isn't too much slack. Tighten the belt clamps. Cut the belt so it is flush with the edge of the frog.
The belt tension should be fairly loose at this stage. You can slide the Y motor back and forth to adjust the tension, lock it in place by tightening the Y motor cap screws. Adjust the tension such that the belt is tight, but not so tight that the axis begins to bind.
At this stage your machine should look like this:
Step 5: Y Endstop
| |
| Item | Quantity |
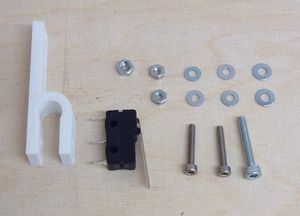
| Printed endstop holder | 1 |
| Microswitch | 1 |
| M2.5x16mm Cap screws | 2 |
| M2.5 Washers | 4 |
| M2.5 Nuts | 2 |
| M3 x20 Cap screws | 1 |
| M3 Nut | 1 |
| M3 Washer | 2 |
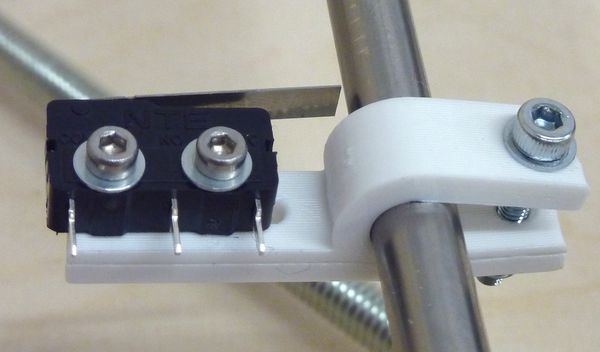
Use the M2.5 washers, nuts and cap screws to clamp the endstop to the endstop holder. You'll notice that the endstop holder has four holes. The endstop should be clamped to the outermost two holes, with the nuts on the large flat side and the lever facing towards bar clamp. Use the remaining M3 fasteners to attach the bar clamp to the back of Y smooth rod that only has one bearing on the Y motor side near the XLR socket. The endstop should be positioned such that it is hit just before the frog hits the the Y bar clamp and the Y motor bracket.
