RepRapPro mini extruder drive printing
Introduction
This page describes how to print the parts for the RepRapPro Mini Extruder Drive that is used in RepRapPro's Tricolour Mendel, Mono Mendel and Huxley. For the Extruder Assembly instructions, go here:
Design files you will need
To print the printed parts for the extruder drive you need the files that are on Github here: https://github.com/reprappro/Extruder-drive. To get all the files click the
download button on that page.
Unzip the resulting file somewhere on your computer and move to the folder ...../Extruder-drive/Print-extruder-drive/Individual-STLs. There you will find the files:
- README
- extruder-drive-1off.stl
- frame-clip-2off.stl
- frame-clip-tab-1off.stl
- large-gear-1off.stl
- small-gear-1off.stl
- spacer-1off.stl
- tongue-1off.stl
Printing one extruder
As you can see above, the file names have the number of each item off that you need to print incorporated in their names.
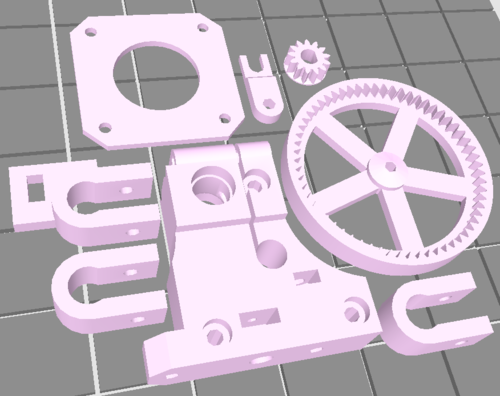
This picture shows the parts arranged on the build bed of a RepRapPro Mono Mendel, but you can print them individually or all together on virtually any 3D printer. (The only ones known not to work are Z Corp powder printers - their parts are too weak.) On A RepRap or similar FFF-type printer to get the precision needed for the gears it is recommended to print the parts with a nozzle of 0.3mm diameter or finer.
If you want to change the design, the OpenSCAD source files are in the folder ...../Extruder-drive/Openscad/
