TechZoneMondo
General
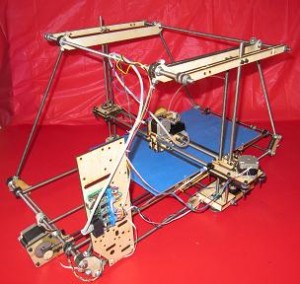
This page and the linked pages are for assembly of the Tech Zone Communications Mondo kit.
I am starting by posting the pictures I have, and then I will fill in the instructions and detials (7 Jul 2011)
Description by Techzone: "This 3d Printer is based upon the RepRap Mendel, but has been adapted and "up-sized" considerably! Officially, this kit would be considered a RepStrap (rather than a RepRap), since the parts are not printed on another 3d printer. While designing this printer, we implimented a FEW of the part saving ideas used on the RepRap Prusa (we will be releasing a Prusa kit in the coming months, but it is not our favorite design).
The print area on this printer is aproximately 12" (305mm) X 18" (460mm) X 11" (280mm) That is a whopping print volume of 2.376 cubic inches or more than 39,000 cubic centimeters!"
Before you get started, I recommend browsing through all the different assembly sections, so that you have an Idea of what will be coming (it helps to keep you from second guessing what needs done next). You will find that a clean work area, with a good work surface will save you lots of time, and help keep the frustration level down. TechZone has tried very hard to make this kit as complete as possible, if you find that there are some essential parts missing, which should be included in the kit, please contact us [here] and let us know.
Unpacking the Mondo Kit
On the left is a picture of the parts which come in the Mondo Kit:
Nut and Bolt Set
LaserCut Parts Set
Extruder
Extruder Hardware
Extruder Printed and LaserCut parts
Thick Sheet Set
Belts
Bar Set
Motors
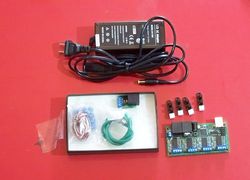
Monotronics Electronics set
Miscellaneous Items
Included in this is:- (1) Thin sheet material
- (15) small zip ties
Assembly Instruction Links
I know it would have been more convenient for most of you if these links had been at the top of the page, but it is important that you look through your kit and make sure all your items are there, before you begin assembly.
6) Electronics
7) TechZone Steel Tip Assembly
The extruder is a modified version of Wade's Geared Extruder, and assembly instructions for it will be close to instructions for assembling the extruder here. The TechZone kit does not include anything for the springs that you see on the page for Wade's extruder, but otherwise assembly is nearly identical.

