User:Snc5178/Prntr
Sam Carroll's RepRap Wiki
Info, Blogs, Projects, more!
Main | My Printer | Class Blog
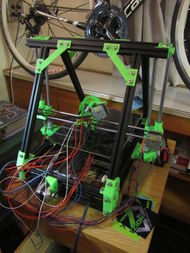
The following serves multiple purposes as an experience blog, build guide, and promotion of the MendelMax 1.5.
Release status: working
| Description | A true reprap; printed brackets, with the rigidity of aluminium extrusions.
|
| License | |
| Author | |
| Contributors | |
| Based-on | |
| Categories | |
| CAD Models | |
| External Link |
Basic Info
I built the MendelMax 1.5 RepRap 3D printer. With designs for the MendelMax 2 already out and kits available, it may seem like I built an outdated printer. However, I chose to build the 1.5 instead of the 2.0 because it is more in the spirit of RepRaps, and is more similar to the systems I'm already used to using, the Open Hybrid Mendel. The 2.0 systems are a lot more commercial looking, with more metal parts instead of printed parts. I thought that the 1.5 is a good combination of the values I'm looking for: structurally stable, easilly replicable, cheep materials, quality prints, and adaptable.
Sourcing Of Materials
I obtained all of my parts from two suppliers.
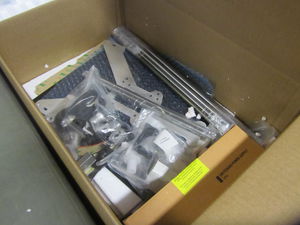
All metal parts: aluminum 20X20 mm extrusions, Z axis lead screws, smooth rod, MendelMax 2.0 Y axis, nuts, bolts, etc came from Maker's Tool Works, as one unit, the MendelMax 1.5 Hardware Kit. This is a great kit that includes everything you need to build the MendelMax 1.5 on thingiverse linked in the banner on the right. The aluminum extrusions come cut to lenght and the ends are already tapped with the necessary M5 threads. Another nice part of the kit was the Y-Axis, it is a single, solid, piece of metal that the bed rides on. By having a single beam, this eliminates troubles aligning dual rods. The Y axis is very low friction and is SOLID, no play found here. The bed is a 3 part system made of a thin sheet of aluminum, to which you stuck the heating pad, and a glass pane.
Positives:
- All hardware from one ordered item
- Precut, Drilled, Threaded, 20X20 mm aluminum extrusions
- Unique single rail Y axis
- Quick Delivery
Negaties:
- One hole was overlooked and wasn't threaded, I was able to do it myself at the Learning Factory.
- The kit is based on hardware needed to build the version on thingiverse, so it doesn't have hardware for modified versions. Also the leadscrews that they sent me didn't match with my printed parts. This is an issue of different sources, not with MTW.
- The way the bed is attached isn't very sturdy. thers some tip from side to side, but this shouldn't be a problem once leveled.
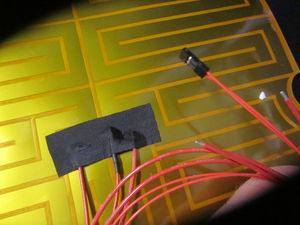
Package Arrival Heated bed heater
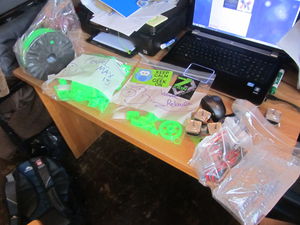
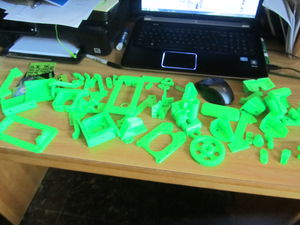
All printed parts, electronics, cables, hot tip, and filament were sourced from Maker Geeks.
Positives:
- Quality customer service: I emailed him, pretty sure it's just one guy, twice with various questions. He responded promptly and answered all of my quesitons.
- Printed parts available on request in any PLA color offered
- Wide variety of materials, and lots of relatively cheap kits.
- Pre-soldered electronics arduino and RAMPS 1.4
Negatives:
- Printed parts were low infill density ~0.1
- J-Head MKIV Hotend sucks it's the knock off from China, it has a really low sloped tip and the extruding plastic has a tendency to curl and stick to the head.
- NEMA 17 Stepper Motors were of the low torque version with only 3 inch long wires that had clips on them that didn't mesh with the wire bundle sold by MakerGeeks.
Package Arrival, Items, Printed Parts
Useful Links
I followed the two guides below to completely assemble the frame of my printer. It is a good guide if you're using all the parts that they use. However, you're on your own if you have different printed parts or hardware.
Here is an amazing build guide by Trinity Labs for all of the MendelMax 1.5 frame. Build Manual
Here is an amssembly guide for the Y Axis 2.0 Assembly Guide
