CupCake Wiring
The Generation 3 Electronics are mostly plug and play, so its really easy! Here are the main steps to hook up your RepRap Motherboard. These photos were taken on a CupCake CNC which has pre-cut holes to mount all the electronics nicely. However, if you have a RepRap it should be pretty simple to wire it up in a similar way.
Contents
Plug in ATX Power Supply
TODO: RETAKE
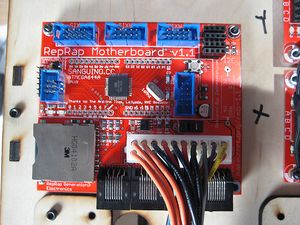
<div class="thumb tright"></div>The first step is to plug the power supply into the motherboard. Make sure the power supply is off and unplugged before you do this step.
Plug in Stepper Drivers
TODO: RETAKE
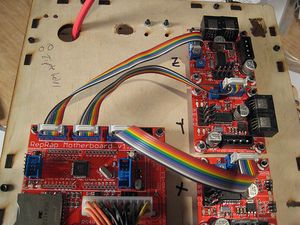
<div class="thumb tright"></div>The stepper drivers are now connected with IDC cables. These cables are very easy to make and very easy to use. They have a little tab on them that only allows them to be inserted in one direction. Plug all of the stepper drivers into their appropriate headers (X/Y/Z). You're done!
Plug in Extruders / Toolheads
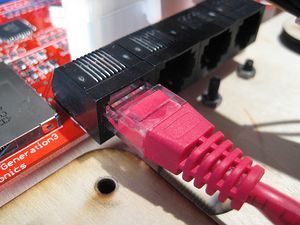
<div class="thumb tright"></div>The RS485 power/comms bus is located on the bottom of the board. We are using standard Cat5e patch cables and RJ45 jacks. The board itself does not use ethernet, but we do use the same cables and connectors as ethernet. Please don't get confused and plug it into your router or internet. It is a multi-drop network with all devices wired in parallel, so simply plug the other end of your extruder into any open port. So easy, right?
Serial Communications
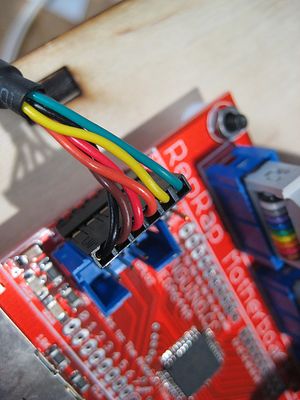
<div class="thumb tright"></div>The communications to the host computer is done over a USB -> TTL serial connection. Simply plug the connector into the pin headers as shown and the other end into your USB port. Now you can talk to the motherboard. Rock.
History
Changelog
- Page added by AB to distinguish CupCake wiring from RepRap wiring.
-- Main.AdrianBowyer - 15 Oct 2009


