Poly
Release status: working
| Description | design by 3DRap s.r.l.
|
| License | |
| Author | |
| Contributors | |
| Based-on | [[]]
|
| Categories | |
| CAD Models | |
| External Link |
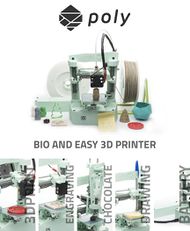
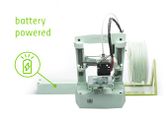
Poly is a multitool 3D printer that uses open source firmware and software, made in PLA, a totally ecological and compostable material. The concept behind Poly is based on three keywords: open-source, eco-friendly, and upcycling. Poly is equipped with a range of tools: an extruder nozzle, a laser engraving kit, and a chocolate extruding kit, and all of them can be quickly alternated by a magnetic mechanism.
Contents
Intro
Poly is a multitool 3D printer with nozzle extruder, laser engraving, a chocolate kit and an additional joint for other tools, all plug and play thanks to a magnetic joint and release mechanism. The movement consists of a classic system with 3 Cartesian axes (1 microstepper for each axis, except for the z in which they are used 2) with sliding obtained by means of threaded bars.
BOM
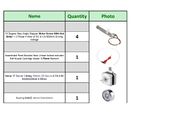
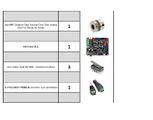
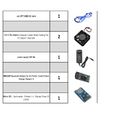
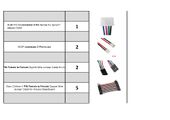
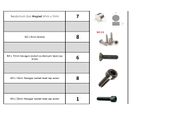
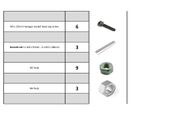
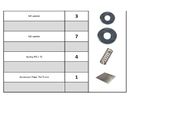
In this gallery you will find the list of components needed to assemble a Poly.
Printed Parts
This link contains all the 3D files in stl format which will be used to 3D print the entire frame. We recommend the use of PLA as a material, a fill of at least 30% and a layer height of 0.24mm ( if you use a nozzle with a 0.4mm hole).
Don't you have a 3D Printer? Do you need the plastic pla kit for assembly? try to go here!
Building Video
We have prepared a video with 3D animations, to make the assembly phase as simple as possible. At the top right you will see the components that will be mounted in the various phases. You can not go wrong!
Motor Driver Voltage Regulation
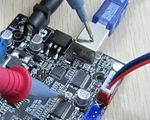
This is a fundamental phase of building. The regulation of the motors voltage. The micro-steppers need to be powered with a very low voltage (we are talking about 0.2 volts). To do this you need a classic multimeter and the 12v power supply to power the MKS BASE electronic board. It must be set on the voltmeter mode (2v scale) and positioned with the positive pole on the trimmer and the negative pole on the USB port of the MKS Base board. It will be necessary to repeat the operation on all the trimmer on the board.
Once the first value has been read, adjusts the tension by turning the trimmer with a cross screw (clockwise to increase and counterclockwise to decrease). Once that the correct voltage is obtained, connect the motors to the board and check that they do not overheat.
Wiring
In this pdf document you will find all the electrical connections to do in order to run poly. Be aware of colors and polarity, because you risk of burning everything!
At this link you find the datasheet of the MKS Base card.
Cable Management
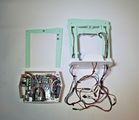
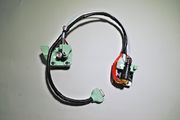
These photos will make you immediately realize how the cables must be arranged inside the case.
As you can see, the cables are hidden by a back plate and go through the top cover of the box that contains the electronics.
Firmware
We have reached the heart of the project.
Poly works thanks to the incredible work done on the Marlin open source firmware. In this link you will find the firmware already preconfigured for Poly and that you can load on the MKS Base card using the Arduino ide.
1)Extract the folder Poly_firmware on Desktop;
2)Download the arduino ide here ;
3)If MKS BASE board driver can not be installed automatically, you can download the driver from following link ;
4)Connect the Mks Base Board to PC and Install the driver;
5)Open Arduino ide, in "tool" menu, select the "com port" and "Arduino / Genuino Mega or Mega 2560" board ;
6)In File menu select "open" and seach the marlin.ino file inside the Poly_firmware folder and open it ;
7)Press the upload button and wait for completion.
Now your Poly is programmed and ready to work!
P.S.: POLY is now on github!
3D Print
With poly you can print in 3D using a pc connected via usb or a smartphone connected via bluetooth.
First of all you have to start from a 3d file. If you can not draw with a cad 3d we suggest you go to thingiverse.com and download a 3D model already designed in .stl format. Once you have the stl file, you need a software that converts that file into printer instructions (.gcode). To do this we recommend a free software like Cura, slic3er, Repetier Host etc ..., which will allow you to change many parameters and get good prints.
For convenience in this guide we will show you the main operations to be performed with just one of these softwares: Cura.
1) Download CURA here ;
2) Start it and add a "custom printer" ;
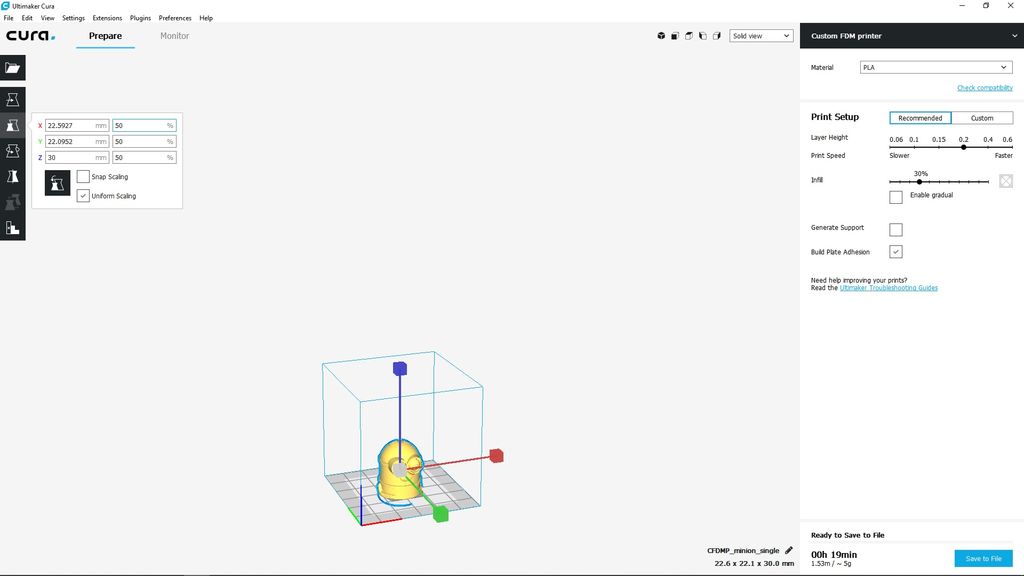
3) Upload your 3D model and scale it if it does not enter the print area ;
4) Set the print parameters as in photos and generate the .gcode file ;
5) To launch the actual print, download this client, that will allow you to move the axes manually and send the print file to Poly.It is not necessary to install it. It is a ready-to-use exe.
6)Open it, select 9600 baud rate and connect by selecting the correct "com port" . Upload the file by clicking on "load file". Once loaded you will see a preview of the movements that will perform poly.
7)Click on the "print" button and enjoy the show!
If you have followed the guide to the end, you have also installed the HC06 bluetooth sensor.
It allows you to send for print without using PC and cables but simply with your android smartphone. There are many apps in the google market place that are compatible with poly hardware. One of these is "3DFOX".
1) Download the app here ;
2) copy the .gcode file to the "3dfox" folder of your smartphone using the integrated file manager;
3) select it from the app and launch your 3d print in total freedom!
Future Developments
Stay connected ... very soon there will be updates that will allow poly to print chocolate, laser engrave and draw!
Team
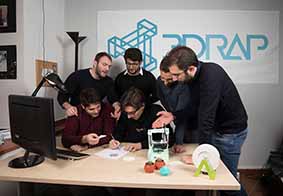
3DRap, a team of innovative young artisans operating with modern creativity. Six guys: four engineering students, a designer, and a web developer. They all come from Italy, living close to each other, and they all share the same passion for design and the same enthusiastic ardor towards innovation.
After months of development and almost 2 years of experience in the field of prototyping and engineering, 3DRap presents CREATE: a simple, flexible and immediate platform whose sole purpose is to materialize your idea in 3D.
Create represents our vision of industry 4.0 and we are convinced that it can be an excellent way to bring new realities to the world of 3D printing, accompanying them throughout the product development cycle, allowing the reduction of costs and time of realization.
