MatterControl
|
English • العربية • български • català • čeština • Deutsch • Ελληνικά • español • فارسی • français • hrvatski • magyar • italiano • română • 日本語 • 한국어 • lietuvių • Nederlands • norsk • polski • português • русский • Türkçe • українська • 中文(中国大陆) • 中文(台灣) • עברית • azərbaycanca • |
Release status: working
| Description | graphical user interface front-end to G-code sender and various slicing programs
|
| License | BSD 2-Clause License
|
| Author | |
| Contributors | |
| Based-on | |
| Categories | |
| CAD Models | |
| External Link |
Contents
Introduction
MatterControl is a free software program developed by MatterHackers to control RepRap and other G-Code-based 3D printers. It enables users to organize and manage the printing process. It is currently available for download on Windows (Vista+), Mac (OS X 10.7+), and Linux Ubuntu and Debian.
Overview
The program includes:
- a 3D viewer with the ability to rotate, scale, and mirror designs
- a 2D viewer to examine the individual layers of a sliced design
- a library enabling users to organize, search, and manage their design files
- a Print Queue to manage large projects
- a quick printer connection wizard and dropdown list for managing multiple 3D printers
- a feature for Automatic Bed Leveling
- the ability to switch between slicing engines, including MatterSlice, CuraEngine, and Slic3r
- a terminal to view and edit G-code
Features
Print Queue
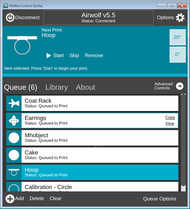
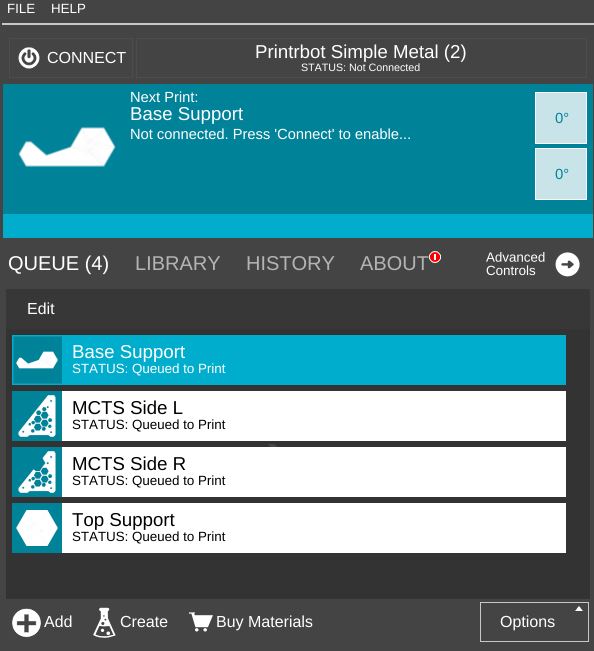
Users can import design files in STL format by selecting the "+Add" icon and browsing their directory, or by dragging and dropping their file(s) into the Queue. A vertical queue is expanded as each file is added. Users can move designs around with clicks and drags; copy, remove, or delete designs, and clear the Queue. The Queue Options menu allows users to import a series of files (.3dz), export their Queue to a Project or an SD card, and create a part sheet from their Queue.
3D Model View
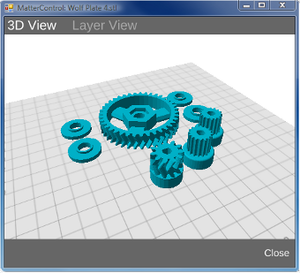
After importing designs, users can select their corresponding avatar(s) and a separate window(s) will open. The default view is the 3D simulation of the part(s) to be printed.
Users can rotate a part on the X, Y and Z axes and select "align to bed" to situate the part on the platform. Users can scale the part to the maximum area which their printer's dimensions envelop. An option is included to convert between metric and imperial units. Users can also mirror parts on every the X, Y and Z axes.
Layer View
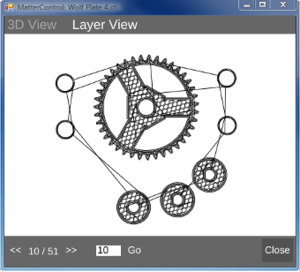
Once the desired Slice Settings are input for a selected design, users can click the design's 2D avatar in the Print Queue, tab to Layer View, and select "Generate Layers" to preview each individual layer of their sliced design.
Library
A tab right from the Queue is the Library. This is a space to import and collect design files. There are optional checkboxes to the left of each file name to keep track of a library's progress and a built-in search function.
About
The third and last tab is the About section. This space displays information related to the program and options to "Check for Updates" and "Send Feedback".
Printer Controls
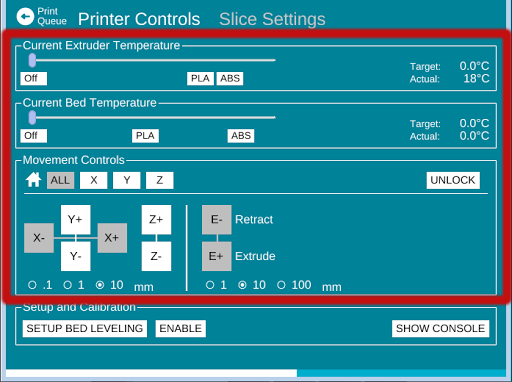
The Printer Controls tab, located under Advanced Controls, enables users to operate their printer with manual controls. Once a print has begun, a new section called Tuning Adjustment appears which allows users to adjust temperature, speed, and extrusion settings as the part prints.
Temperature Control
The printer's bed and extruder can be heated manually by using the sliders. There are also presets for the extruder and bed temperatures. For the extruder temperature, the PLA and ABS presets are 180ºC and 230ºC respectively. For the bed temperature, the PLA and ABS presets are 70ºC and 130ºC respectively. The Target and Actual temperatures of the extruder are displayed to the right of the sliders. The current temperatures of the bed and extruder are displayed with two white icons at the top-right corner of the interface.
Movement Control
Movement controls for the X, Y, and Z axes are located below the Temperature Settings. The ALL, X, Y, and Z icons home the respective axis or axes. The UNLOCK icon stops the motors.
The X, Y, and Z axes can also be moved in increments of 0.1mm, 1mm, and 10mm by clicking their respective "+" and "-" icons.
The movement control section disappears during the printing process and is replaced by the Tuning Adjustments section.
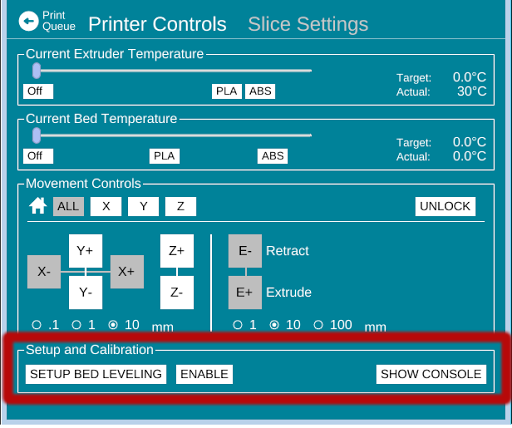
Setup and Calibration
Automatic Bed Leveling
The "SETUP BED LEVELING" icon introduces a Bed Leveling wizard which, by measuring several points on the bed, determines the current angle of the bed and compensates for unevenness while printing. Thus, a perfectly leveled print can be achieved without a properly leveled bed. This feature can be enabled or disabled.
Terminal
The Terminal can be accessed by selecting the SHOW CONSOLE icon. This feature enables users to communicate with their printer manually through the use of G-code.
Settings
The "Settings" tab, also located in Advanced Controls, enables users to set Layer Heights, Infill, Support Material, extruder and bed temperatures, and insert custom G-code instructions. The Show Help checkbox will bring down a description of each setting when selected. The User Level dropdown allows users to select the printer user level. These level's are Simple, Intermediate and Advanced.
Simple allows you to make minor adjustments to your print, like layer height, fill density, and chose to use support material and rafts.
Intermediate allows you to customize layer and perimeters, infill, skirts and brims, and support material with more detail than you would in Simple settings. You can even adjust Filament and Printer specifications.
Advanced allows you to control every aspect of your print, including all the above features, plus Repairs, Output Options, Multiple Extruders, and other advanced content. introduces additional slicing options for more advanced users. Users also have the option to switch between various slicing engines, including MatterSlice, CuraEngine, and Slic3r.
MatterControl Image Converter
With the new image converter add-on for MatterControl, turning 2D images into 3D printed objects has never been easier.
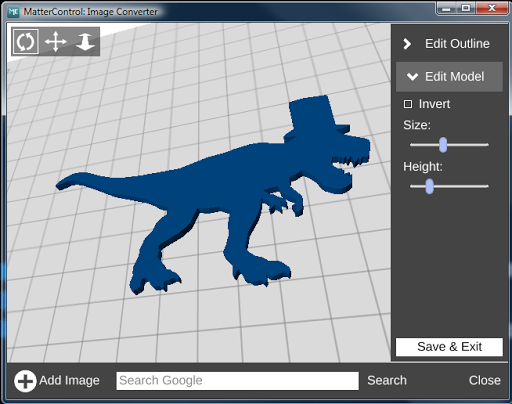
The latest update of MatterControl includes a powerful new add-on tool - the Image Converter. Using the Image Converter anyone can create 3D printable objects by simply dropping in an existing image (no prior 3d printing knowledge required).
T-Rex image after conversion to 3D model
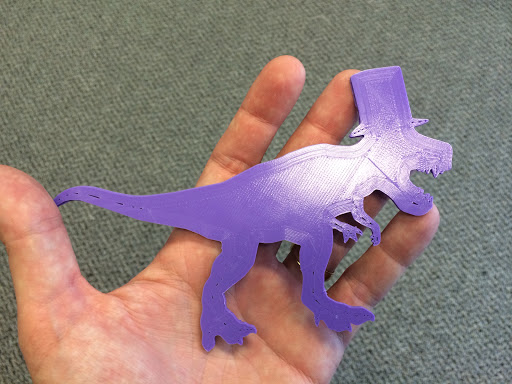
The final 3D print - a T-Rex, ready for rampaging or something more formal.
To try out the Image Converter download MatterControl at www.mattercontrol.com
