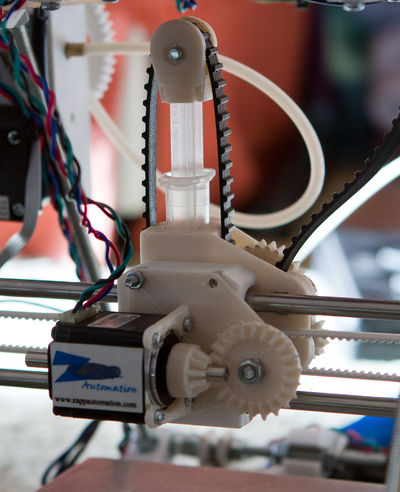
Mattroberts' Huxley Paste Extruder
Release status: Working
| Description | Paste Extruder
|
| License | |
| Author | |
| Contributors | |
| Based-on | |
| Categories | |
| CAD Models | |
| External Link |
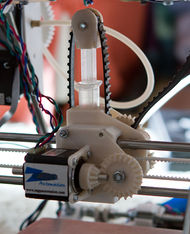
Everything here is new, but is influenced by RichRap's Universal Paste Extruder. This design will work on a RepRapPro Huxley.
What you need
- 1x each of the RP components
- 1x NEMA12 Motor (I used a SY28STH32-0674B from zapp automation)
- 1x 350mm by 7mm XL timing belt (different widths will work, just make a new syringe_idler)
- 5ml syringe
- needles (optional)
- 6x 624 bearings
- 1x M4x36mm studding (a little longer will not cause problems)
- 1x M4x58mm studding (a little longer will not cause problems)
- 2x M4x16mm bolt (studding and a nyloc would also work in both cases)
- 2x M4 nyloc nuts (M4 nuts and super glue will work)
- 7x M4 nuts
- 3x M4 washers
- 2x M3x8mm bolts (longer will cause problems, but can be cut from 12mm bolts)
- 2x M3x12mm bolts (longer will not cause problems)
- 2x M3x25mm bolts
- 6x M3 nuts
- 4x M2.5x6mm screws
Before you start
At some point you will need to detach the hotend from your printer. At that point fixing things that don't quite fit will require recalibrating the z-endstop (after you reattach the hotend). Therefore you should check the obvious gotchas before that point:
- Does the flag on motor_mount look long enough? If not, fit it by running "motor_mount(flag_length=15)".
- Does the belt move freely in syringe_idler? If not, fix it by running "syringe_idler(cross=true, belt_width=8)".
- Are you comfortable cutting the plunger of a syringe? If not, fix it by running "syringe_idler(cross=false, od=22, id=18)".
- Do you want to replace the x-carriage? (see Mattroberts' Huxley Carriage, this means you can avoid using self tapping screws to attach the hot end)
How to assemble
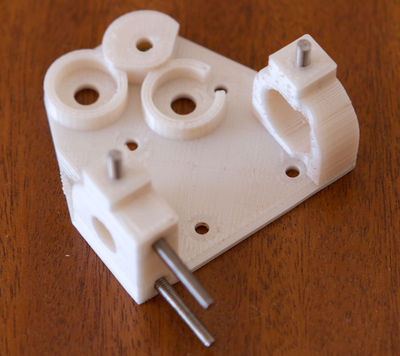
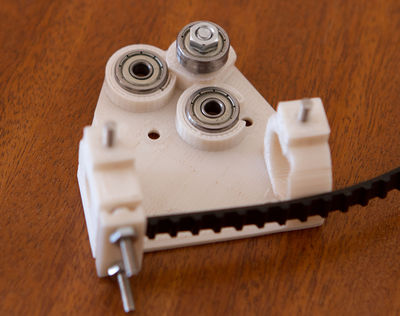
Add the 4 short M3 bolts to the syringe_mount. The 12mm bolts are used for the belt clamp, the 8mm bolts to attach the bearing_mount. This photo shows 20mm bolts used for the belt clamp, so it is even easier to see what goes where.
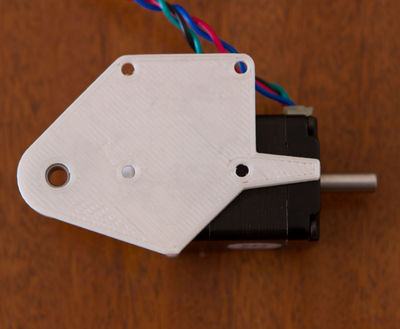
Attach the motor to motor_mount using the M2.5 screws. Make sure that the flag is as long as your motor, if it isn't: the X endstop on your printer will not trigger. If the flag is the wrong length, then run something like "motor_mount(flag_length=15)" in OpenSCAD to generate a suitable moter_mount.
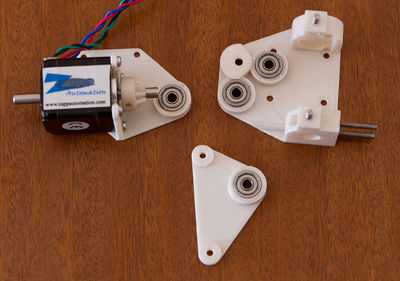
Add the 4x bearings to the various mounts. Also add gear0 to the motor shaft.
Use belt_clamp and two M3 nuts to clamp one end of the belt. Also use the M4 bolt, washers and a nut to attach the final bearing. From bottom to top the order is: bolthead, syringe_mount, 3x washer, bearing, nut.
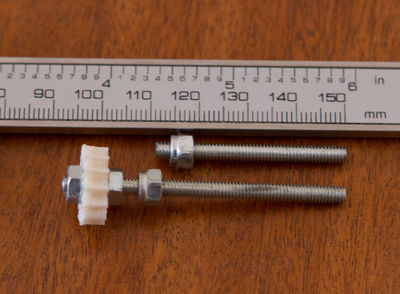
Put the two M4 nyloc nuts in the correct place on the M4 studding. Also attach gear2 to the longer studding using three nuts. From left to right the order is: nut, gear, nut-in-gear, nut, space, nyloc. Make sure that nut-in-gear and nut are locked.
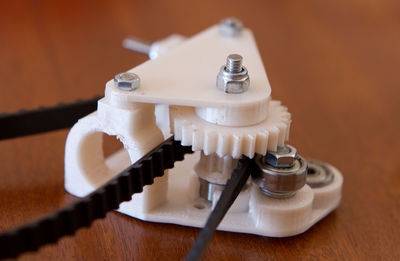
Attach bearing_mount to syringe_mount using two M3 nuts. Put gear3 in the correct place, make sure the belt is routed correctly and use the shorter piece of studding to hold things in place. The nyloc should allow the other end of the studding to protrude by a very small amount.
Put the longer piece of studding (with attached gear) in the correct place. Check that the gears mesh, if they do not you need to move the nyloc.
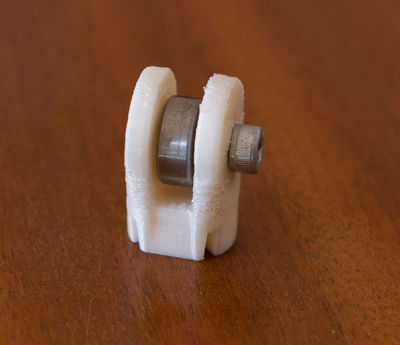
Use the final bearing and M4 bolt to populate syringe_idler.
Make sure that the belt fits, if it does not run something like "syringe_idler(cross=true, belt_width=8)" in OpenSCAD to generate a suitable syringe_idler
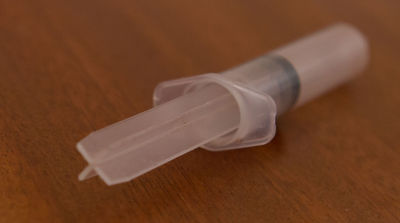
Cut the round pad off the syringe, the syringe_idler is designed to interface with the cross.
If you'd prefer not to edit the syringe, then run something like "syringe_idler(cross=false, od=22, id=18)" in OpenSCAD to generate a suitable syringe_idler. You can mix these options with the belt_width option if you wish.
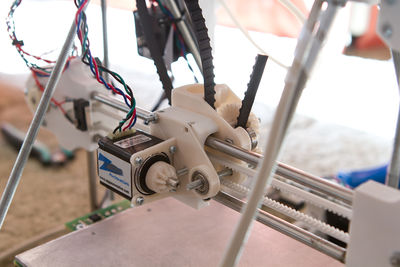
Remove the hotend from the printer. Attach the syringe_mount where the hotend was, and the motor_mount on the other side. Use the two M3x25mm bolts, and two nuts to attach everything. Then put gear1 and two M4 nuts on the long studding. Once again, make sure that nuts are locked.
Place the syringe in the mount, attach the idler and route the belt.
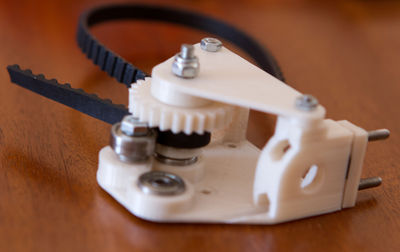
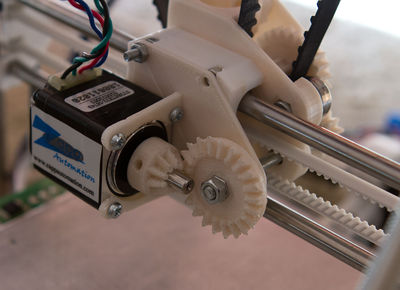
At this stage, you should check that gear0 is in the right place on the motor shaft. In this photo gear0 should be slightly closer to gear1.
Design Notes
- The lock nuts used to connect gear1 and gear2 to the long studding are tightened in use.
- In a similar way, the short studding will (if it turns) pull itself into the syringe_mount. When loosening the belt, make sure it doesn't drive itself out of the syringe_mount.
- All the hidden bolt heads have hex holes. This means that socket cap screws, and hex head bolts will both work.
