Pick and Place ToolHead
Release status: Experimental

| Description | A new toolhead to allow RepRaps to manipulate surface mount components.
|
| License | unknown
|
| Author | |
| Contributors | |
| Based-on | [[]]
|
| Categories | |
| CAD Models | |
| External Link |
A toolhead allow RepRap to manipulate surface mount components.
A pick-and-place toolhead is an important part of the complete
SMT Pick-n-Place System.
This is one small step towards enabling a RepRap to produce its own required PCBs.
See Automated Circuitry Making for other steps towards that goal (milling head, solder paste dispenser, etc.)
And there is complete assembled toolhead available for RepRap convert. SMC Motor Nema8 or Nema11 PnP Toolhead
Contents
Pick and Place Tool
This tool would automatically grab, position, and place electronic components onto a circuit board. It is essentially the last step before fully automatic circuit board creation. At this point in time, the robot should be able to:
- etch/mill a board from raw board
- drill holes for components
- apply solder paste for component mounting
- insert components into board
- group-solder all components to board.
This function of the robot is obviously quite advanced and will probably not be an urgent feature until someone gets nerdy or the project really takes off.
-- Main.ZachSmith - 11 Feb 2007
How it works
- A small vacuum pump creates suction in the blunt tip needle to pick up SMT components and the gear motor rotates the component into the proper position.
- And a nema8 or nema11 hollow shaft stepper motor is recommended for the pick and place head.
Materials
- 6 20 mm M3 cap screws
- 3 35 mm M3 cap screws
- 1 10 mm M2 screw, or whatever screw will couple with the shaft on the GM3 gear motor
- 1 18 gauge blunt tip dispenser needle
- 1 magnetic rotary encoder and magnet retrofitted GM3 gear motor
- 1 meter of 4 mm diameter aquarium tubing $0.43
- a low vacuum pump, possibly a reversed aquarium air pump
Instructions
- connect the part named pnpdisk2 to the motor drive shaft
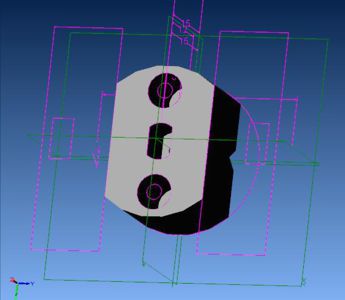
- stick the 4 mm aquarium tubing into the blunt tip dispenser needle and put this into the part called pnpdisk1
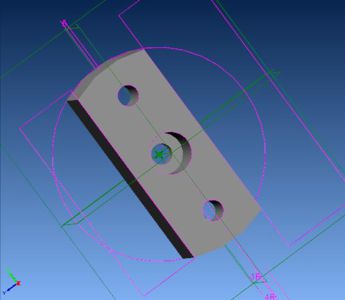
- attach pnpdisk1 to pnpdisk2 with the 20 mm M3 cap screws
- attach the magnetic rotary encoder to the part called pnpclamp with 20 mm M3 cap screws
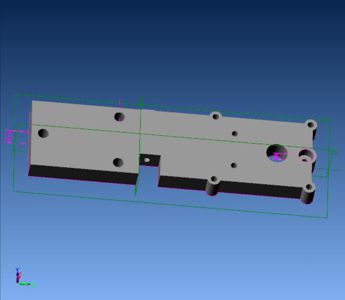
- attach gear motor to clamp with 35 mm M3 cap screws
- attach clamp to x carriage


Further reading
- "Pick and Place Project": designing an open-source pick and place machine[1][2][3][4].
- Tim's Pick-n-place toolhead on Thingiverse.
- "Controller Board for DIY Pick place Project"