8 years late, my Tantillus build
Posted by aidilj
|
8 years late, my Tantillus build May 11, 2020 04:59AM |
Registered: 3 years ago Posts: 4 |
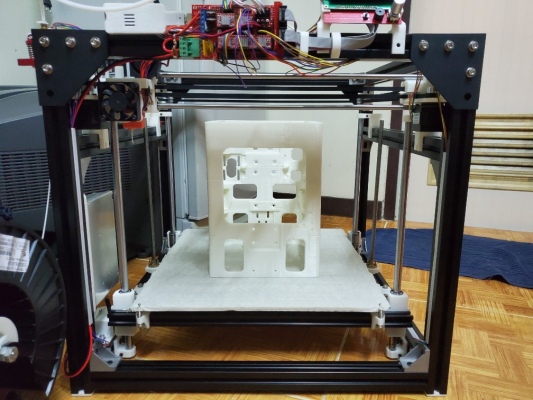
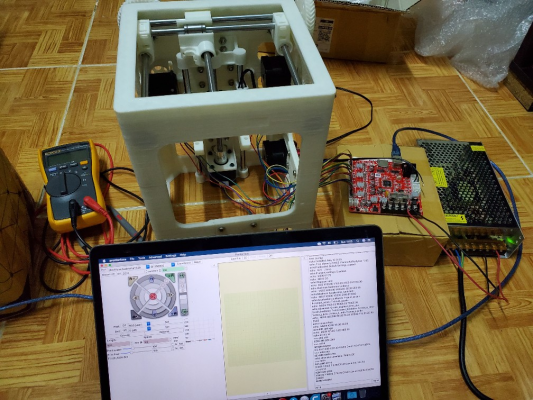
This is a printed case Tantillus but the cases parts were combined to become three sections - top, middle and base. The base was trimmed shorter and the bottom Z bracket embedded into the STL. I'm no 3d designer and all work is done in Meshmixer.
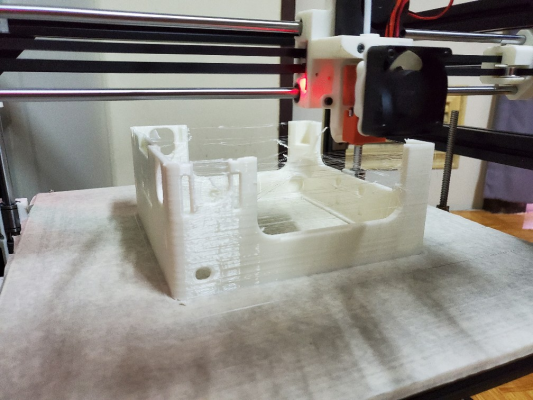
The case is printed with 1mm nozzle, 0.5mm layer height, material is eSUN PLA+. Each section takes around 7 hours to print.
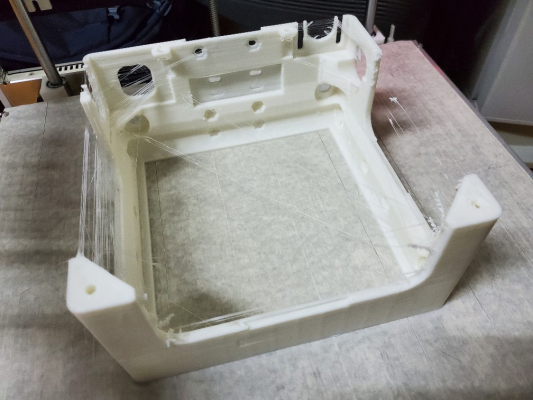
Stringing, not yet calibrated
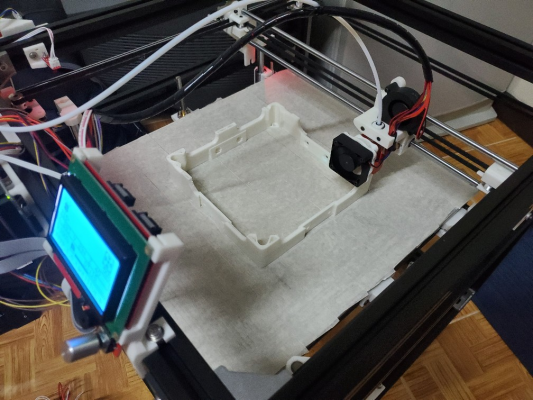
middle section
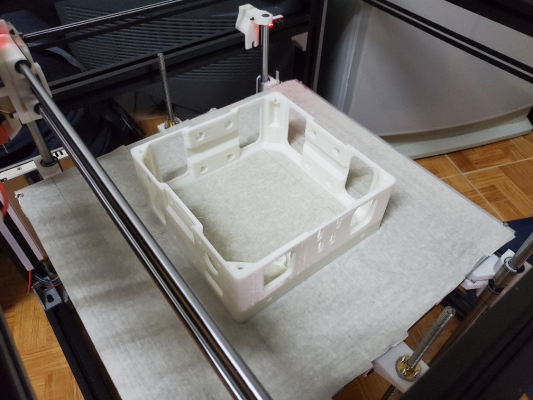
middle section done
The case can be printed in whole but I still have doubt in the HEVO reliability
The case is printed with 1mm nozzle, 0.5mm layer height, material is eSUN PLA+. Each section takes around 7 hours to print.
Stringing, not yet calibrated
middle section
middle section done
The case can be printed in whole but I still have doubt in the HEVO reliability
|
Re: 8 years late, my Tantillus build May 11, 2020 12:24PM |
Registered: 3 years ago Posts: 4 |
Below are some differences in this build from the original design
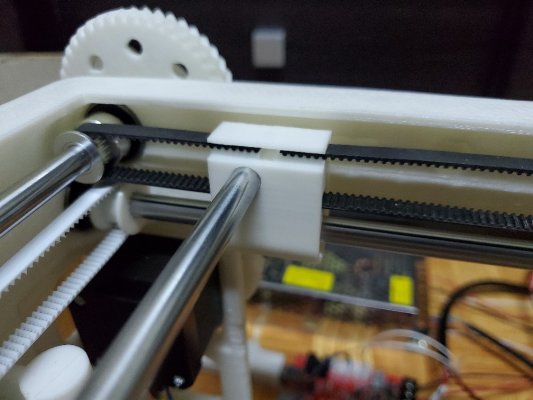
The original design needs the belt to be tied down with zip tie. This remix doesn’t [www.thingiverse.com]
This E3D hotend mount looks to not compromise on print area [www.thingiverse.com]
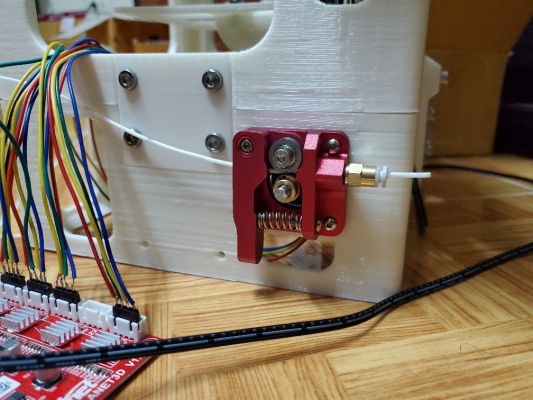
A nema 17 mount is embedded into the base section for the generic extruder
Z lift from Thingiverse [www.thingiverse.com]
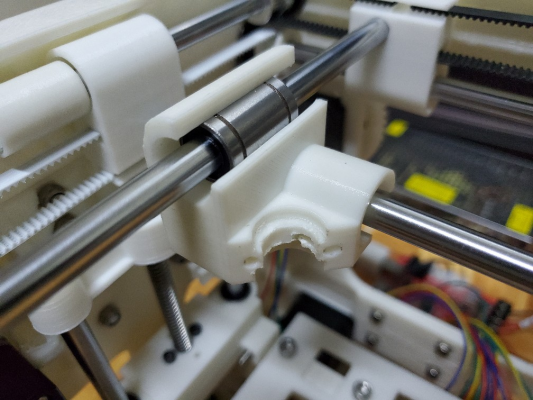
Top Z bracket center hole is enlarged to allow lead screw to wobble. Picture shows the original (zip tie) GT2 ends
This holder was modified to fit M3 screw and an optional clamp in case it comes loose in the future [www.thingiverse.com]
- Metric fasteners and rods instead of imperial because those are easily available where I live
- GT2 belt instead of strings, stringing looks like a chore and I found a mod on Thingiverse which was further improved
- E3D V6 lite instead of J-Head, using parts from the parts bin
- Aluminum off-the-shelf extruder instead of the printed one. A stepper mount was embedded into the base section
- Z carrier from Thingiverse, not sure if there’s anything wrong with the original one
- Modify the top Z bracket so to not hold the lead screw avoiding Z wobble
- Modified Z endstop switch holder
The original design needs the belt to be tied down with zip tie. This remix doesn’t [www.thingiverse.com]
This E3D hotend mount looks to not compromise on print area [www.thingiverse.com]
A nema 17 mount is embedded into the base section for the generic extruder
Z lift from Thingiverse [www.thingiverse.com]
Top Z bracket center hole is enlarged to allow lead screw to wobble. Picture shows the original (zip tie) GT2 ends
This holder was modified to fit M3 screw and an optional clamp in case it comes loose in the future [www.thingiverse.com]
|
Re: 8 years late, my Tantillus build May 12, 2020 10:30PM |
Registered: 3 years ago Posts: 4 |
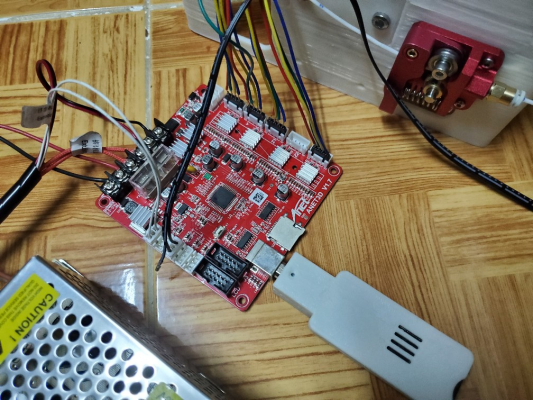
Controller board used for the Tantillus is the Anet board taken from my Anet A8. It is paired with Raspberry Pi Zero W running Octoprint for wireless access.
Right now, more parts are due to arrive like the printing platform and Bowden tube. Next I would need to decide whether to use an internal power supply or external power brick.
Fine tuning them settings
Anet V1.7 with Raspberry Pi Zero W powered from USB port
[video]https://youtu.be/WhXanyi6KaA[/video]
dry run video
|
Re: 8 years late, my Tantillus build May 16, 2020 07:30AM |
Registered: 3 years ago Posts: 4 |
|
Re: 8 years late, my Tantillus build July 23, 2020 10:21AM |
Registered: 10 years ago Posts: 651 |
Funny, I was about to do just this, since the build volume on my main printer is big enough.
My 3D Printing YouTube Channel
Better Living Through 3D Printing
Follow me on Instagram and Twitter
Instagram
Twitter
My 3D Printing YouTube Channel
Better Living Through 3D Printing
Follow me on Instagram and Twitter
Sorry, only registered users may post in this forum.
