Reprap Z sensor upgrade - fried my duet...
Posted by Amsterdamman
|
Reprap Z sensor upgrade - fried my duet... September 20, 2014 09:42PM |
Registered: 9 years ago Posts: 146 |
Hi Guys,
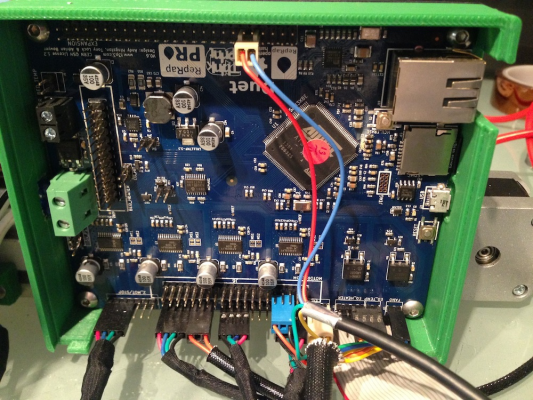
So I got an upgrade for my Z axis sensor via reprap - it seemed less work!! Plus I'm sure they will have made it wonderful! A long slow replacement of my x-carriage later I did a slower wire job flipping between the two docs Ormerod1 and Ormerod2, I didn't get any additional docs so used the online. USB power seemed ok, flipped on the mains and a little white light arced near the top sensor plug. Powered off of course, but I could smell the damage had been done.
So if your about to try to upgrade with the new reprap Z sensor, maybe you should wait a day or two...
Socrates ~ The Amsterdamman
slic3r-1.2.9
|
Re: Reprap Z sensor upgrade - fried my duet... September 21, 2014 09:17AM |
Registered: 9 years ago Posts: 146 |
|
Re: Reprap Z sensor upgrade - fried my duet... September 22, 2014 05:38AM |
Registered: 9 years ago Posts: 146 |
turns out the problem was... ME!! Yay... I miswired the duet - put the bottom pins two to the right... An "easy" mistake Ian says... Yea, fun too.
Socrates ~ The Amsterdamman
slic3r-1.2.9
Socrates ~ The Amsterdamman
slic3r-1.2.9
|
Re: Reprap Z sensor upgrade - fried my duet... September 22, 2014 01:36PM |
Registered: 10 years ago Posts: 378 |
I think the only difference is that the Ormerod 2 ships with a slightly newer revision of the Duet that has screw terminals for bed heater and pin headers for the bed thermistor, but judging from the picture you already have that. If you have a Duet without those, it is pretty easy to solder them in.
|
Re: Reprap Z sensor upgrade - fried my duet... September 23, 2014 05:14AM |
Registered: 13 years ago Posts: 1,611 |
The Ormerod 2 uses the same Duet v0.6 (at the moment...), but with a header on the 5V pins that pokes out, flat with the board; see the pictures in this section: [reprappro.com] . They should still have the heated bed ribbon cable pins, though you can use the screw terminals if you prefer. If you need a new Duet for an Ormerod 1, just let us know and we'll send you one without the Ormerod 2 5V header.
Ian
RepRapPro tech support
Ian
RepRapPro tech support
|
Re: Reprap Z sensor upgrade - fried my duet... September 23, 2014 02:38PM |
Registered: 9 years ago Posts: 146 |
So I am going to use the new Ormerod2 controller to get my #1 working again. But now I see there are multiple jumpers used in the two versions. Having fried one already I'm cautious...
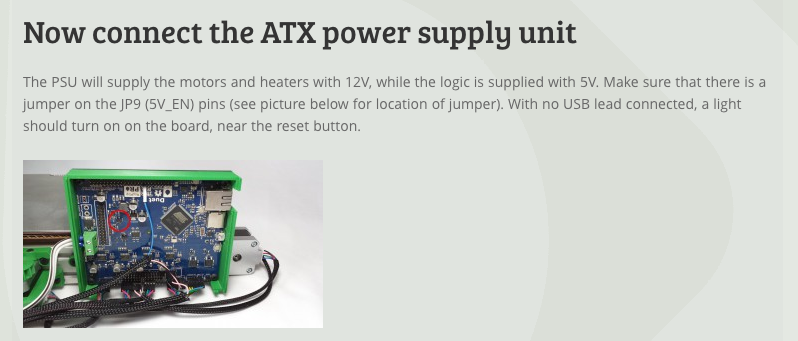
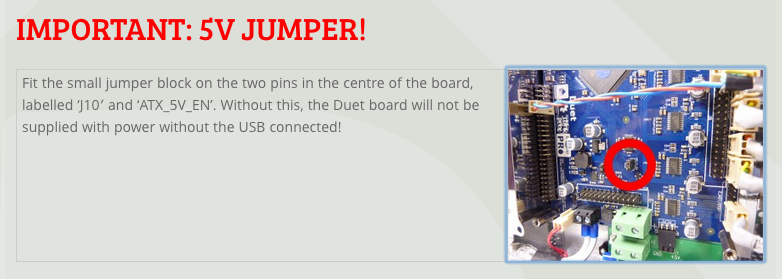
anyone know which jumper I should use? JP9 or JP10 or both?? [reprappro.com]
or [reprappro.com]
Socrates ~ The Amsterdamman
slic3r-1.2.9
anyone know which jumper I should use? JP9 or JP10 or both?? [reprappro.com]
or [reprappro.com]
Socrates ~ The Amsterdamman
slic3r-1.2.9
|
Re: Reprap Z sensor upgrade - fried my duet... September 23, 2014 04:20PM |
Registered: 10 years ago Posts: 14,672 |
I believe you should install JP10 if the Duet is supplied with 5V power through the 5V terminal block (as on the Ormerod 2), and JP9 if it is not (as is usually the case on
an Ormerod 1). But I accept no responsibility for whatever you do to your board!
Large delta printer [miscsolutions.wordpress.com], E3D tool changer, Robotdigg SCARA printer, Crane Quad and Ormerod
Disclosure: I design Duet electronics and work on RepRapFirmware, [duet3d.com].
an Ormerod 1). But I accept no responsibility for whatever you do to your board!
Large delta printer [miscsolutions.wordpress.com], E3D tool changer, Robotdigg SCARA printer, Crane Quad and Ormerod
Disclosure: I design Duet electronics and work on RepRapFirmware, [duet3d.com].
|
Re: Reprap Z sensor upgrade - fried my duet... September 24, 2014 05:23AM |
Registered: 13 years ago Posts: 1,611 |
Yes, follow the Ormerod 1 instructions, and put the jumper on JP9. Ormerod 2 uses the separate board to supply 5V power, so the jumper settings is different.
The reason Ormerod 2 is different is that the Duet on-board buck converter (5V regulator) is very noisy, and we couldn't pass CE testing using it. So we produced an extra board (the 5V regulator board supplied with Ormerod 2) to provide the board with 5V power. The JP9/J10 pins just choose between the two. As I keep saying, the only difference between the Duet boards supplied with the Ormerod 1 and 2 is the extra header pins on the 5V input for the Ormerod 2.
We may at some point (possibly soon) update the Duet board. It should still be compatible with Ormerod 1, but it will not have the ribbon cable connector for the heated bed. However, it will have screw terminals for the heated bed, and pins for the thermistor (we currently supply the Duet with these on, too, as the Ormerod 2 uses them), so you will be need to adapt the ribbon cable on your Ormerod 1. To do this, remove the 26-way IDC connector, split the cable strands (12/2/12), strip the ends of the wire, put crimps and housing on the middle pair of wires for the thermistor, twist the 12 strands of wire together each side of the centre pair, and put these in each screw terminal.
Ian
RepRapPro tech support
Sorry, only registered users may post in this forum.


