Aluminum Bed and Base plate 1204 and 1206
Posted by zaccom
|
Aluminum Bed and Base plate 1204 and 1206 August 17, 2015 03:26PM |
Registered: 8 years ago Posts: 38 |
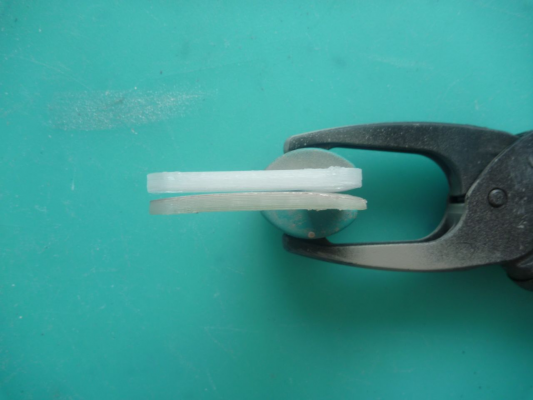
Ok the bed thing driving me crazy so I am going to the aluminum even the base plate. For both sets is costing me right now at 200 bucks to make just one. However, not asking for money just how many are interested. The company will make major discounts after 5 or more is order. If you I can get a set set of 10 or more it will be 52.27 including shipping to my house in US dollars with all the holes just ready to mount. Shipping to others will depend where you live. I will not make a profit just seeing if other wants to jump on this. on the build plate though your going to have to use nonconductive silicone for the ball joints or superglue and make sure it not touching the build plate surface or you alway have contact if your using the springs. Unless you put a heat bed your going to have to go to another calibration like IR or probe. Also, the plates are not going to be 5mm they will be 4.8mm because they like inches, however, plates will be the right dimensions. Words of though.
Edited 1 time(s). Last edit at 08/17/2015 03:40PM by zaccom.
ZacCom Corporation Software and Engineering Design. www.zaccom.net
email: zeldridge@zaccom.net
UAV/FPV Drone Designer
Software game developer
AutoCAD and Blender Expert
3D printer hobbyist
Edited 1 time(s). Last edit at 08/17/2015 03:40PM by zaccom.
ZacCom Corporation Software and Engineering Design. www.zaccom.net
email: zeldridge@zaccom.net
UAV/FPV Drone Designer
Software game developer
AutoCAD and Blender Expert
3D printer hobbyist
|
Re: Aluminum Bed and Base plate 1204 and 1206 August 18, 2015 11:51AM |
Registered: 8 years ago Posts: 475 |
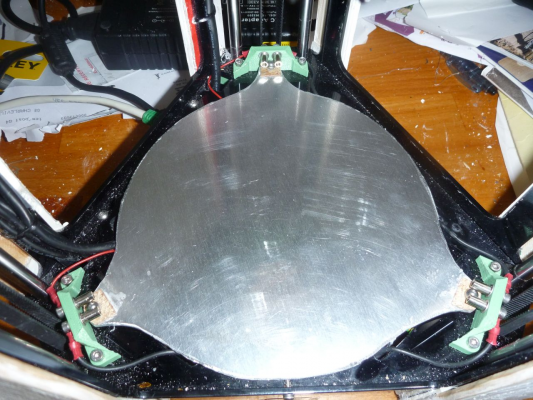
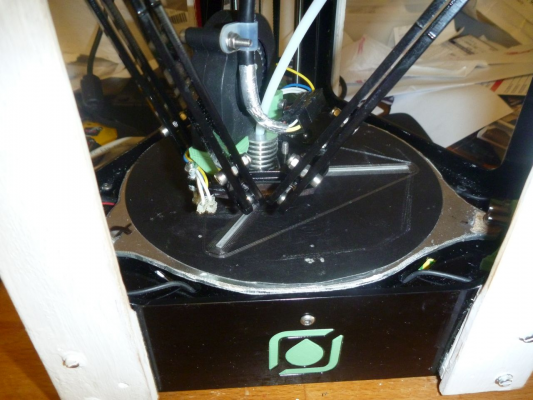
Hello, after having totally failed to print large part on the Fisher (diam ~140) after a full day of essay, I have built a new bed by cutting 2017 aluminum sheet thickness 3mm.
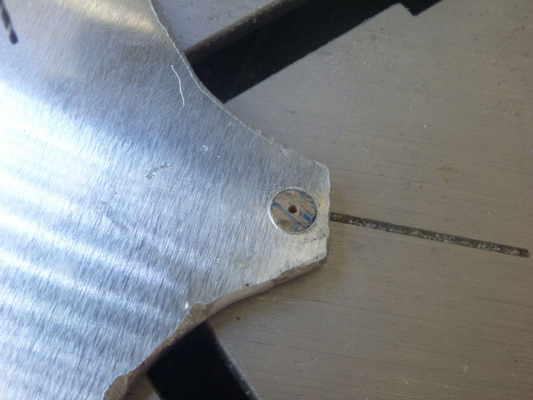
2017 is relatively soft and very easy to cut with a jigsaw. I had to take some time with the grinder to somewhat clean the plate and the look is not the best.
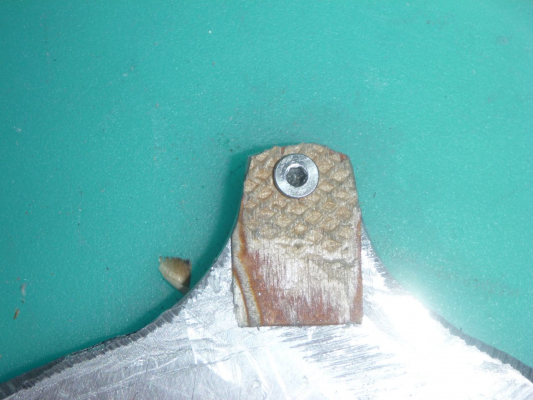
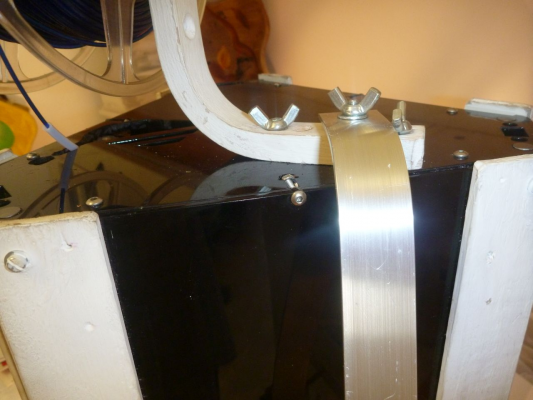
I insulated the balls with wood plug, with 1.5mm model plywood glued as counterplate on both sides.
At the end, I removed the wood pads atop springs. They were installed to have same height and load, but were preventing easy fit with the spring not sliding well.
The cost is quite low and it have taken maybe three /four hours of work, in any case, a lot less than the time I expensed because my original bed was not flat.
From the very start, I got problems with my first layer and having a reasonnably flat bed was a real relief. Nearly no survey of the first layer and now I can start the print with minimal check and go doing something else. That is a big change.
So, everything perfect ?
Alas, no.
I experienced something new, I had warping on PETG. While I had warping on long PLA parts, I never get any warping on PETG before. That was easy to check because I printed the exact same part with same Gcode file before and after the bed change.
I assume that because of the thermal conductivity of the aluminium plate, it cool the buildtak to ambient temp which then loose some adherence.
So, using an aluminium plate shall in principle be associated with a heated bed.
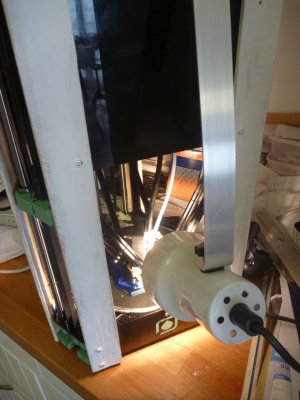
I did not intend to build yet a heated bed, so I tried the 'poor man' heat bed with a lighting spot (40W, then 60W) . With 40W, the bed temperature did'nt go very high, maybe 40°C.
It works reasonnably well, however, I had still some warping on a few long part (before I go to 60W). One constraint is that you need to start the lamp at least 20 min before your first print.
[edit] I think I may have done it simply in plywood. Plywood may not be ultra-flat, but in any case, much more than the original bed. That may be worth a trial.
The problem is that the buildtak cannot be removed from the plywood, while it could be from the aluminium or acrylic bed.
Edited 3 time(s). Last edit at 08/18/2015 12:32PM by PRZ.
|
Re: Aluminum Bed and Base plate 1204 and 1206 August 18, 2015 01:00PM |
Registered: 8 years ago Posts: 38 |
|
Re: Aluminum Bed and Base plate 1204 and 1206 September 02, 2015 11:17PM |
Registered: 8 years ago Posts: 7 |
The use of the aluminium bed plate seems worthwhile. I was thinking that everyone seems to be favouring the insulation of the balls from the aluminium base but it seems to me there is another solution. The 3 switches have to rewired so each is attached to a NOR logic gate (2 inputs, each held high to 5V by ?10k resistors when the ball does not touch, but grounded when the ball touches: because the plate would be grounded). Hence if the plate is pushed down , and even if only one (or both) contact is broken on that side the output of the gate goes low. The 3 NOR gate outputs are then sent to the input of a 3 input AND logic gate whose output goes low then if any of the switch contacts is broken. The result is equivalent to the current system for the Fisher. I would have to check what the current input for the fisher Duet is at present but the idea is that the metal plate does not have to be insulated from the balls for the sensor to work, and it would be OK for the aluminium base to be at ground level electrically for the electronic NOR gates to function.
Edited 1 time(s). Last edit at 09/03/2015 01:24AM by ph610.
Edited 1 time(s). Last edit at 09/03/2015 01:24AM by ph610.
|
Re: Aluminum Bed and Base plate 1204 and 1206 September 04, 2015 04:51PM |
Registered: 8 years ago Posts: 38 |
Sorry, only registered users may post in this forum.
