Cyclone PCB Factory/build
In this section i will be quick showing more or less how the mechanics should be assemble
Here you can see more or less all the basics parts that you need. You can see all printed parts. also nuts, screws, rods, stepper motors, drivers, etc
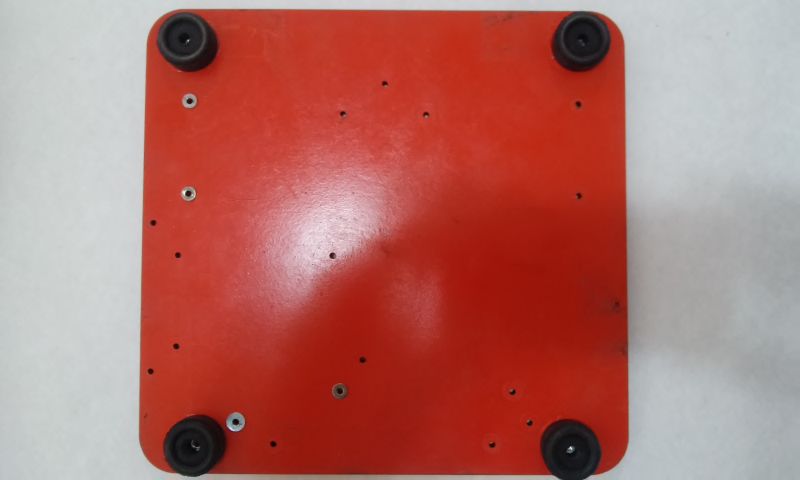
First cut and drill the base. i did sent them to laser cut and laser drill to avid miss alignments. Then paint them with the color that you want. i did use MDF wood. Glue with silicon Rubbers to avoid nuts scratch the table surface.
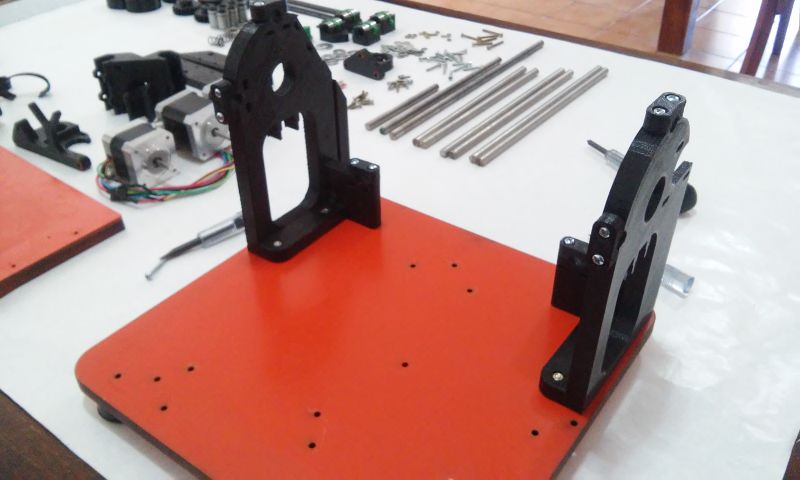
put the bolts and nuts to the 2 laterals and tight them not to much we need them lose so later we can align all the machine.
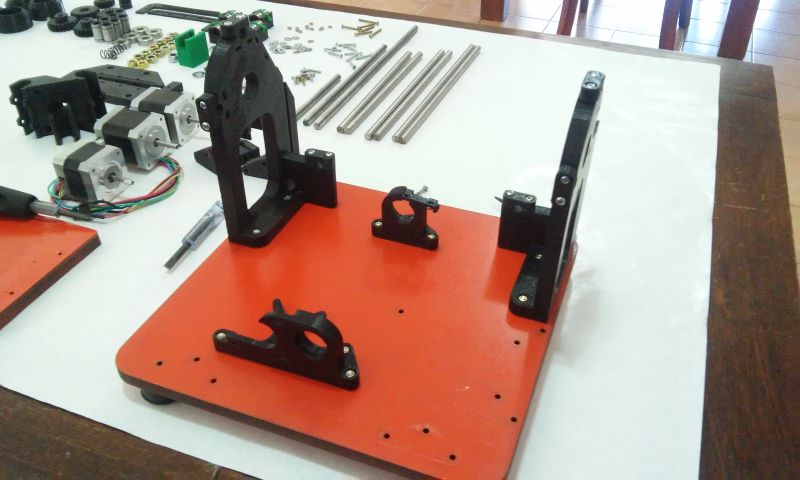
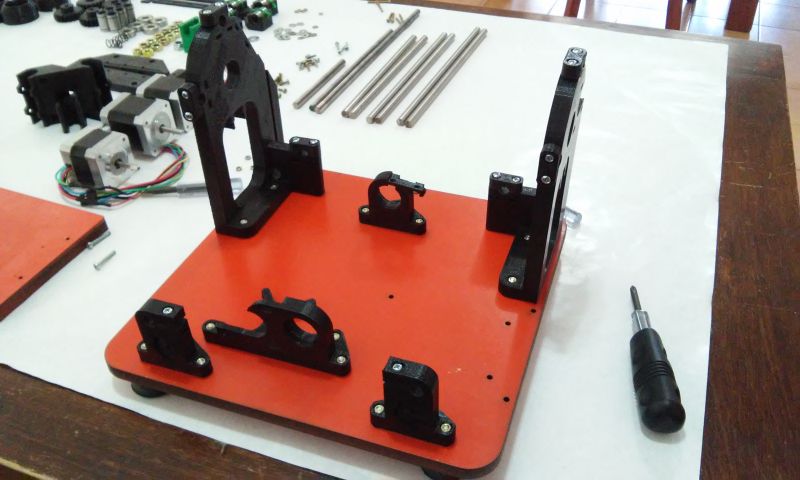
The add the support for the Y axe
Put nuts and bolt to the y rods support. left them little lose so then you can align them with the machine structure.
Note: here i recommend to install the end stop, the it will be more complicated to do this.
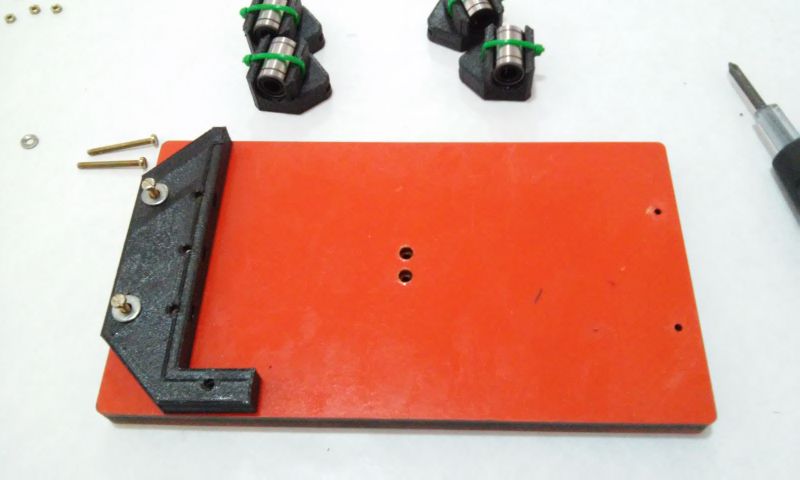
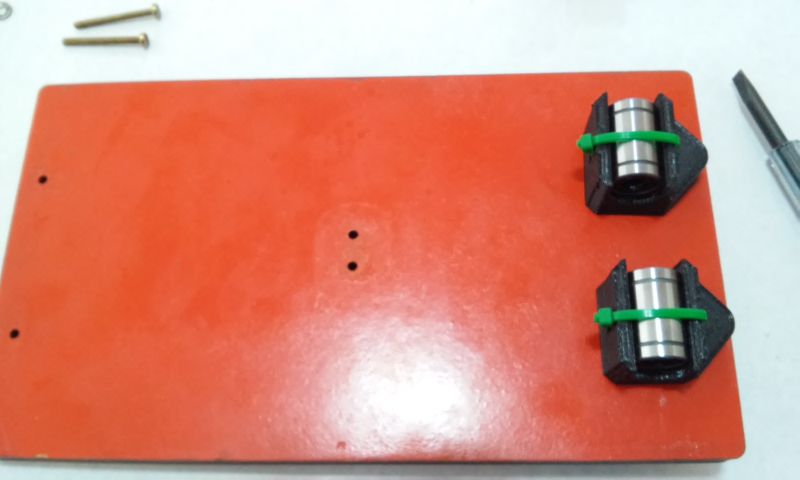
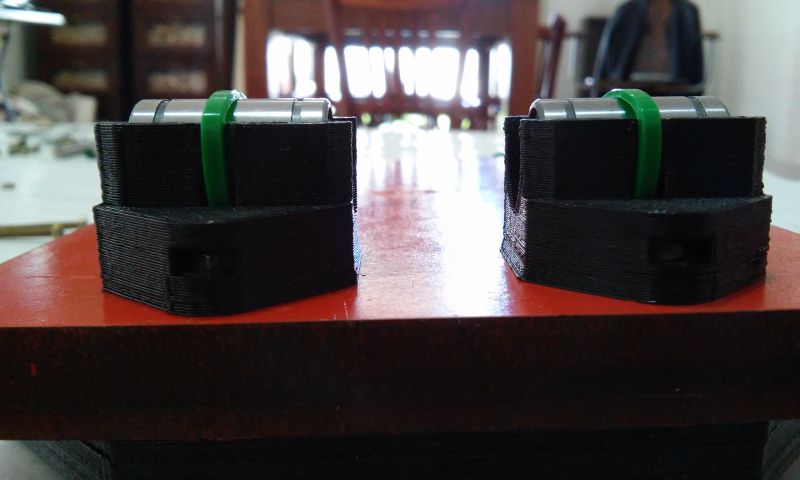
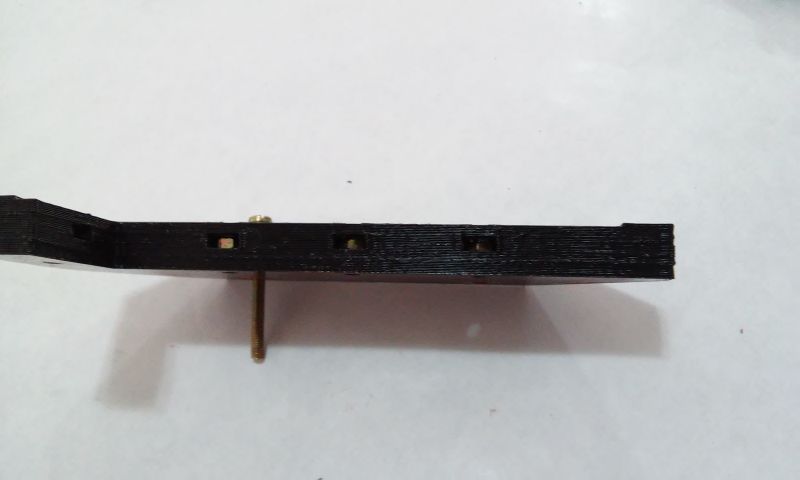
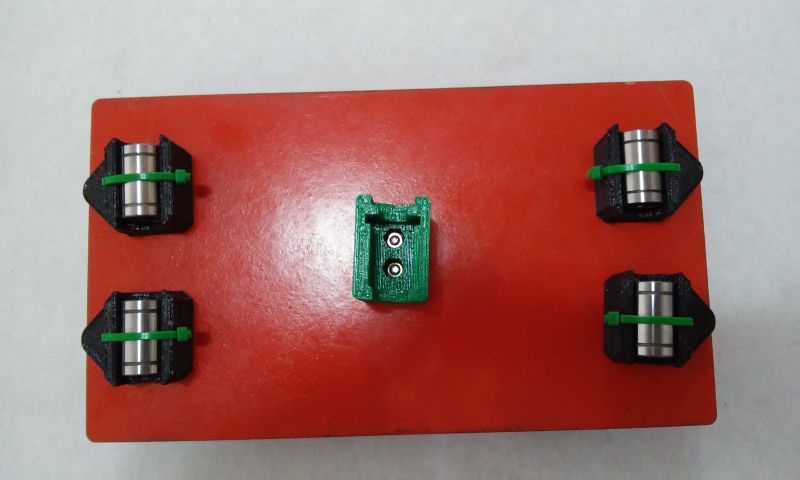
Get the plate where drilling will happen add the supports for the pcb add the nuts for all the parts. also in the back part add the support and the linear bearings. Do NOT tighten too much then we will need to align all the machine
In the back part, now you will be installing the anti backslash system :P. install the nuts and bolts. dont tighten too much either.

