RepRapPro Huxley improvements
|
English • العربية • български • català • čeština • Deutsch • Ελληνικά • español • فارسی • français • hrvatski • magyar • italiano • română • 日本語 • 한국어 • lietuvių • Nederlands • norsk • polski • português • русский • Türkçe • українська • 中文(中国大陆) • 中文(台灣) • עברית • azərbaycanca • |
Introduction | Frame assembly | Y axis assembly | X axis assembly | Z axis assembly | Heated bed assembly | Extruder drive assembly | Hot end assembly | Wiring | Commissioning | Printing | Maintenance | Troubleshooting | Improvements
| A notice about these instructions! |
|
These instructions are open to editing by everyone and anyone. |
Contents
This is the place to describe improvements to RepRapPro Huxley
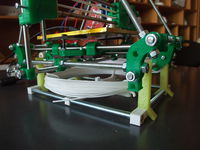
Huxley Mini-Spool
A horizontal mini-spool to store a small amount of filament right under your Huxley.
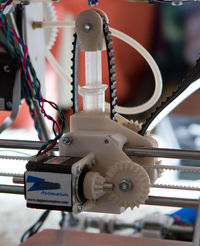
Mattroberts'_Huxley_Paste_Extruder
Replace the hotend with a 5ml syringe.
Mattroberts'_Huxley_Carriage
Adds nuttraps to the carriage, so you replace the self tapping screws with metal screws.
Ditch_Those_PLA_Pulleys
Obtain and fit x2 (16 tooth) aluminium pulleys to you RepRapPro Huxley’s X and Y stepper motors.
(See: eMAKER, Think3DPrint3D)
You should see a substantial increase in print quality, especially when printing circular or curved objects.
N.B: You will find removing the small shoulder (using a metal work lathe) from one end of both of the pulleys makes it much easier to mount them on Huxley’s drive shafts.
Finally, don't forget to modify the Huxley’s firmware from 14 to 16 teeth step count.

