Prusa i3 Rework Bill of materials
|
English • العربية • български • català • čeština • Deutsch • Ελληνικά • español • فارسی • français • hrvatski • magyar • italiano • română • 日本語 • 한국어 • lietuvių • Nederlands • norsk • polski • português • русский • Türkçe • українська • 中文(中国大陆) • 中文(台灣) • עברית • azərbaycanca • |
Introduction | Bill of materials | Y-axis assembly | X-axis assembly | Connecting X-axis and Z-axis | Motor assembly
X and Y-axis motions | Heated bed assembly | Extruder assembly | Electronics and wiring | Marlin Firmware
Contents
Excel BOM file
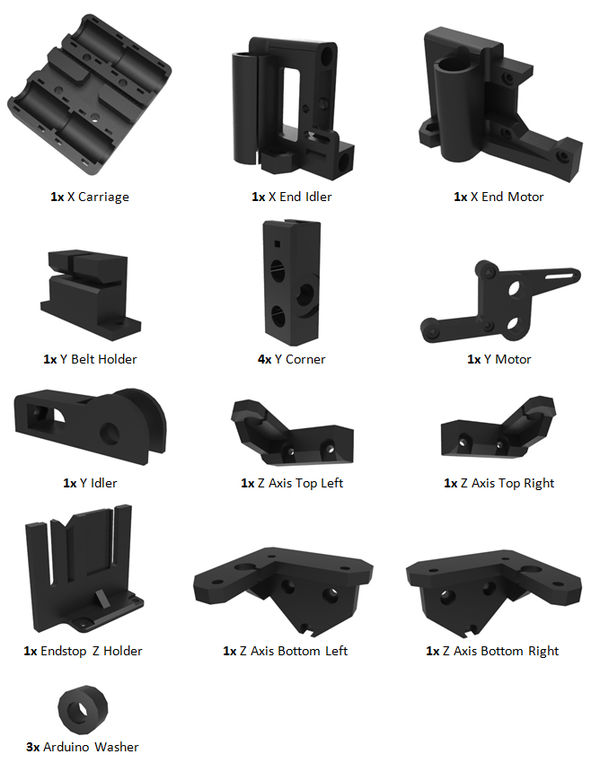
Printed parts
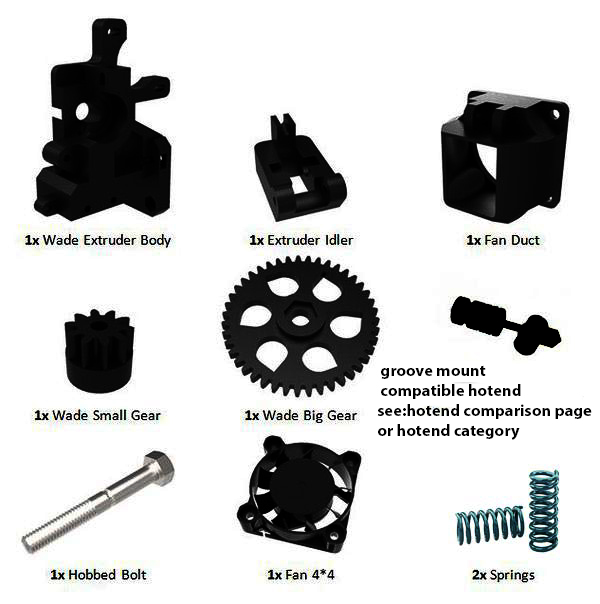
Extruder
- Some data about the springs
- Height 20mm
- Outer diameter 7.5mm
- Inner diameter 5mm
Note: This construction manual uses a "Trinity Labs Magma" hotend which is not in production anymore, recommended alternatives (especially for newbies) are the "E3D V6" or "J-Head Mk V".
Smooth and threaded rods
- 2x Smooth rod Ø8x320 mm (for the Z-axis)
- 2x Smooth rod Ø8x350 mm (for the Y-axis)
- 2x Smooth rod Ø8x370 mm (for the X-axis)
- 2x Threaded rod M5x300 mm (these are replaced by lead screws / ACME rods in the new revision)
- 4x Threaded rod M10x210 mm
- 2x Threaded rod M10x380 mm
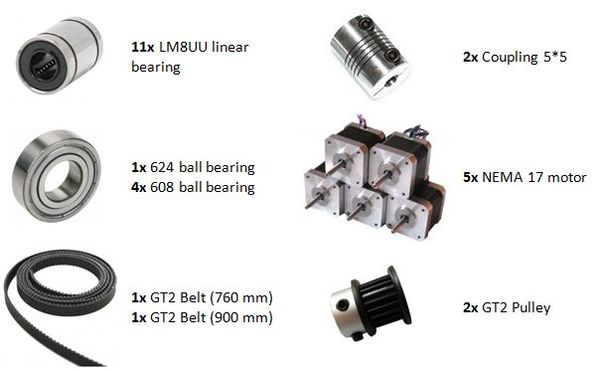
Mechanical parts
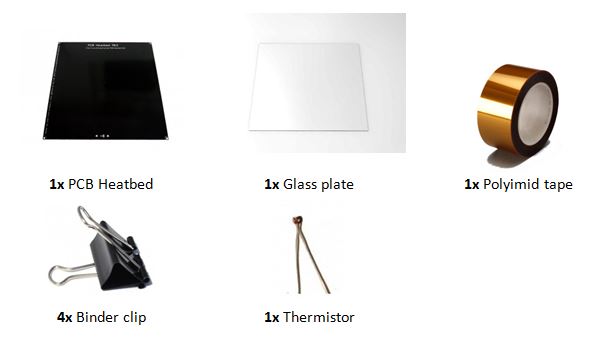
Heated bed
Electronics
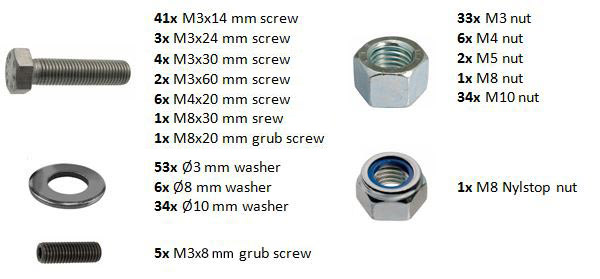
Screws, nuts and washers
If using the SainSmart endstops then you will need 2 M3 flat head screws per endstop that uses the bottom 2 holes to attach it (example the X-Idler) as the SainSmart endstops has a bad design flaw that gives absolutely zero clearance for the two lower screws as the wiring harness is too close to the pcb and over laps some of the 2 bottom open holes (wiring harness points downward at a 90 degree angle). With these you can bend up the wiring harness, ever so slightly and be extremely cautious and gentle, to get the flat head M3 screw heads to go under the harness. Once they are under the harness proceed to attach with the nuts but remember the heads MUST come into the holes from the side with the wiring harness due to the mentioned lack of any clearance.
If you are having a hard time finding the M3x60mm screws you can use 1/8 inch toggle bolts http://www.homedepot.com/p/Unbranded-1-8-in-x-2-in-Zinc-Plated-Toggle-Bolt-with-Mushroom-Head-Phillips-Drive-Screw-4-Pieces-00444/202187084 and remove the screw in piece from the toggle side (easily comes out) and it fits perfectly on the extruder. Use springs and a washer and you are set though I did use a Dremel to remove the threads for 1/2 of the bolt.
Aluminium frame
- 1x Single frame
- 1x Heated bed mount
Note: These can be laser/waterjet cut from 6mm-thick aluminum. The DXF files are available on Github.
